

Central America is one of the most underrated regions in the world to explore, and visiting all seven of its diverse and incredible countries has always been a dream of mine. After my Antarctica and Brazil trips, I found myself already in the region, so I decided to take the opportunity to finally make it happen.
I flew to Panama and followed this exact itinerary, spending over 2 months traveling through Panama, Costa Rica, Nicaragua, El Salvador, Honduras, Guatemala, and Belize all in one epic journey. Honestly, it was one of the best trips I have ever taken. It was everything I had hoped for and more, and I'm here to help you make this incredible adventure happen too!
In this guide, you will find all the information you need to recreate this exact trip, from how to get from one place to another, border crossings, and accommodation tips to daily itineraries, costs, and practical advice. Basically, every single detail is laid out for you, so you don't have to spend the ridiculous amount of time planning that I did.
So brace yourself, because this is going to be a massive guide, and get ready for one of the most rewarding overland adventures you can take through the heart of the Americas.

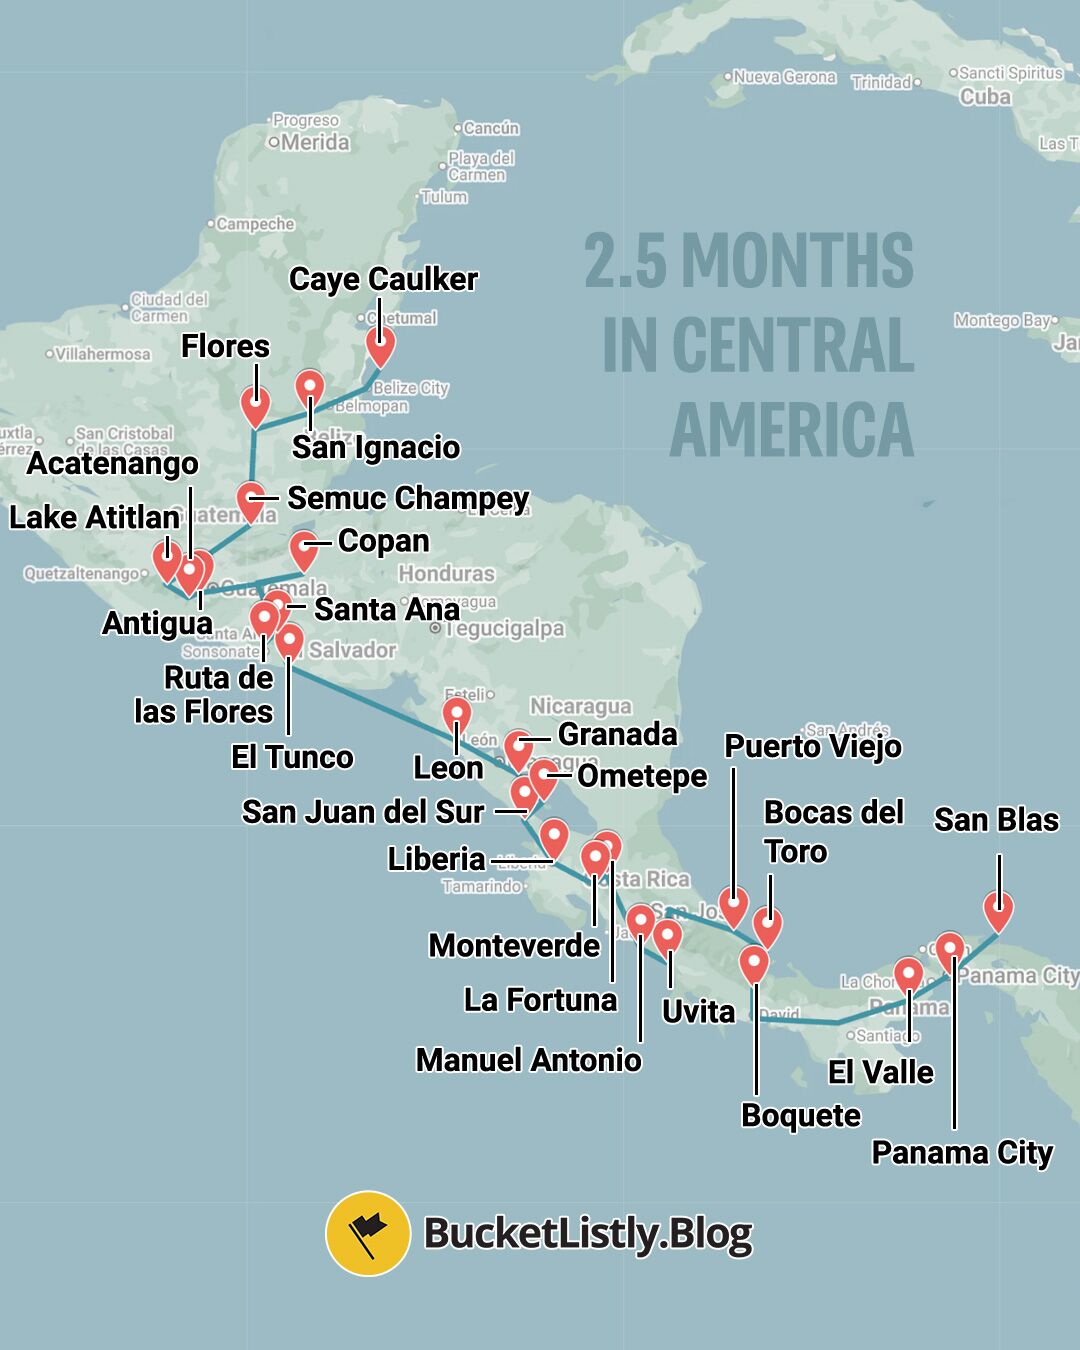
Map of this 2.5-Month Central America Itinerary
Quick Summary
Show More2.5 Months Central America Backpacking Itinerary
Day 1 - 3: Panama City, Panama (3 nights)
- 📍 Stay: Magnolia Inn
- 🕐 Time: 3 nights
- 📖 Full Guide: Discover Panama City: My favorite experiences, itinerary, and more
This itinerary begins in Panama City, a big Central America travel hub and the perfect introduction to the region. Panama City is by far, one of the most fascinating capital cities in Central America, and probably the only one capital city worth spending time in, really. Unlike many travelers who only see it as a stopover, I highly recommend spending a few days here to experience the unique mix of modern skyscrapers, historic neighborhoods, lush nature, and incredible food scene.
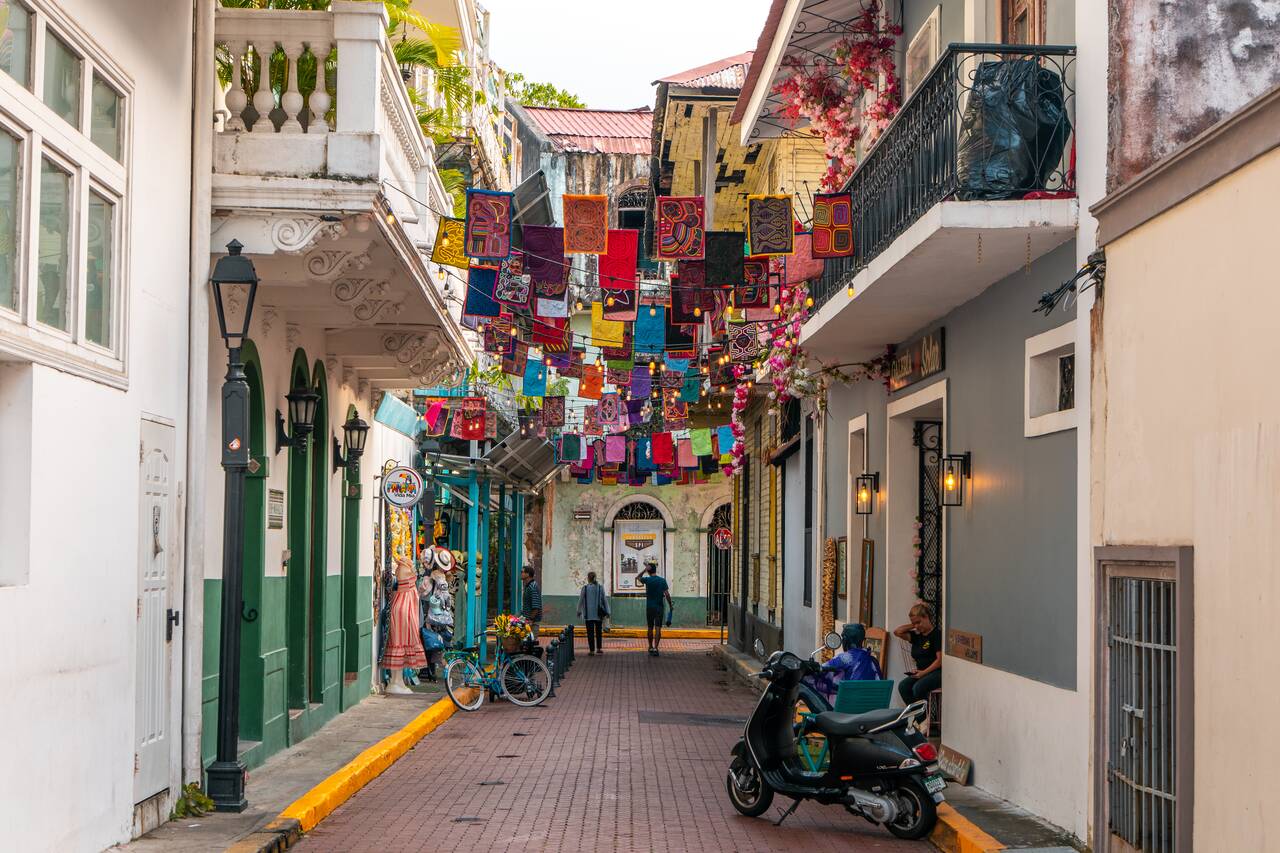
Spend your first day exploring Casco Viejo, Panama City's historic old town, where you will find colorful colonial buildings, charming cafes, rooftop bars, and beautiful plazas lining the cobblestone streets. This is also one of the best places to stay, especially for first-time visitors, as you will be close to many of the city's highlights.
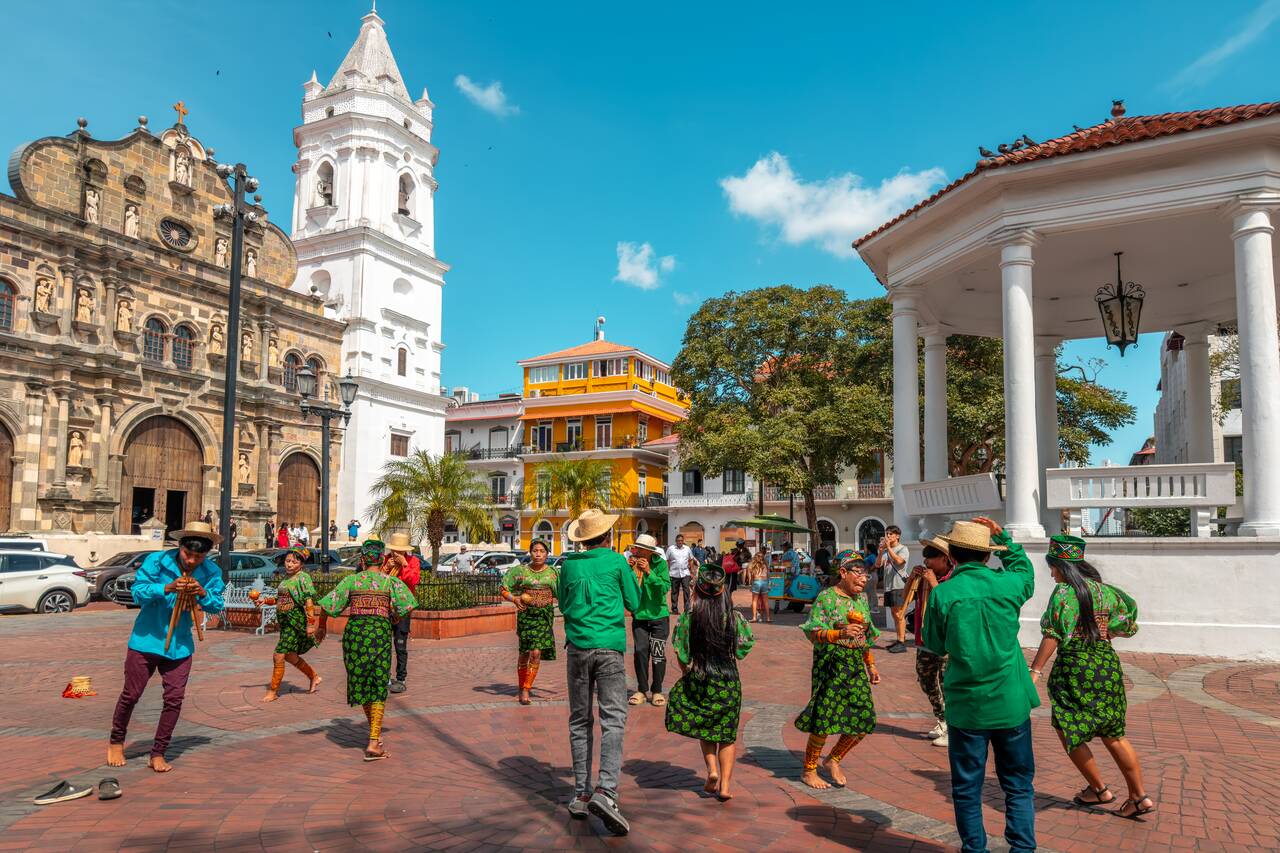
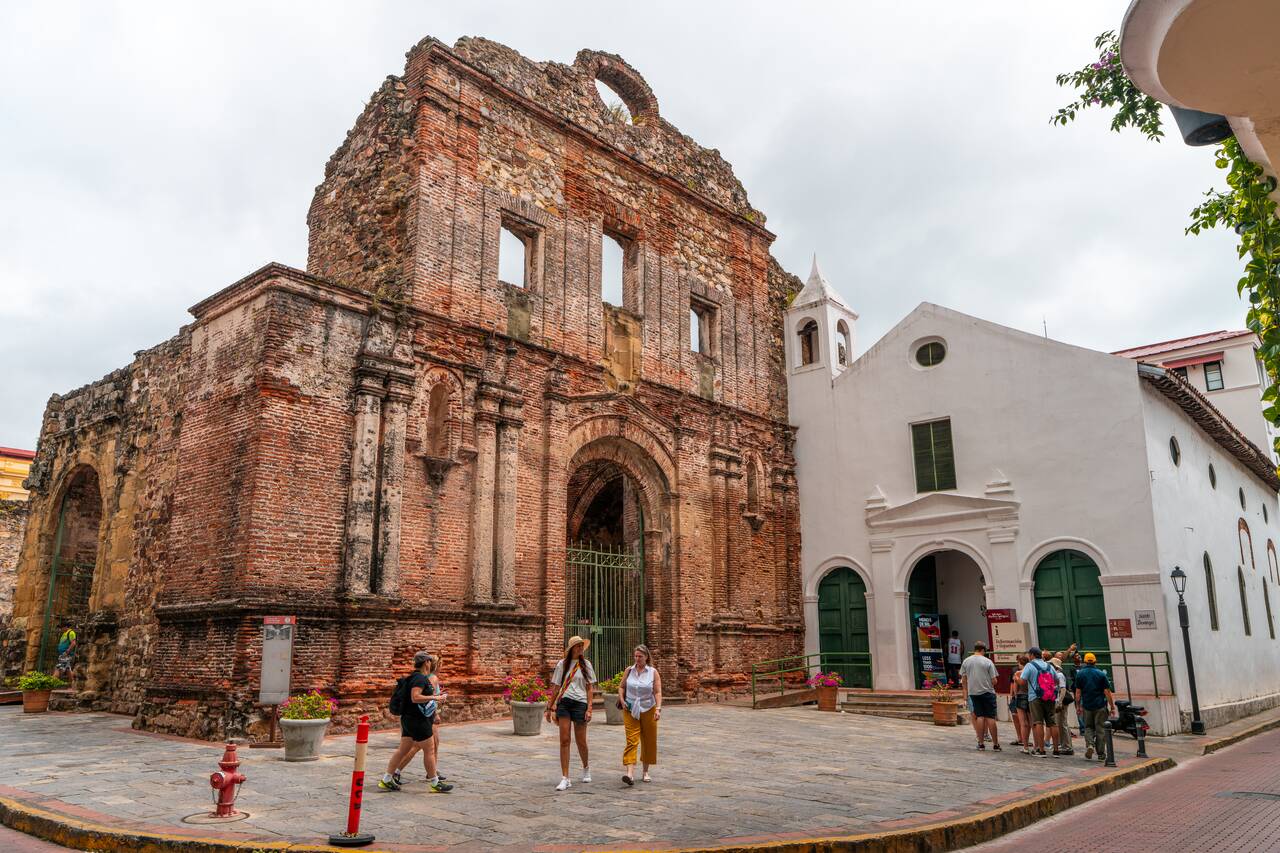
Places you will not want to miss in the old town include Independence Square, San Francisco de Asis Church, the Mola Museum, and Plaza de Francia, all of which we will discuss later in this guide. Be sure to also check out the centuries-old ruins of churches such as Arco Chato and the Church of the Society of Jesus, two of my favorite sites in Casco Viejo.
- Basic Central America: Guatemala to Costa Rica (17 days)
- Central American Journey: Rainforests & Ruins (32 Days)
- Epic Central America: Seven Countries & the Softest Sand Ever (45 Days)
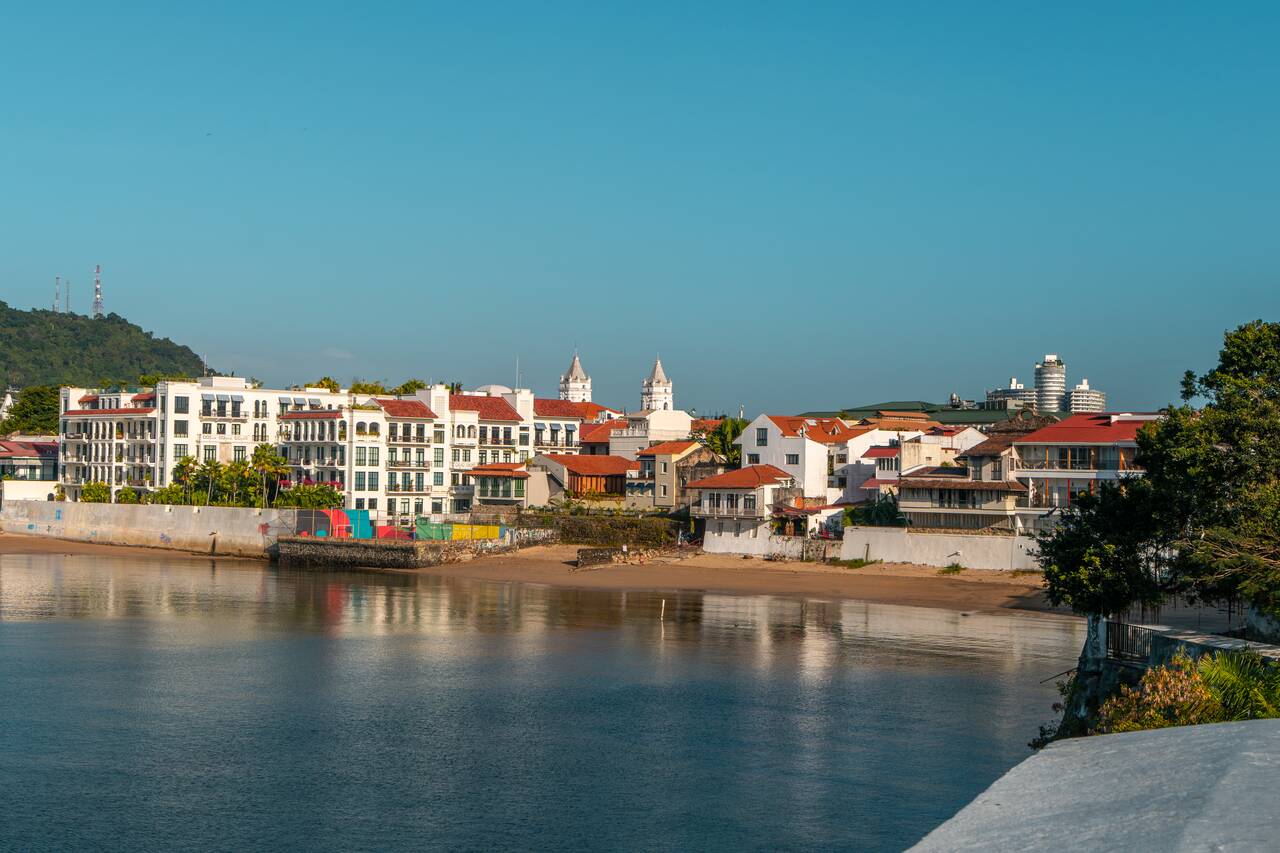
For the evening, be sure to go for a walk around Plaza de Francia, a beautiful square located at the southern tip of Casco Viejo, with a lively atmosphere and a nice view of the city's stunning coastline. From here, you can also enjoy fantastic views over the Pacific Ocean, the Amador Causeway, and Panama City's modern skyline rising in the distance.
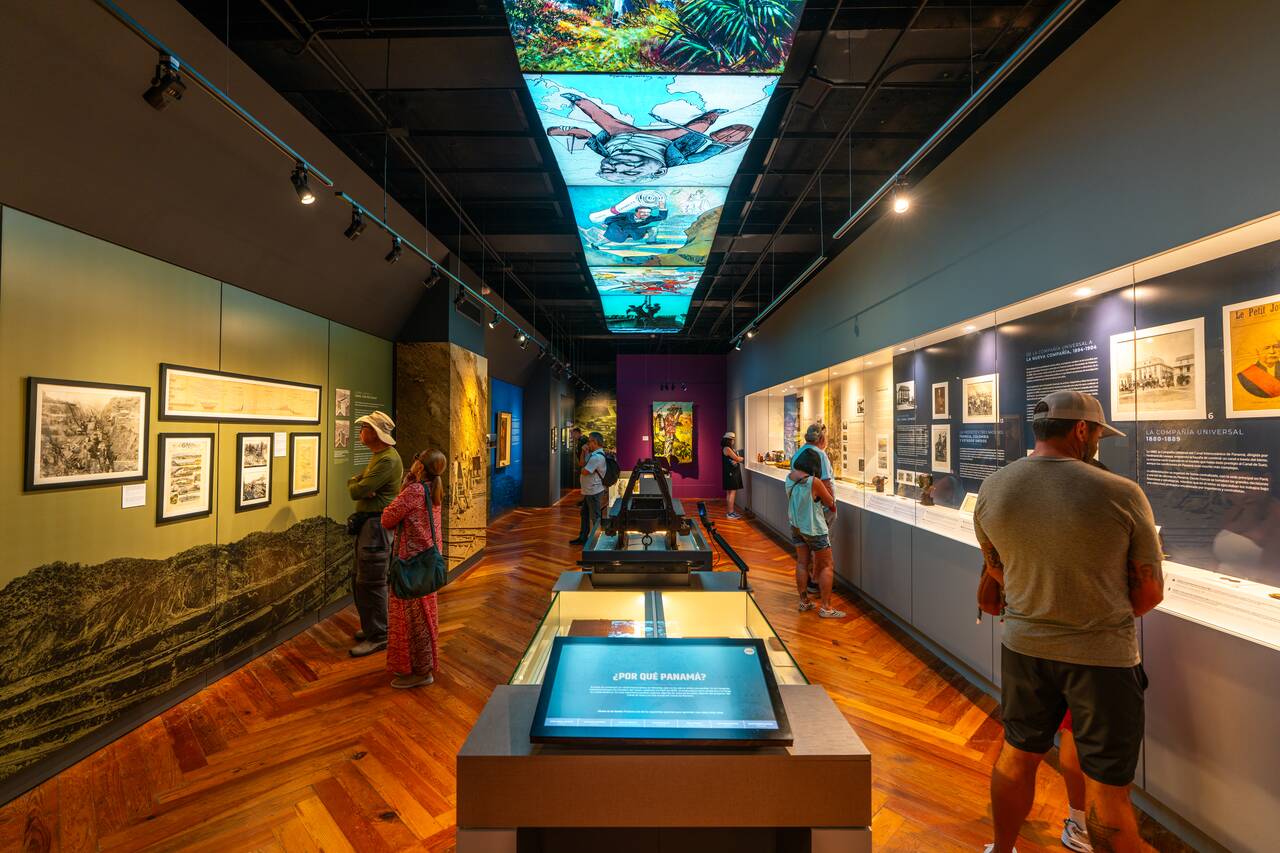
On your second day, you can spend the morning exploring some of the best museums Panama City has to offer, like the Panama Canal Museum, a fascinating museum dedicated to the history of the Panama Canal. It is well worth visiting to learn more about the canal's construction, history, and importance before your actual visit the next day.
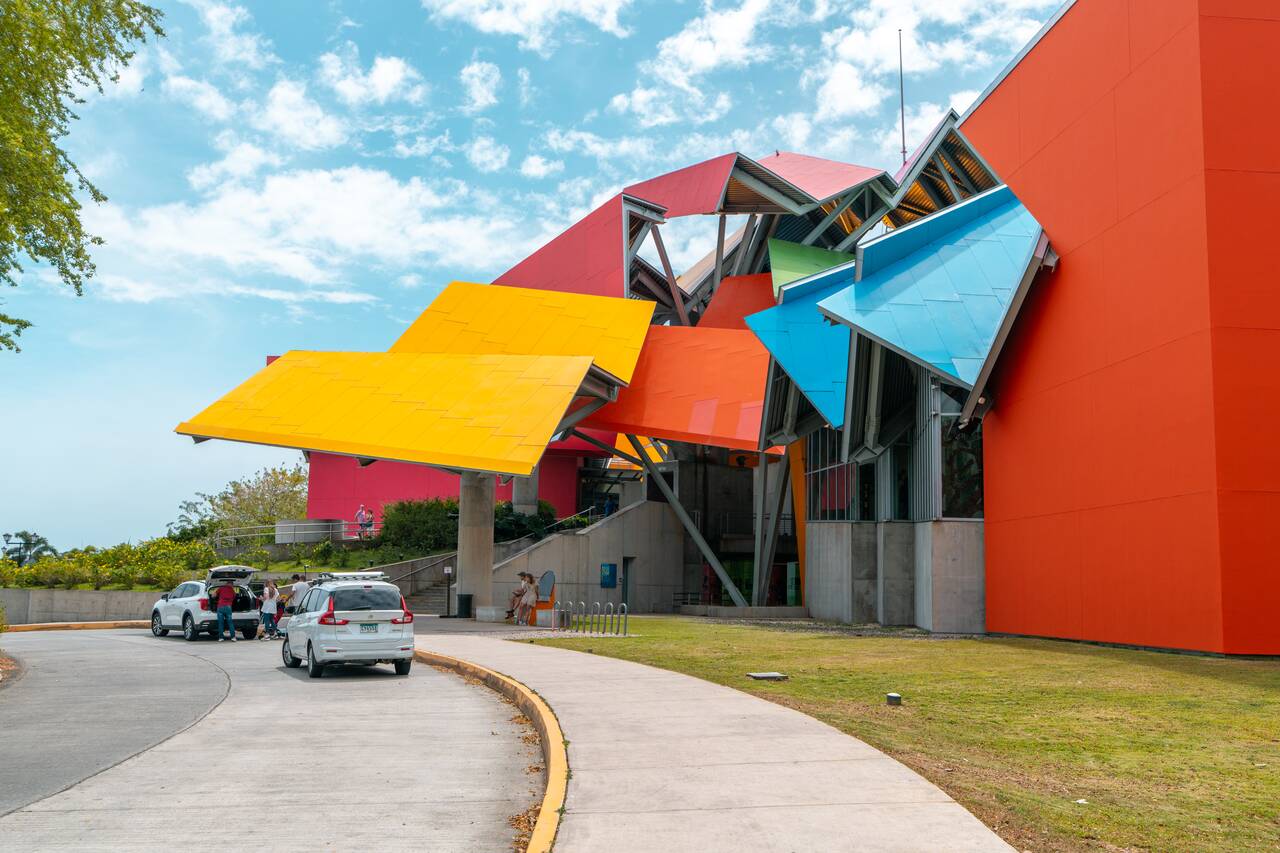
Just a short Uber drive from Casco Viejo, you will find the Biomuseo, one of Panama City's best museums, housed inside one of the most unique structures you will see here. You might even see its odd-looking exterior from Plaza de Francia! Trust me, there's no mistaking it as you won't find a structure like this anywhere else in the city.
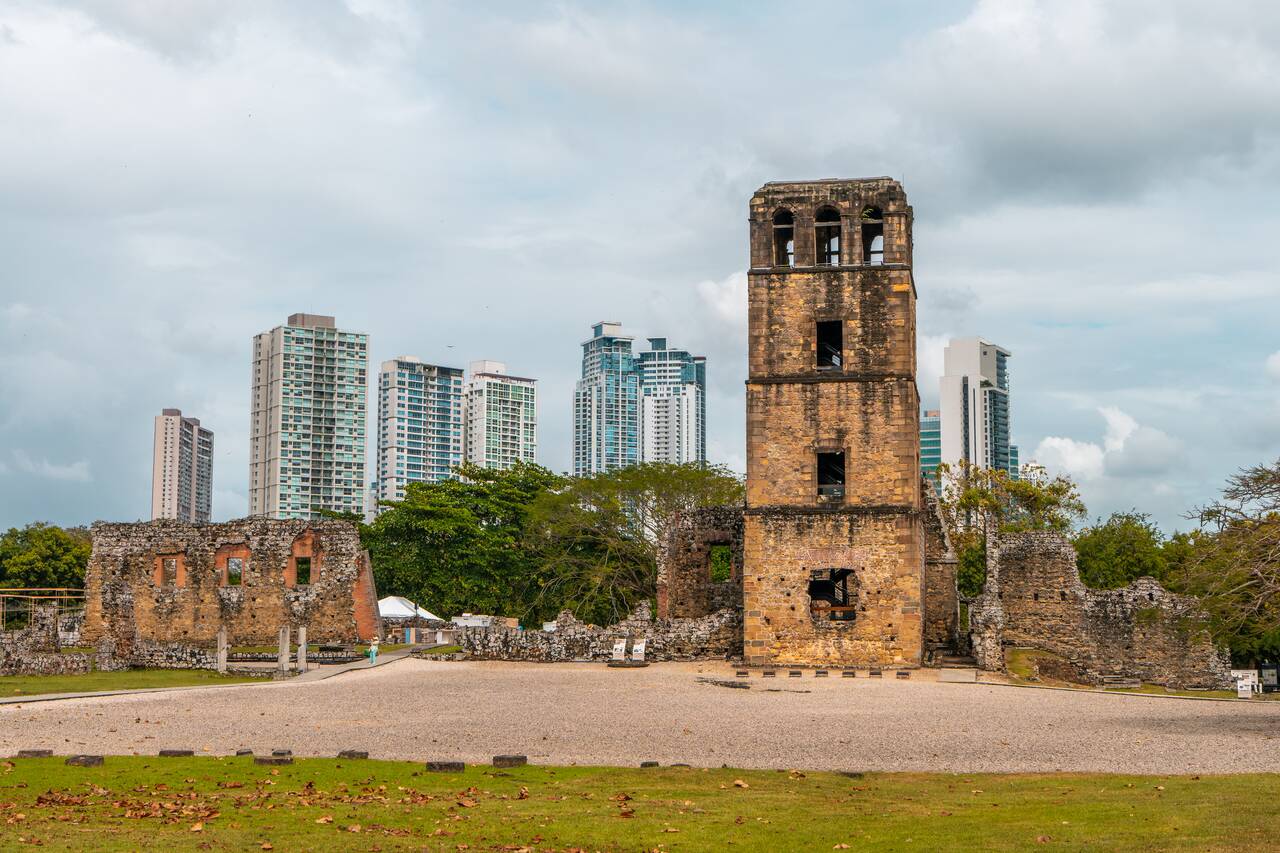
After visiting the museums, you can either spend the rest of the day relaxing or take an Uber and stroll around Panamá Viejo, the first European settlement in Panama and the original old town before it was destroyed by pirates and eventually relocated to what is now Casco Viejo, the historic district you see today.
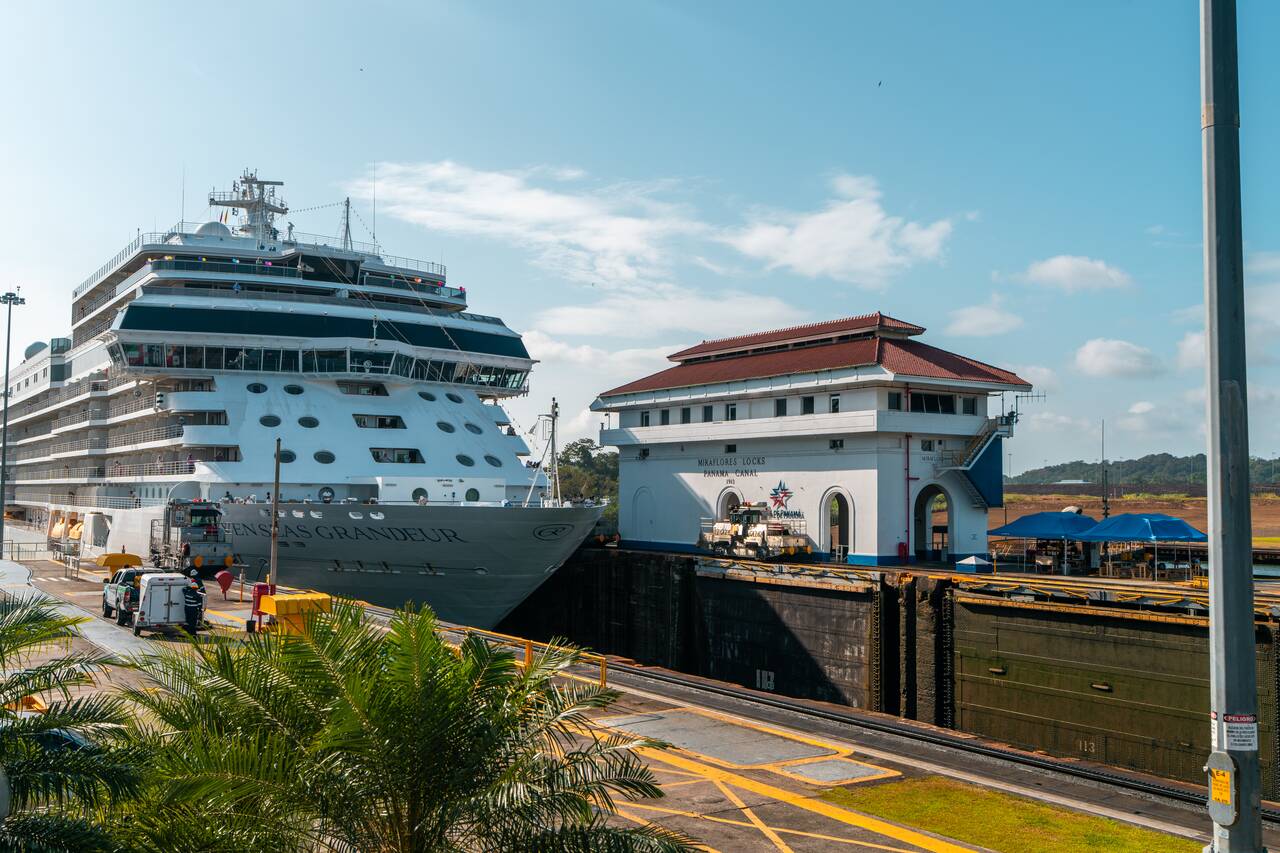
No trip to Panama City is complete without seeing the Panama Canal, one of the most impressive engineering feats in the world and the landmark Panama is best known for. On your third day, make your way to the Miraflores Locks, the closest section of the canal to the city, which can be reached in just a 30-minute Uber ride from the city center.
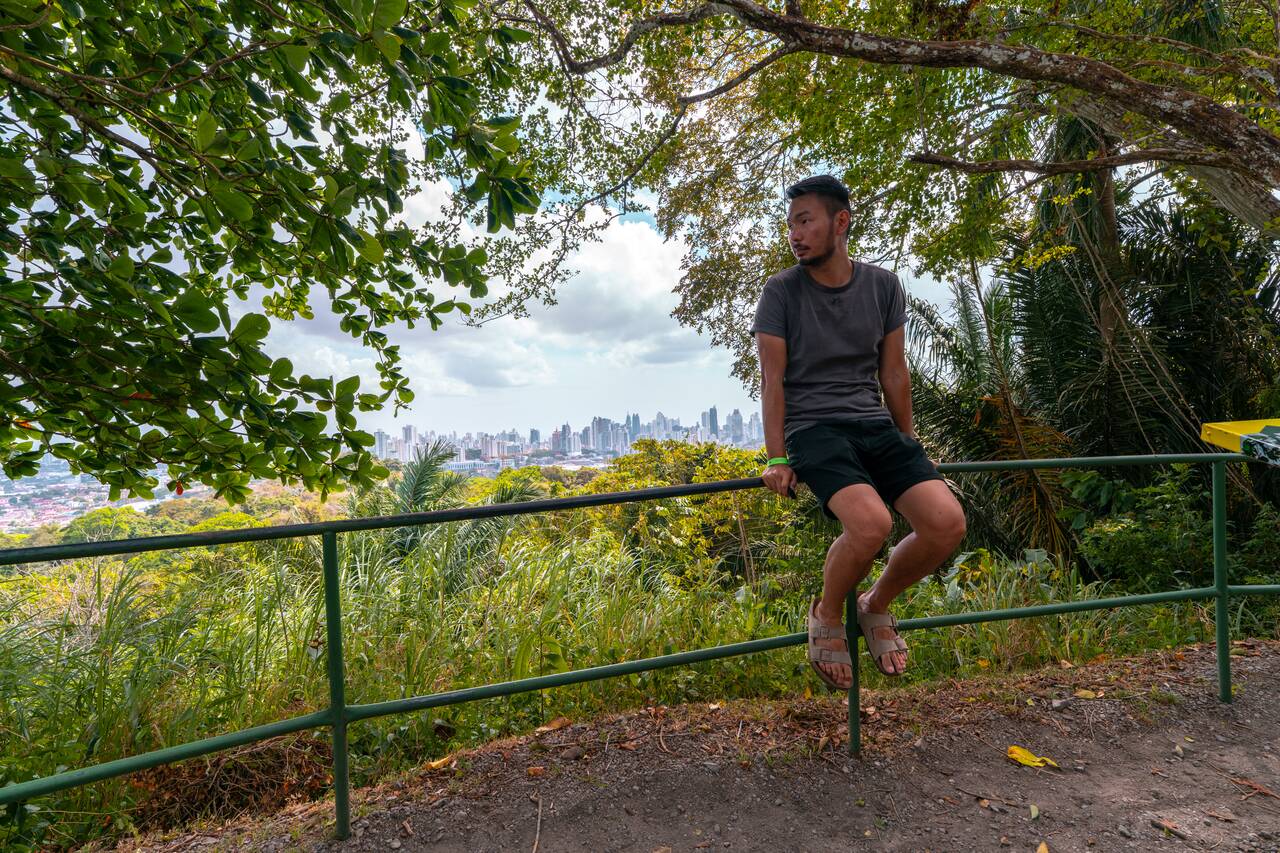
Once you are done, you can head over to Metropolitan Natural Park, the city's main urban nature reserve and go for a hike up to Mirador Cerro Cedro, a viewpoint where you can enjoy some really cool panoramic views of the city.




Getting from Panama City to San Blas
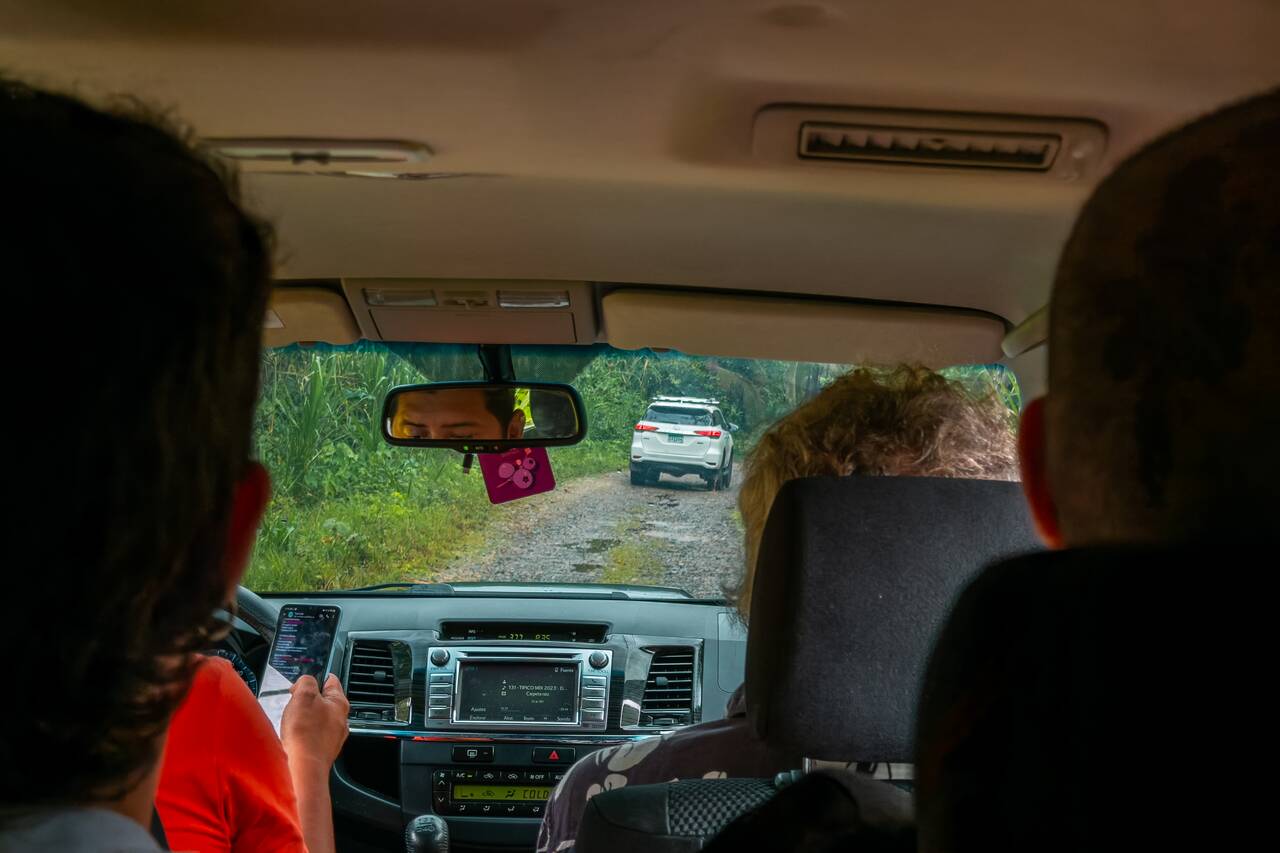
The easiest way to get from Panama City to San Blas is by booking an organized tour. Getting there involves a roughly 2-hour drive from the city into Guna territory, where you will need to pay an entrance fee of about 23 USD before continuing by speedboat to the island where you plan to stay.
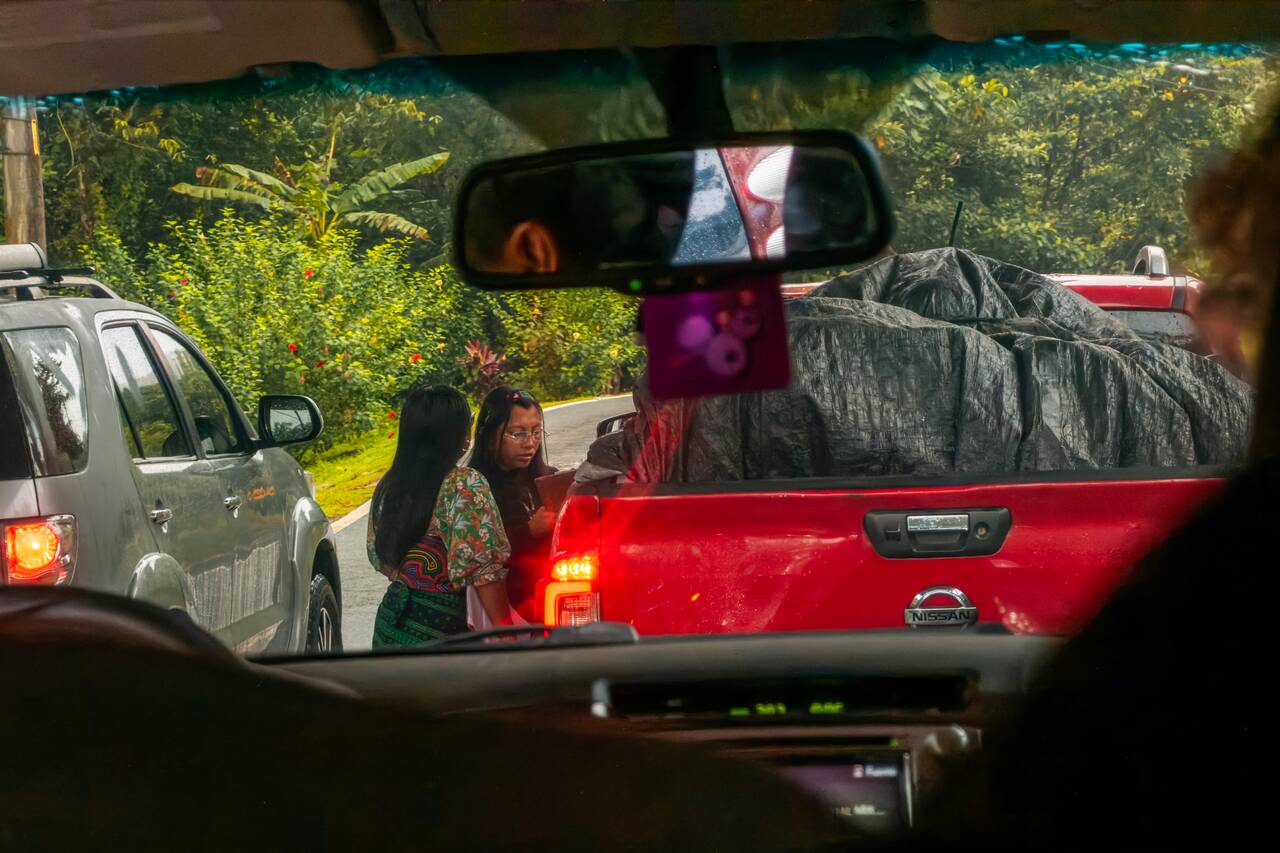
The transfer cost is separate from the tour price, so regardless of which tour or duration you choose, you will likely have to pay around 50 USD for a round-trip transfer between San Blas and Panama City. This fee is usually paid directly to the driver in cash, so be sure to bring enough with you. Credit cards are generally not accepted.
Day 4 - 5: San Blas Islands, Panama (2 nights)
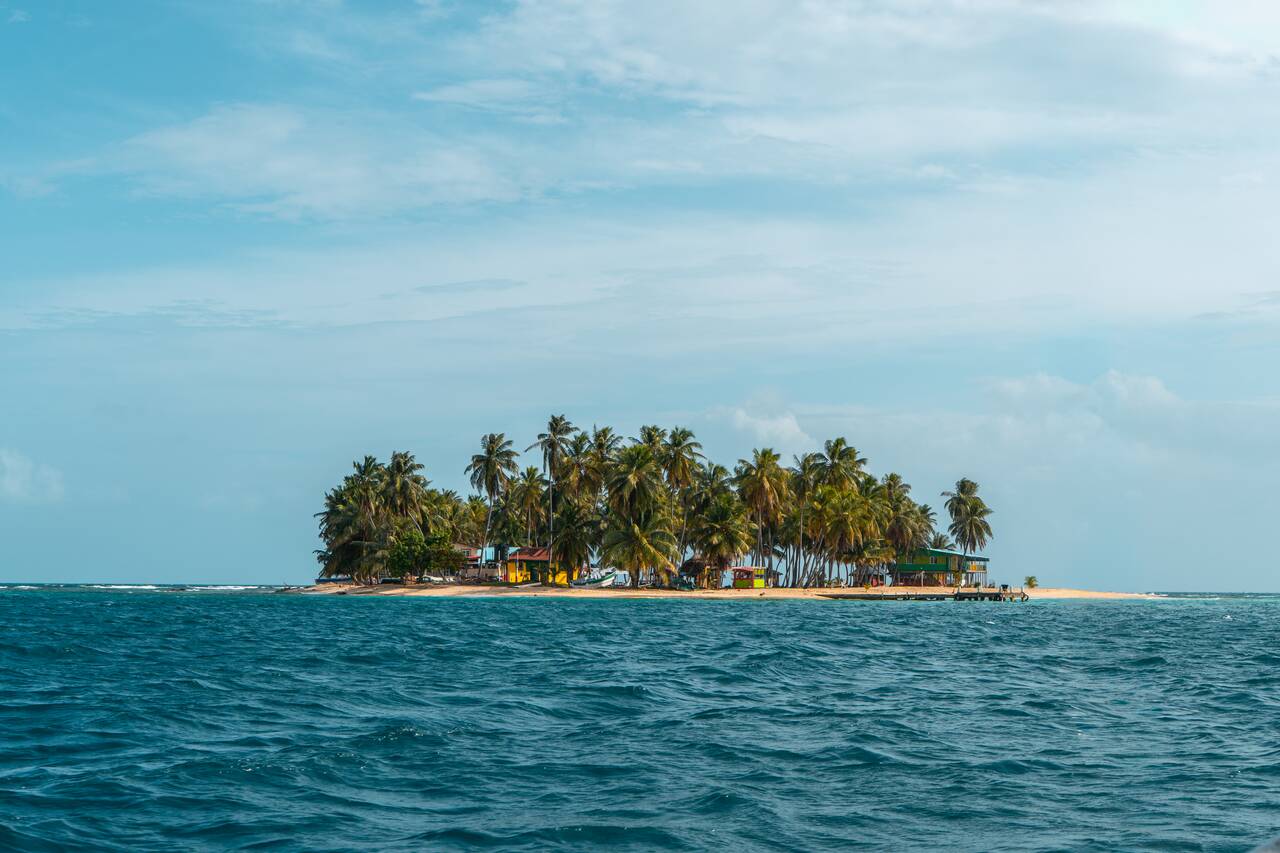
- 🏄 Tour: San Blas Dreams
- 🕐 Time: 2 nights
- 📖 Full Guide: San Blas Islands Travel Guide: Everything You Need to Know
Next up, we are going to visit San Blas Islands, a stunning archipelago made up of more than 300 islands off Panama’s Caribbean coast. This is one of the most unique places in the country, where you can experience simple island life while being surrounded by turquoise waters and white sand beaches.
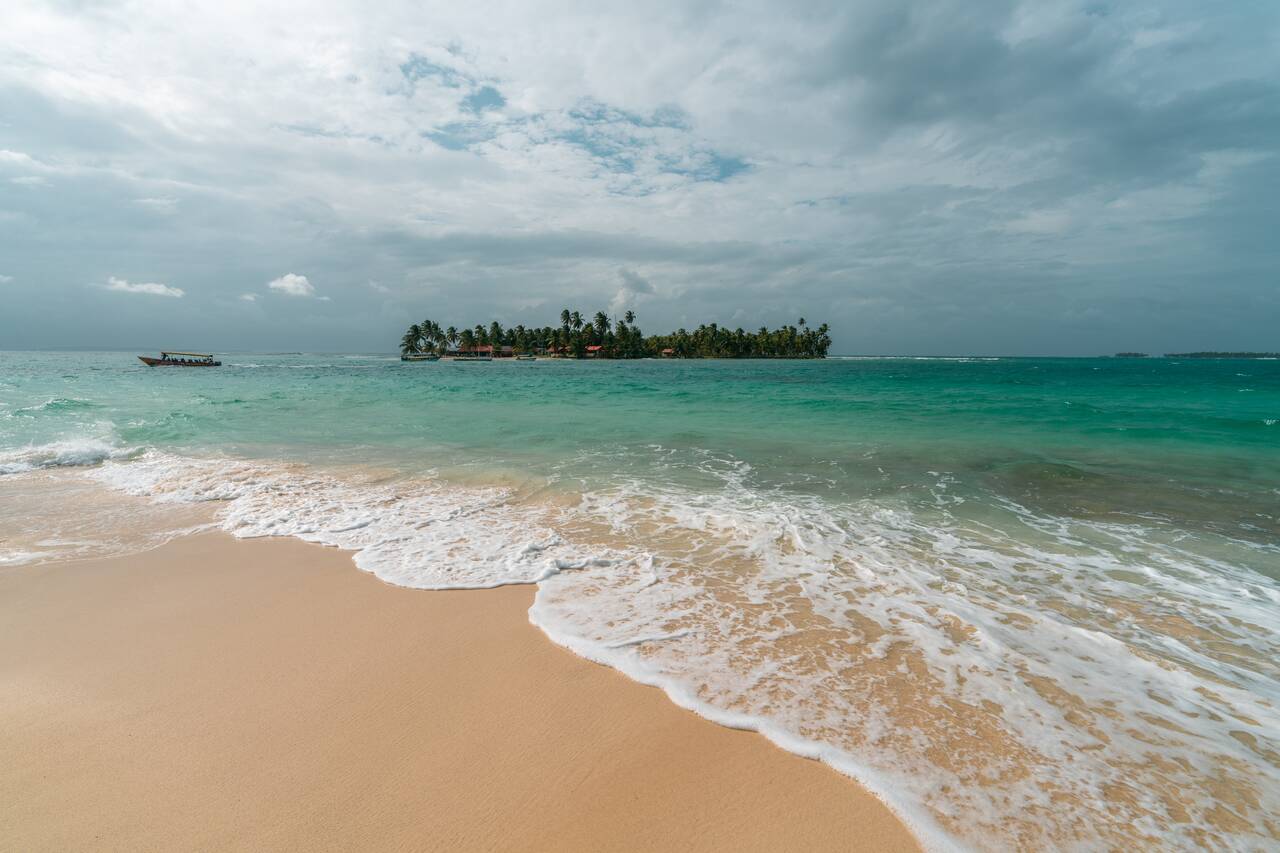
To get there, you will need to book an organized tour prior to your arrival, and one of the most well-known companies offering these trips is San Blas Dreams, which I also used. They offer a variety of trips and itineraries you can choose from. I highly recommend spending 2 to 3 days on Chichime Island, a larger and more remote island in San Blas with fewer people and stunning beaches.
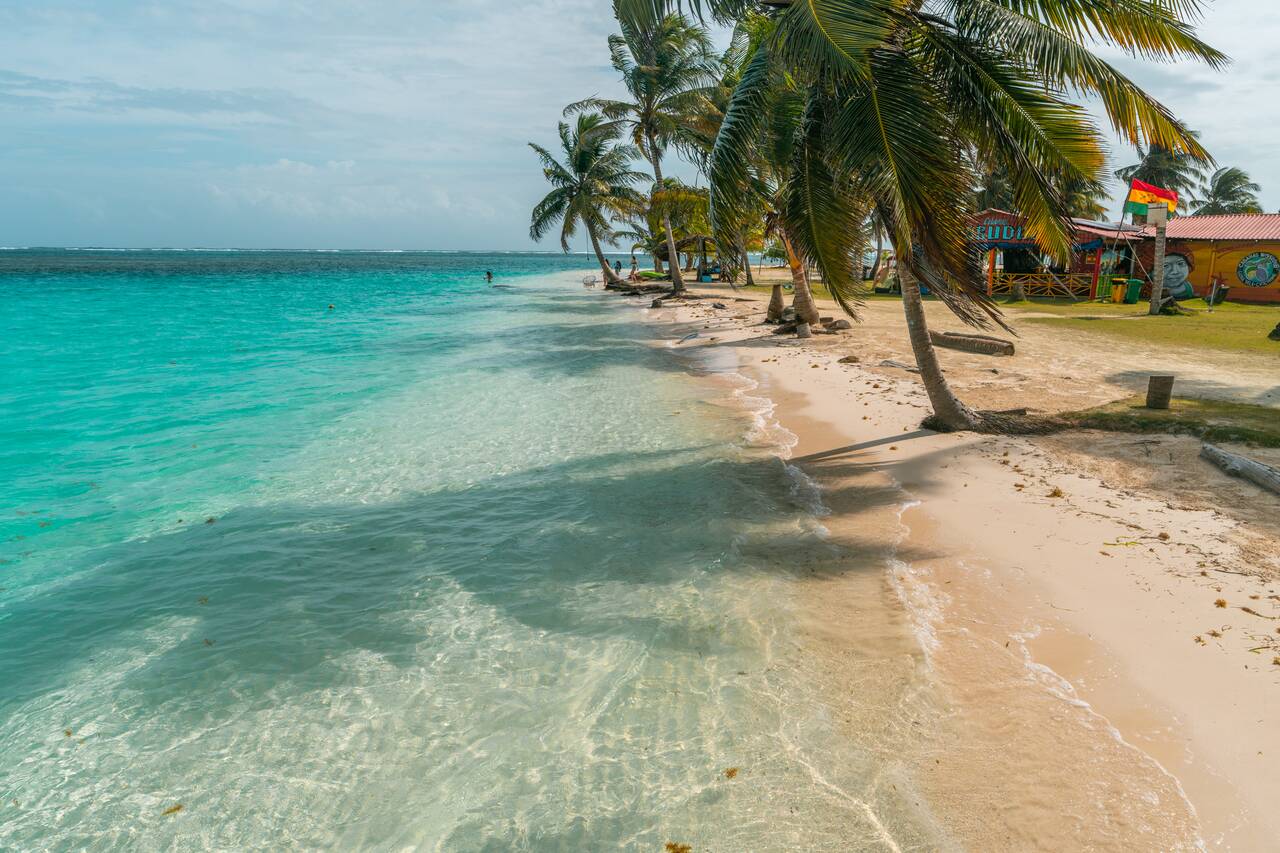
Other popular islands you can choose to spend the night on include Isla Diablo, Isla Perro, and Isla Iguana, which are smaller and closer to the coast and may cost a little less to visit. However, from what I saw, these islands can feel quite crowded, whereas Chichime is larger and more spread out, so it feels more like a private island experience compared to the others.
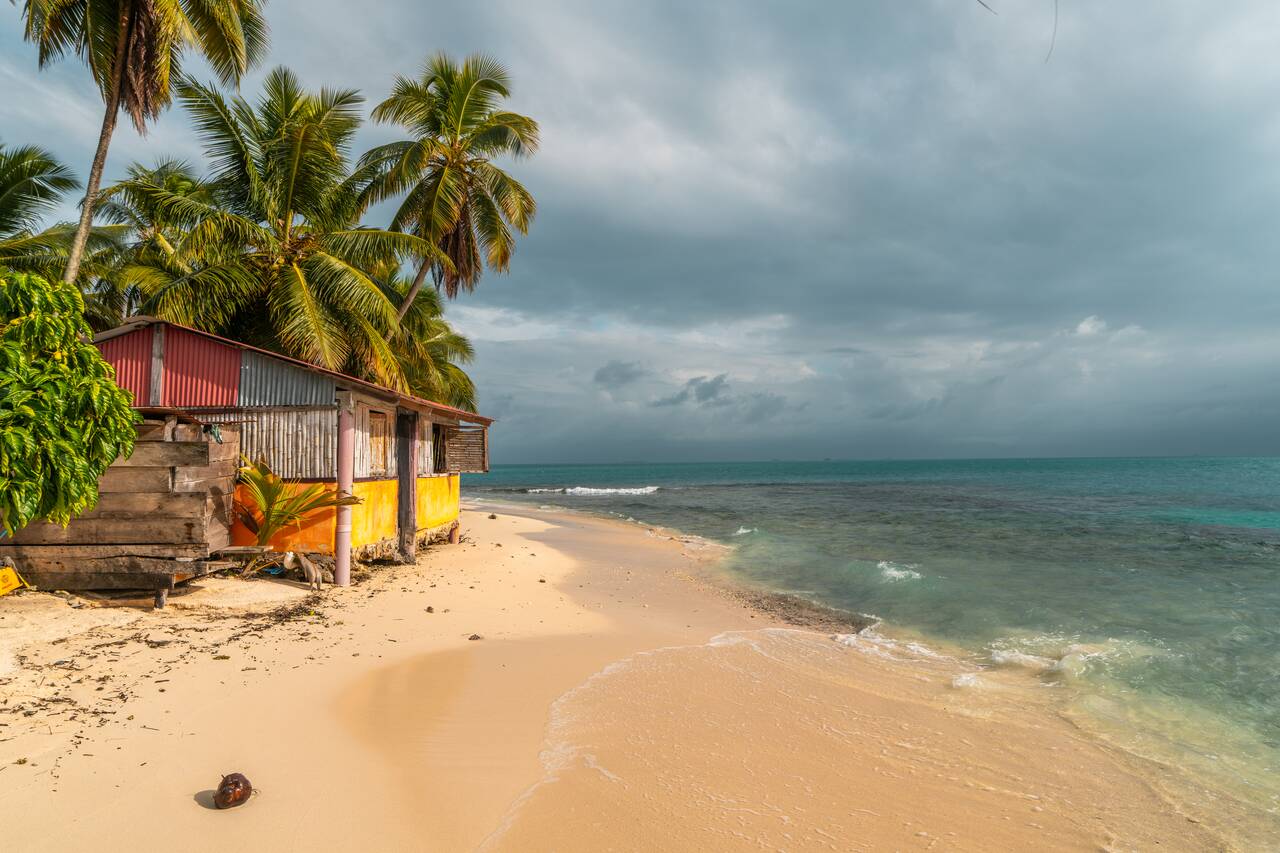
Most trips include car transfer from Panama City (at an additional cost) to the pier, as well as boat transfers from the pier to the island of your choice. The tour usually includes all meals on the island, while drinks are typically extra, including drinking water. If you don’t want to pay extra, make sure to bring a few bottles of water with you just in case. There is no running water on these islands.
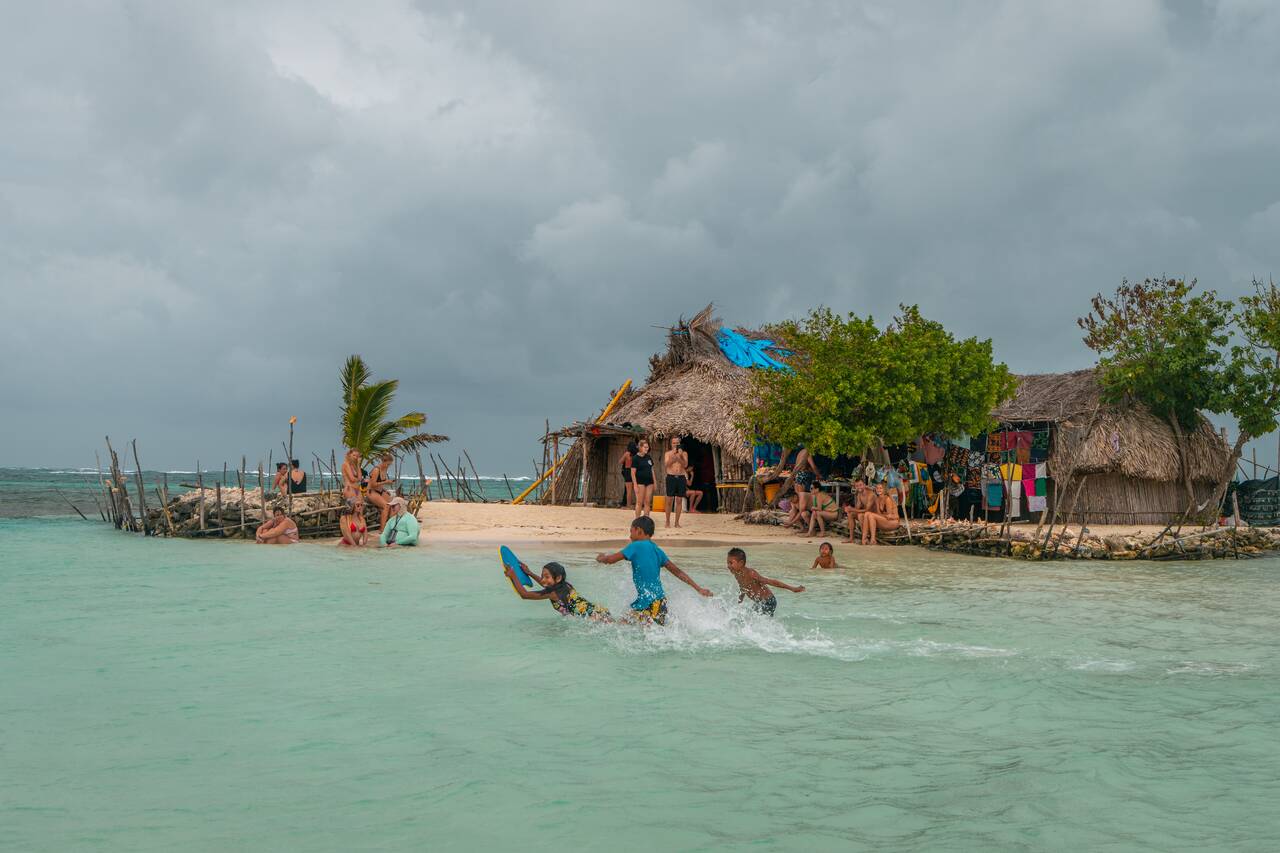
During the day, you will go on boat trips and visit smaller islands in the area like Isla Diablo, Isla Perro, and Isla Mynor, a natural pool where the water is so shallow that you can walk to the island in the middle of the ocean. It was awesome.
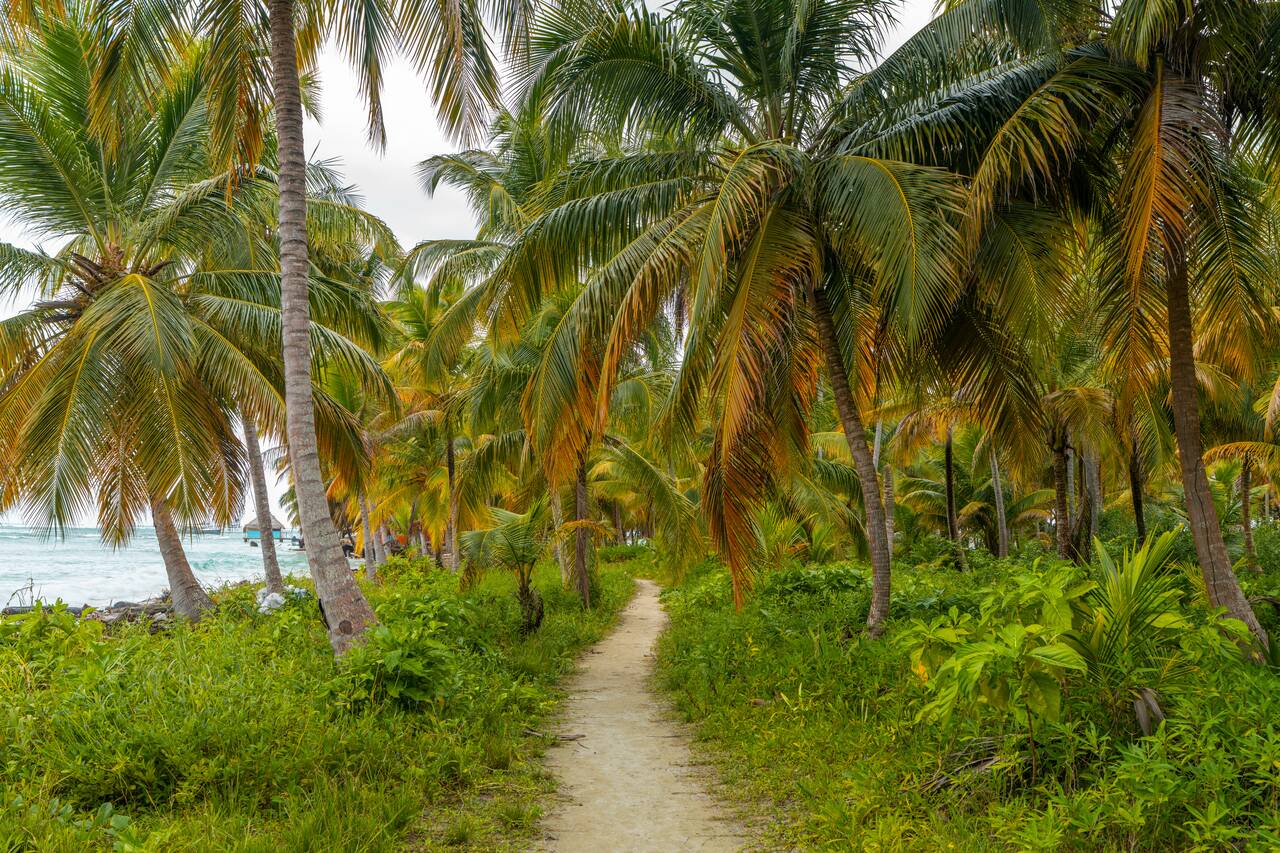
After spending 2 nights in San Blas, you will be picked up by the speedboat from your island around 8 AM and take the same route back to Panama City, arriving around midday or early afternoon. From there, you can continue this itinerary to your next destination, El Valle de Antón. The instructions on how to get there are in the next section below.

Where to Stay in San Blas Islands?
Accommodation in San Blas is spread across many different islands, each offering a slightly different experience. Most places are simple beachfront cabins or huts managed by the local Guna people, with meals often included as part of your stay. Do not expect luxury resorts here. The appeal of San Blas is its pristine nature, crystal-clear water, and laid-back island lifestyle.
In my opinion, it is best to book your accommodation through an organized tour, as they can also arrange all the transportation logistics for you. Getting to the islands independently can be quite complicated, so booking accommodation separately through sites like Booking.com is not something I would recommend for most travelers. I went with San Blas Dreams, and the entire process was smooth from start to finish.
Getting from San Blas to El Valle de Anton

With the San Blas tour, you will likely be getting back to Panama City around midday or early afternoon, where you can then proceed to Albrook Bus Terminal and catch the bus to El Valle de Anton from there.
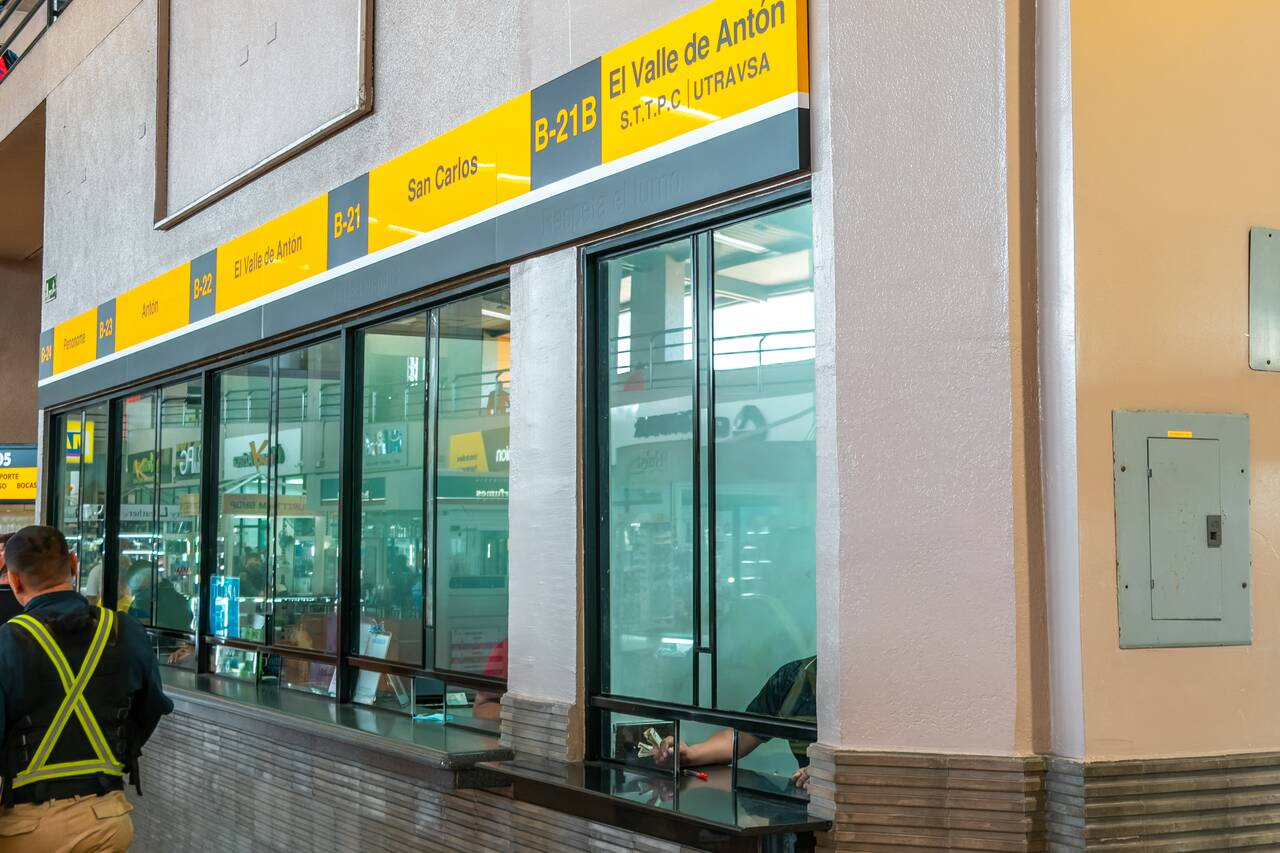
Buses run frequently throughout the day, usually every 30 minutes from early morning until late evening, and typically depart from platform #53. You will need to purchase your ticket at the B-21B kiosk before entering the platform and boarding the bus. At the time of my visit, the fare was $4.25 USD one way.
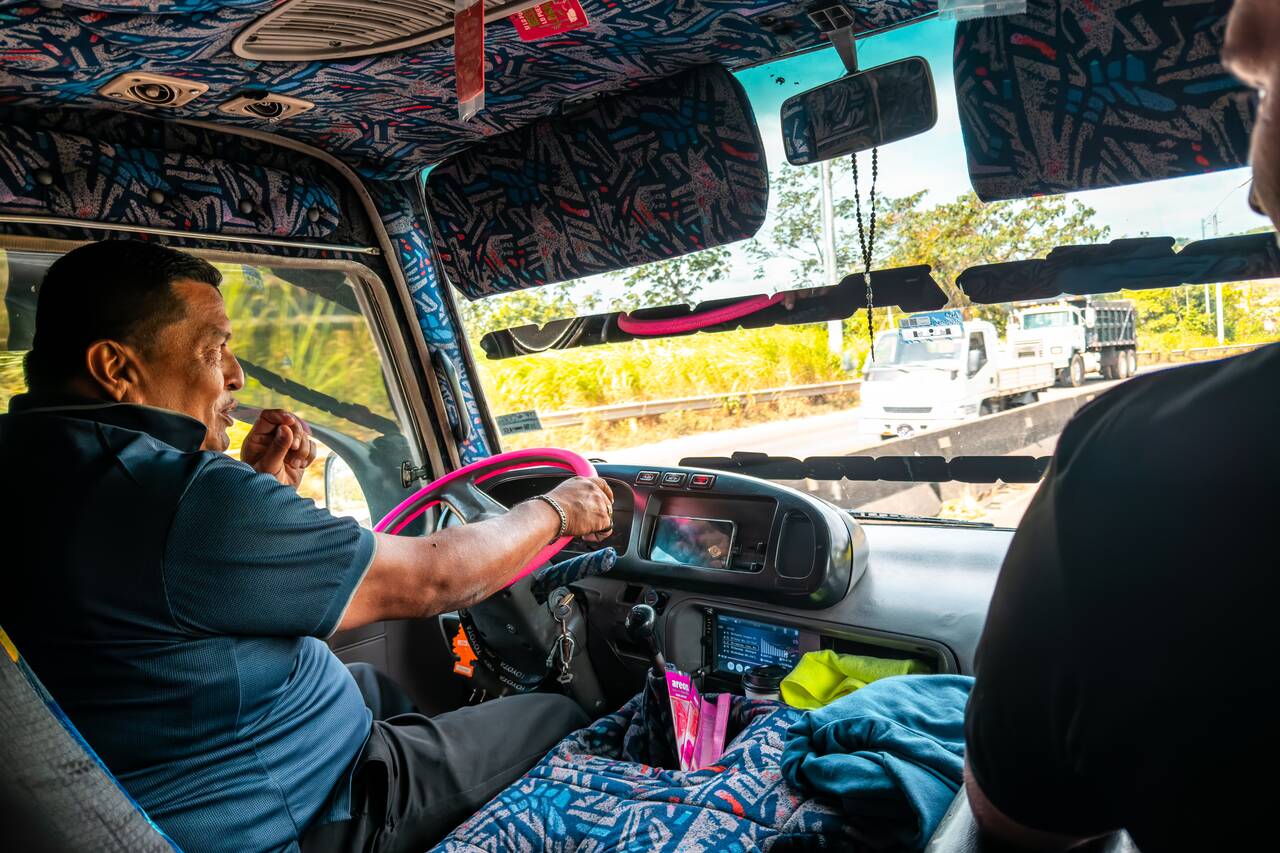
The trip takes around 2 hours, and tickets can only be purchased at the terminal using cash. Once on board, the driver will usually ask where you are staying and may be able to drop you off near your accommodation in El Valle. Unfortunately, this leg of the journey cannot be booked online.
Day 6 - 8: El Valle de Anton, Panama (3 nights)
- 📍 Stay: Cabañas DondeJosé
- 🕐 Time: 3 nights
- 📖 Full Guide: A Guide to El Valle de Antón: Best Hikes, Itinerary & Travel Tips
El Valle de Antón is one of my favorite places in Panama, and if you love hiking, you are going to love it too! With its easily accessible hiking trails, rewarding viewpoints, cooler mountain weather, and the laid-back atmosphere that seems to define the entire town, El Valle is the perfect halfway point between Panama City and the western region of the country. It is also a great place to escape the humid tropical climate and enjoy a few relaxing days surrounded by nature.
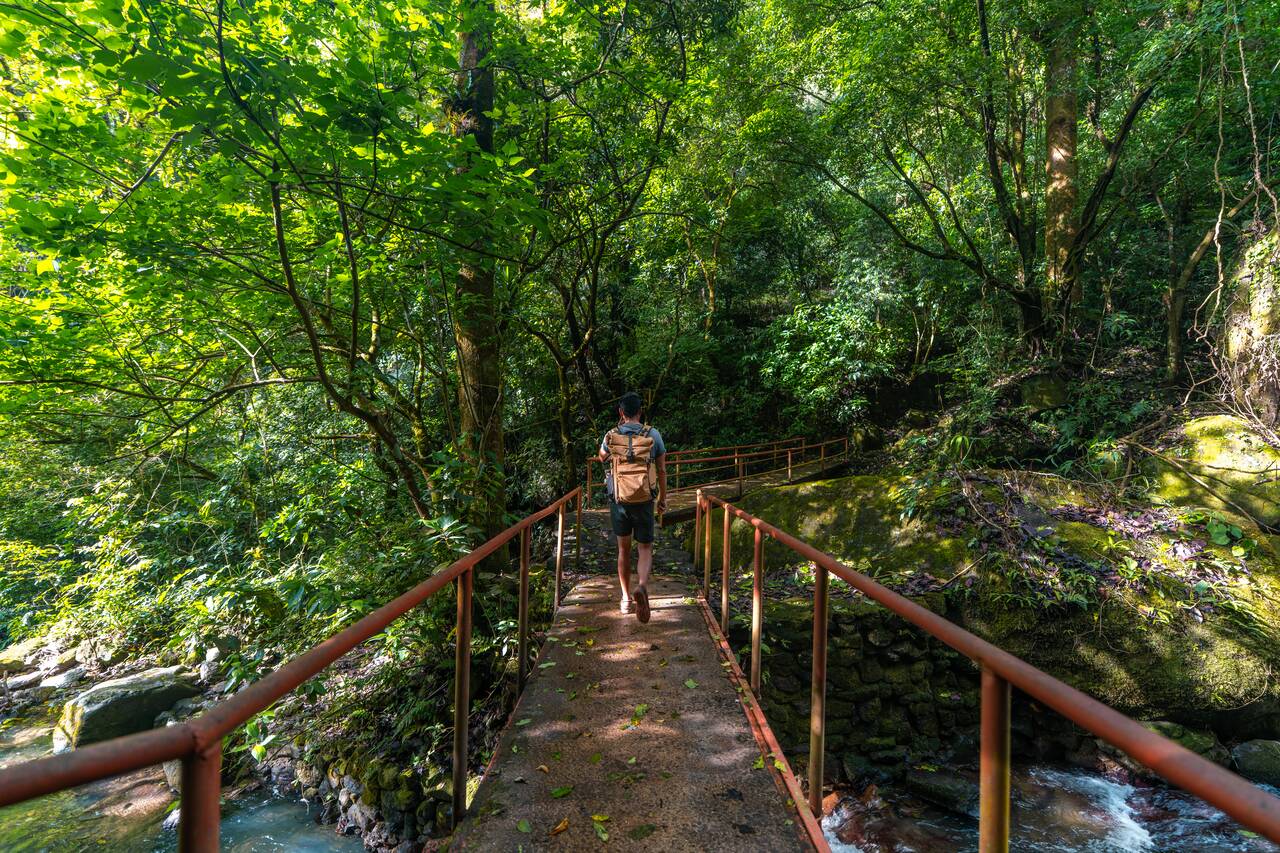
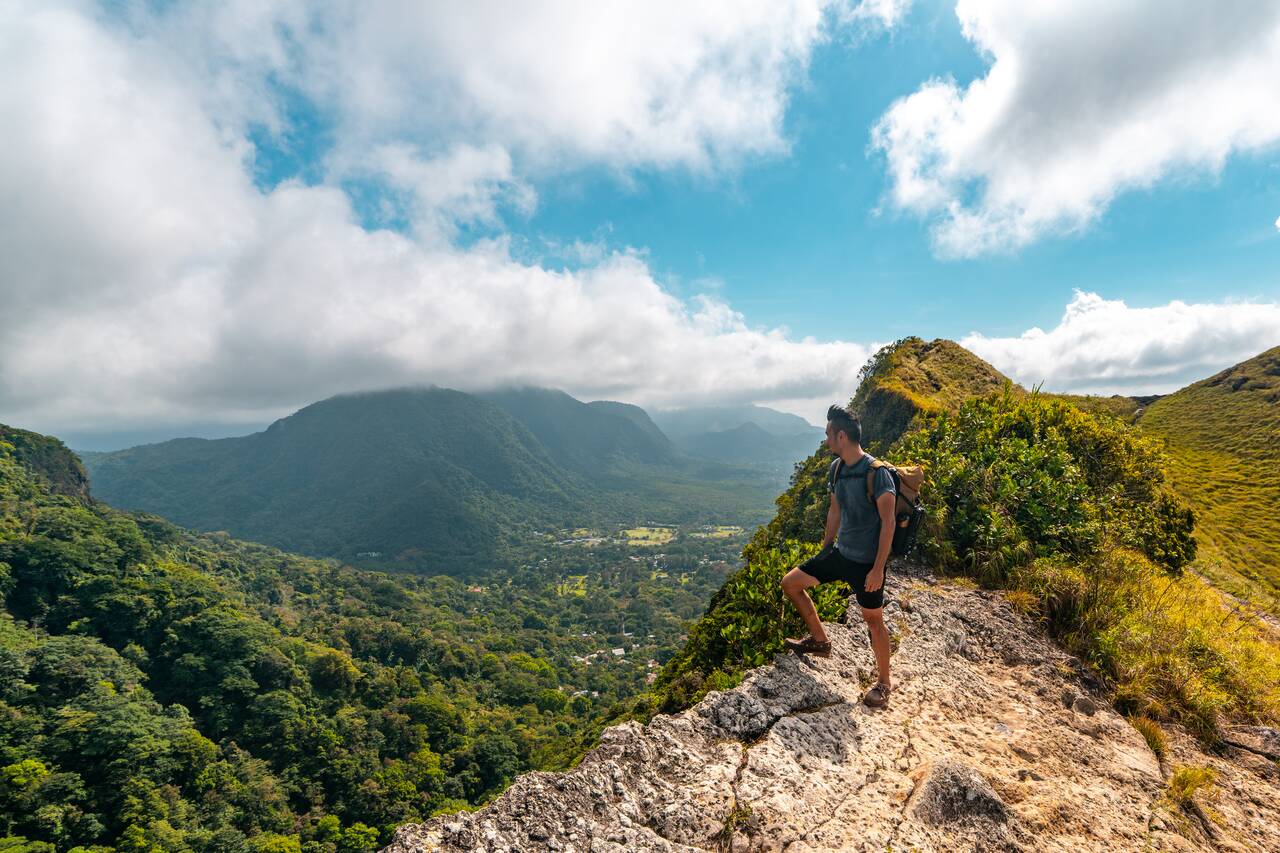
First order of business on your first day in El Valle de Antón, we are going to hike La India Dormida Trail. Named after a mountain ridge that resembles a sleeping indigenous woman, this is the most famous hike in the area and has some of the best views of the valley and the surrounding mountains.
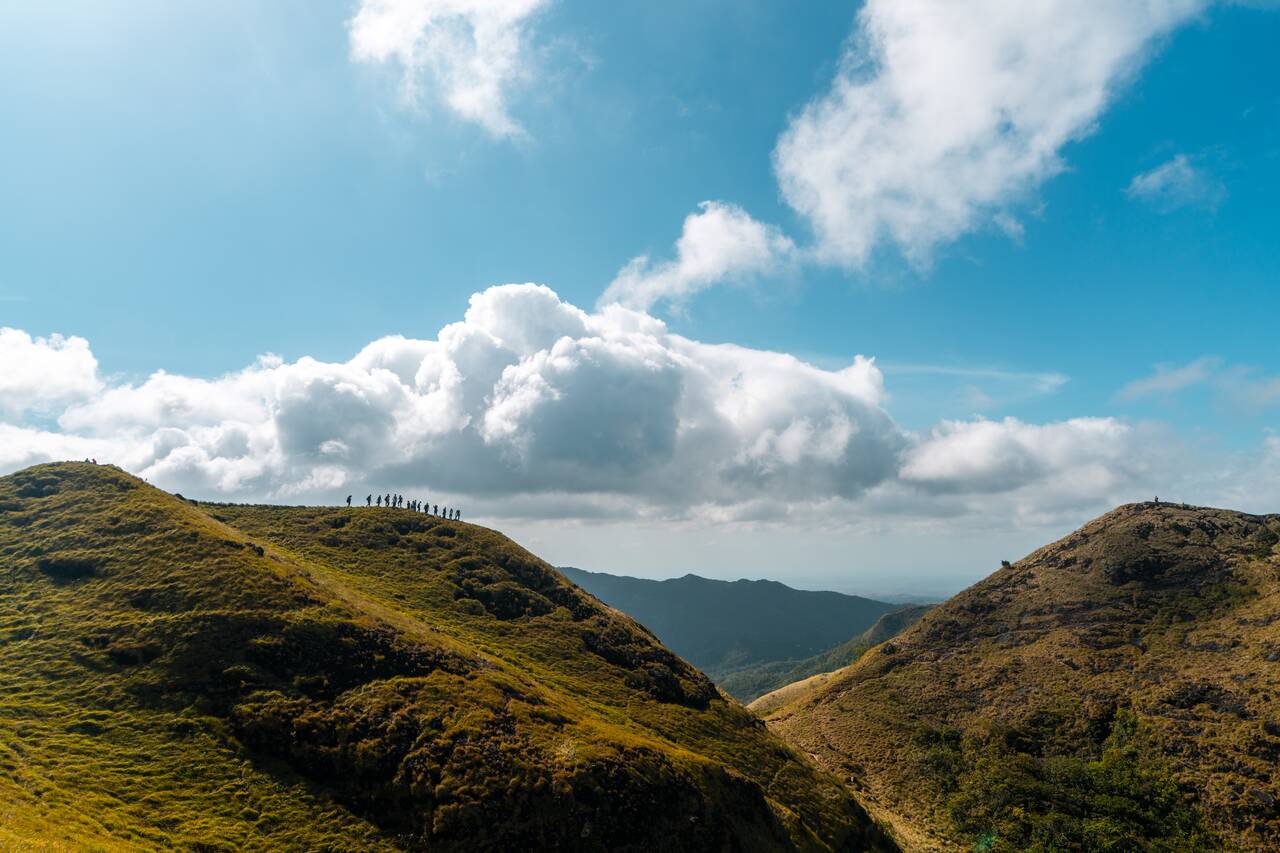
The hike typically takes around 3 hours round trip, depending on your pace, which way you want to hike down, and how much time you spend at the viewpoints. If you want to hike down the same way, it should take about 3 hours, while if you want to take the scenic way down from Vista del Cerro. For this itinerary, we are going to take the scenic way down.
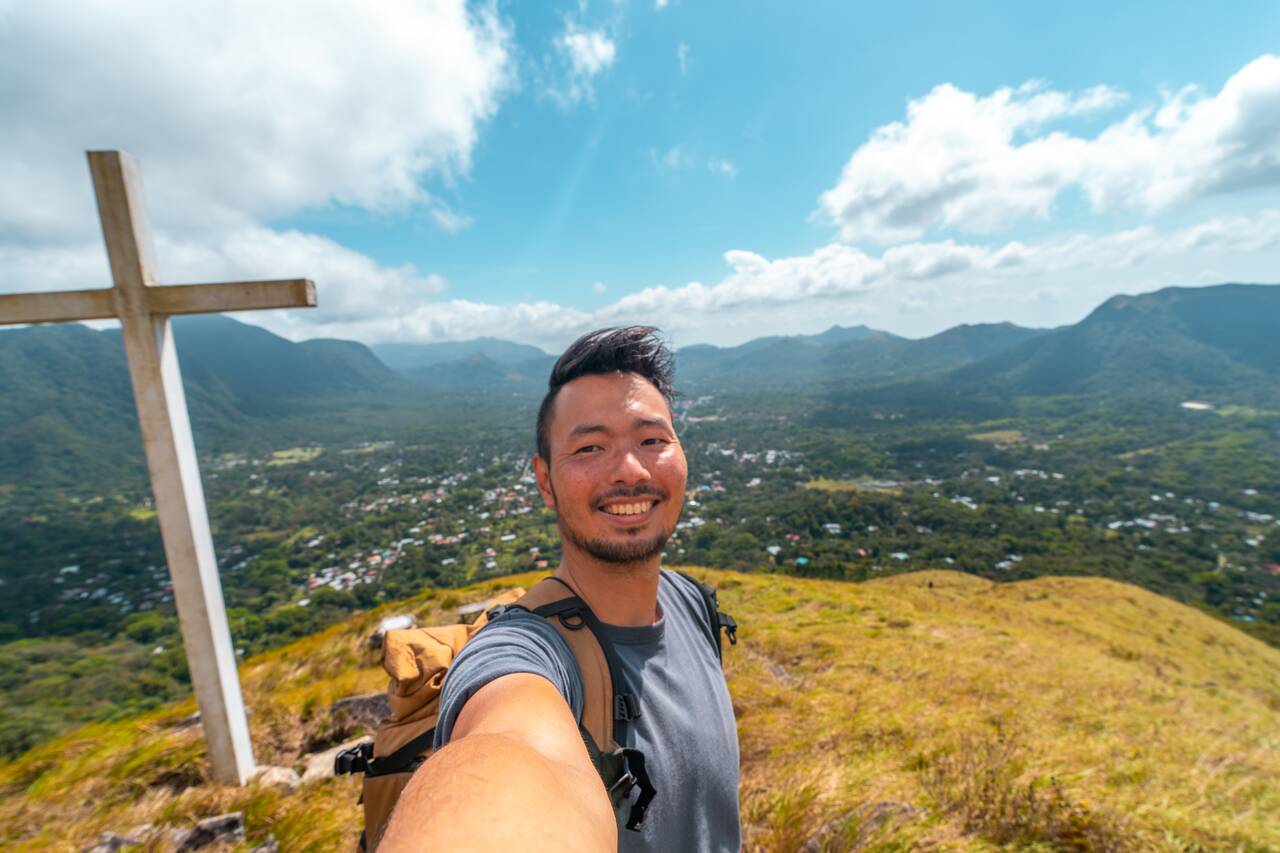
Once you reach the summit of La India Dormida, you have two options for the descent. You can either return the same way you came, which is a good option if the weather turns, or continue along the ridge and descend via the Cross Viewpoint, which is the route I recommend if the weather is good. I would not attempt this route during rainy weather, as it is very steep and requires scrambling over wet rocks, which can be dangerous. If it starts raining, it is best to return the way you came.
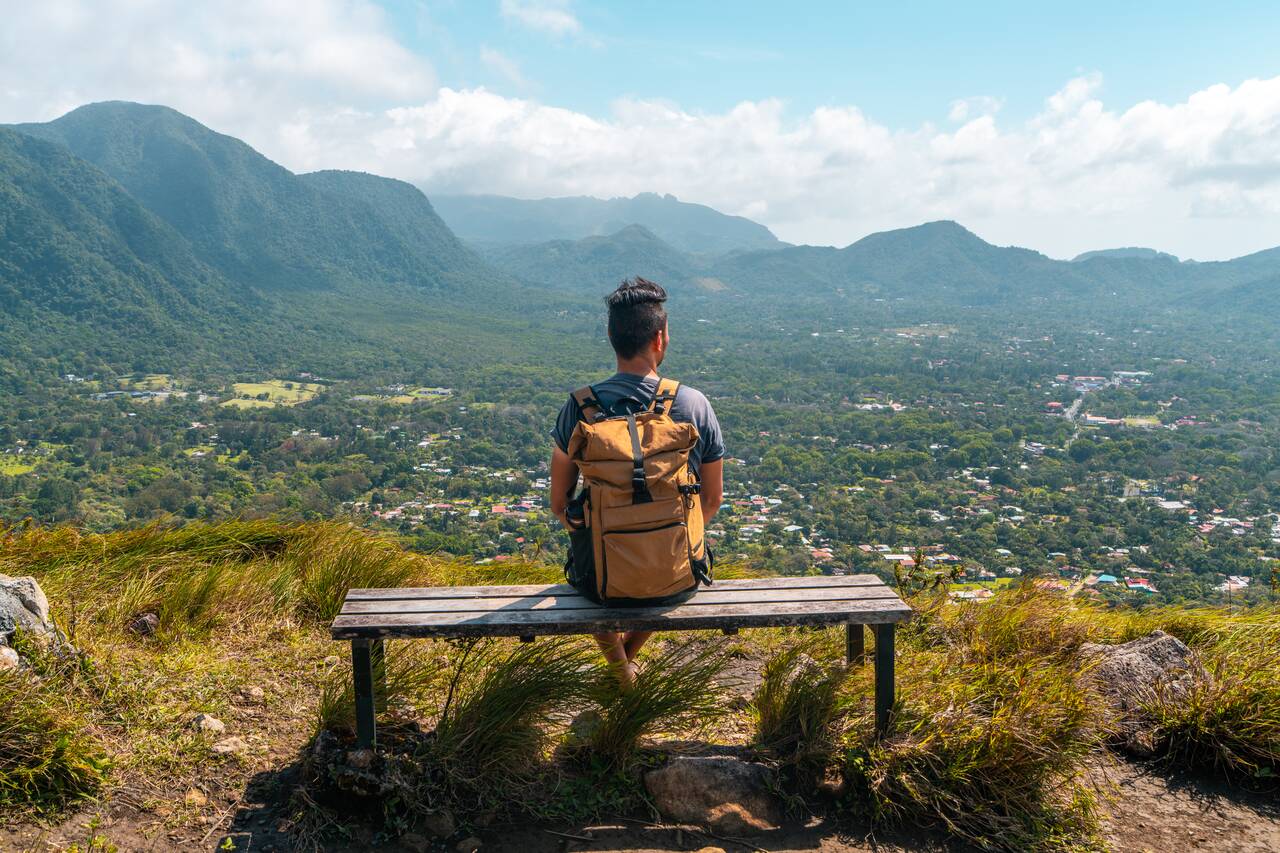
It should take around 1.5 hours in total to get from the summit of La India Dormida to this spot in El Valle via Vista del Cerro. From there, it is about a 20-minute walk back to the town center, completing the La India Dormida hike. You can rest for the day, or go and visit a few attractions in El Valle town or leave them for tomorrow.
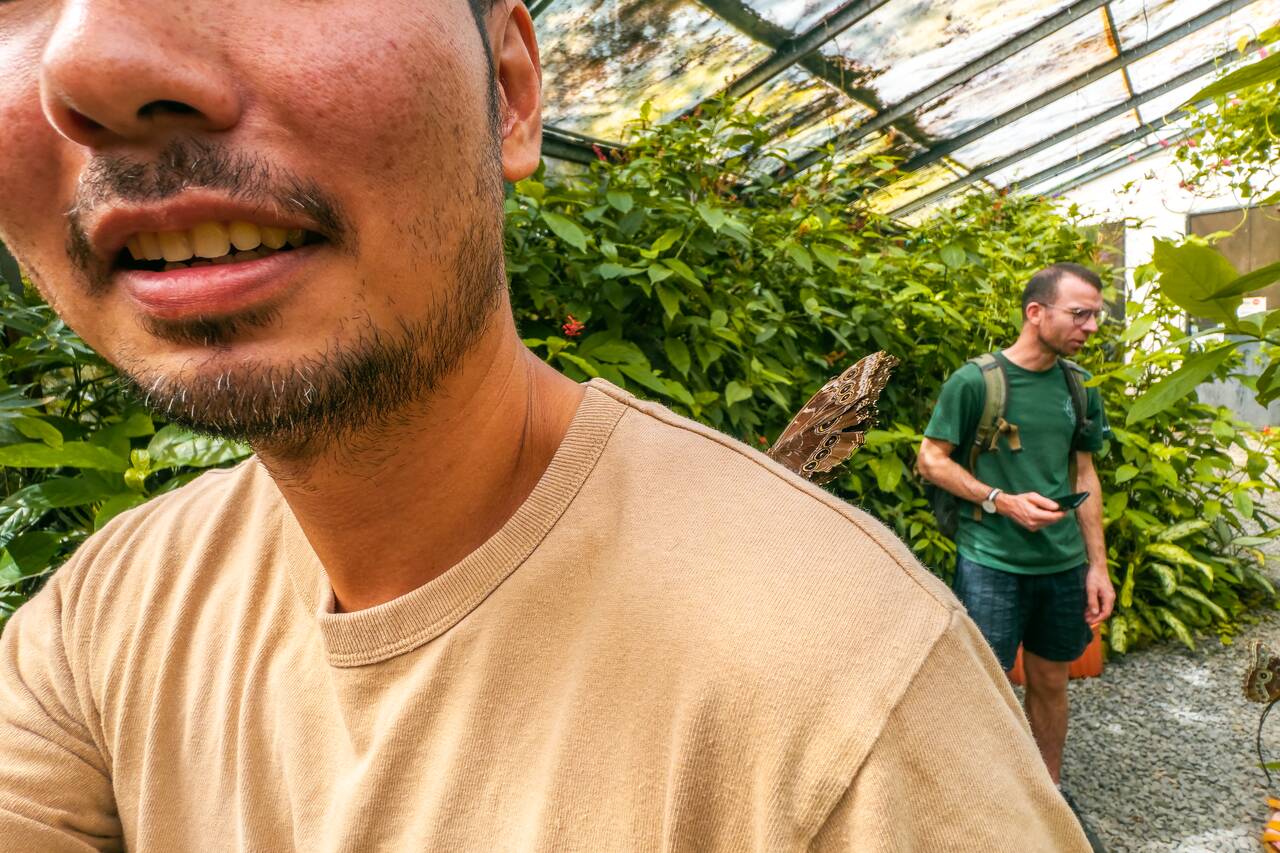
Some of the attractions worth visiting in town include El Valle Market, the town's colorful local market located in the heart of El Valle, where you can wander around and browse local handicrafts and produce. You can also visit Butterfly Haven, a small butterfly sanctuary where you can observe dozens of colorful butterfly species flying freely in a tropical garden setting, and more.
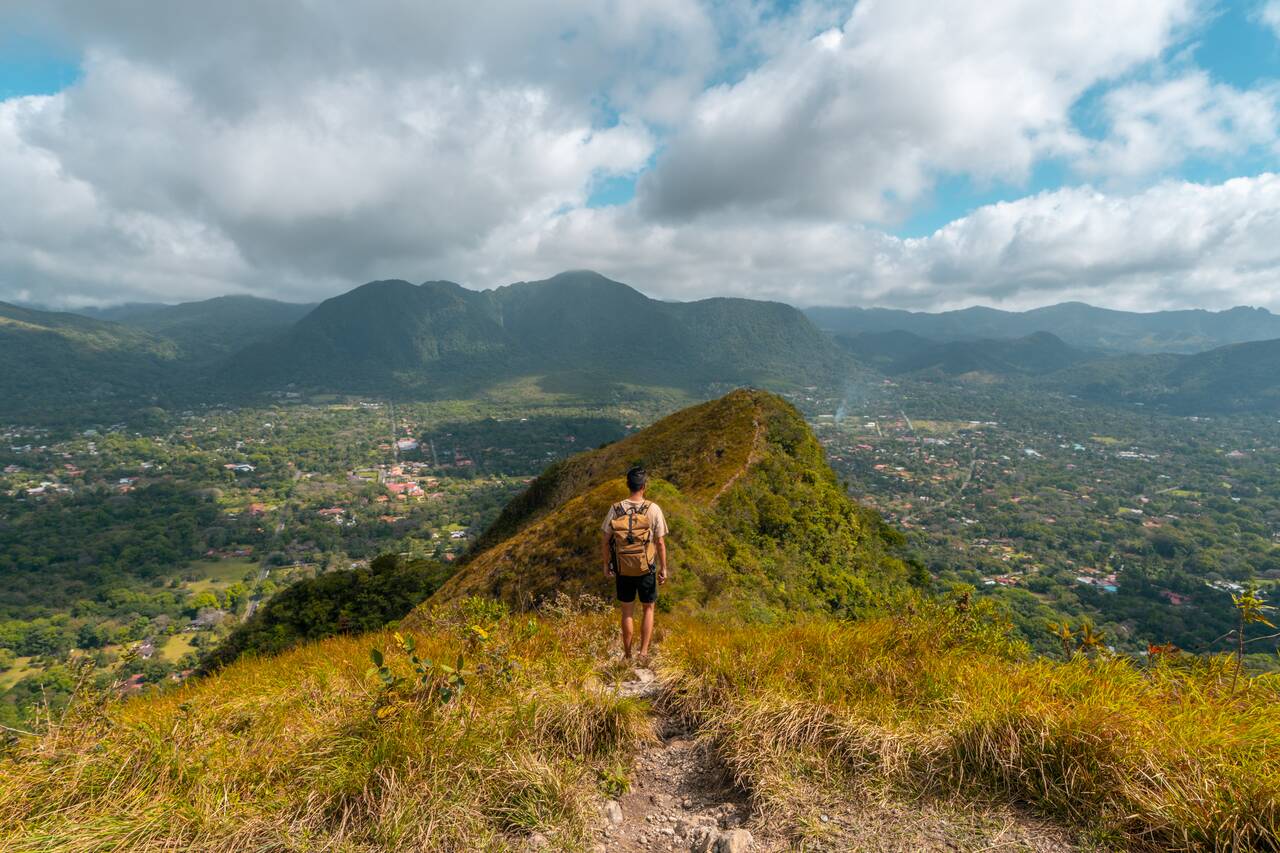
The next day, you can either tackle another hike or visit some of the attractions I mentioned above. If you are up for another adventure, spend the day hiking Cerro Cara Iguana, the iconic peak towering over El Valle that can be seen from almost anywhere in town.
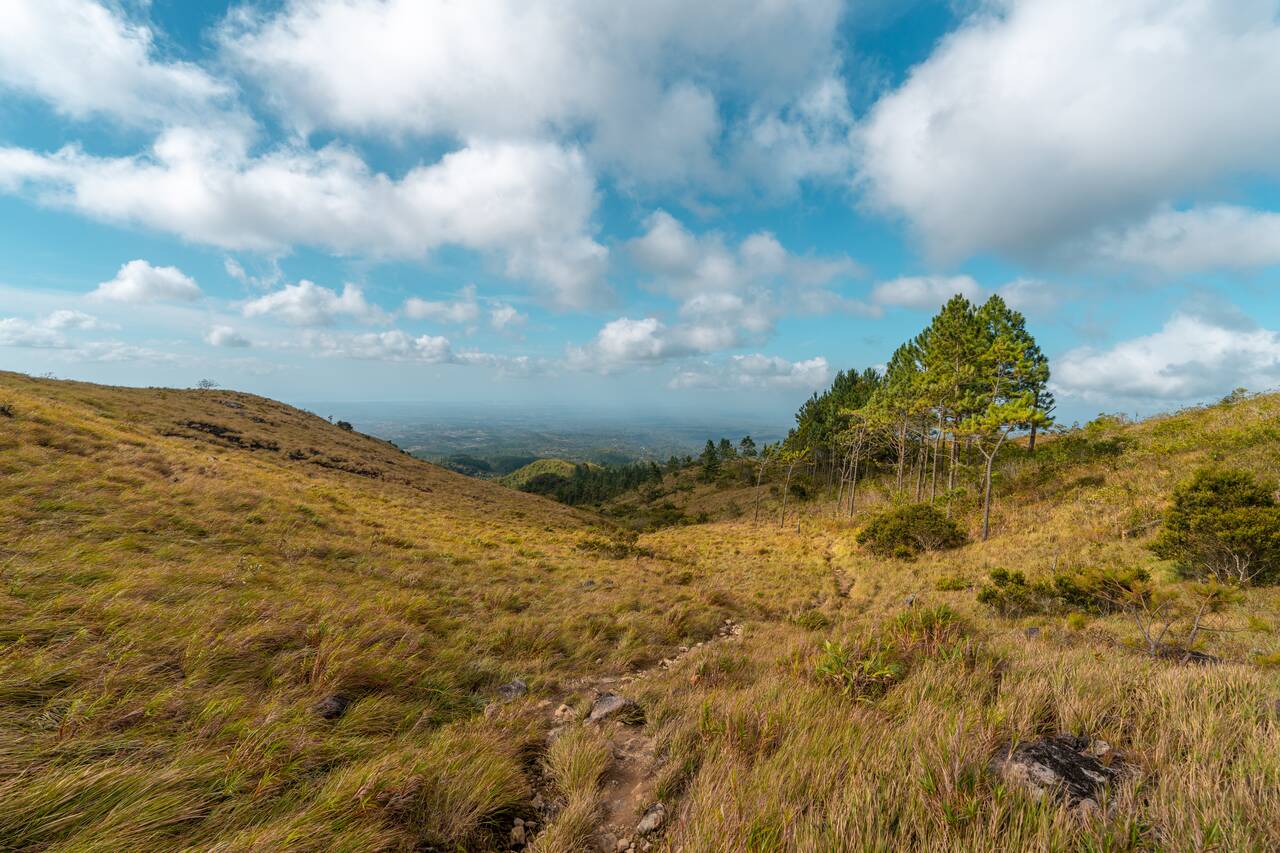
The hike begins just outside of town here. You can either take a taxi directly to the trailhead or walk there from the town center, which takes about 1 hour. From the trailhead, it should take around 20–30 minutes to reach the summit. It is a short and straightforward hike.
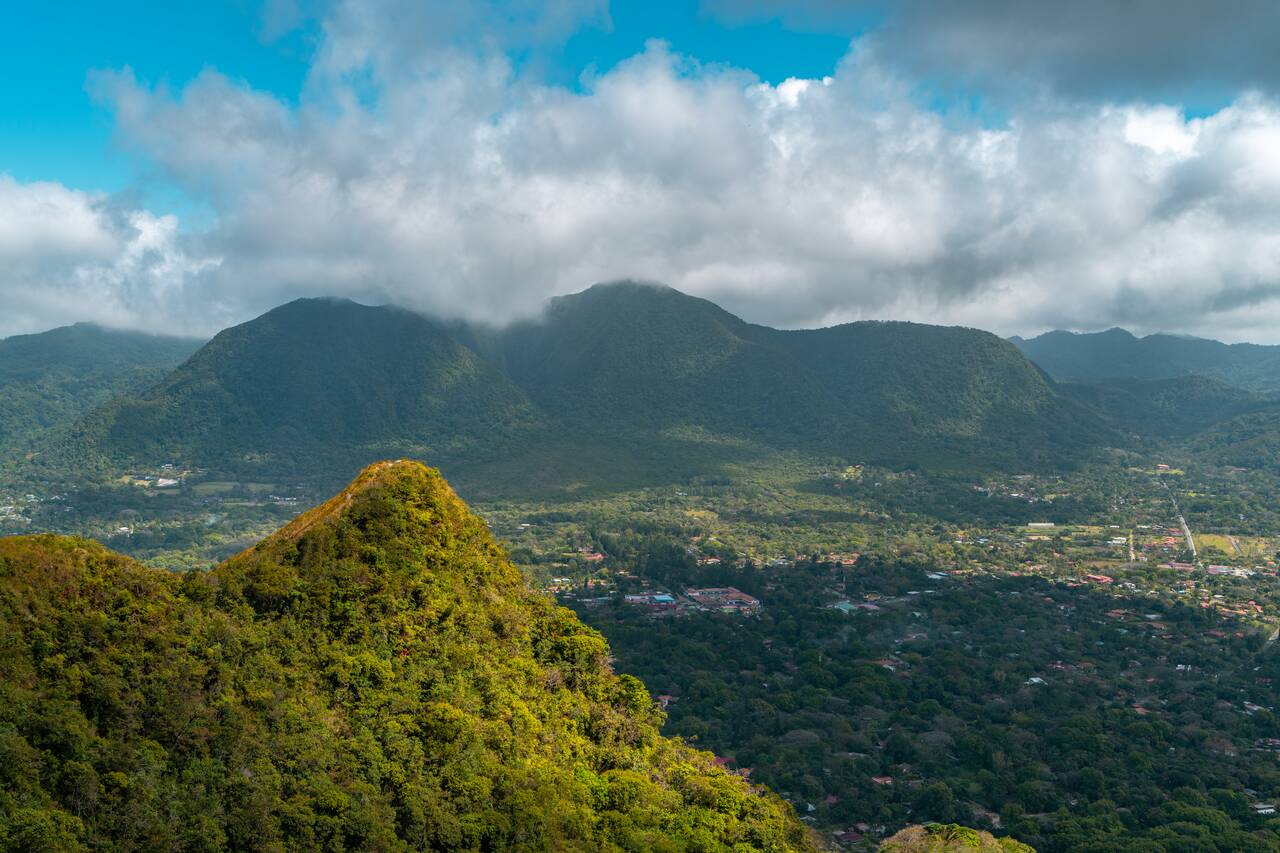
Once you are done at the summit, you can continue hiking along the ridge and descend via this trailhead. Personally, I found the extra section to be less rewarding. The views remain largely the same throughout the ridge walk, the trail is not particularly well-marked in some areas, and I ended up getting lost a couple of times.
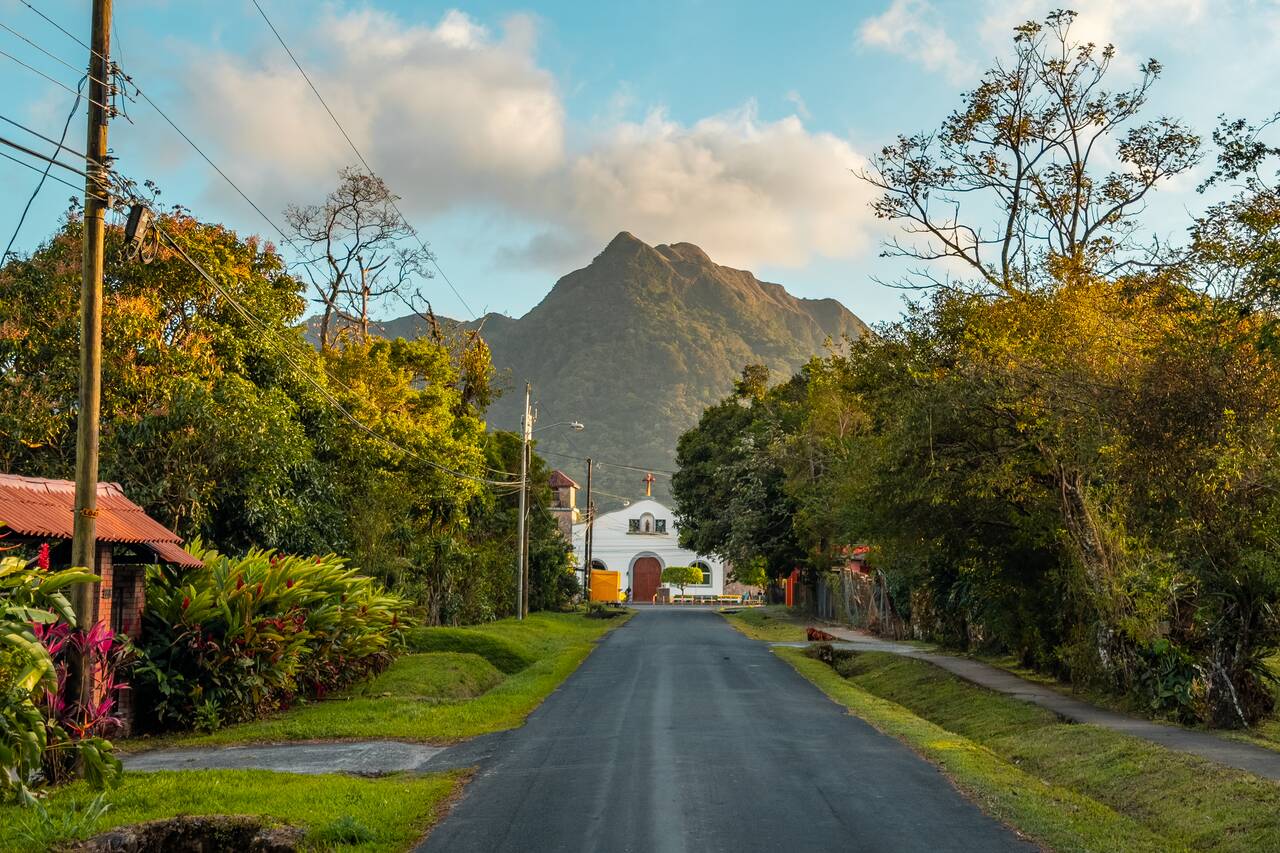
Whichever route you choose, you should be back in El Valle by the afternoon, giving you plenty of time to relax and enjoy the town before we spend the entire next day making our way to Boquete. The journey requires several transfers, so make sure to get a good night's sleep and start early around 8 AM if you want to arrive in Boquete by around 6 PM. It's going to be a long day!

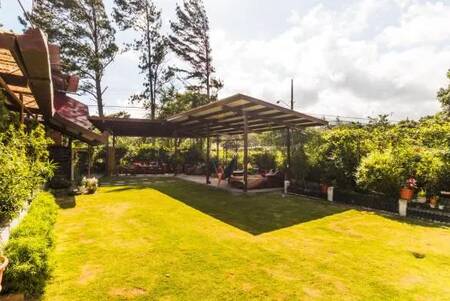


Getting from El Valle de Anton to Boquete
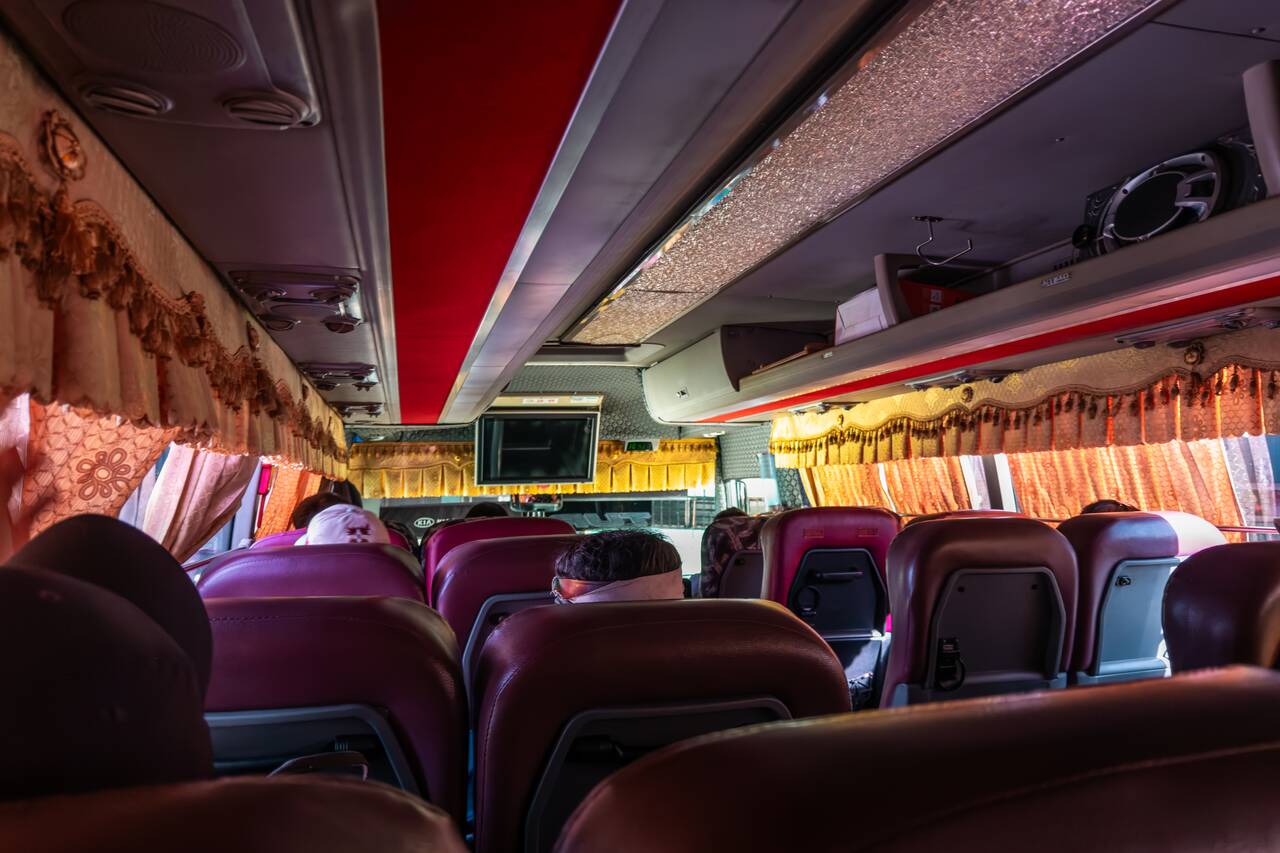
Getting from El Valle de Antón to Boquete requires traveling through Santiago and David before catching a final bus to Boquete. It is essentially a full-day journey, so be sure to start early and prepare for a long day of travel.
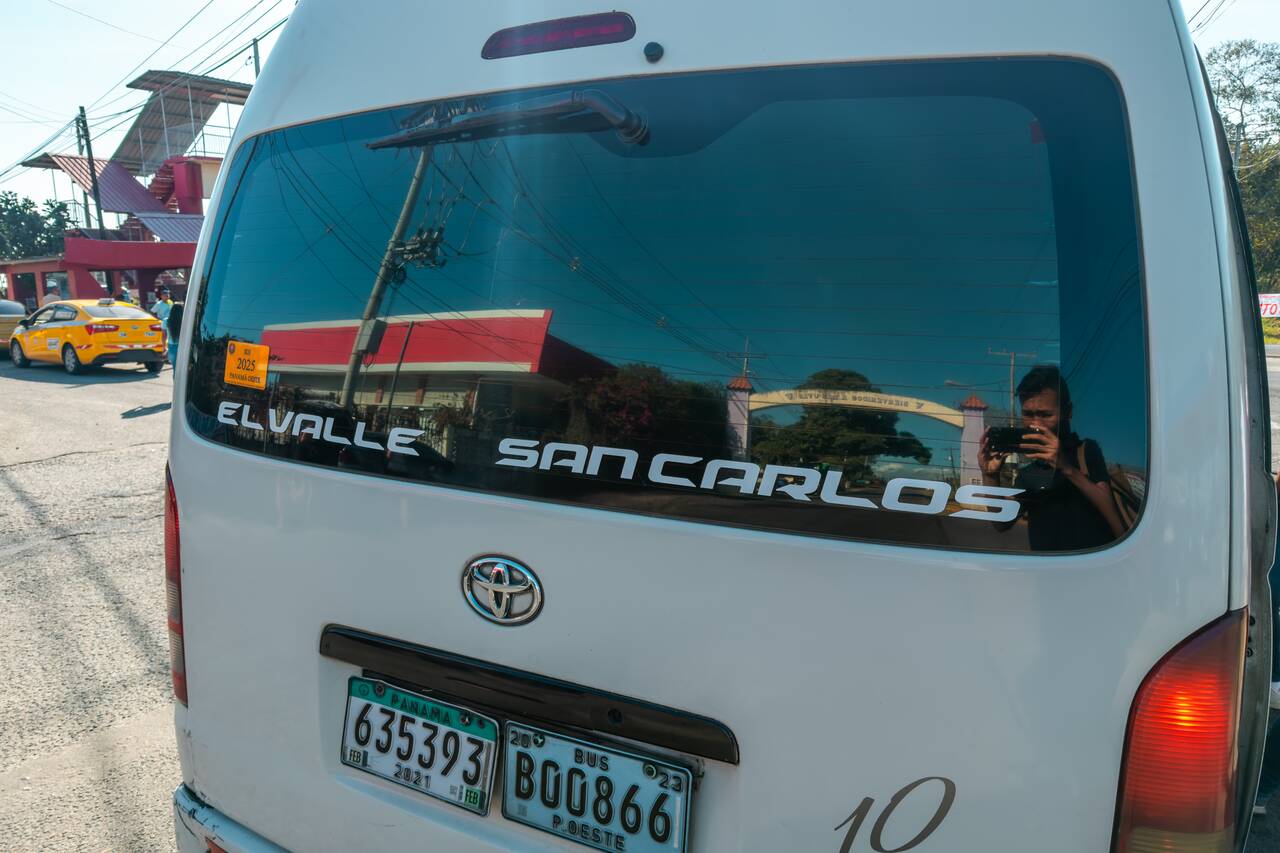
First, you will need to catch a colectivo from the bus stop near El Valle Market heading east. You can take any colectivo labeled San Carlos or Las Uvas, as you will be getting off in Las Uvas, just before the road merges with the Pan-American Highway. This leg of the journey should cost around 2.50 USD and take 30 minutes. I suggest you start as early as 8 AM.
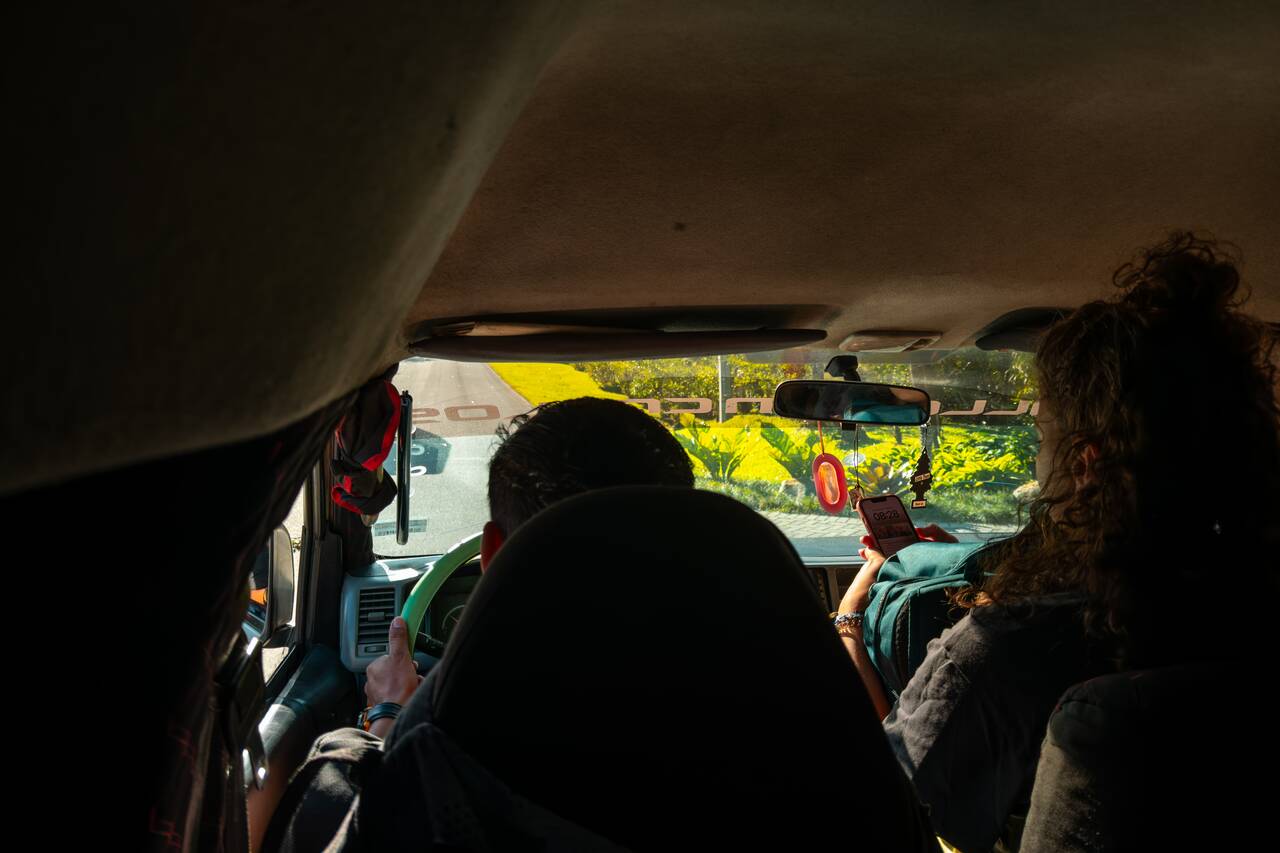
After getting off at Las Uvas around 8:45 AM, you can walk to this intersection and wait for a bus to Santiago. It should take about 20 minutes before one arrives. I heard there was a direct bus to David, but I didn't see any, so I took the Santiago bus instead. The journey should take around 2 hours and cost approximately 6.50 USD.
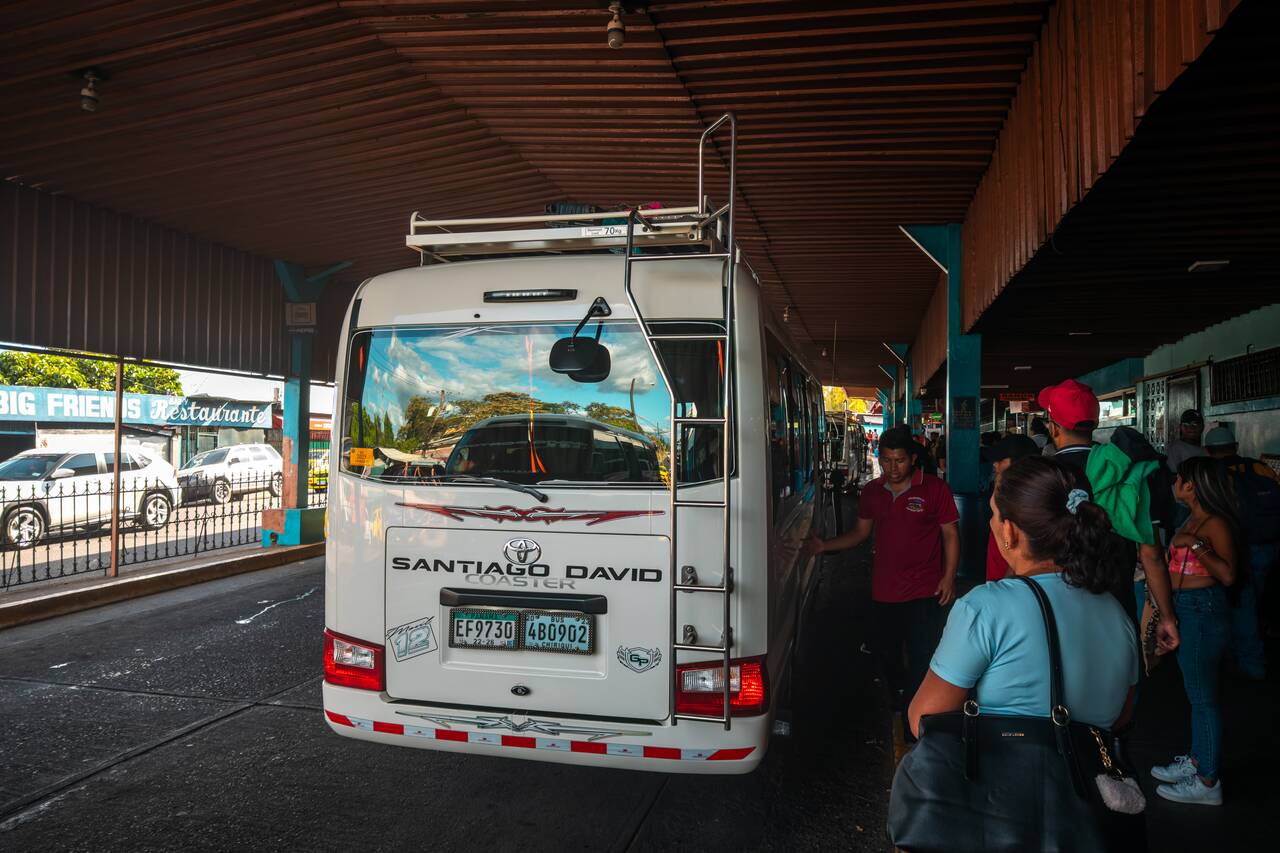
Once you arrive at the Santiago Bus Terminal, you can walk to the platforms at the back of the terminal by following the signs for David. Buses to David run roughly every hour from 4 AM to 7 PM daily, take around 4 hours, and cost 9 USD per person.
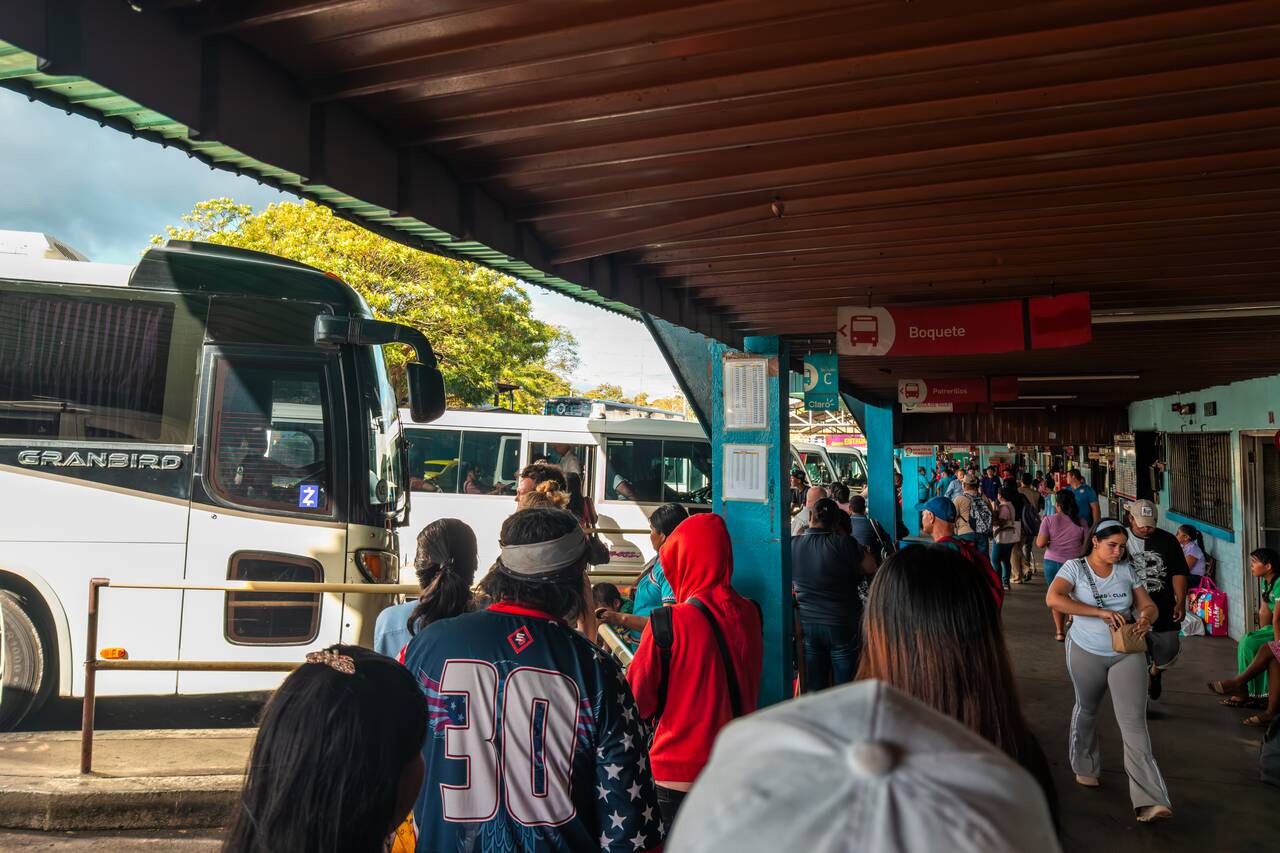
Once you arrive at the David Bus Terminal, head to the local bus section inside the terminal and catch a bus to Boquete. Buses usually run every 30 minutes, cost around 2 USD, and take about an hour to reach Boquete.
I left El Valle at around 8 AM and did not arrive in Boquete until almost 6 PM. I told you it was a long journey! 😅
Day 9 - 11: Boquete, Panama (3 nights)
- 📍 Stay: ONDA Boquete
- 🕐 Time: 3 nights
- 📖 Full Guide: Explore Boquete: Best Hikes, Coffee Farms, Itinerary & Travel Tips
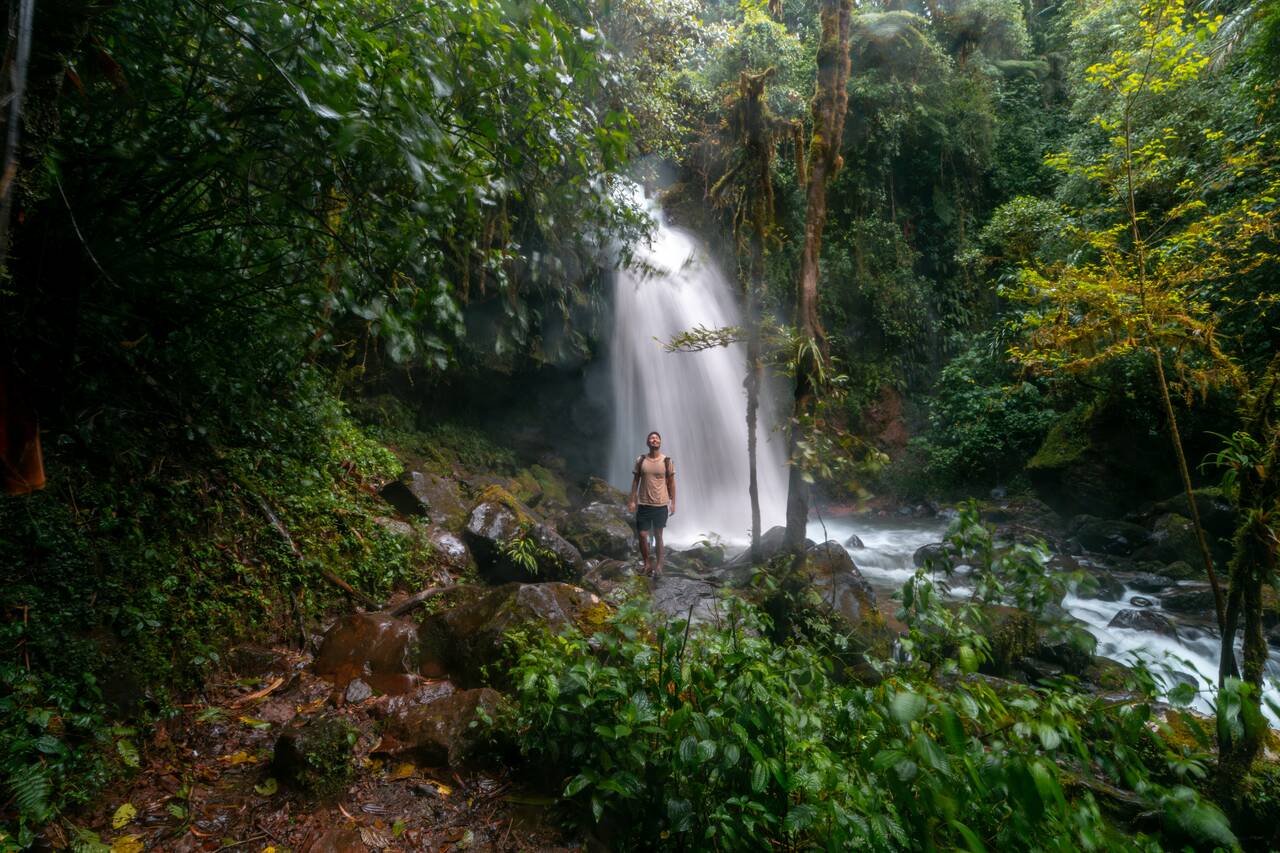
Next up, we are going to visit Boquete, another incredible hiking destination in Panama that you should not miss. While El Valle offers some of the most accessible hiking trails in the country, Boquete more than makes up for it with its incredible variety of landscapes, from cloud forests and waterfalls to volcanic peaks and coffee-covered hills.
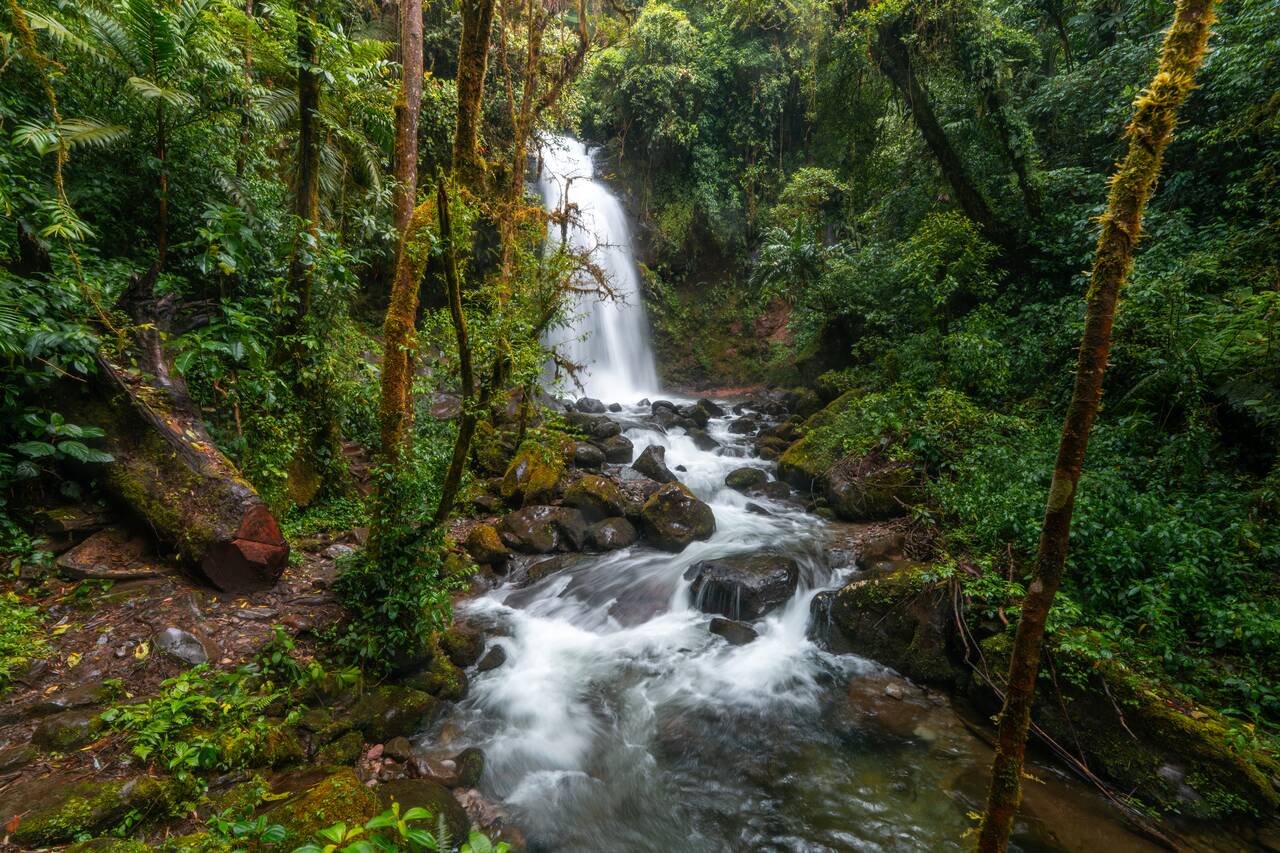
On your first day, we are going to hit the ground running and go hike 3 Waterfalls Trail, also known as the Lost Waterfalls Trail, one of the most popular hikes in Boquete and easily one of my favorites. The trail takes you deep into the cloud forest, crossing streams, climbing steep staircases, and passing three beautiful waterfalls hidden among the dense vegetation.
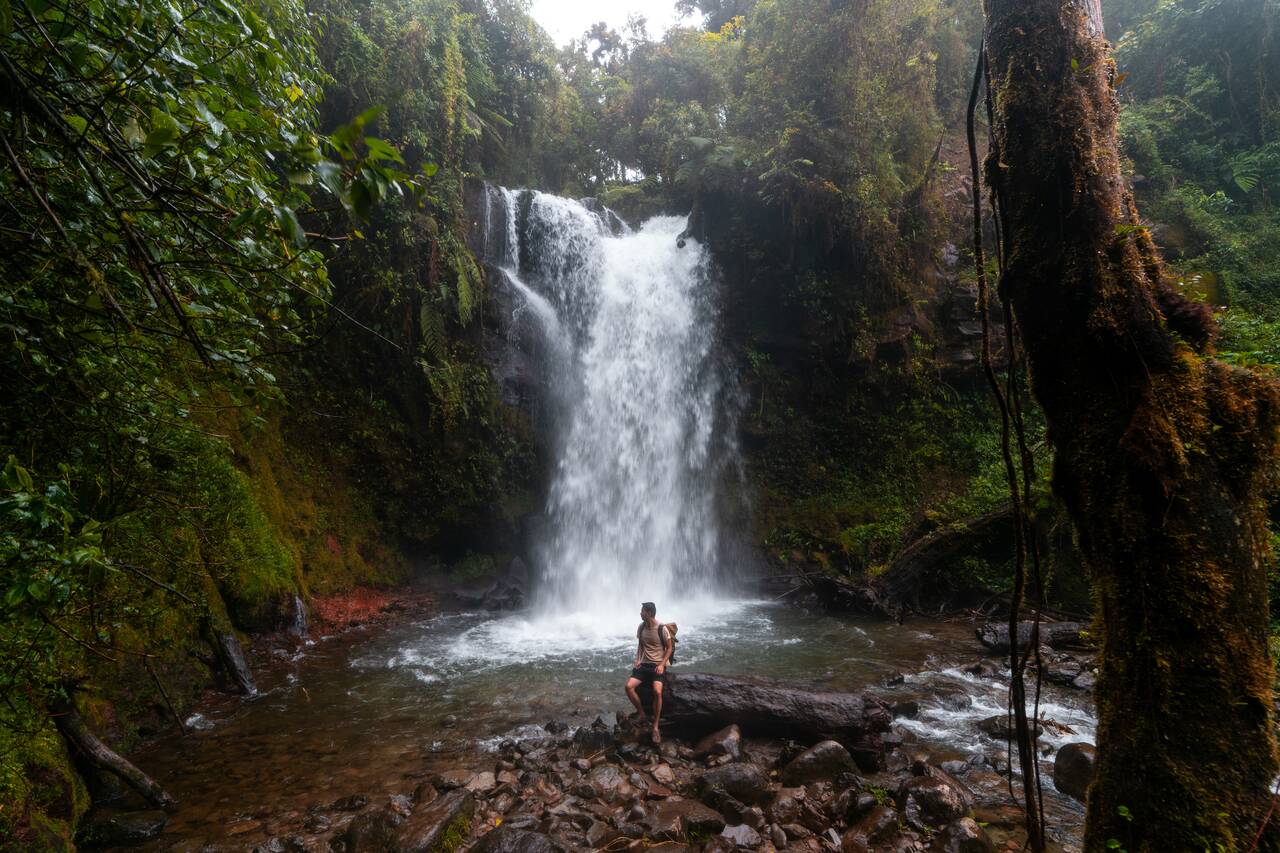
To get here, you can catch one of the colectivos labeled "Bajo Mono", which usually wait for passengers at this intersection. The driver will typically wait until there are enough passengers before departing, and the journey takes around 30 minutes and costs 2.5 USD. Be sure to tell the driver that you want to get off at "Las Tres Cascadas", and they will drop you off right here, next to the entrance of the trail.
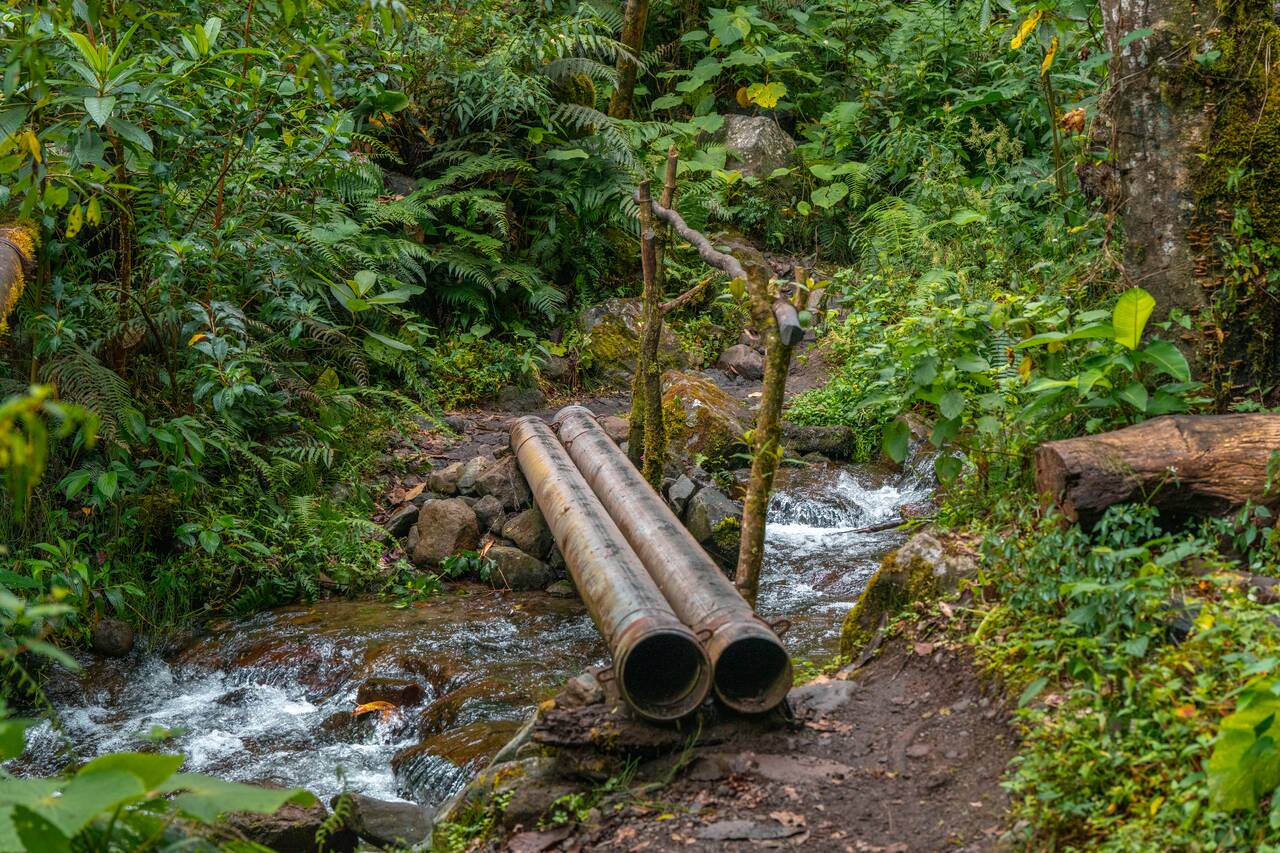
After completing the 3 Waterfalls Trail, you can walk about 1.2 km downhill and hike the Pipeline Trail, one of the easiest and most accessible hikes in Boquete. Unlike the Lost Waterfalls Trail, the path is relatively flat and follows an old water pipeline through a lush cloud forest filled with birds, wildlife, and towering trees.
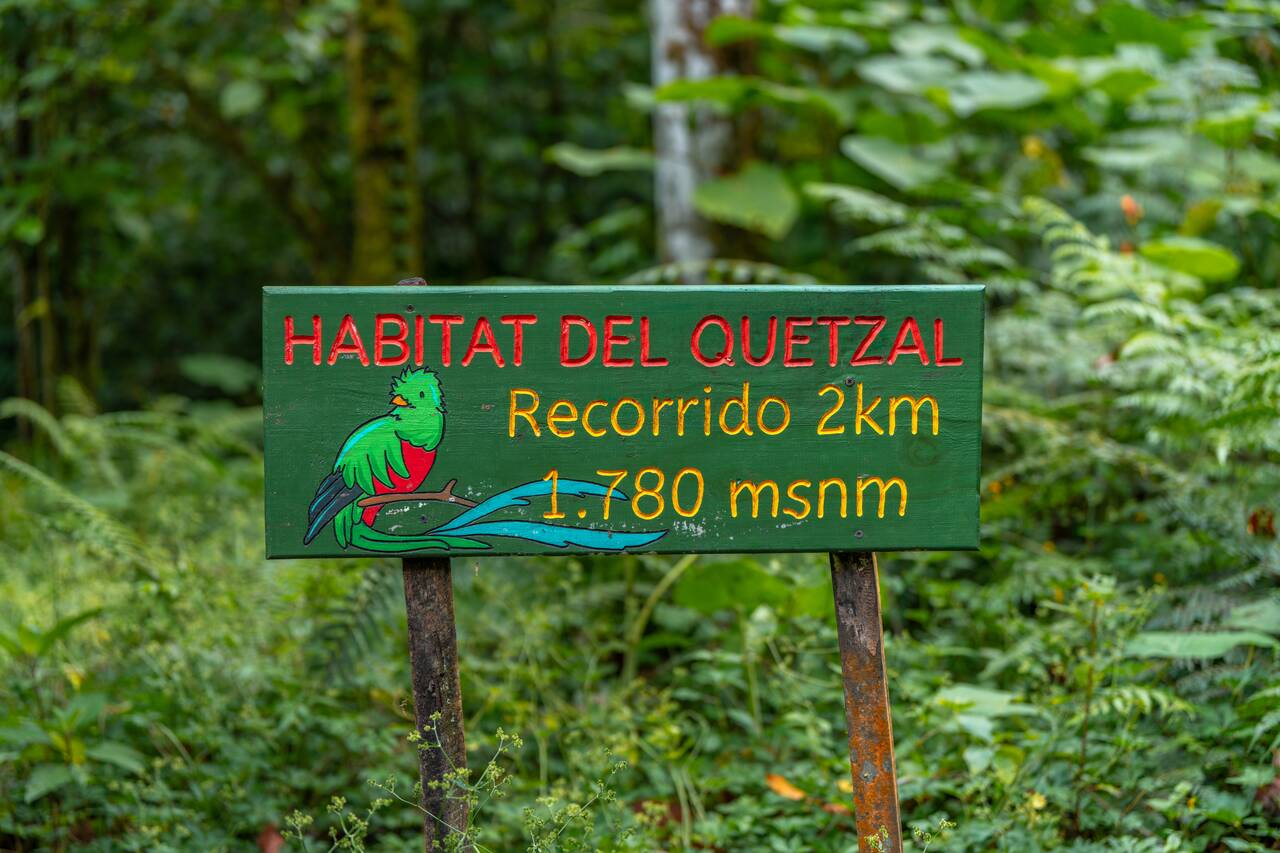
This trail is especially popular among birdwatchers, as it is one of the best places in Boquete to spot the famous Resplendent Quetzal. I wasn't lucky enough to see one during my visit and, trust me, I tried really, REALLY hard. Nada. That said, the peaceful atmosphere and beautiful cloud forest scenery more than made up for it.
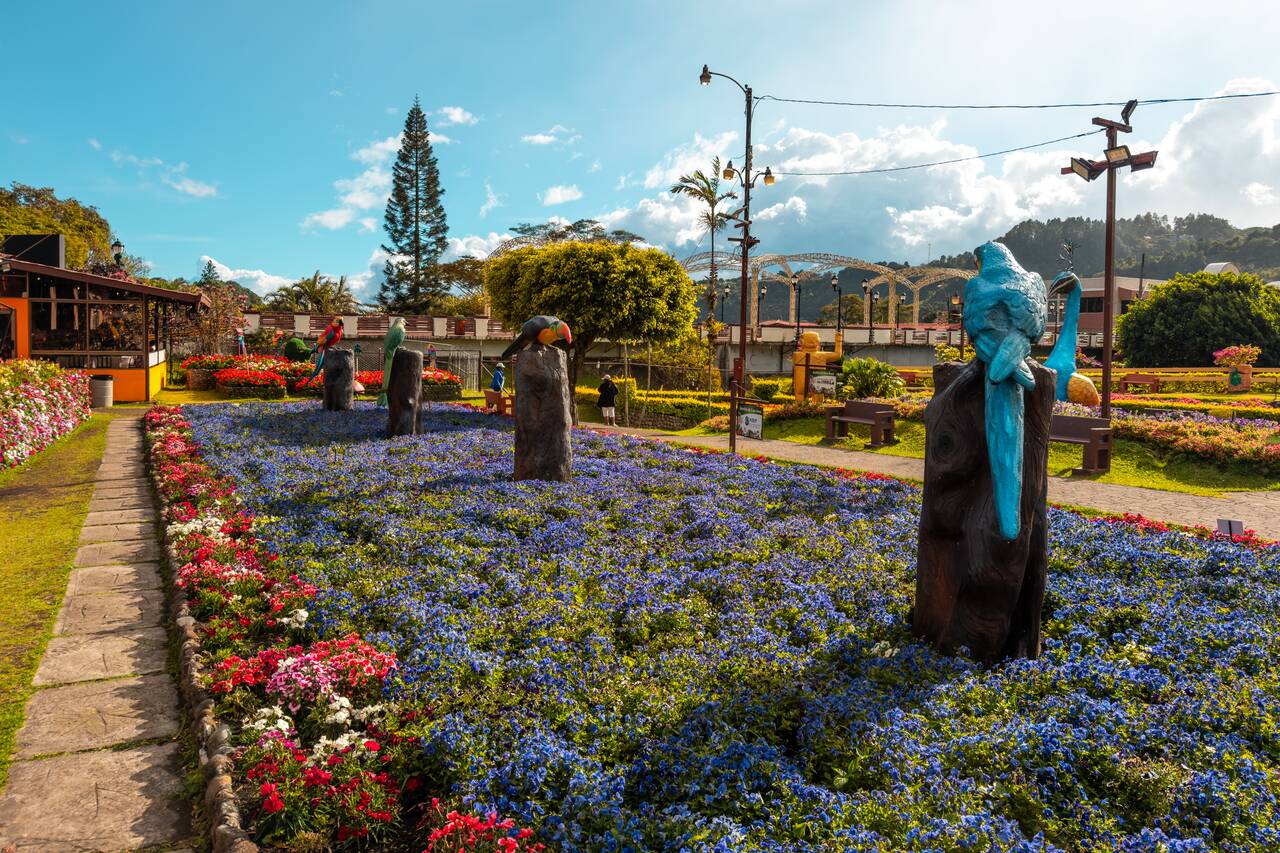
Once you get back to town, you can go for a little stroll across the river and visit Boquete Flower & Coffee Fair, a beautiful park filled with colorful flowers and offering lovely views over the river. It is a great way to end your first day in Boquete.
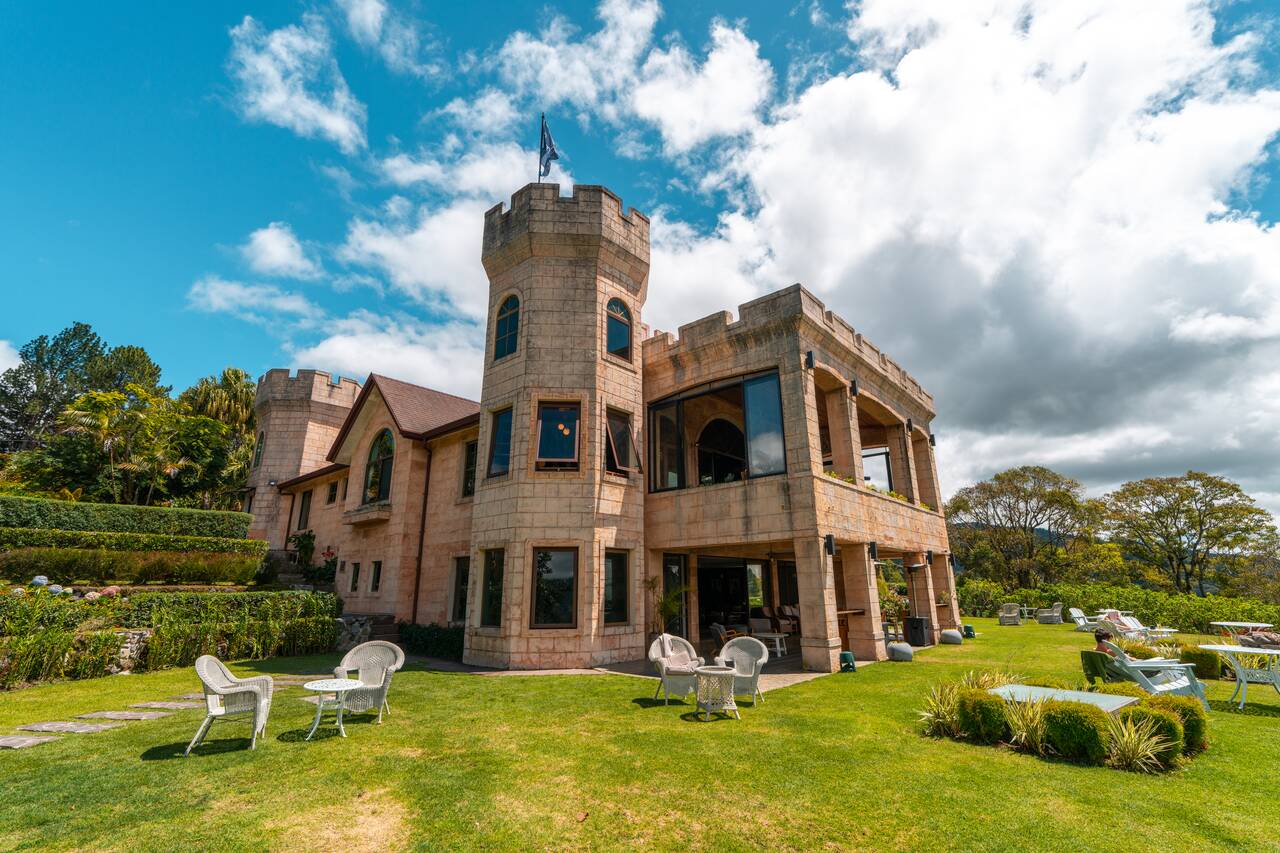
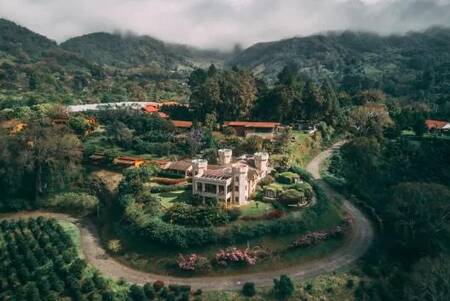
One of the coolest accommodations in Boquete is Bambuda Castle, where you can spend the night in an actual castle and enjoy the unique amenities it has to offer, including free castle climbing and rum tasting activities that are often organized throughout the day. I highly recommend staying here for your last night and using your second day in Boquete to explore the surrounding areas.
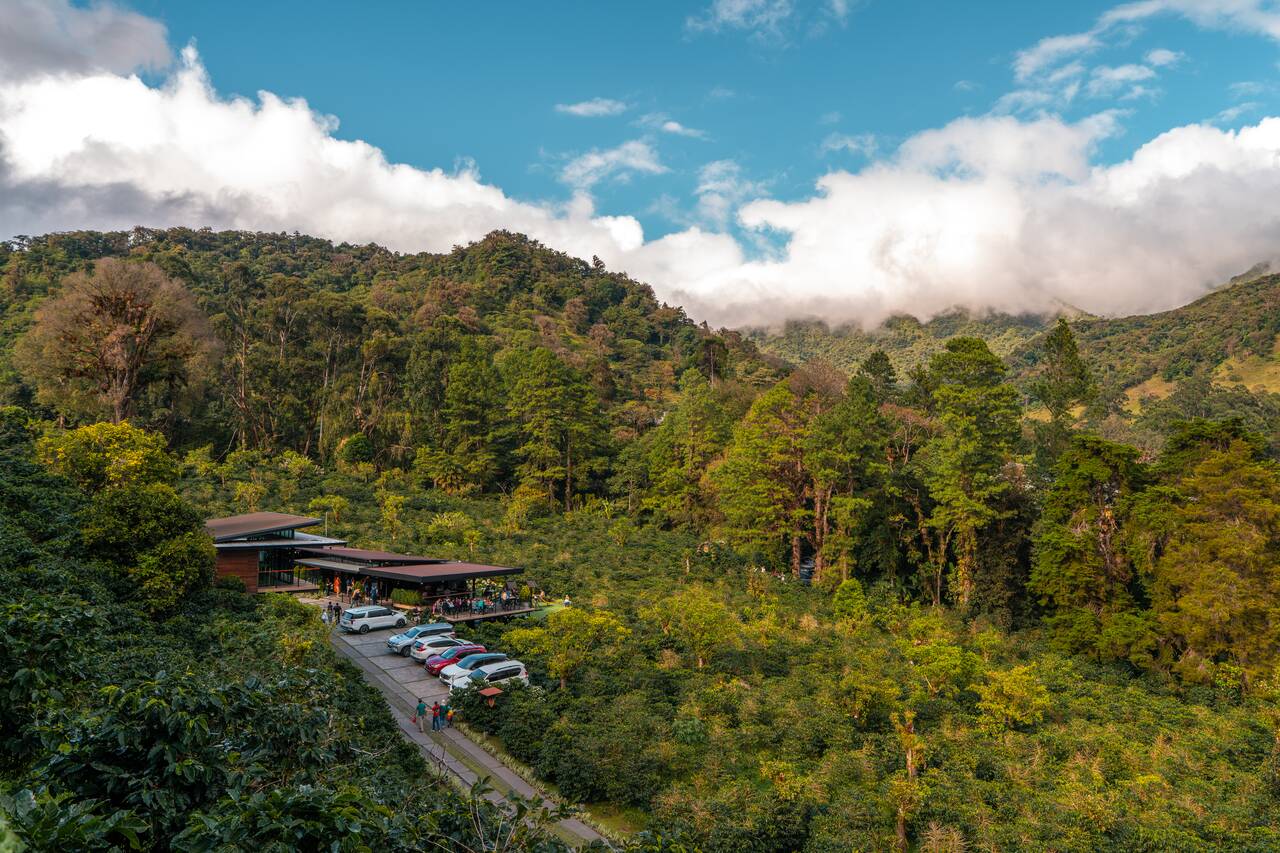
Located not too far from Bambuda Castle and right next to the Pianista hiking trail, you will find Altieri Specialty Coffee, a lovely cafe located in its own coffee farm where you can go and try some of Panama's finest coffee like the famous Geisha coffee, tour around its grounds for free, and just enjoy the beautiful surrounding nature.
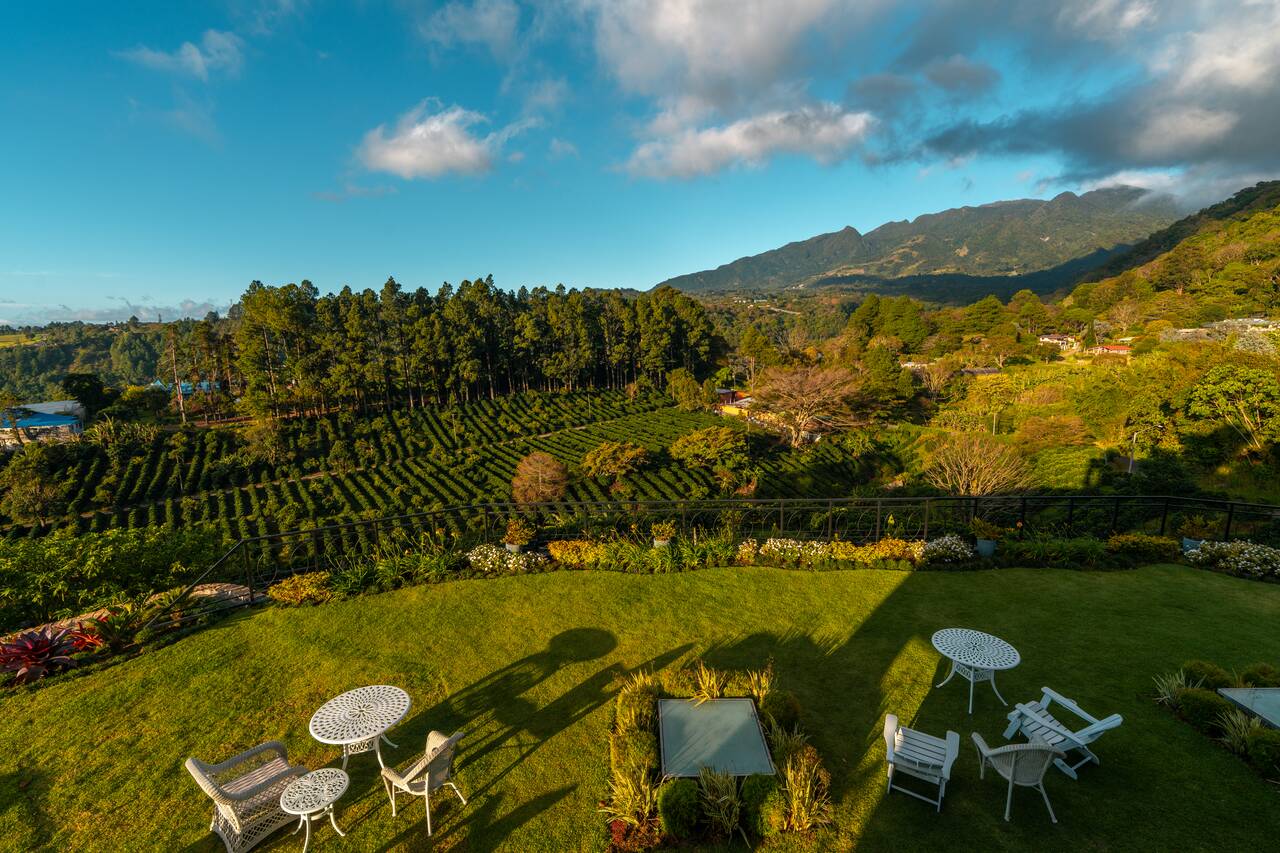
Once you are done, you can return to Bambuda Castle and enjoy the awesome activities they have planned for you that day. Spend the rest of the evening relaxing at the castle and retreat for the night as you will need to wake up early the next day to catch a transfer service to Bocas del Toro.


Getting from Boquete to Bocas del Toro

From Boquete, several shared shuttle services operate directly to Bocas del Toro. The journey usually takes around 4 to 5 hours, including the boat transfer from Almirante to Bocas Town, and costs approximately 50 USD per person with all transportation included.
This is the option I recommend for most travelers, as it saves you the hassle of returning to David and coordinating multiple buses and transfers on your own. You can find more information and check availability for the Boquete to Bocas del Toro transfer here.
Day 12 - 15: Bocas Del Toro, Panama (4 nights)
- 📍 Stay: Gran Hotel Bahia
- 🕐 Time: 4 nights
- 📖 Full Guide: Explore Bocas del Toro: Best Things to Do, Itinerary & Travel Guide: A Practical Guide for Independent Travelers
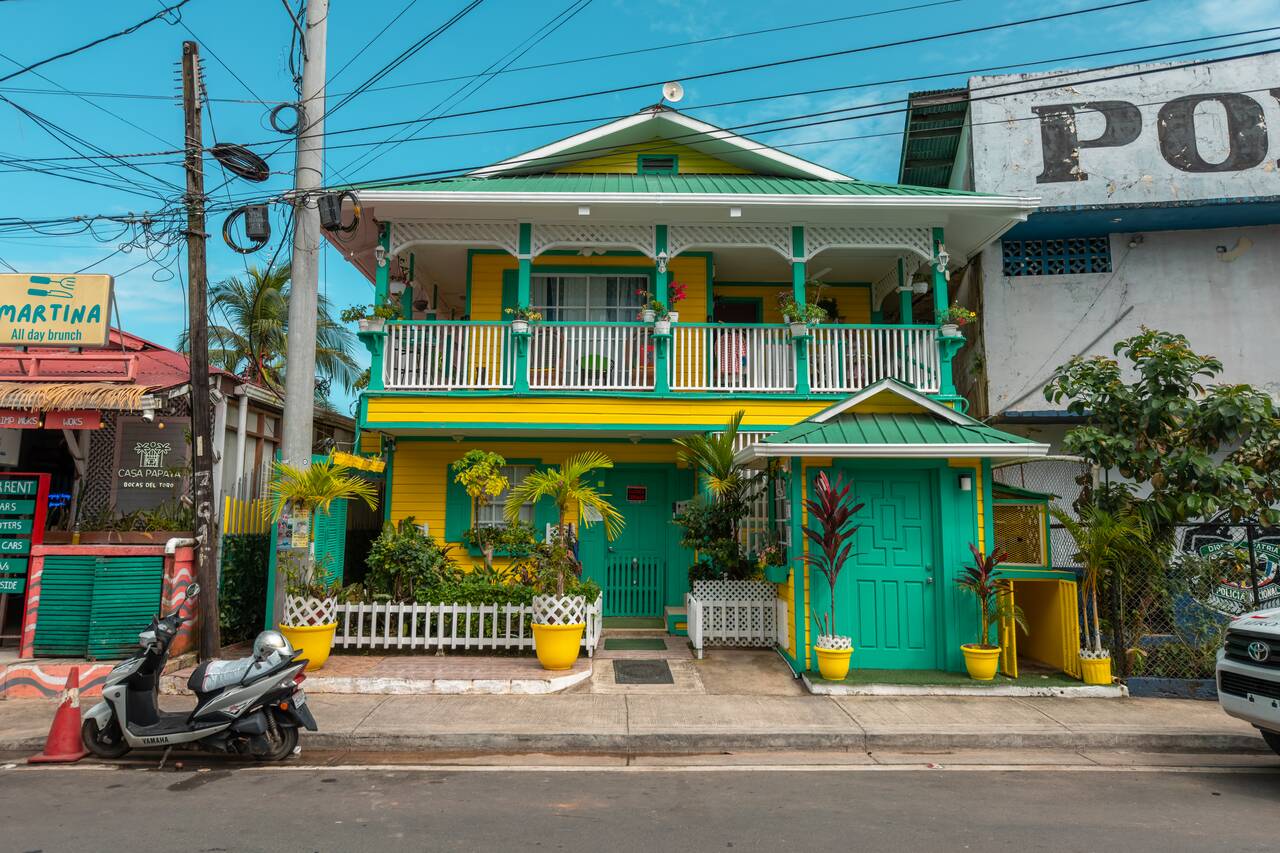
Bocas Del Toro is, without a doubt, one of the most beautiful destinations I have visited in Panama. The place has such a laid-back Caribbean atmosphere, with a huge variety of activities to enjoy, from surfing and biking around the island to island hopping through the stunning archipelago. Best of all, it is home to Zapatilla Island, one of my favorite islands in Panama.
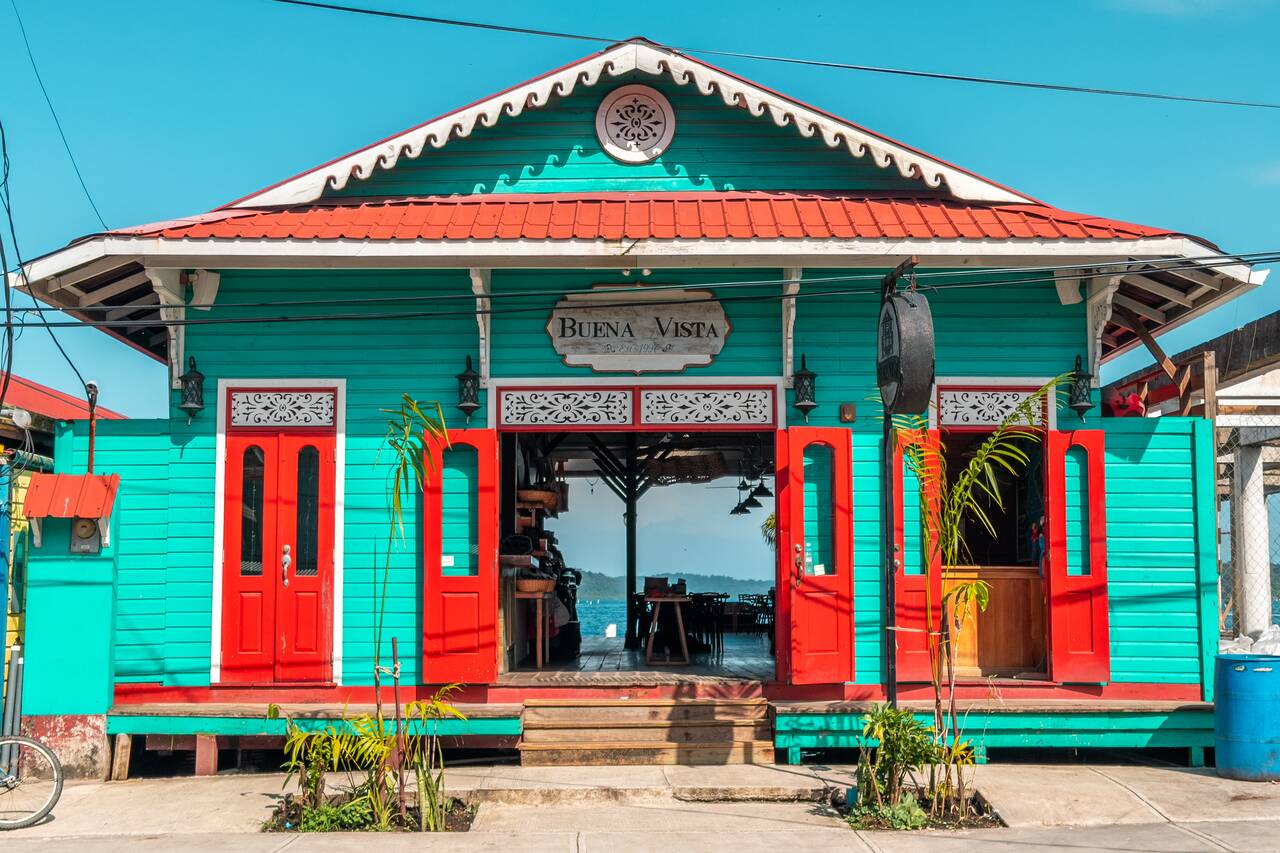
Bocas Town is the perfect place to begin your journey through Bocas del Toro. This is the main town of the archipelago, and I recommend staying here, especially if it is your first time visiting.
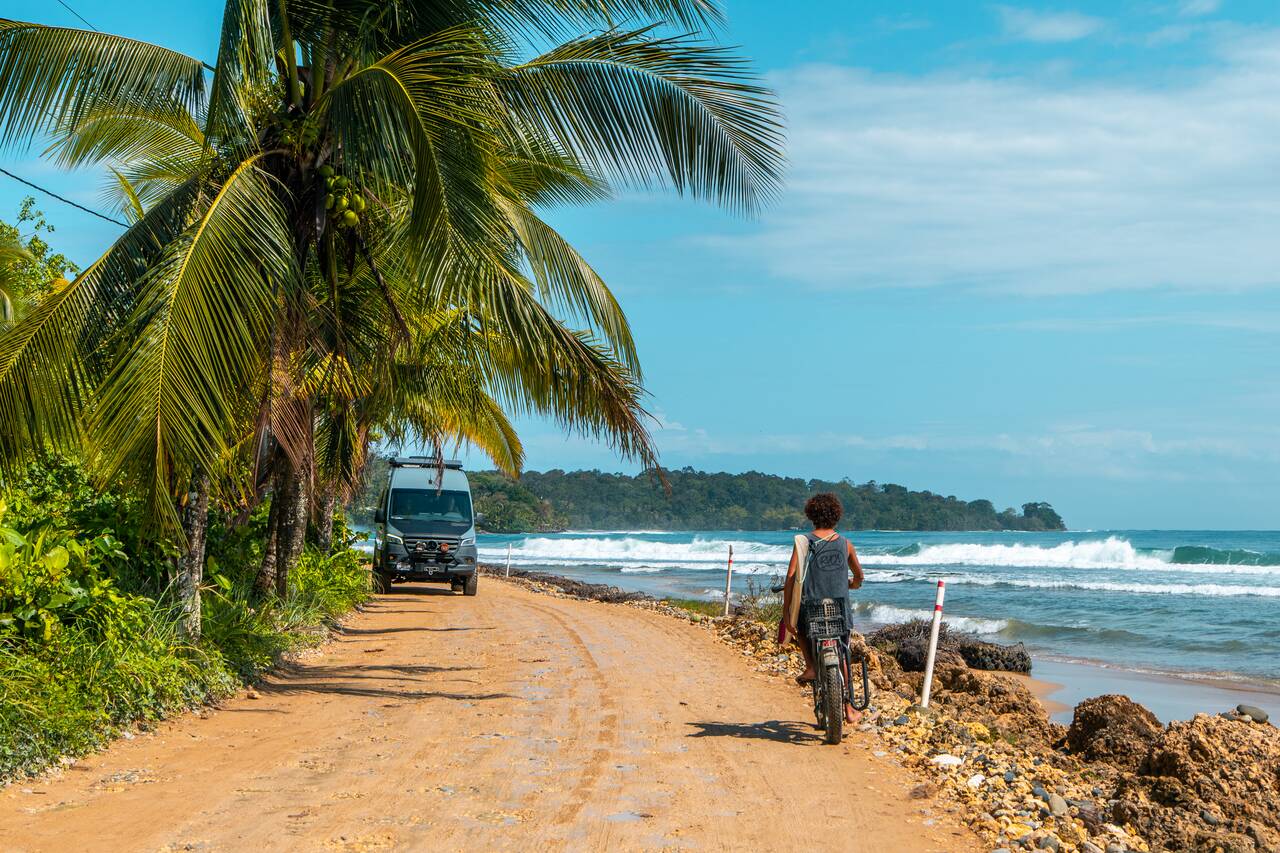
During the day, you can also rent an eBike from Bocas EBikes for the day and go explore Isla Colón. Most people rarely ever go beyond Bocas Town, but the island has a surprising number of beaches, viewpoints, and hidden corners that are best discovered at your own pace.
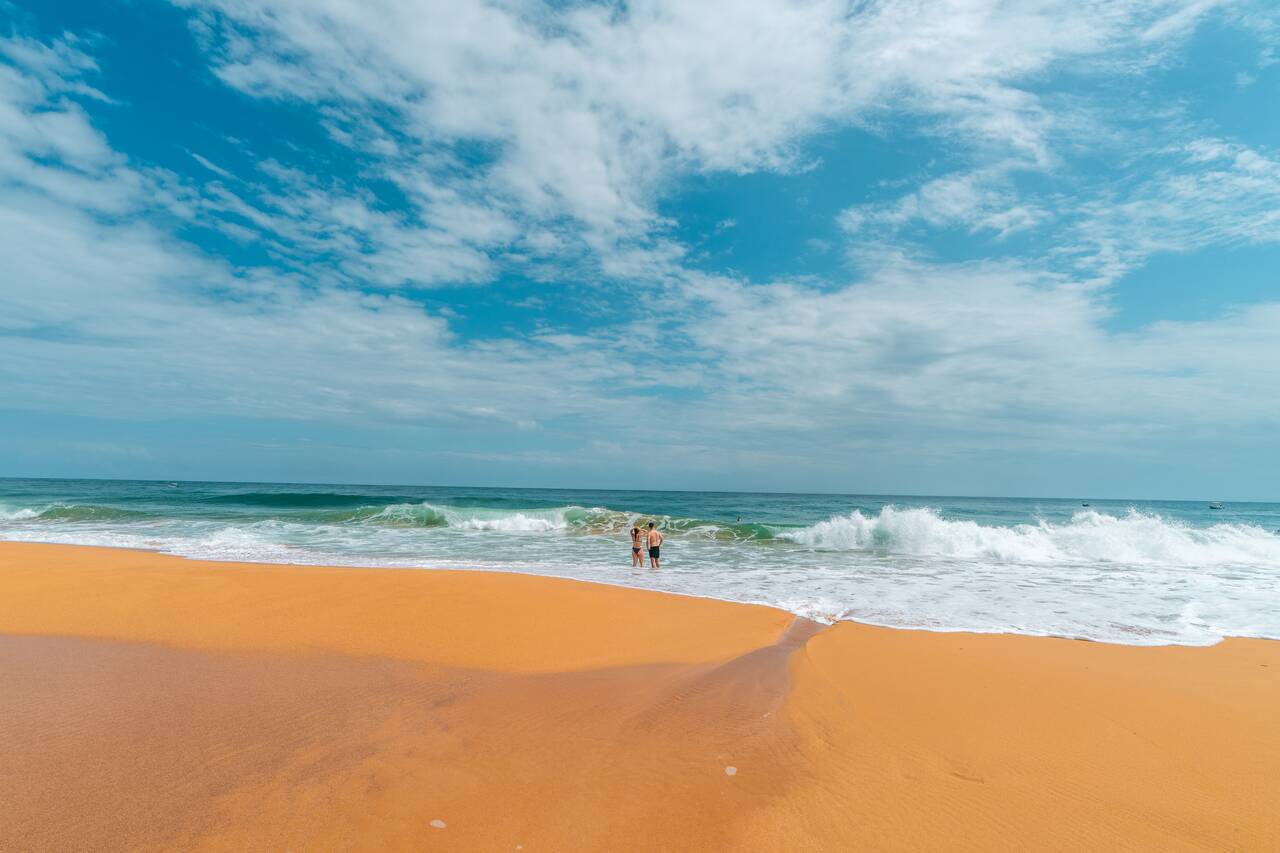
Start early in the morning and ride along the eastern coast of the island, stopping at places like Bluff Beach and several quiet stretches of coastline that you would have completely missed if you had only stayed in Bocas Town.
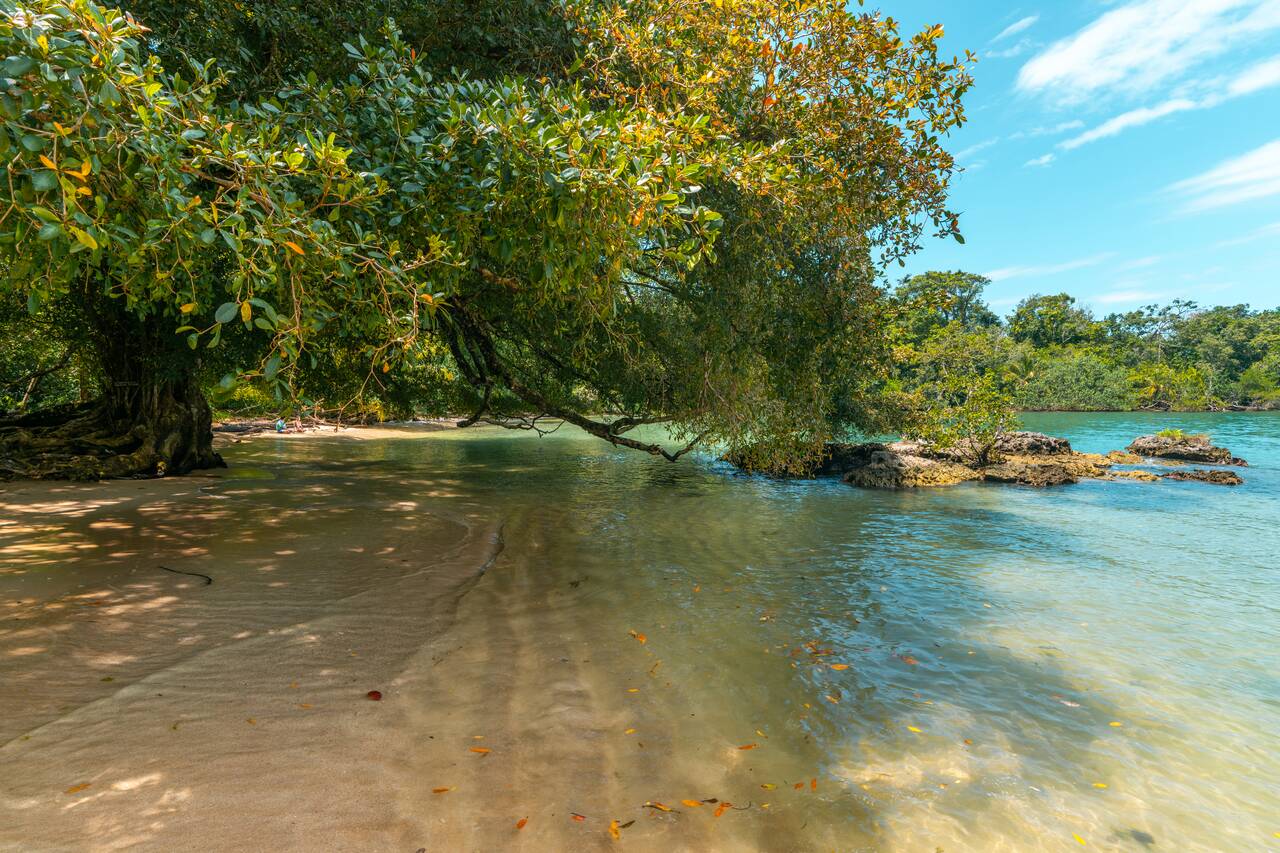
If you are feeling adventurous, continue all the way to Playa La Piscina, a remote beach on the far side of the island. The ride is long and there is even a small river crossing near the end, but the journey is part of the fun. The beach itself is small and beautiful, and there were barely anyone around compared to the ones in Bocas.
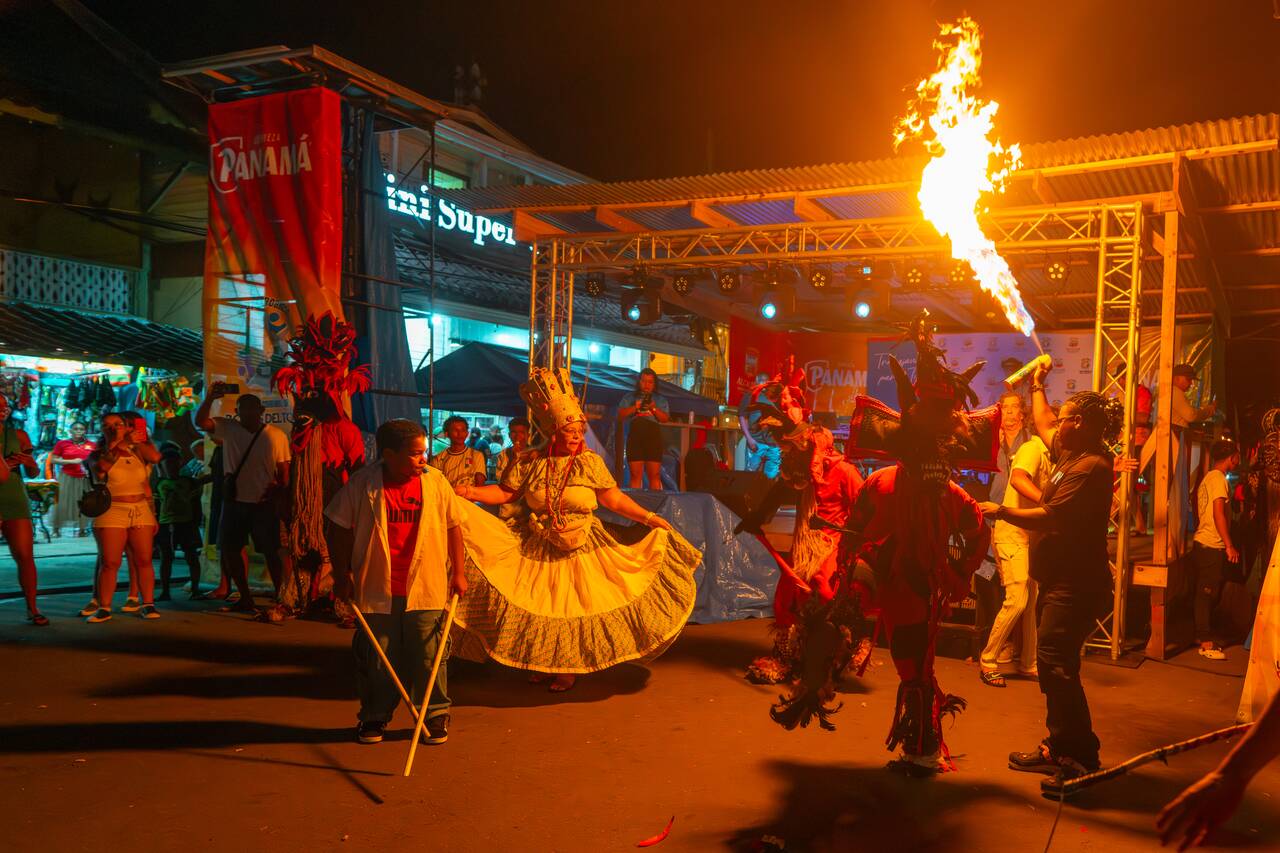
After you are done exploring the island, you can head back to Bocas Town and check out its surprisingly lively nightlife. The area around the main town square often hosts events and concerts, and even when there is nothing happening, there are plenty of bars and restaurants to enjoy in the evening. I was there during Carnival, and it was absolute pandemonium, in the best way possible! I loved every second of it.
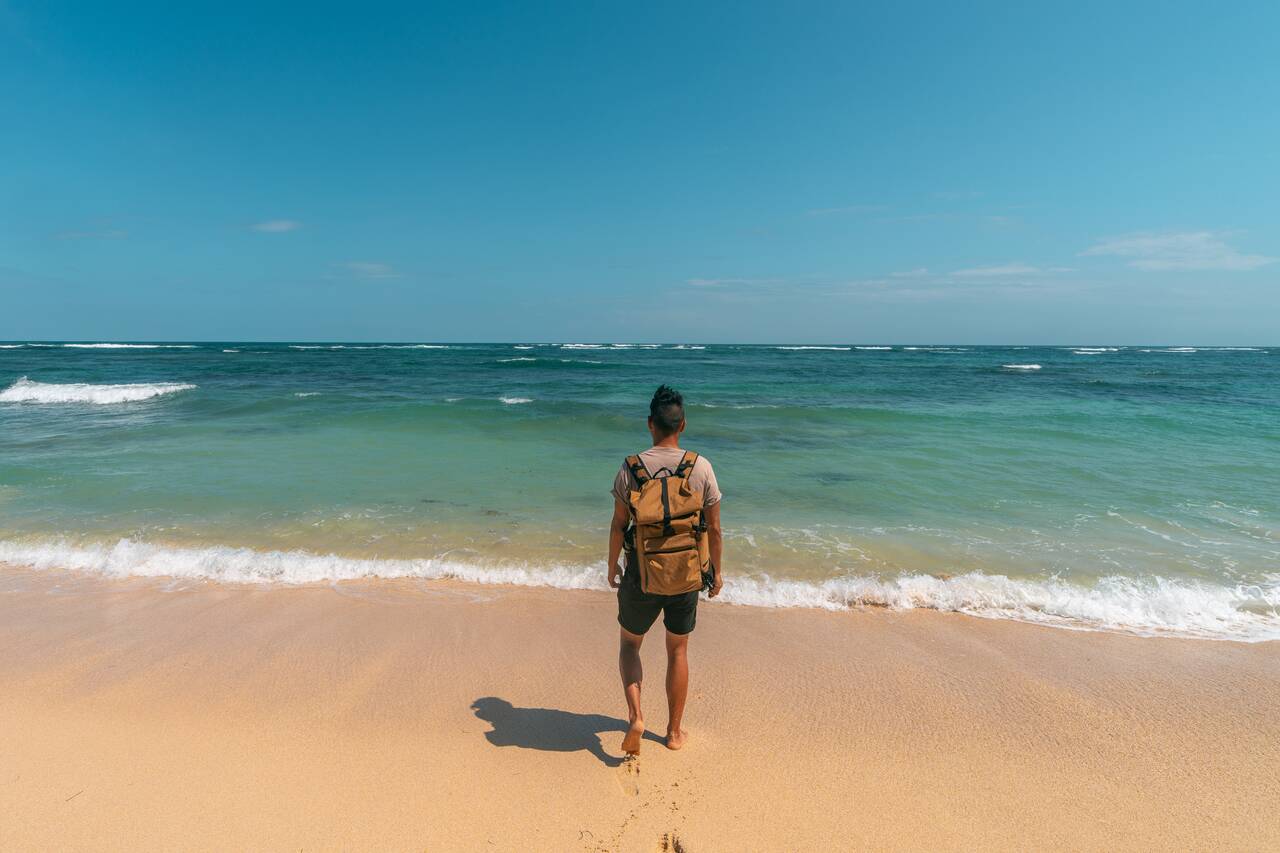
The next day, you can go on an island-hopping boat trip and visit Zapatilla Island, a tiny group of islands famous for its powdery white sand beaches, crystal-clear turquoise water, swaying palm trees, and lack of crowds, thanks to its location within Bastimentos National Marine Park. This is, hands down, my favorite island in Panama.
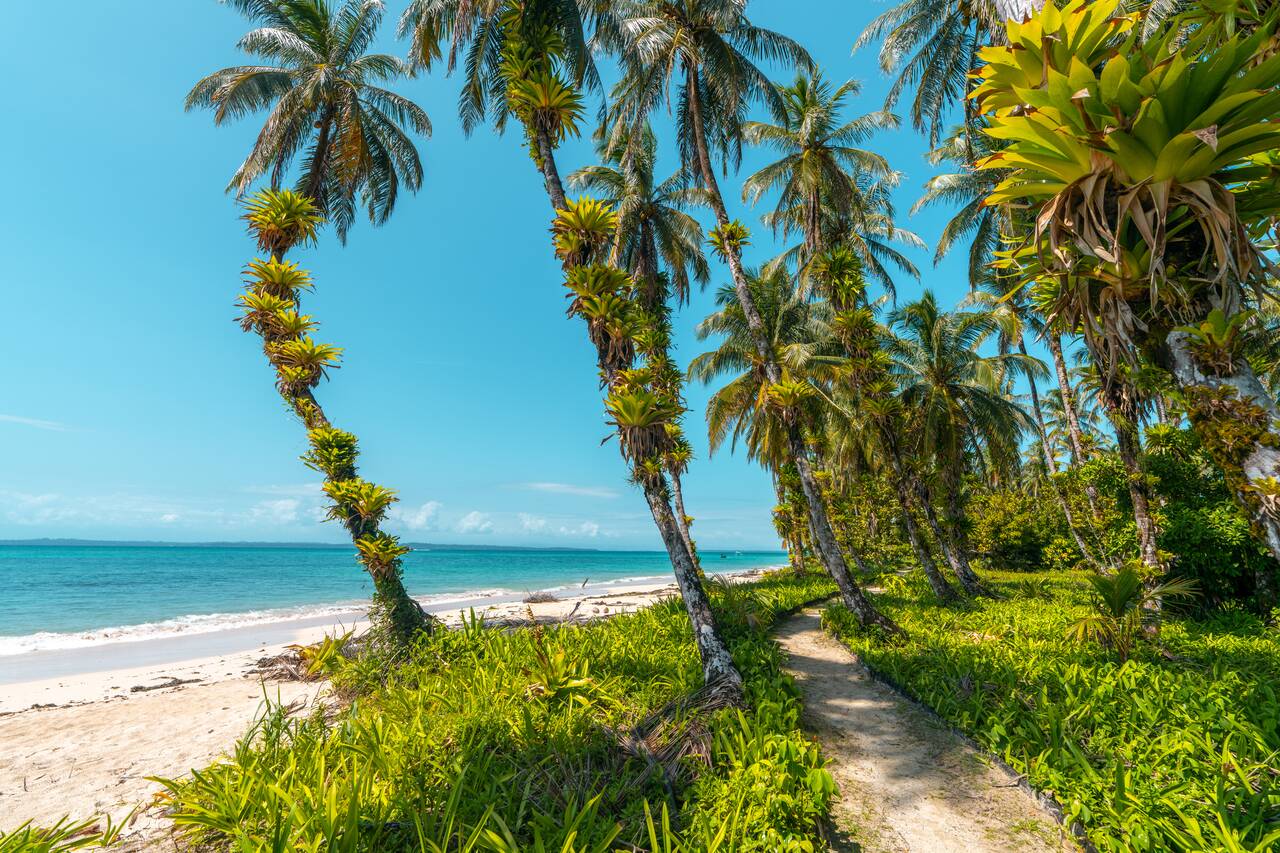
The island is not very big, but it is large enough to keep you occupied for a few hours. You can walk along its network of trails in search of sloths, check out the mangrove forests, and explore the more remote side of the island. While that side is not suitable for swimming due to the stronger currents, it is still well worth visiting for its wild scenery and untouched beaches.
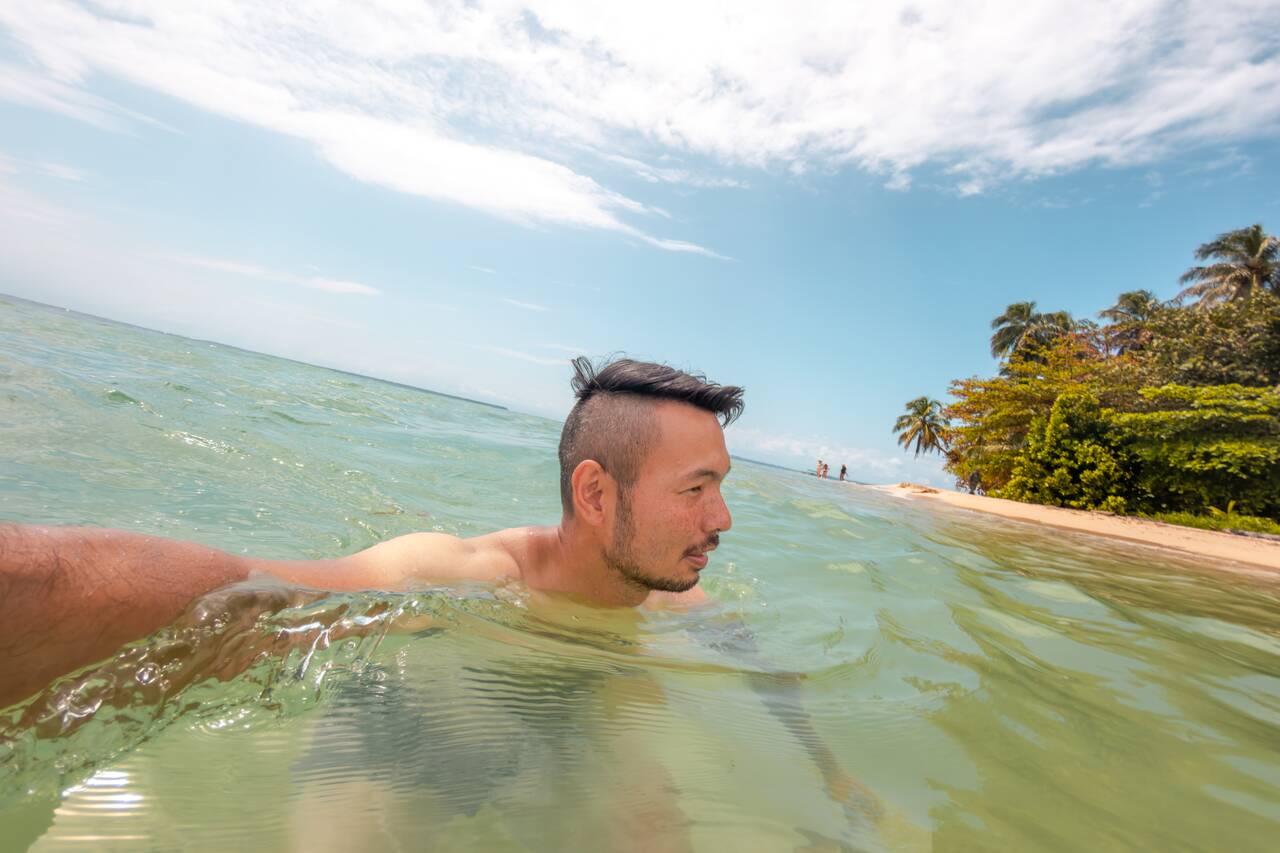
Most tours allow around 1 to 2 hours on the island, which is usually enough time to relax, swim, and explore a little. If I am being honest, I could have easily spent an entire day here doing absolutely nothing, as there are no restaurants, bars, or hotels here, which helps preserve its pristine natural beauty. It is awesome.
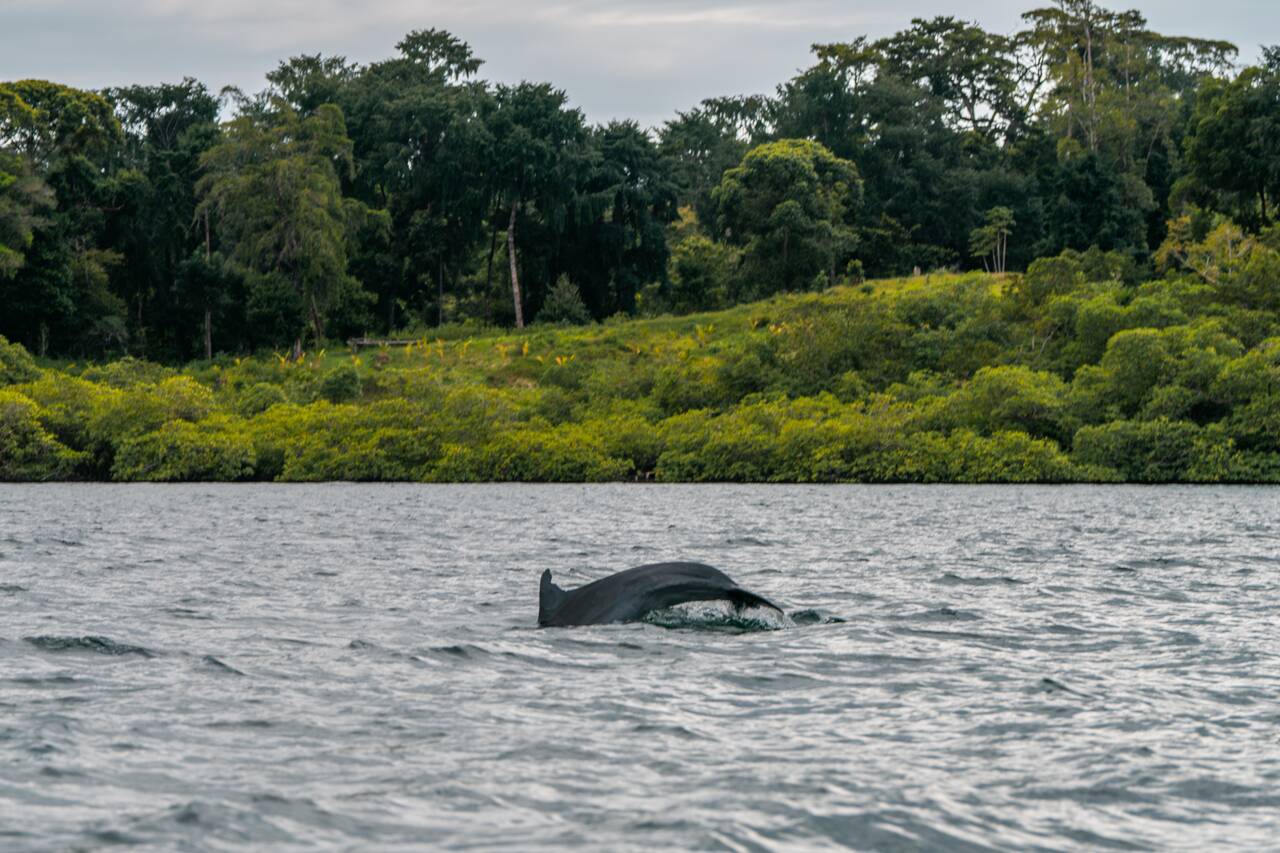
Most island-hopping tours often include a stop here, and for good reason. The calm waters between the islands are home to a resident population of bottlenose dolphins that can often be seen swimming, playing, and occasionally jumping alongside the boats. I was lucky enough to spot several during my boat ride across the Gap, which is a small waterway between Isla Solarte and Bastimentos Island.
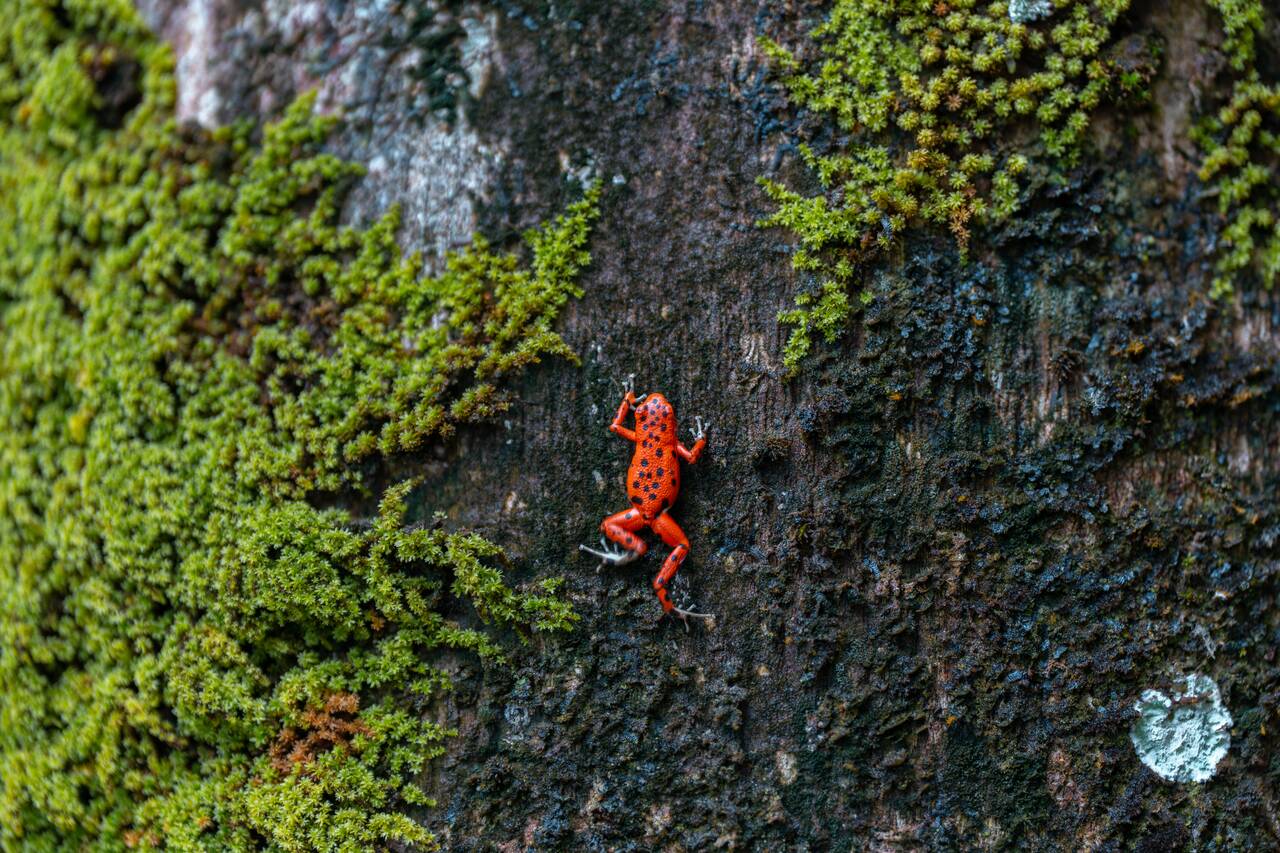
The boat tour should take up your entire second day. For your third day, you can slow things down and spend the day relaxing at Red Frog Beach. This beautiful golden-sand beach is located within the Red Frog Beach resort area on Isla Bastimentos and can be easily reached by water taxi from Isla Colón.
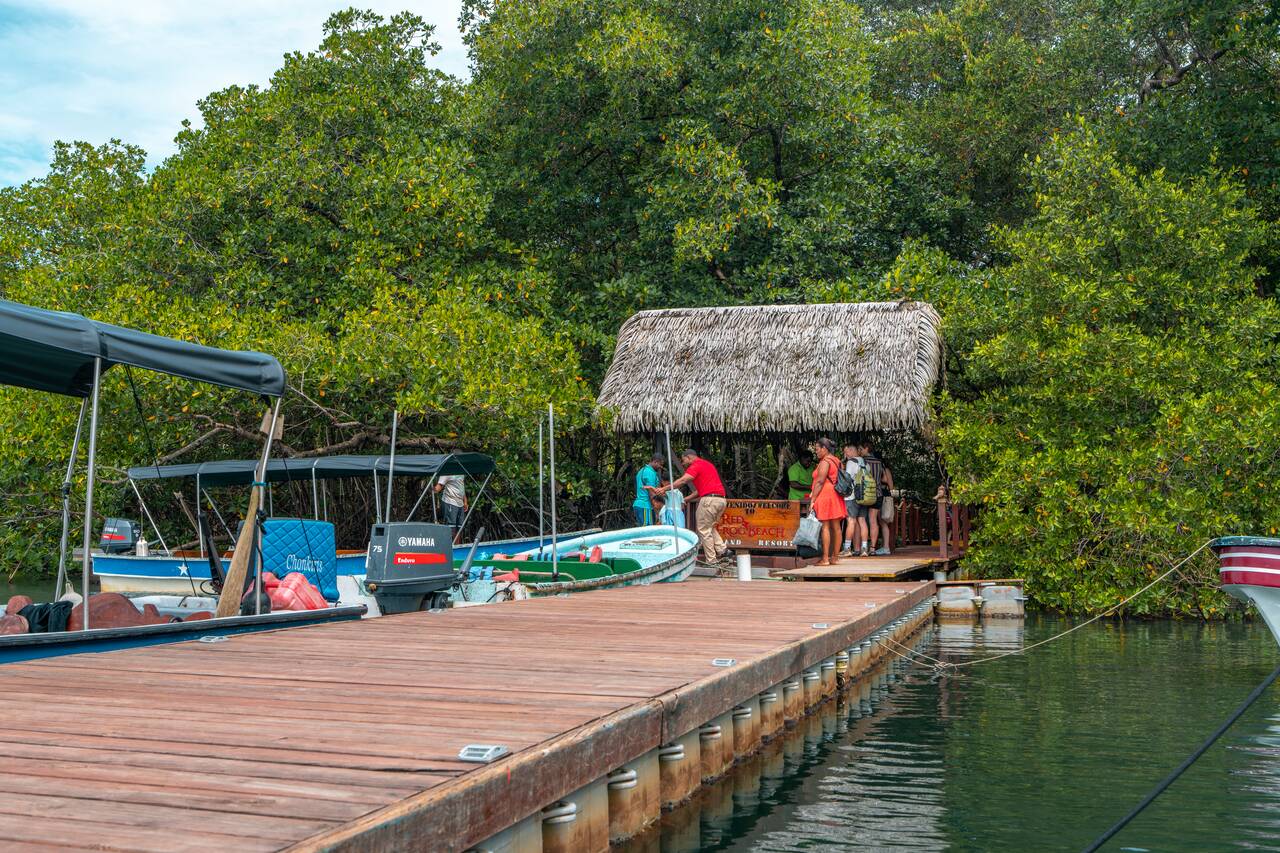
To get here, you will need to catch a water taxi from this dock, or any of the docks along the Bocas Town waterfront. The ride takes around 10 minutes and costs about 6 USD one-way or 10 USD round-trip. The day pass/entry fee to the beach is 5 USD, and you can pay when you arrive at the resort.
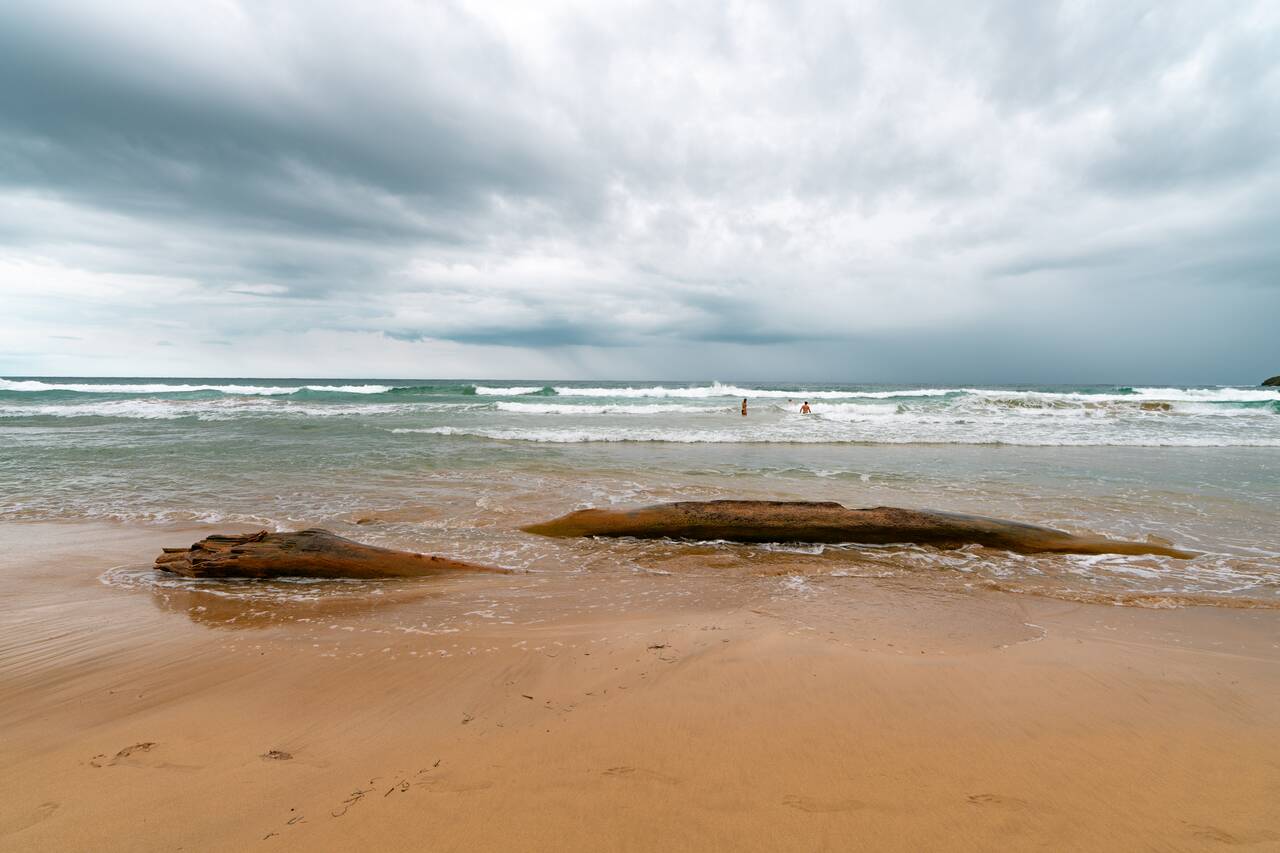
The beach itself is absolutely gorgeous. The sand is soft, the water is warm, and the surrounding jungle creates a beautiful backdrop that makes it feel far more remote than it actually is. It is the perfect place to spend a day out of Isla Colon and enjoy the wonderful nature Bocas del Toro has to offer.
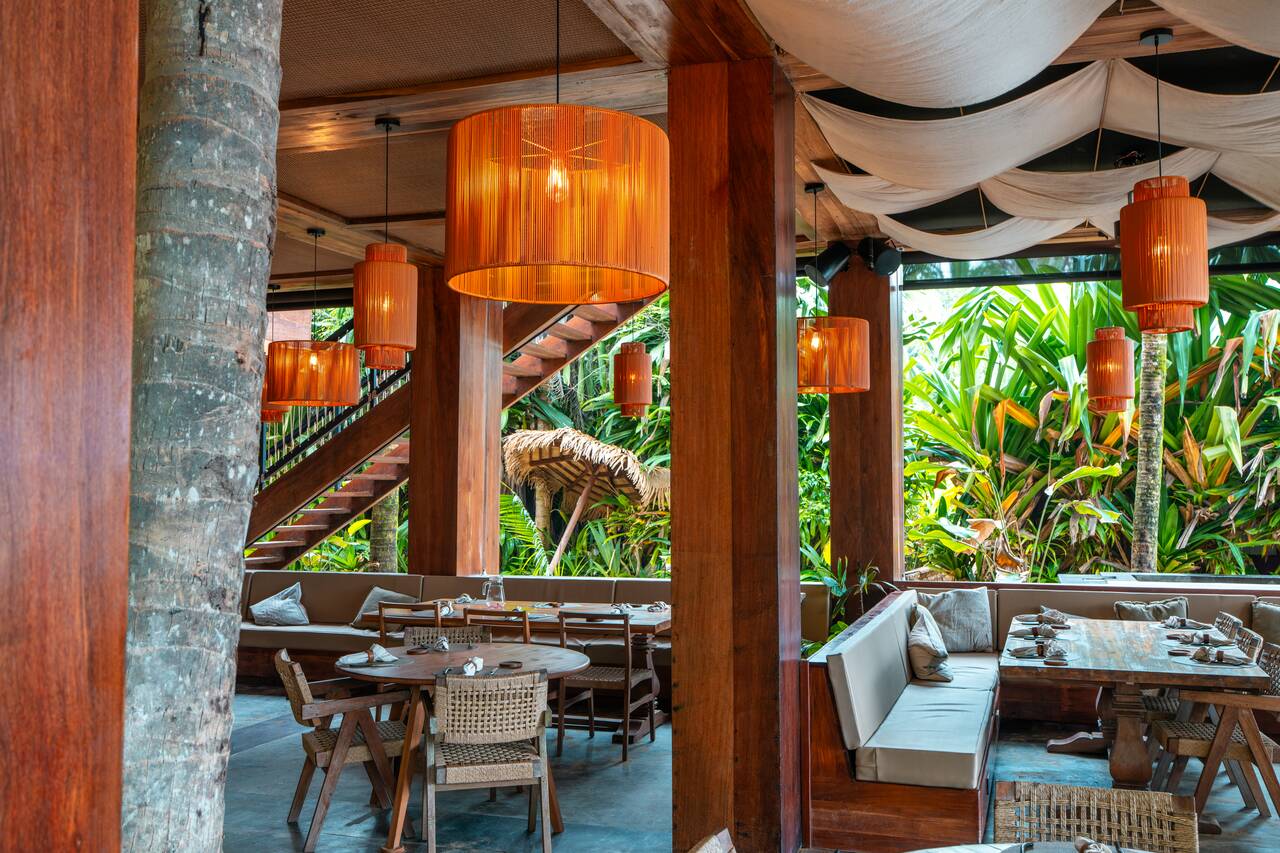
There are also a few beach bars and restaurants nearby where you can grab a drink or lunch without having to leave the area. Spend the rest of the day relaxing on the beach before heading back to Bocas Town around 4:30 PM. Retreat early as you are going to cross the border into Costa Rica the next day!

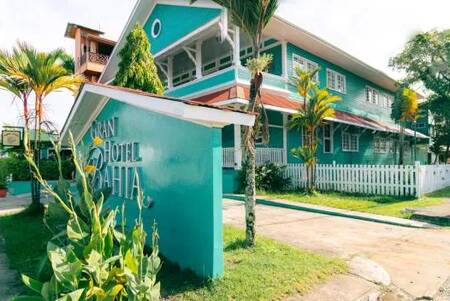

Getting from Bocas Del Toro to Puerto Viejo
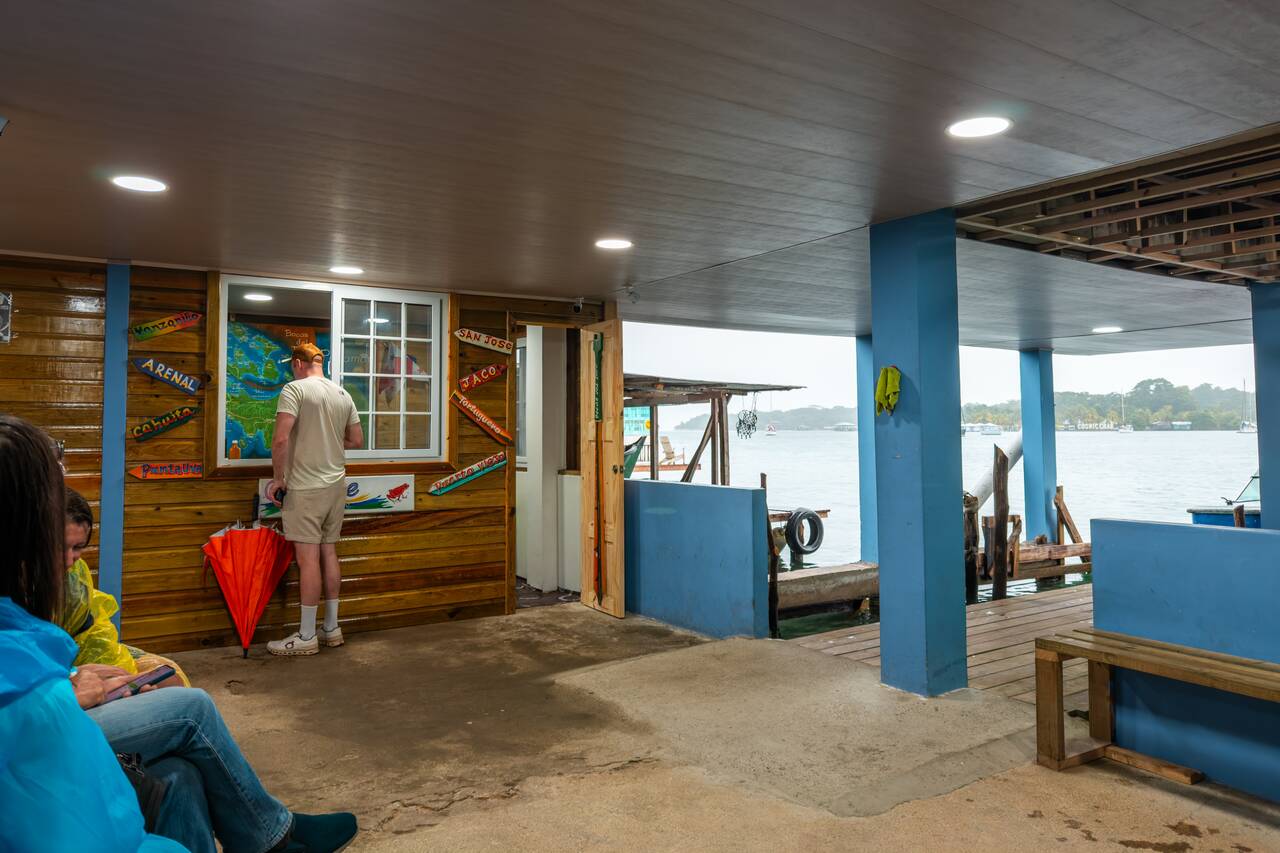
To get from Bocas del Toro to Puerto Viejo, Costa Rica, you can take a shared water taxi transfer service from Bocas Town to Almirante and then onward to the border. Most services will assist you with the border crossing process before continuing to destinations such as Puerto Viejo or San José.
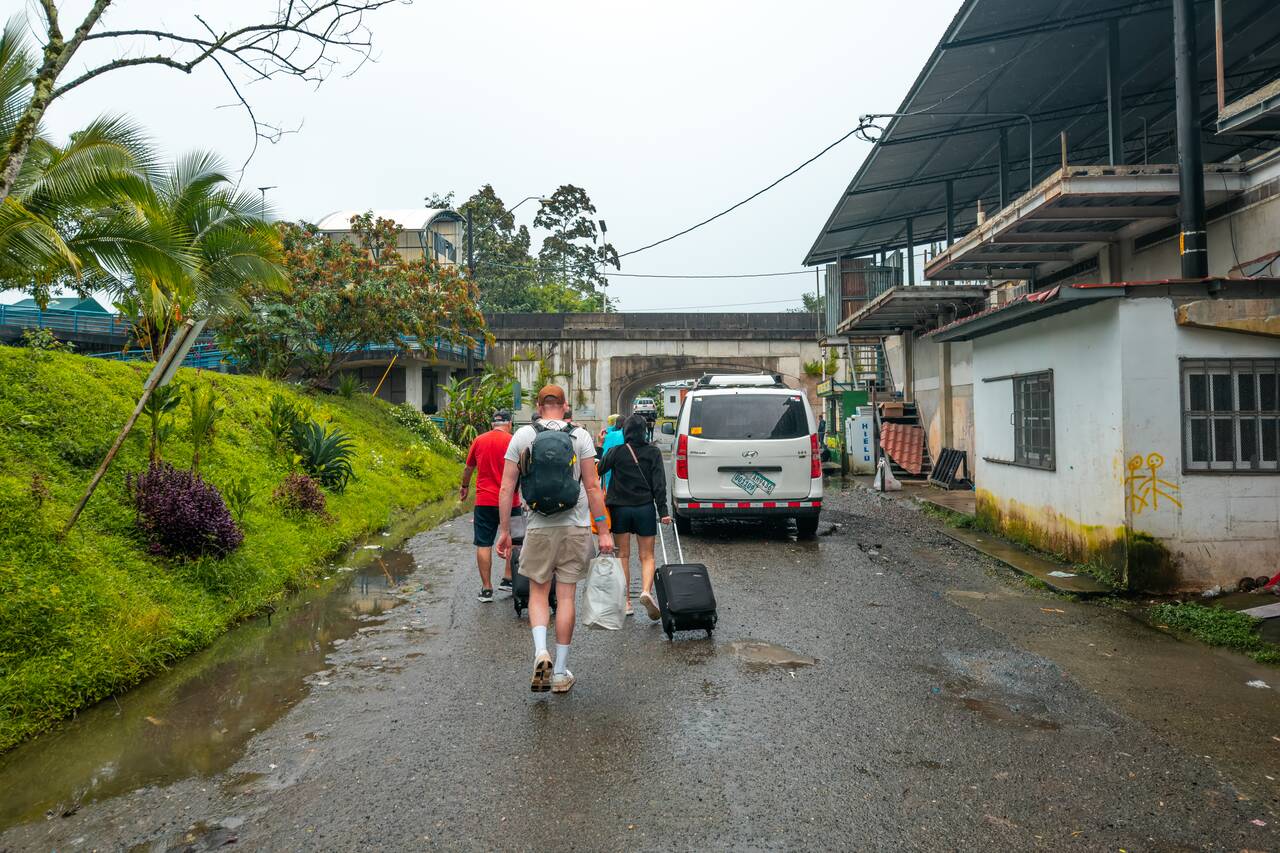
The border crossing itself was surprisingly easy and straightforward. It took me only about 20 minutes to complete the process, and I was traveling on a pretty problematic passport (Thai passport with a valid US visa, which I used to enter Costa Rica), so if you have a passport from a western country, it should be even faster for you.
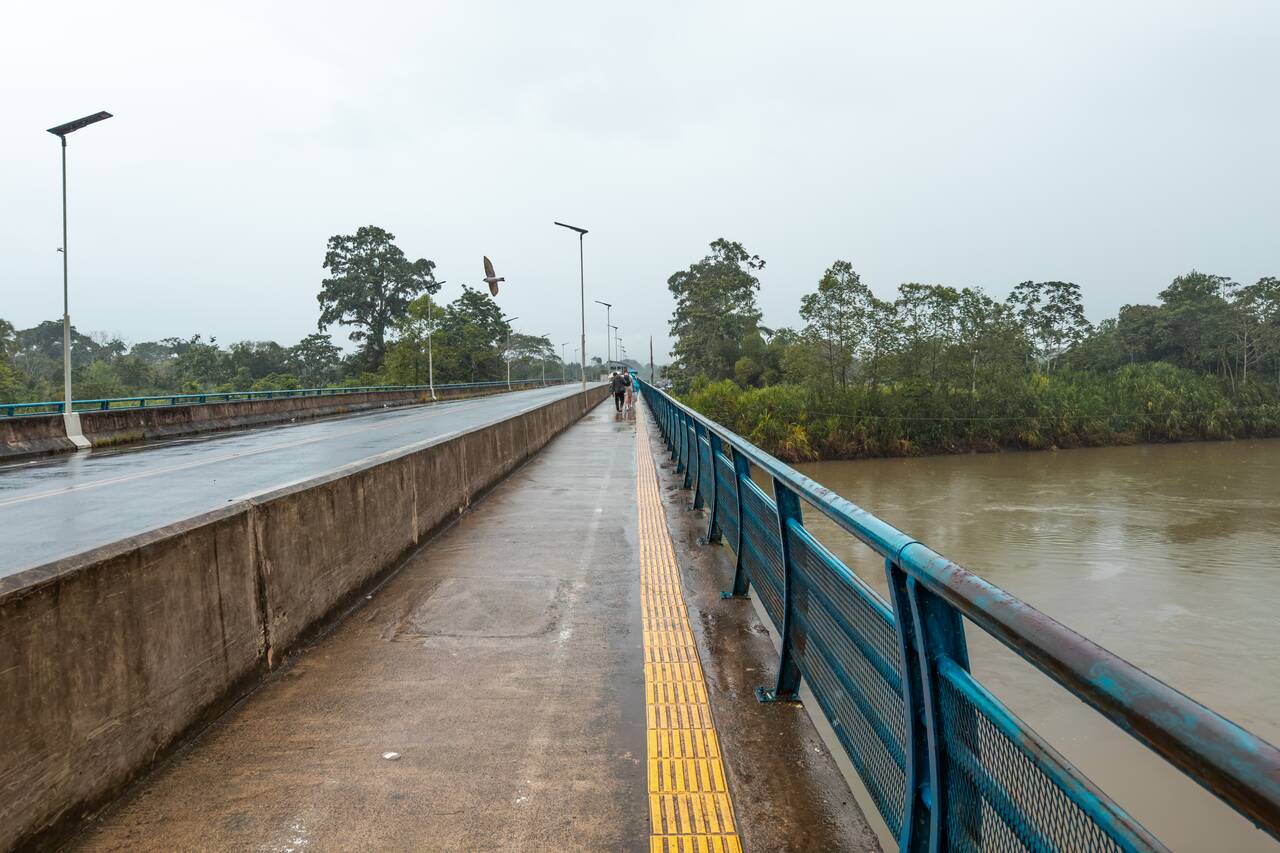
You can check availability and book the transfer here. Prices start at around 30 USD, and the journey takes approximately 4–5 hours to Puerto Viejo.
Day 16-18: Puerto Viejo, Costa Rica (3 nights)
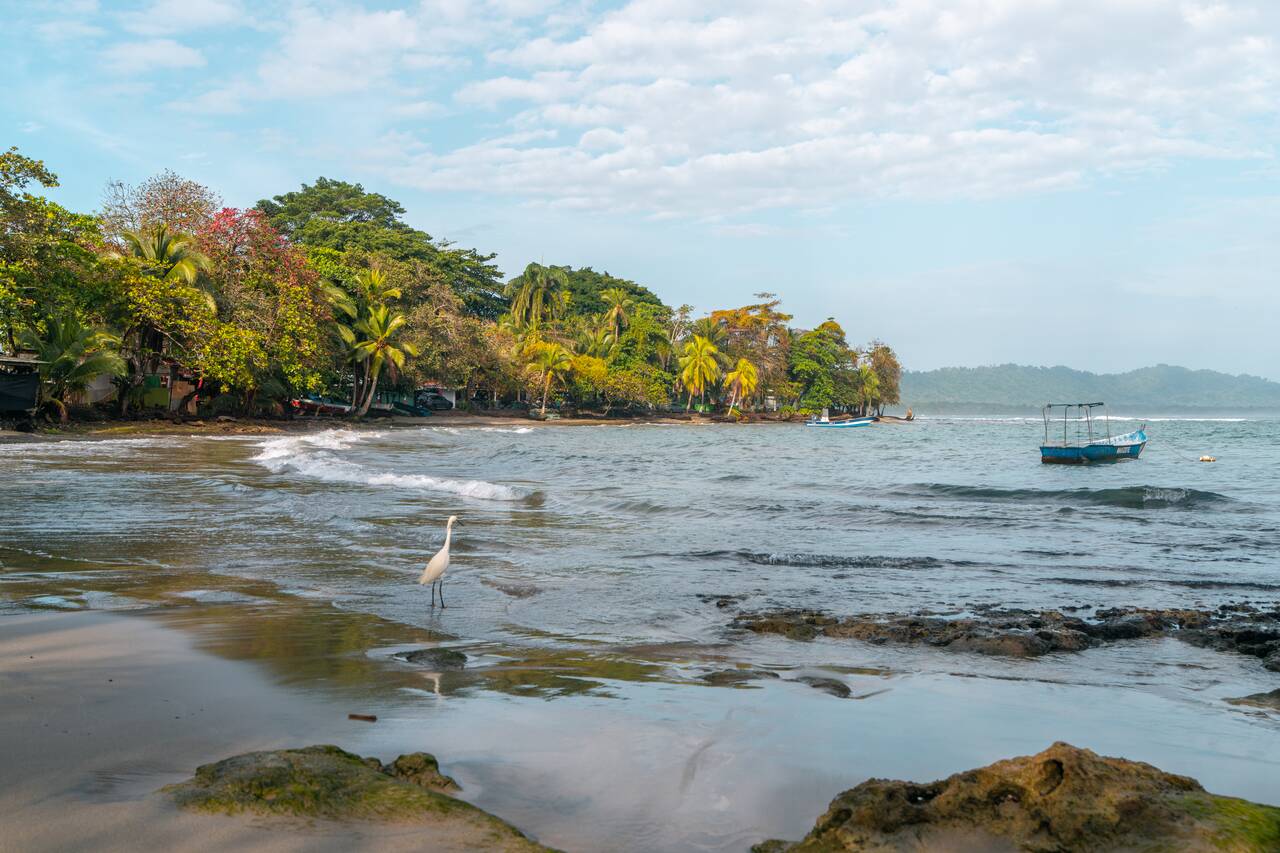
- 📍 Stay: Cabinas Montesol
- 🕐 Time: 3 nights
- 📖 Full Guide: Puerto Viejo Travel Guide: Things to Do, Itinerary & Travel Tips
Welcome to Costa Rica, one of the best countries in the world for wildlife. The very first thing I highly recommend doing on your first day in Puerto Viejo is waking up early and taking a slow walk along Puerto Viejo Beach before the town starts to get busy. The mornings here have a completely different atmosphere, with calm waves, fewer people, and the surrounding rainforest slowly coming to life.
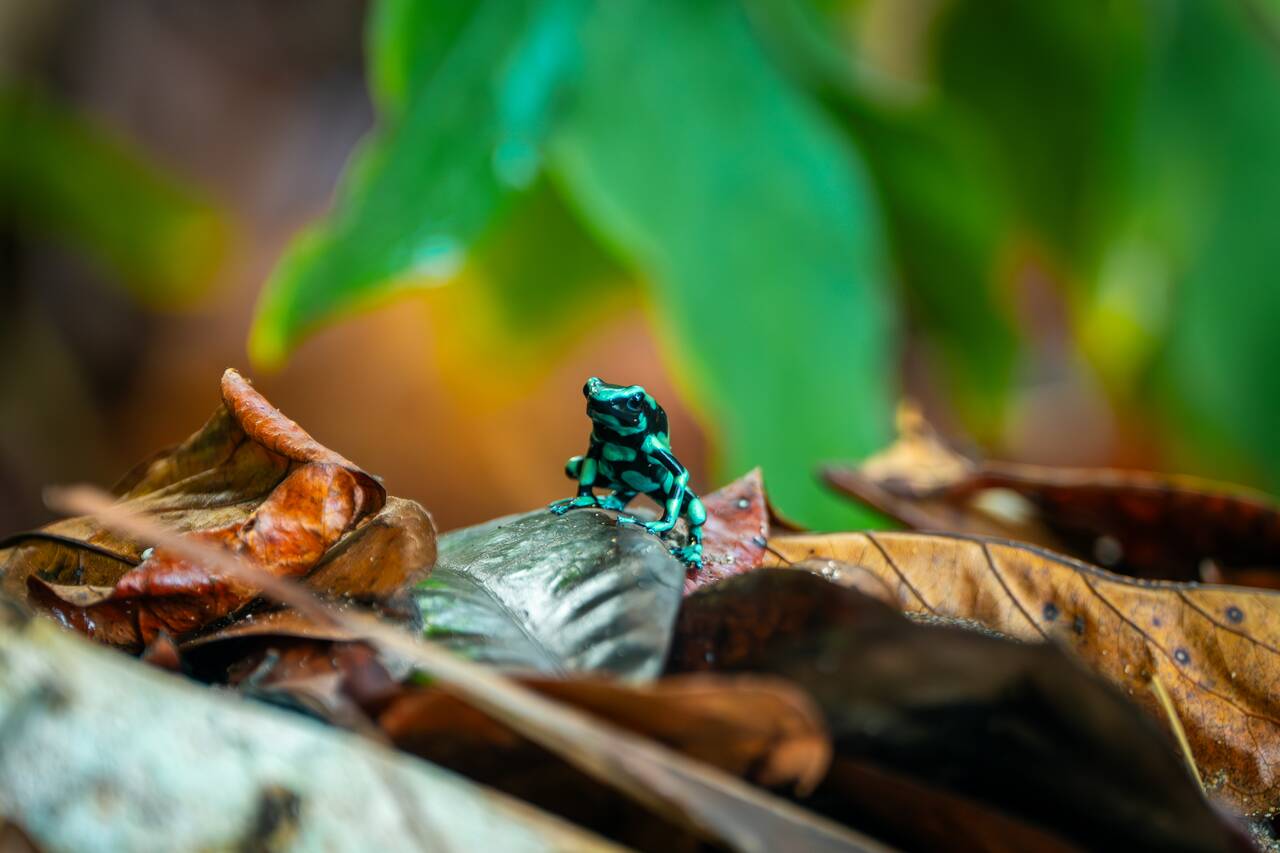
Because the jungle comes right up to the coastline, you do not have to go far to spot wildlife. During my morning walks, I often saw spider monkeys jumping between the trees, colorful birds flying overhead, and all kinds of small creatures hiding in the vegetation. If you are lucky, you might even spot a green and black poison dart frog, one of the many fascinating amphibians that call this part of Costa Rica home.
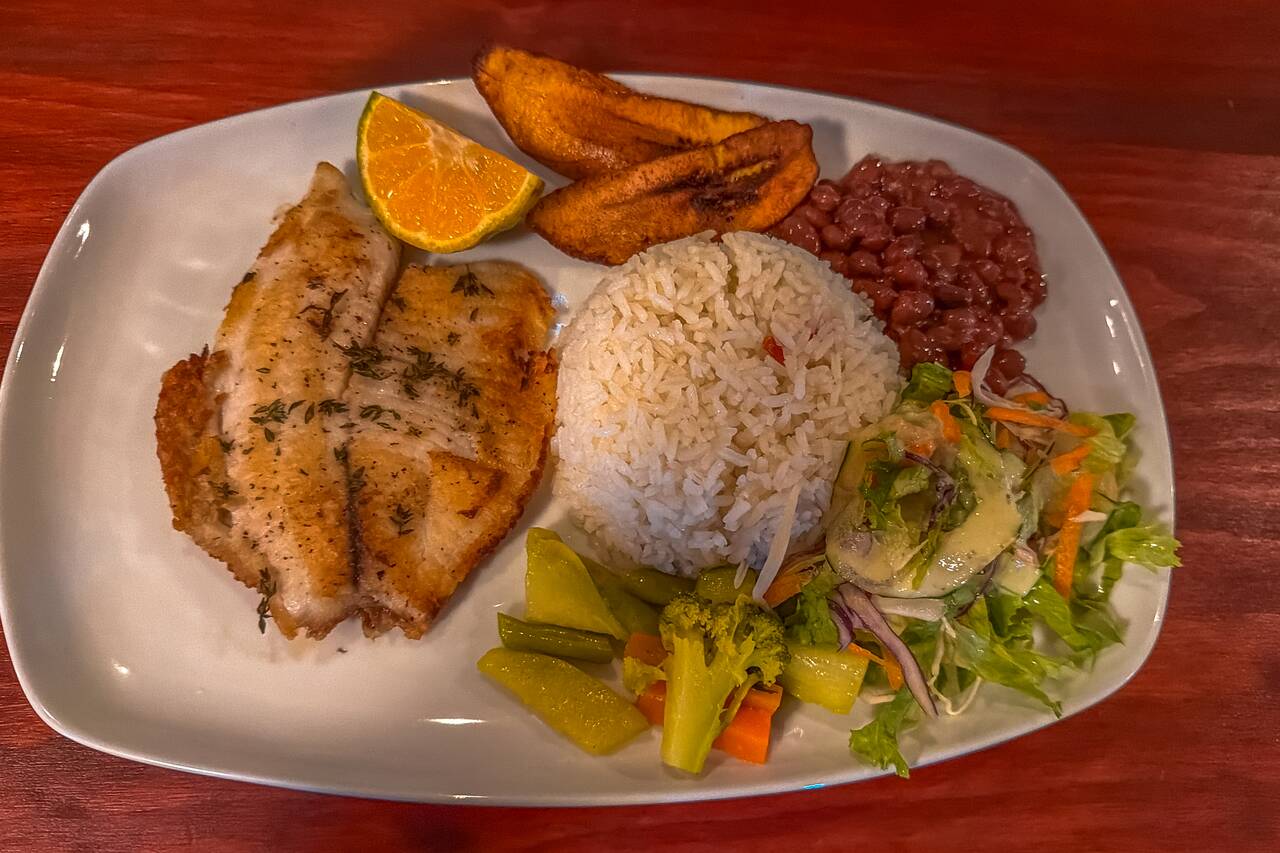
In the afternoon, you can go explore the town a bit, check out the local Costa Rican/Caribbean cuisine at one of the many restaurants and cafes here. One of my favorite places to eat is Mari Soda Restaurant & Bar, a roadside local restaurant with a balcony where you can order Caribbean dishes and watch the world go by. They are the most affordable I have found in Puerto Viejo, which is not easy to find due to how catered to tourists the village has become.
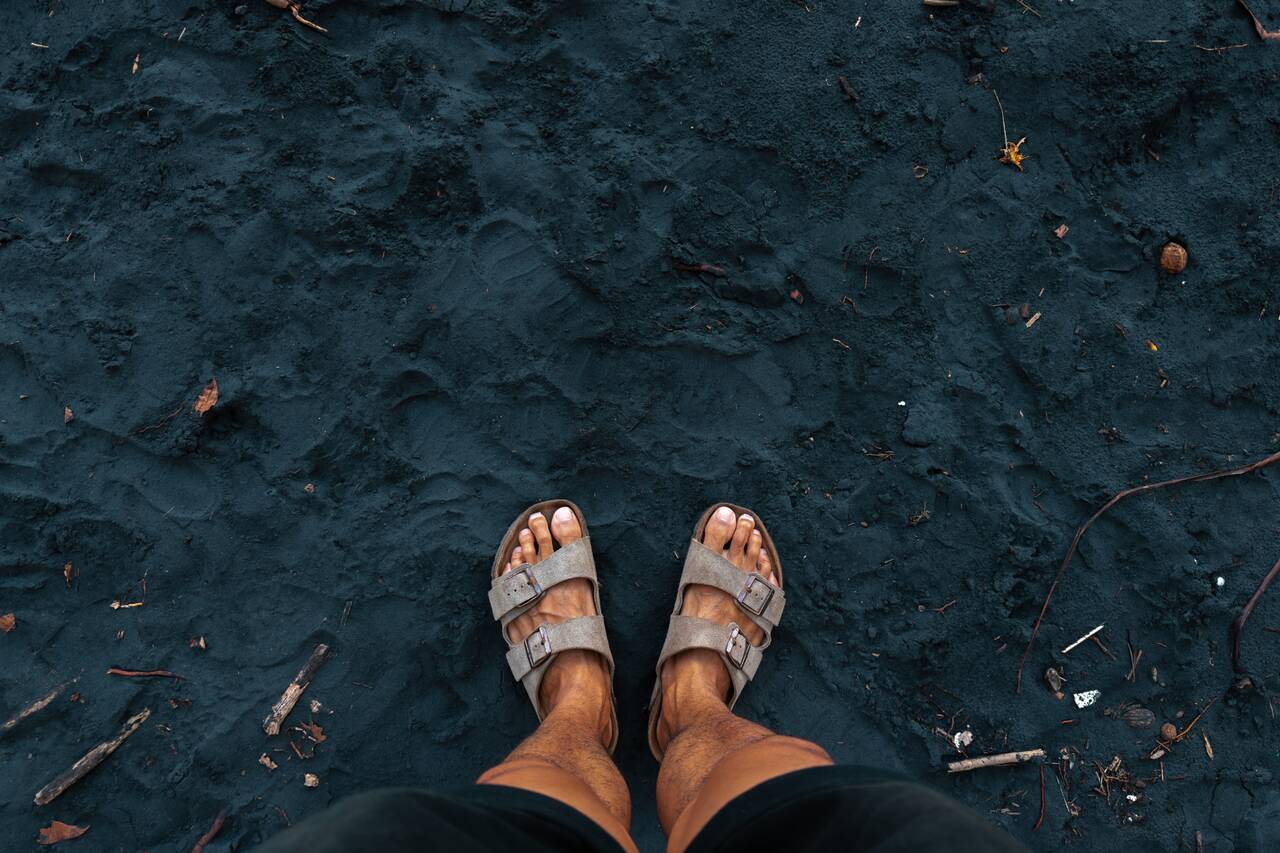
In the evening, you can go for a walk along Playa Negra, a beautiful black sand beach located just a short walk from the center of Puerto Viejo. Once you are done, you can spend the rest of the evening relaxing in town and prepare for a long day exploring the coastline tomorrow.
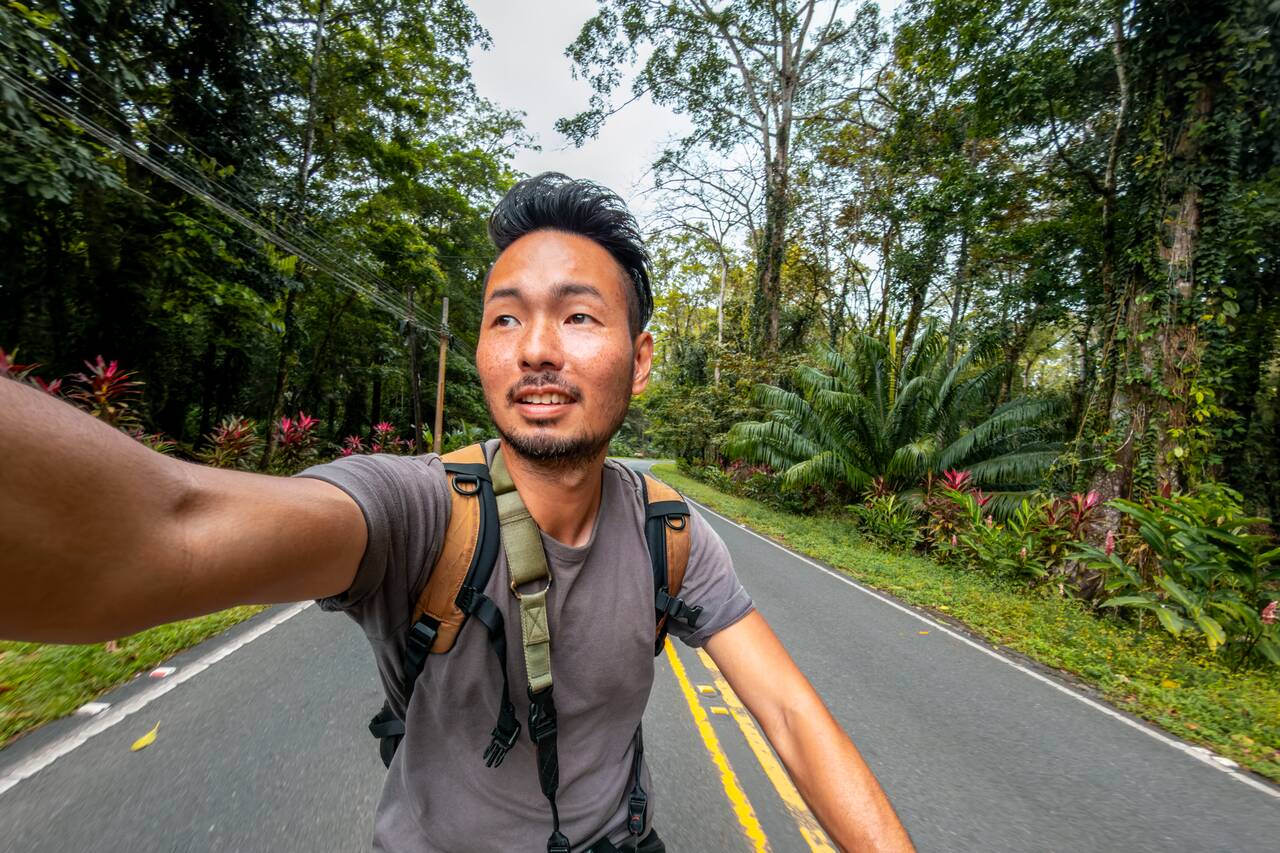
For the second day, you can start early, go and rent a bicycle from either Tuanis Rent a Bike or Pura Rides and ride down the coastal road toward Manzanillo. The route takes you past some of the most beautiful beaches on Costa Rica's Caribbean Coast, with the ocean on one side and dense rainforest on the other.
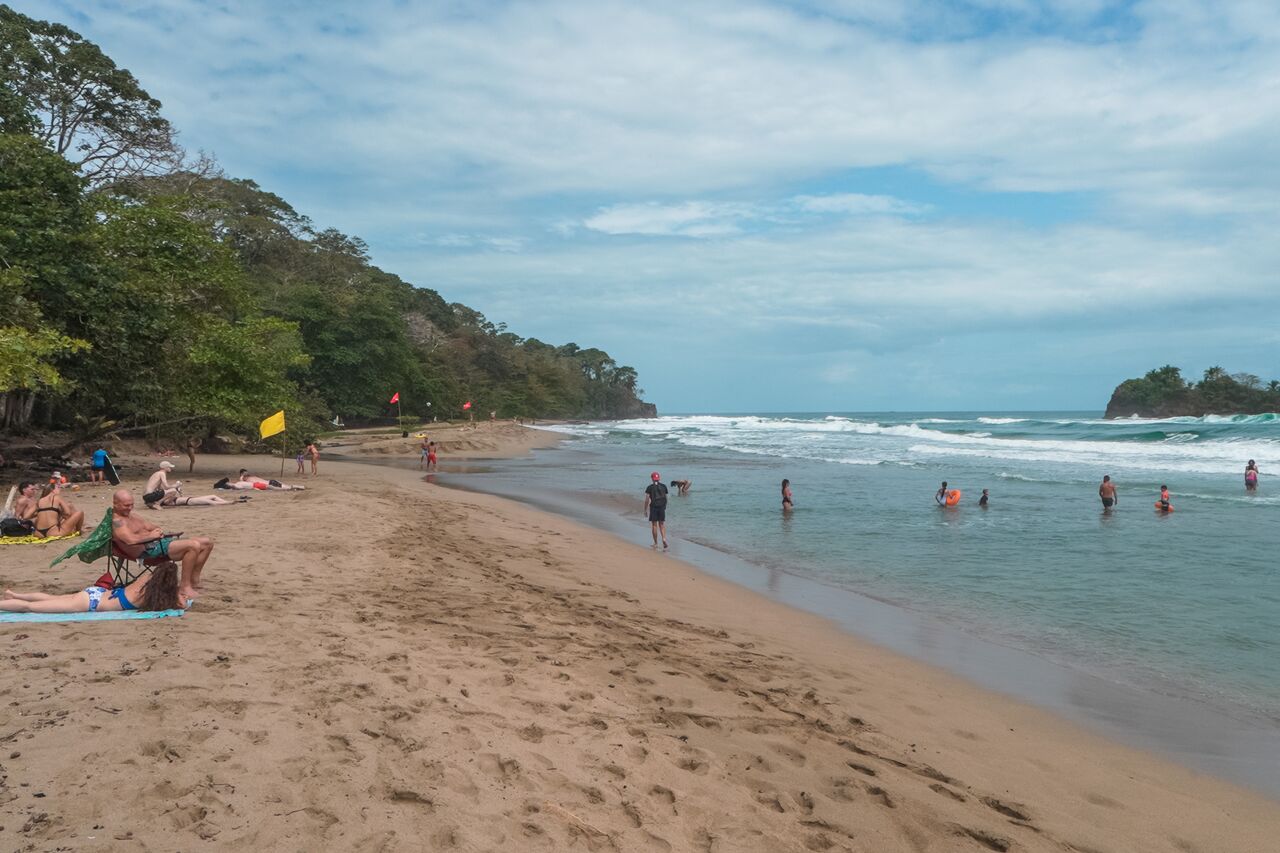
The first place you will visit is Playa Cocles, a beautiful stretch of golden sand located just a short bike ride or a 5-minute bike ride from town. Unlike the more laid-back beaches closer to Puerto Viejo, Playa Cocles has a livelier atmosphere with all kinds of activities you can enjoy.
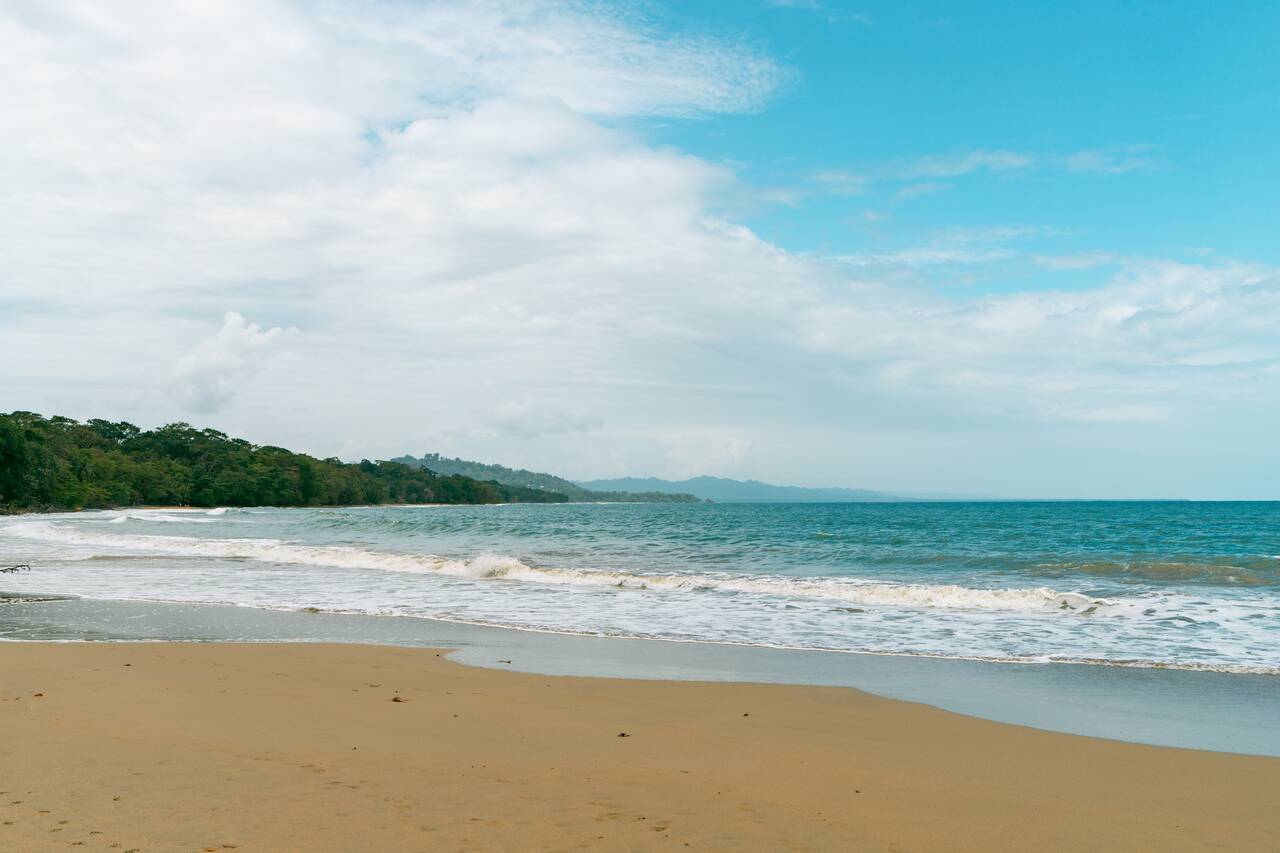
After you are done, you can continue on the ride to Playa Punta Uva, another awesome beach surrounded by dense rainforest and some of the calmest waters along the Caribbean Coast. While most people come here to hang out at the beach, the real highlight for me was that I didn't have to go far to encounter Costa Rica's incredible wildlife.
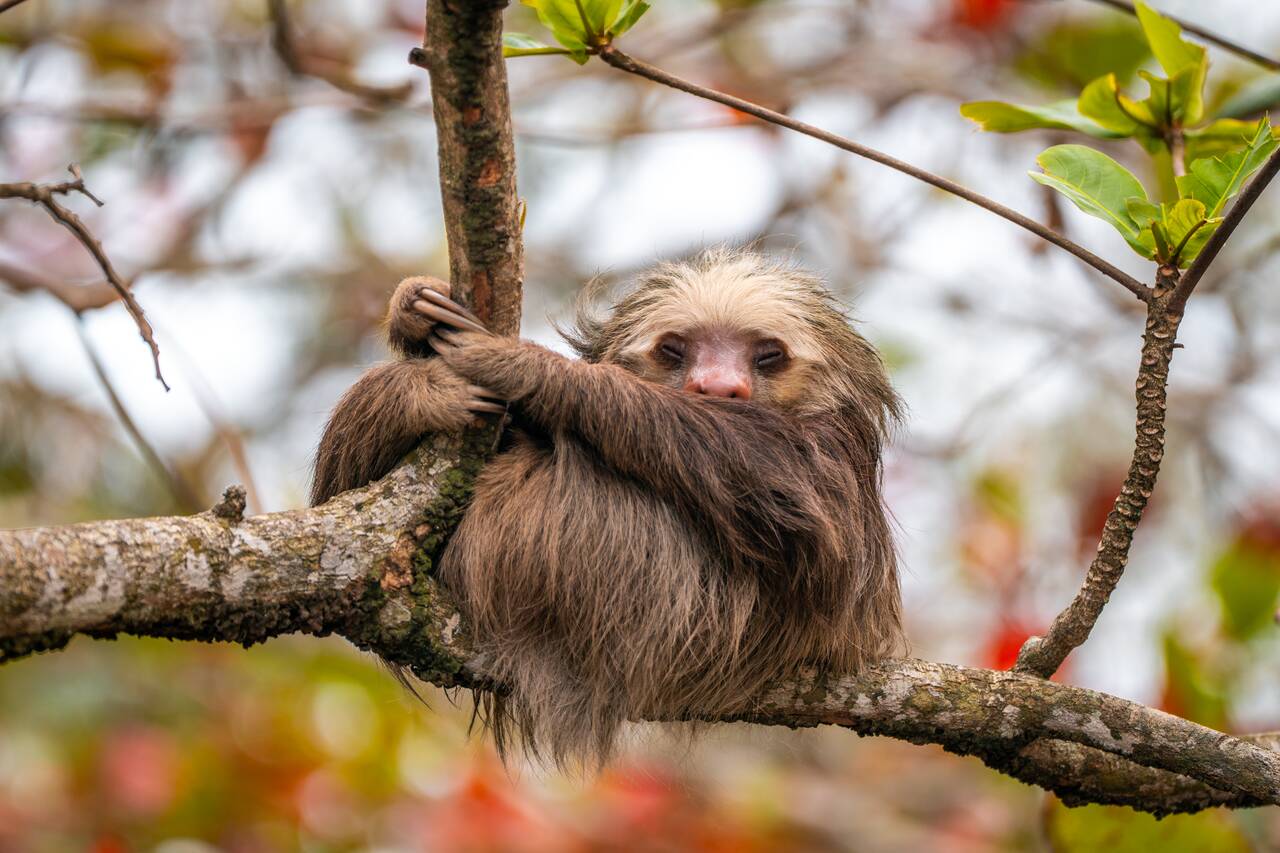
As you walk along the road toward Punta Uva or explore the jungle edges around the beach, keep your eyes on the trees. Sloths are surprisingly common in this area, and I spotted several of them just hanging out above the road, slowly moving between branches.
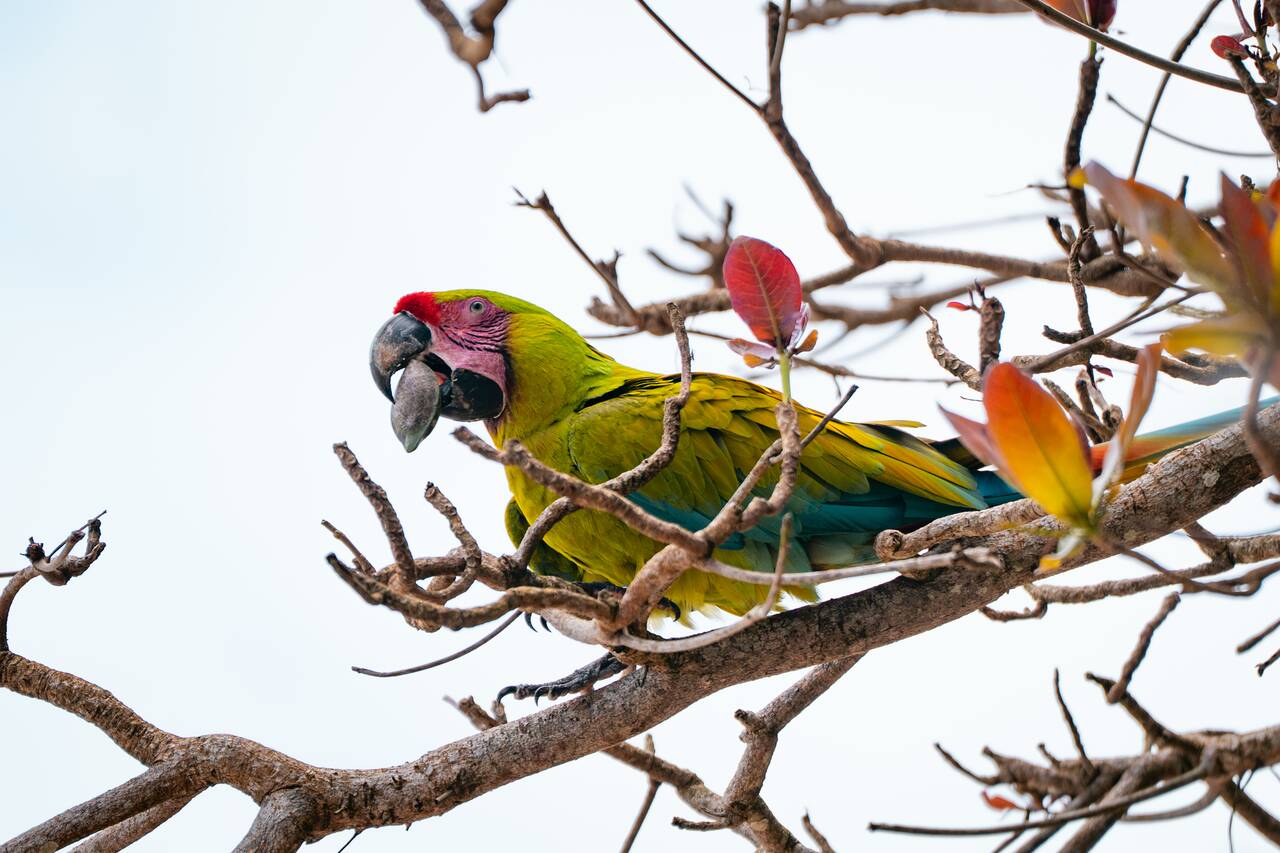
Besides sloths, you might also spot monkeys, colorful birds, raccoons, and other small creatures living in the surrounding rainforest. You can hike up to Cueva Punta Uva and check out the view from the top of the hill, or walk over to Playa Grande, which is arguably an even better beach than Playa Punta Uva.
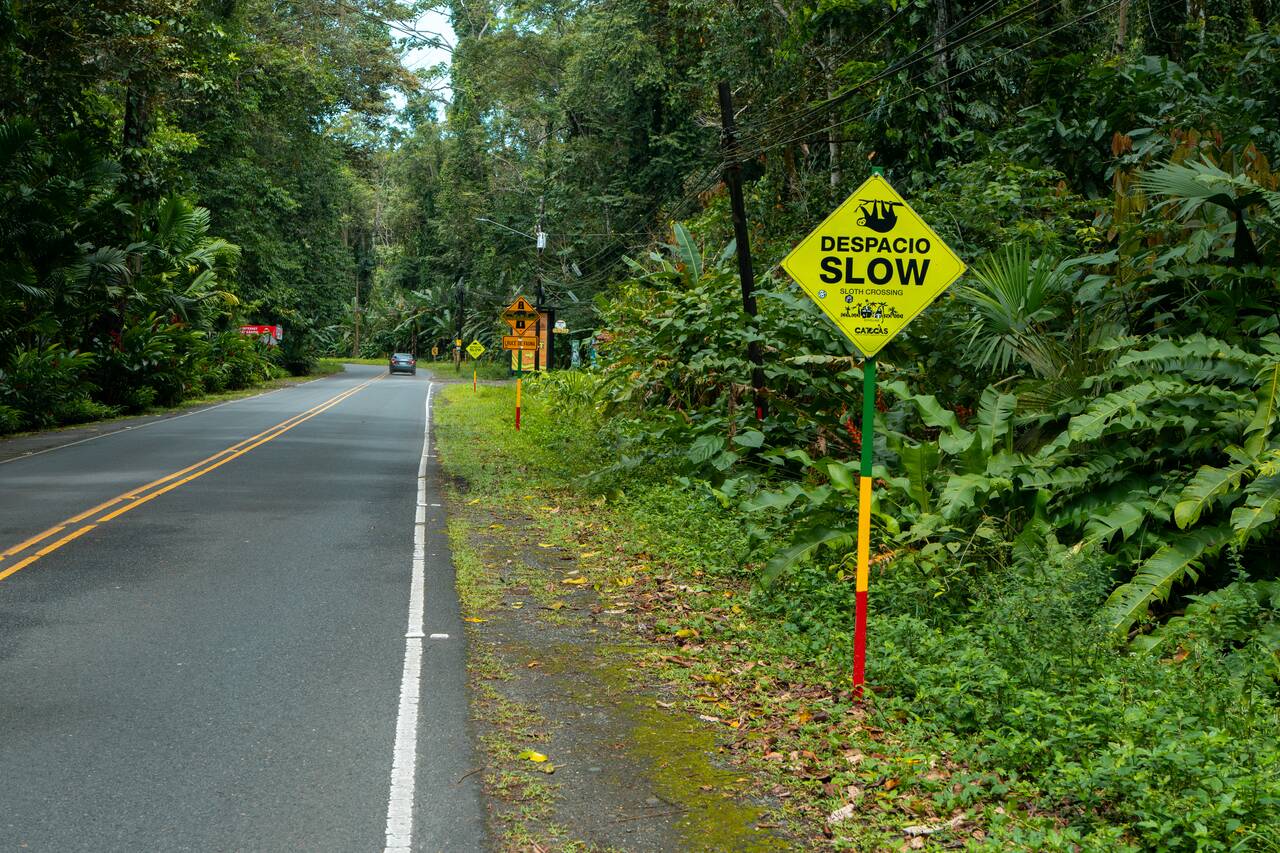
From Punta Uva, you can ride all the way to Manzanillo Beach. The road is mostly flat, with only a couple of short uphill sections as you get closer to Manzanillo. It is an easy ride for most people, and the lack of heavy traffic makes cycling here feel safe and enjoyable. Just be sure to bring enough water, as the tropical heat can sneak up on you, especially around midday.
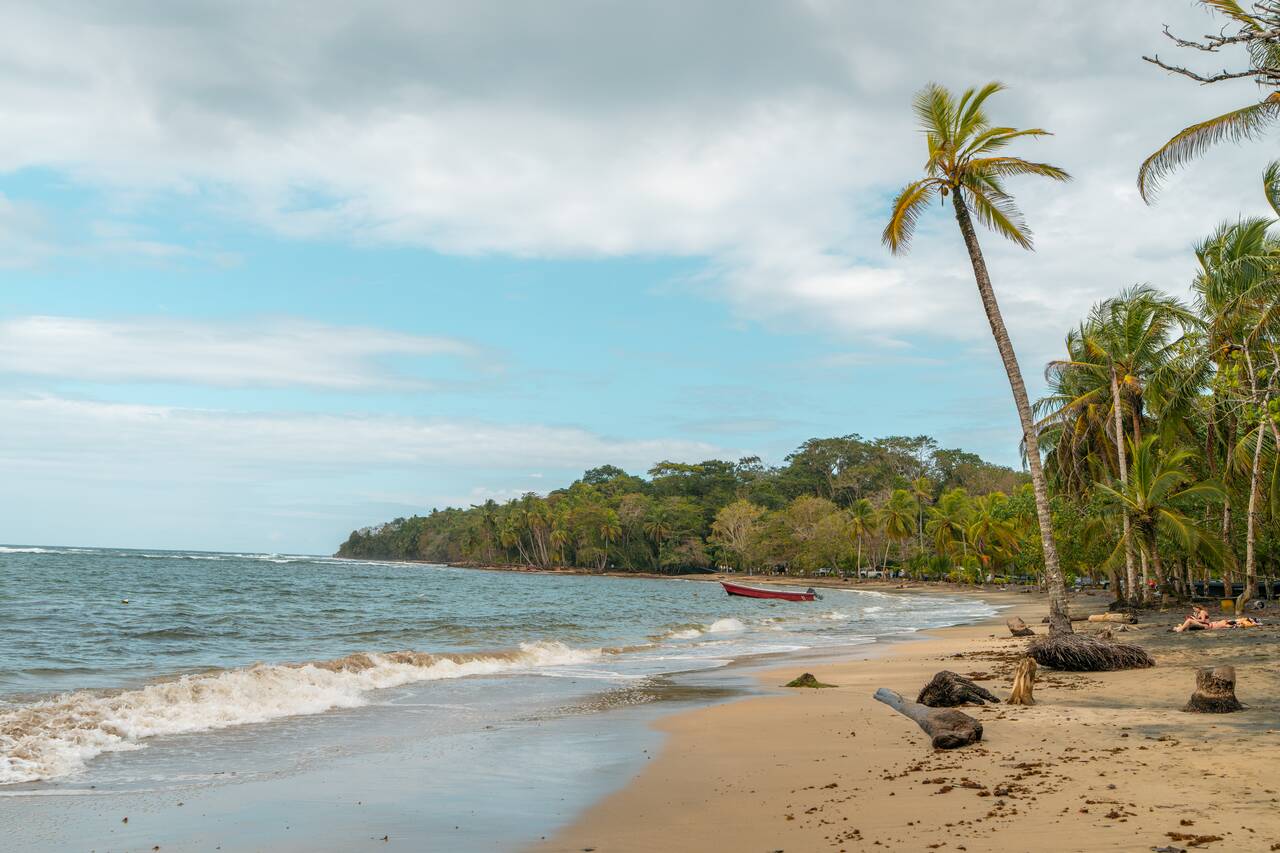
At the end of the coastal road, you will find yourself in Manzanillo, a small and peaceful fishing village that feels like a world away from the busier streets of Puerto Viejo. Unlike Puerto Viejo, Manzanillo still feels raw and untouched. The village itself is small, with a few local restaurants, shops, and places to grab a drink, but the real highlight is the nature surrounding it.
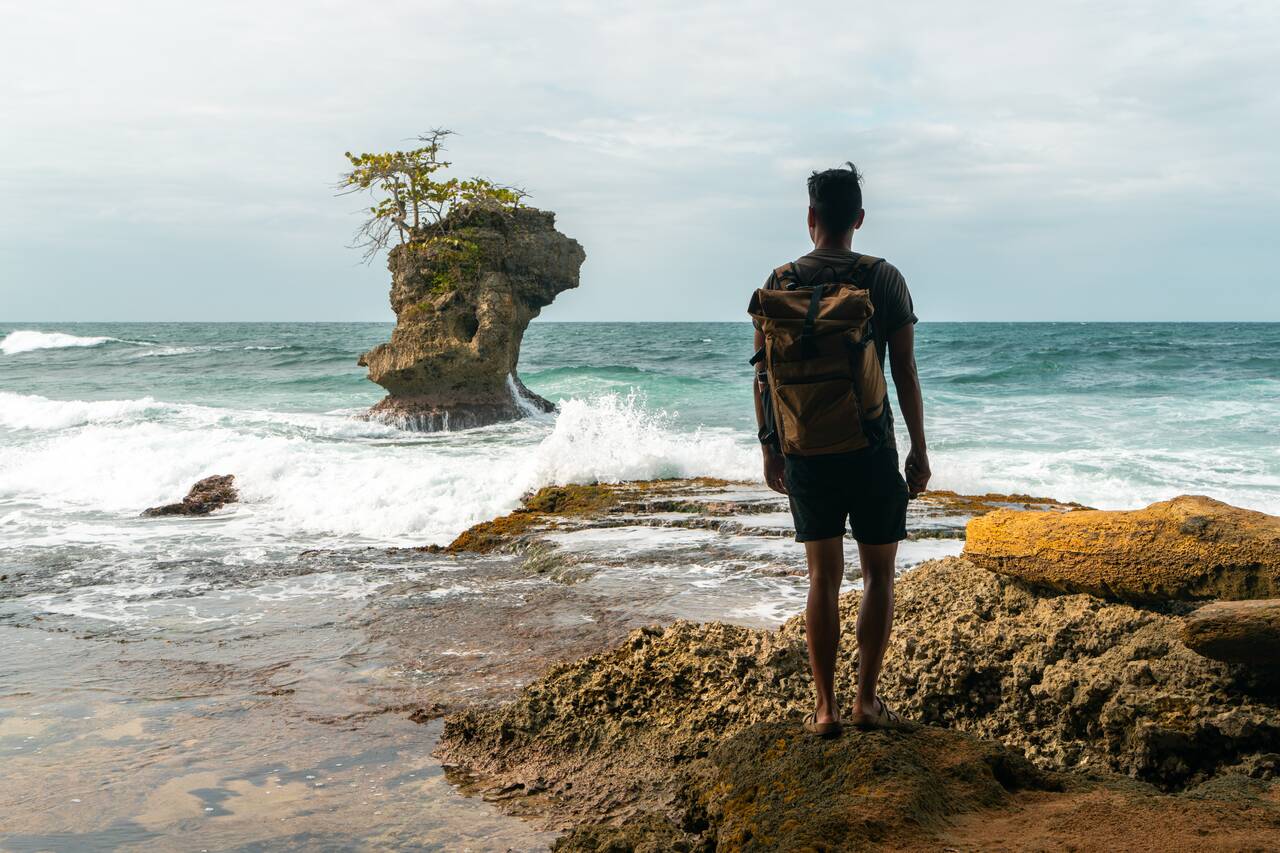
And there is no better place to experience the wonderful nature of Manzanillo than at Gandoca-Manzanillo Wildlife Refuge. Located just beyond the village of Manzanillo, this protected area is where the rainforest meets the Caribbean Sea, creating one of the most beautiful and wildlife-rich landscapes on the coast.
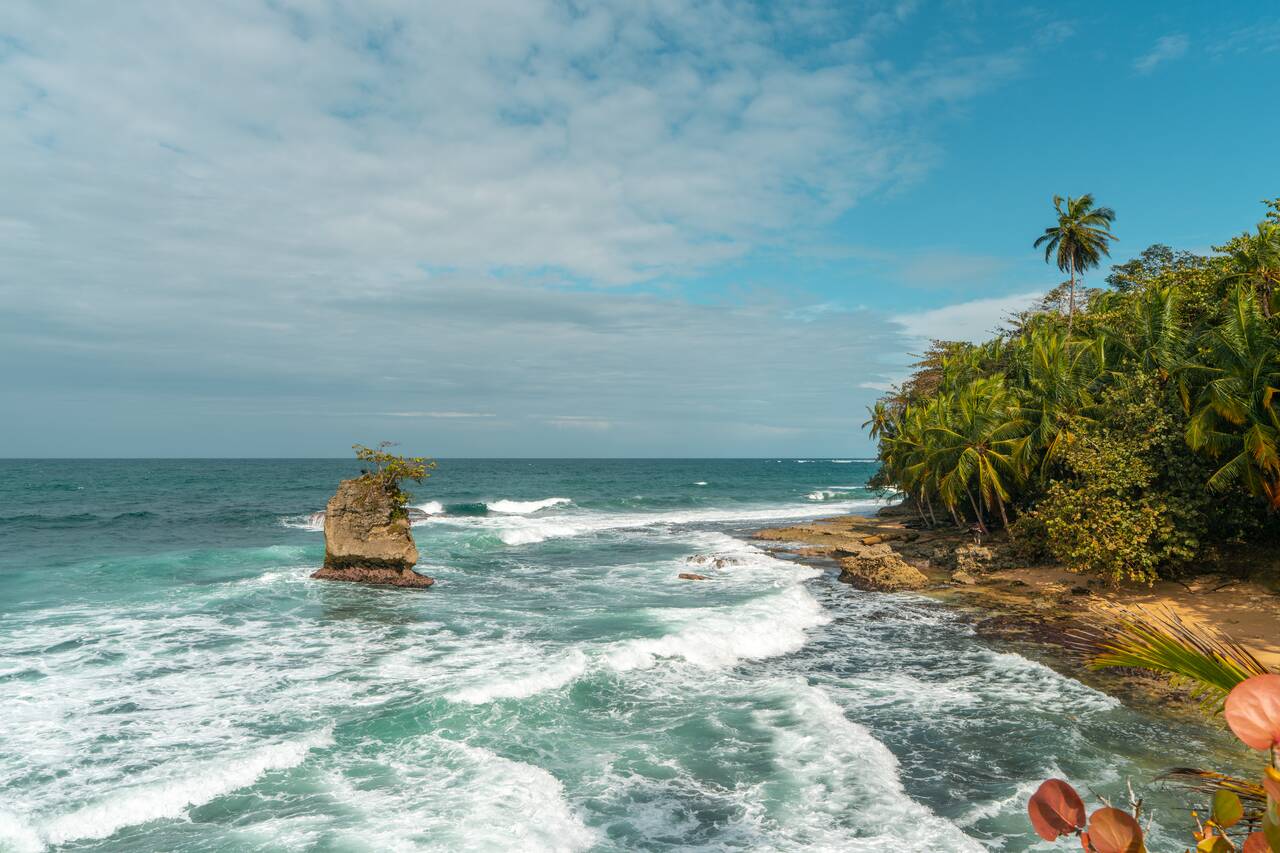
The trails here are not overly difficult, but they can get muddy and slippery after rain, so I recommend wearing proper shoes and taking your time. Make sure you hike all the way to Mirador Manzanillo, where you can see one of the most famous landmarks in the park: a lone rock standing in the ocean with a tree growing on top, weathering the waves and storms of the Caribbean Sea.
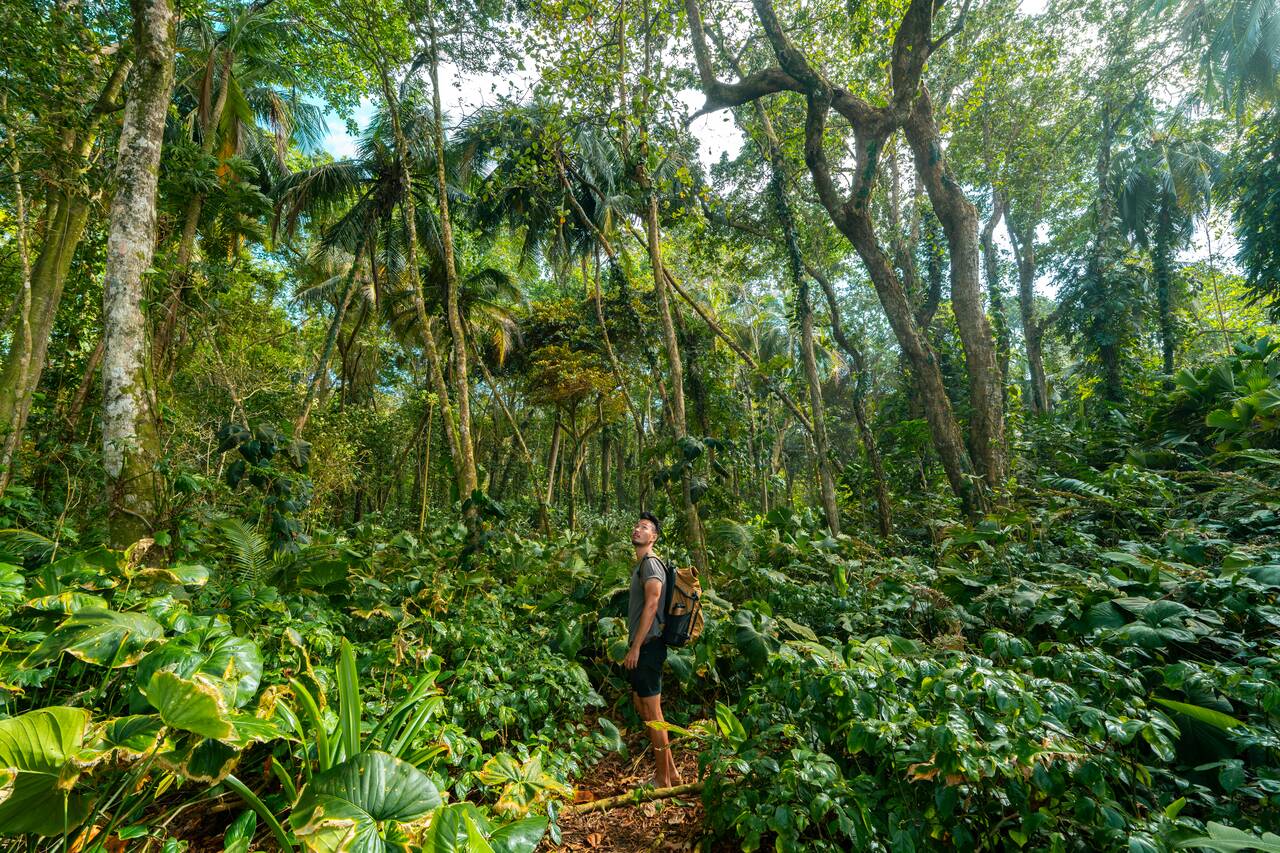
The park closes at 3 PM, so be sure to plan your visit accordingly. Once you're done, it will take around an hour to ride back to Puerto Viejo, where you can spend the rest of the day relaxing in town and resting before heading to Uvita the next day. It's going to be a long travel day involving two buses and more than 10 hours on the road, so be prepared to get up early!


Getting from Puerto Viejo to Uvita
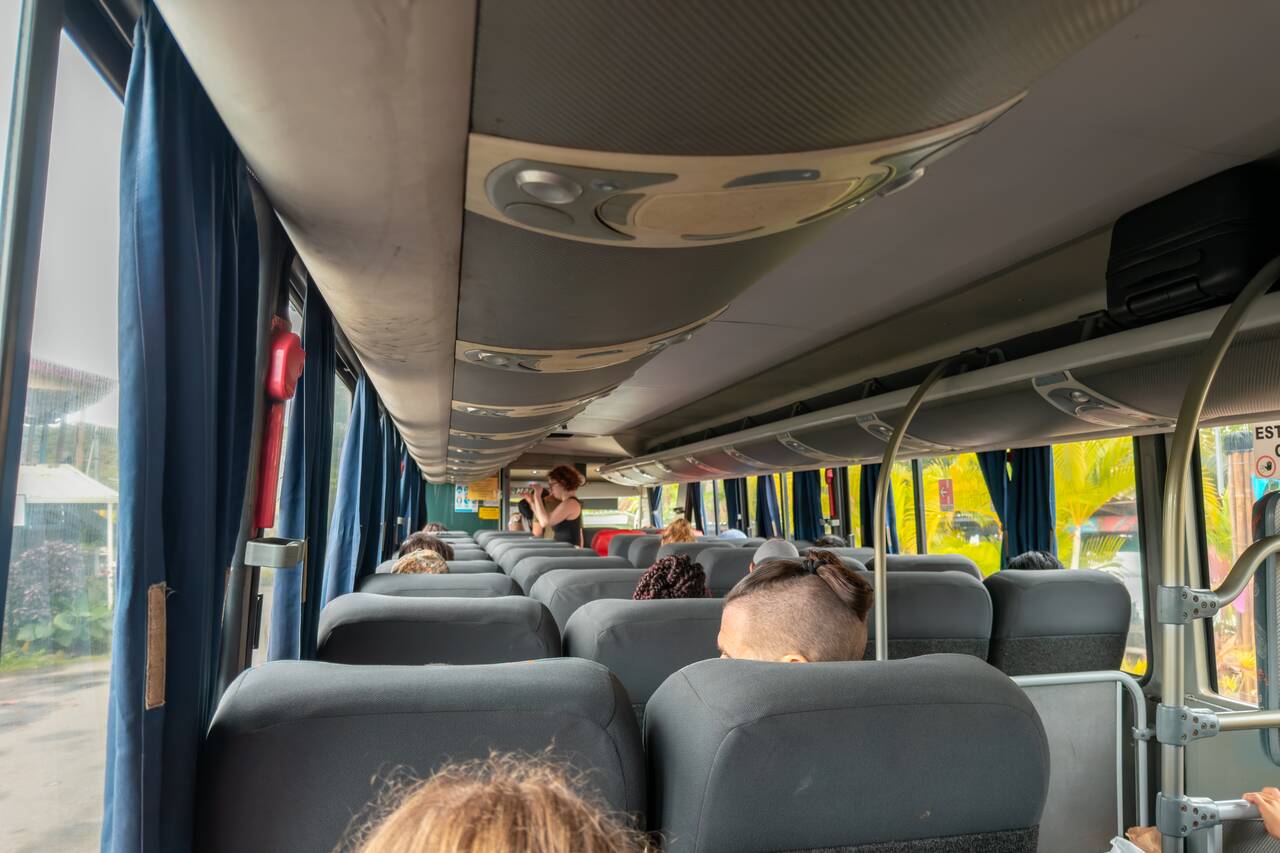
From Puerto Viejo to Uvita, you will have to start very early as it is a long journey, taking about 10 hours in total, and you will have to transit in San Jose all in one day. It's possible, but only if you start early in Puerto Viejo. If not, feel free to stay another night in San Jose.
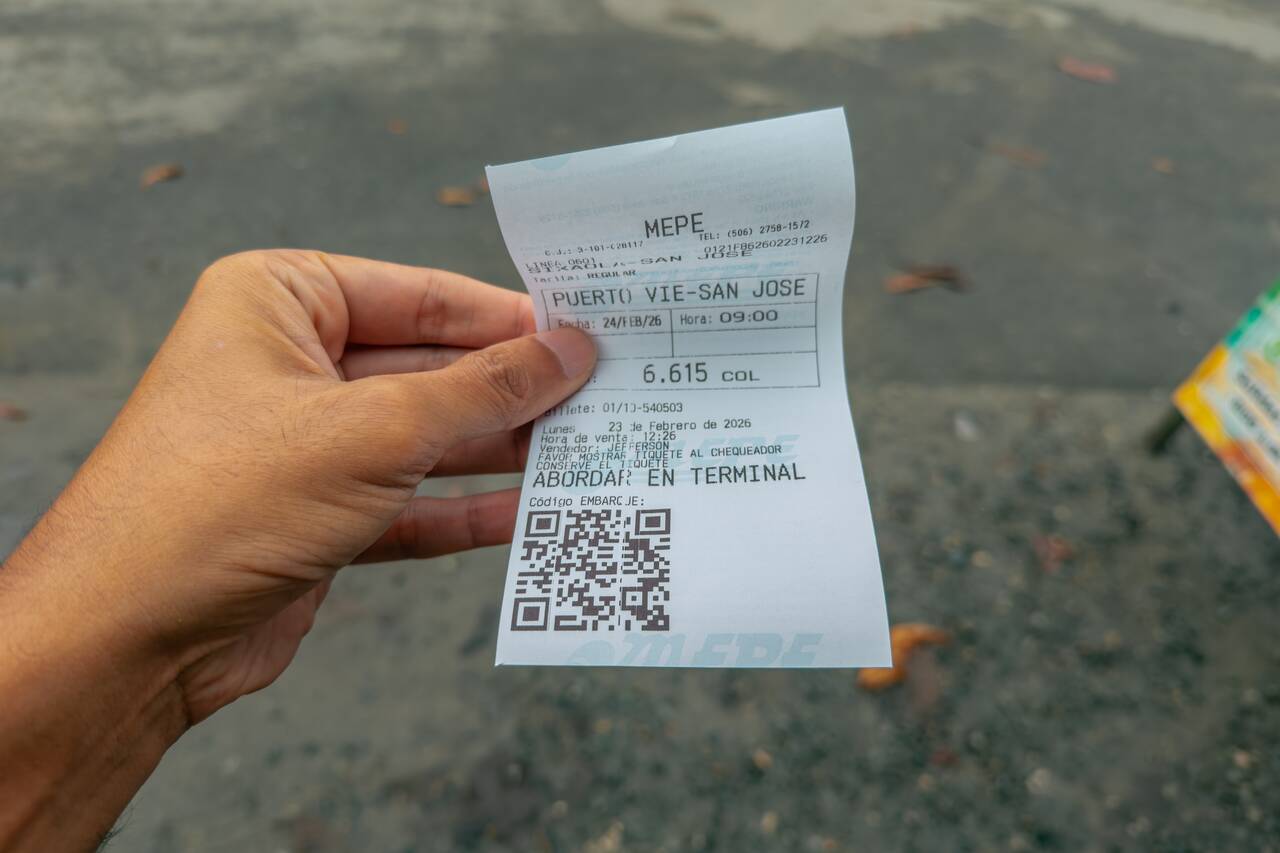
Direct buses operated by MEPE run several times a day between Puerto Viejo and San José. The journey generally takes between 4.5 and 5.5 hours, although roadworks and traffic can occasionally make it considerably longer. The bus will drop you off at the MEPE Terminal in San José.
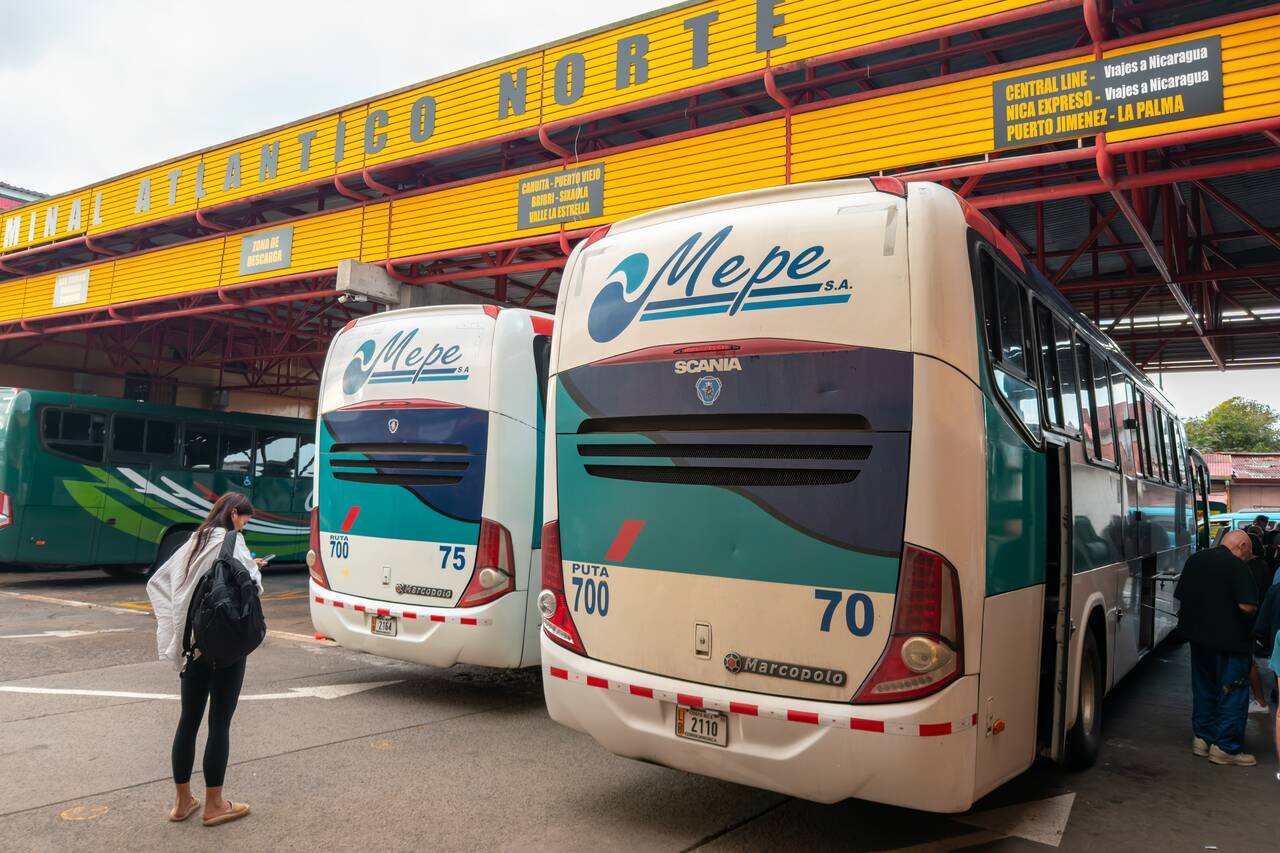
The bus runs daily at 3 AM, 5:30 AM, 9 AM, 12 PM, and 4 PM. I recommend taking either the 5:30 AM or 9 AM departure. I also recommend not booking this bus through third-party platforms, as they often overcharge by as much as 10 USD per ticket. Instead, purchase your ticket directly from this small ticket kiosk in Puerto Viejo before your departure date. Tickets should cost around 20 USD, and payment is typically accepted in cash only.
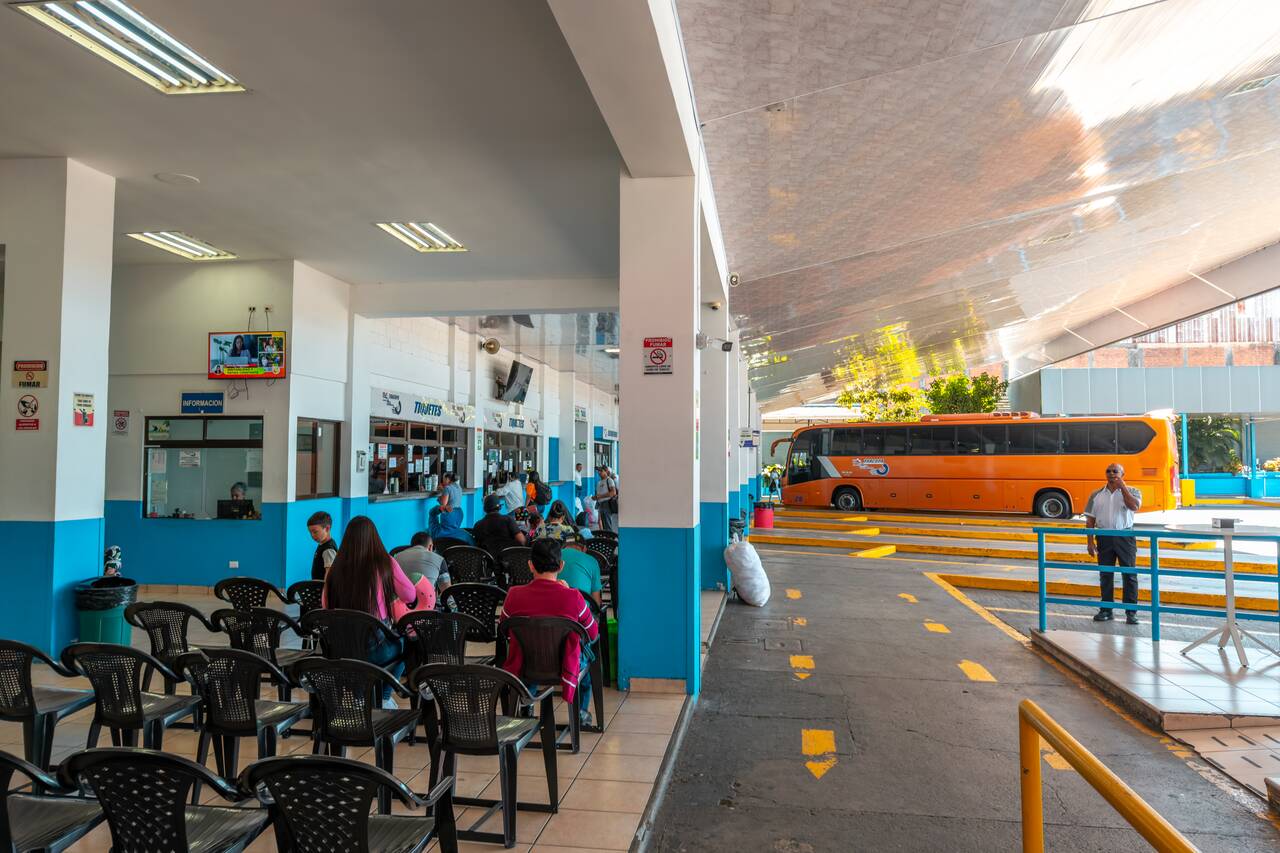
Once you arrive in San Jose, you will have to take an Uber to Tracopa Bus Terminal, where you can catch the bus to Uvita. You can book tickets online with a credit card via the Passer App: Android | iOS, or you can get it from the bus station with cash only.

Tickets cost around 7,860 CRC (17 USD), and the journey usually takes between 4 and 5 hours, although traffic near the capital can sometimes add extra time. Buses run throughout the day, generally every hour from 5:30 AM to 10:10 PM. If you're arriving in San José from Puerto Viejo, I recommend catching either the 3 PM or 4 PM departure, depending on when you arrive. The bus will drop you off at the Tracopa Bus Terminal in Uvita at around 7–8 PM.
Day 19-21: Uvita, Costa Rica (3 nights)
- 📍 Stay: Bahia Selvatica Lodge
- 🕐 Time: 3 nights
- 📖 Full Guide: How to Get from Uvita to Nauyaca Waterfalls (and Back)
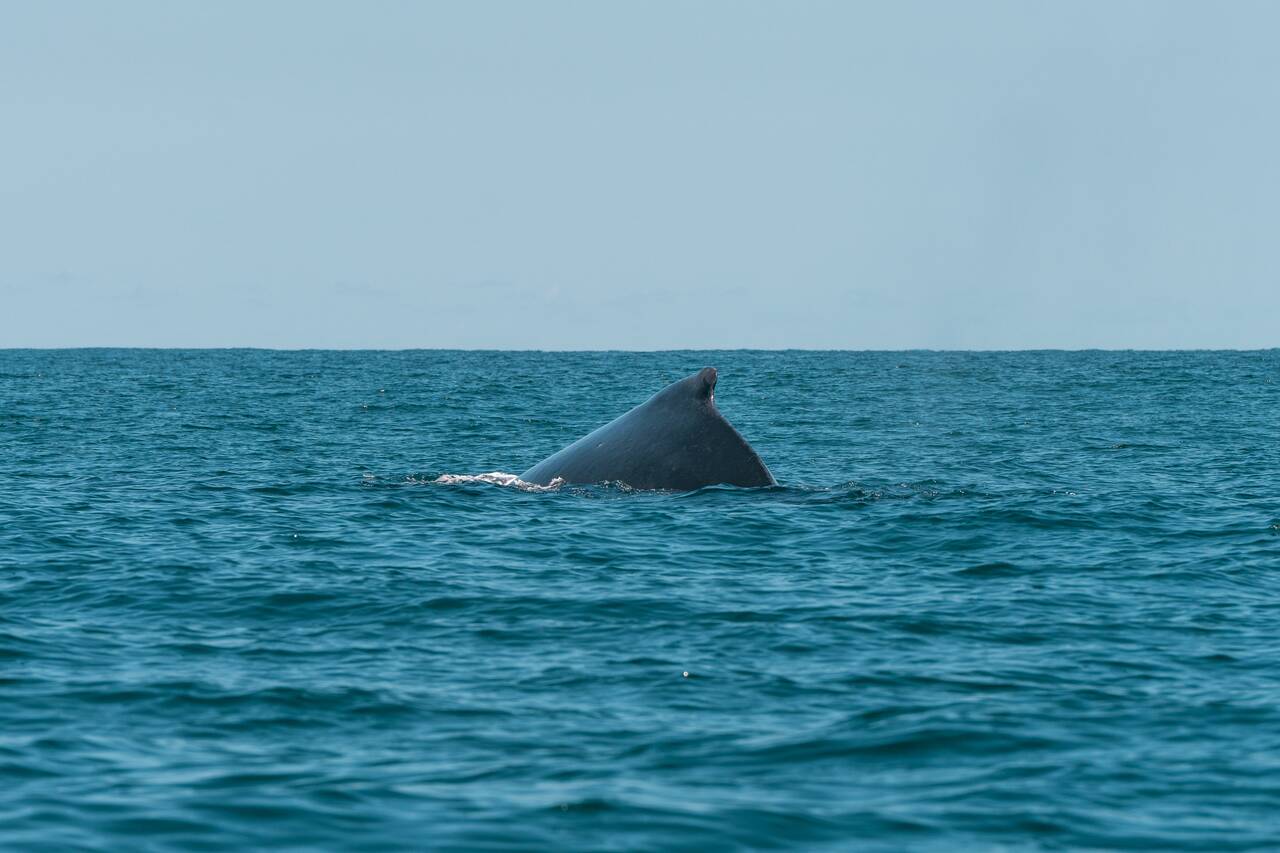
If there is one activity you absolutely must do in Uvita, it is whale watching, which is why I recommend booking this whale-watching tour before you arrive, so you can do it on your first day here. The town sits right next to Marino Ballena National Park, one of the best places in Costa Rica to see humpback whales and one of the few places in the world where whales from both the Northern and Southern Hemispheres migrate through at different times of the year.
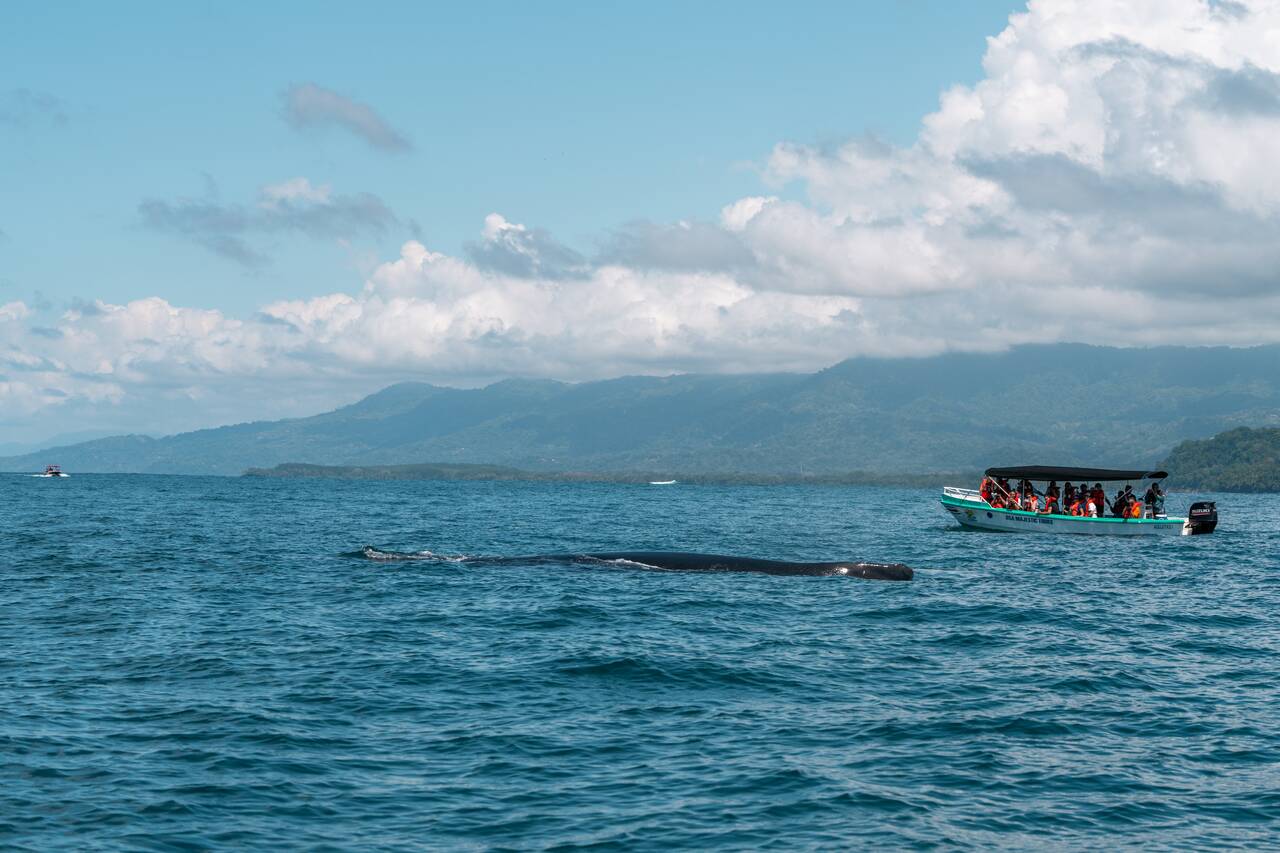
Depending on when you visit, you may have the chance to see humpback whales breaching, slapping their tails on the water, or swimming alongside their calves. Even outside of whale season, boat tours often encounter dolphins, sea turtles, manta rays, and other marine life, but like everything related to wildlife, sightings are never guaranteed.
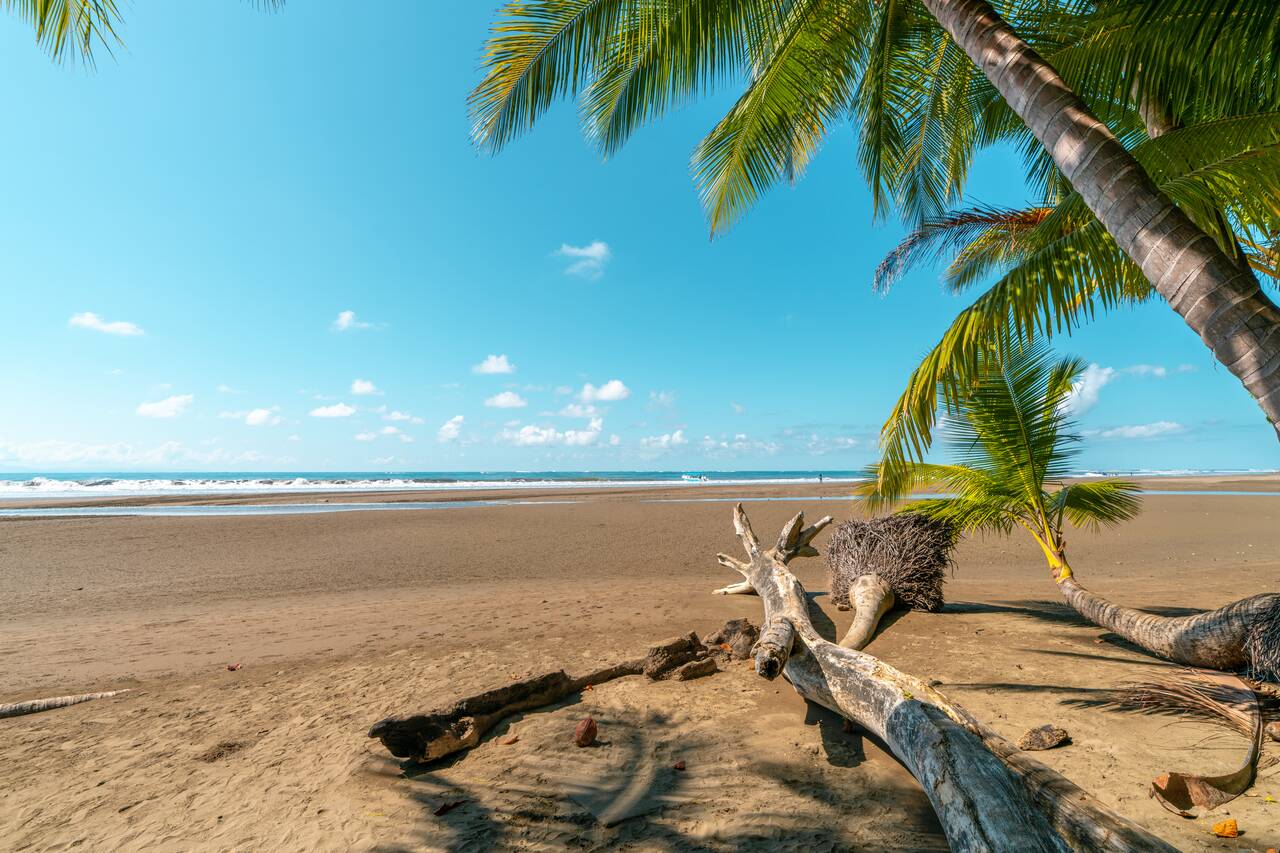
The whale-watching tour should take about half a day, which will leave you another half to explore Marino Ballena National Park. This beautiful coastal park is famous for its beaches, marine life, and the iconic Whale Tail sandbar. The park protects a large stretch of coastline and surrounding ocean, allowing you to experience the untouched natural beauty that Costa Rica is famous for.
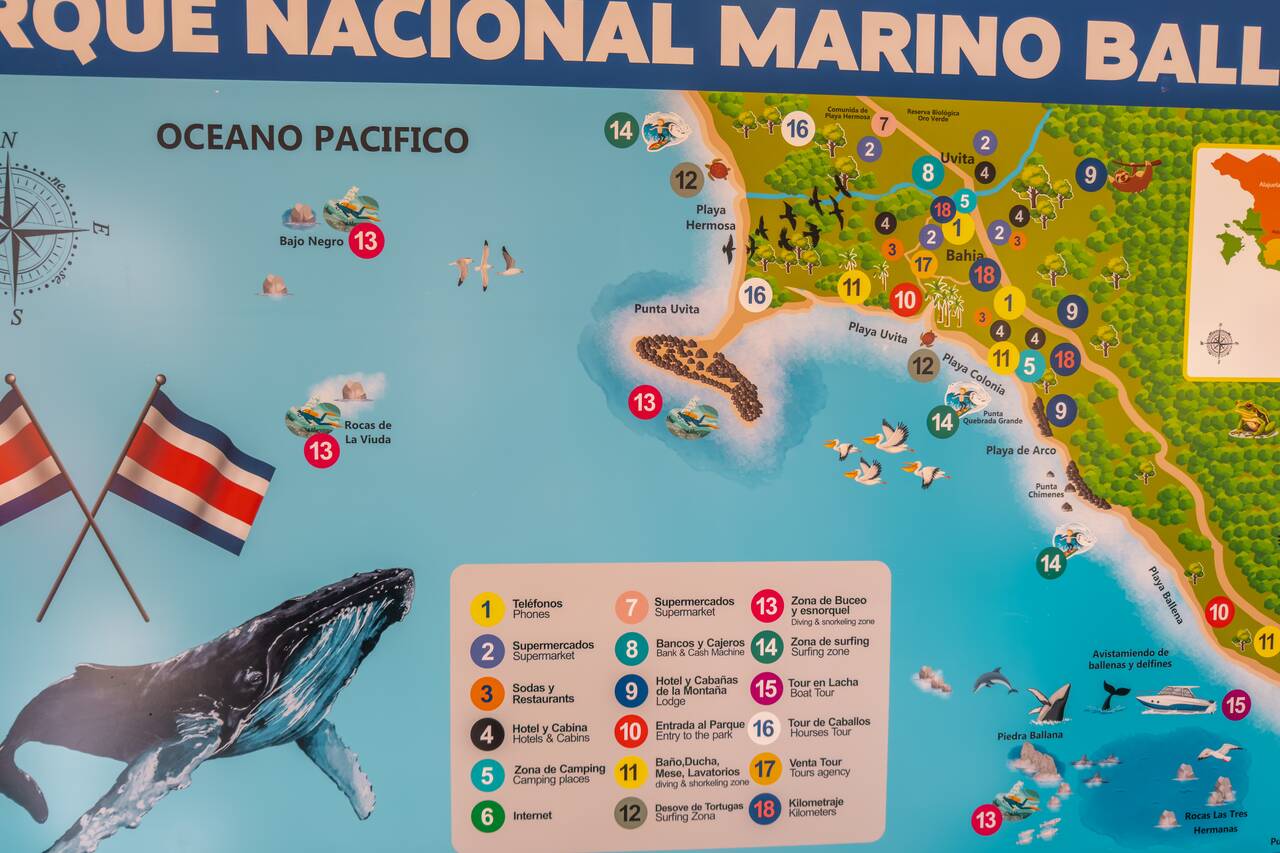
The most famous attraction here is the naturally shaped Whale Tail, a sandbar formation that coincidentally looks like the tail of a whale when viewed from above. The shape is created by two beaches meeting in the middle, and it is best visited during low tide when you can walk all the way out along the beach. How awesome is that!
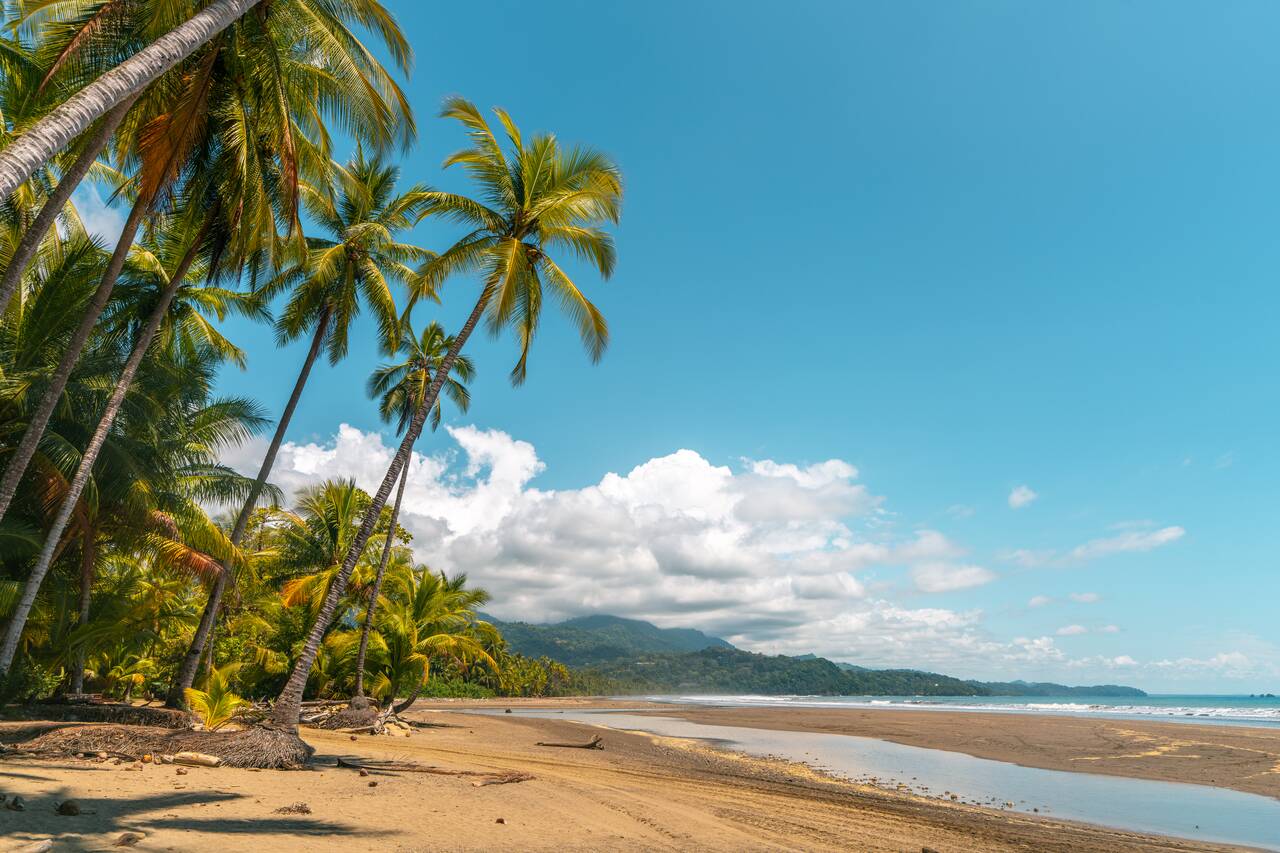
After exploring Marino Ballena National Park, you can spend the rest of the day relaxing at Playa Uvita. This long stretch of golden sand is one of the most beautiful beaches in the area and the perfect place to watch the sunset along Costa Rica's Pacific coast.

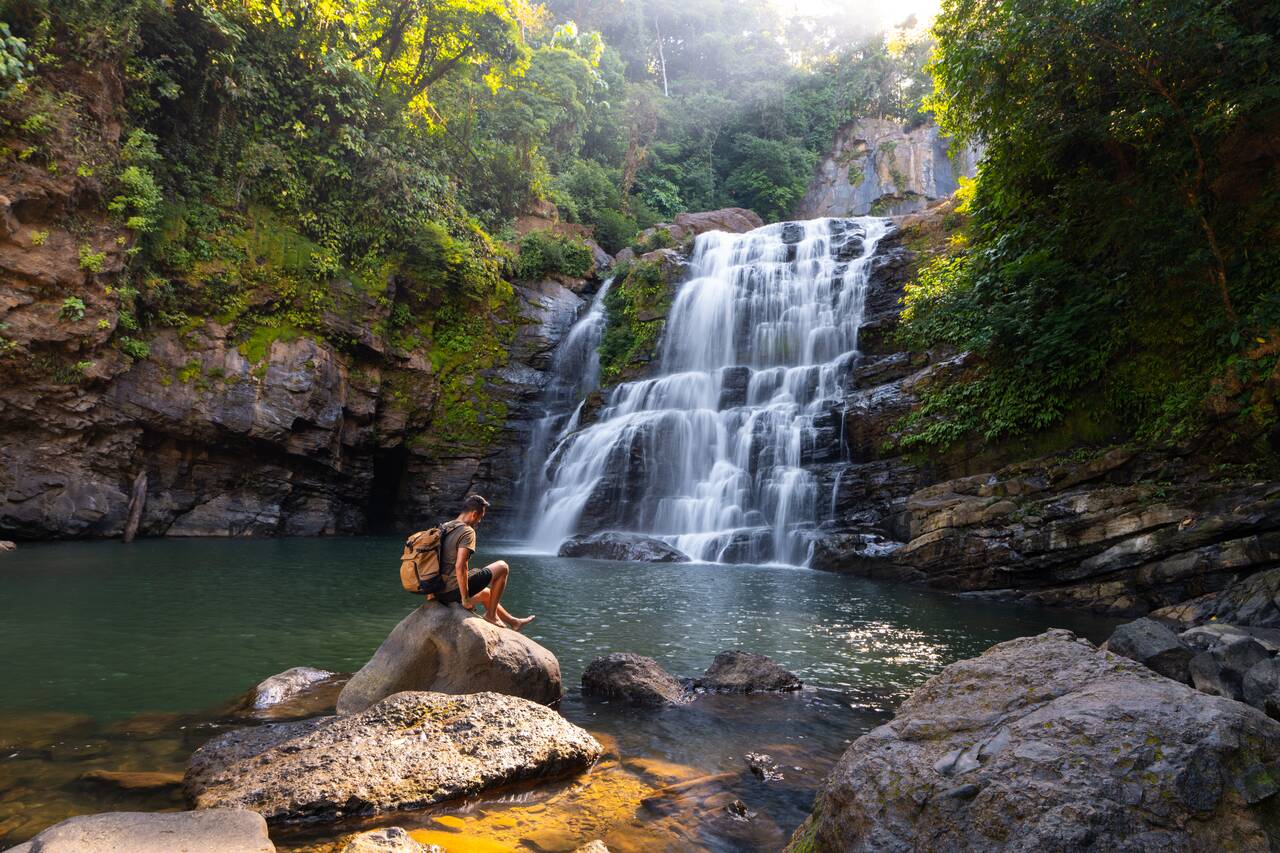
On your second day in Uvita, we will be visiting Nauyaca Waterfalls, by far, my favorite waterfall in Costa Rica. Not because of its size, but because of its natural beauty, peaceful atmosphere (especially in the early mornings), and the lush rainforest surroundings that make you feel like you are swimming in a true jungle.
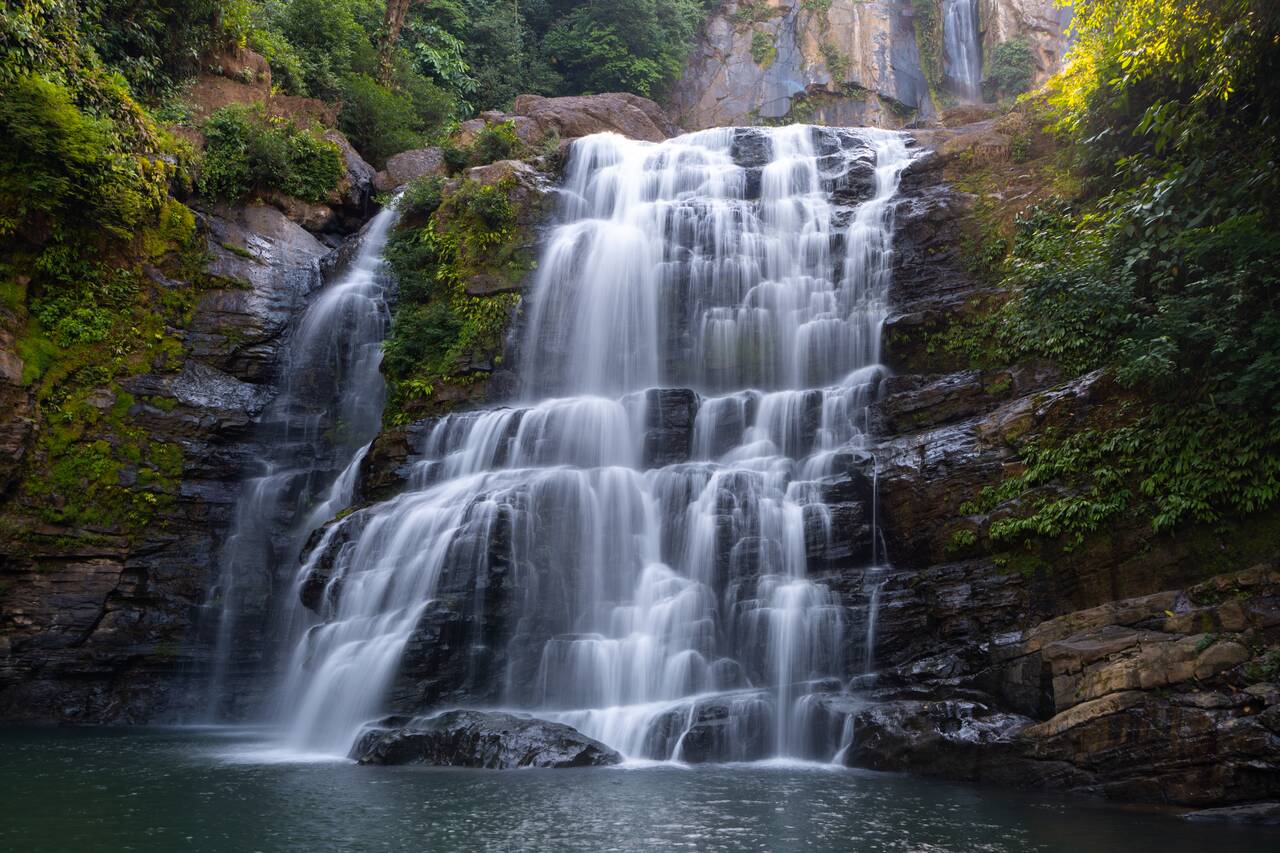
And of course, there is nothing better than jumping into the refreshing cool water after hiking for hours to get there! I spent more than an hour just hanging out at the waterfall in the early morning, swimming around its refreshingly cool water, and enjoying the scenery before other people arrived. It was awesome.
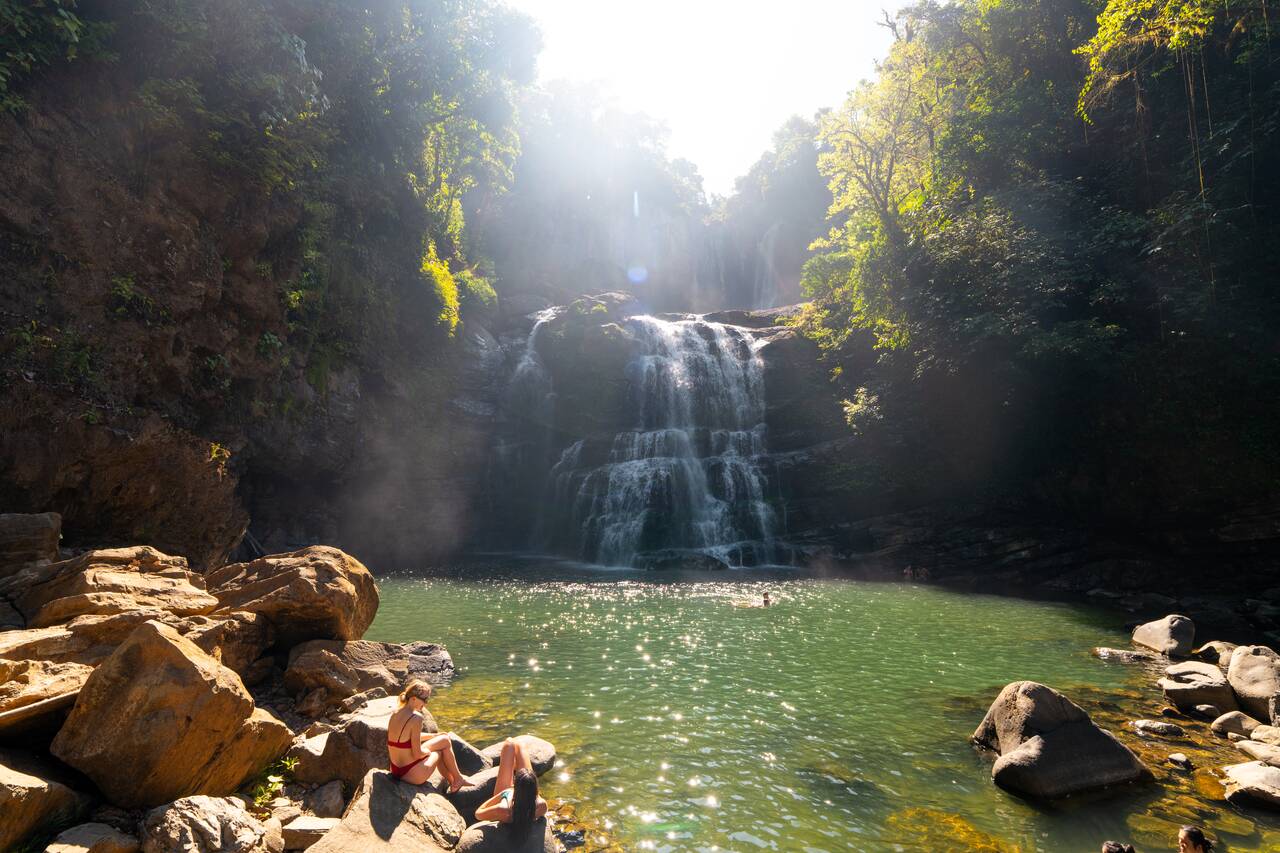
To get there from Uvita, you can either rent a car and drive, join an organized tour, or visit independently using public transportation. This is how I did it, and it allowed me to reach Nauyaca Waterfalls early, beat the crowds, and enjoy the place with barely anyone else around.
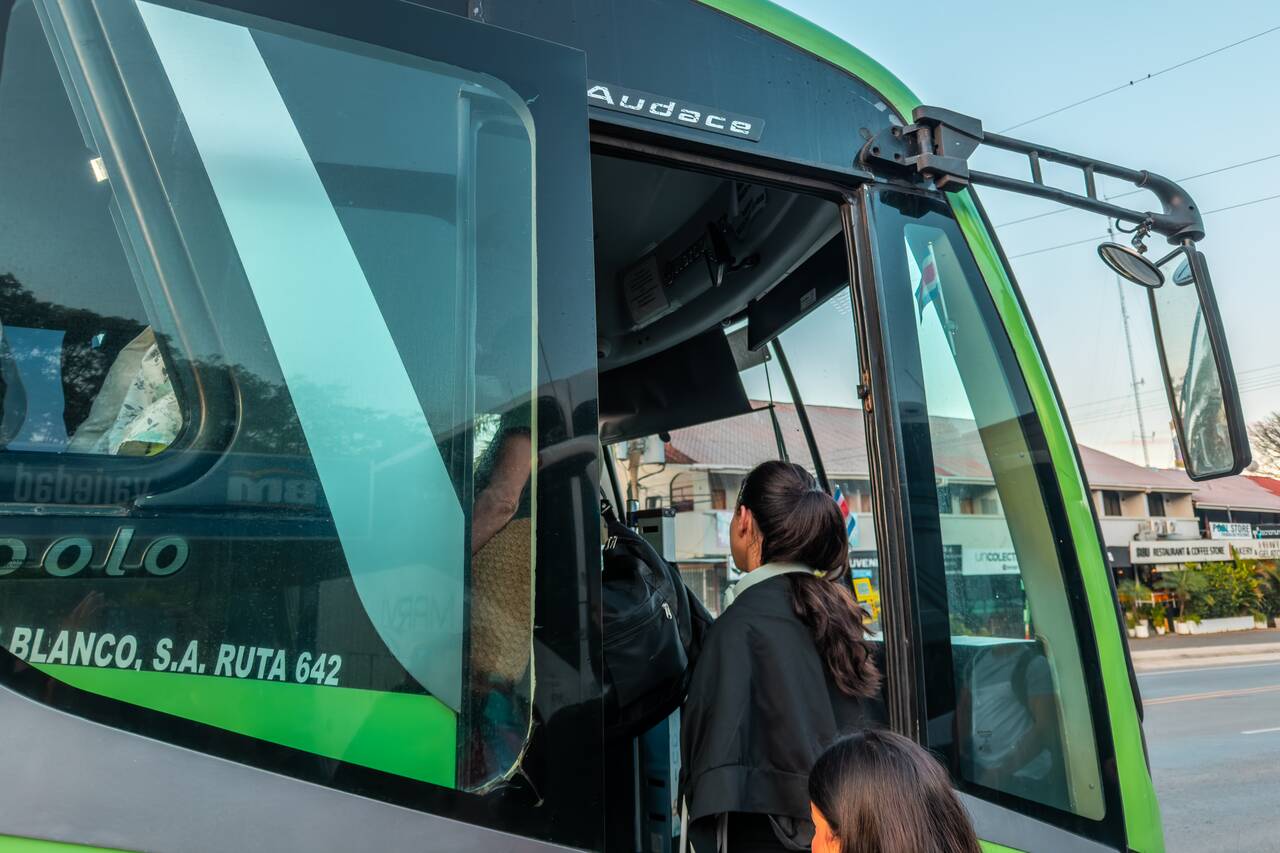
You will have to wake up at 5:30 AM and get to this bus stop by 6 AM to catch the only morning bus from Uvita to San Isidro that passes by the entrance of Nauyaca Waterfalls. The bus was scheduled at 6:15 AM, but it could arrive anytime between 6 to 6:20 AM, so be sure to get there earlier.
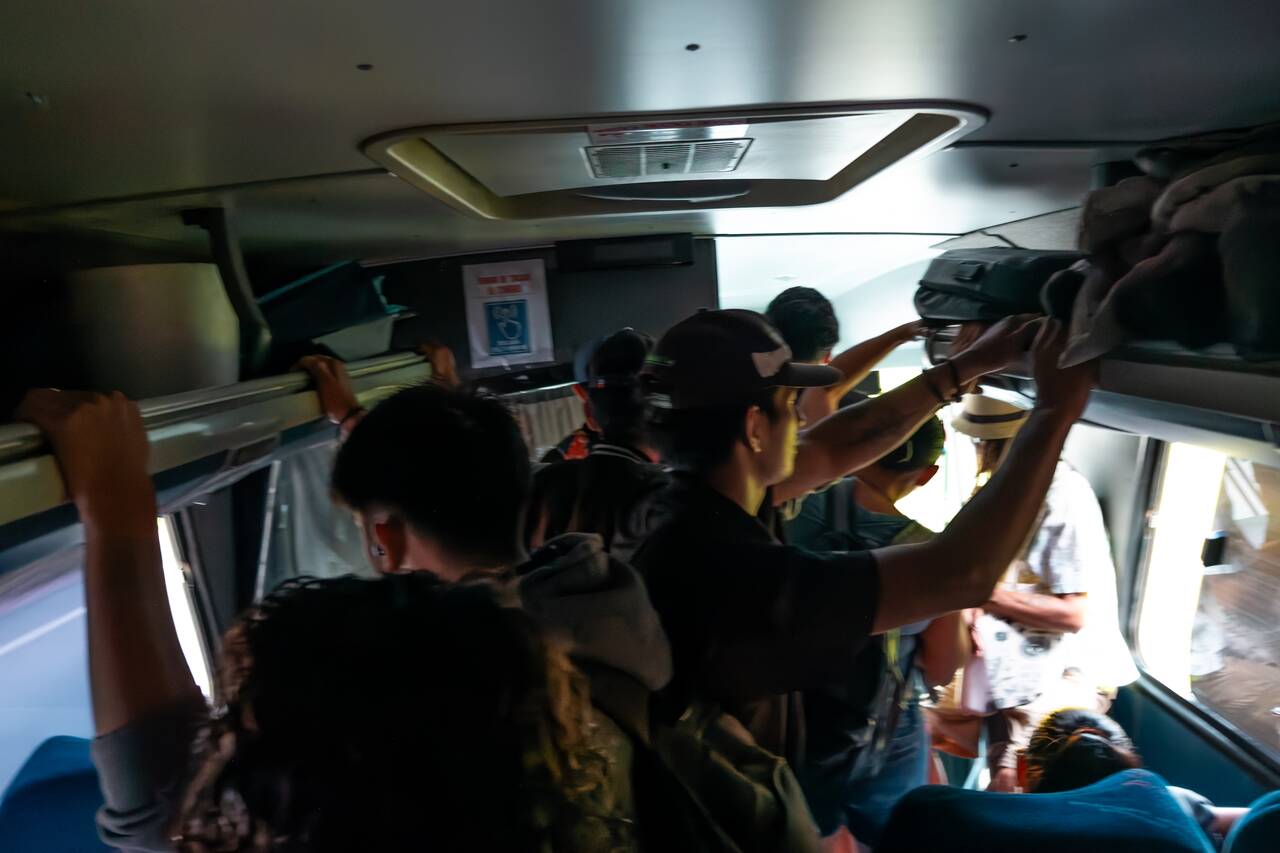
After you get on the bus, tell the driver to drop you off at Nauyaca Waterfalls, pay 1,000 CRC (2.20 USD) in cash, and you will be off in no time. Since it is the only morning bus going in that direction, the bus will be packed with locals and you might have to stand much of the ride. Thankfully, the journey only takes around 20 minutes, and you will be dropped off at the entrance of Nauyaca Waterfalls at around 7 AM.
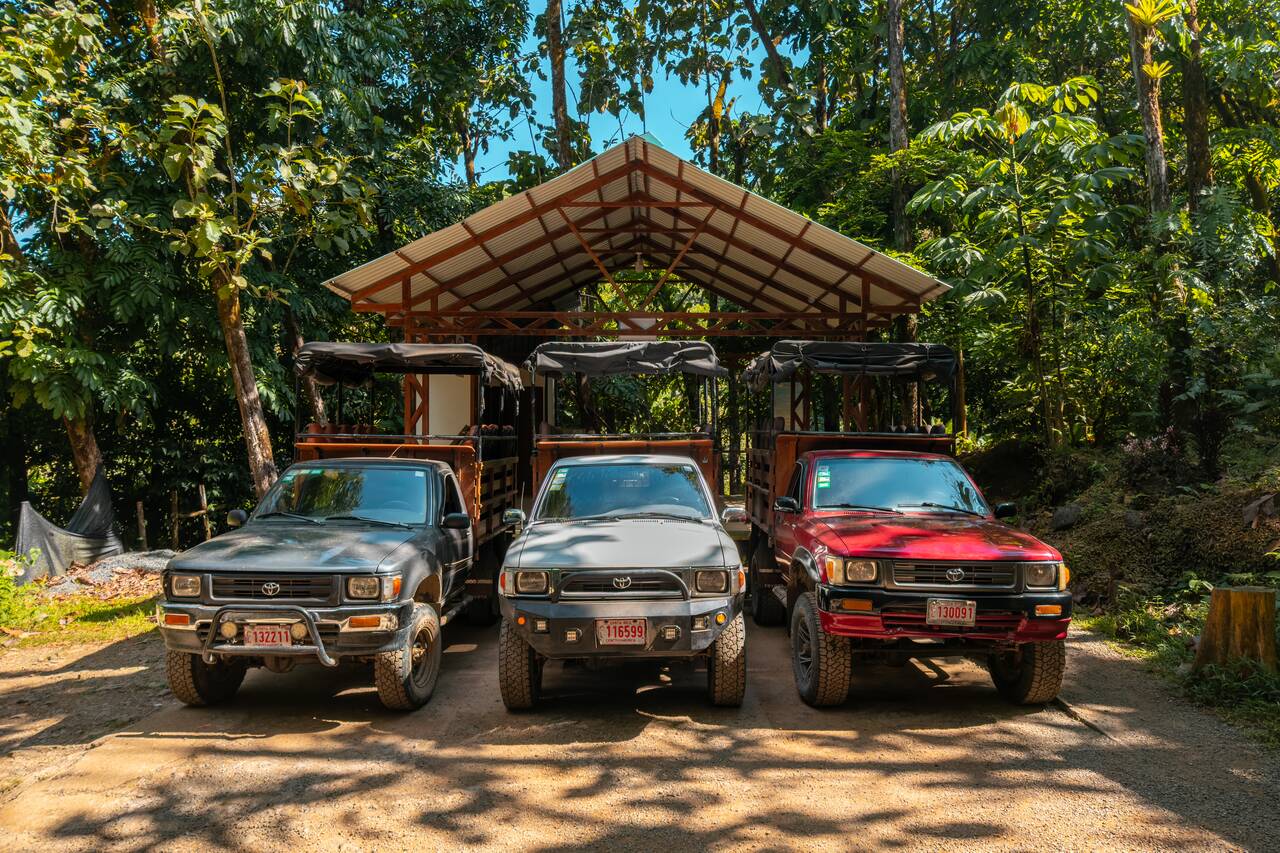
From the visitor's center, you have 2 options to get to the waterfall. The first option is to take the jeep, which runs every hour from 7 AM to 1 PM. With this option, you will get around 2 hours at the waterfall before the jeep takes you back to the Visitor's Center at a designated time. This option costs an additional 16,000 CRC (32 USD) per person and requires only about a 5-minute walk to reach the waterfall.
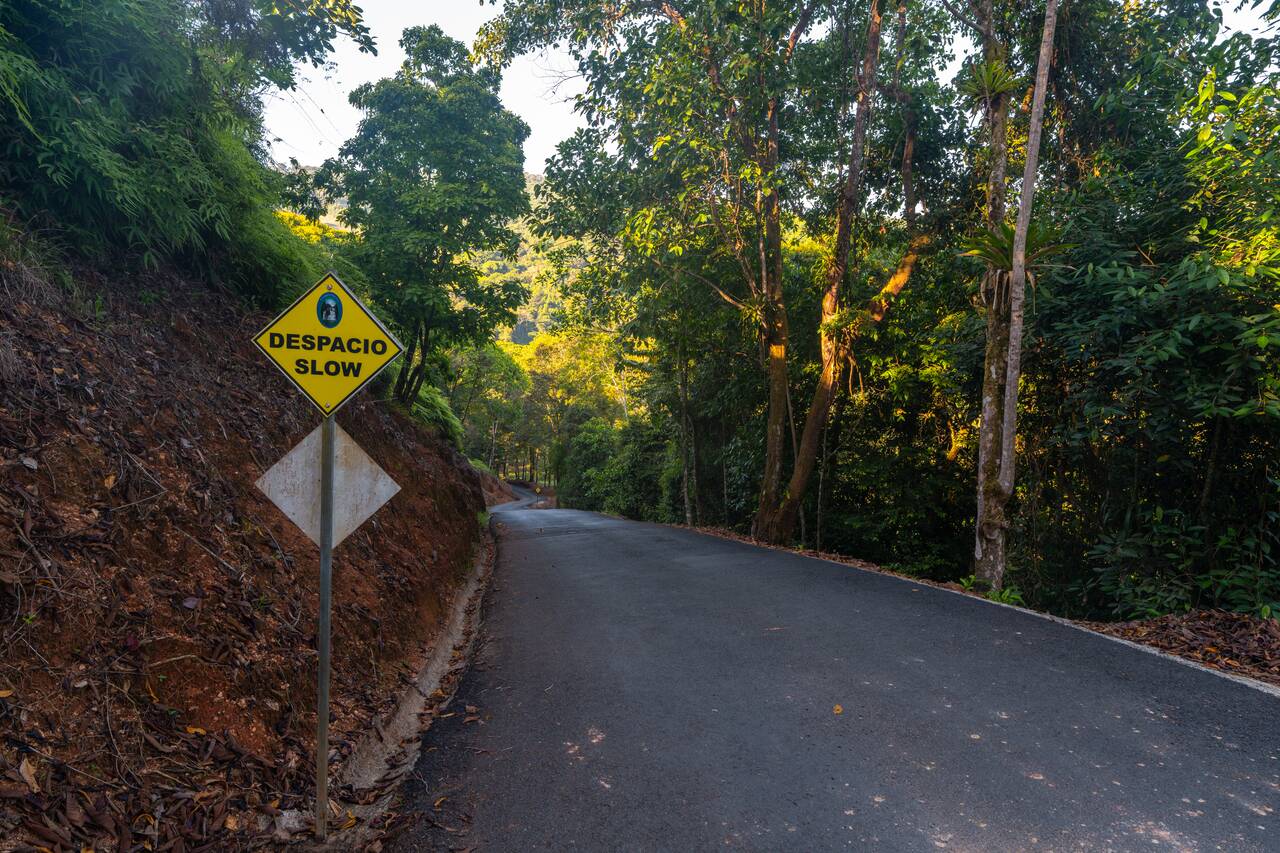
Last but not least, the cheapest option is to hike the entire trail from the entrance to the waterfalls and back, which is what I did. Keep in mind that if you choose this option, the last ticket entry is at 2 PM, not 3 PM. The total hike is around 11 km, and it took me about 1 hour each way. The trail starts with a downhill section from the entrance to the parking lot, followed by a mostly shaded and relatively flat path through the forest.
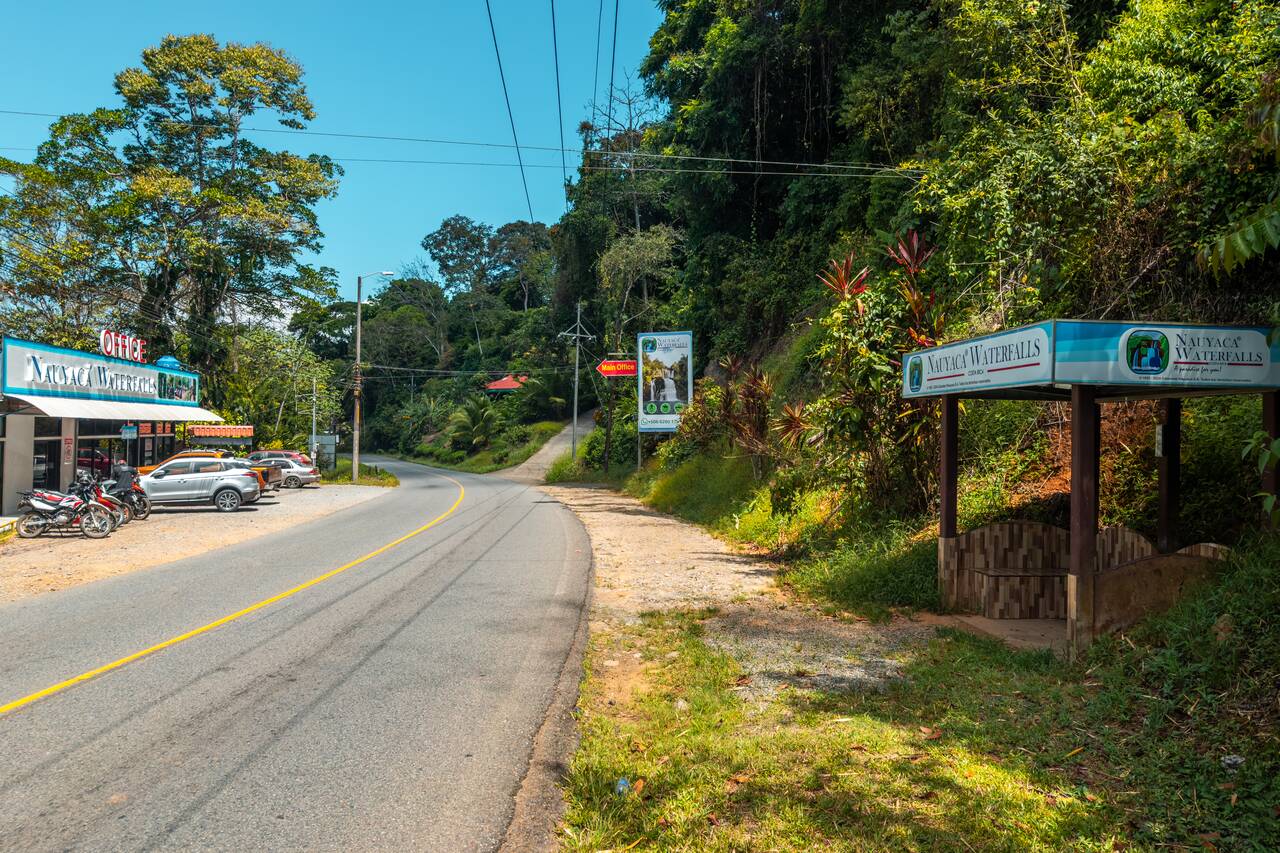
Getting back from Nauyaca Waterfalls to Uvita using public transportation is a little more complicated. The next bus returning from San Isidro does not come until 4:30 PM, which I found is way too late since the entire experience, including the hike there and back, will usually not take more than 4 hours.
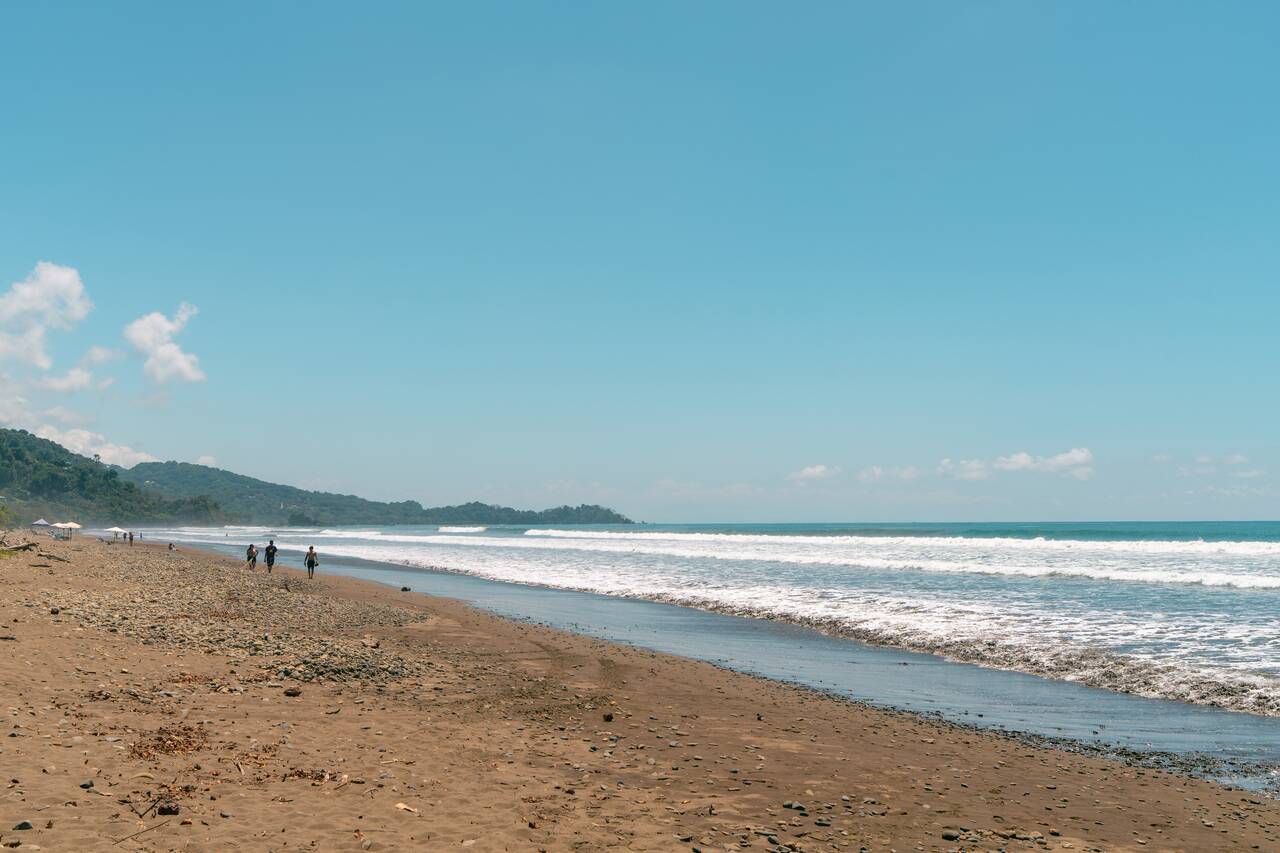
Instead of wasting time waiting around, you can do what I did and call an Uber to Dominical Beach, which is located along the main coastal road not far from Nauyaca Waterfalls. From there, you can relax on the beach, stroll around town, and enjoy lunch at one of the many restaurants before catching one of the frequent local buses to Uvita from this bus stop. This should keep you occupied for the rest of the day, so head back to your accommodation for the night and prepare for your short trip to Manuel Antonio the next day.

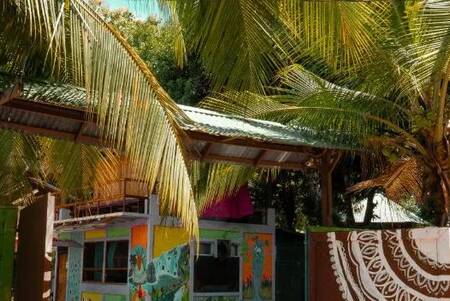

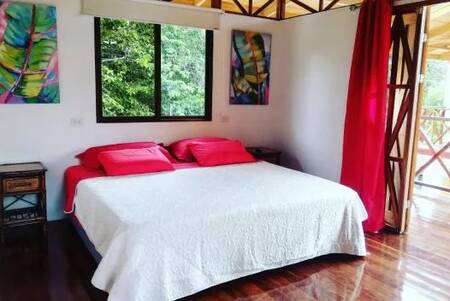
Getting from Uvita to Quepos/Manuel Antonio
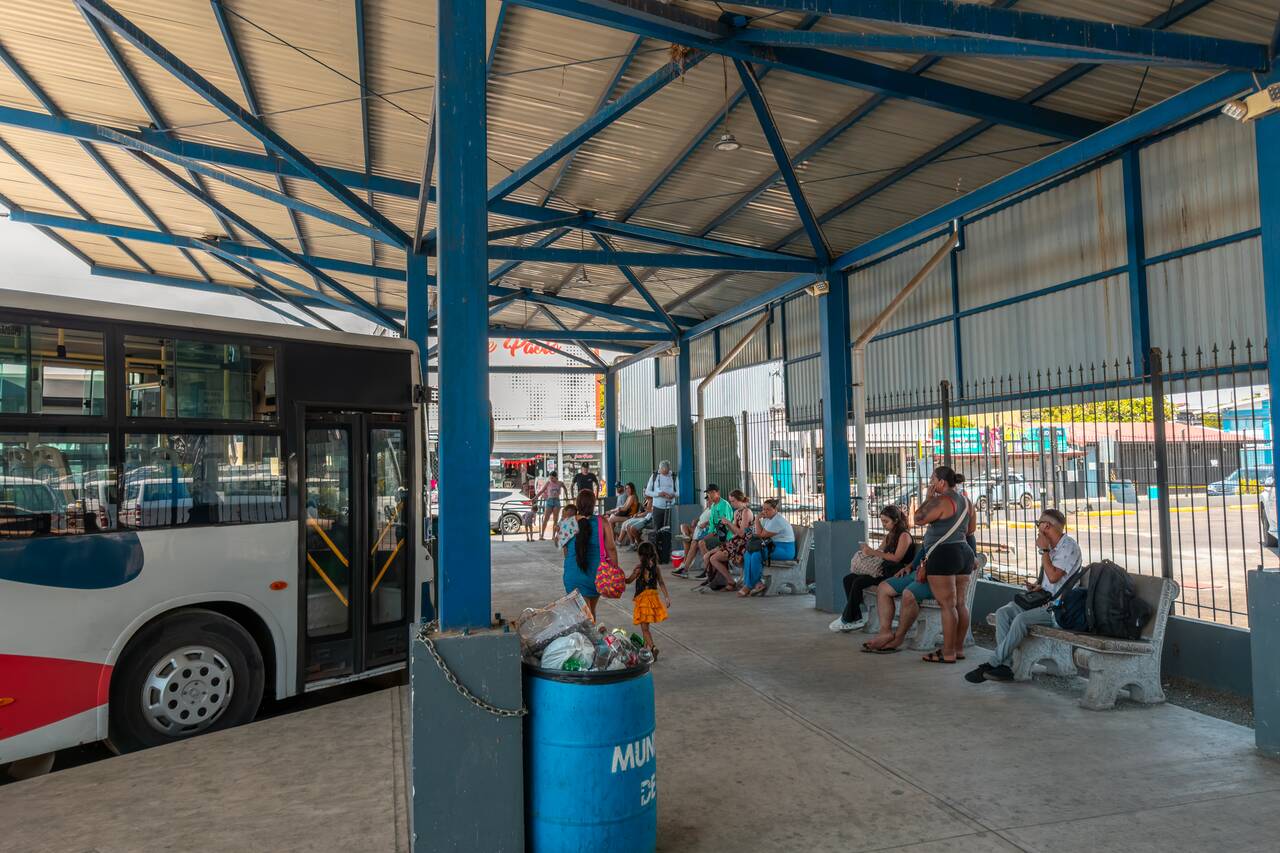
From Uvita, you will find several direct local buses running this route daily. The journey takes around 2 hours from Uvita (or about 1 hour from Dominical) and costs approximately 2,500 CRC (5.50 USD) from Uvita. You can catch the bus from the Uvita Tracopa Bus Terminal. Be sure to check the latest schedules before traveling: Uvita.
Day 22-23: Manuel Antonio, Costa Rica (2 nights)
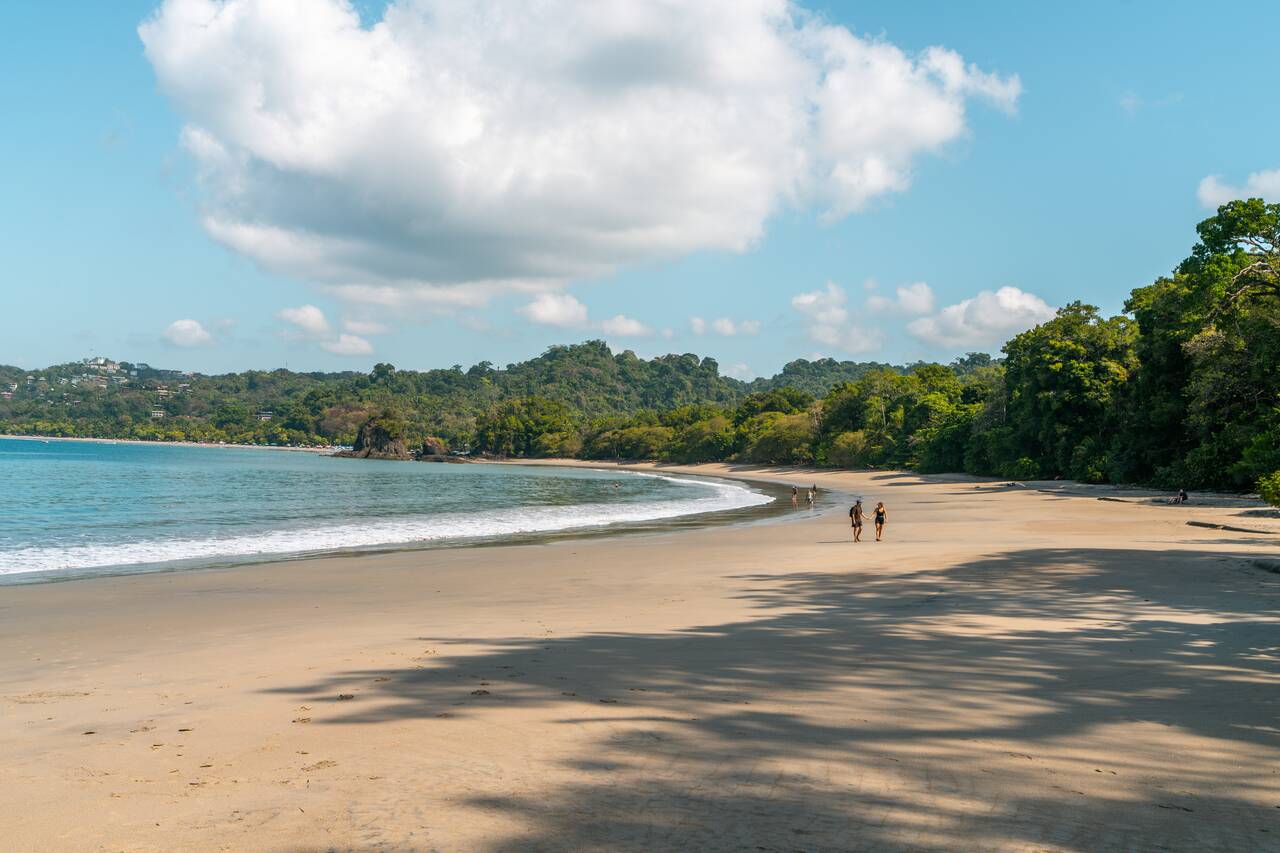
- 📍 Stay: Hotel Villa Prats
- 🕐 Time: 2 nights
- 📖 Full Guide: Exploring Manuel Antonio: Things to Do, Travel Tips & Itinerary
And we have arrived in one of the most popular tourist destinations in Costa Rica, Manuel Antonio, and its unique and easily accessible national park where you can experience the country's incredible wildlife without having to hike far. First and foremost, you will have to get to the national park from either Quepos or Manuel Antonio town which are all connected by a local bus route that takes only 20 minutes to travel from one end to another.
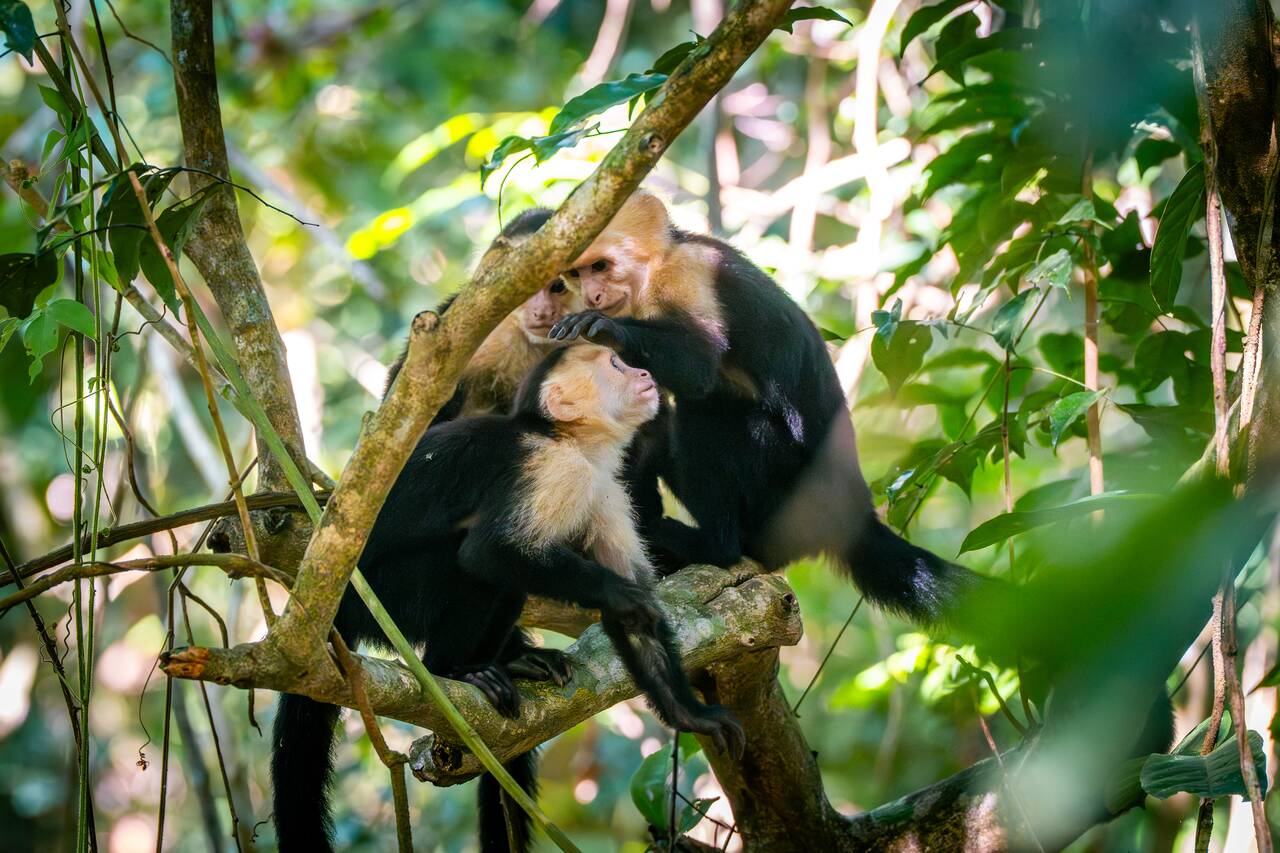
Once you arrive at the national park, you can easily spend the entire day exploring its many hiking trails, spotting wildlife, and relaxing on its pristine beaches. Since it is one of Costa Rica's most popular attractions, expect larger crowds as the day goes on. So I highly recommend arriving early in the morning to enjoy the park before it gets busy.
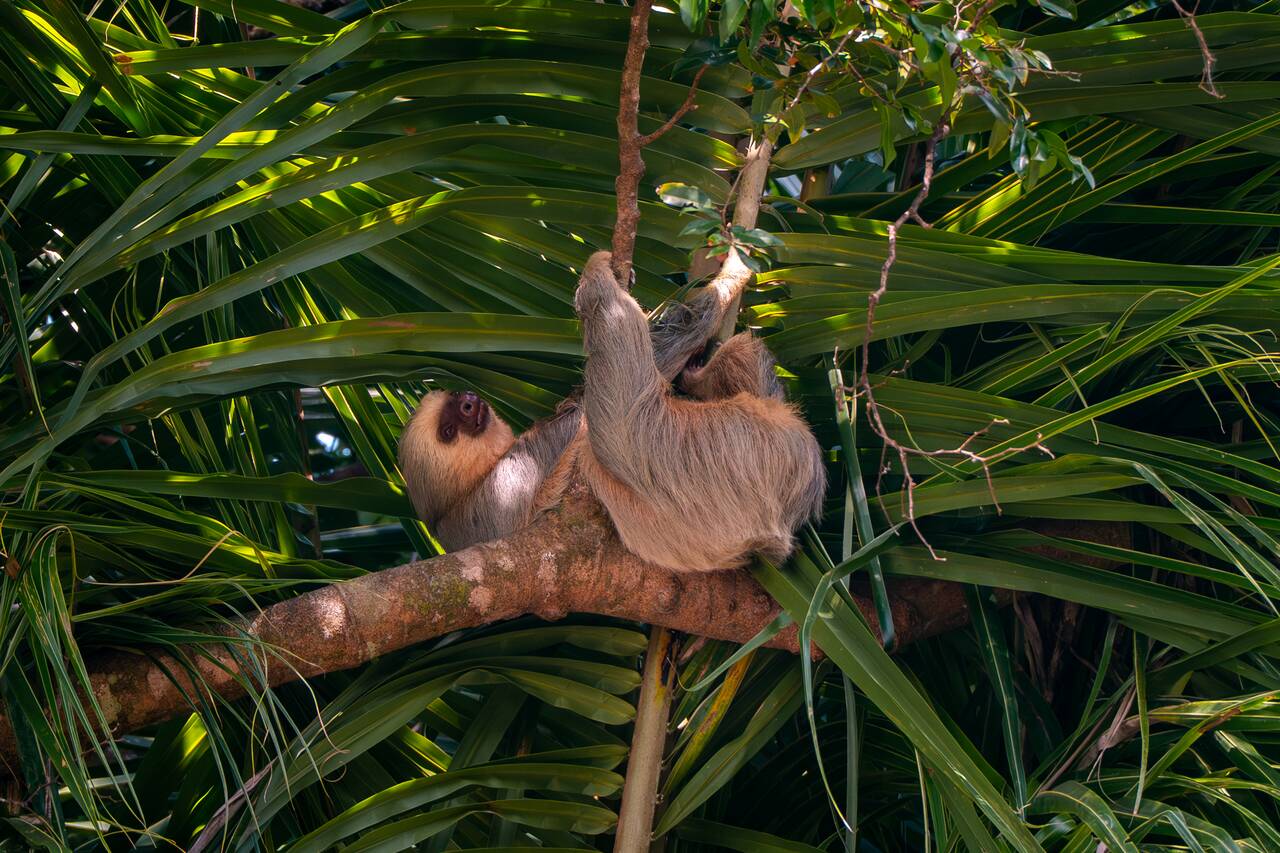
It is incredibly easy to spot wildlife here, even without a guide. I explored the park on my own and, within just a few hours, I had already seen sloths, several species of monkeys, countless iguanas, and plenty of colorful birds, all while walking along easy rainforest trails that eventually opened up to stunning white-sand beaches backed by dense jungle. It is one of the few places in Costa Rica where you can go from wildlife spotting to swimming in the ocean within minutes.
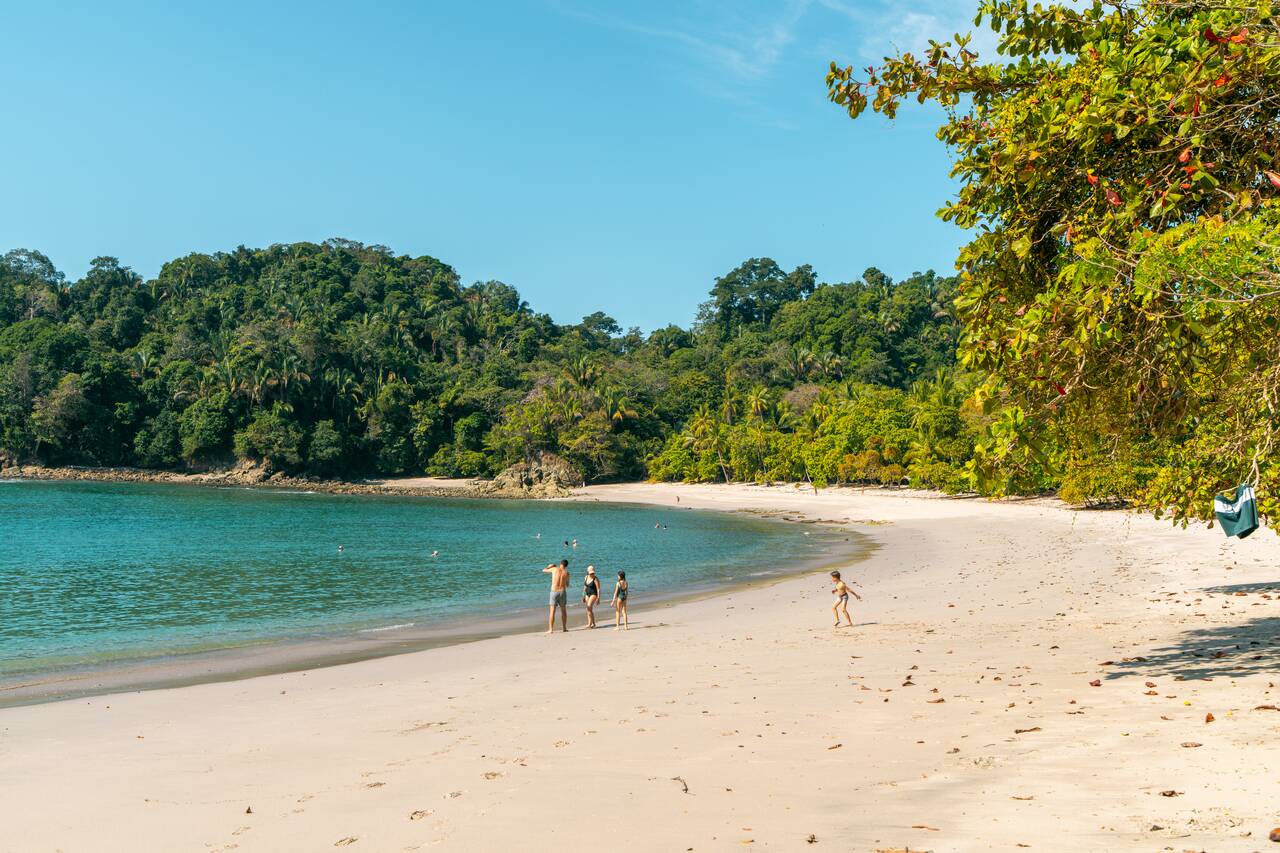
After spending the morning exploring the trails and spotting wildlife, there is no better way to finish your visit to Manuel Antonio National Park than by relaxing at Playa Manuel Antonio. This beautiful white-sand beach is surrounded by lush rainforest, calm turquoise water, and the kind of scenery that makes Costa Rica so famous.
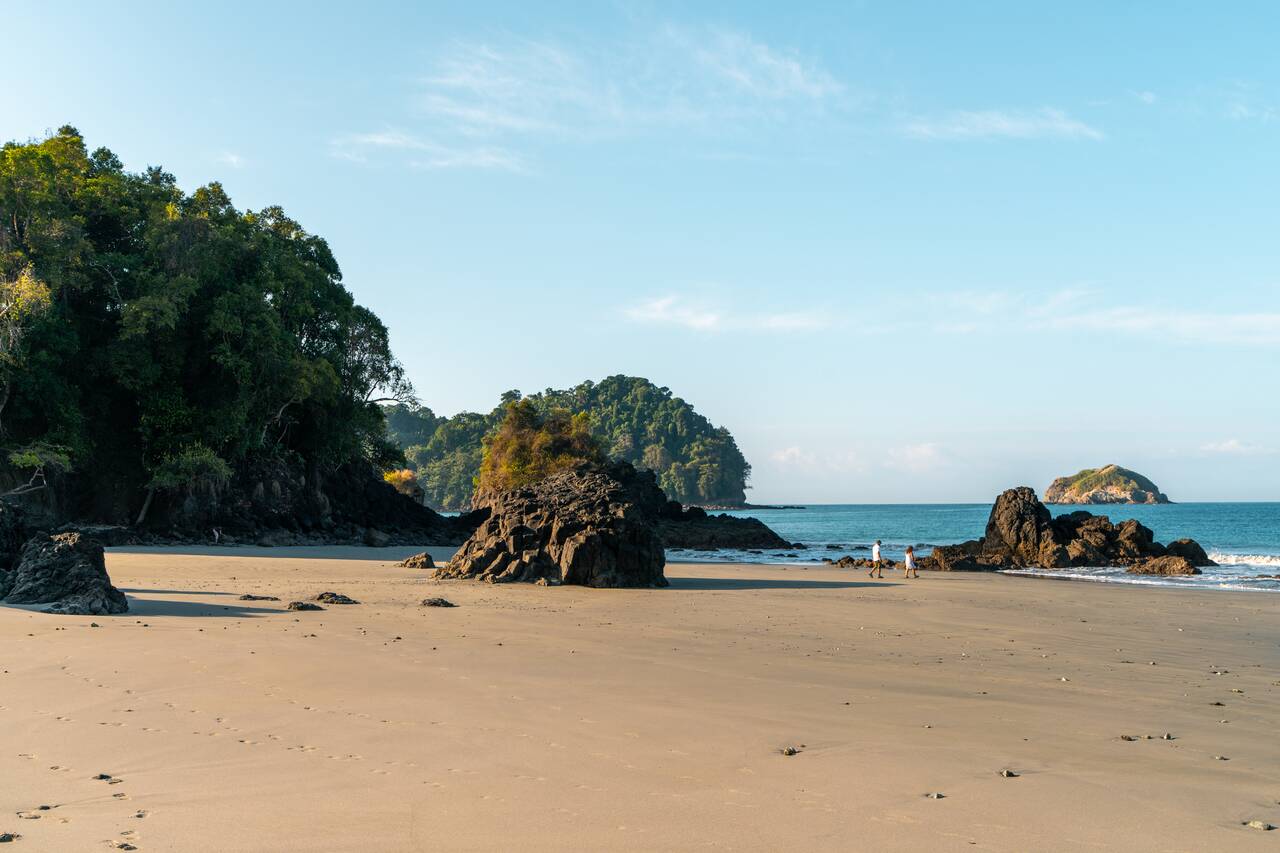
After you are done with the park, you can come out and enjoy the sunset at Espadilla Beach. This beautiful stretch of golden sand sits just outside Manuel Antonio National Park, and it is the perfect place to watch the sunset if you are staying near the national park.
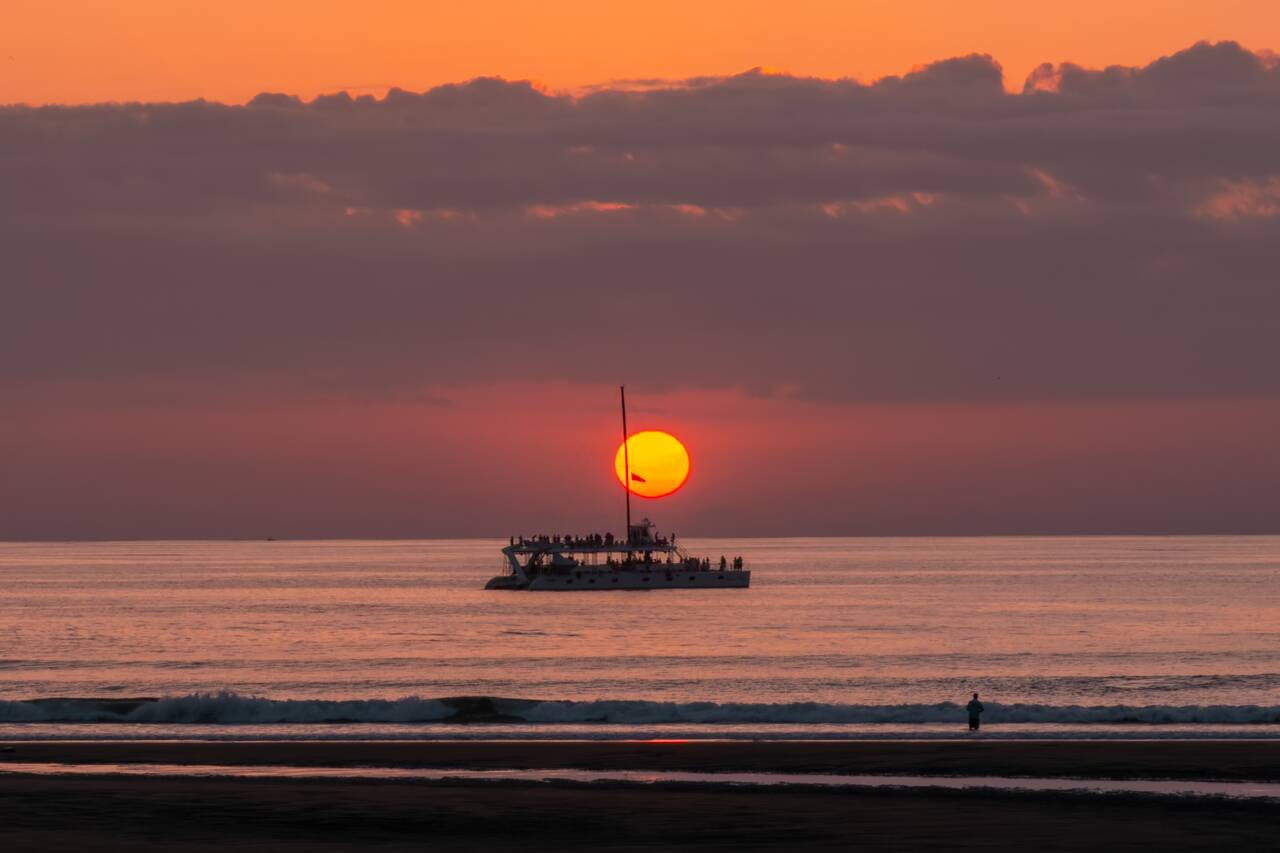
If you are staying in Quepos, one of the best places to watch the sunset is El Malecón Park, a small waterfront area where you can watch the sunset over the Pacific Ocean. It is a lively spot where you will find plenty of locals and tourists hanging out as the sun dips below the horizon, painting the sky with shades of orange and purple. It is quite a sight to behold. Once done, you can head back to your accommodation and rest for the day.

Getting from Quepos/Manuel Antonio to La Fortuna
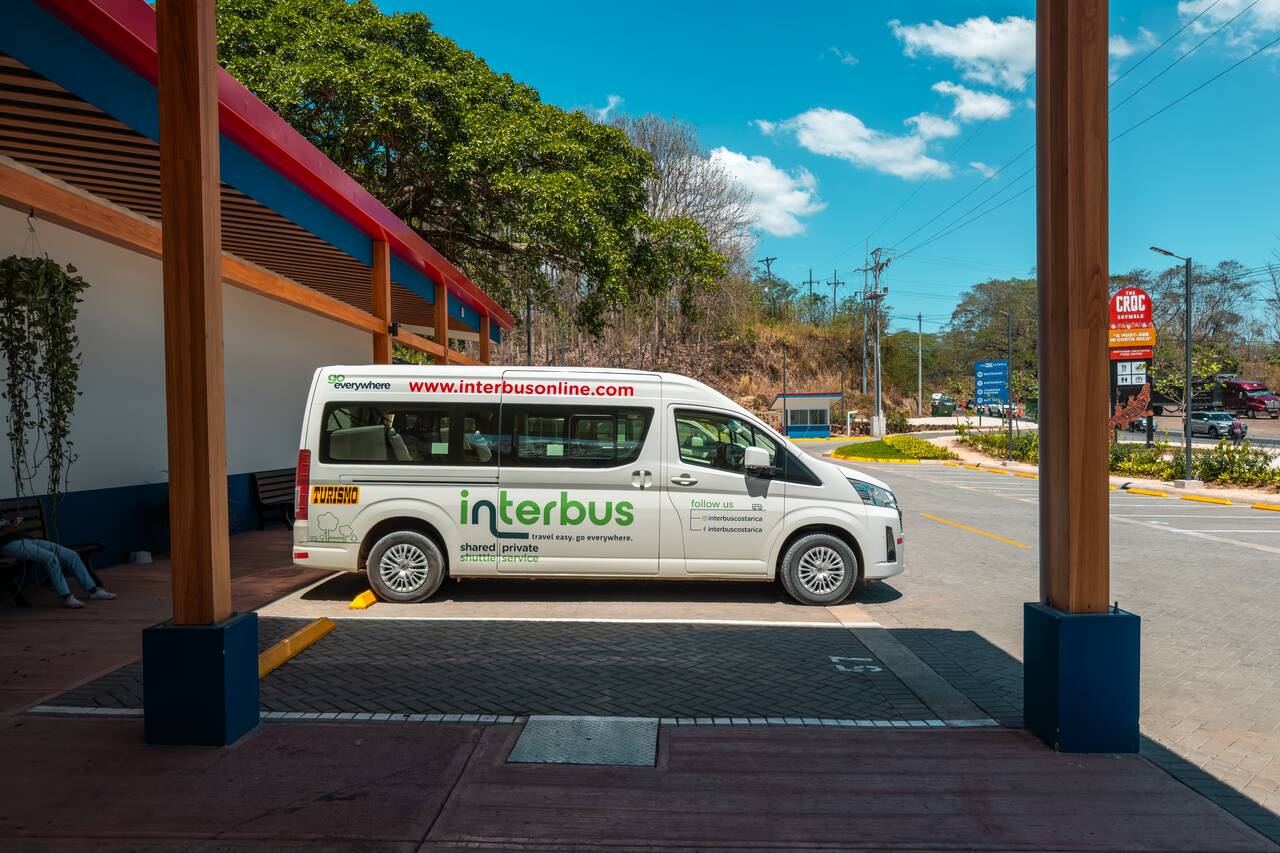
For this leg, I recommend booking a shared shuttle. They are much faster and more convenient than piecing together multiple public buses, which will mean that you will have to spend a night in San José. Not ideal. The shuttle service should take about 5 hours and they will pick you up at your hotel in Quepos or Manuel Antonio and drop you off at the hotel in La Fortuna.
You can find and compare shuttle services here. It should cost about 100 USD per person for this trip. I took Interbus from Quepos to La Fortuna, and the journey went smoothly; we even arrived earlier than expected. Highly recommended.
Day 24-26: La Fortuna, Costa Rica (3 nights)
- 📍 Stay: Arenal Xilopalo
- 🕐 Time: 3 nights
- 📖 Full Guide: Exploring La Fortuna: Best Things to Do, Travel Tips & Itinerary
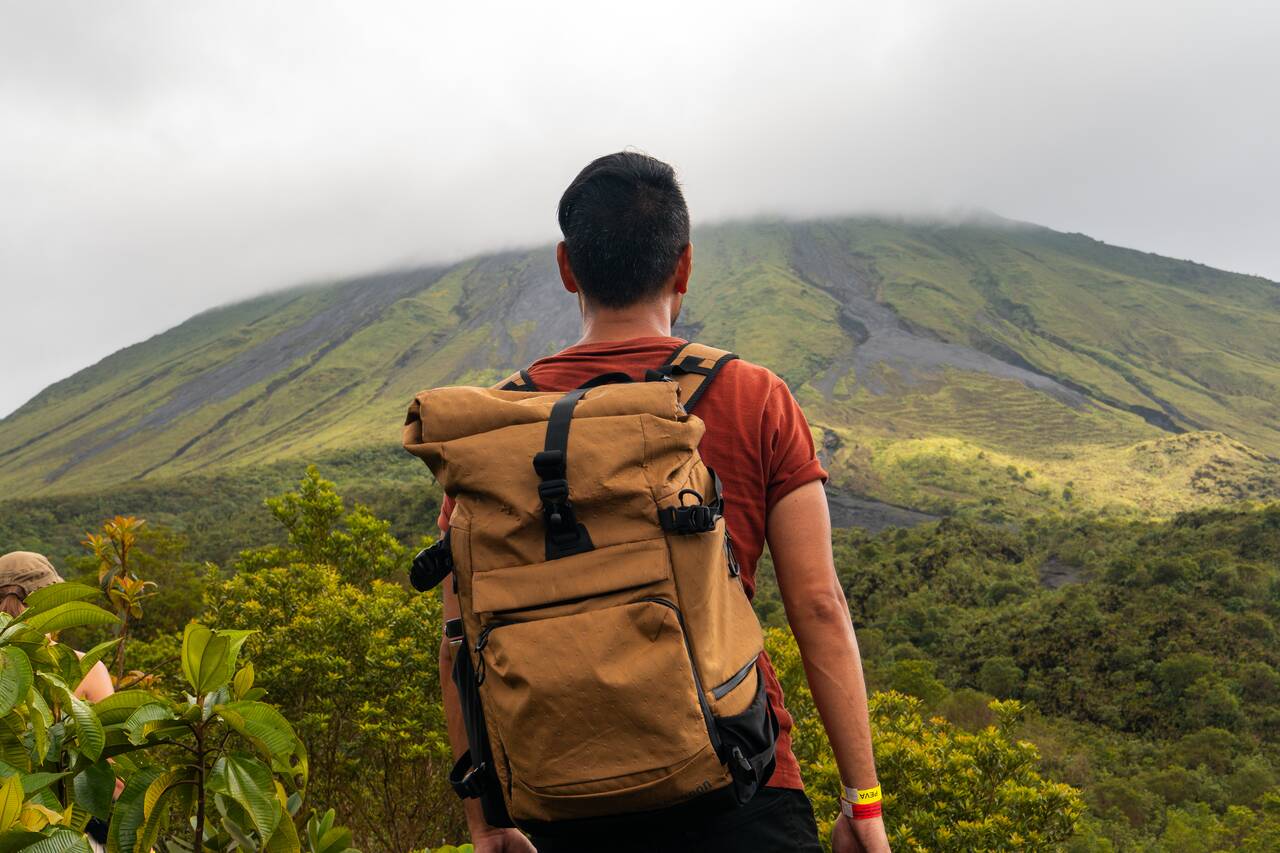
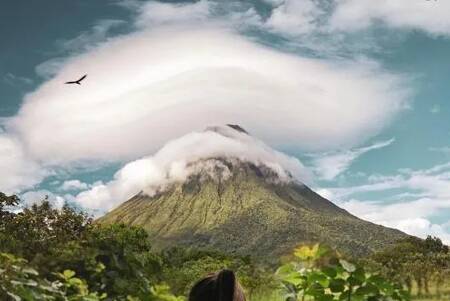
After spending several days at the beach, it's time to explore one of Costa Rica's more adventurous regions: La Fortuna. Home to the perfectly cone-shaped Arenal Volcano, La Fortuna offers endless outdoor activities, from hiking around the volcano and exploring rainforests to ziplining and relaxing in natural hot springs.
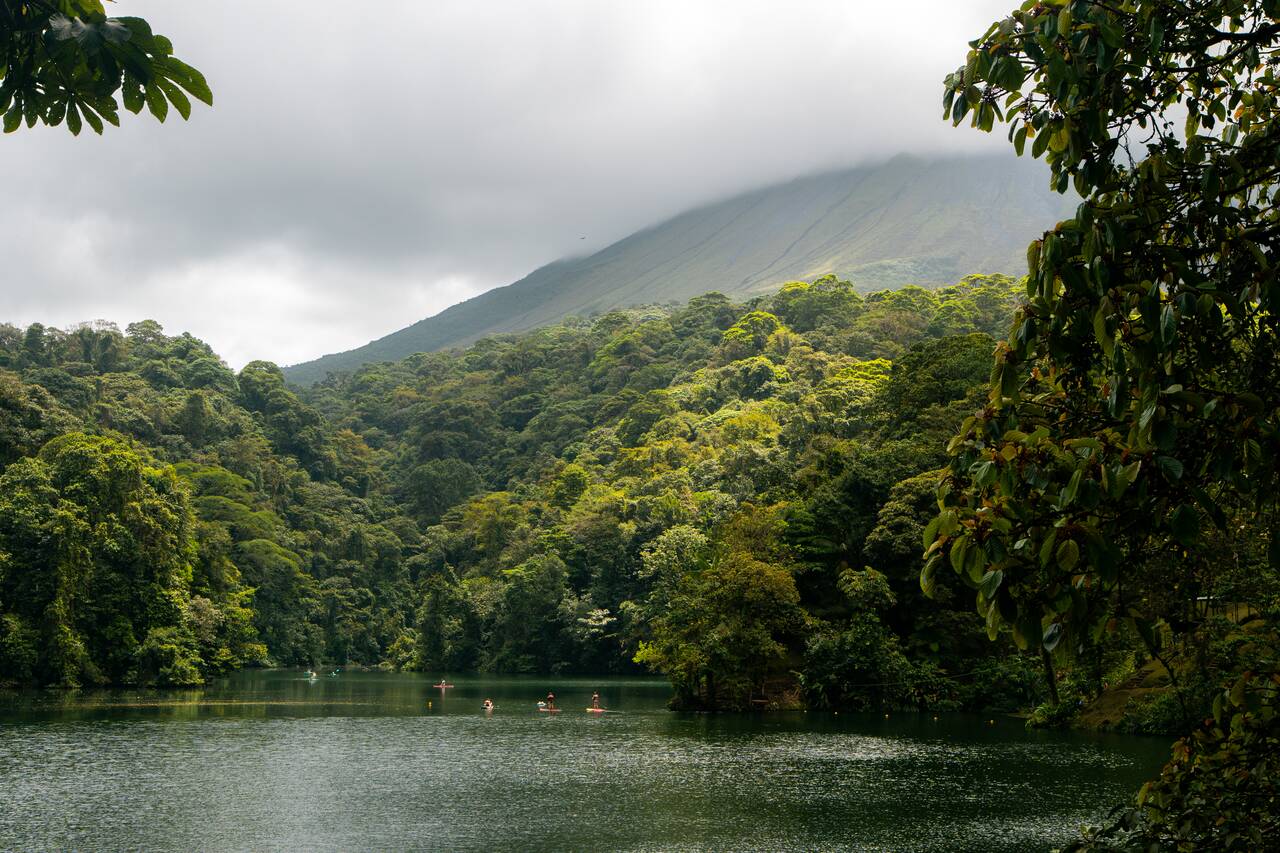
First things first, we are going on a full-day adventure that will take you to some of La Fortuna's highlights, including La Fortuna Waterfall, Arenal Volcano, Mystico Hanging Bridges, and ending the day relaxing at a natural hot spring. Be sure to book the tour at least a day in advance!
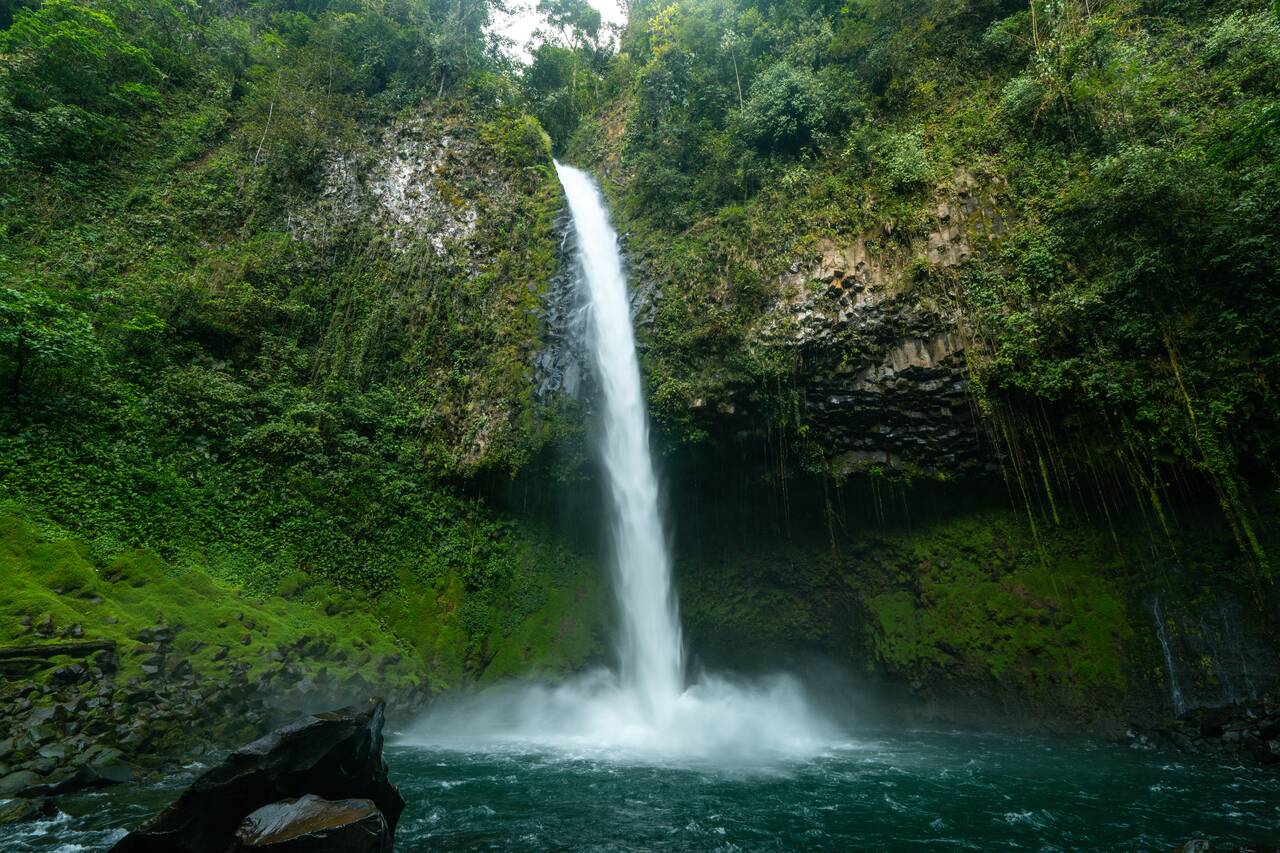
Your first stop is La Fortuna Waterfall, a stunning 70-meter waterfall hidden inside the rainforest, where you can hike down to the base and swim in its refreshing waters.
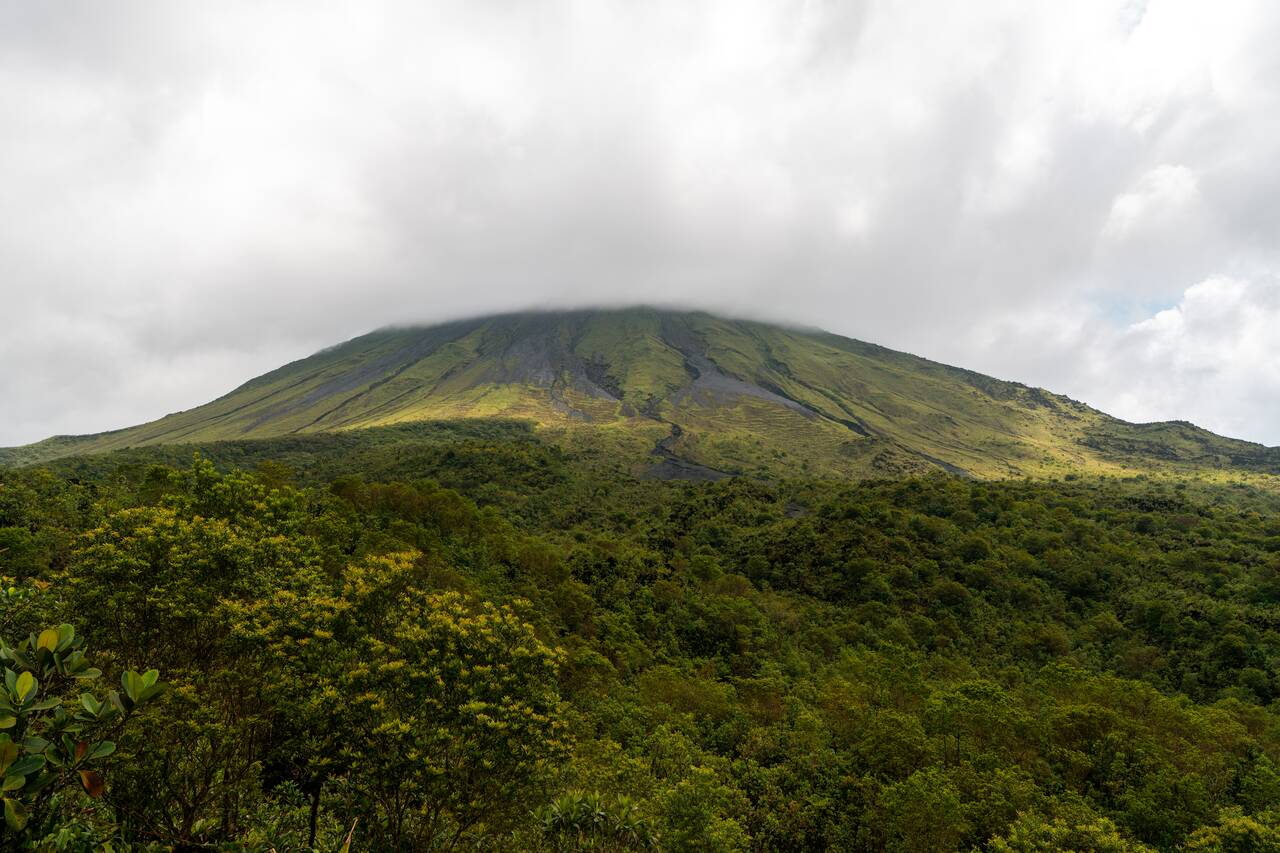
Arenal Volcano is located within a national park where you can find some of the best hiking trails in the area, taking you through lava fields, beautiful rainforest, and several viewpoints overlooking the Arenal Volcano. Even if the summit is hidden behind clouds, as it was during most of my visit, the scenery is still well worth the trip.
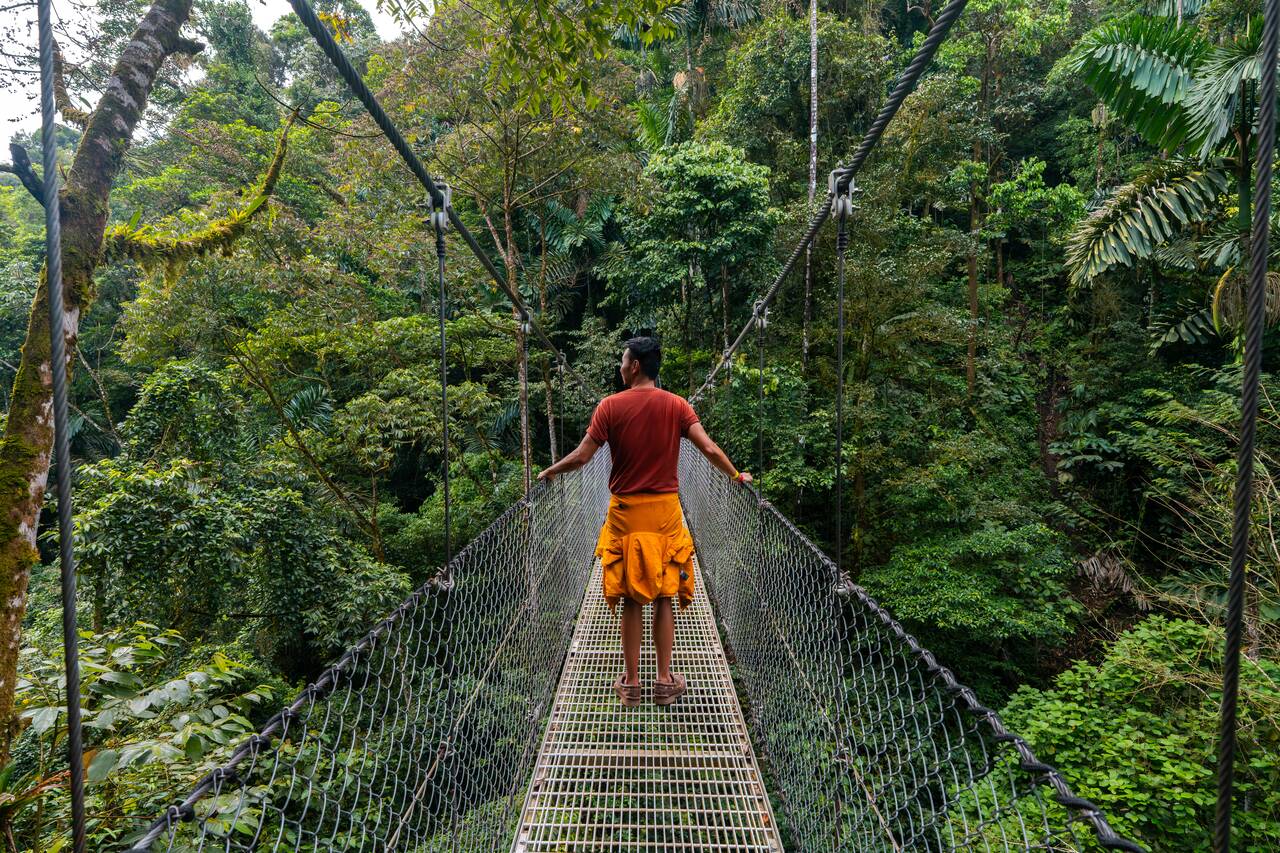
You should spend around 2 hours hiking around the national park before having a packed lunch there and continuing on to visit Mystico Hanging Bridges. This is another cool adventure park where, instead of exploring the jungle from the forest floor, the trail takes you high above the canopy, allowing you to walk across a series of hanging bridges while surrounded by lush rainforest.
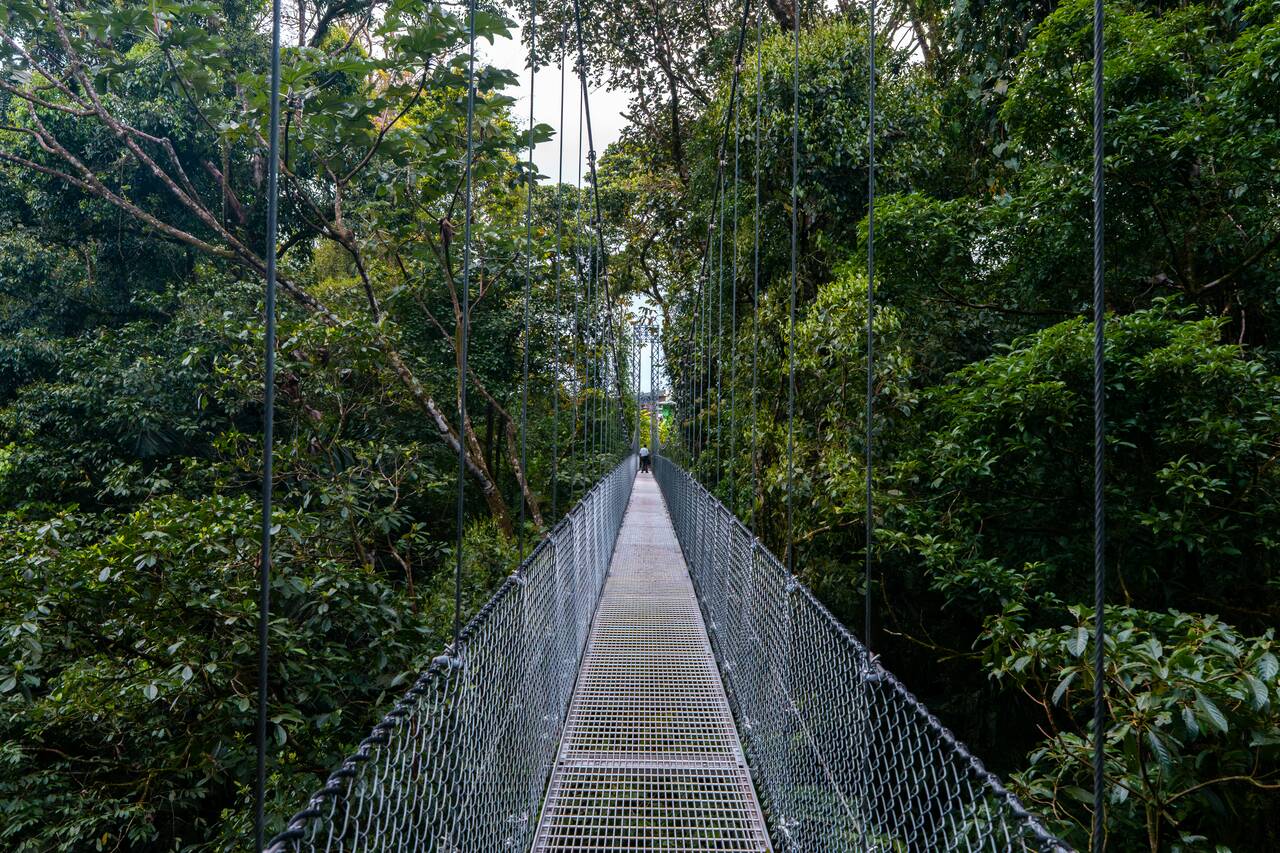
The trail is around 3.2 km long and takes about 1.5–2 hours to complete. It is very easy to hike as it is mostly flat and slightly descending. It's only at the end where you will have to hike up a bit, as the "elevator" that was advertised still wasn't built yet when I was there.
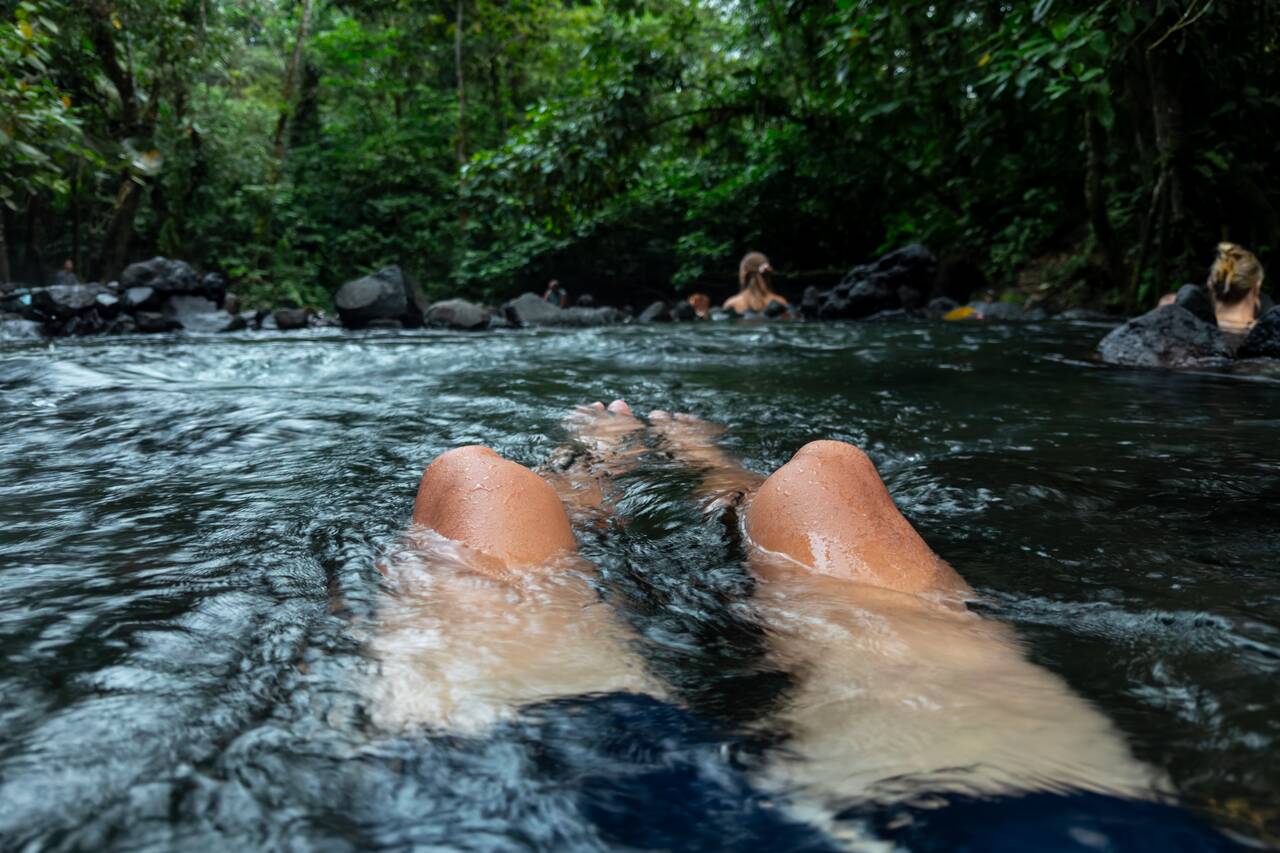
After spending your day hiking through rainforests, chasing waterfalls, and exploring volcano trails, there is no better way to end the day in La Fortuna than by relaxing in its famous hot springs. Thanks to the geothermal activity from Arenal Volcano, the area is home to several natural hot springs where you can soak in warm, mineral-rich water surrounded by lush jungle.
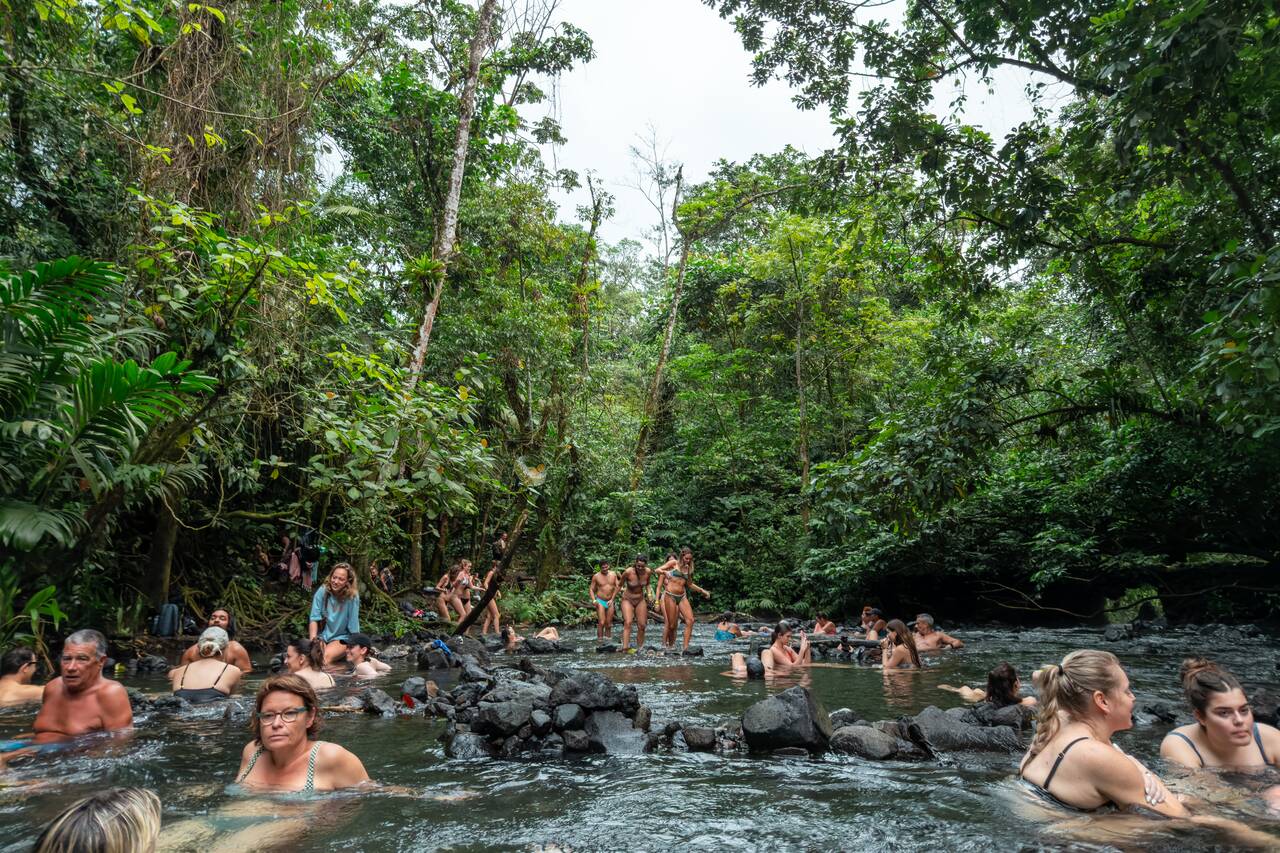
There are plenty of hot spring resorts around La Fortuna, ranging from luxury experiences to more budget-friendly options, or even free ones. The most popular free option and where the tour will likely take you is El Choyin, which is located just off the road near Tabacón. Although it can get crowded at times, I still found the experience incredibly relaxing.
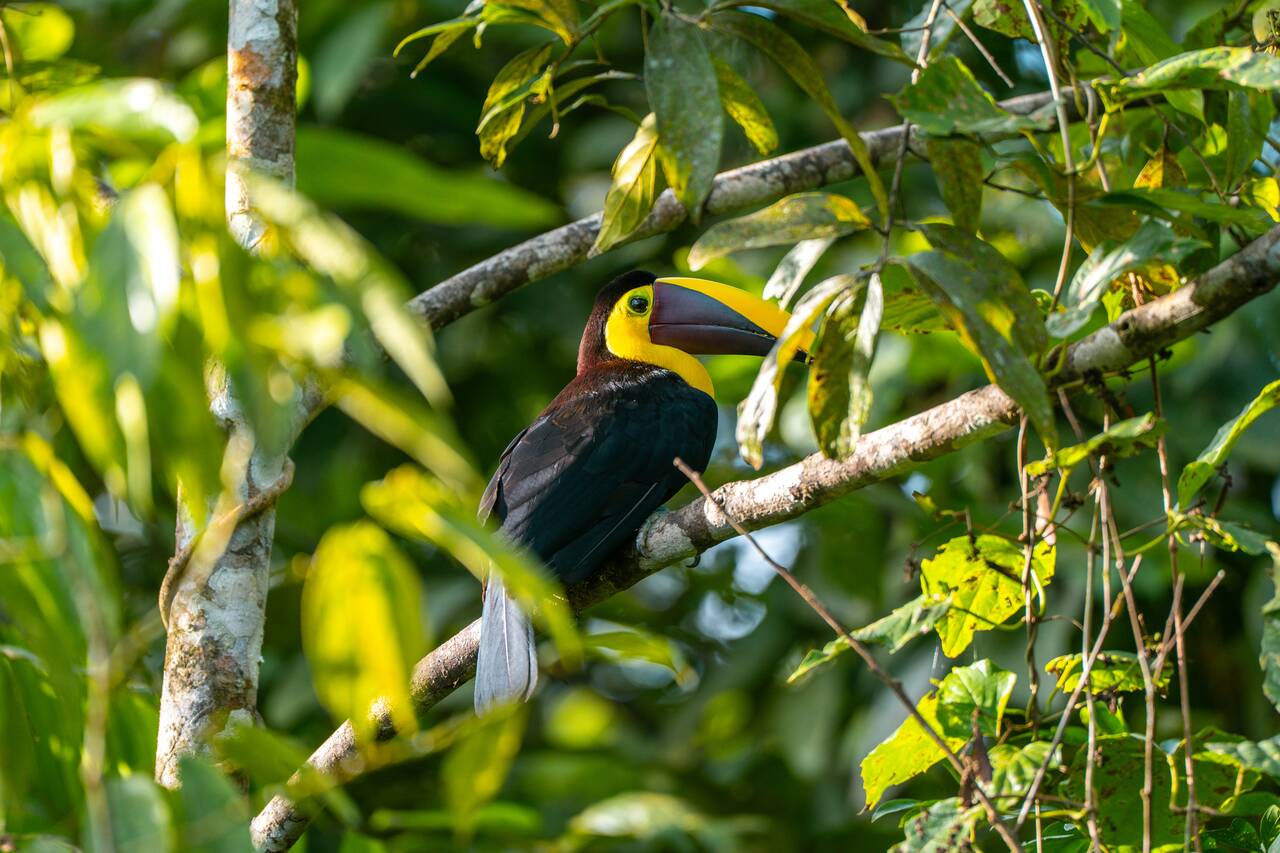
After relaxing in the hotspring, you will be taken back to La Fortuna late at night, where you can spend the rest of the day relaxing and preparing for another day trip to Rio Celeste Waterfall the next day. It is quite a long drive, but you are going to love it!
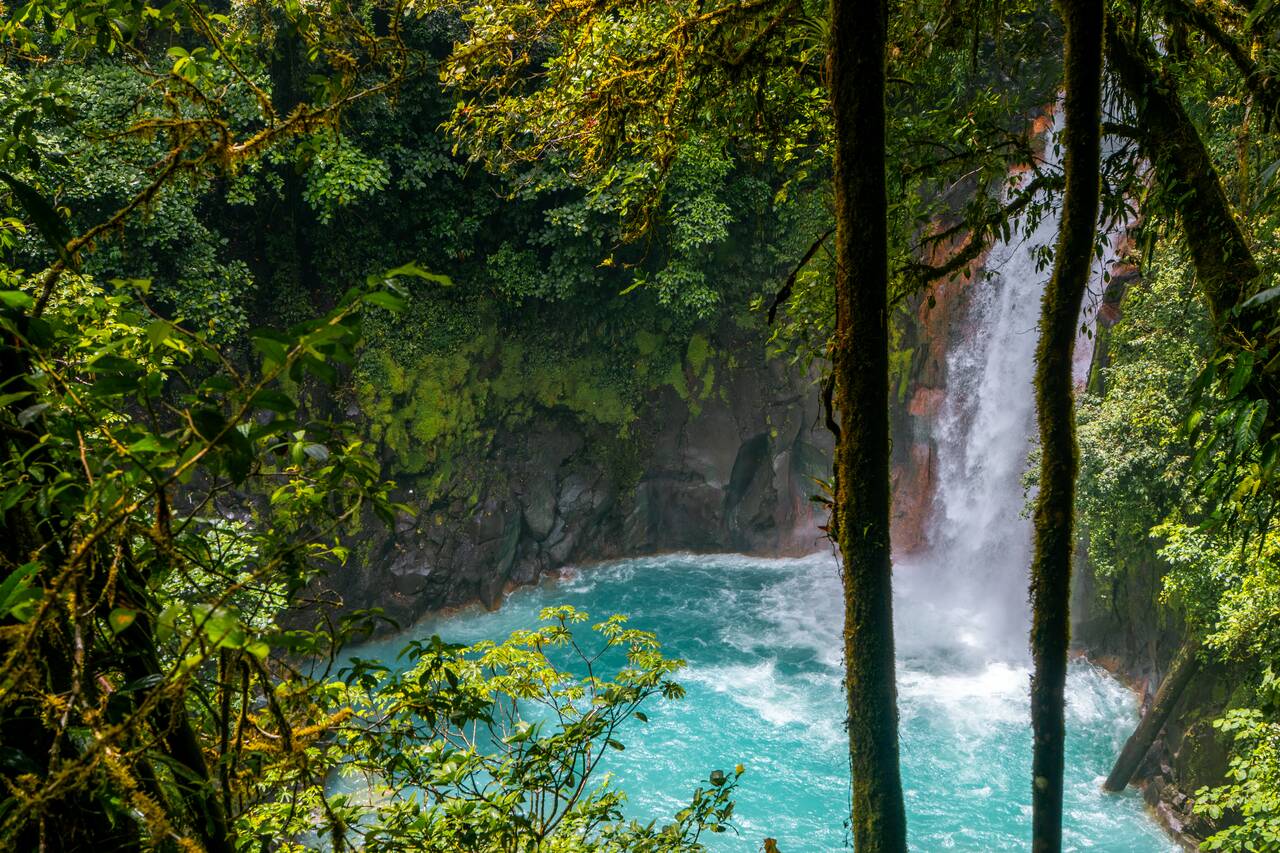
On your second day in La Fortuna, we are going to go on another day trip to visit Rio Celeste Waterfall, one of the most stunning turquoise waterfalls you will see in Costa Rica. The waterfall's unreal blue color comes from the Rio Celeste River, which gets its vibrant hue from a natural chemical reaction involving volcanic minerals. I've seen many waterfalls in my life, but I have never seen anything quite as vivid as this one!
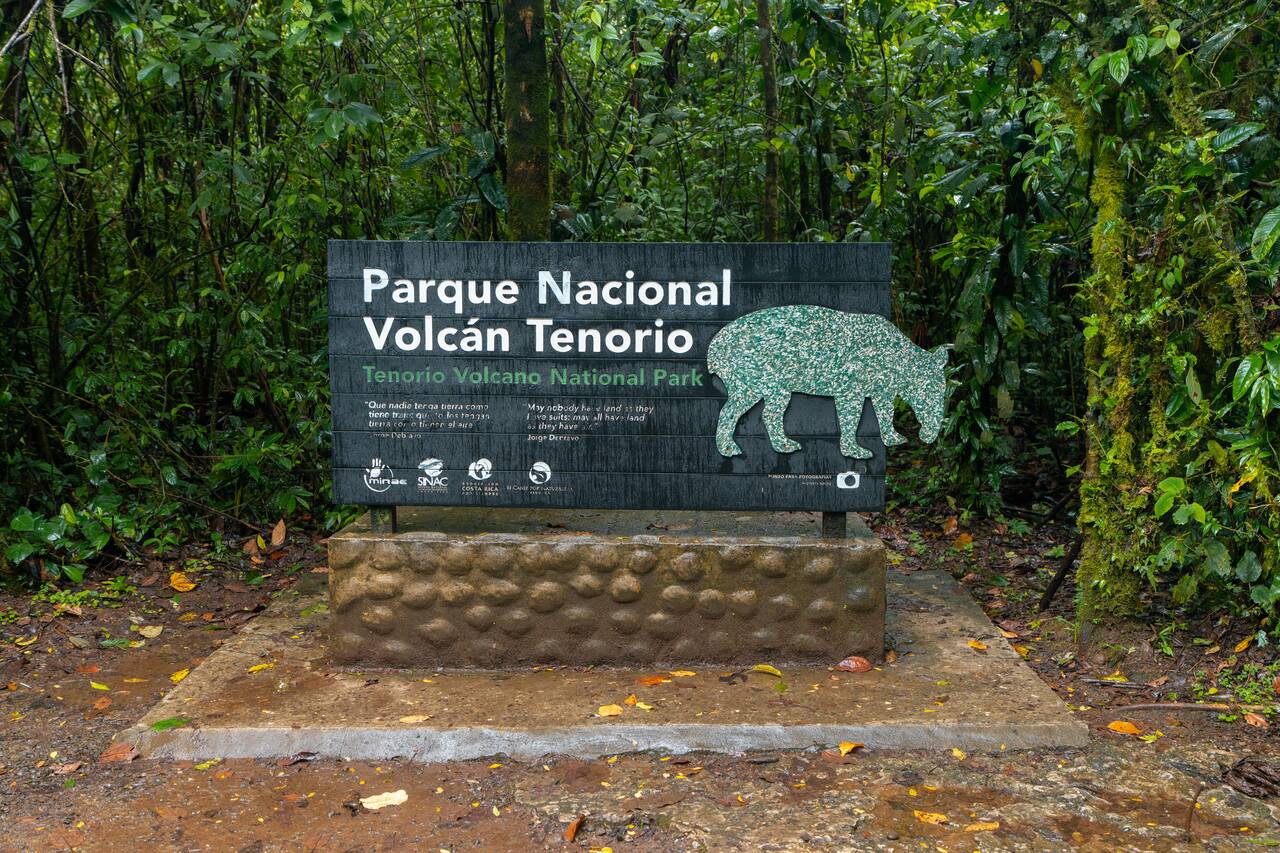
The main hike begins from here and takes you through lush rainforest to several highlights, including the famous Rio Celeste Waterfall, the turquoise river viewpoint, and the spot where the river changes color. The trail is around 3–4 km round trip and takes about 1.5–2 hours to complete, although you will likely spend more time stopping for photos along the way.
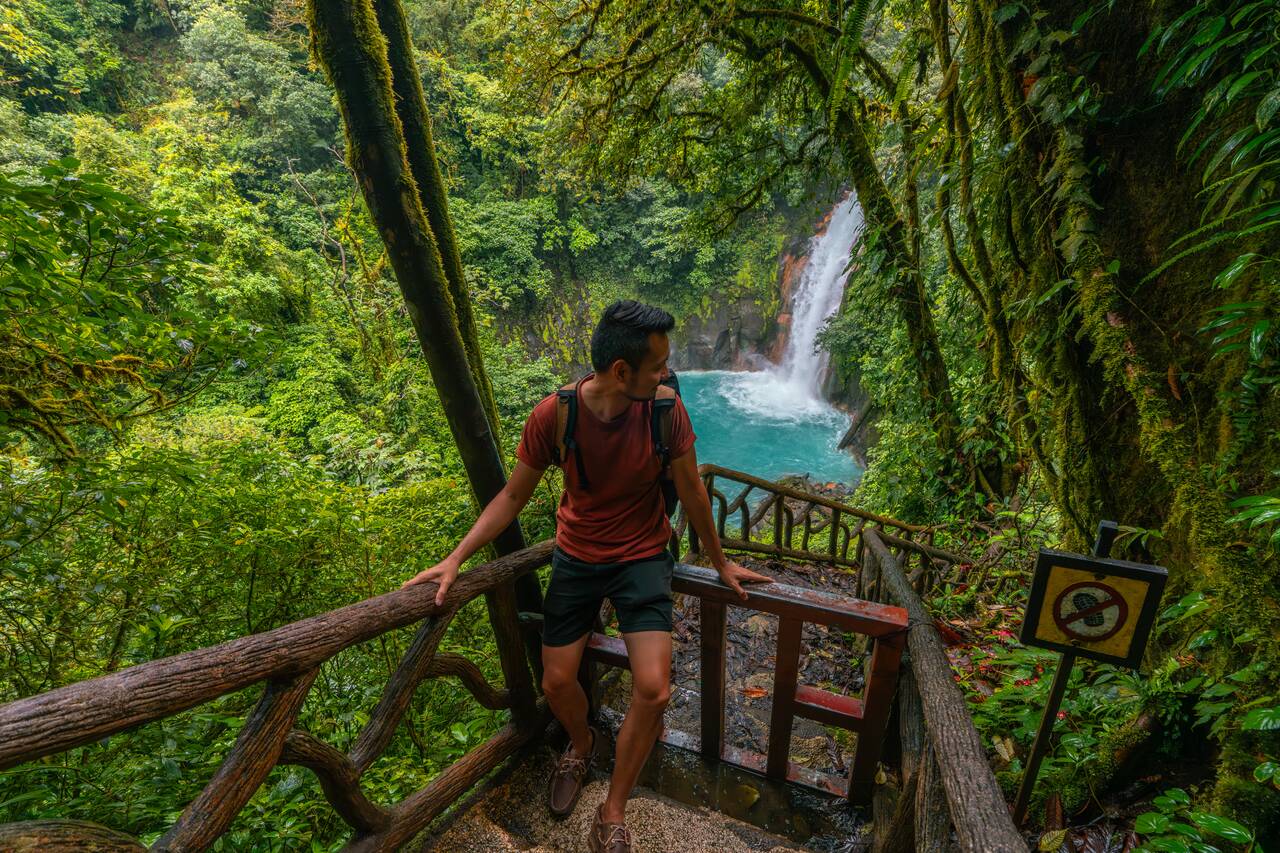
The waterfall itself is the highlight of the hike. After descending a staircase into the rainforest, you will be greeted by the bright blue water cascading into a pool below. Unfortunately, swimming is not allowed here, and the lower part of the staircase was damaged by a landslide and has yet to be fixed, so you can only see it from afar as in the photos above.
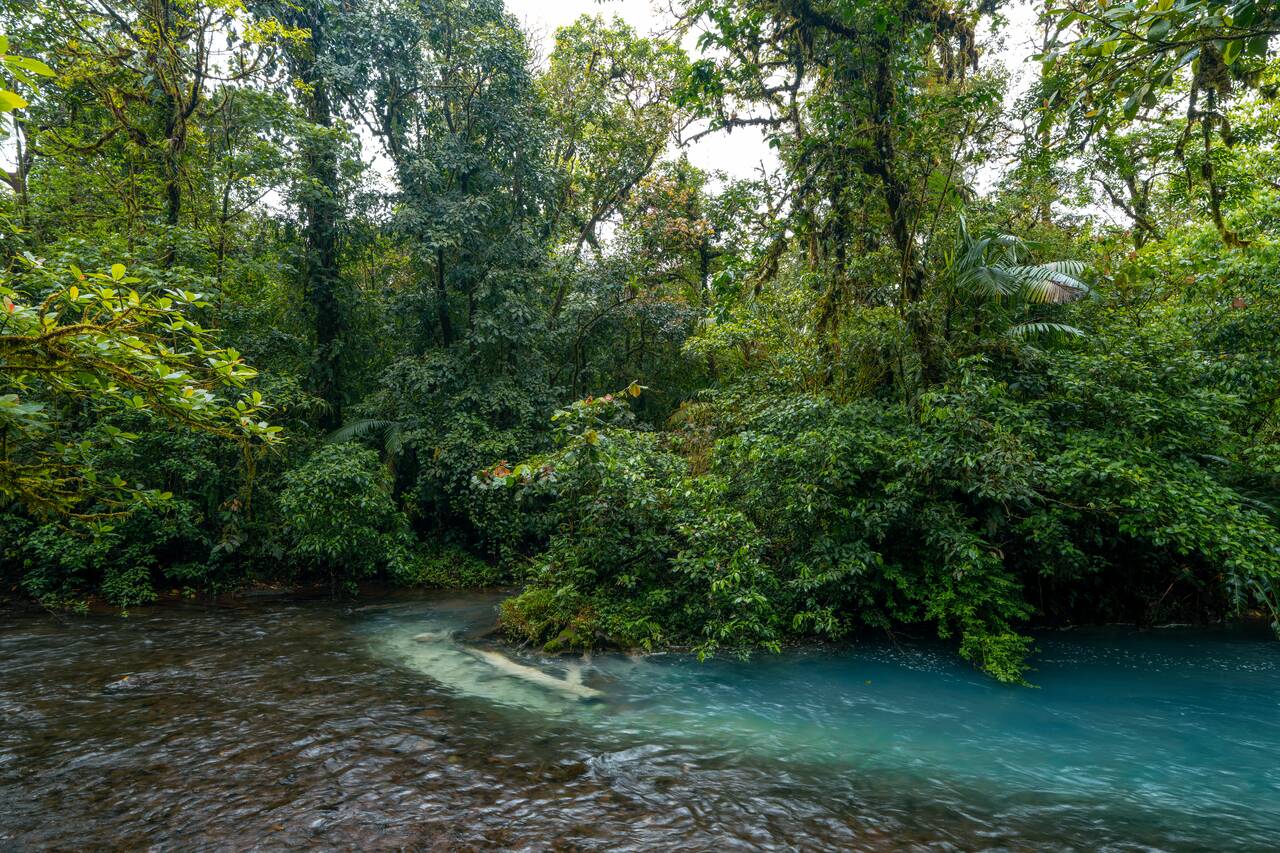
Keep in mind that Rio Celeste receives a lot of rain, and the trail can get very muddy, especially during the wet season. Wear proper hiking shoes and bring a rain jacket. Also, try to visit on a clear day; the turquoise color is much more vibrant when there is less rain mixing into the river.
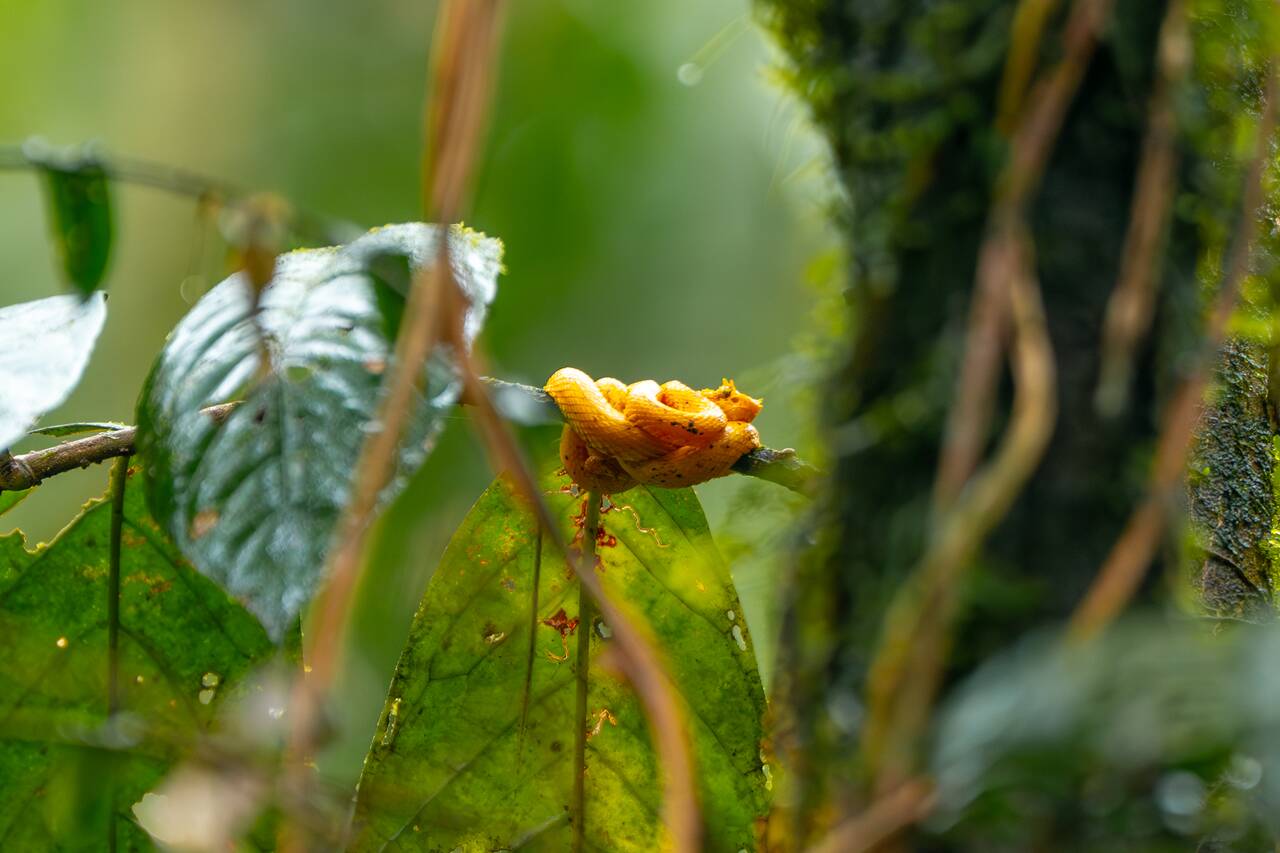
Be sure to book this organized tour, which is the one I went with and I highly recommend. The tour includes transportation, lunch, entry fees, and a guide. Our guide was Annie, and she was the best, very knowledgeable, and very friendly. Highly recommended!
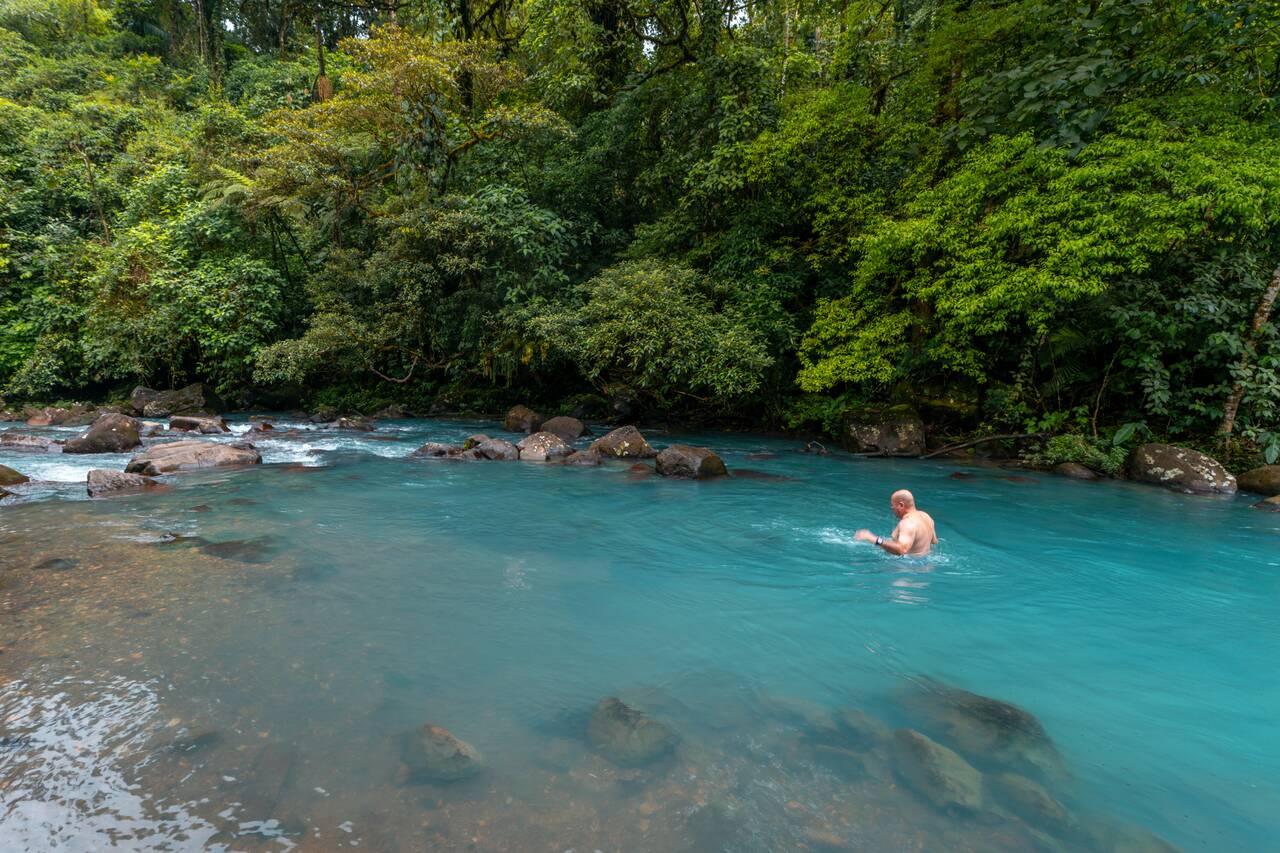
After the hike, you will get a chance to swim in the vivid blue water of Rio Celeste, but not at the waterfall itself. This spot along the Celeste River, located just outside the park, is where you can swim in the famous blue water for free. You will often see both locals and tourists hanging out by the river here as well.
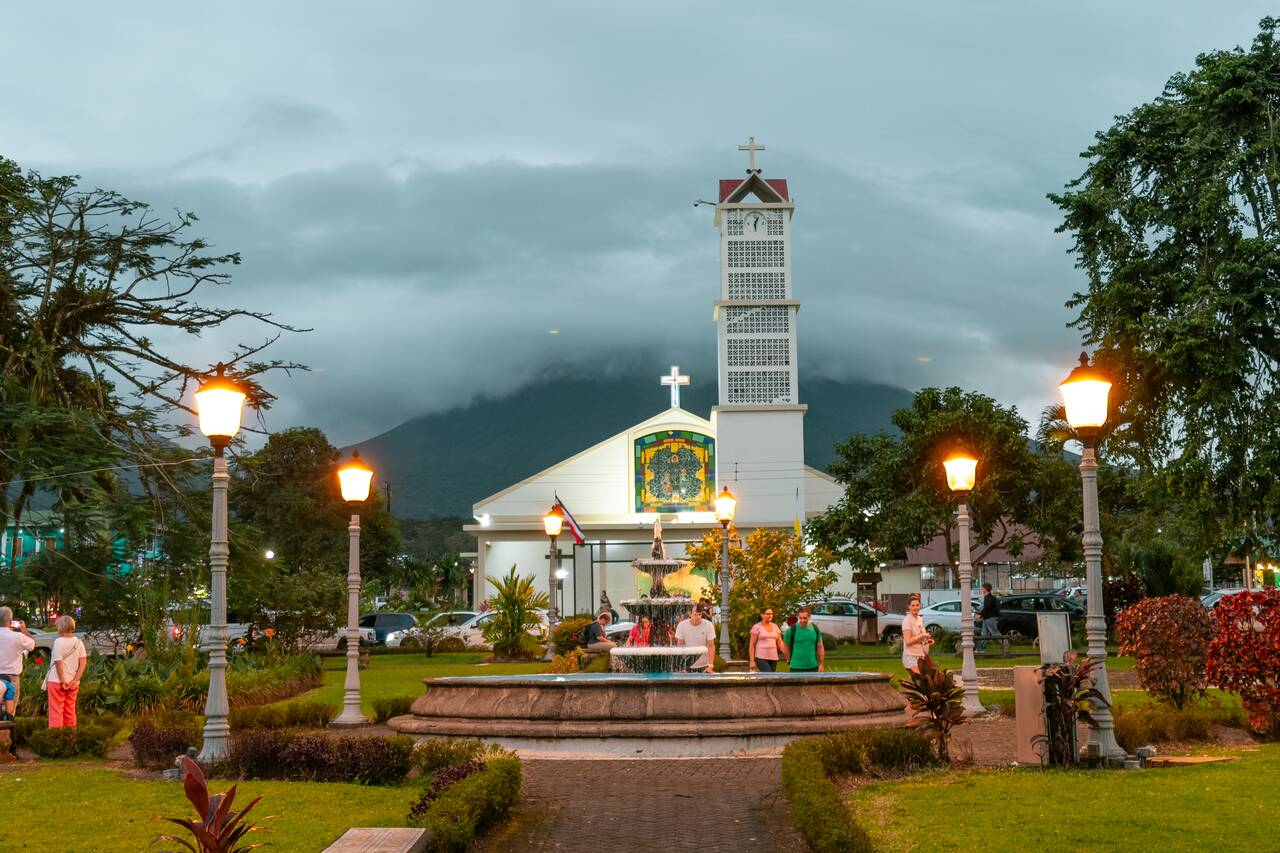
After a dip in the water, you will be taken to lunch before starting your journey back to La Fortuna. Once you get back, you can relax around Parque de La Fortuna, the main park located right in the center of town. The park is surrounded by restaurants, cafes, shops, and a beautiful white church, with Arenal Volcano often looming in the background.
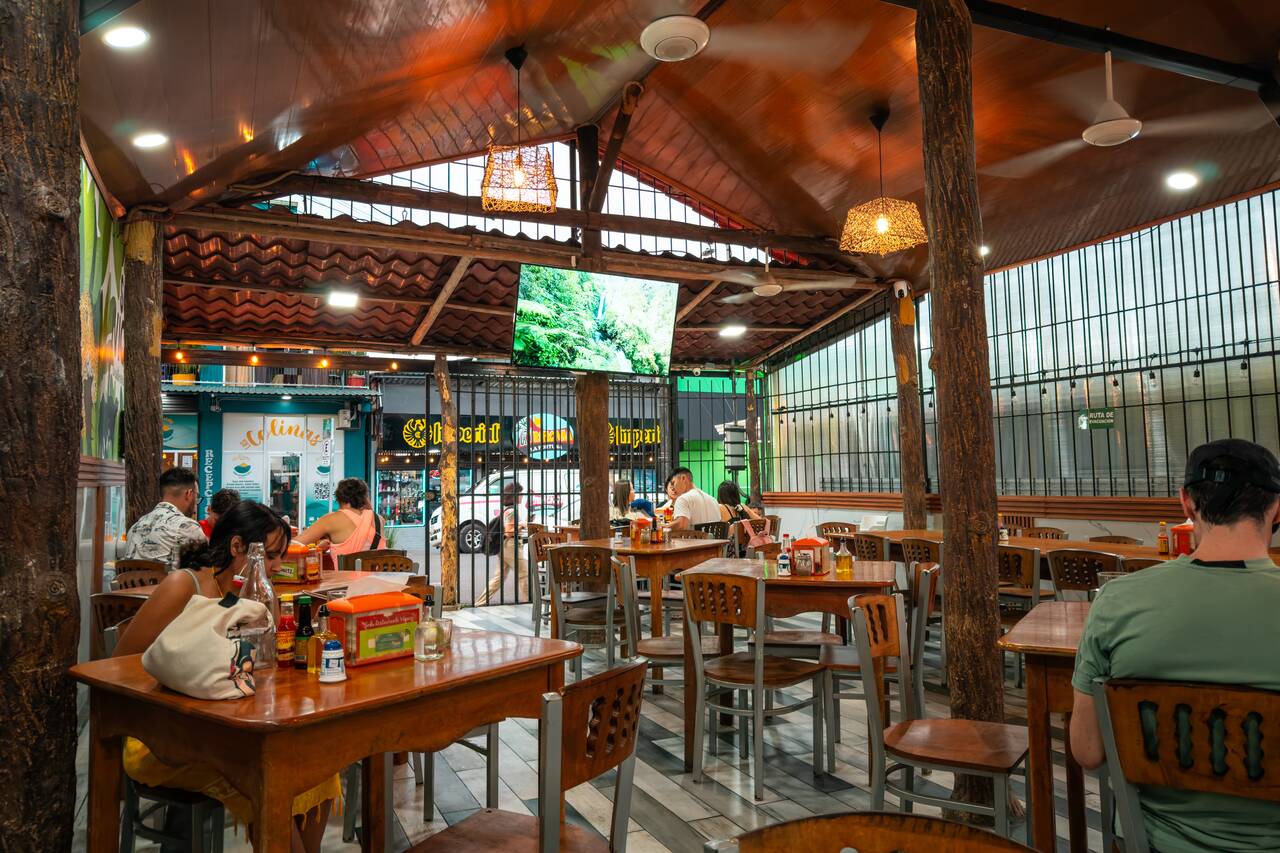
Be sure to try some of the local cuisine for dinner while you are here. One of my favorite restaurants that I frequented during my time in La Fortuna was Soda Víquez, a small local restaurant located not far from Parque de La Fortuna. They serve a great selection of traditional Costa Rican dishes that are delicious and much more affordable than many other places in town.
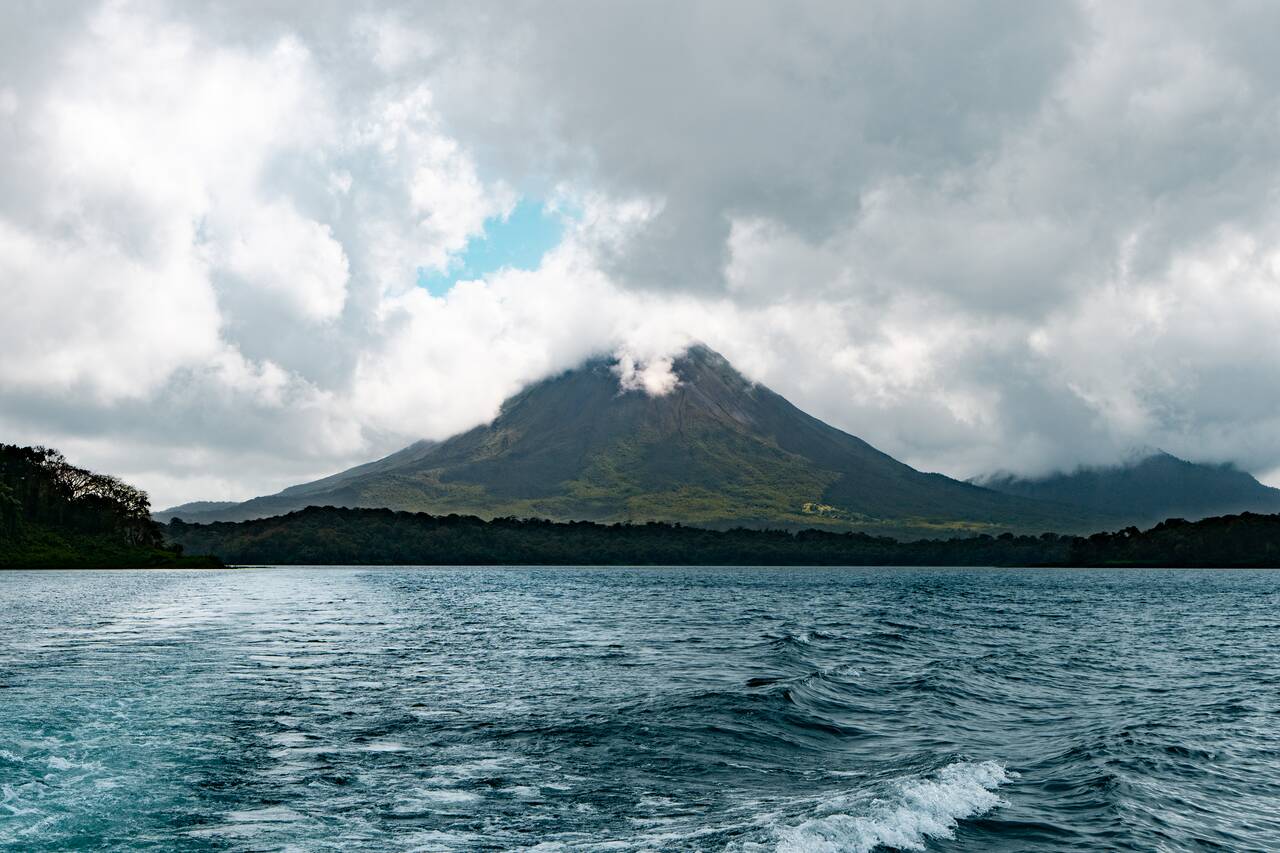
After you are done with dinner, you can retreat for the night and prepare for a scenic journey across Arenal Lake tomorrow. You will take the famous Jeep-Boat-Jeep transfer service to Monteverde.


Getting from La Fortuna to Monteverde
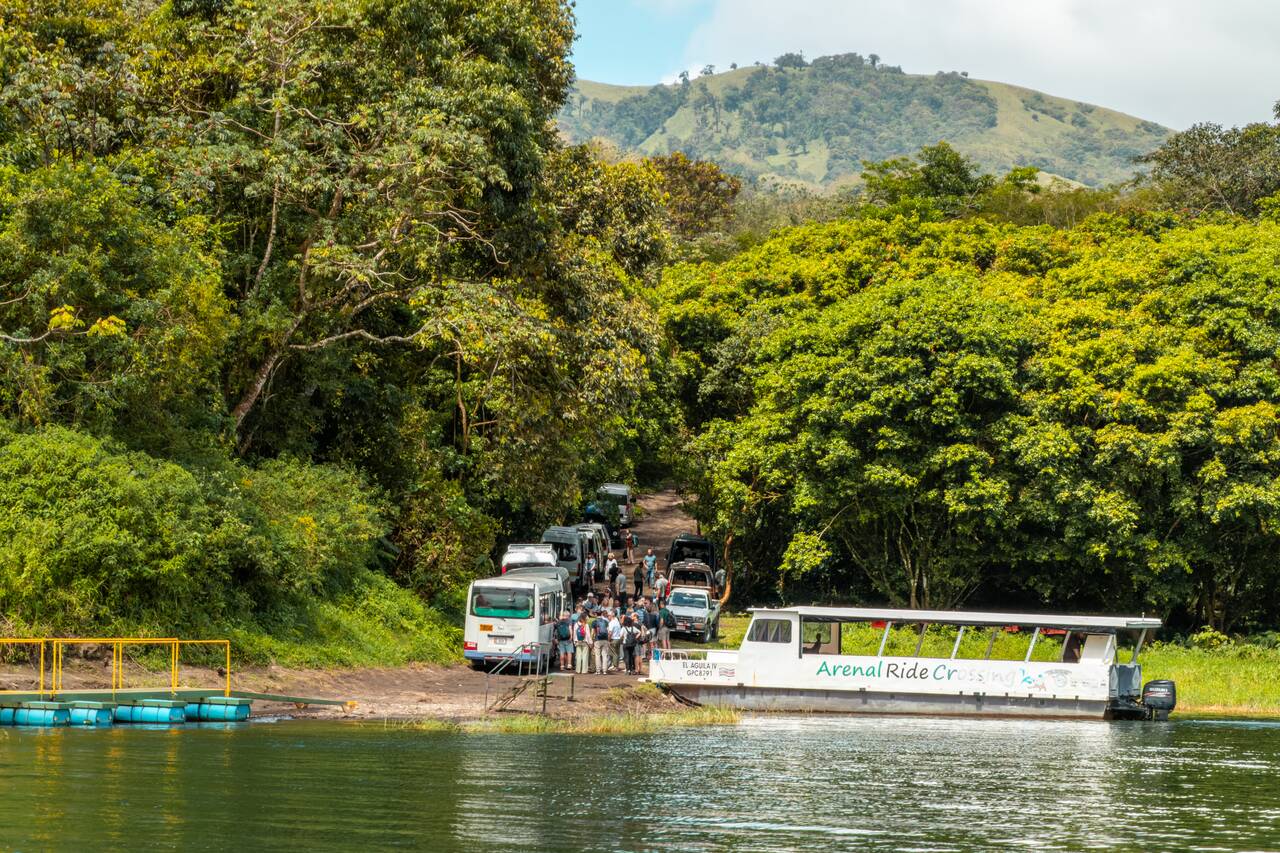
The fastest and most popular way to travel between La Fortuna and Monteverde is the famous Jeep-Boat-Jeep transfer. The journey takes around 3 hours and includes a scenic boat ride across Lake Arenal, which is an experience in itself. You can book the transfer here. I traveled from La Fortuna this way, and the whole trip went smoothly. The views across Lake Arenal were phenomenal.
Day 27-28: Monteverde, Costa Rica (2 nights)
- 📍 Stay: Cabinas Vista Al Golfo
- 🕐 Time: 2 nights
- 📖 Full Guide: Visiting Monteverde: My Favorite Activities, Travel Tips & Itinerary
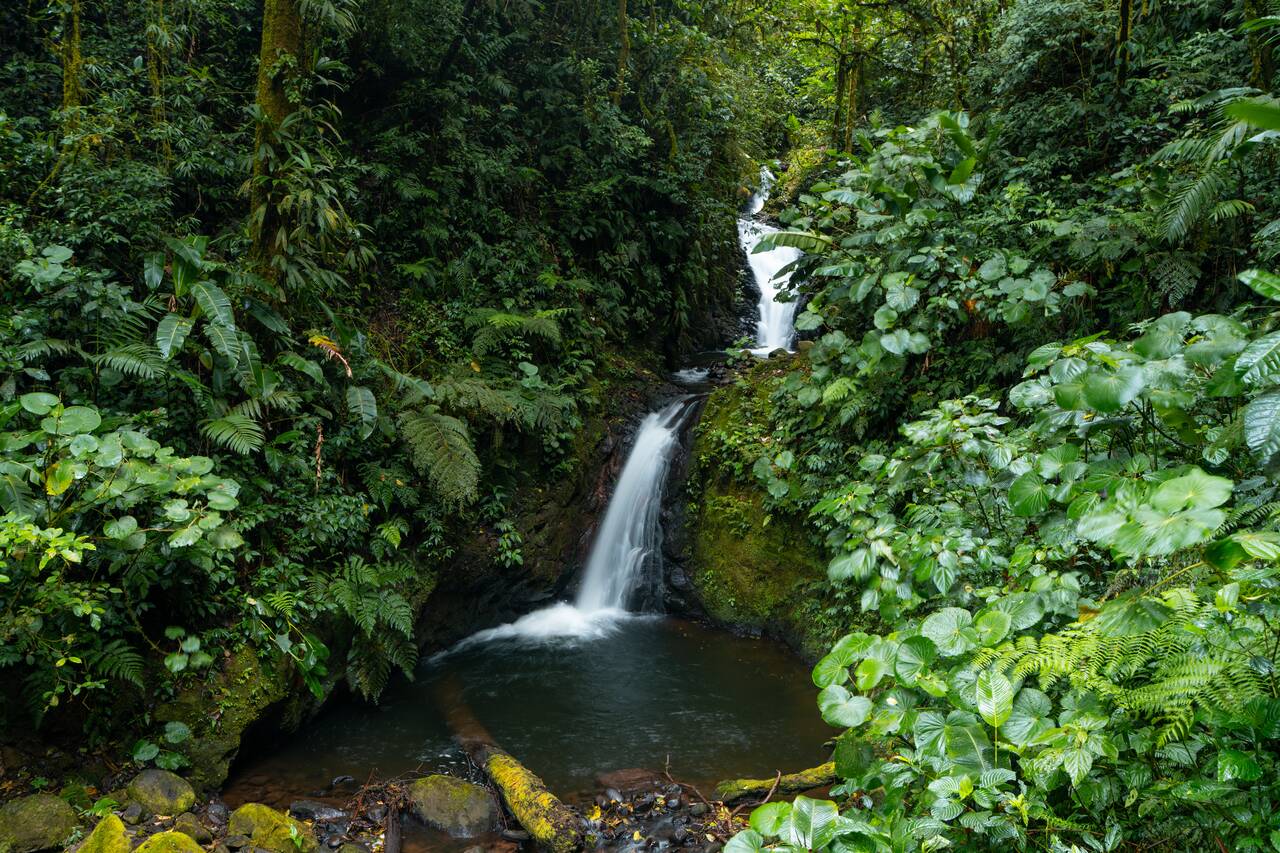
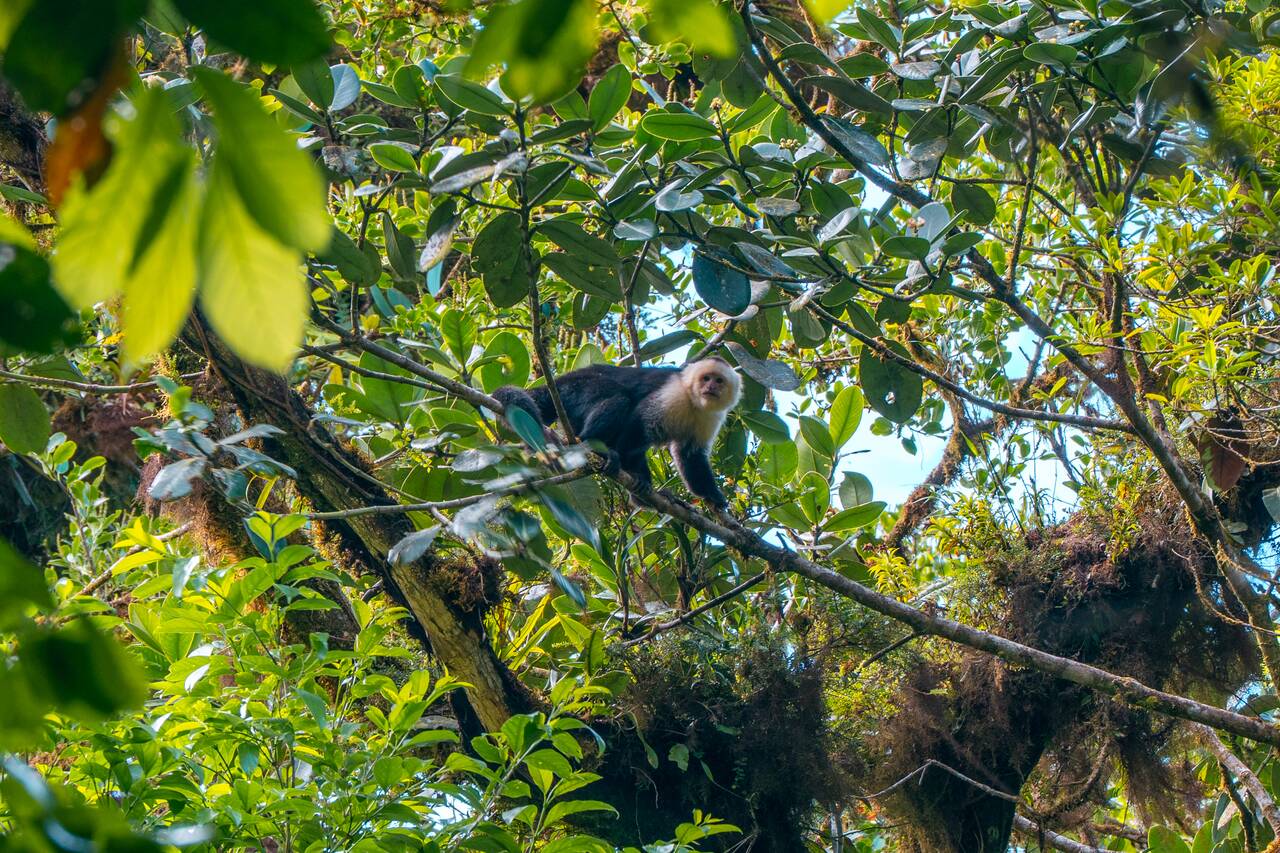
After La Fortuna, we headed over to Monteverde, a town famous for its cloud forests. The weather here is much cooler than the rest of the country, and the cloud forest has its own unique ecosystem waiting to be explored. We will spend the entire day experiencing the magic of Monteverde.
When most people visit Monteverde, they head straight to the famous Monteverde Cloud Forest Biological Reserve. While the reserve itself is beautiful, I found the way it is managed to be a little money-grabbing. For one, since it is so popular, they limit the number of visitors on each trail, so you have to book a specific trail in advance, which isn't ideal.
Secondly, they charge 29 USD for admission, and although there are three hiking trails, you are only allowed to hike the one you booked. You are not allowed to explore the other trails after finishing yours. Each trail takes about an hour or 2 to complete, and if you want to hike another one, you have to pay another 29 USD. In my opinion, that's a rip-off and a very cash-grab approach to managing the reserve. I can't recommend it when there are much better alternatives nearby.
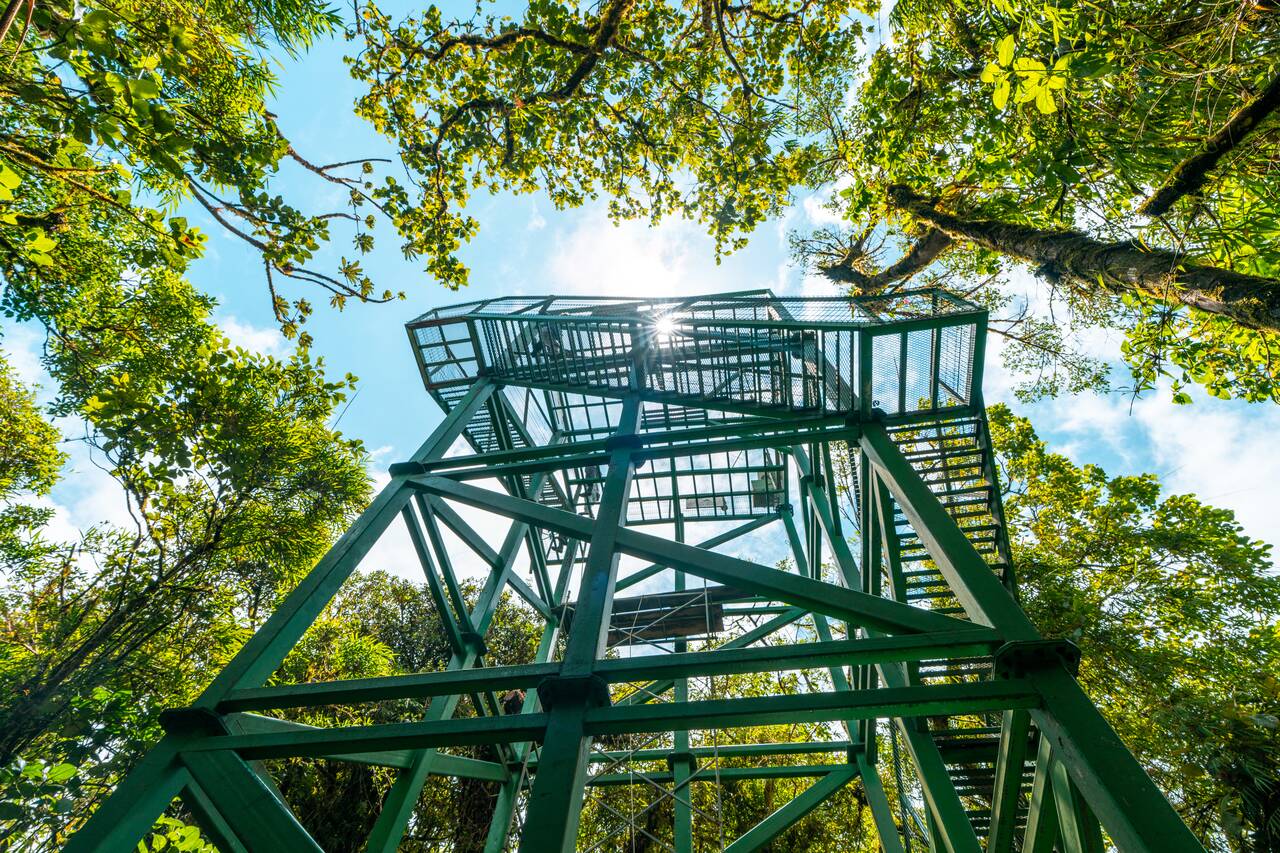
Instead, I recommend visiting the Santa Elena Cloud Forest Reserve. The experience is just as magical, but the trails are much quieter and feel more natural, with dirt paths instead of the well-paved trails you'll find at Monteverde Cloud Forest.
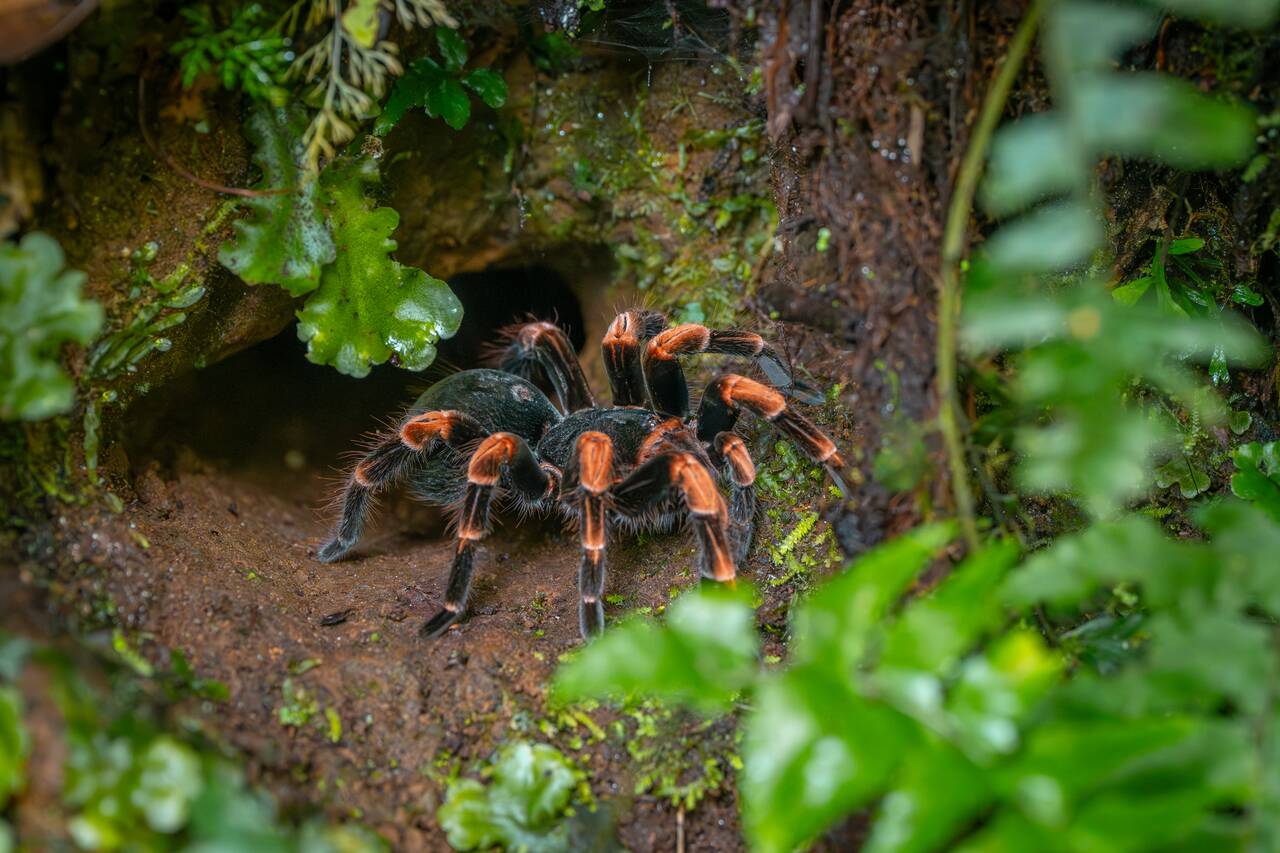
You also don't have to book your visit in advance, and the reserve offers many more hiking trails and viewpoints that you can explore with a single admission ticket. Best of all, it costs only 20 USD for a self-guided visit, which is a much better value than Monteverde Cloud Forest in my opinion.
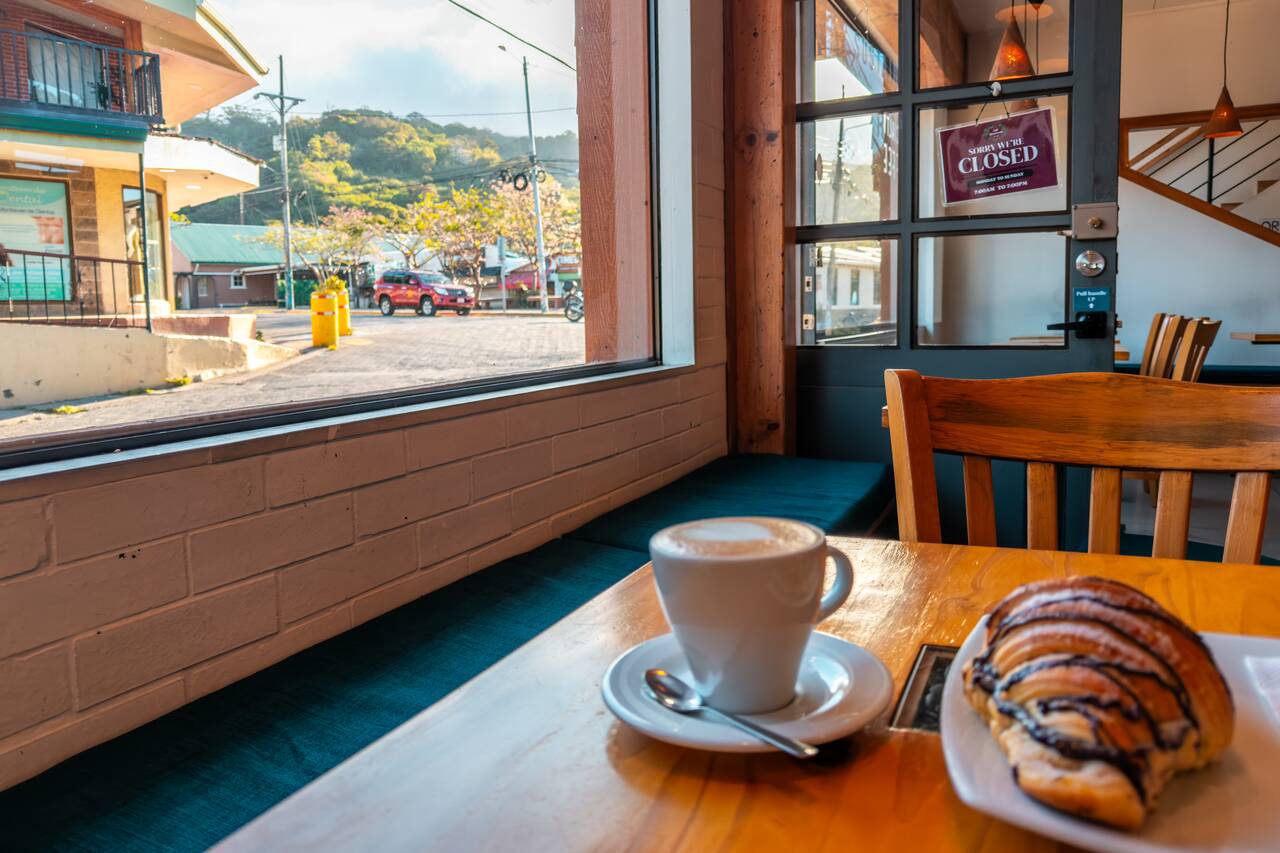
It should take around half a day to finish exploring the cloud forest. After you are done, you can either visit Selvatura Adventure Park, which is within walking distance of Santa Elena Cloud Forest Reserve, and go for another hanging bridge walk, ziplining, or head back to town, enjoy a nice cup of coffee at Santa Elena Coffee Shop, try some local food at Tree House, a restaurant with a giant tree growing through the middle of it, and relax for the rest of the day.


Getting from Monteverde to Liberia
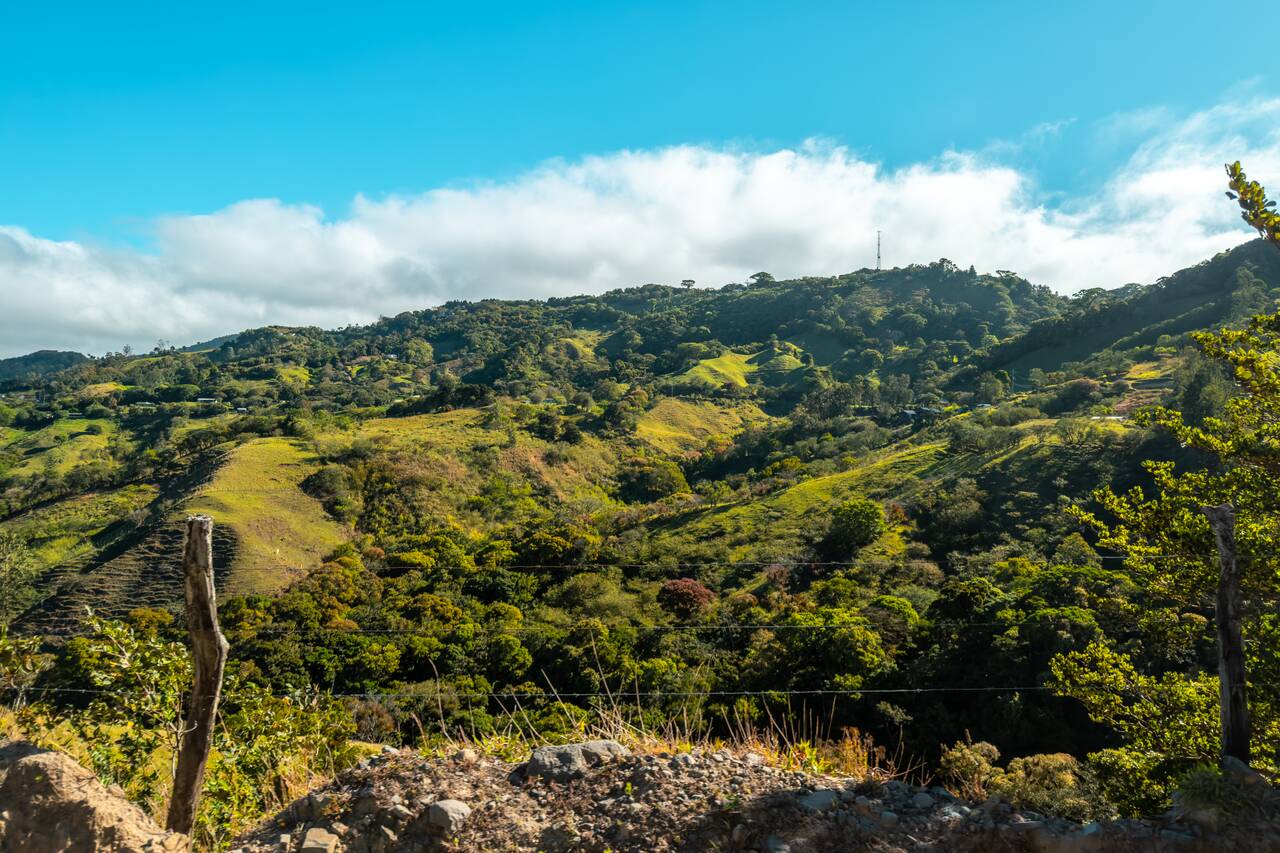
From Monteverde, there is no direct bus to Liberia, so you will have to go with a shared transfer service again. As usual, the shared transfer service will pick you up at the hotel in Monteverde, take you to Liberia or straight to the airport in about 2.5 - 3.5 hours, and it should cost around 35 - 50 USD. Very easy and straightforward. You can book the shared transfer here.
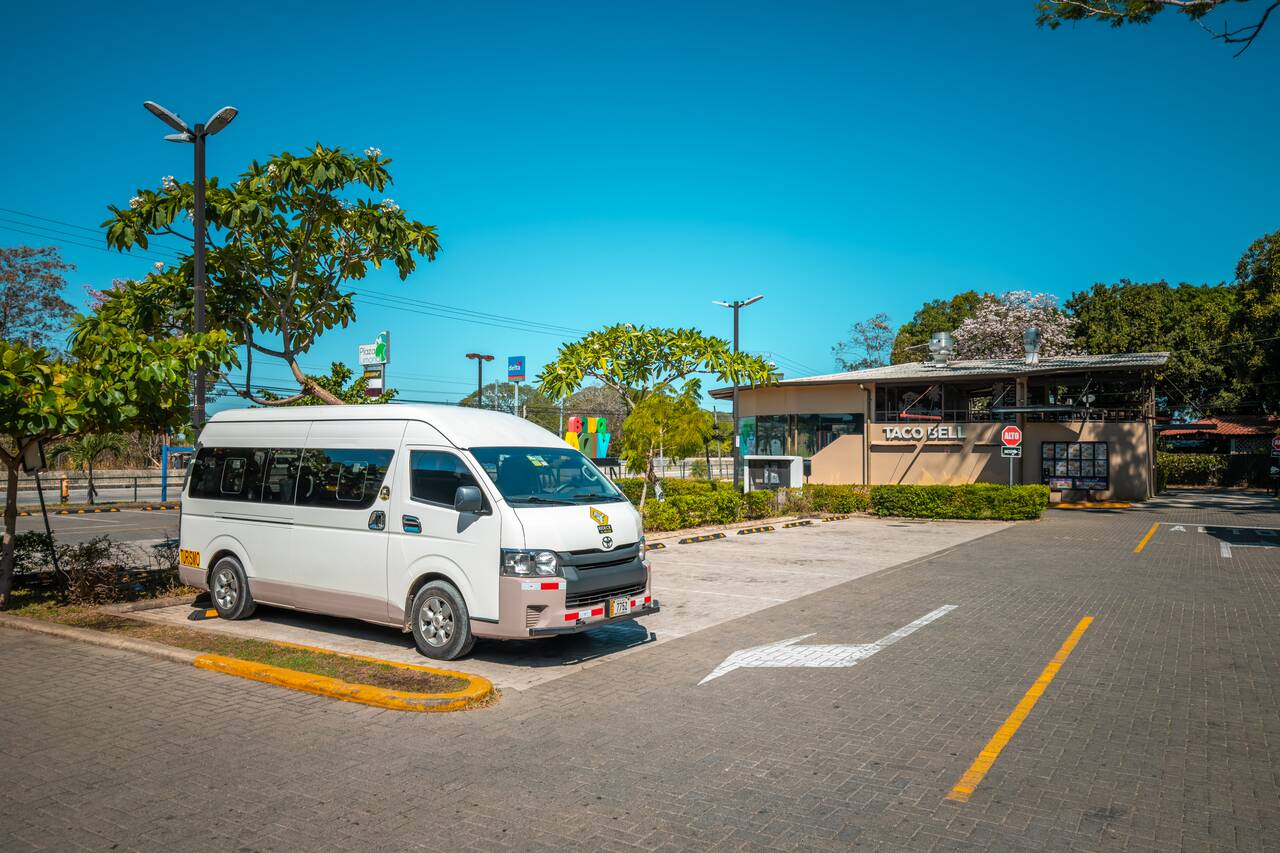
After arriving from Monteverde, you'll need to spend one night in Liberia before crossing the border into Nicaragua the following day. Use this as a rest day to relax, catch up on laundry, or enjoy your down time before taking a shared tourist shuttle to San Juan del Sur the next day, which you can book online here.
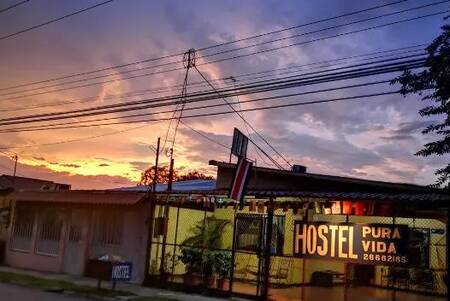
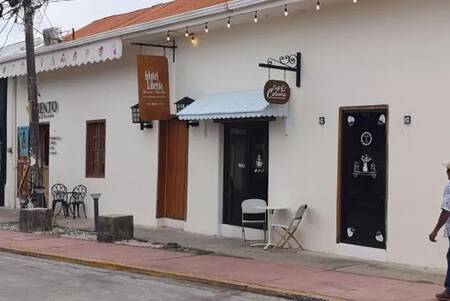
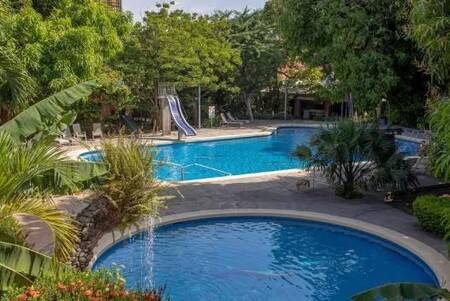
Getting from Liberia, Costa Rica to San Juan del Sur, Nicaragua
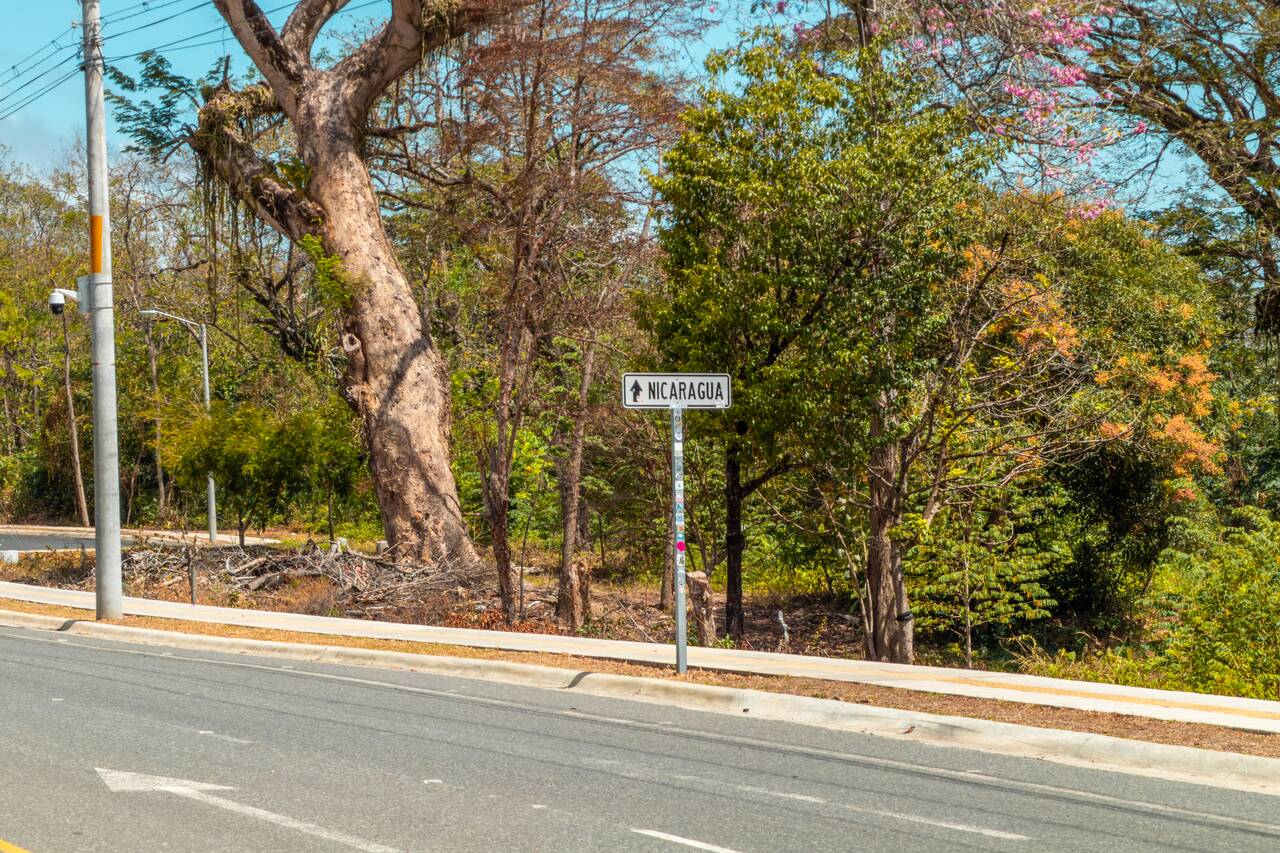
From Liberia, we are going to cross the border to Nicaragua from the Peñas Blancas Border Crossing. You can take one of the several shared shuttles operate daily from Liberia. You can book a shared shuttle here, or cross the border independently and continue to San Juan del Sur by bus or taxi from Rivas.
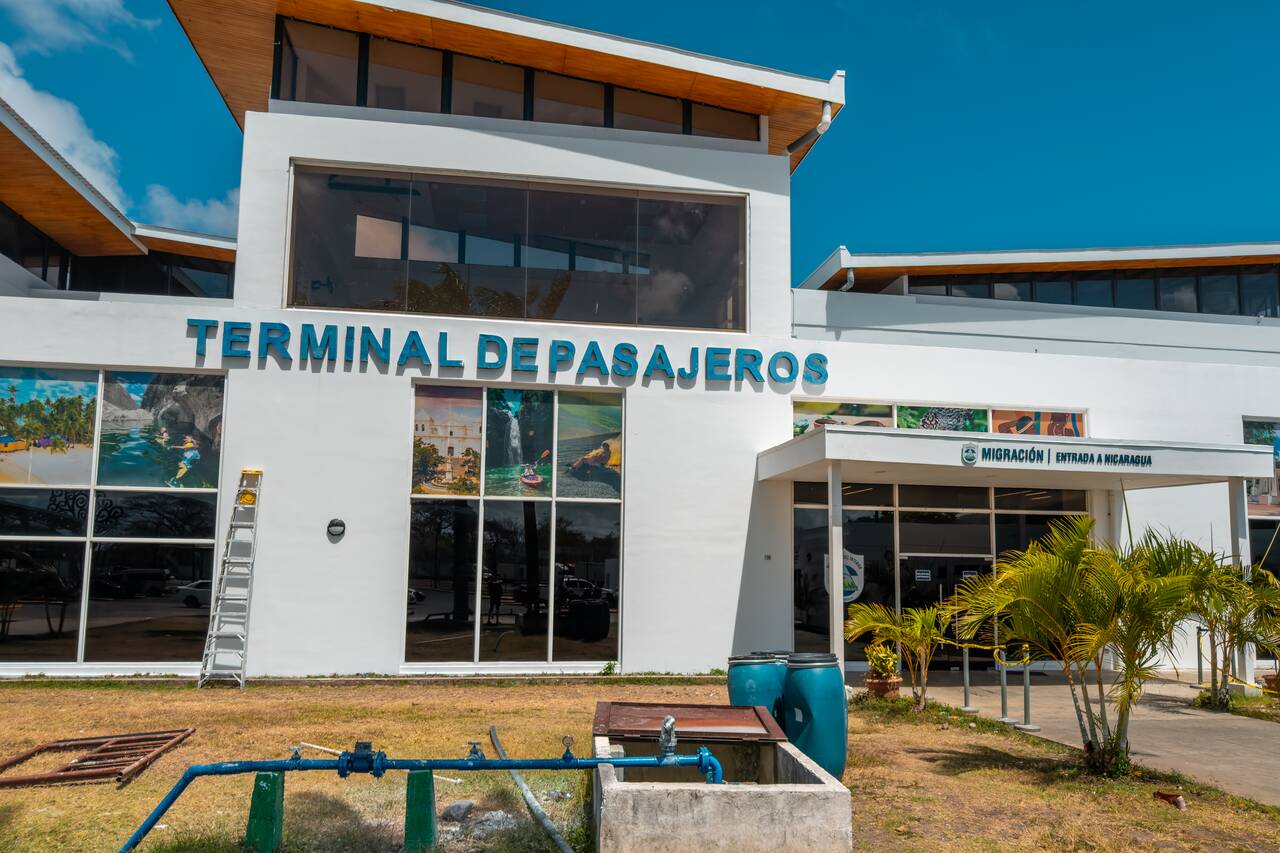
I entered Nicaragua from Costa Rica via the Peñas Blancas Border Crossing using a shared shuttle operated by Interbus, which I highly recommend. The process was smooth overall, with the driver coordinating with an associate on the Nicaraguan side who guided us through immigration and made the border crossing completely hassle-free.
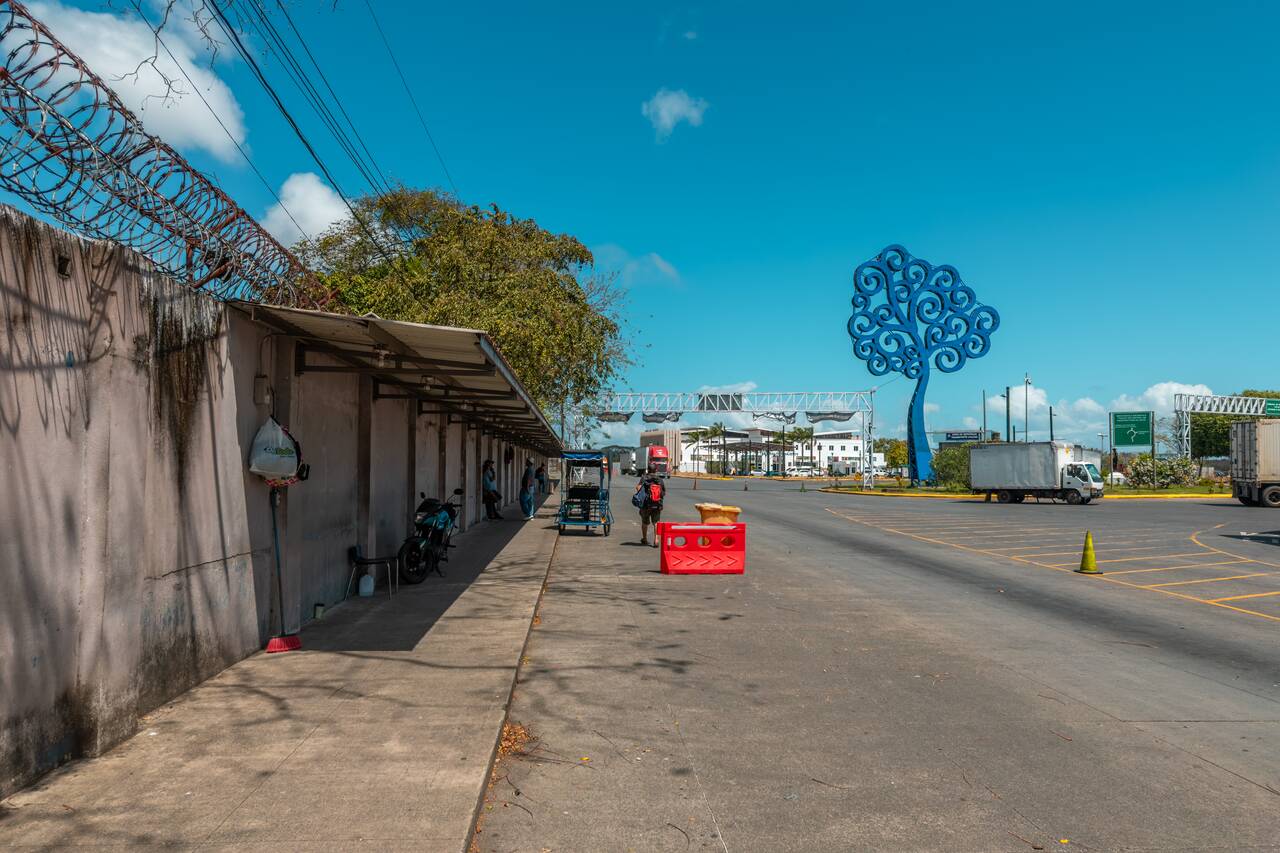
The only hiccup I encountered was with my visa. Due to the February 2026 changes to Nicaragua's visa policy, citizens of many countries now need prior approval from a Nicaraguan consulate before they can obtain a visa on arrival. Thankfully, I received my approval just in time, but since the new process was still being implemented, it took immigration more than 90 minutes to issue my visa-on-arrival stamp. 😬 Fortunately, the shuttle driver waited for me, so I didn't have to arrange alternative transportation.
If you're planning to cross the border, be prepared for possible delays. I've heard the busiest time is early in the morning when the border first opens, with some travelers waiting 2 to 3 hours in the heat. We arrived at around 10 AM, and while I had to wait for my visa, the immigration lines themselves were relatively short.
Day 30-32: San Juan del Sur, Nicaragua (3 nights)
- 📍 Stay: Tapihouse San Juan Del Sur
- 🕐 Time: 3 nights
- 📖 Full Guide: Explore San Juan del Sur: Surf, Sunsets & Beach Life
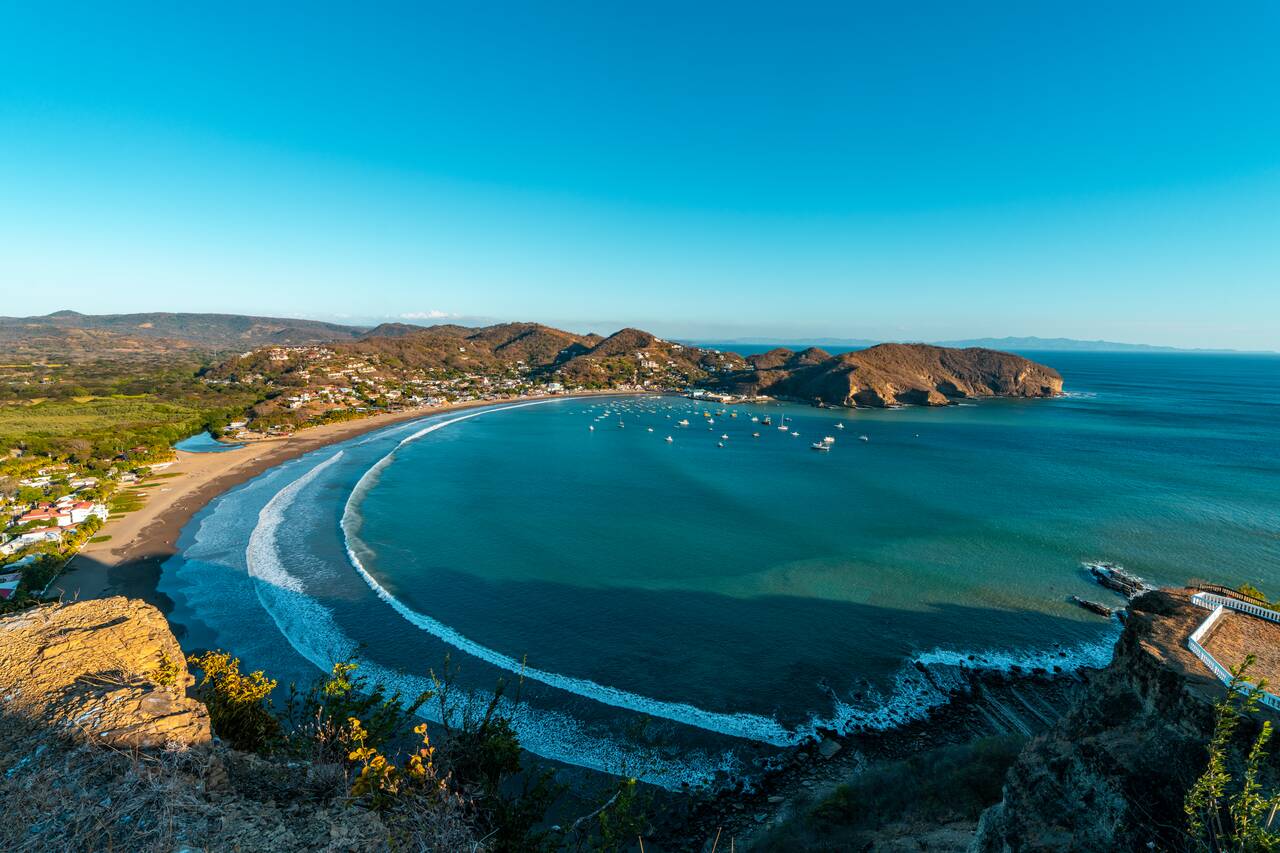
San Juan del Sur is one of my favorite beach towns in Nicaragua, thanks to its laid-back vibe, crescent-shaped bay, and easy access to some of the best beaches along the Pacific coast. There is no better place to begin your journey through Nicaragua than in this relaxing beach town.
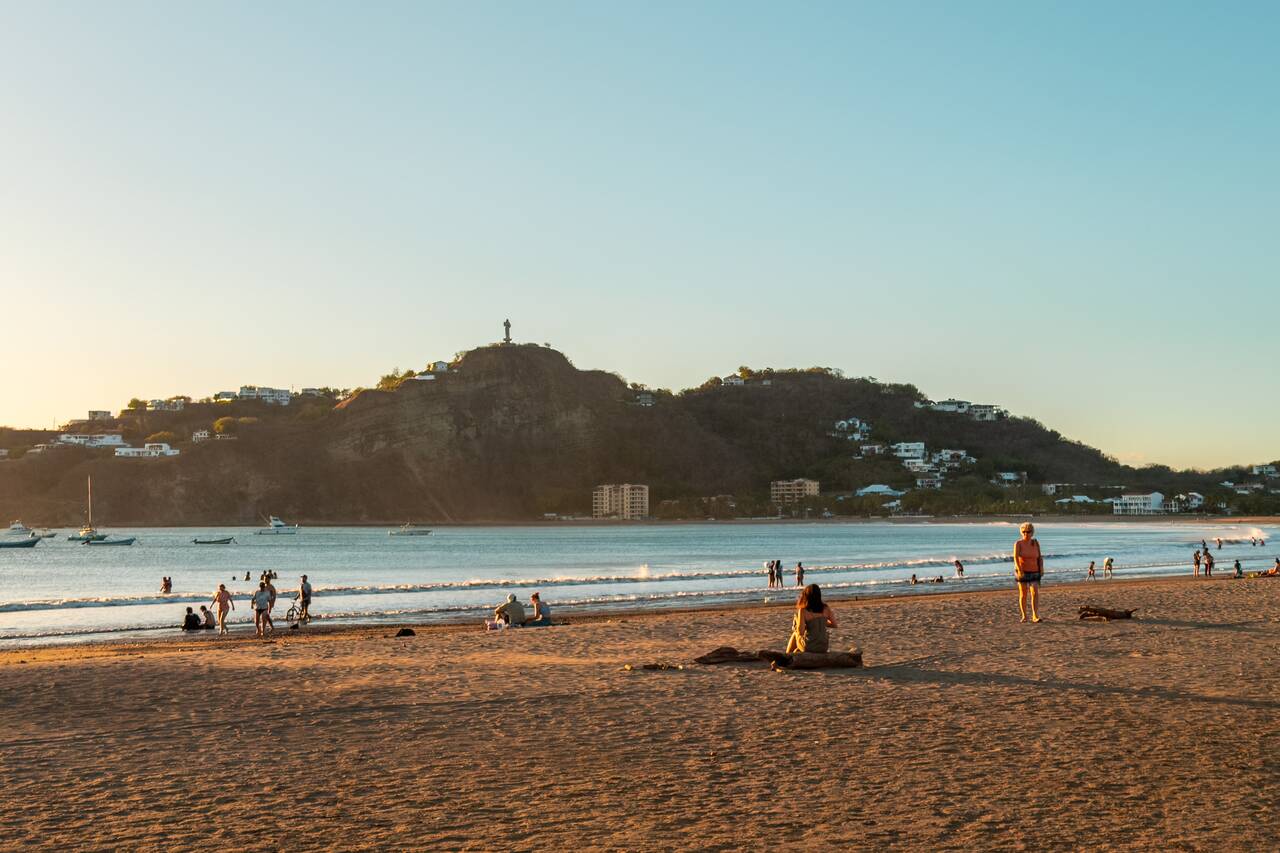
The best way to kick off your trip to San Juan del Sur is by taking a stroll along its beautiful crescent-shaped beach. Once you've settled into your accommodation, head over to Playa San Juan del Sur and take in the laid-back atmosphere that has made this little surf town one of my favorite beach towns in Nicaragua.
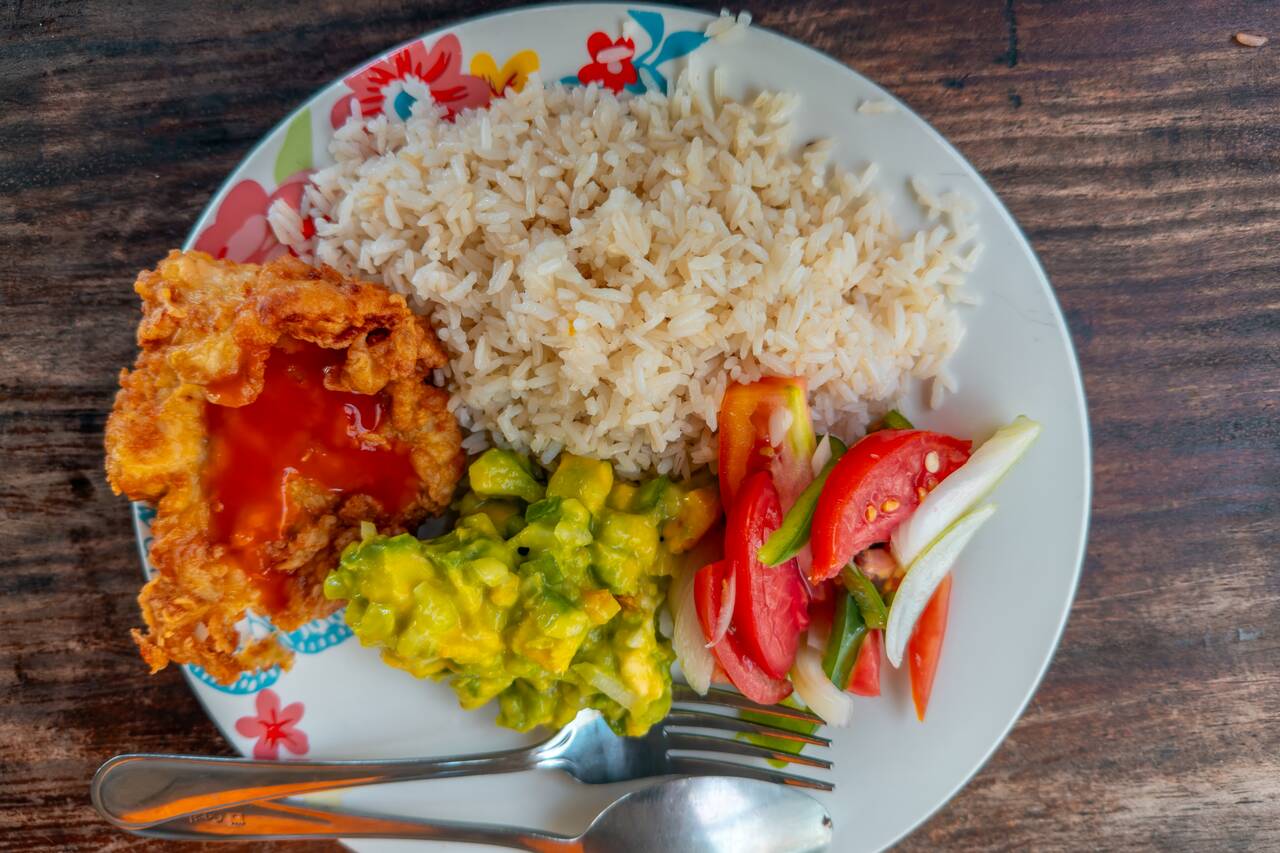
For your first dinner here, I recommend you go and eat some local food from my favorite restaurant in town, La Reina del Sur, a local spot right on the coastal road next to the beach. It’s a homemade buffet-style gallo pinto restaurant where you can choose one or two protein options, vegetables, and other sides for a very affordable price starting at around 120 NIO (3 USD).
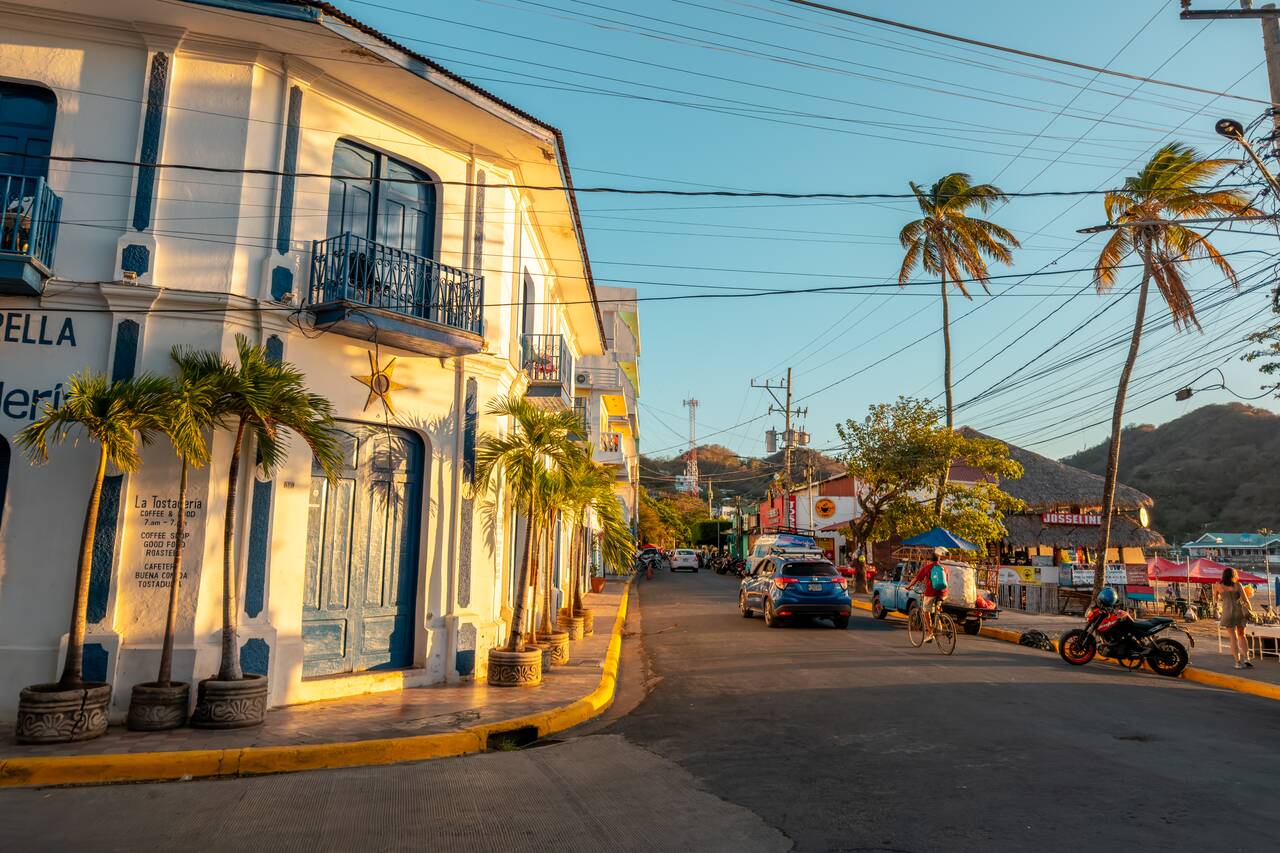
On your first full day here, you can spend the day exploring San Juan del Sur Town itself. Wander around its vibrant streets and admire some really pretty colonial-style architecture that is scattered throughout the town.
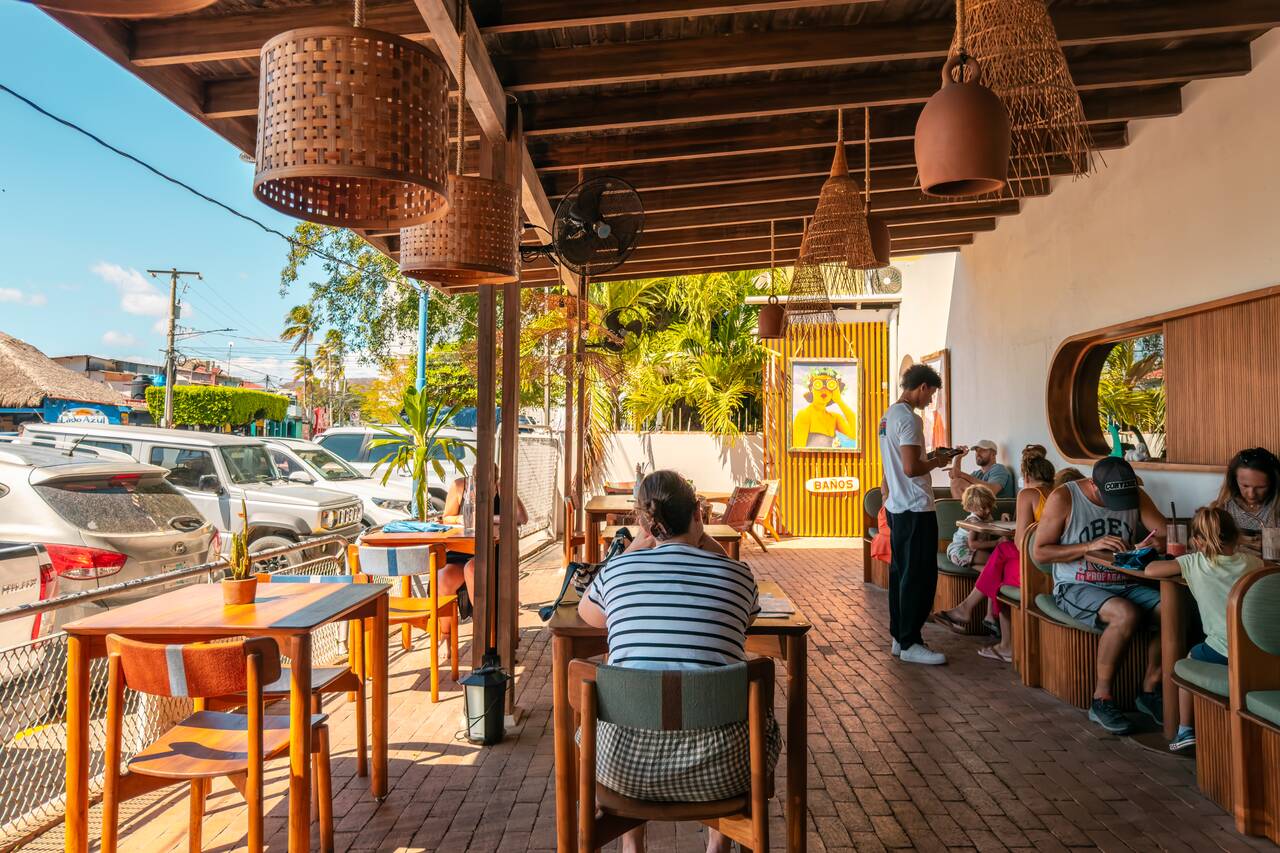
For a nice and cozy café with a great view of the waterfront street, Ding Repair Cafe is my go-to spot. It’s a bit on the more expensive side, with prices ranging between 300–500 NIO (8–13 USD) for a meal, but the quality is great and you definitely get your money’s worth here. Be sure to go here for lunch.
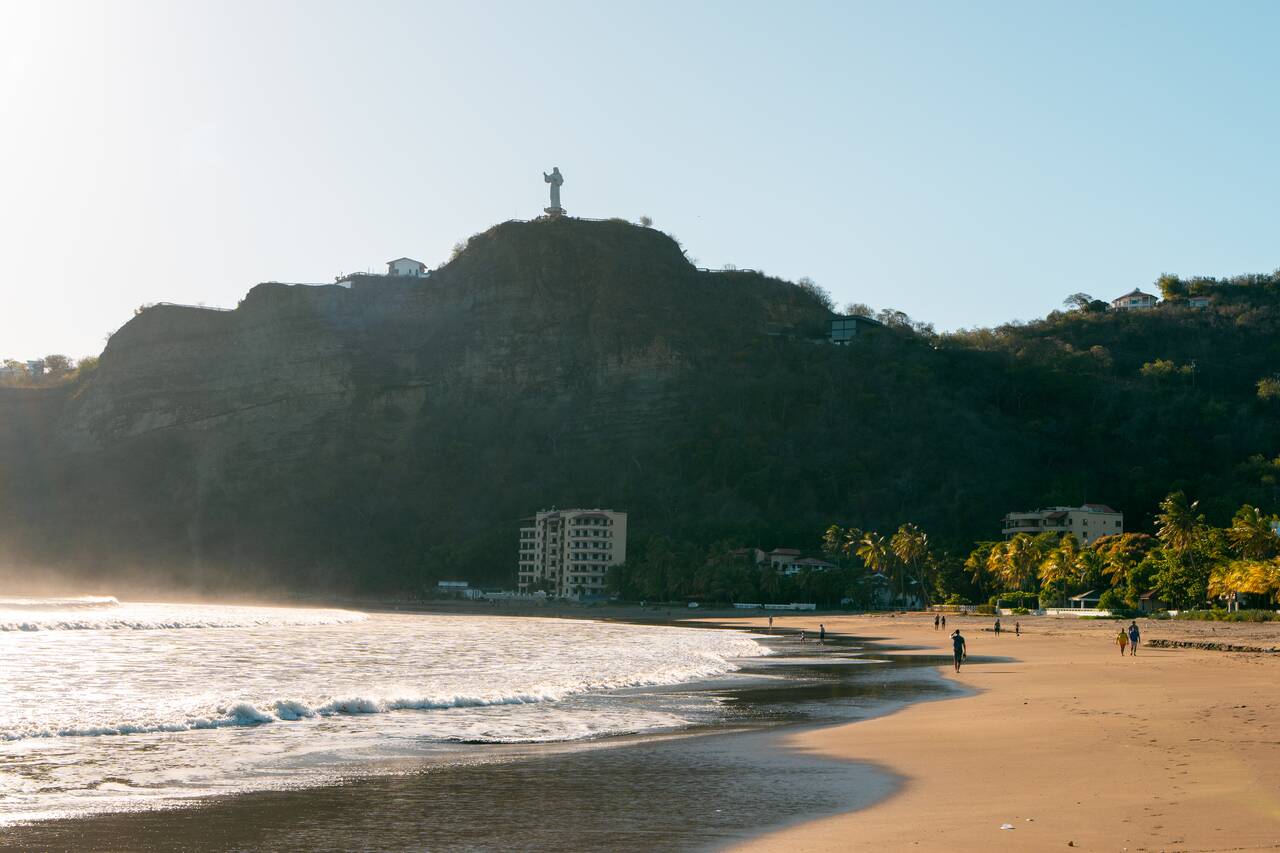
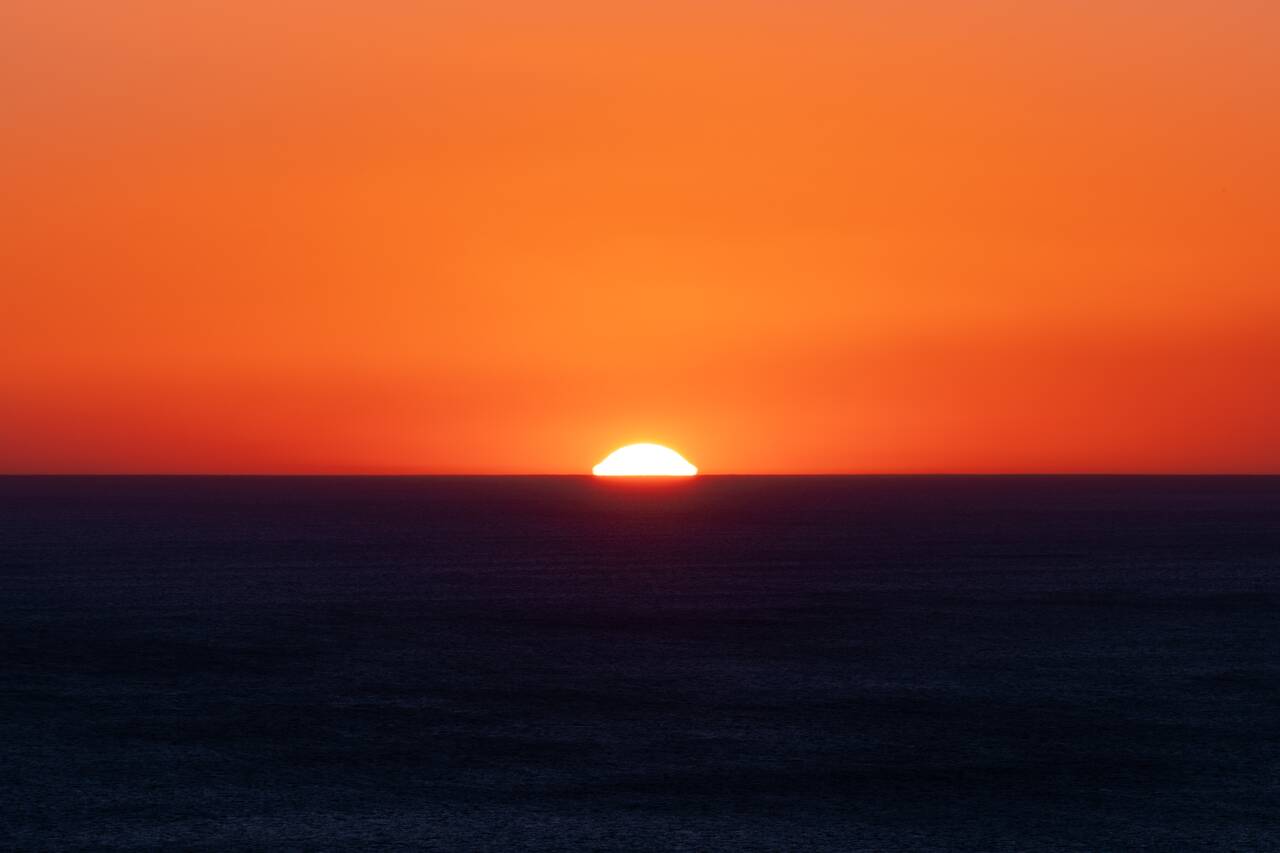
Once evening comes, go and hike up to Christ of the Mercy and watch the sunset from there. The statue stands high above the bay, overlooking the entire beach town, and from up here you'll get to see the beautiful crescent-shaped beach in all its glory.
The hike itself takes around 20–30 minutes, depending on your pace. While it’s a bit steep in parts, it’s manageable for most people. You can also take a tuk-tuk or taxi up if you prefer to save your energy for the views at the top. For me, the walk was part of the fun.
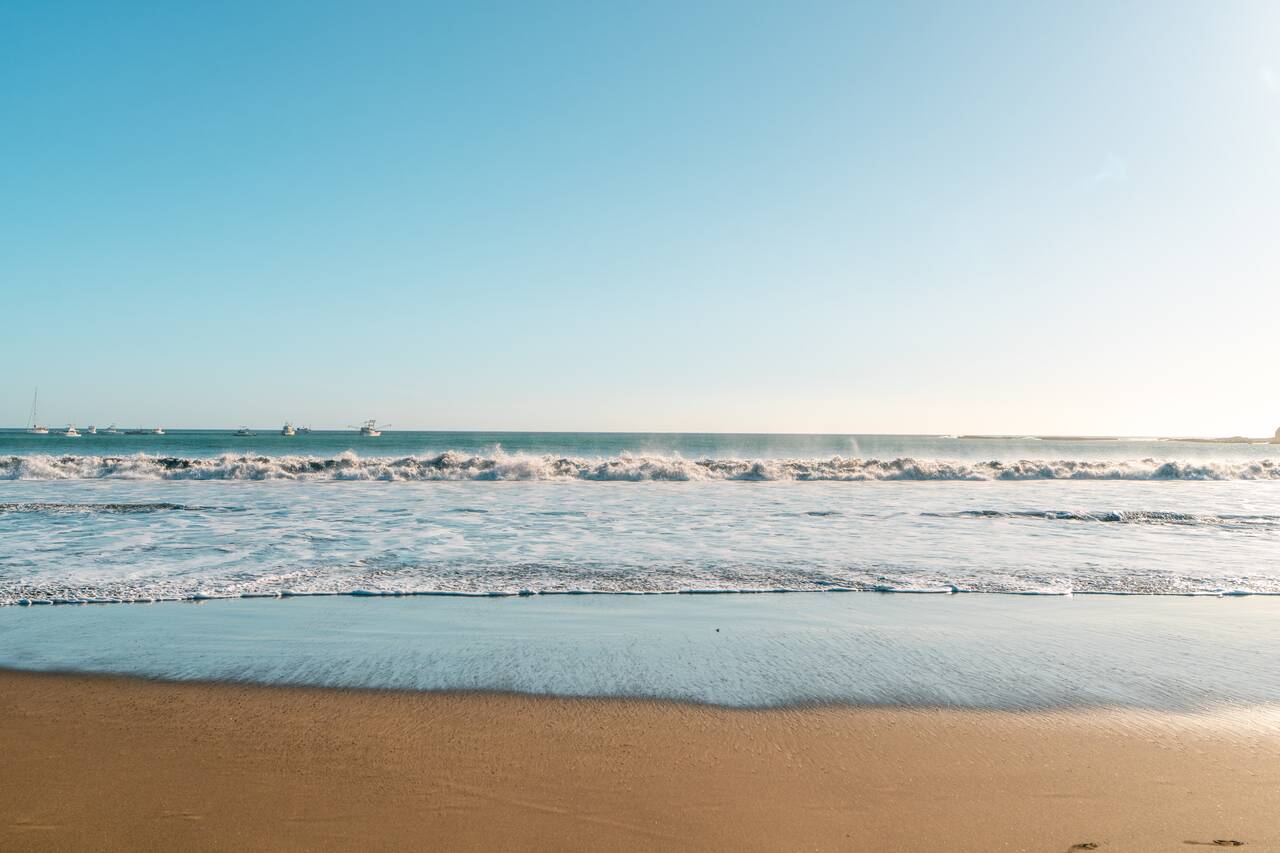
For the next day in San Juan del Sur, you can either spend the day relaxing or go and rent a motorbike to explore some of the beautiful beaches along the coast. You can rent a motorbike from Nica Moto Rental Shop for around 20 USD per day and check out nearby beaches like Playa Hermosa, Playa Marsella, and more. Each beach has its own vibe, from surf-friendly breaks to quiet, secluded stretches of sand, and it’s easy to mix and match a few in a single day depending on how much time you have.
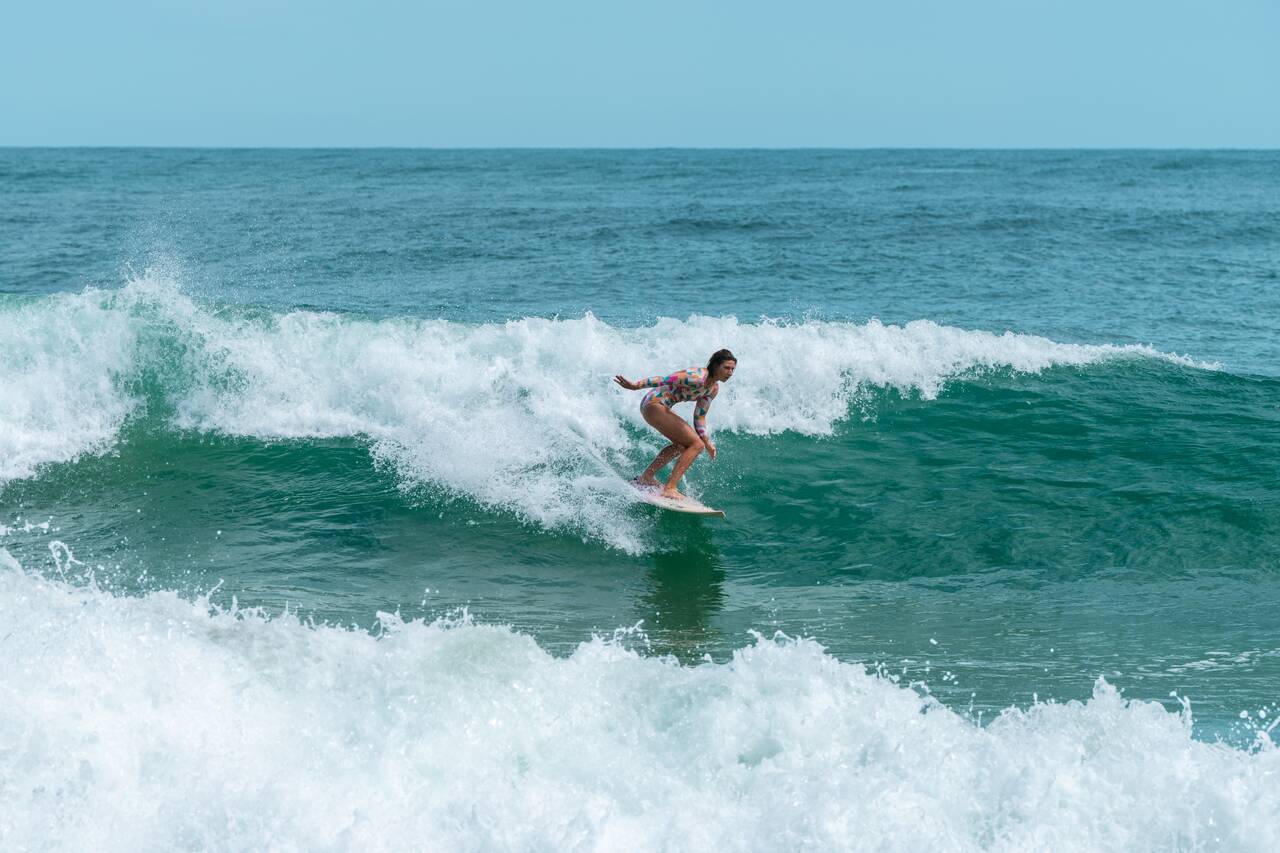
Playa Maderas is the most popular surfing beach, with consistent waves, laid-back beach bars, and surf schools for beginners. Playa Remanso is a great alternative if you're just starting out, offering smaller and more manageable waves. If you're looking for something quieter, Playa Marsella offers a more relaxed atmosphere with calm waters that are better for swimming than surfing. Playa Hermosa is the most well-known long beach in the area, often used for surf camps and beach clubs, while Playa Yankee feels more remote and untouched.
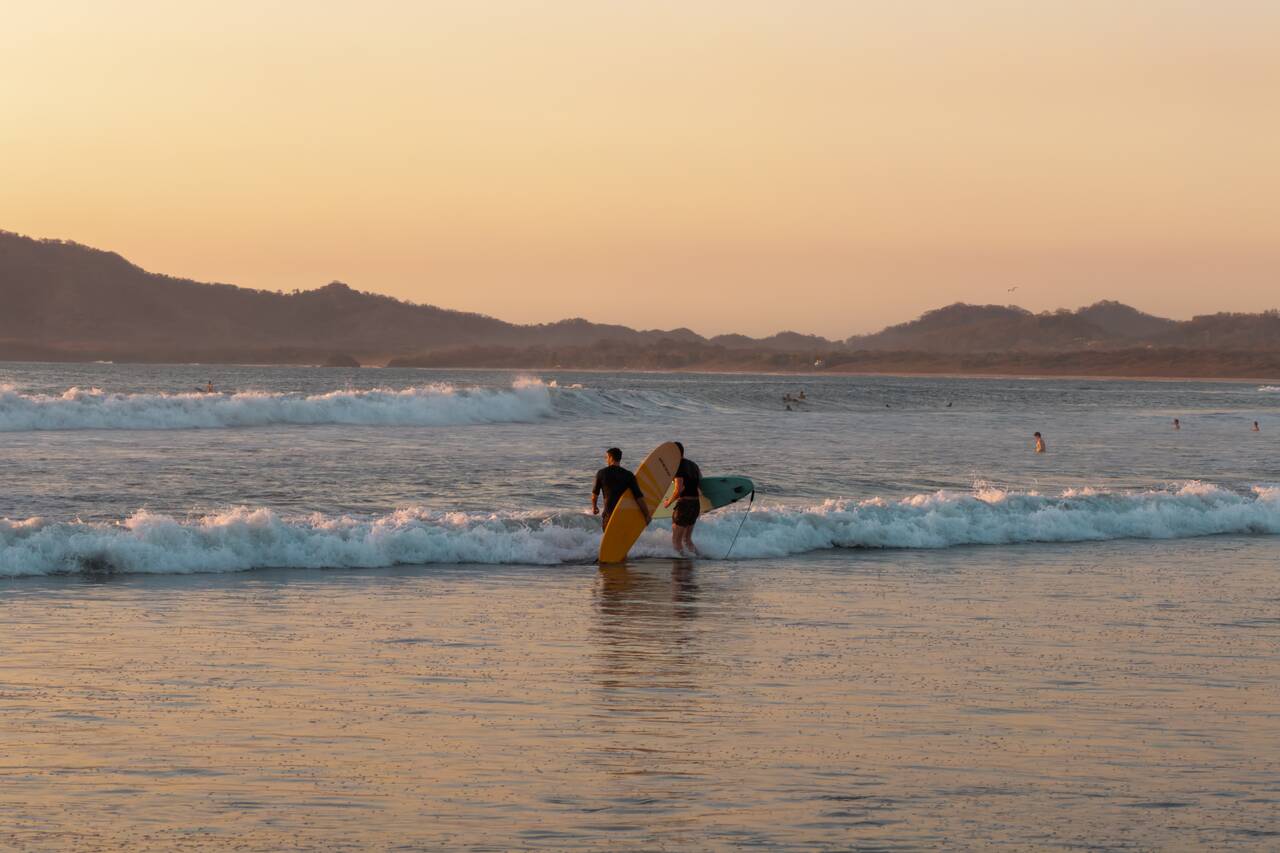
After a day out on a motorbike, head back to San Juan del Sur and enjoy a leisurely stroll around town before grabbing dinner and calling it a day. Tomorrow, we'll be heading to Ometepe, a volcanic island in the middle of Lake Nicaragua, where we'll spend the next few days exploring its incredible landscapes and attractions.

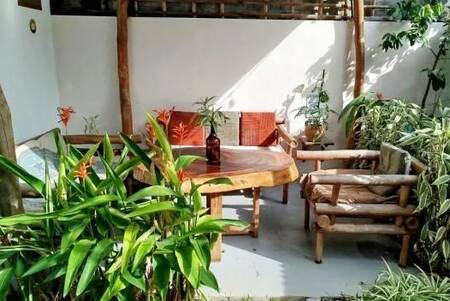

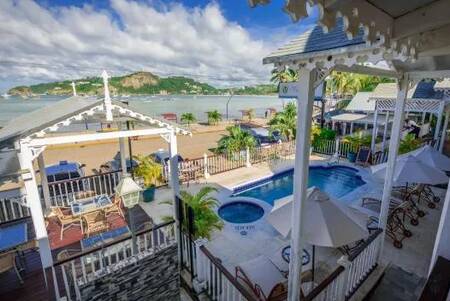
Getting from San Juan del Sur to Ometepe
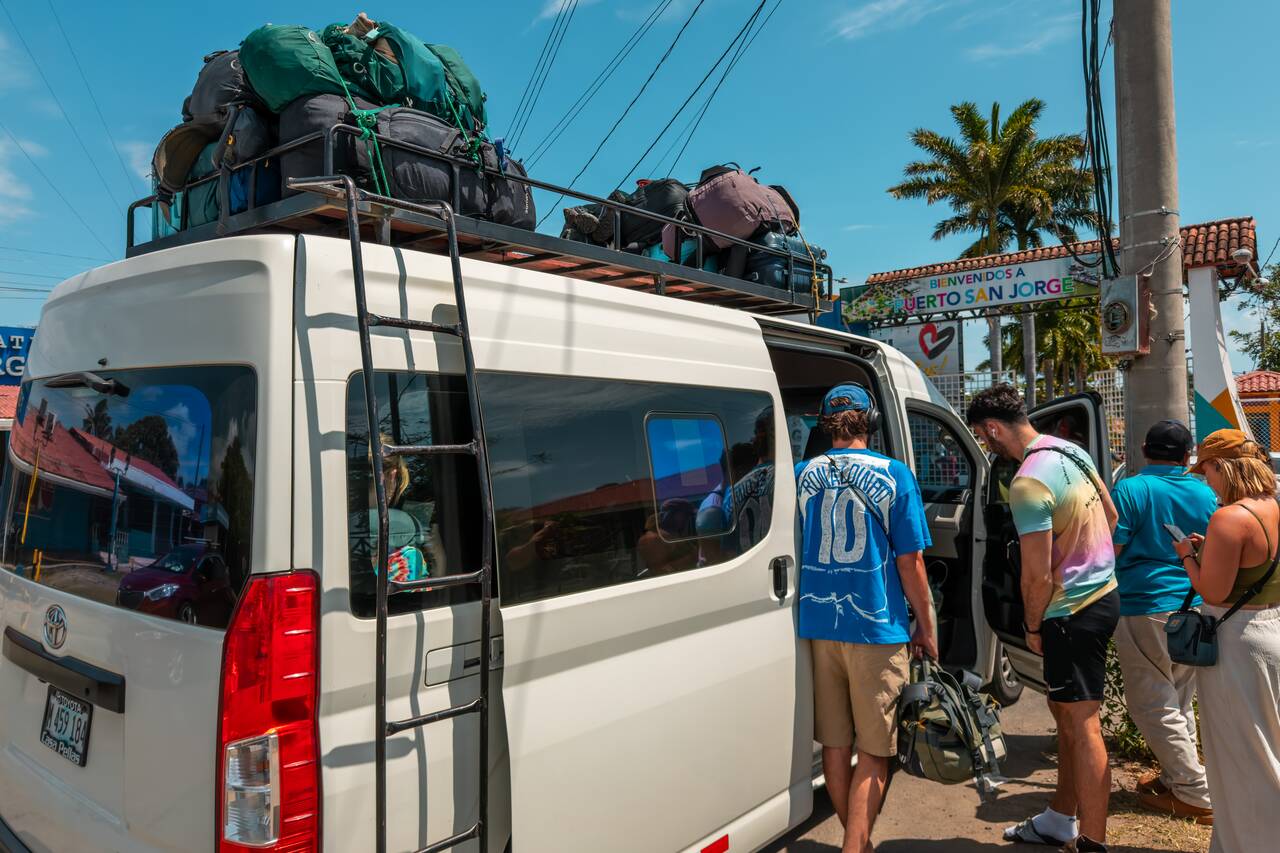
From San Juan del Sur, you can take a shared shuttle to the San Jorge Ferry Terminal. Shuttles usually depart between 9 AM and 10 AM and take around 45 minutes.
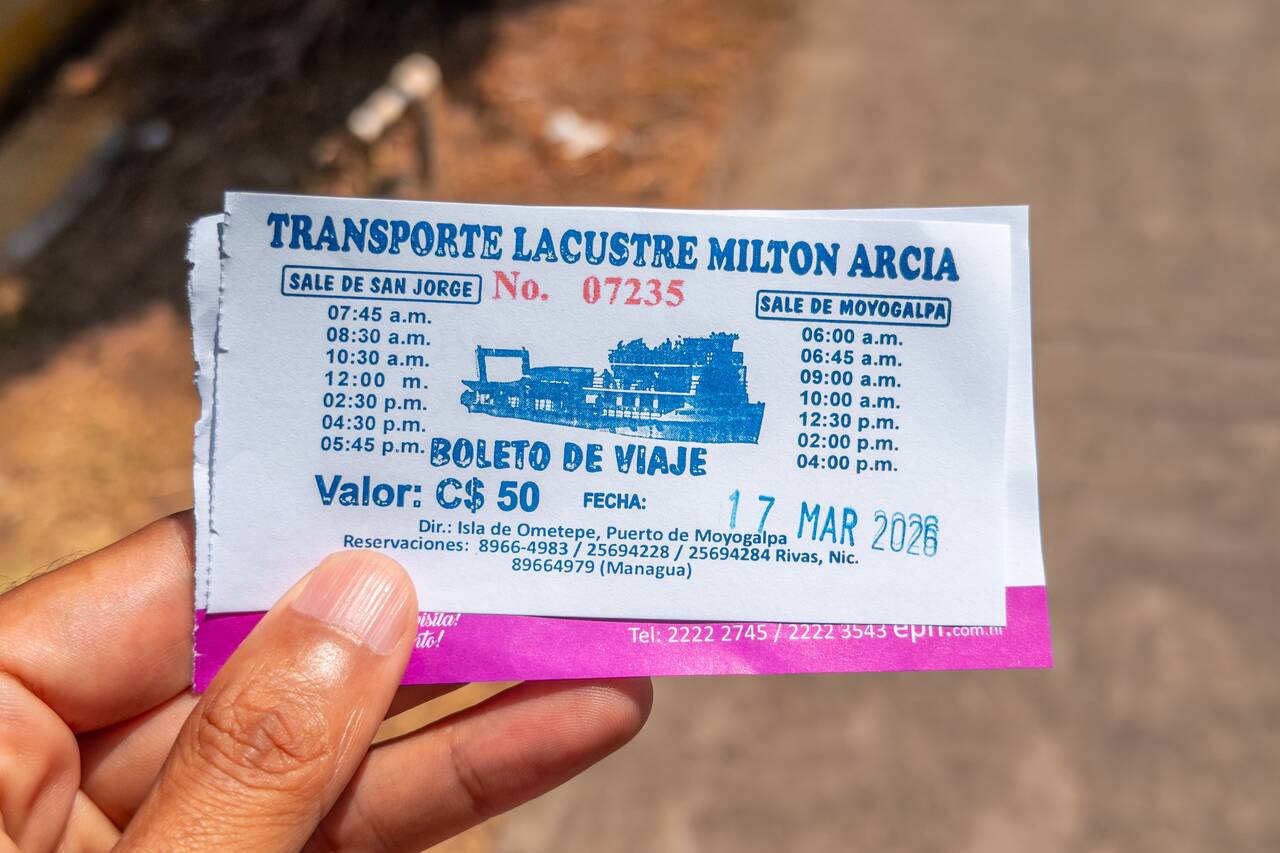
Once you arrive, purchase your ferry ticket and pay the pier entrance fee, which comes to a total of 88 NIO (approximately 2.36 USD) per person. From there, simply board the next ferry to Moyogalpa. The entire journey typically takes around 2–3 hours, depending on the ferry schedule.
Day 33-36: Ometepe, Nicaragua (4 nights)
- 📍 Stay: Hospedaje Soma
- 🕐 Time: 4 nights
- 📖 Full Guide: A Guide to Ometepe: Things to Do, Travel Tips, & Itinerary
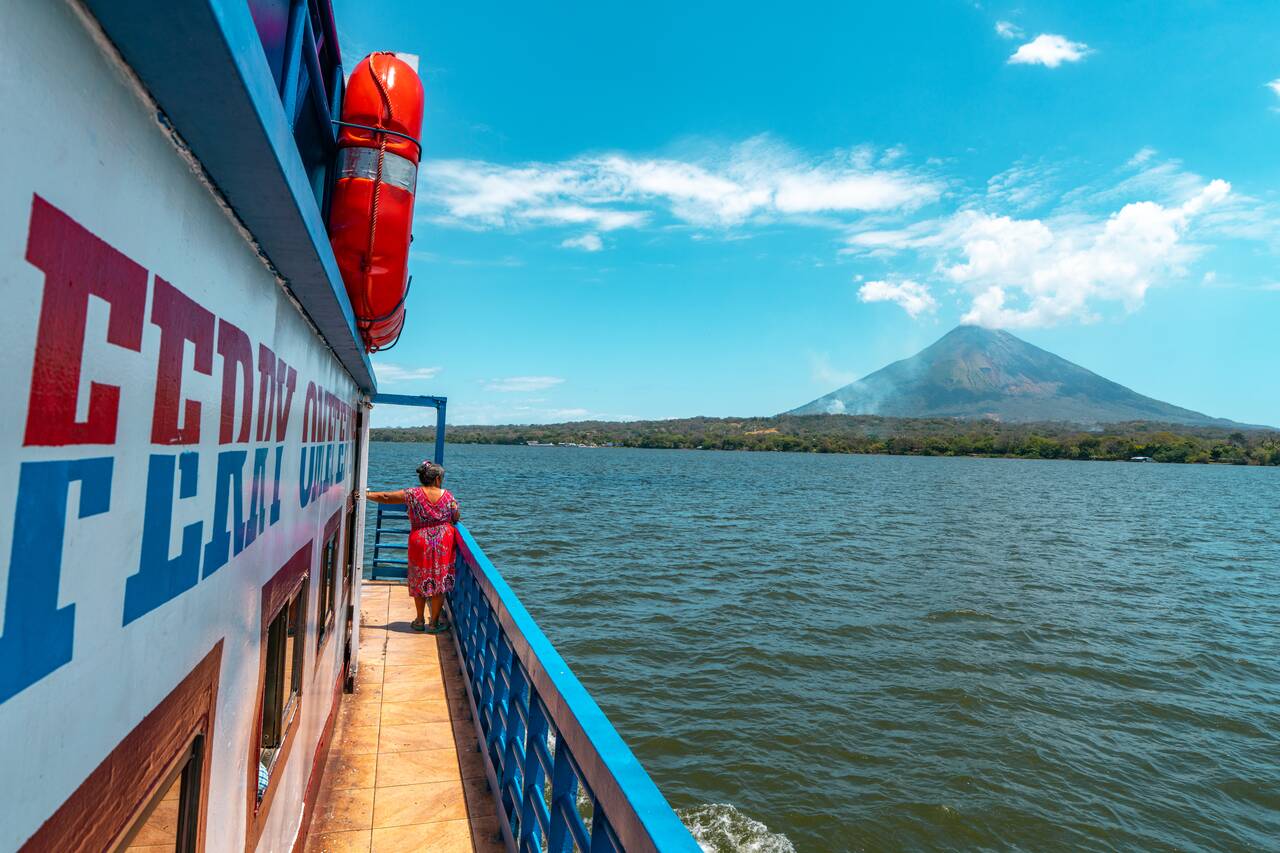
Formed by two towering volcanoes rising out of Lake Nicaragua, Ometepe is an island where you'll find a wonderful mix of raw nature, slow-paced village life, and some of the most rewarding outdoor adventures in the country. It's one of my favorite places to explore, especially by motorbike, as you will get to enjoy the freedom of moving at your own pace and discovering hidden beaches where there's barely anyone around.
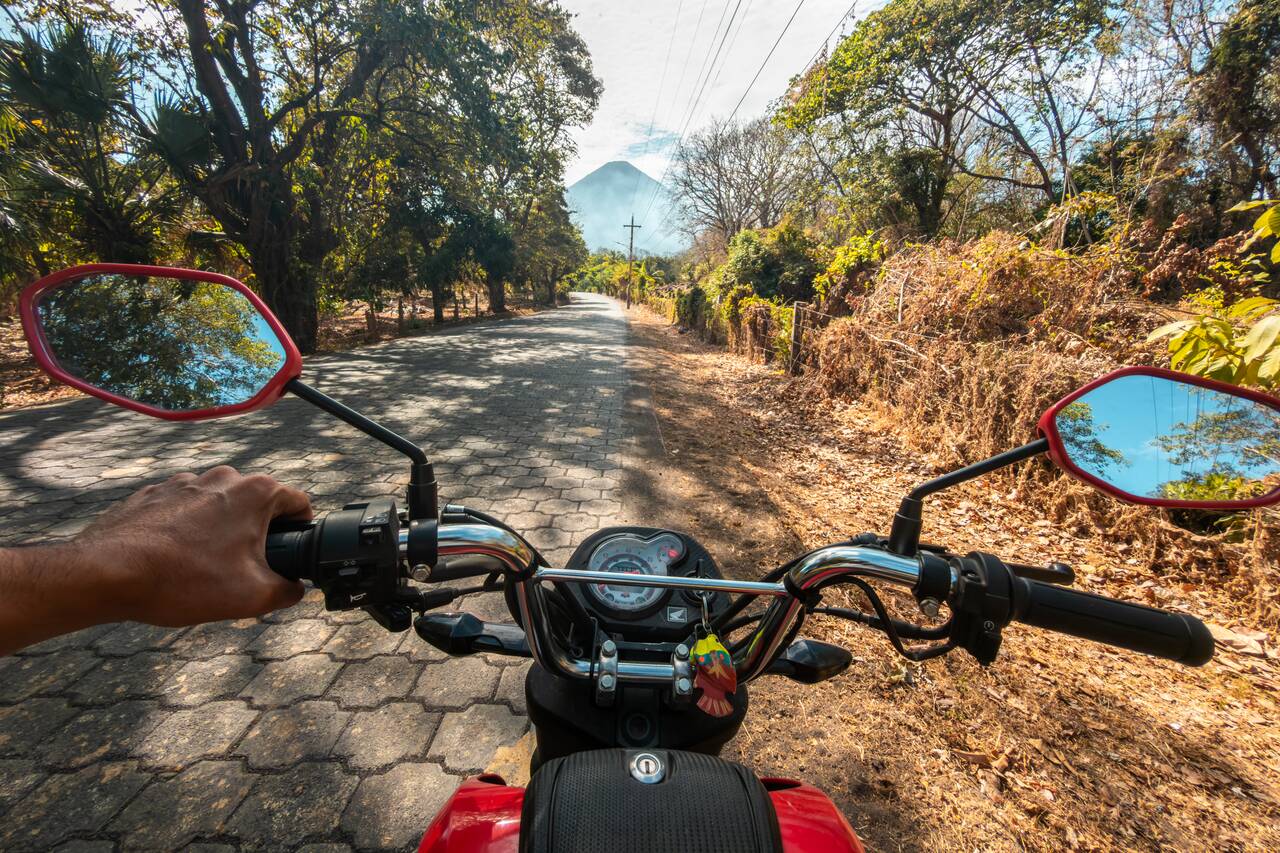
You can rent a motorbike or scooter from this shop in Moyogalpa, with prices generally starting at around 20 USD per day. I actually managed to rent one for just 14 USD through my accommodation, so it's always worth asking your hotel before renting elsewhere. The road that circles the island is fully paved and easy to ride, although some of the roads leading to attractions can be rough and rocky, so be sure to drive carefully.
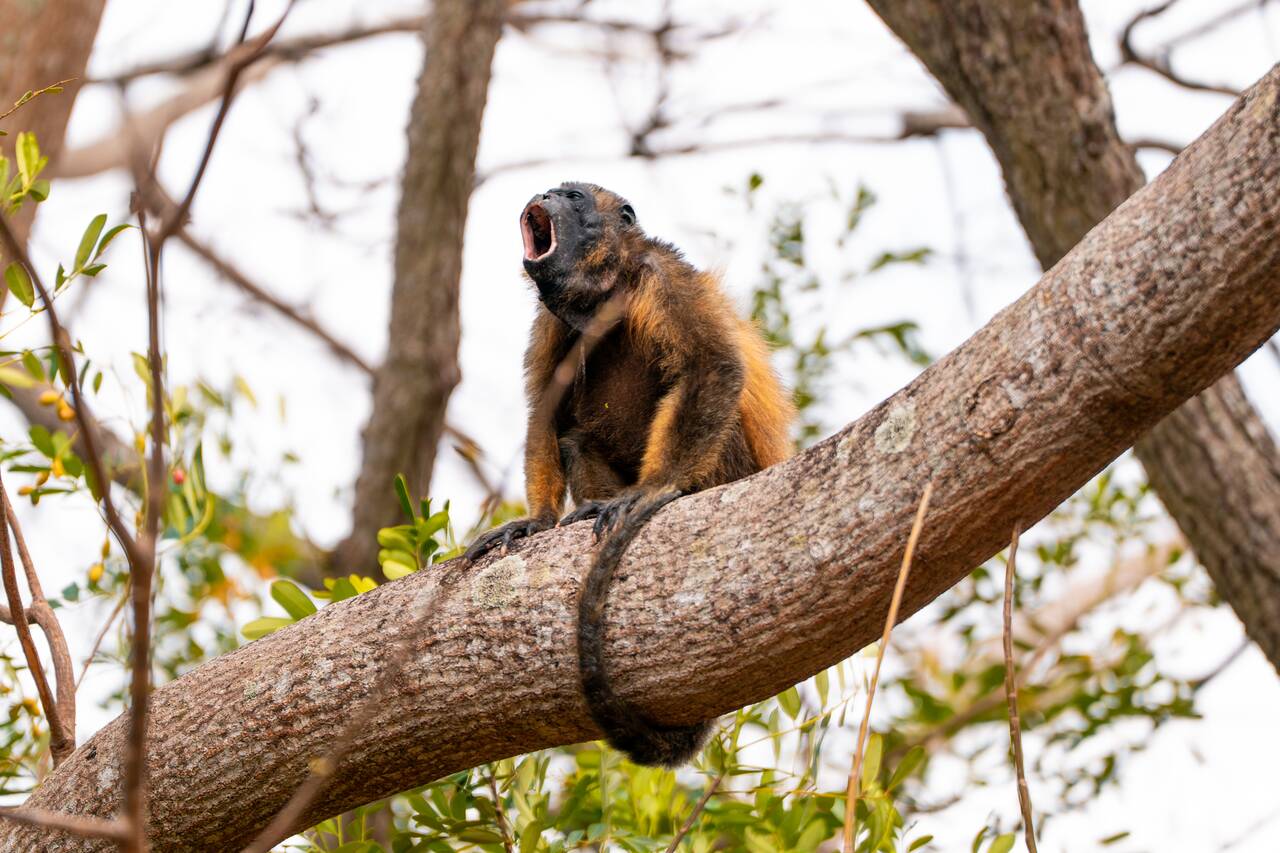
You can spend your first day riding around the island, spotting wildlife along the way. Ometepe is home to countless monkeys, birds, and other animals, and you don't have to venture far to see them. I remember being only about 20 minutes into my first ride when I stumbled upon a troop of howler monkeys right beside the main road. They were so loud that they were impossible to miss! 😆
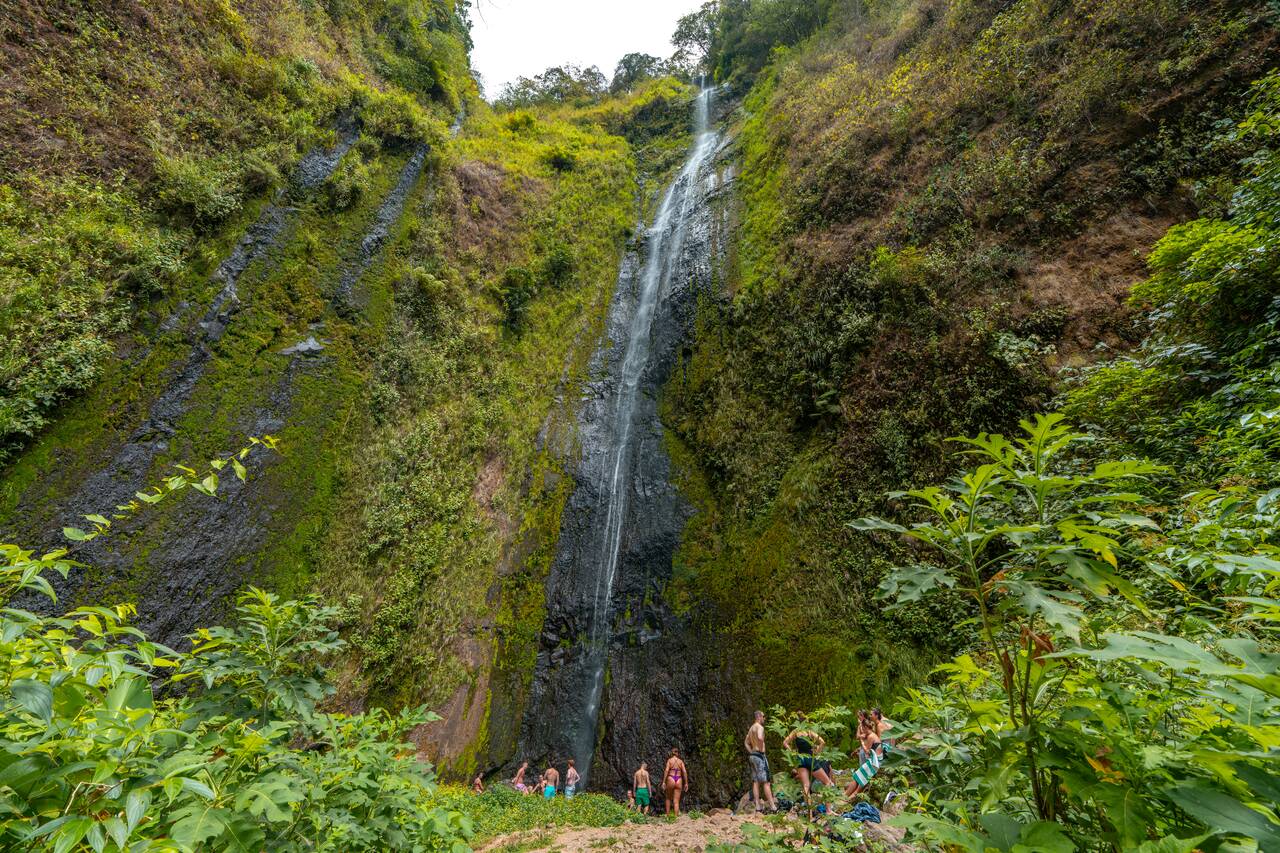
If you're looking for a nice and active thing to do on Ometepe, I recommend hiking the trail to San Ramón Waterfall, one of the best short hikes you can do on the island. The waterfall is located on the southern slopes of Volcán Maderas, surrounded by lush tropical forest and rich wildlife, which makes the journey just as enjoyable as the destination itself.
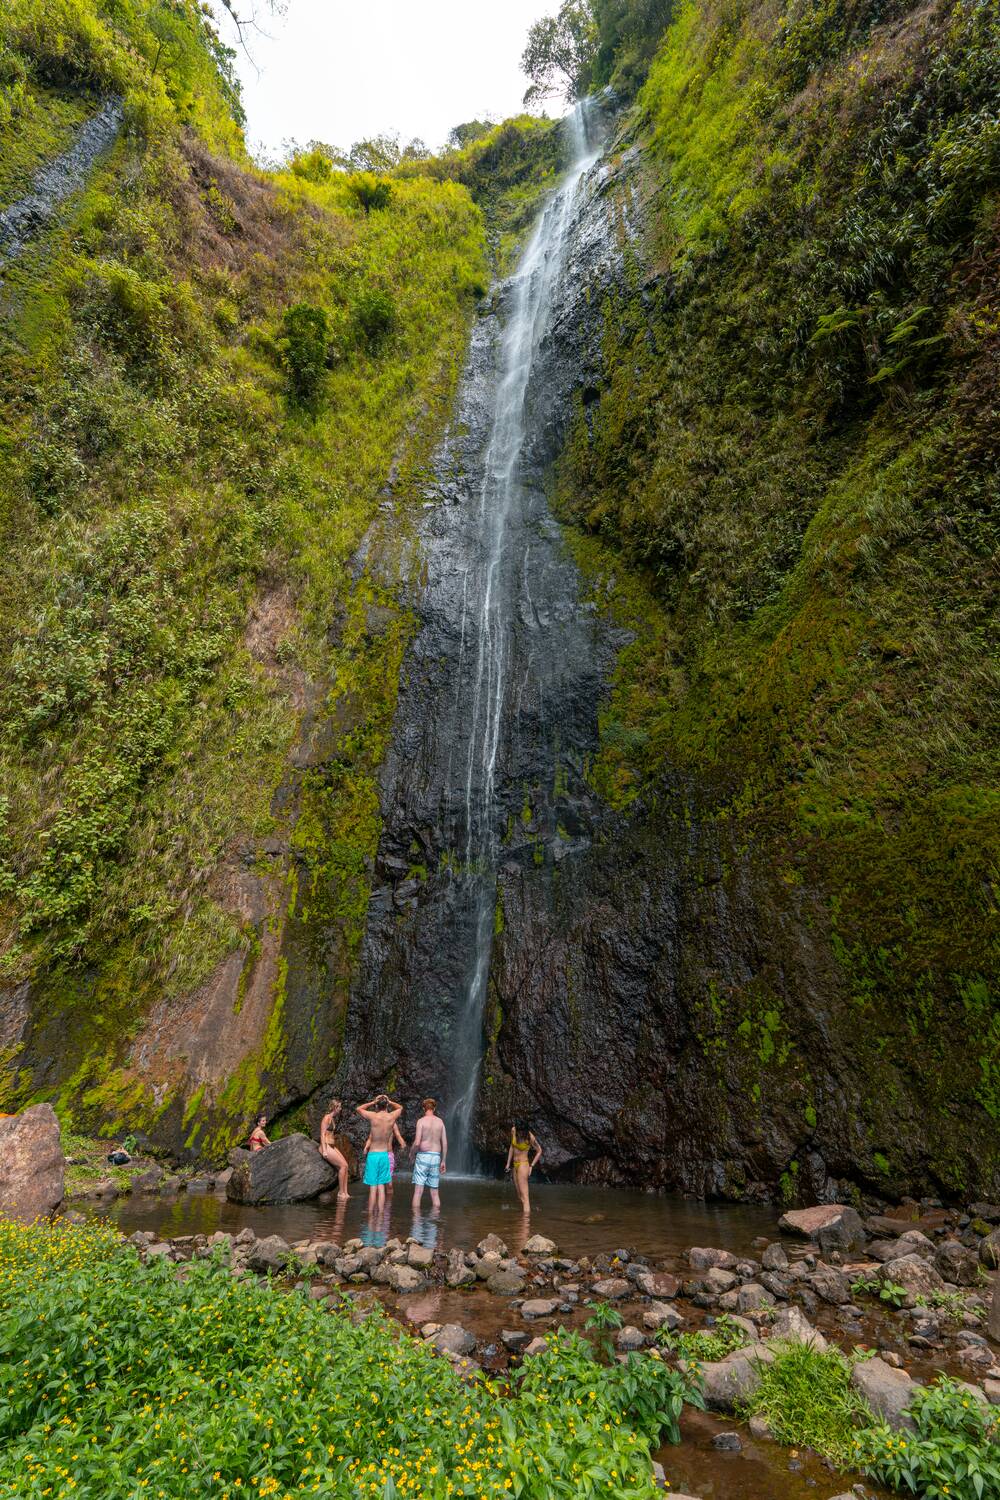
At the end of the trail, you will be rewarded with a tall waterfall cascading down into a refreshing pool. It is a great place to cool off after the hike, especially on a hot day, and a perfect spot to relax before heading back down. The full hike takes around 4 hours if you walk the entire way, or about 2 hours if you ride up to the parking area.
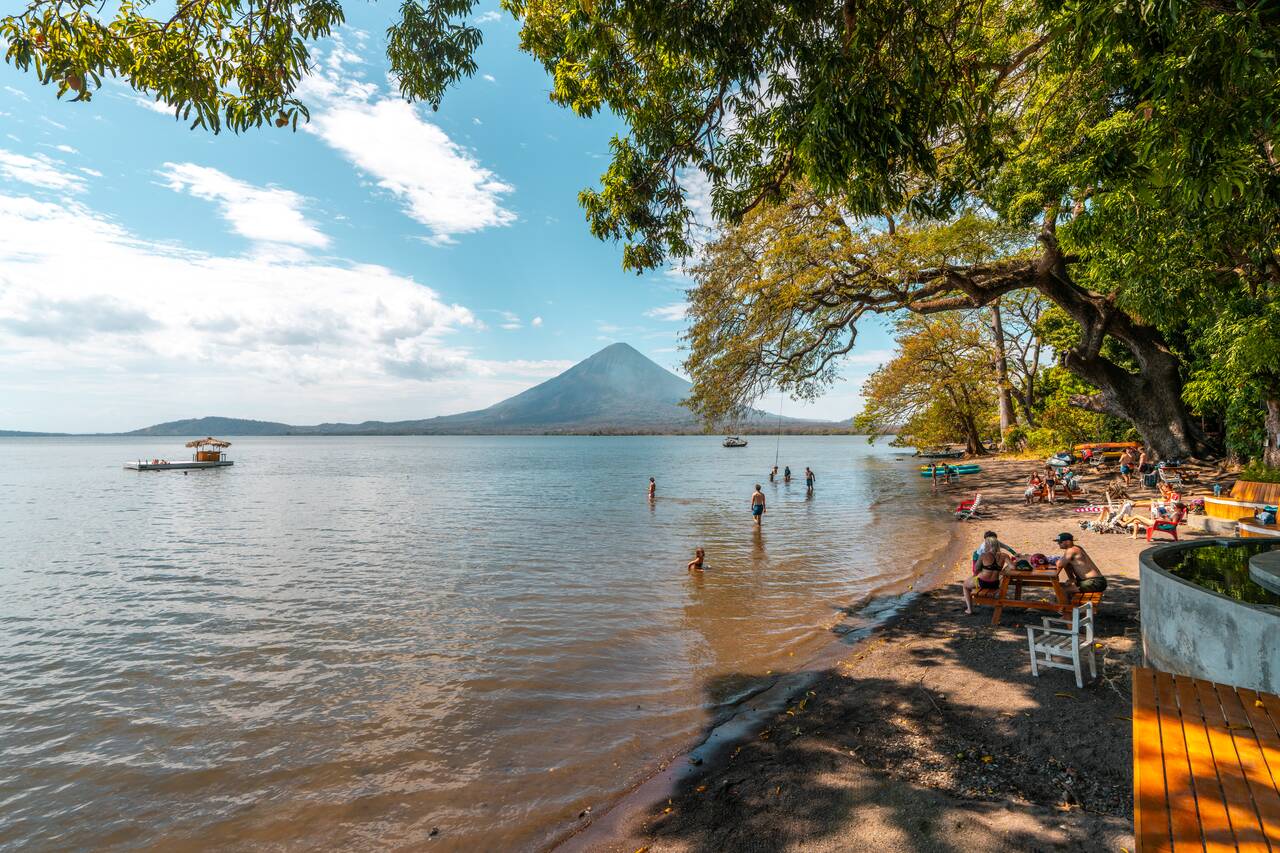
Once you've finished the hike, head over to Playa Mangos for lunch. This lakeside beach club offers facilities like jumping platforms, kayaks, a bar, and a restaurant, making it the perfect place to relax and cool off after your hike to San Ramón Waterfall.
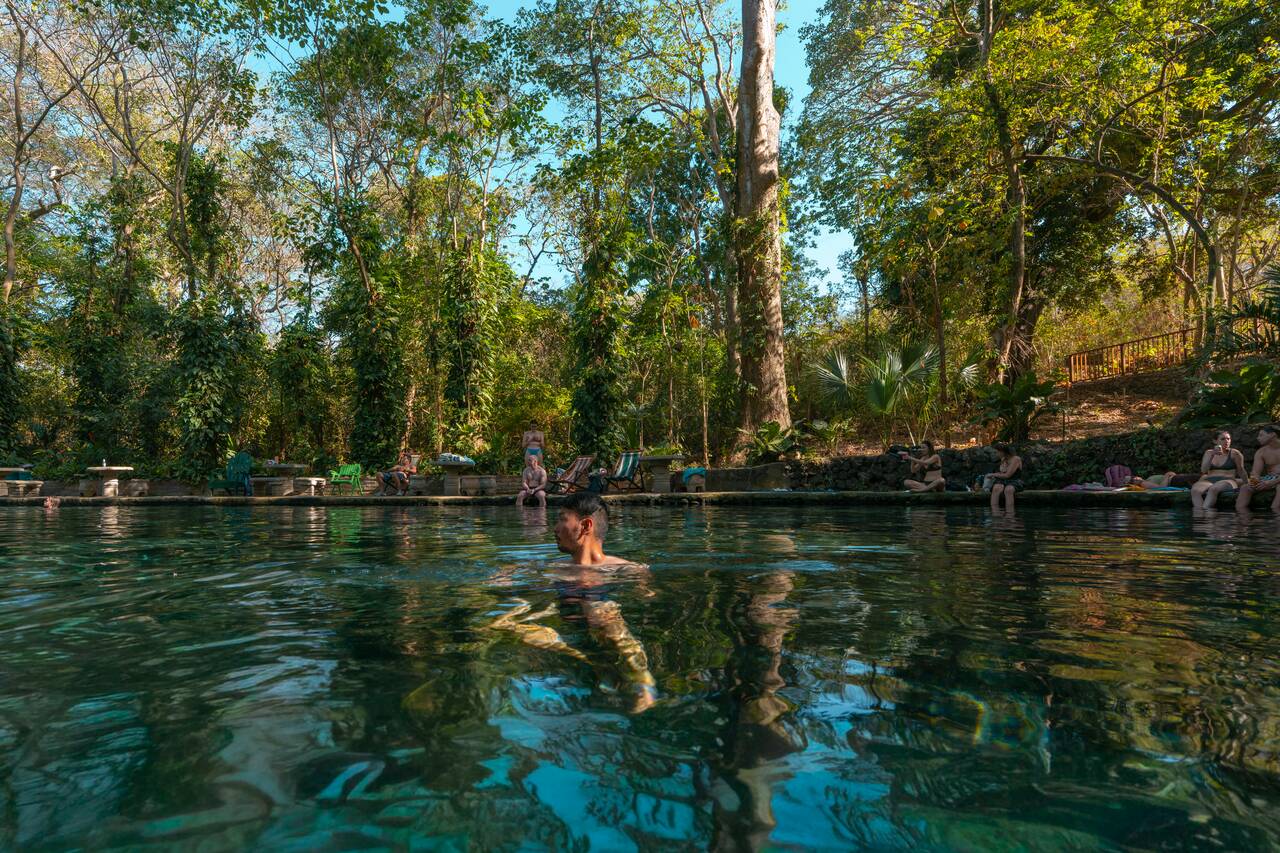
Another great place to cool off after the hike is Ojo de Agua, one of my favorite places on the island. It’s a popular natural swimming spot on Ometepe, with crystal-clear spring pools surrounded by lush jungle where you can freshen up after exploring the island in the afternoon heat.
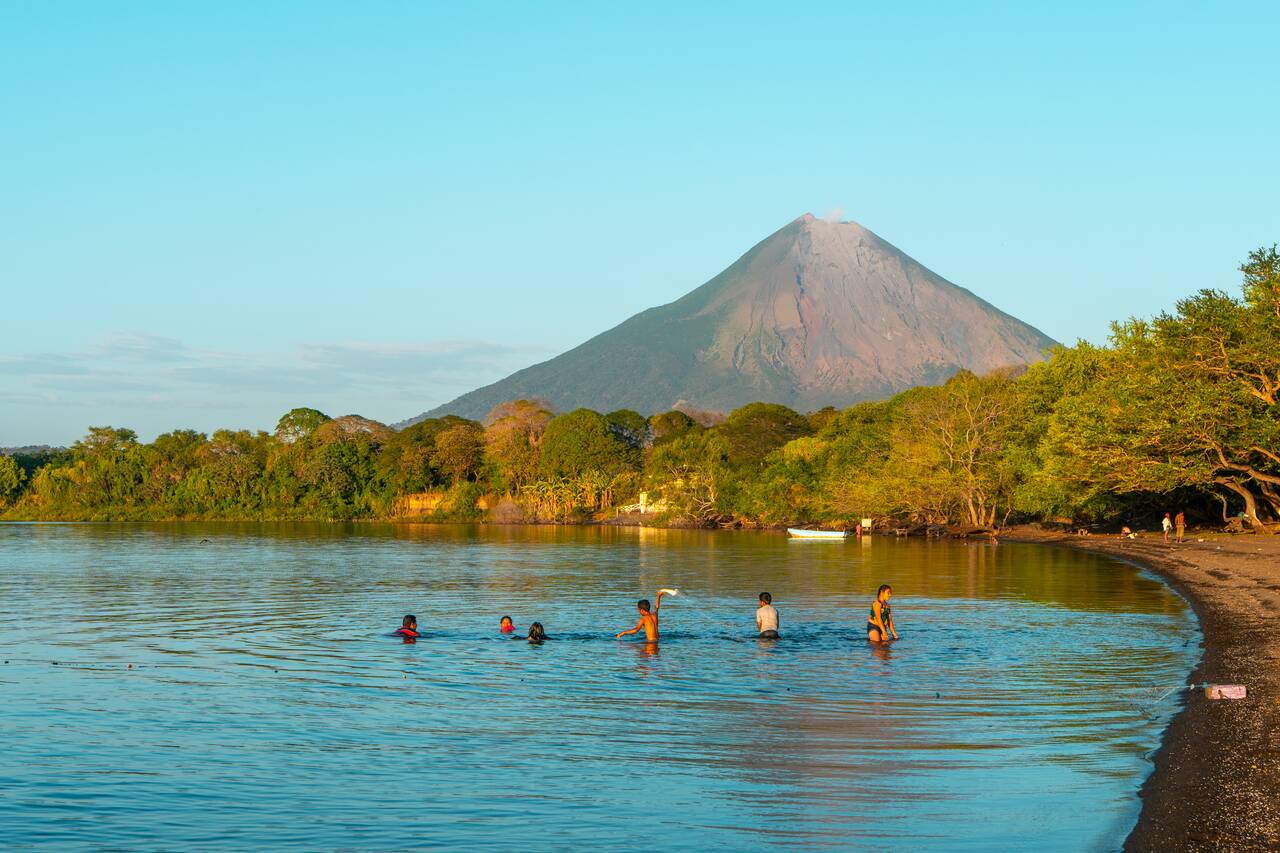
For a great sunset spot, I highly recommend you drive to Punta Jesús María. It’s a long, narrow sandbar that stretches out into Lake Nicaragua, creating the illusion that you're walking straight into the water with volcano views on both sides.
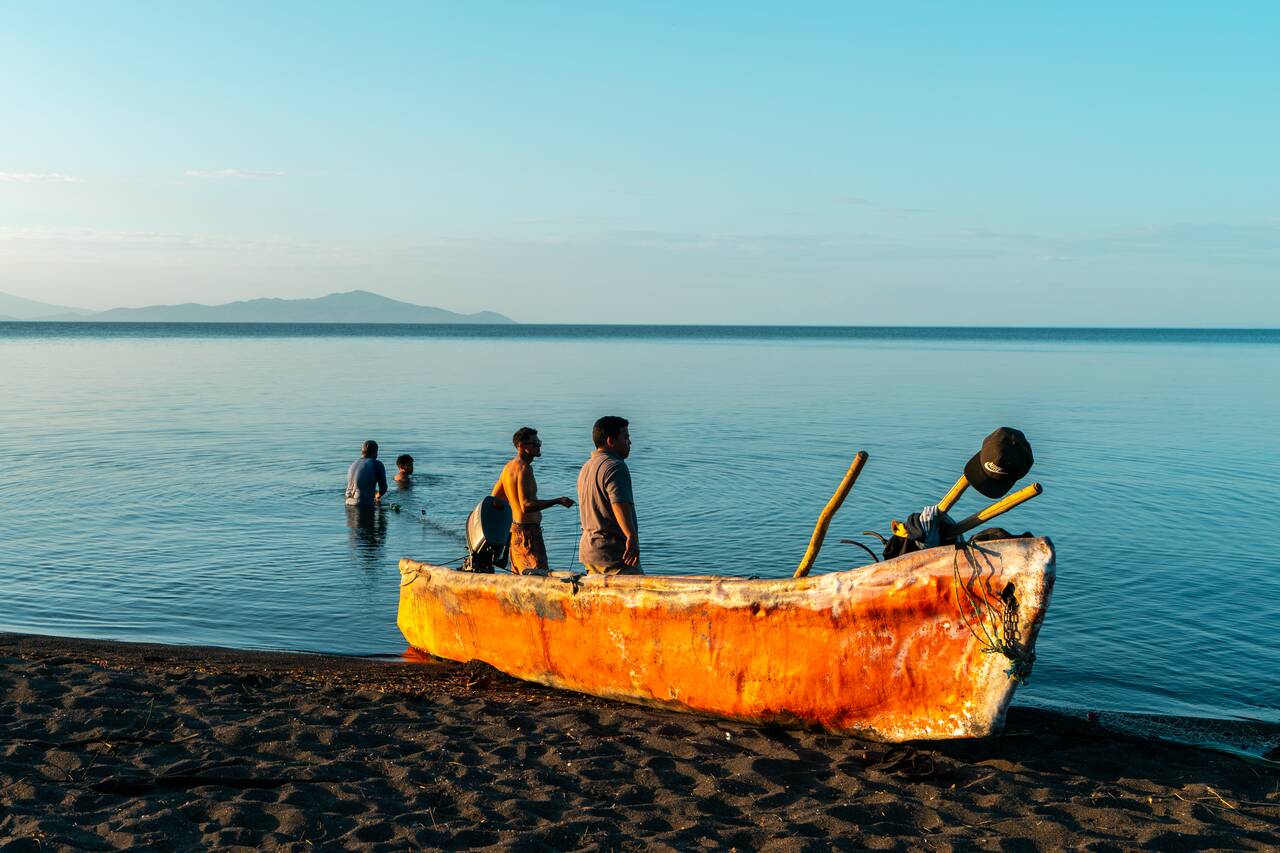
I got there about an hour before sunset, and the crowd was still minimal. There were local fishermen fishing by the lakeshore, both locals and tourists coming to swim along the beach, and small restaurants and bars right next to the beach where you can wait for the sunset. Once you are done with the sunset, you can head back to your accommodation, and retreat for the night.
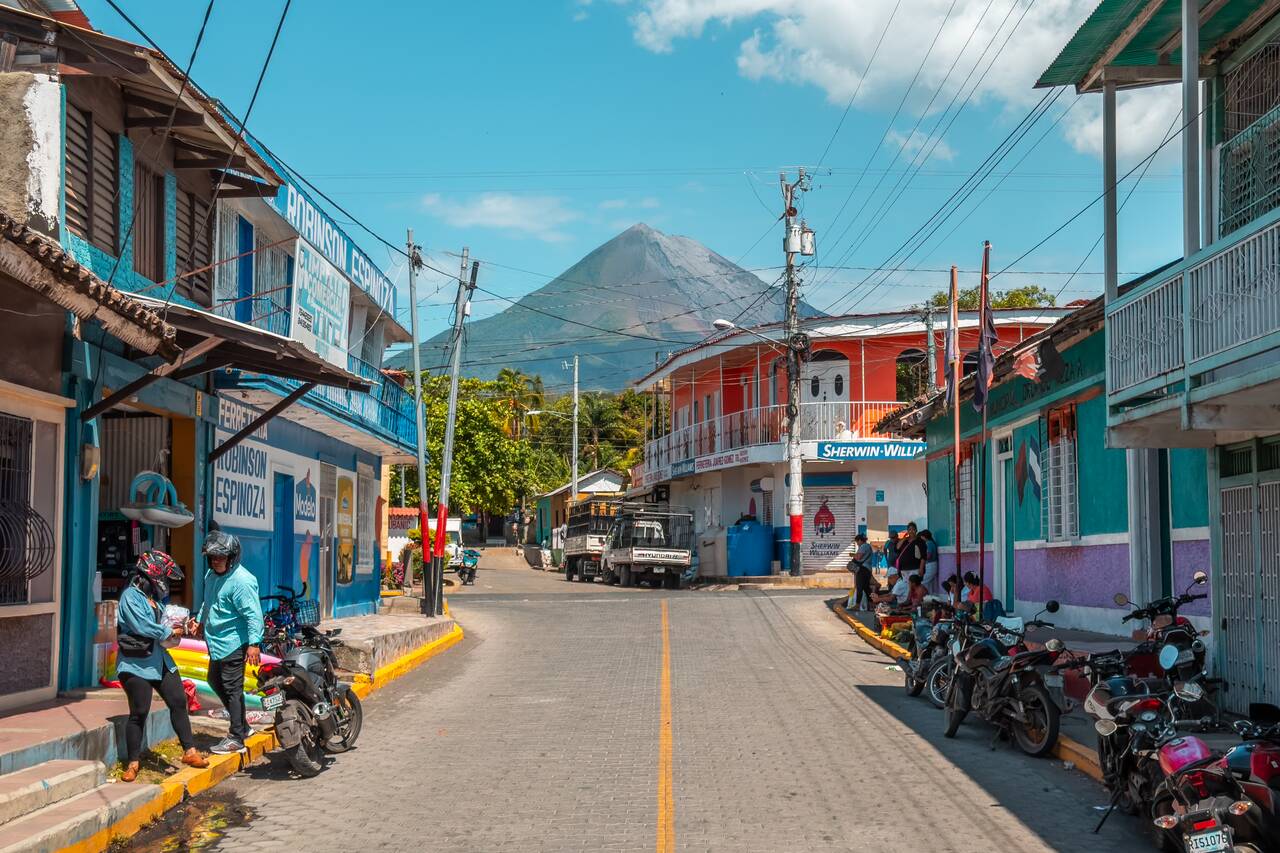
On your second day, use your motorbike to explore the island's two main towns, Moyogalpa and Altagracia. These towns are Ometepe's main hubs and offer a great glimpse into the everyday life of the people who call the island home.
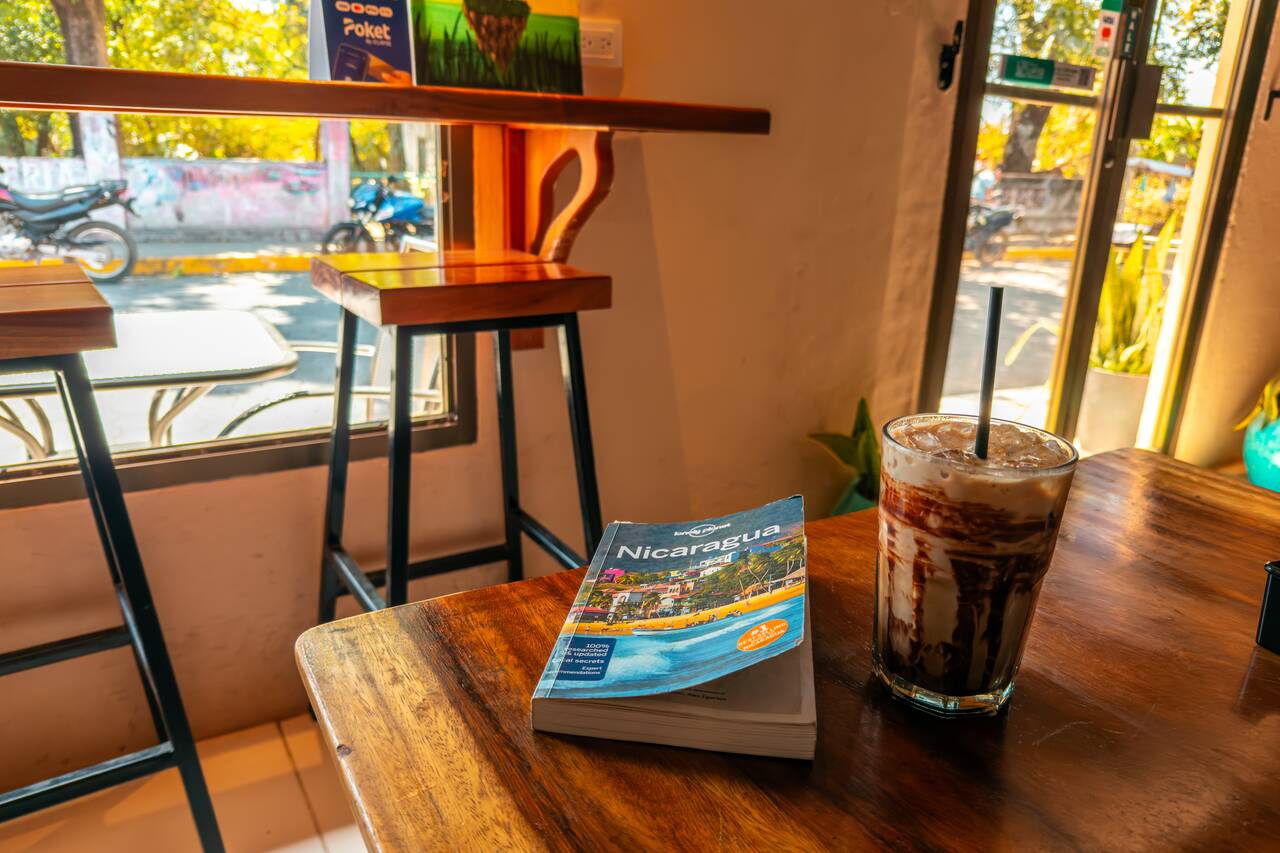
Both towns are small enough to explore on foot, and they make for a nice break from motorbike adventures around the island. Grab a coffee at Nanny Coffee & More in Moyogalpa, or visit Museo Altagracia in Altagracia. To travel between them, you can either rely on a local chicken bus or rent a scooter, which is what I did, and drive around yourself.
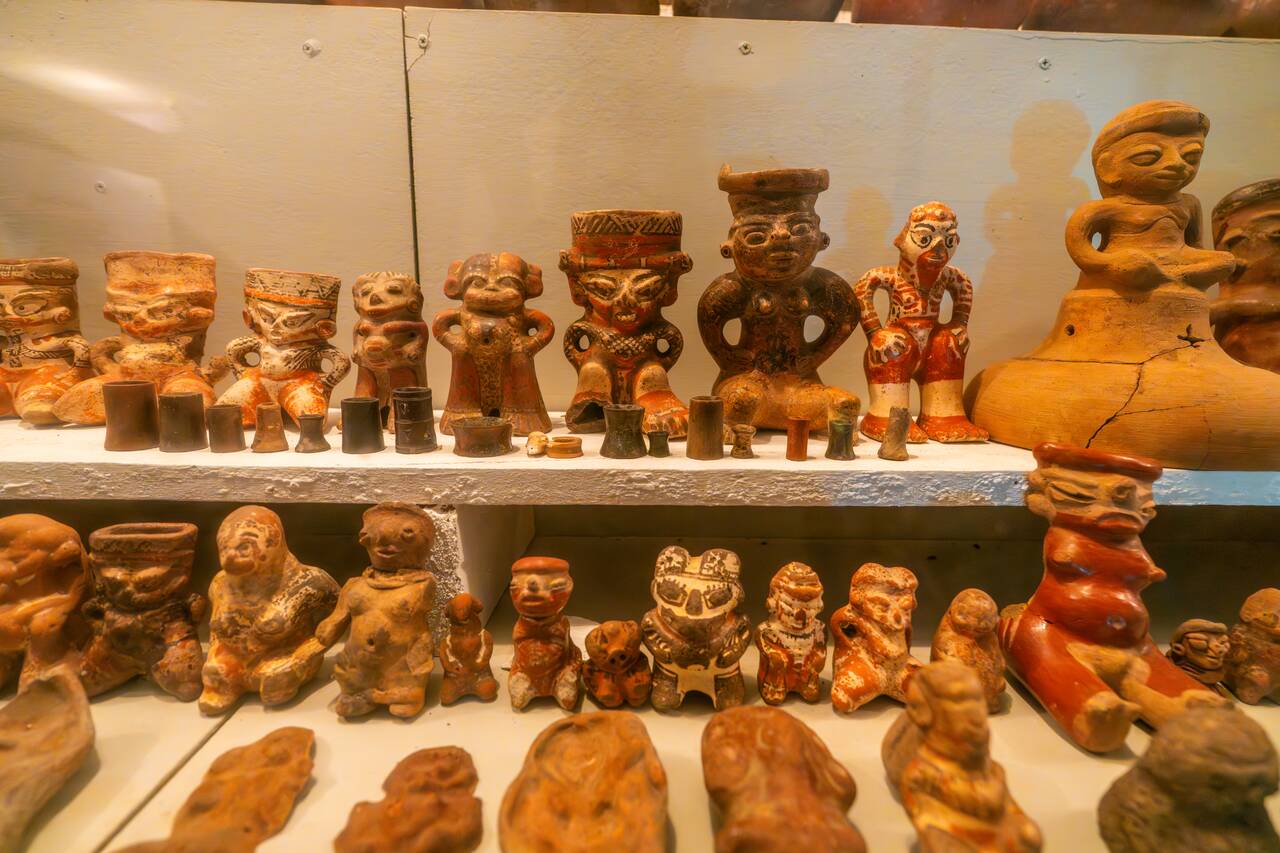
If you are interested in learning a bit about the history of Ometepe and seeing some really cool pre-Columbian artifacts, El Ceibo Museums is also worth visiting. It’s a small museum located inside a hotel run by a small family that covers the island’s archaeological heritage, which is not easy to find elsewhere.
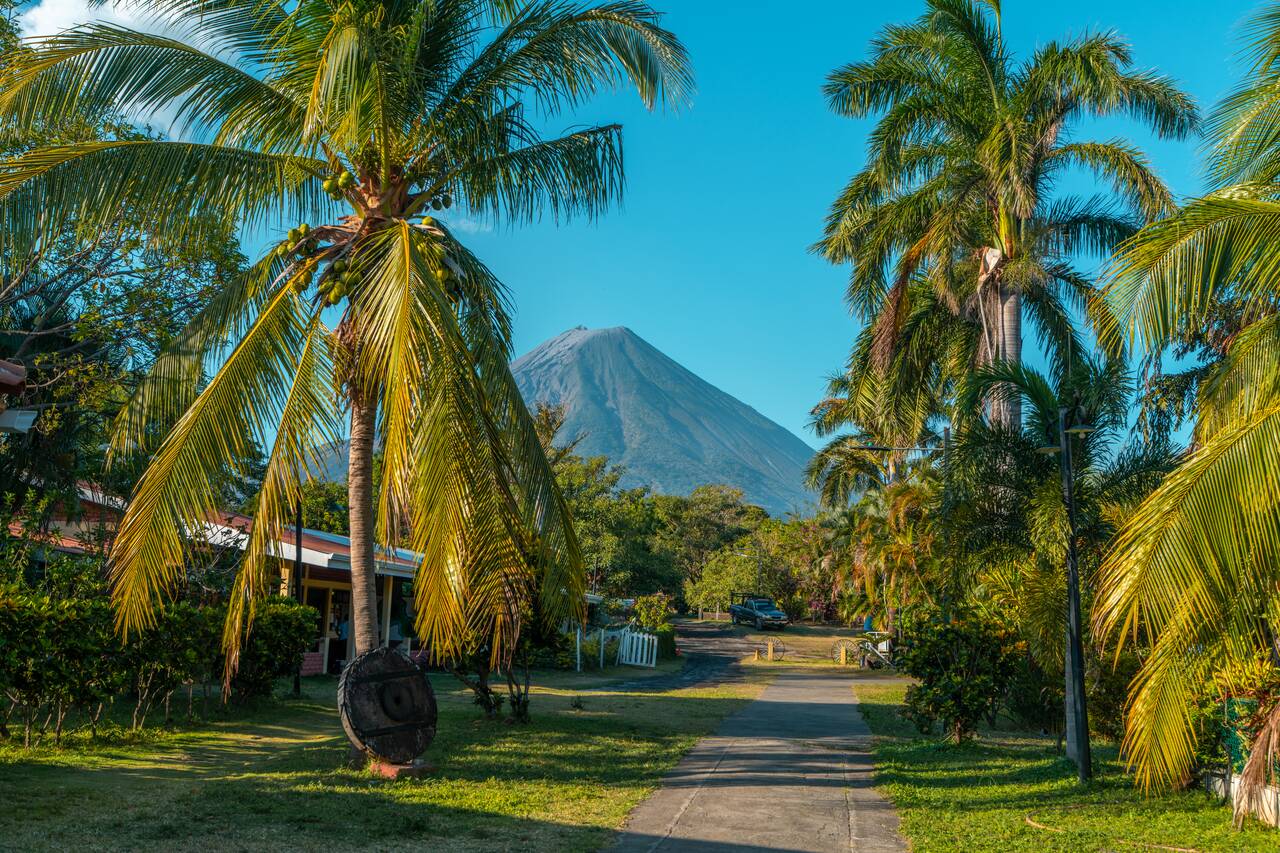
If you have time, be sure to go and visit Charco Verde Park & Butterfly Aviary as well. The park sits on the western side of the island and offers a mix of forest trails, lake views, and a small lagoon you can explore. You can check out its butterfly aviary or go walk its easy trail through the reserve where you can spot birds, monkeys, and other wildlife if you're lucky.
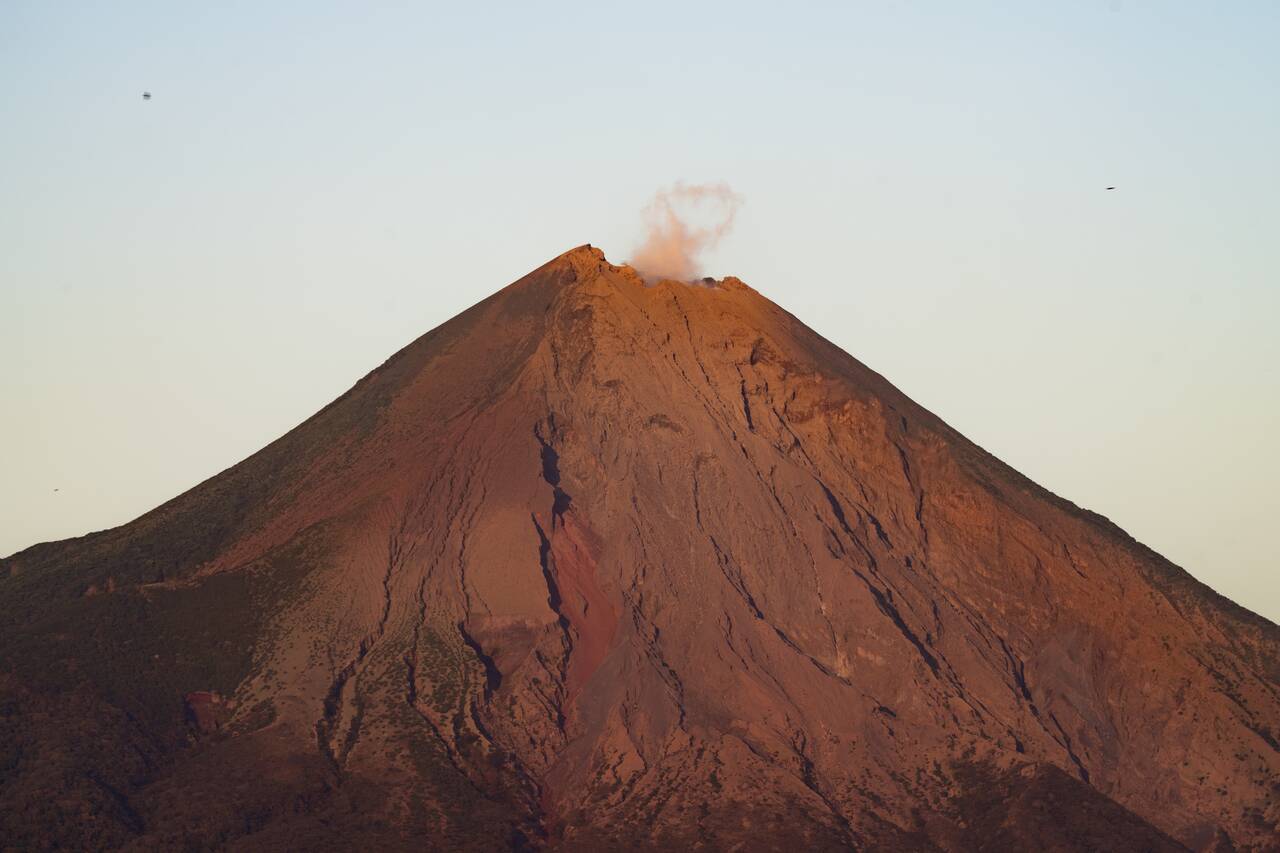
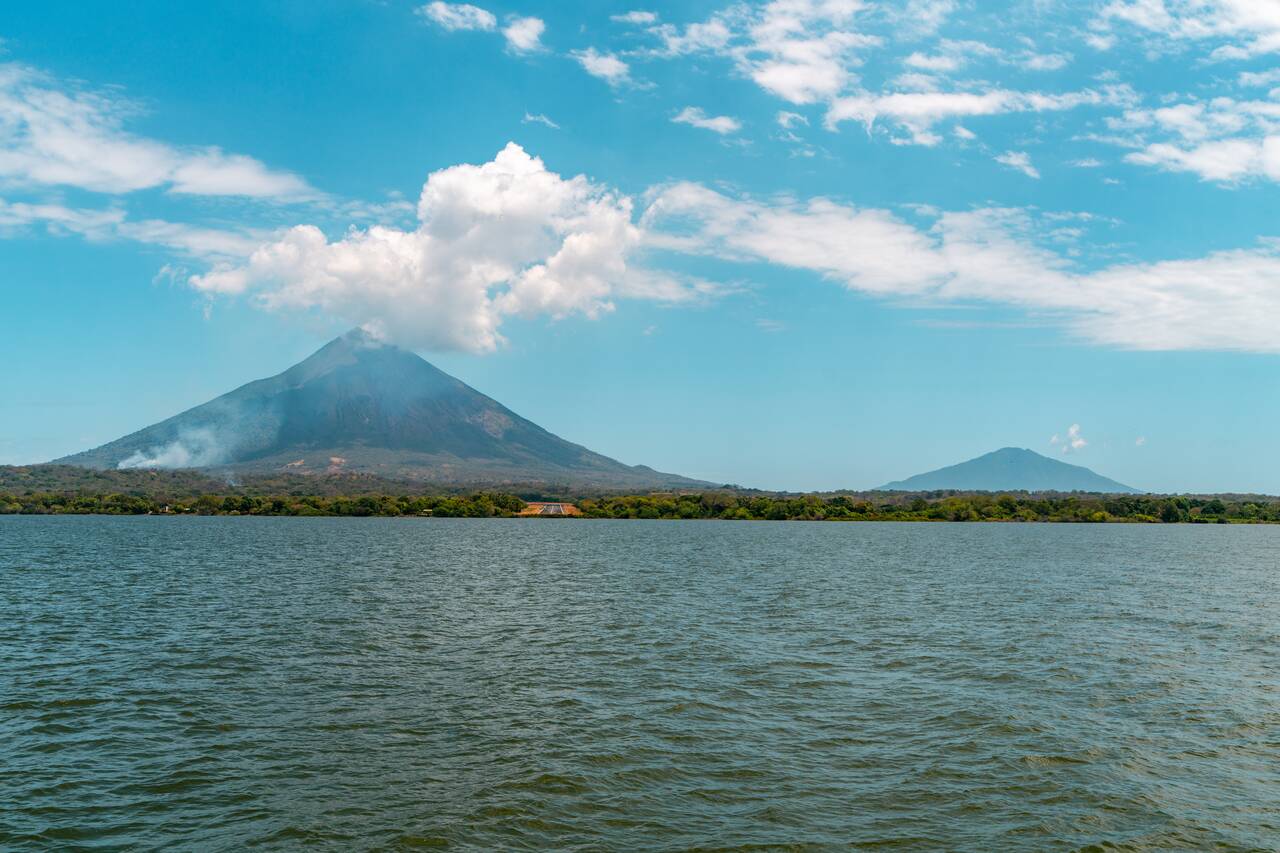
For the third day here, you can either spend the day relaxing or you can go on an ultimate adventure and hike one of its two volcanoes: Concepción Volcano or Maderas Volcano. Both offer very different experiences, so your choice will depend on your fitness level and what kind of scenery you're looking for.
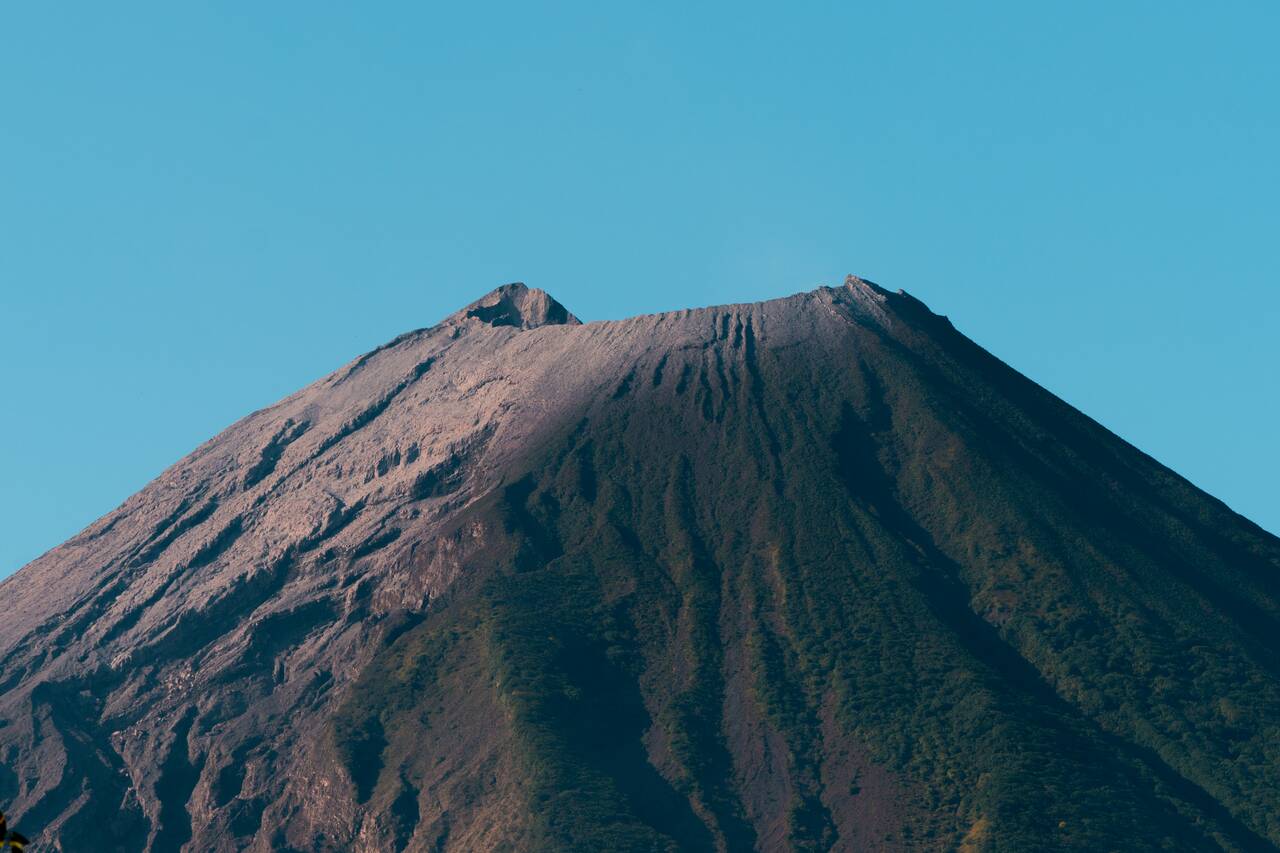
Concepción Volcano is the more challenging of the two. It’s a steep, exposed climb with little shade, but the views from the top are incredible if you manage to reach the summit. On a clear day, you’ll get sweeping panoramas over the entire island and Lake Nicaragua. The whole hike should take about 8 hours including transportation from town. You can book the tour here.
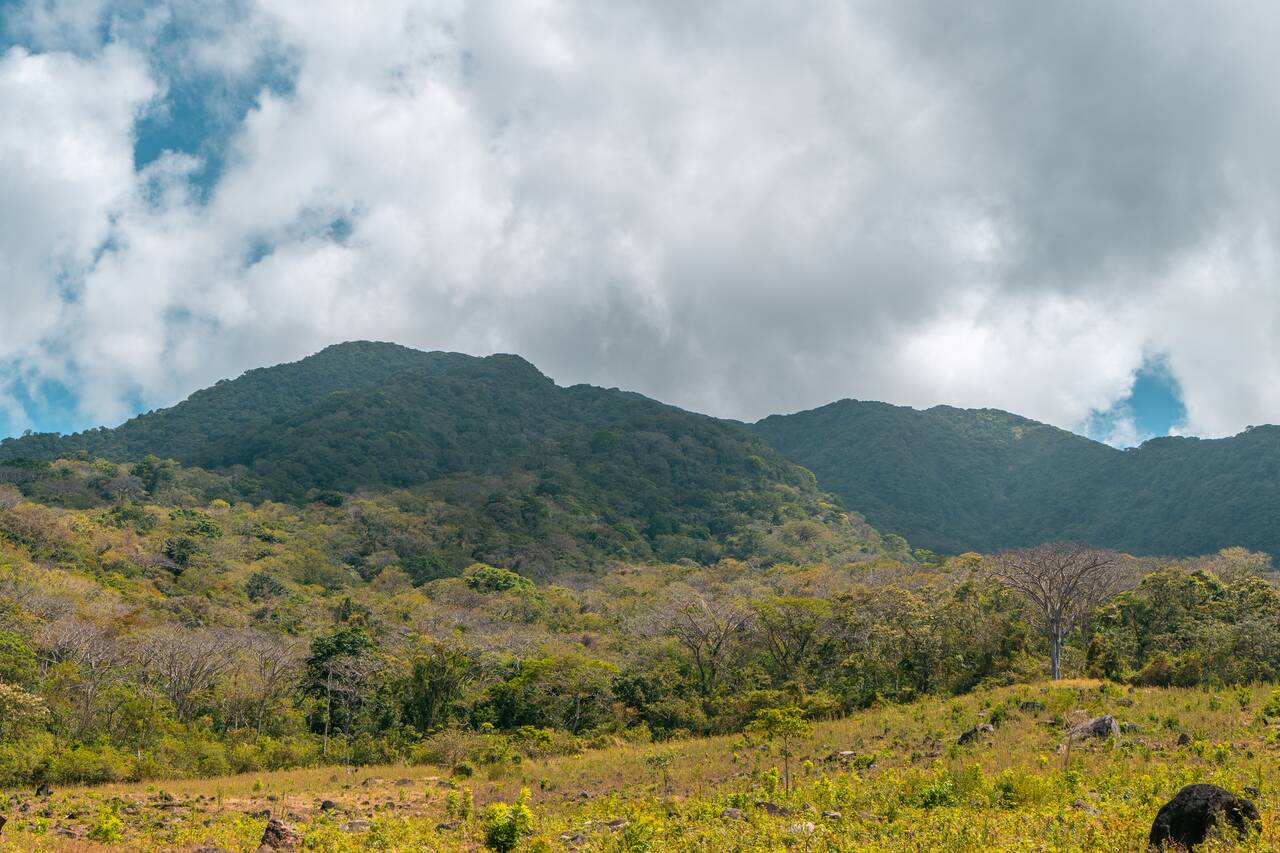
Maderas Volcano is the more relaxed option, but still a full-day, intense hike. The trail takes you through lush cloud forest instead of open terrain, and at the top you’ll find a crater lagoon, which is a great place to cool off after the hike. The route is muddy and slippery in parts, especially after rain, so proper hiking shoes are essential. This hike typically takes around 9 hours in total, and you can book the tour here.
Both hikes are demanding, so make sure you're fit enough before attempting them. It is also best to start early in the morning and bring plenty of water, as the heat can make the climbs even more challenging. These activities should take up most of your day, and once you return to your accommodation, you can arrange your shuttle to Granada for the following day. Just make sure you check the ferry schedule and plan which ferry to take so you arrive at San Jorge Port in time for your shuttle pick-up before calling it a night.

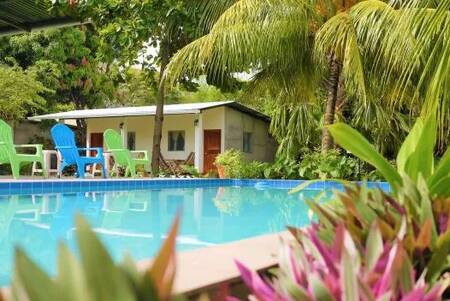
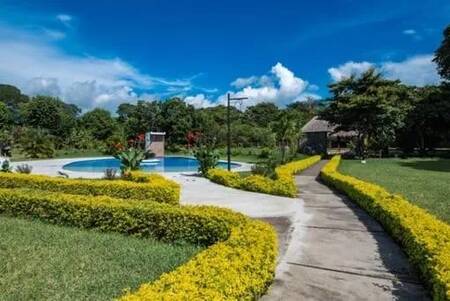
Getting from Ometepe to Granada
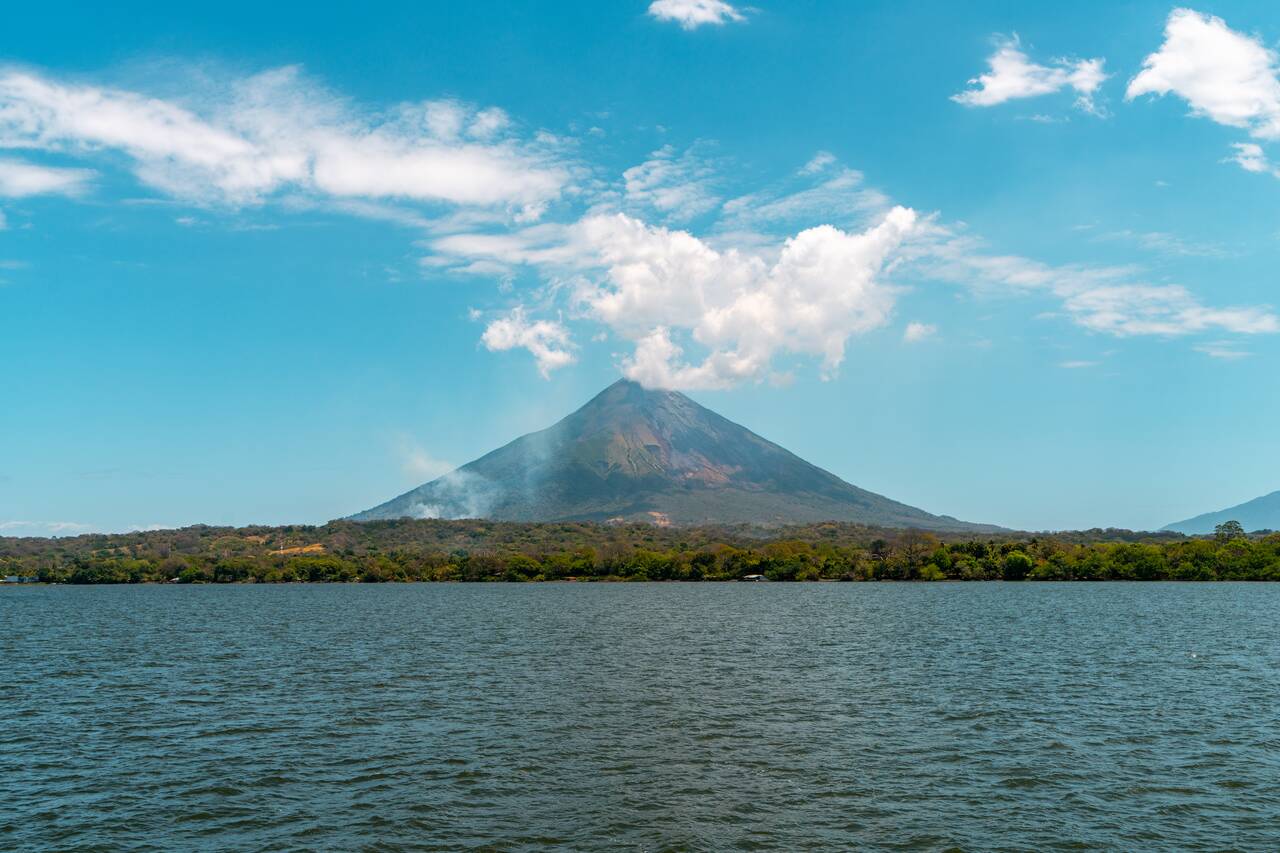
From Ometepe, take the morning ferry from Moyogalpa to San Jorge, then continue by shared shuttle to Granada. The shuttle will pick you up from the San Jorge parking lot, so make sure you check the ferry schedule carefully and leave enough time to get off the boat and reach the pick-up point. The entire journey usually takes around 3 hours and costs approximately 22 USD.
Day 36-39: Granada, Nicaragua (4 nights)
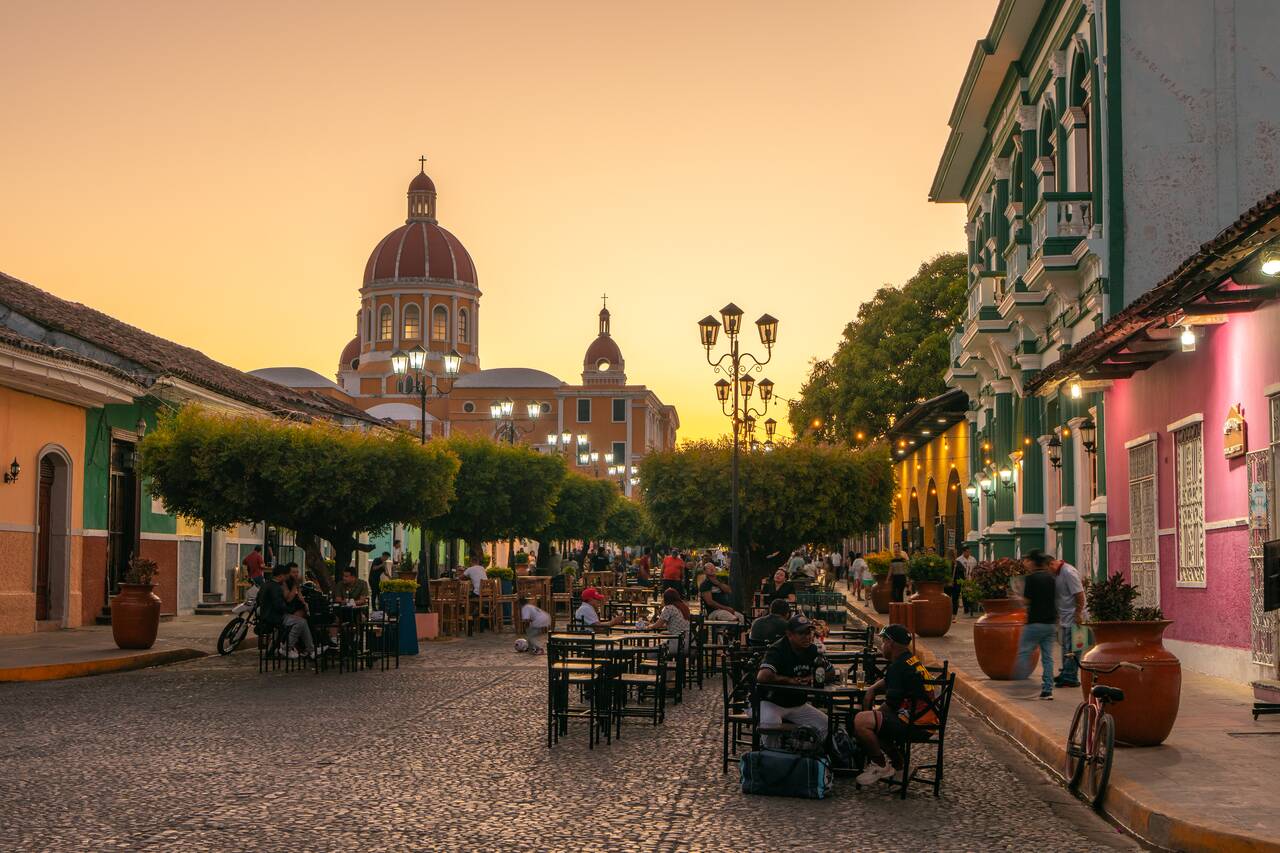
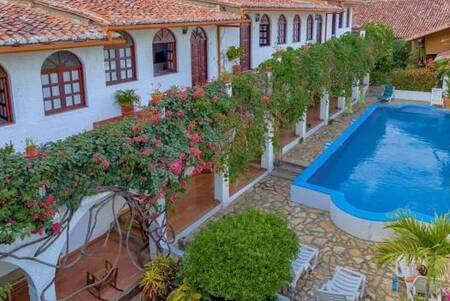
- 📍 Stay: Hotel La Posada del Sol
- 🕐 Time: 4 nights
- 📖 Full Guide: Discover Granada, Nicaragua: Things to Do, Travel Tips, & Itinerary
After arriving in Granada, the oldest colonial city in Nicaragua, spend your first evening exploring Calle La Calzada, one of the liveliest streets in the city and the perfect place to begin your time in Granada. Go for a stroll on your first evening here before heading back to your accommodation and retreating for the night.
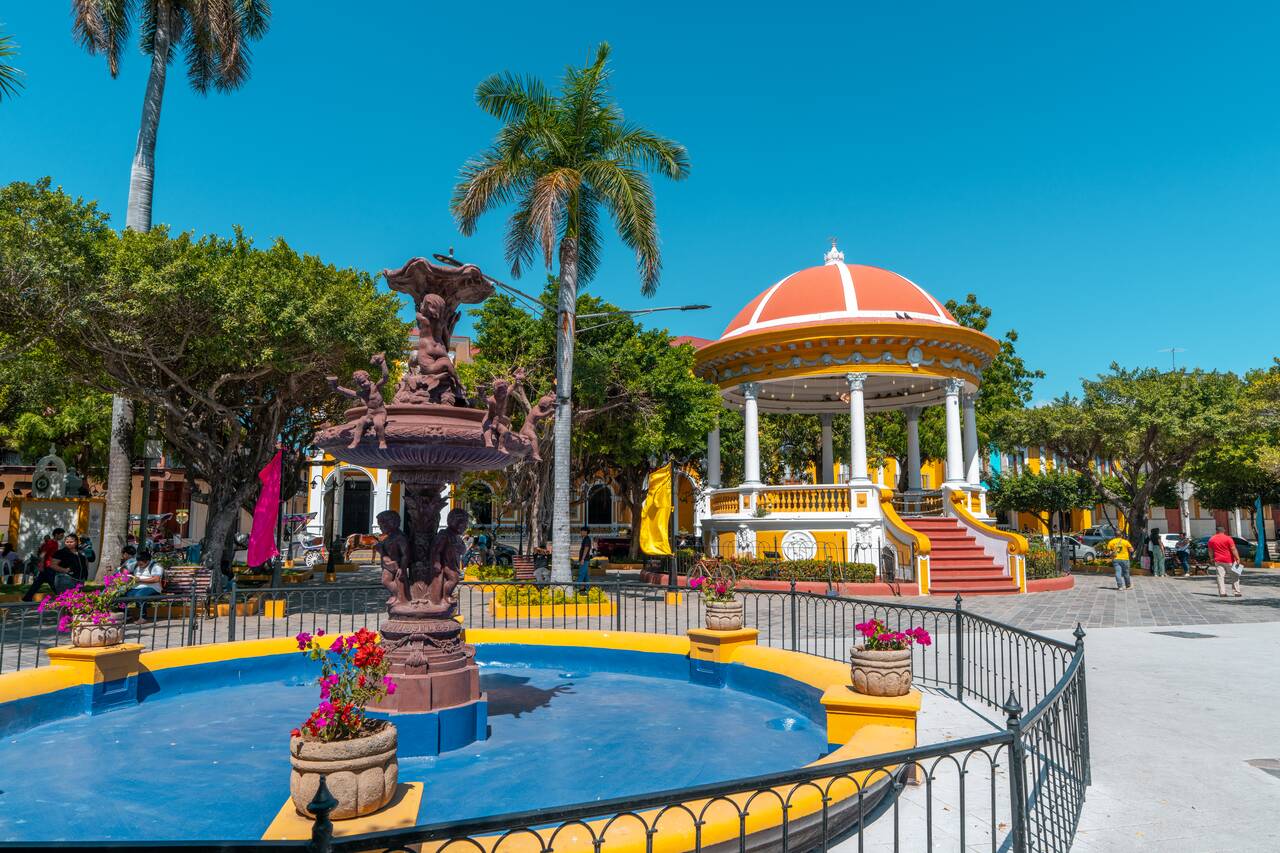
The next morning, you can go and check out Parque Central de Granada, a beautiful park located right at the historic center surrounded by some of the city's most beautiful colonial architecture. It is basically the beating heart of Granada, and you can reach most attractions in town from here.
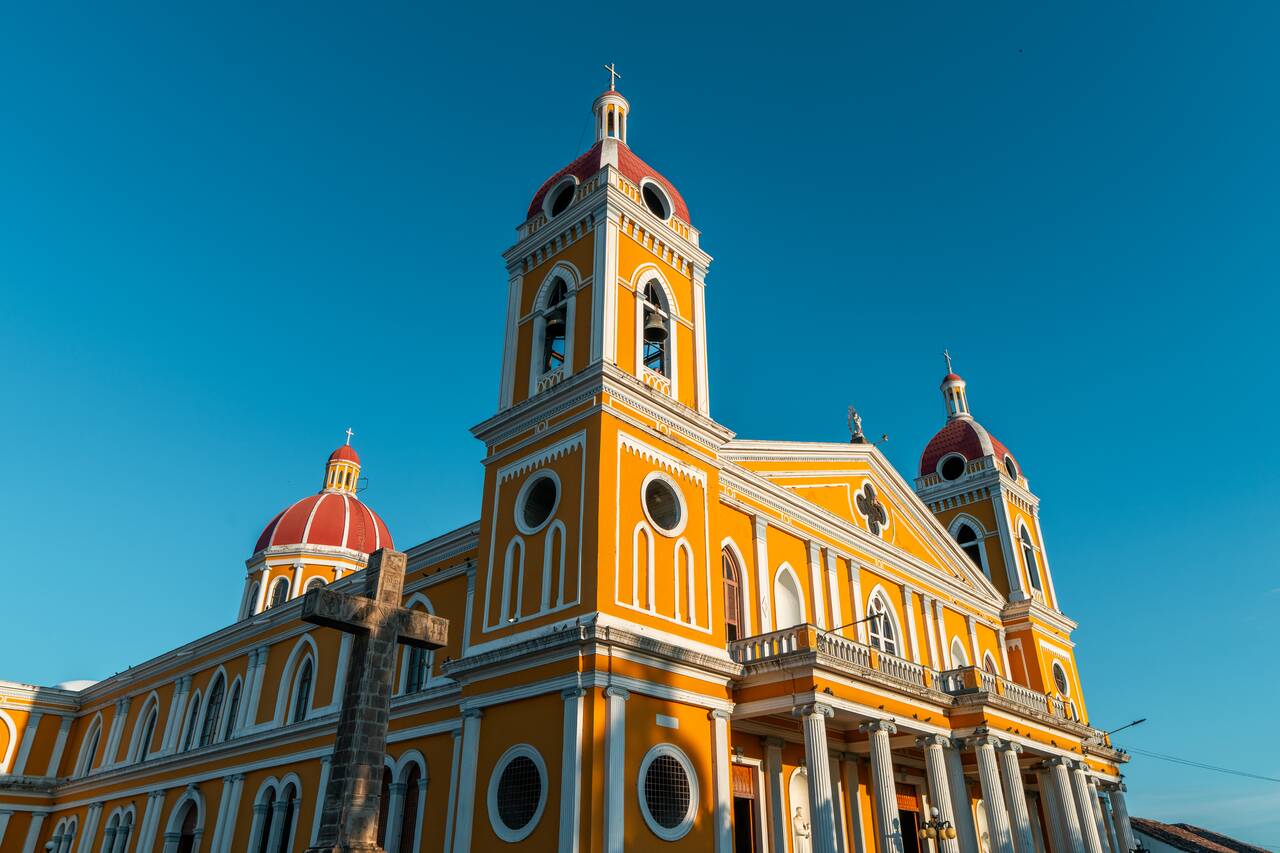
While here, you can go and visit Immaculate Conception of Mary Cathedral Church, one of the most beautiful churches here, visit ChocoMuseo Granada and try some of Nicaragua's finest cocoa beans, and make a quick stop at Fortaleza de la Pólvora, one of the city's oldest remaining military structures.
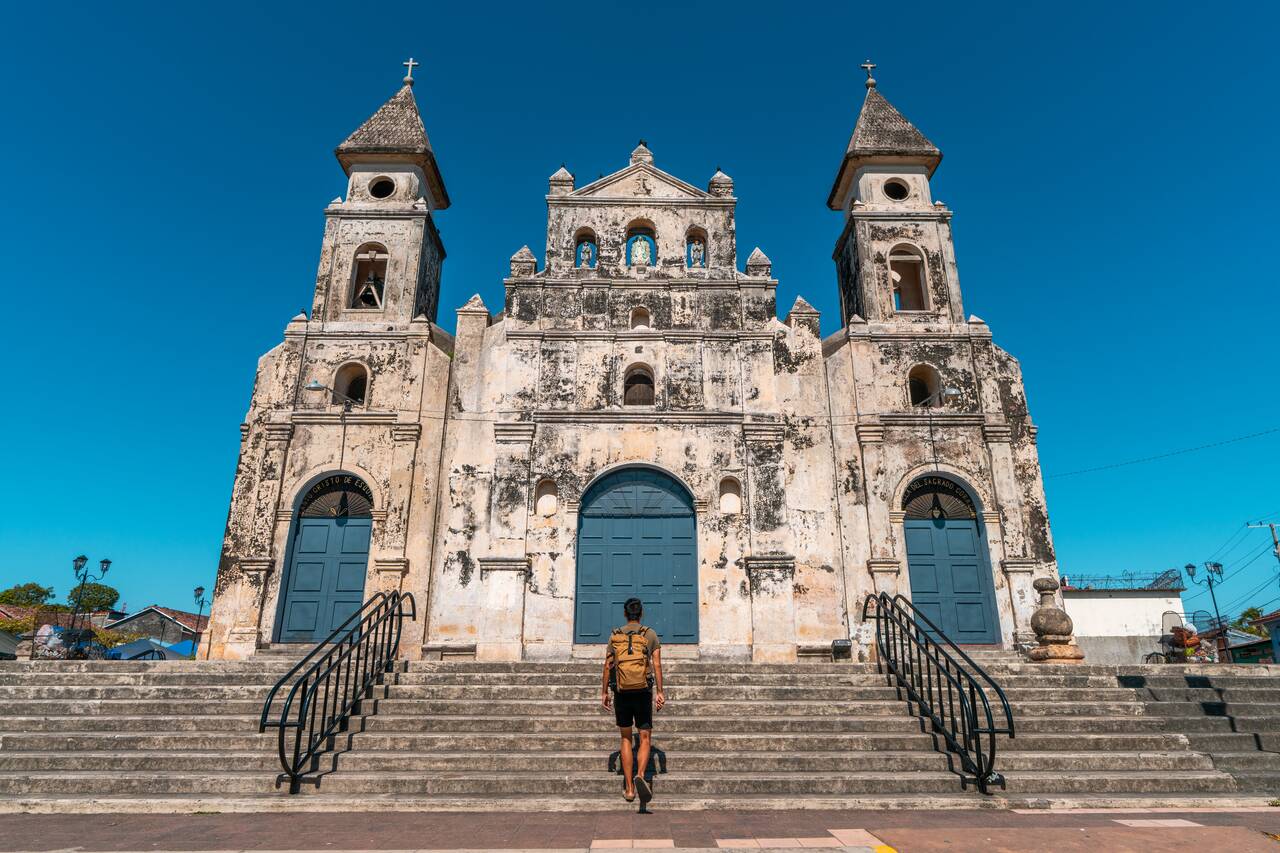
Also, don't forget to make your way east and check out the waterfront as well as Guadalupe Church, one of the city's most recognizable historic landmarks. While the church is currently closed to visitors, the beautiful exterior is still worth checking out, especially if you're already walking along the waterfront or exploring the nearby streets.
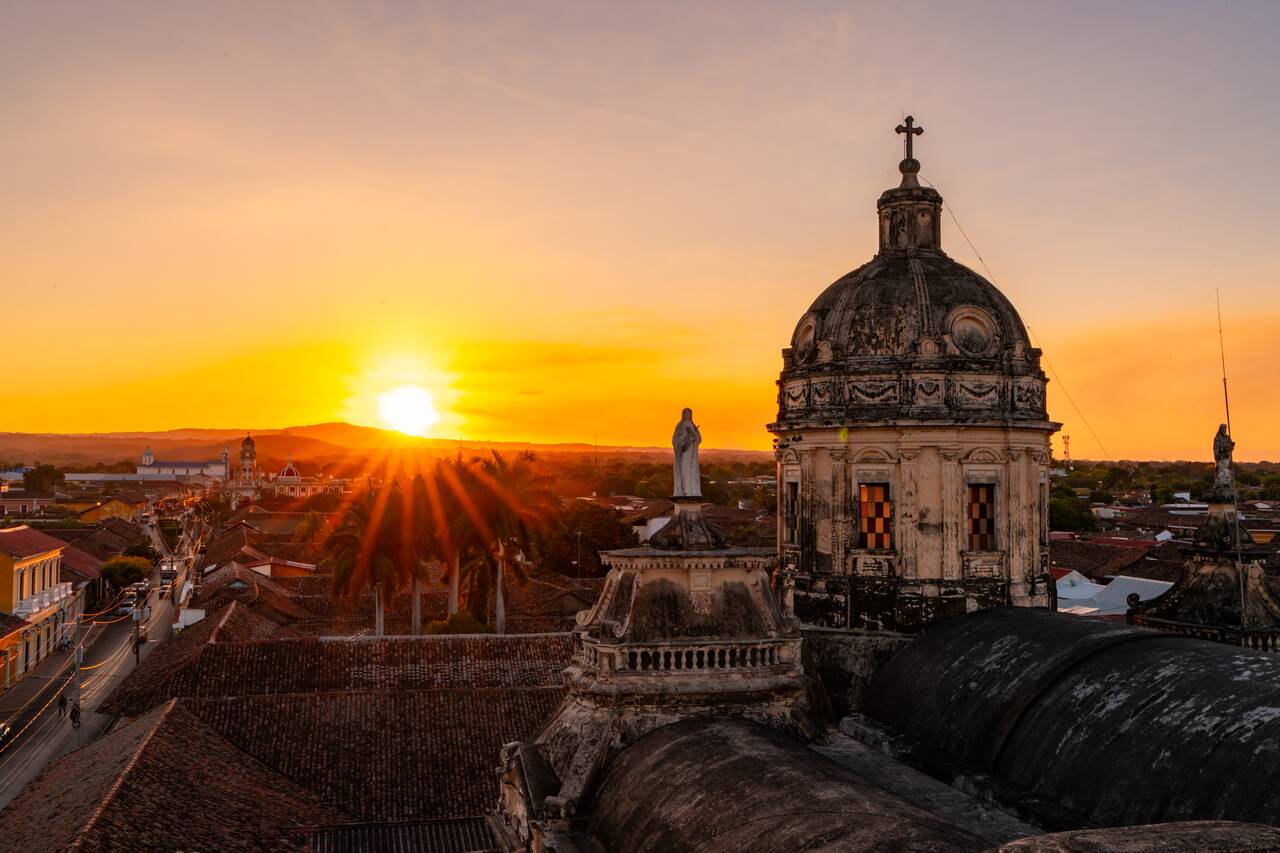
That should keep you busy for the entire day. For sunset, go and visit Iglesia La Merced and head up one of its bell towers. This historic church is one of the city's most recognizable landmarks, and its bell tower offers a stunning 360-degree view over Granada's colorful colonial rooftops, church domes, Lake Nicaragua, and the distant Mombacho Volcano.
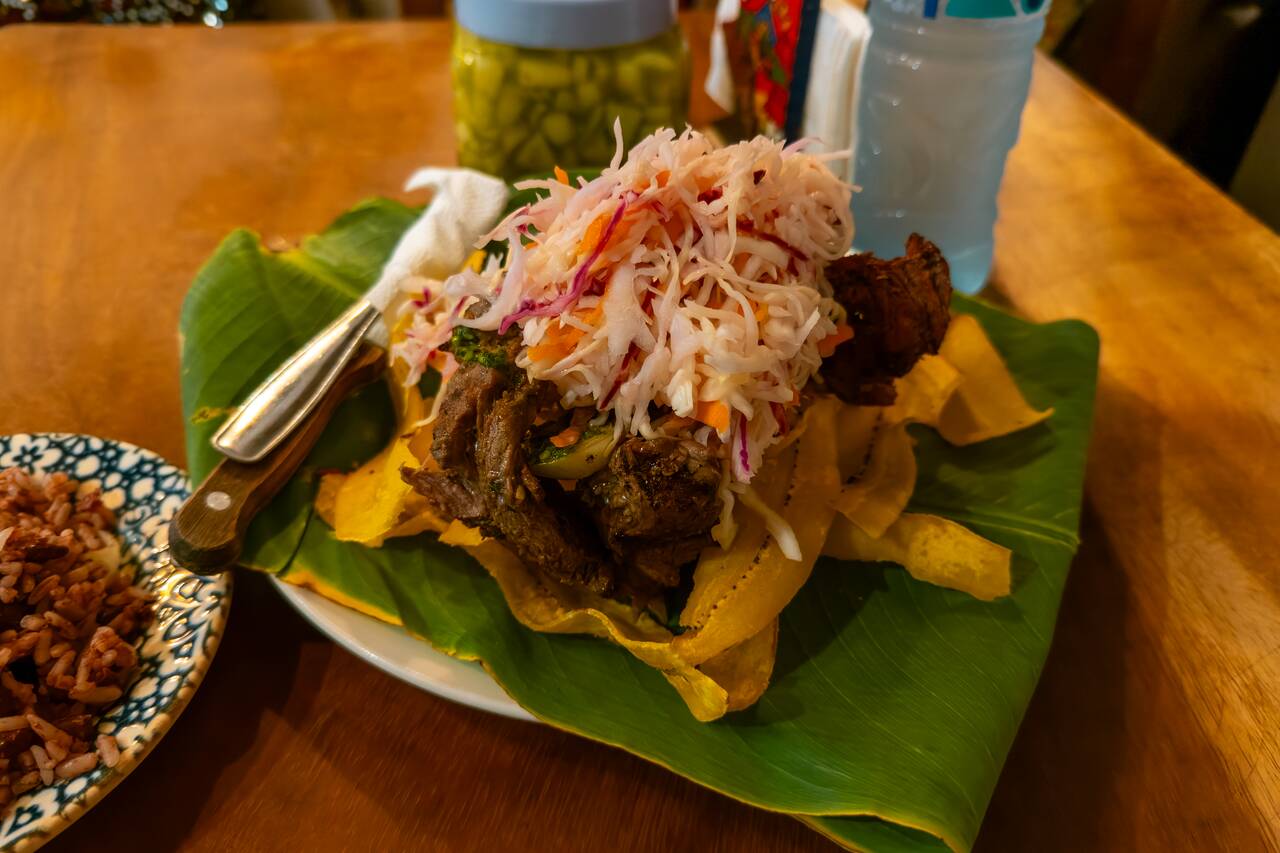
For dinner, head over to Asados Caña de Castilla, one of my favorite places to eat in Granada, and try some delicious Nicaraguan BBQ. This local restaurant specializes in asados, a popular Nicaraguan style of grilled meat served with rice, beans, salad, and other traditional sides.
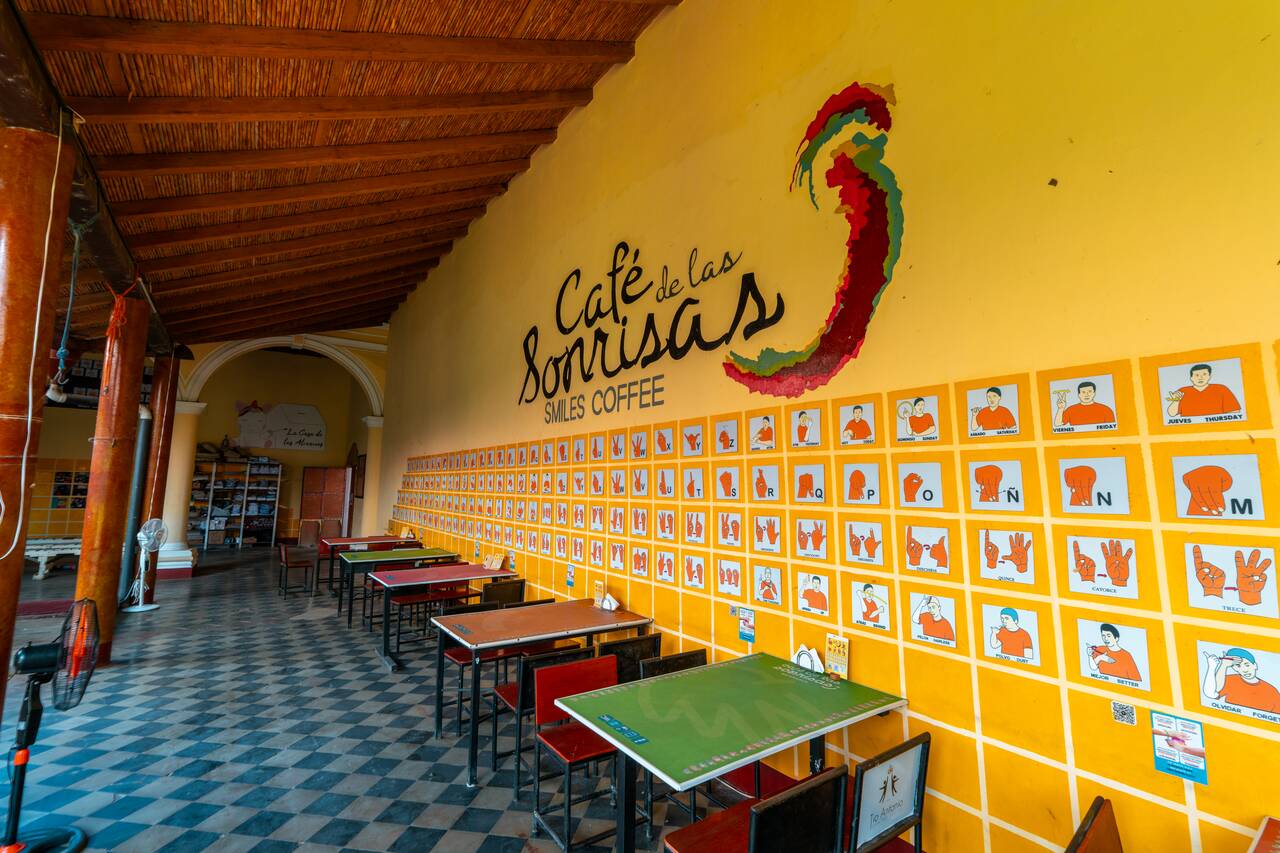
The next day, you can start your day with a breakfast at Café de las Sonrisas. This charming café is more than just a place to grab a meal; it is a social enterprise that provides employment opportunities for people with hearing disabilities.
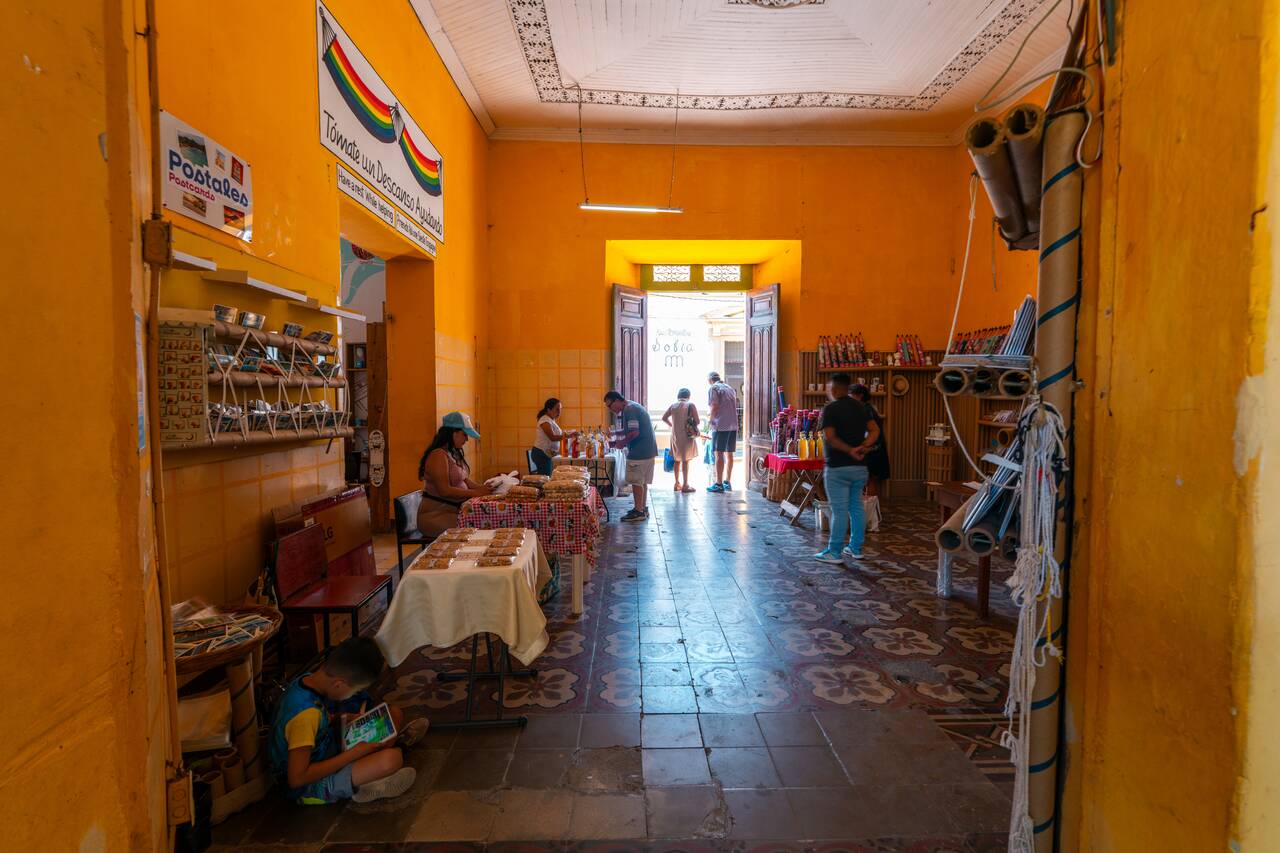
The café is run by a team of deaf and hearing-impaired staff, and the experience is a little different from your typical café. You can order using simple sign language, gestures, or by writing your order down. The price of food is very affordable, and they often hold social events inside its courtyard.
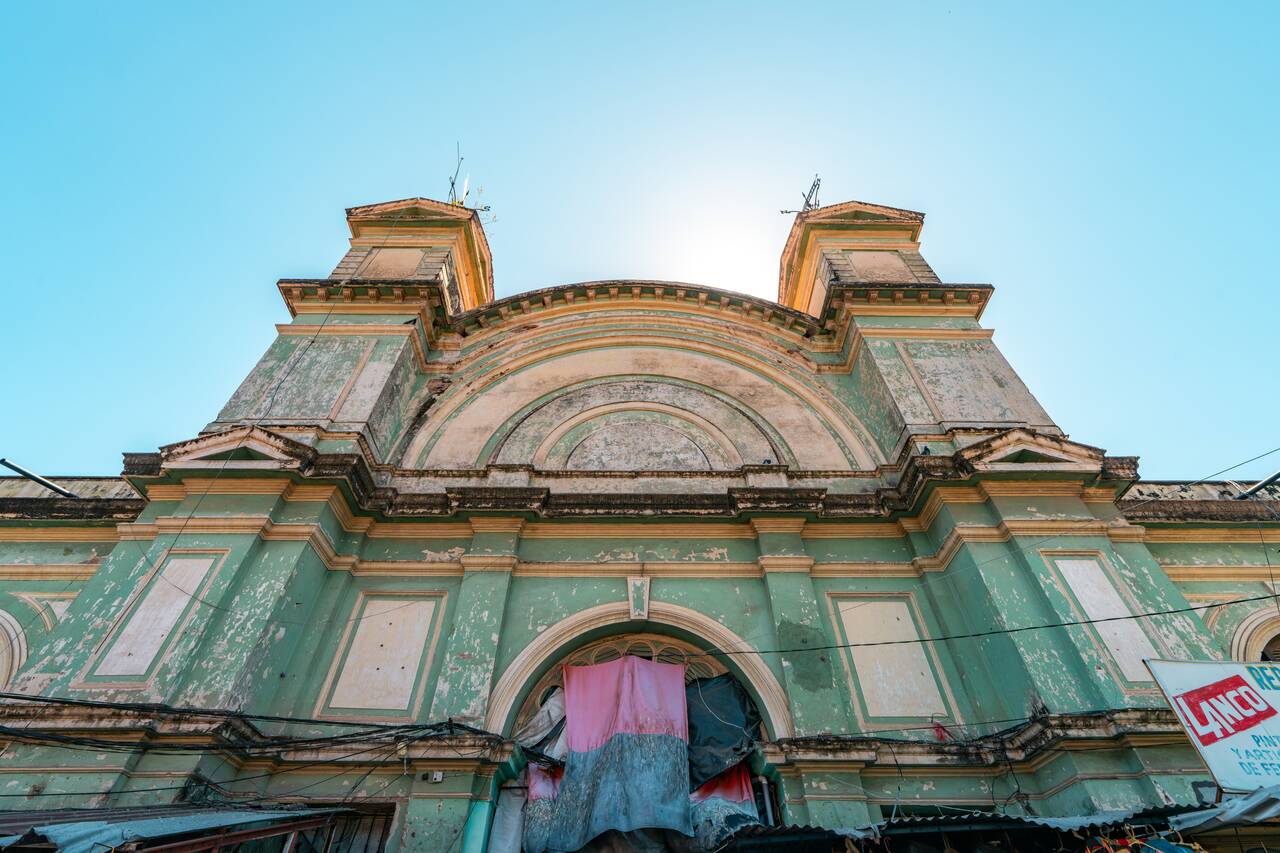
For an authentic glimpse into daily life in Granada, head to Mercado Municipal de Granada, the city's main local market. Unlike the polished colonial streets around Parque Central, this is where you'll see how everyday life unfolds, with locals shopping for fresh produce, meat, spices, clothing, and household goods.
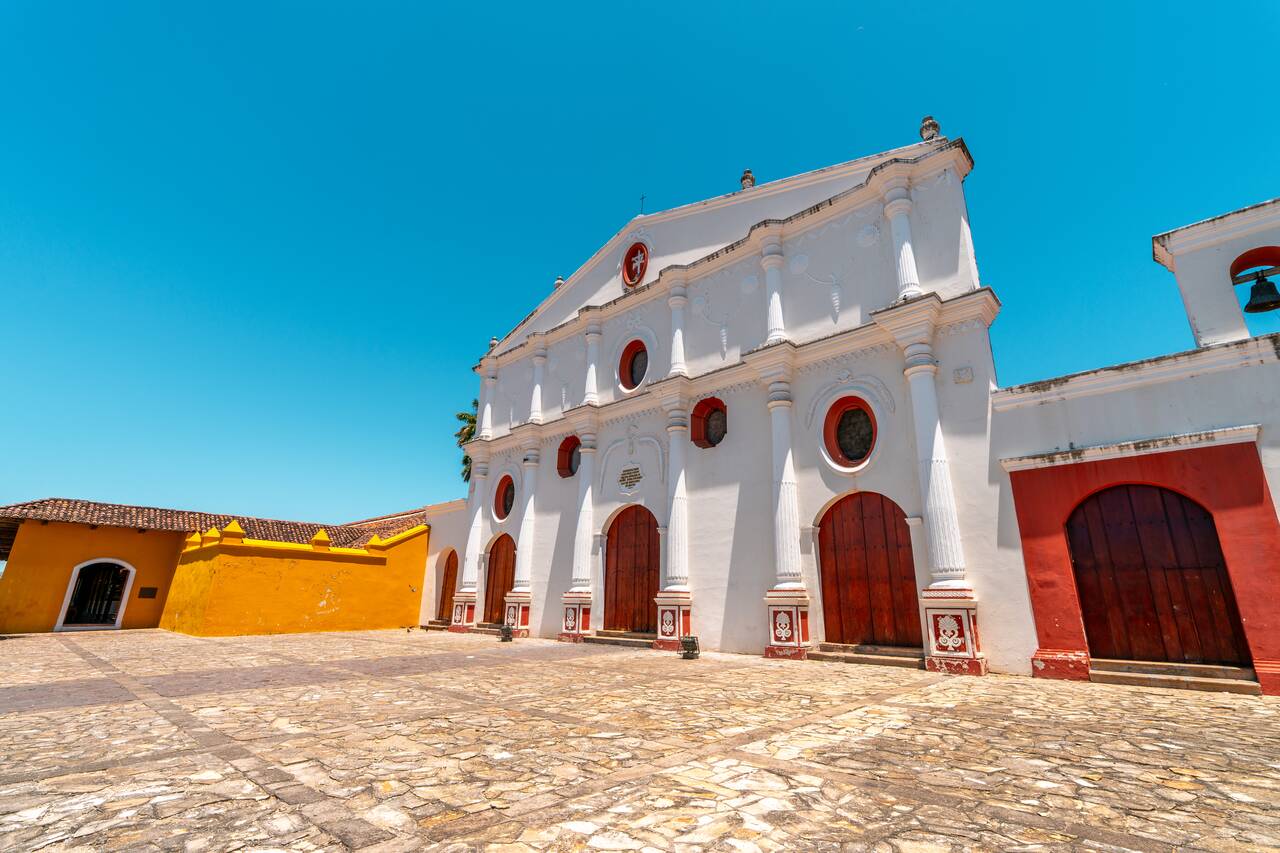
After the market, you can drop by and check out San Francisco Convent Museum. Housed inside one of Granada's oldest colonial buildings, this former convent has been transformed into an open-air museum showcasing Nicaragua's archaeological, religious, and cultural heritage.
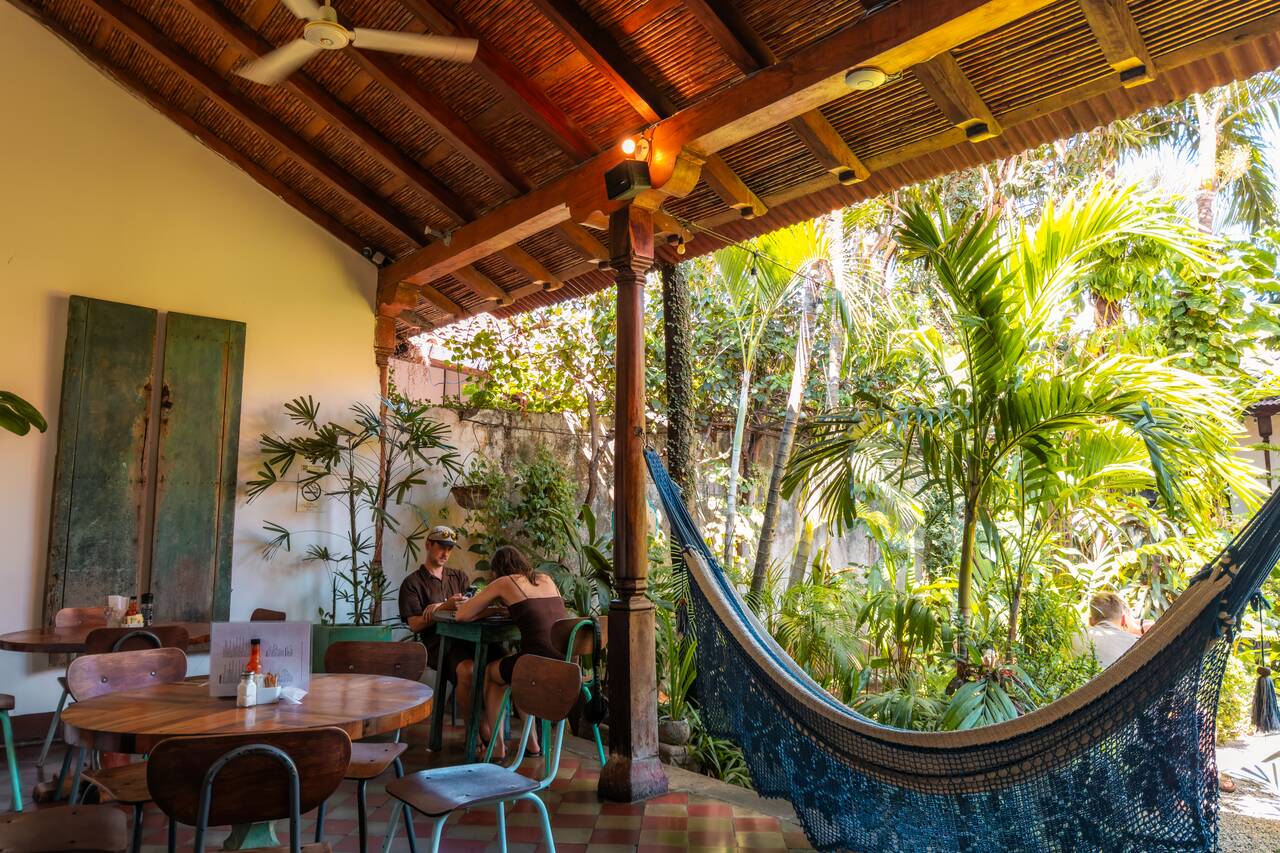
You can spend the rest of the afternoon relaxing at one of my favorite cafés in Granada, The Garden Cafe, a beautiful café tucked away inside a charming colonial building. It has a lovely green courtyard and an open-air seating area where you can enjoy great coffee, delicious food, and a slower pace of life.
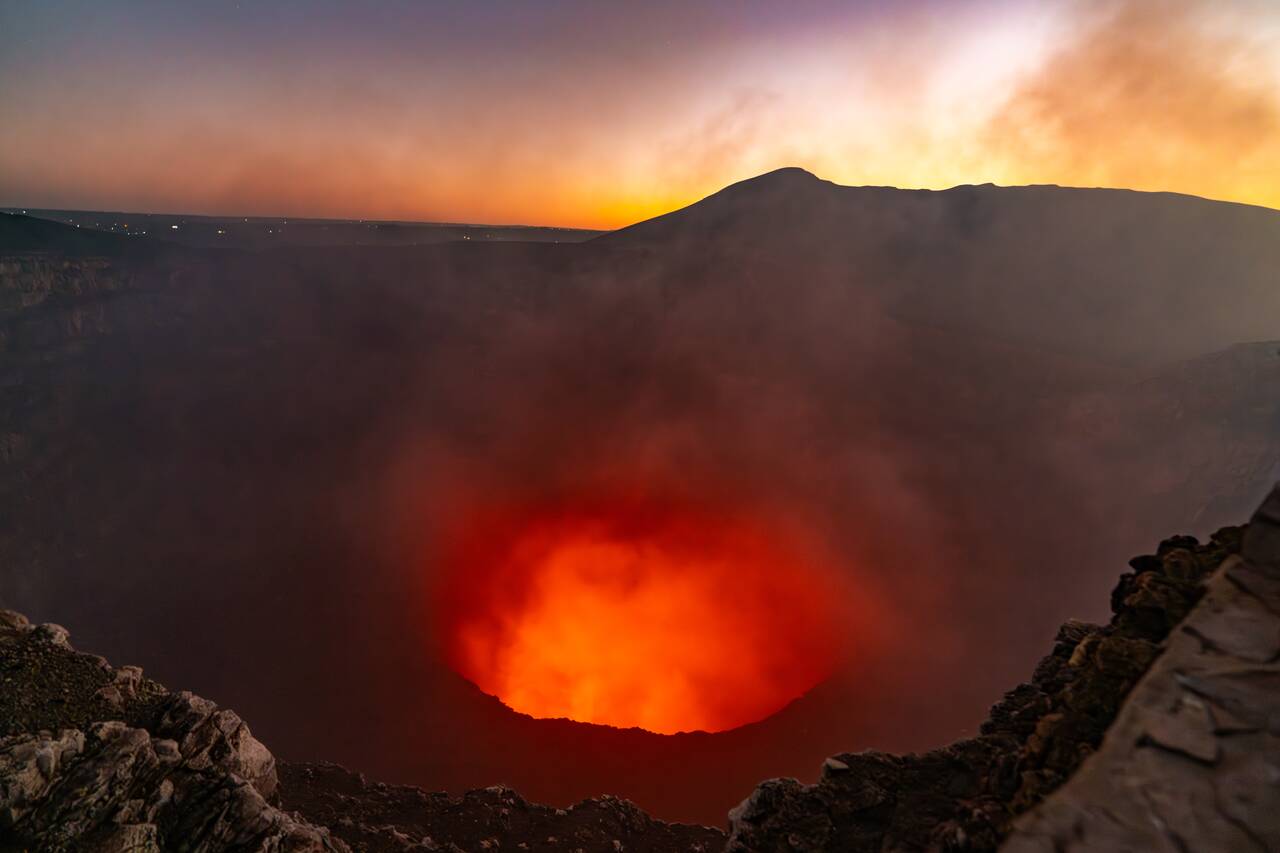
Once evening rolls in, join an organized tour to Masaya Volcano, one of the most accessible volcanoes to visit in Nicaragua. You'll spend the evening exploring the national park, watching the sunset, and, after dark, heading up to the crater to witness the volcanic glow lighting up the night.
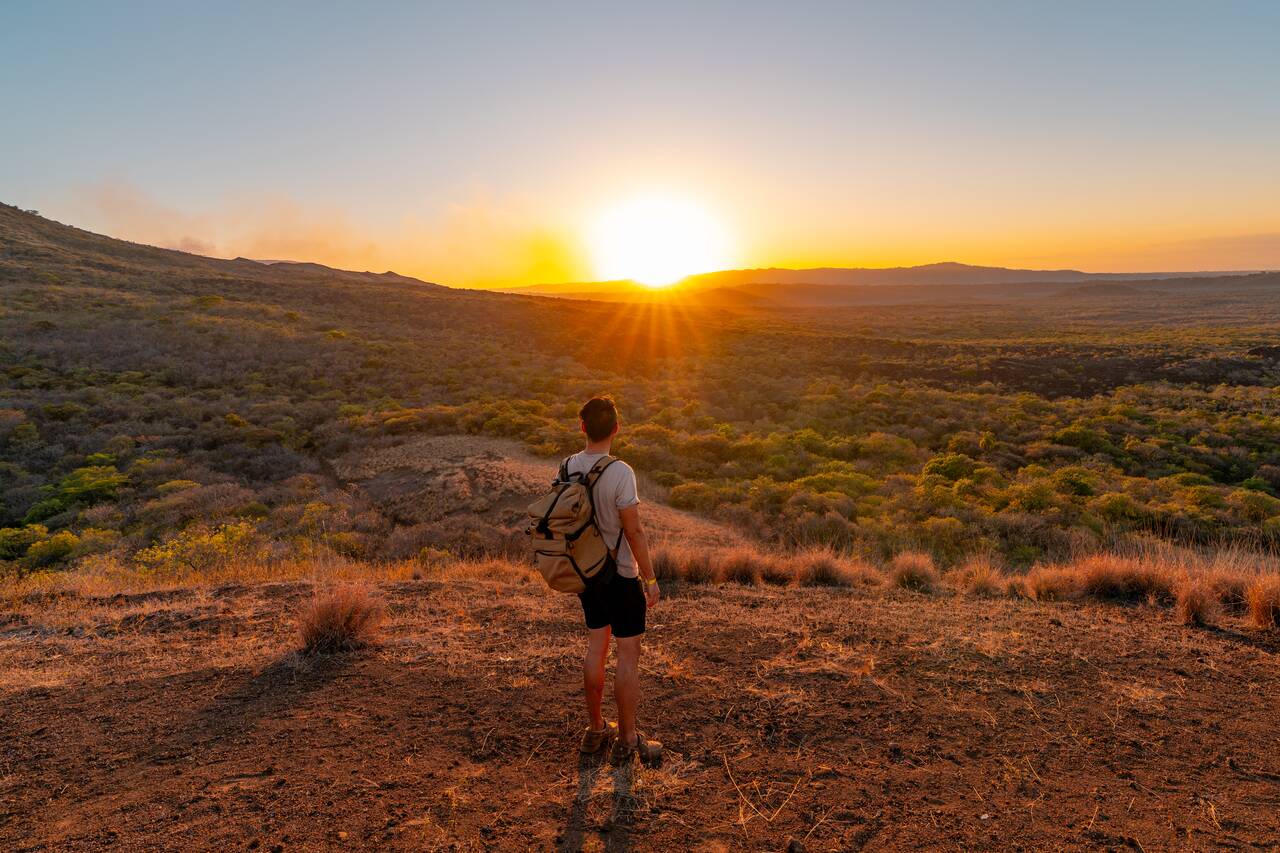
Most tours will also include a visit to the museum inside the national park and a short hike around the surrounding trails, where you can observe the volcanic activity around the area, and go up to this viewpoint to watch the sunset.
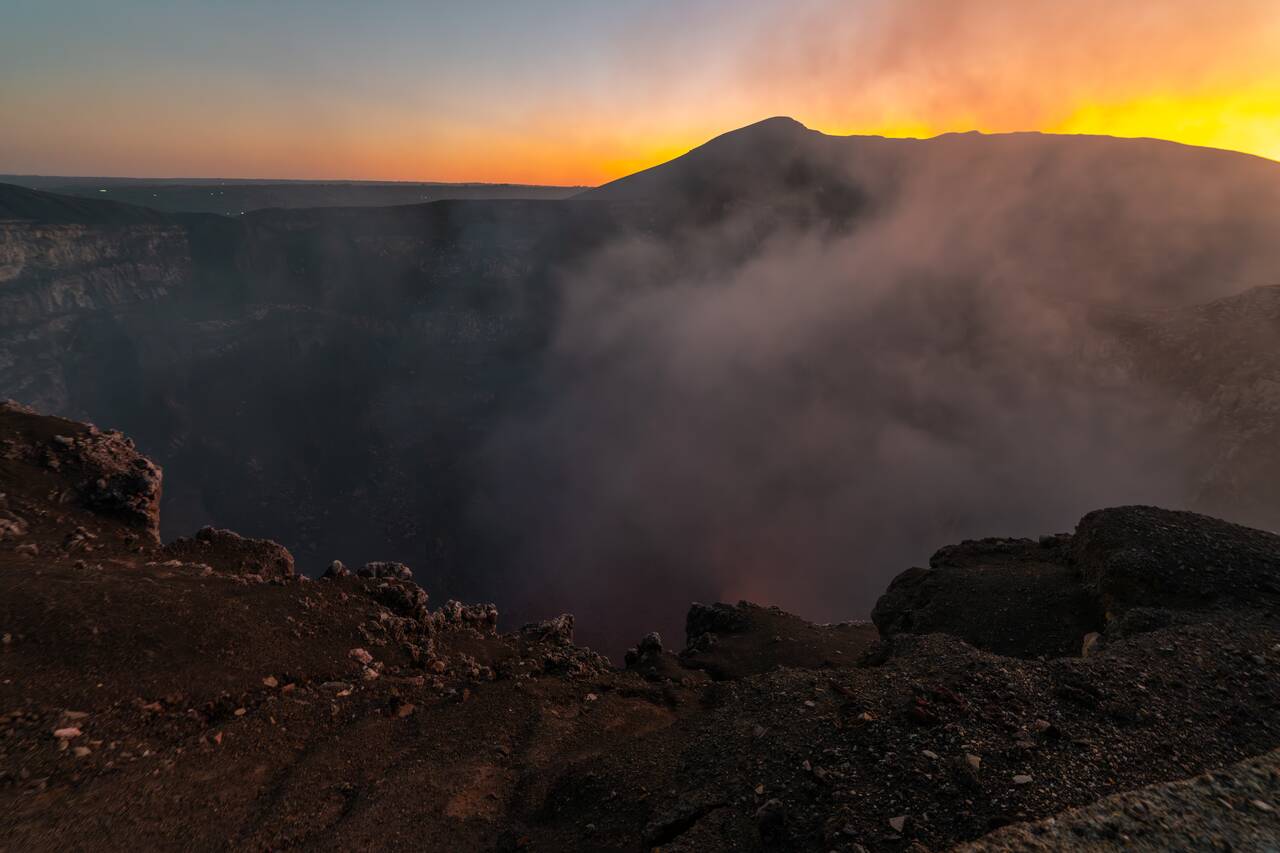
Don't bother visiting the volcano during the day, as you won't be able to see the glowing lava that makes Masaya Volcano famous. After the volcano tour, you should be dropped off back in town around 8 PM, giving you plenty of time to grab dinner and call it a night.

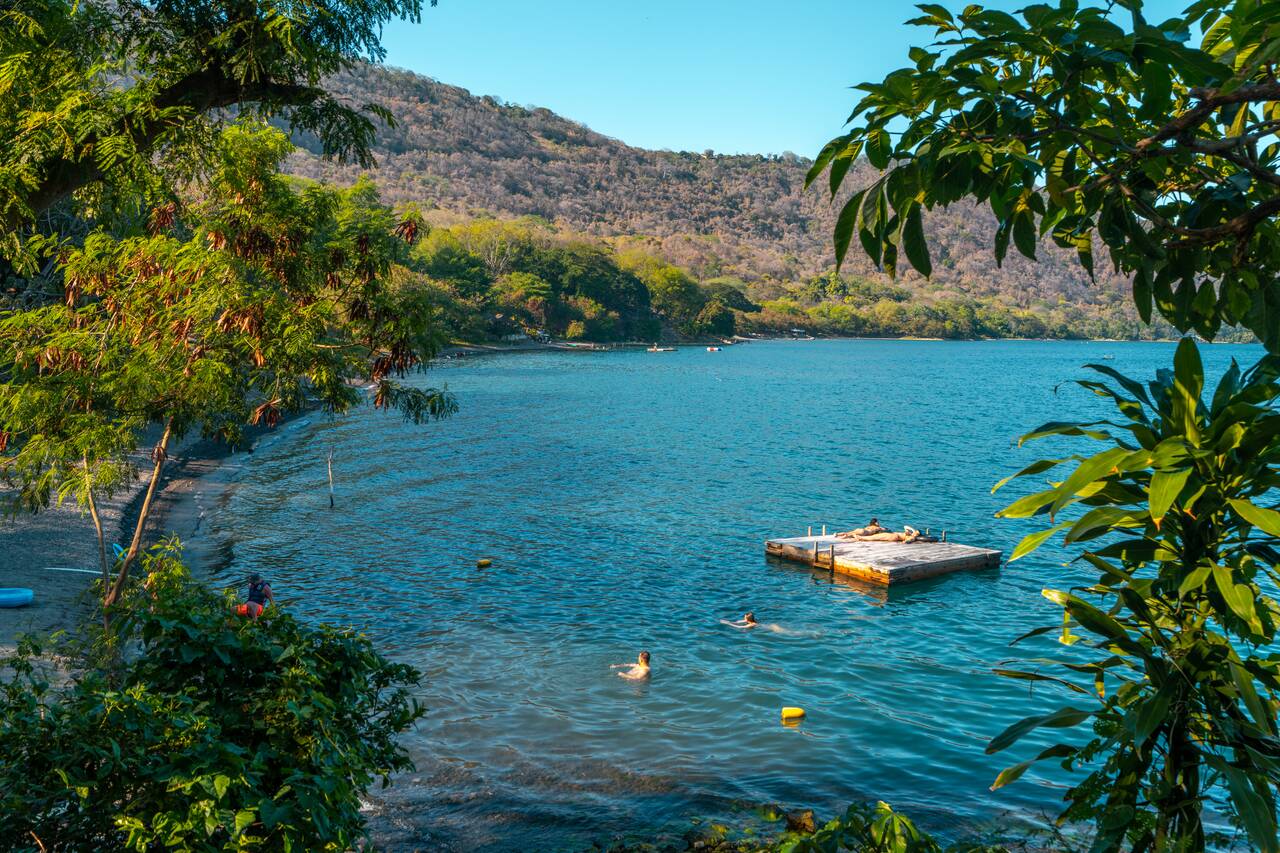
Located inside a volcanic crater just outside Granada, Laguna de Apoyo is where we'll spend our third day, relaxing and escaping the hustle and bustle of Granada. The lake is surrounded by lush forest and is the perfect place to spend the day swimming, kayaking, or simply relaxing by the water while enjoying the peaceful surroundings.
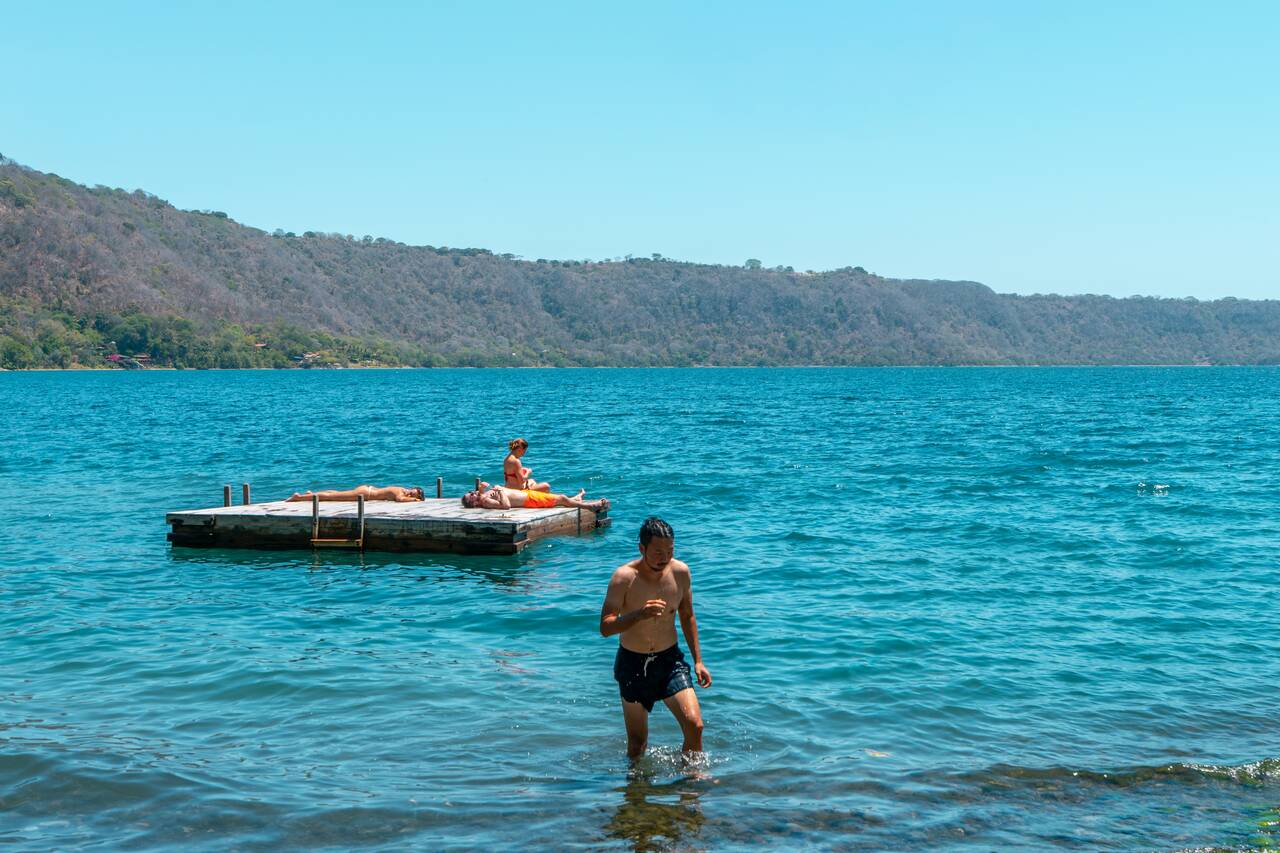
The water here is incredibly clear and refreshingly cool. You will find a handful of restaurants and private beach clubs around the lake where you can rent a kayak, grab a drink, or enjoy a meal. However, if you want to spend the entire day using their facilities, you will most likely need to purchase a day pass.
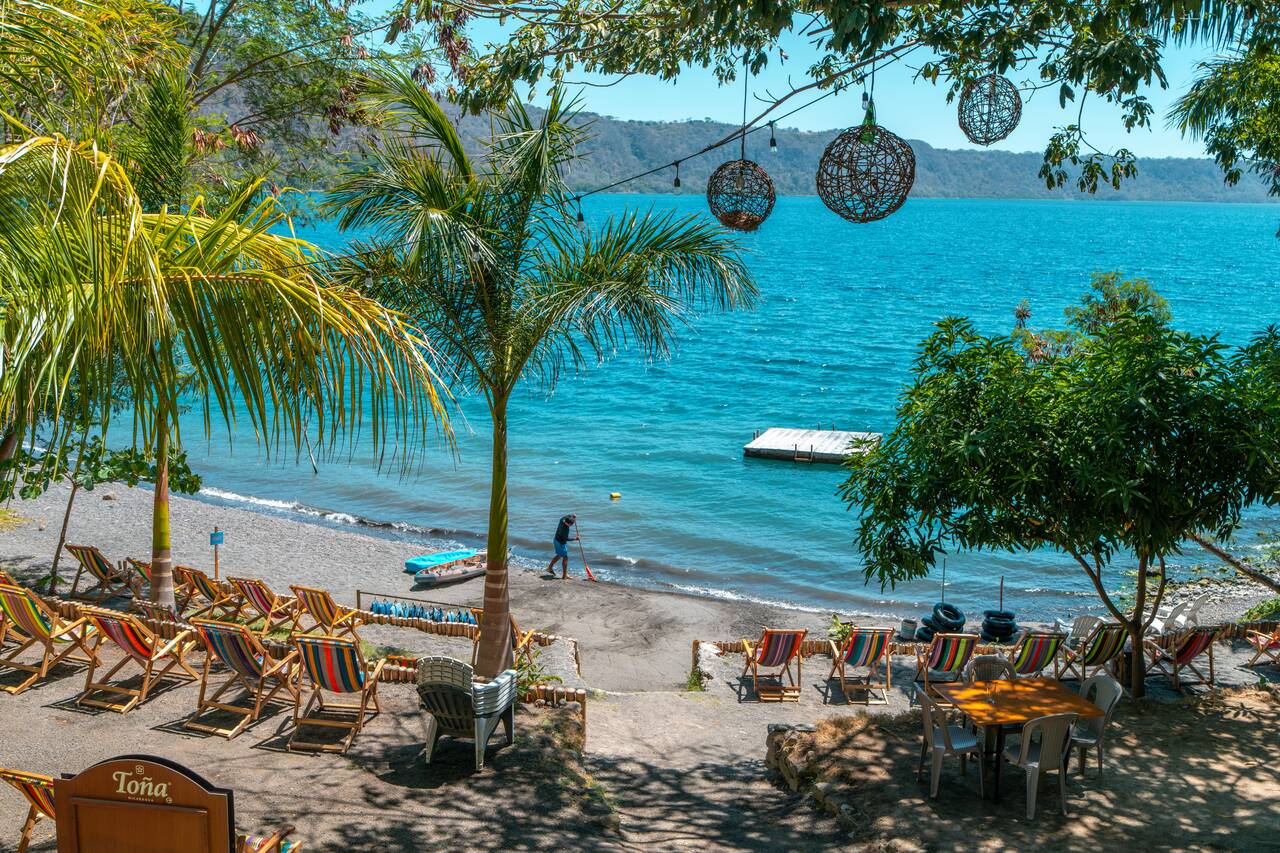
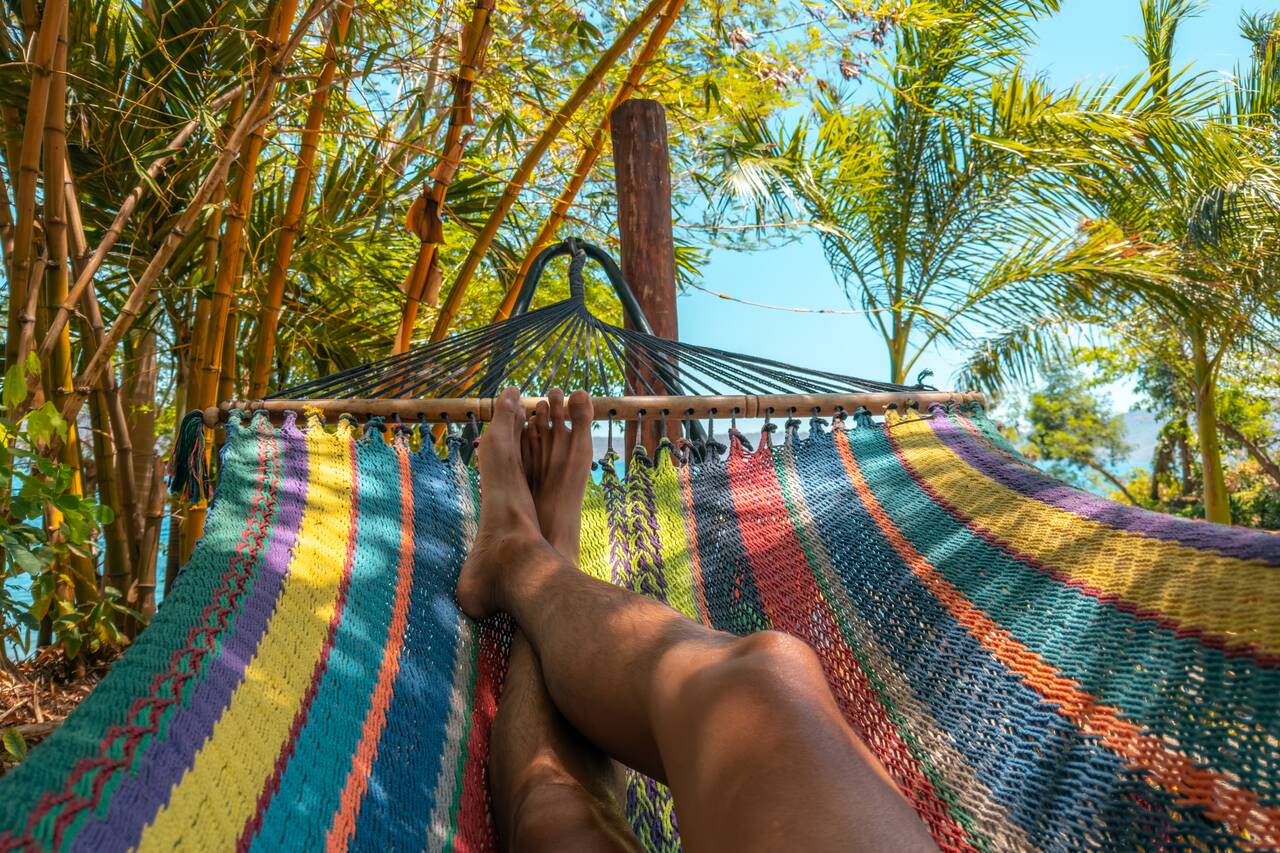
I highly recommend Coco Bay Hostel, a stunning hostel located right on the shore of the lake. You can purchase a day pass for around 7 USD per person, which gives you access to all the hostel's facilities, including kayaks, free coffee and tea, as well as sunbeds, hammocks, and other relaxing spaces.
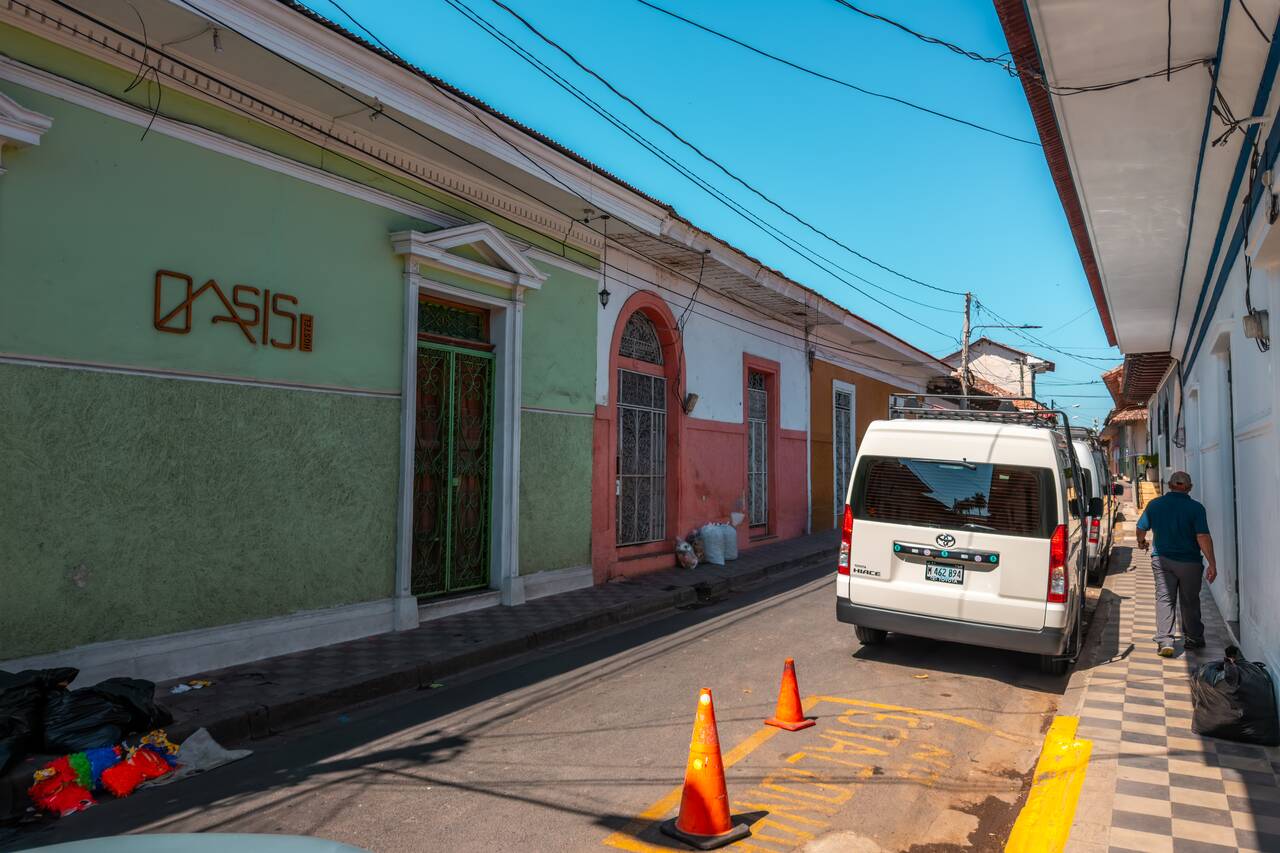
Getting from Granada to Coco Bay Hostel is also very easy, as the hostel is associated with Oasis Hostel in Granada and they run a daily shuttle service that will let you travel between the two places easily. The shuttle departs from Oasis Hostel at 10 AM every day and returns at 4:30 PM. The round-trip fare is 14 USD, and you can reserve a spot via their WhatsApp.
After spending the entire day at Laguna de Apoyo, you should be back in Granada around 5:30 PM. Spend the evening strolling around town, grabbing dinner, and relaxing before calling it a night. Tomorrow, we'll head to León, another one of my favorite cities in Nicaragua and the final destination in this itinerary.



Getting from Granada to Leon
To get from Granada to León, you can take a shared shuttle, which takes around 5 hours and costs approximately 25 USD. I went with Gekko Trail Explorer and had a great experience. They picked me up from my hotel on time and dropped me off directly at my hostel in León without any issues. I highly recommend them!
Day 40-42: Leon, Nicaragua (3 nights)
- 📍 Stay: Hotel La Posada del Doctor
- 🕐 Time: 3 nights
- 📖 Full Guide: A Guide to Leon, Nicaragua: Things to Do, Travel Tips, & Itinerary
León, the revolutionary city of Nicaragua, is famous for its beautiful colonial buildings, deep connection to the country's political struggles, and its role in many revolutions and protests throughout history. We'll spend the first day exploring the city's many attractions, and save the coolest activity you can do here, volcano boarding down Cerro Negro, for the second day 😉.
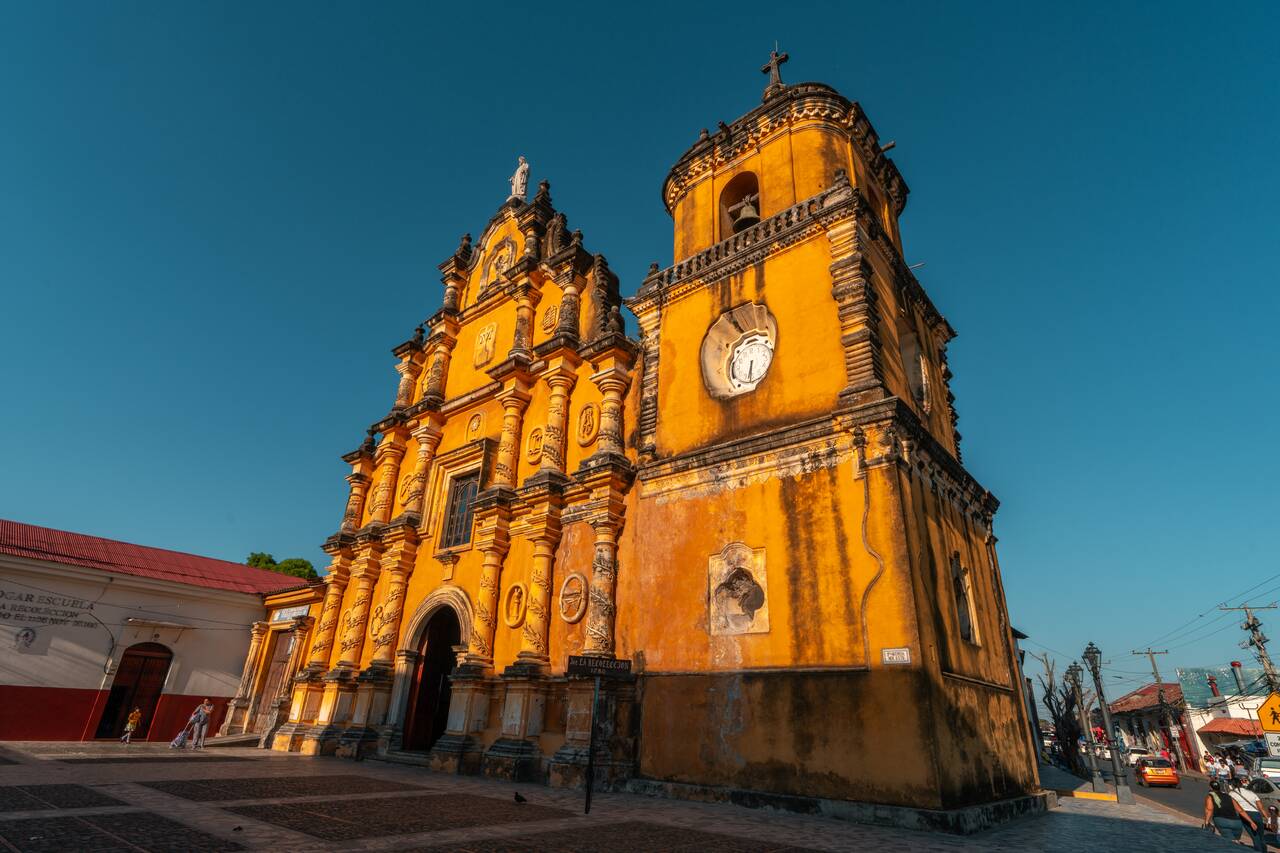
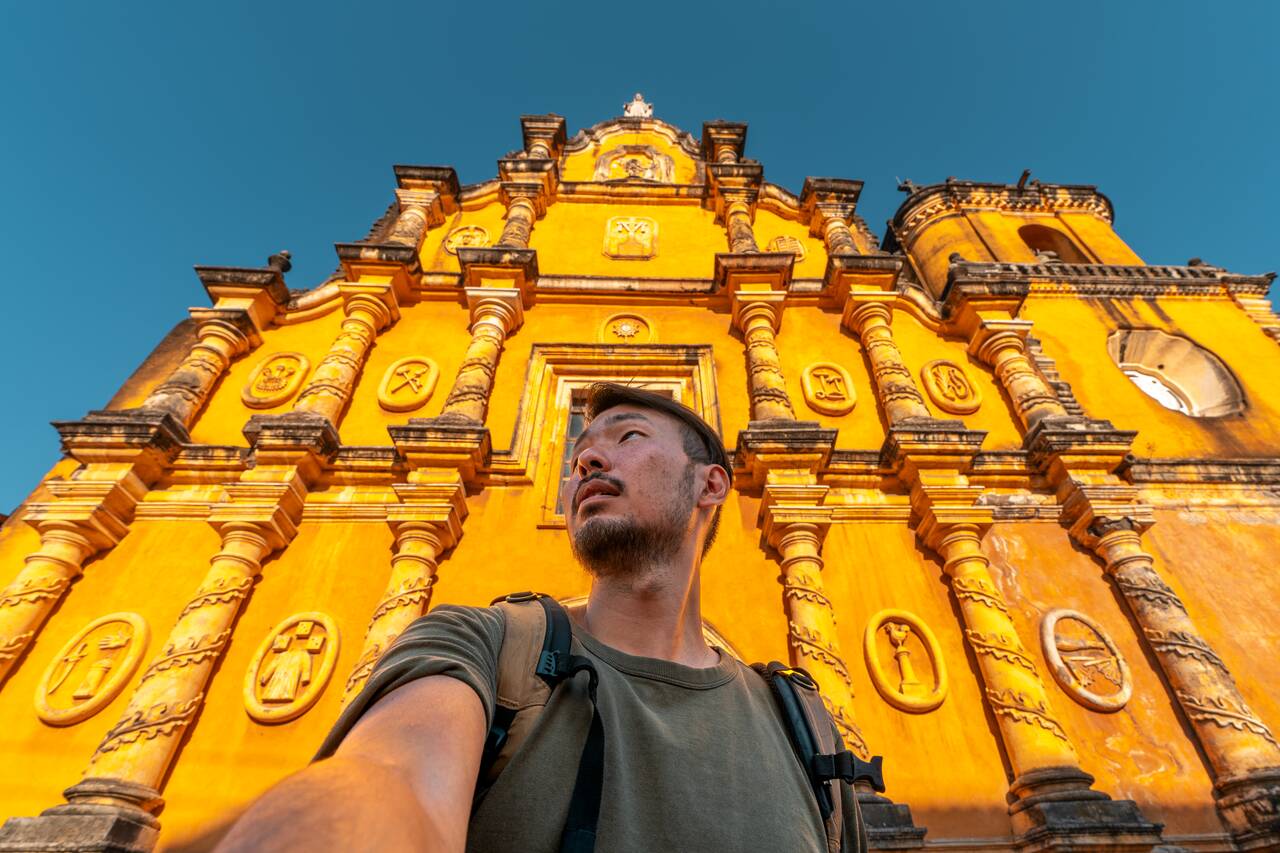
On your first evening, I highly recommend you go and walk by Church of the Recollection (Iglesia La Recolección), one of my favorite churches in Leon. What's cool about this church is that its intricate façade and detailed carvings are painted in a beautiful faded yellow color, and because the church faces perfectly west, the afternoon sunlight shines directly onto the façade, making it glow. That's why I recommend you come and see this right away if you arrive in town in the evening.
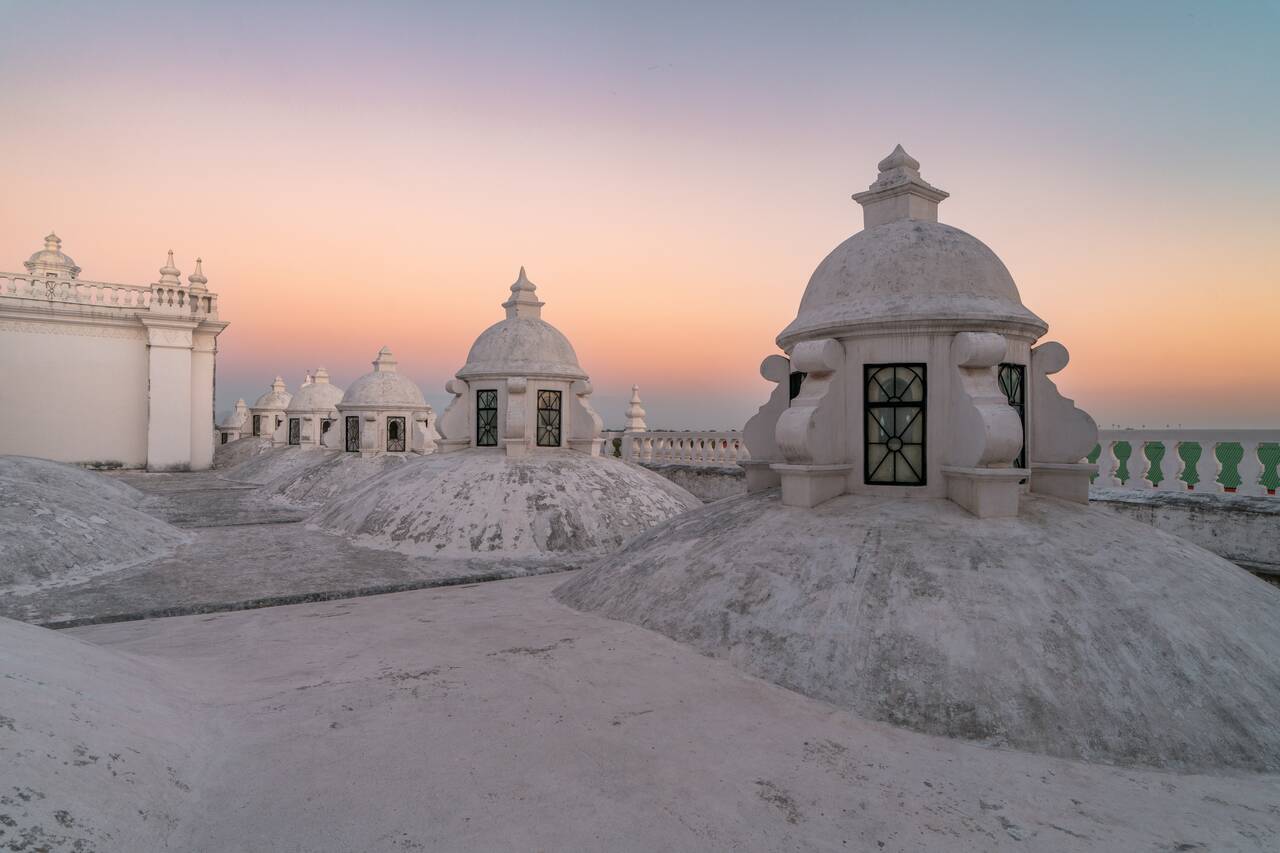
After that, head up to the rooftop of Basilica of the Assumption of the Blessed Virgin Mary and watch the sunset from above. As the largest cathedral in Central America and a UNESCO World Heritage Site, it is already an impressive landmark worth visiting on its own. However, if you want to make your visit truly memorable, be sure to come here during golden hour.
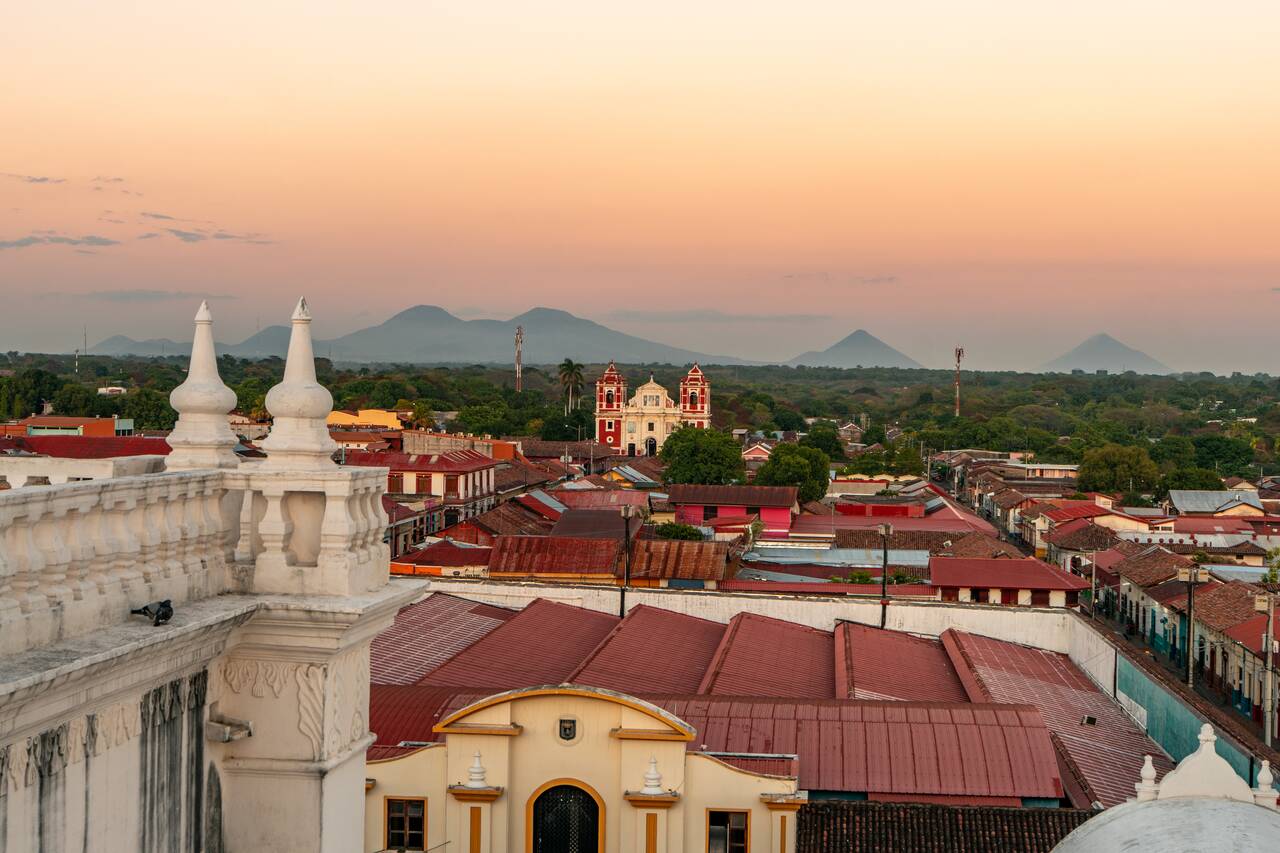
The rooftop is incredibly beautiful and very unique. Instead of a traditional viewing platform, you'll walk across a series of smooth white domes connected by narrow pathways, with panoramic views of León's colorful streets and the chain of volcanoes surrounding the city. It almost feels like walking on the rooftops of a Mediterranean town.
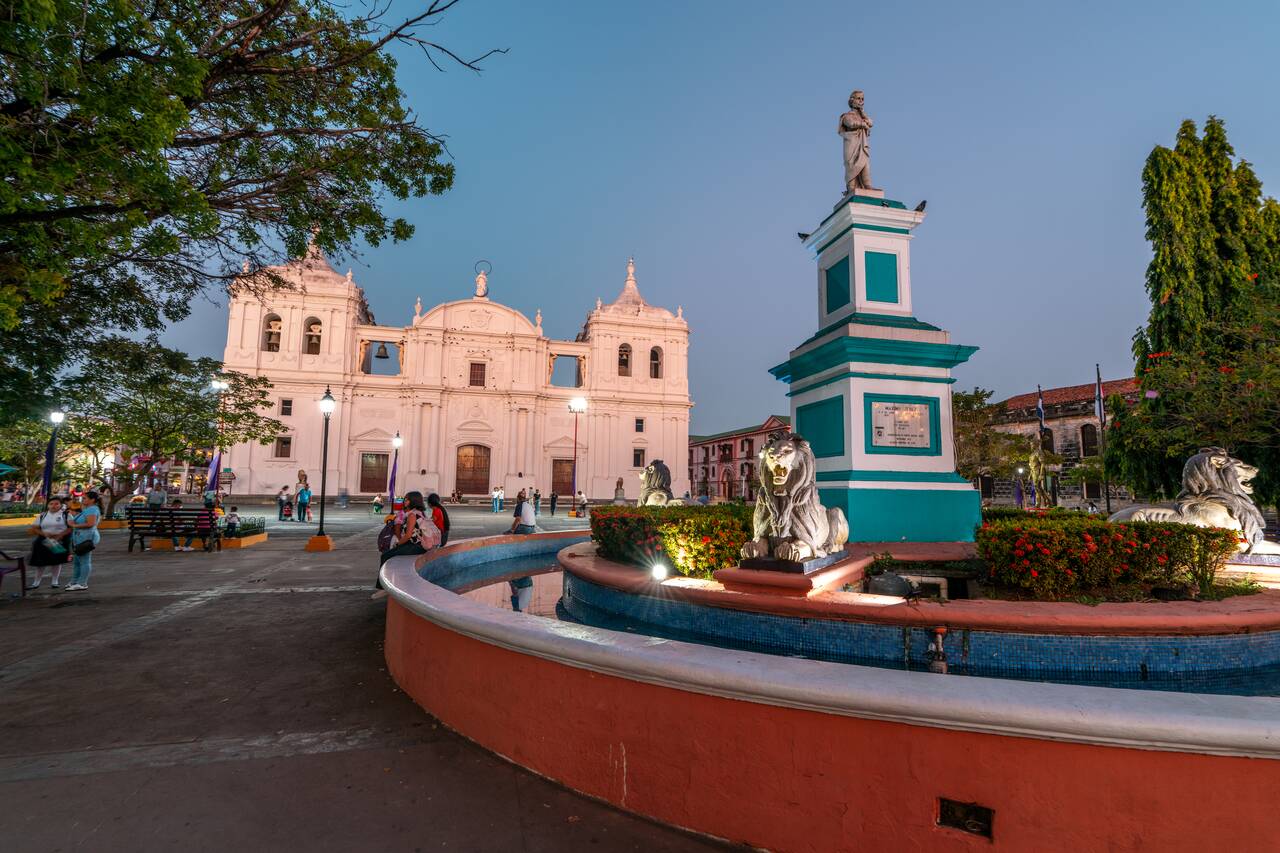
After watching the sunset from the rooftop of León Cathedral, head down to Parque Central, the beating heart of León, surrounded by some of the city's most important landmarks. Sit on the steps in front of the cathedral and watch as the park comes alive with families relaxing on benches, street vendors setting up food stalls, and locals catching up with friends after work. It's the perfect way to spend your first evening in León before calling it a night.
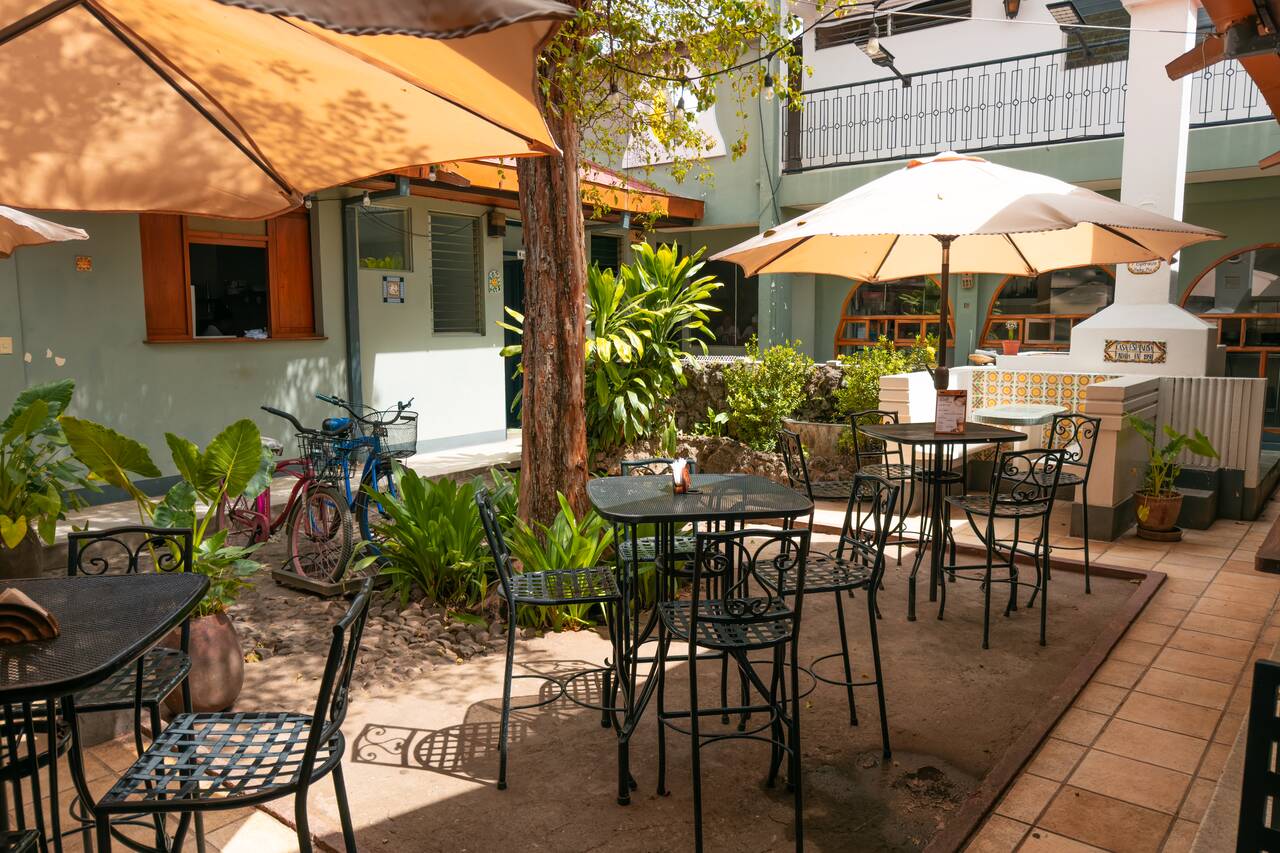
The next day, you can begin with a lovely breakfast at Pan y Paz, a European-style bakery in Leon that I often visited for breakfast and coffee breaks. It is located inside an old colonial building with an open-air courtyard where you can sit and enjoy a croissant and a cup of delicious coffee before you begin exploring the city.
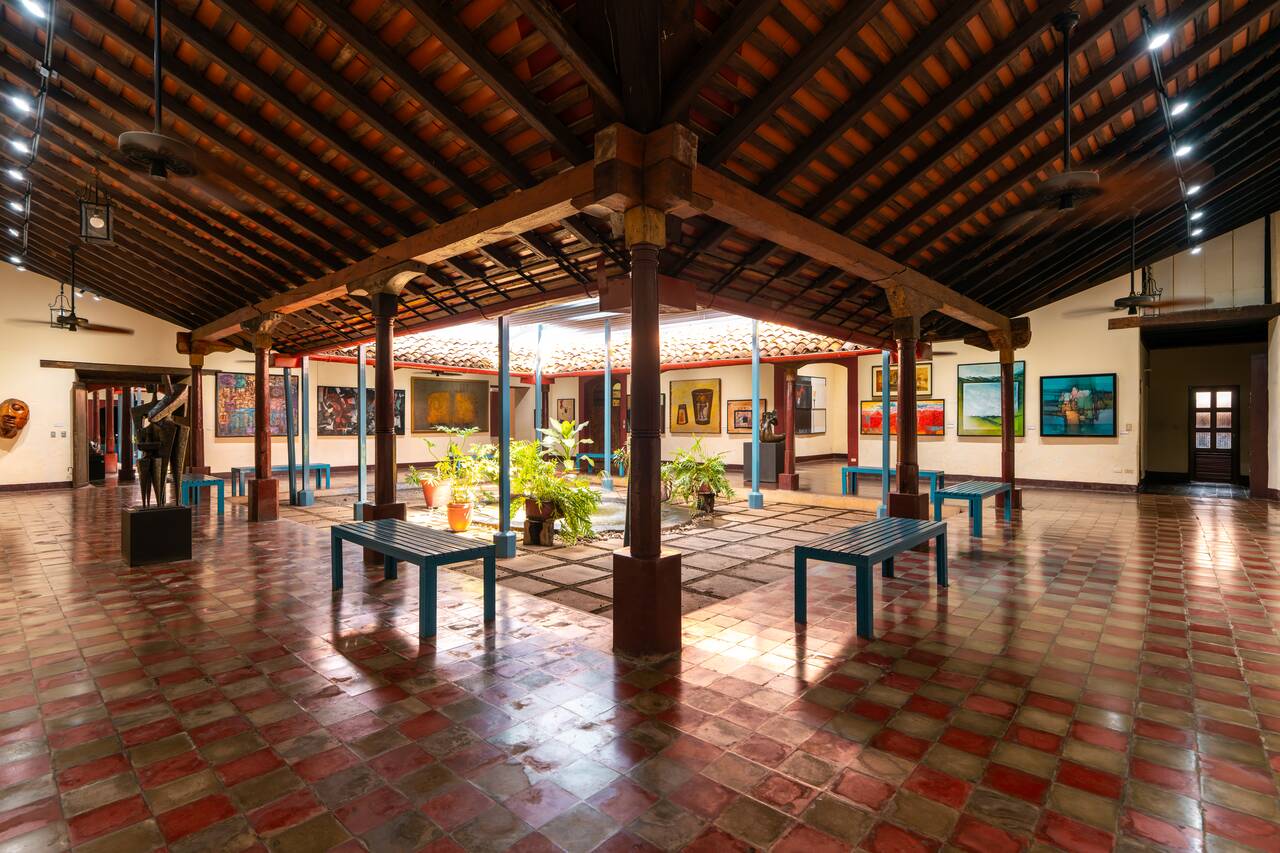
After breakfast, you can spend the day exploring some of the best museums the city has to offer. Ortíz Gurdián Foundation Art Center is by far one of my favorite art museums, or dare I say, the best art museum I have ever visited in Central America! Located inside a collection of beautifully restored colonial buildings, the museum itself is just as fascinating as the artworks displayed inside.
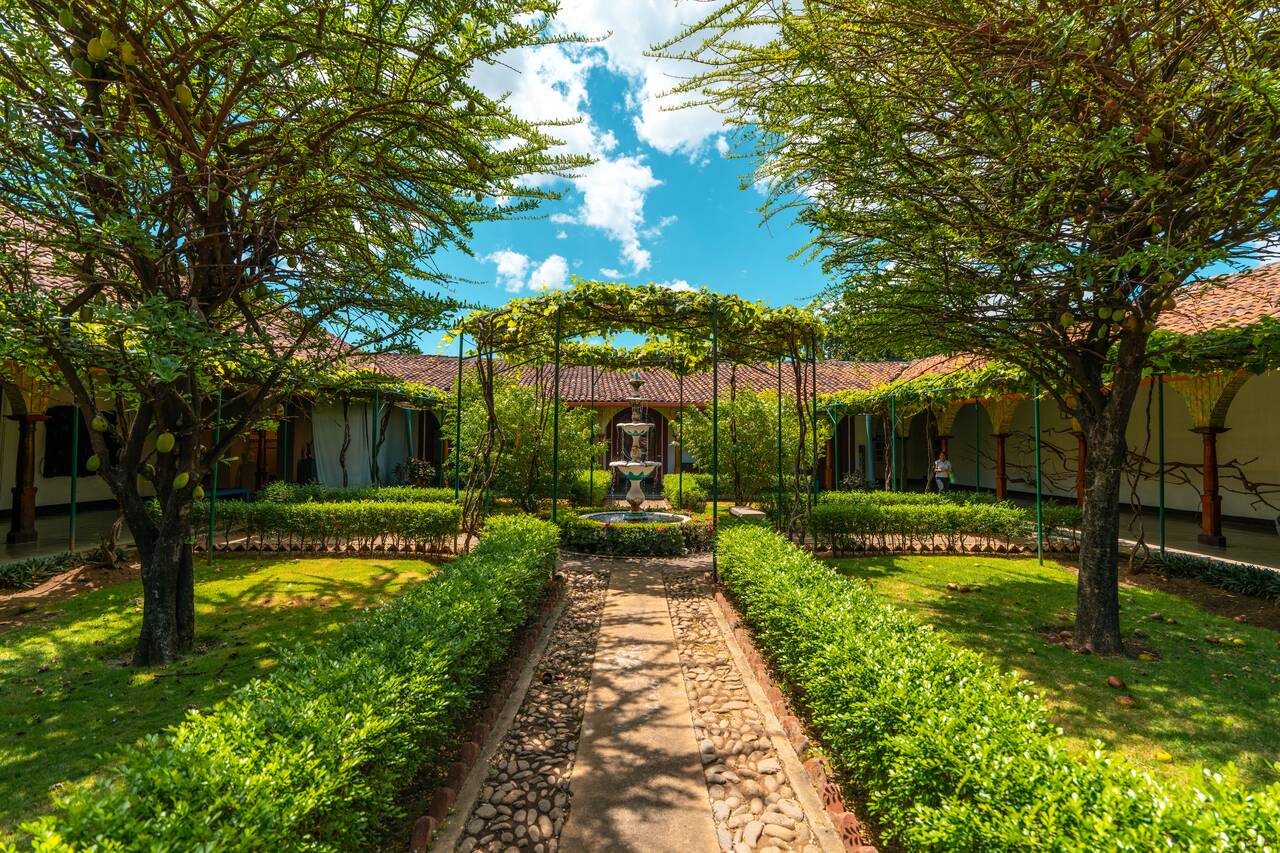
I especially loved that the museum doesn't feel like a traditional gallery. Instead, you move between rooms, courtyards, and old colonial spaces, discovering artworks around every corner. It almost feels like you are being welcomed into someone's home, wandering through their rooms and admiring an incredible personal collection of artworks.
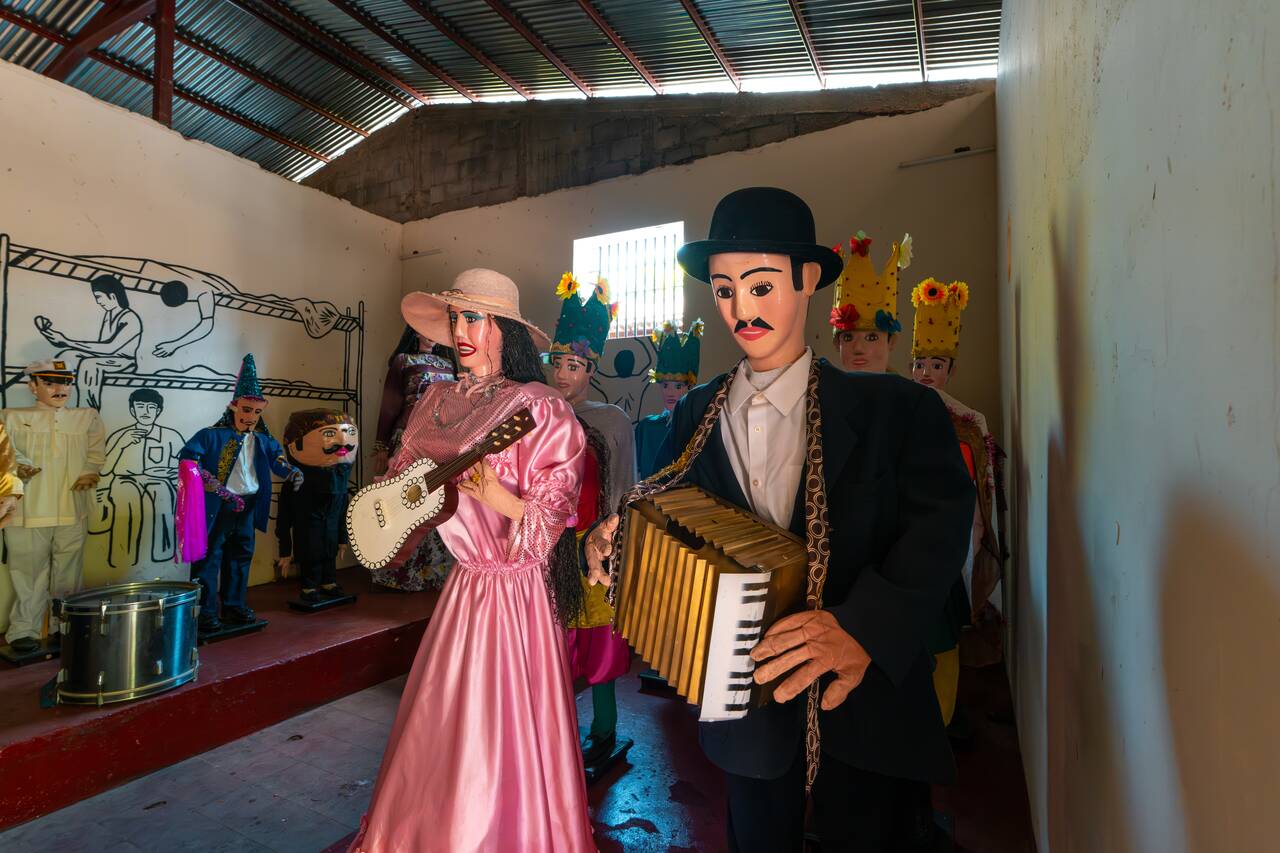
For a more unusual experience in León, make your way to the Museum of Traditions and Legends (Museo de Leyendas y Tradiciones), a small but fascinating museum dedicated to Nicaragua's folklore, myths, and cultural stories.

The museum is housed inside a former prison, and inside, you'll find colorful murals, handmade figures, and displays showcasing famous Nicaraguan legends, many of which have been passed down through generations. The exhibits tell stories of mythical creatures, ghosts, and traditional characters that are deeply rooted in local culture.
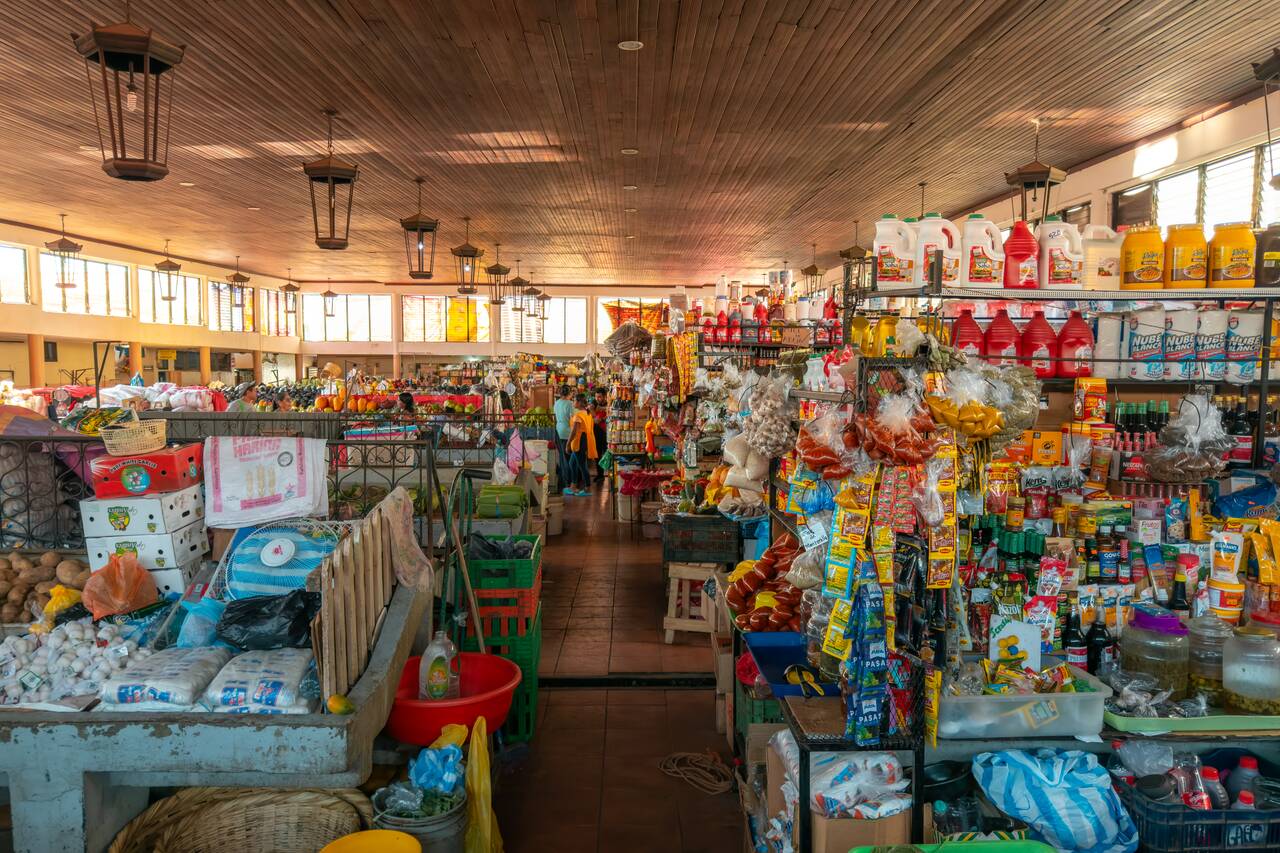
For an authentic glimpse into daily life in León, head to Mercado Central de León, the city's main local market where you can experience a completely different side of León beyond its beautiful colonial streets and historic landmarks.
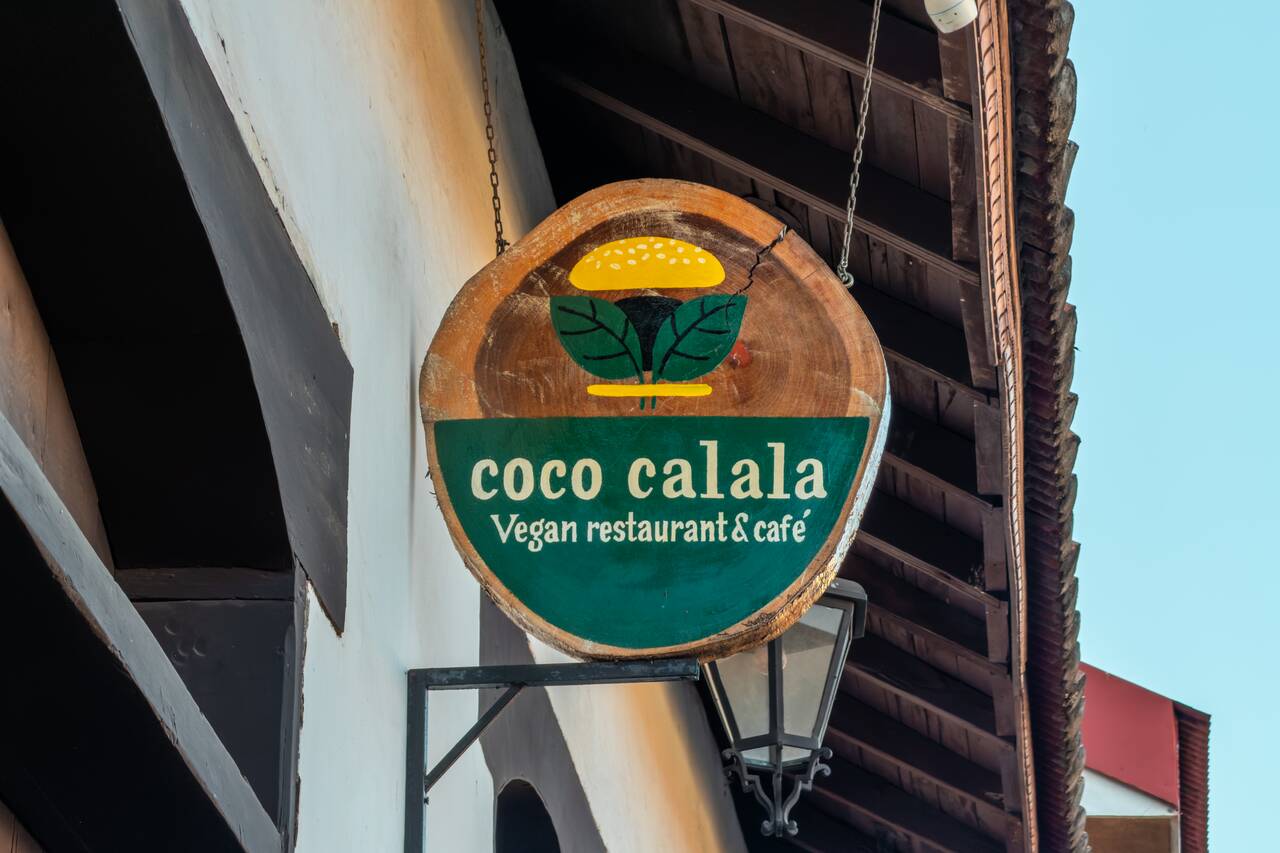
If you are looking for a nice restaurant to dine in Leon, I highly recommend Coco Calala, a vegan restaurant located inside this beautiful colonial building with a pool-equipped garden courtyard tucked away inside.
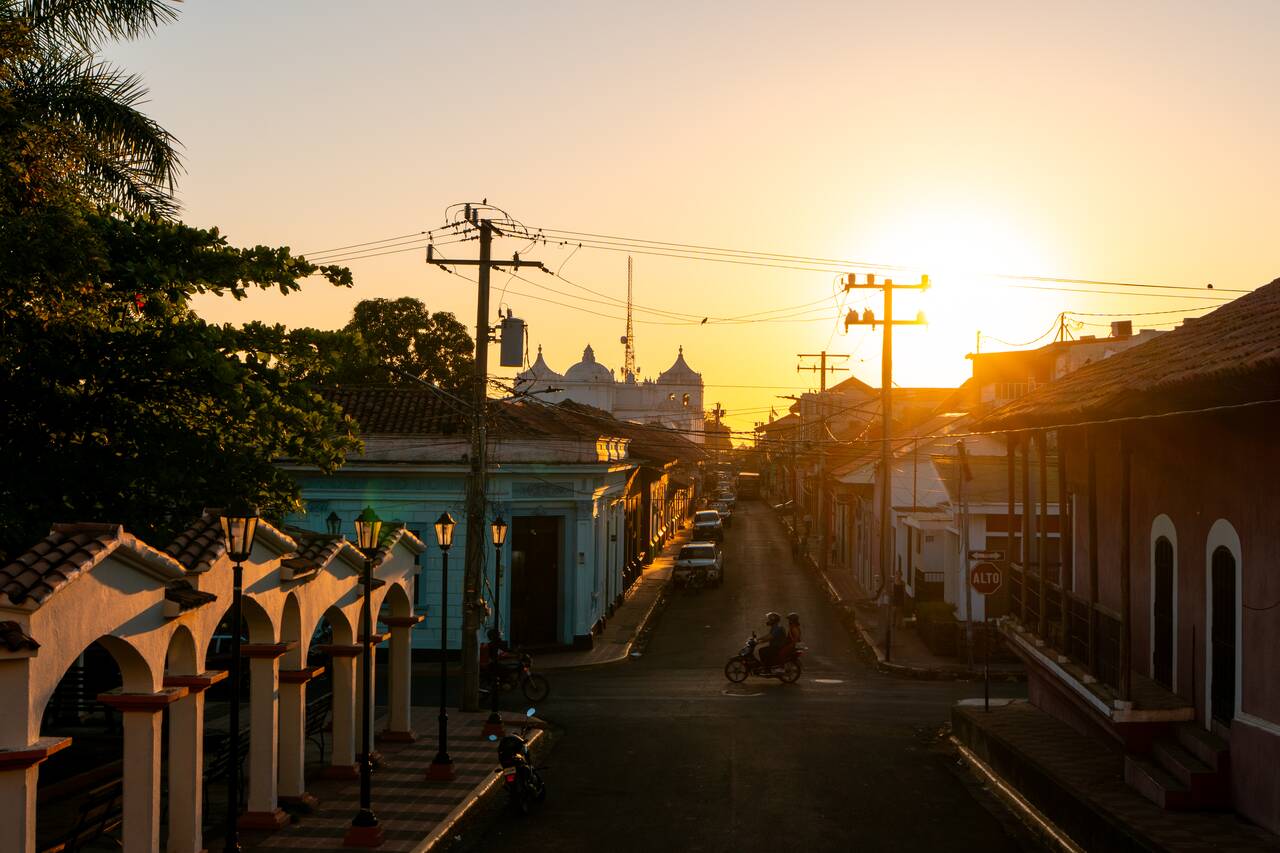
After exploring the city, rest up and call it a night, as tomorrow we will be heading to Cerro Negro for an unforgettable volcano-boarding adventure. Be sure to book your tour a day in advance, as this is one of León's most popular activities and spots can fill up quickly. You can book your tour here.
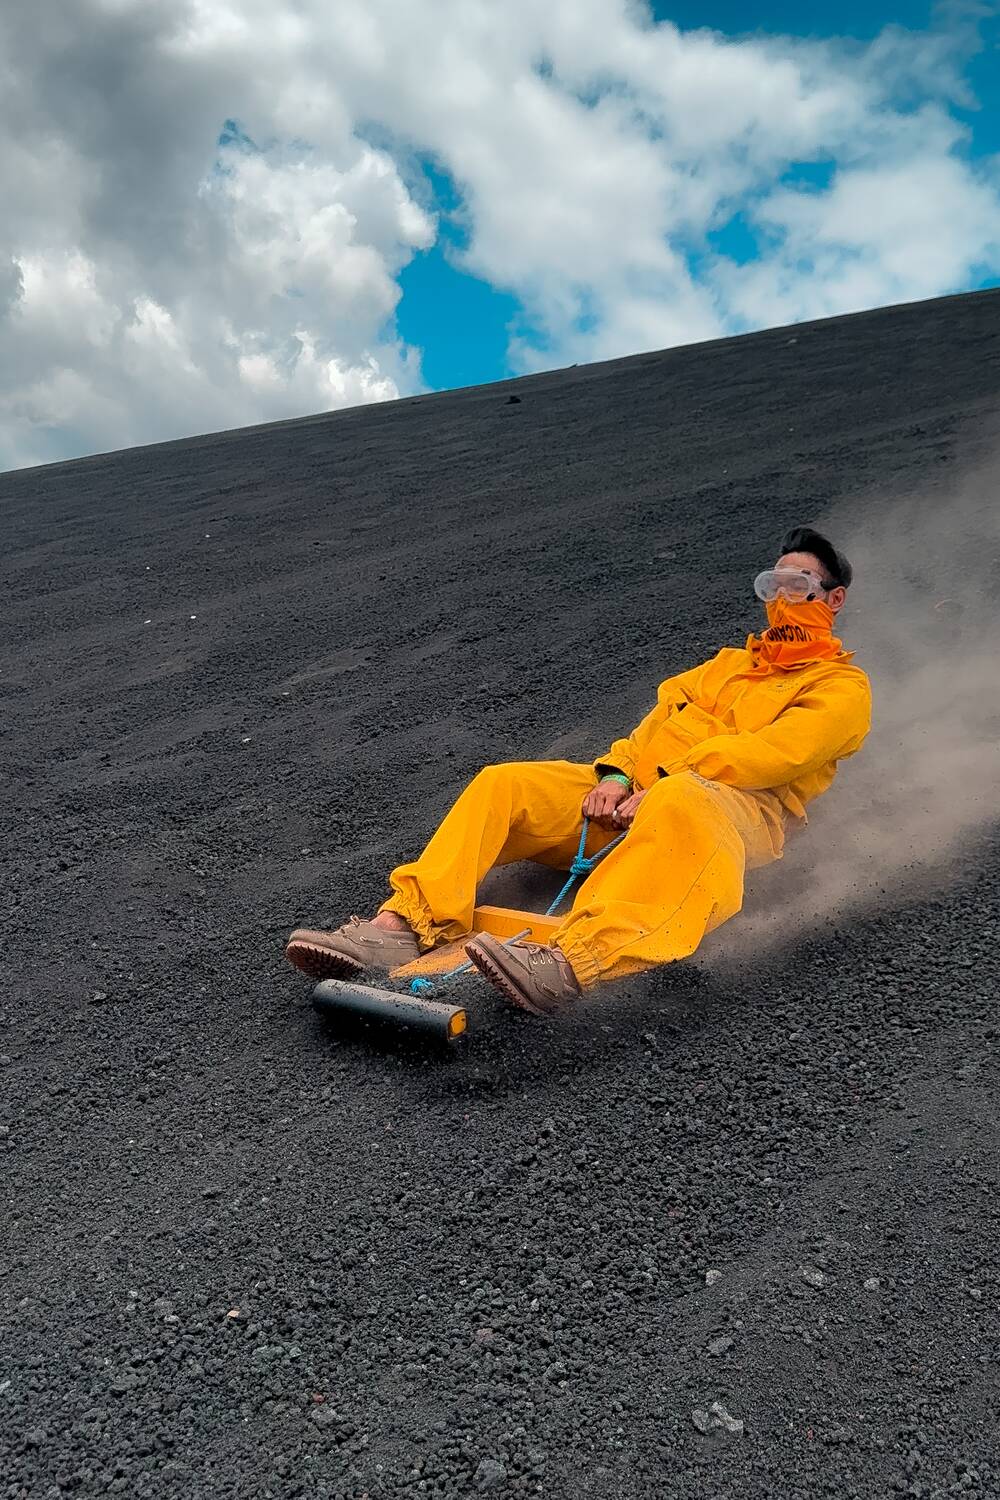
One of the most unique things you can do here that you can't do anywhere else is to go volcano boarding down Cerro Negro, one of the youngest and most active volcanoes in Central America. It's one of the few places in the world where you can hike to the summit of a volcano and then race down its black volcanic slopes on a wooden board.
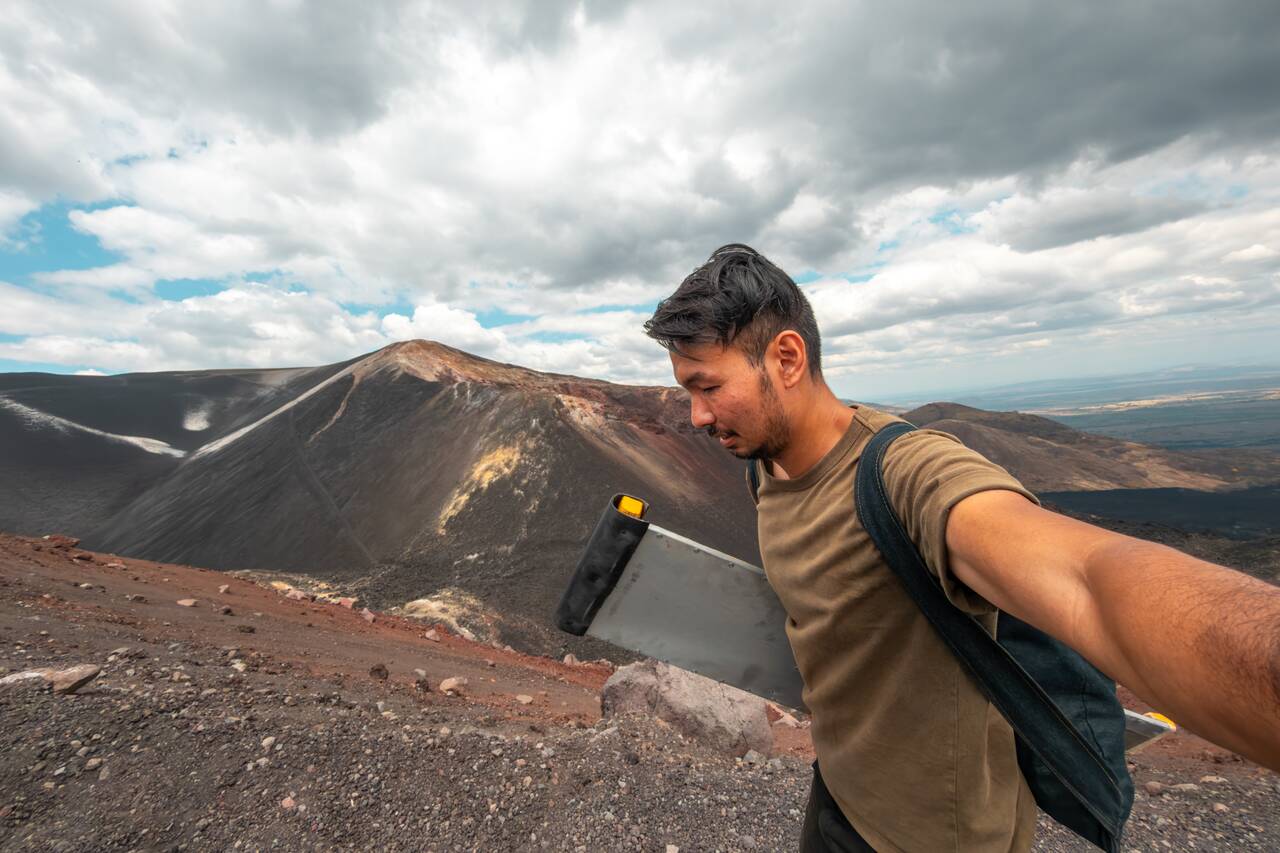
You have three options for volcano-boarding tours: a sunrise tour, a morning tour, or a sunset tour. The sunrise tour starts as early as 4 AM, while the morning tour is a more relaxed option, departing from León around 8:30 AM and returning by 2 PM. The sunset tour leaves around 4 PM and usually finishes around 8–9 PM.
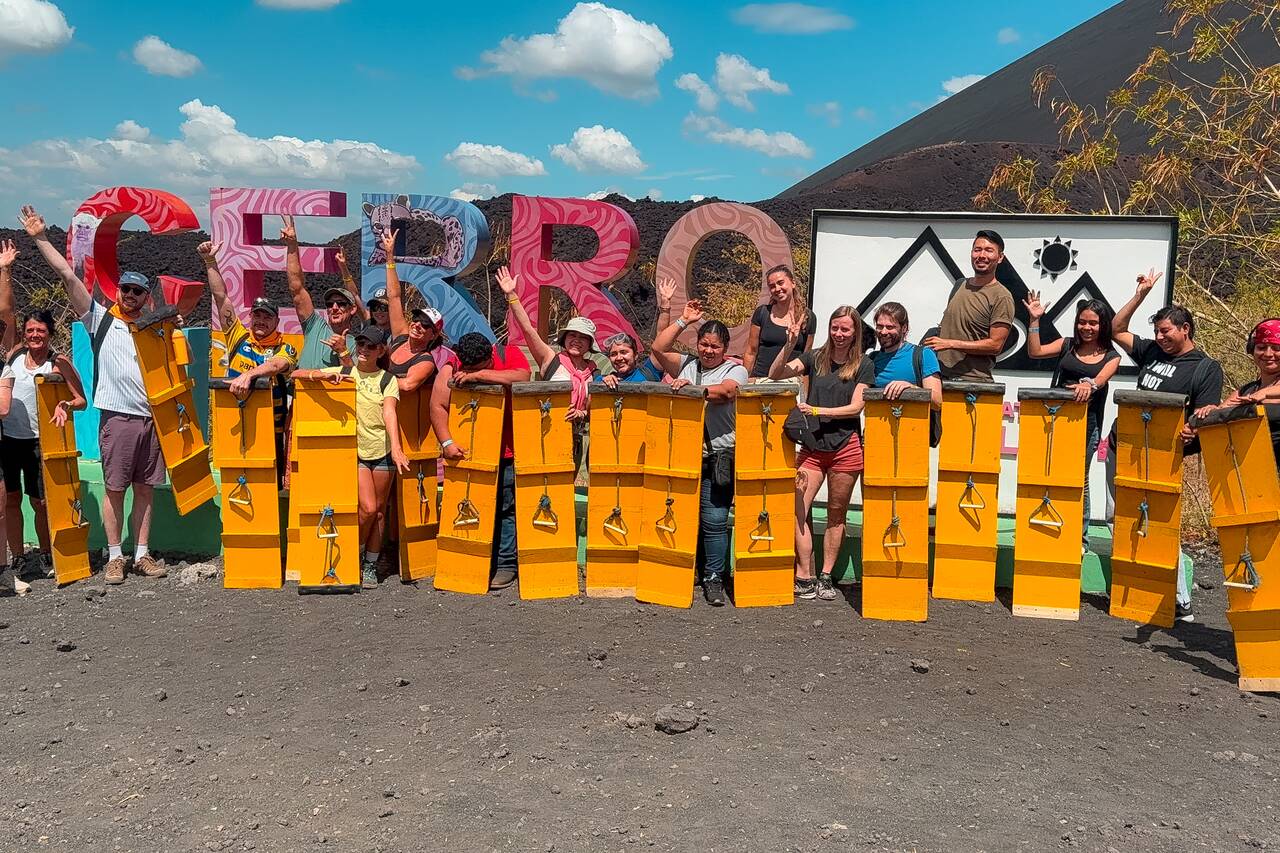
The morning tour is generally more relaxed, while the sunset tour has more of a social atmosphere, often ending with dinner and drinks with the group. The tour costs around 25 USD, excluding the 370 NIO (10 USD) entrance fee to the volcano. I went with Volcano Day's morning tour, which I really enjoyed. Feel free to pick whichever tour you think is best for your last day in Nicaragua!
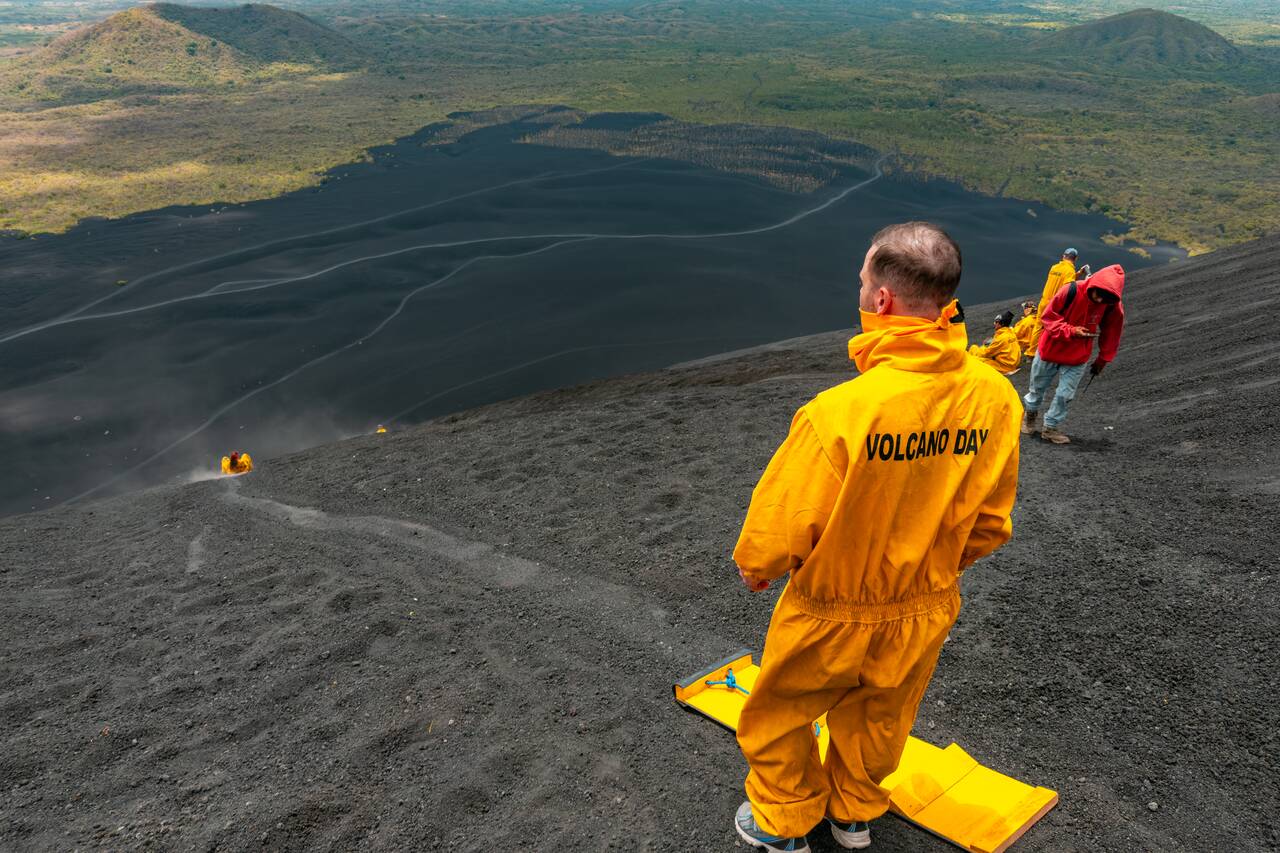
If volcano boarding has always been on your bucket list, this is your chance! You can book the tour in advance here or arrange it through your accommodation once you arrive in León. The entire experience takes around 5–6 hours. Be sure to wear closed-toe shoes, clothes you don't mind getting dusty, a bandana to protect your face, and bring plenty of water, sunscreen, and an action camera if you want to capture your ride down the volcano.
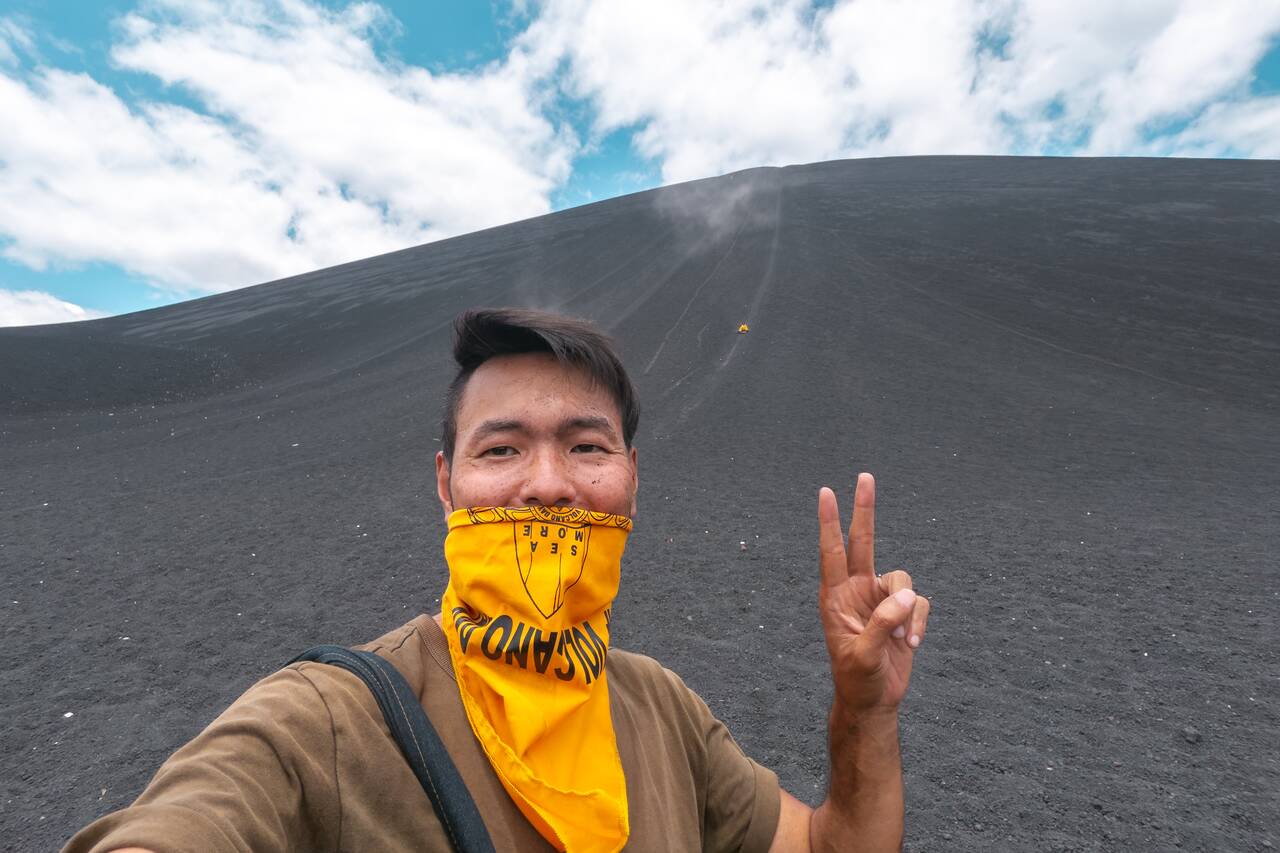
And that's it for Nicaragua. You can spend the rest of the day relaxing in León and preparing for your border crossing to El Salvador the next day. We are going to take a boat across the Gulf of Fonseca, one of the most scenic border crossings in this itinerary, skipping Honduras (for now) entirely and heading straight to El Tunco, El Salvador's laid-back surf town.


Getting from Leon, Nicaragua to El Tuco, El Salvador
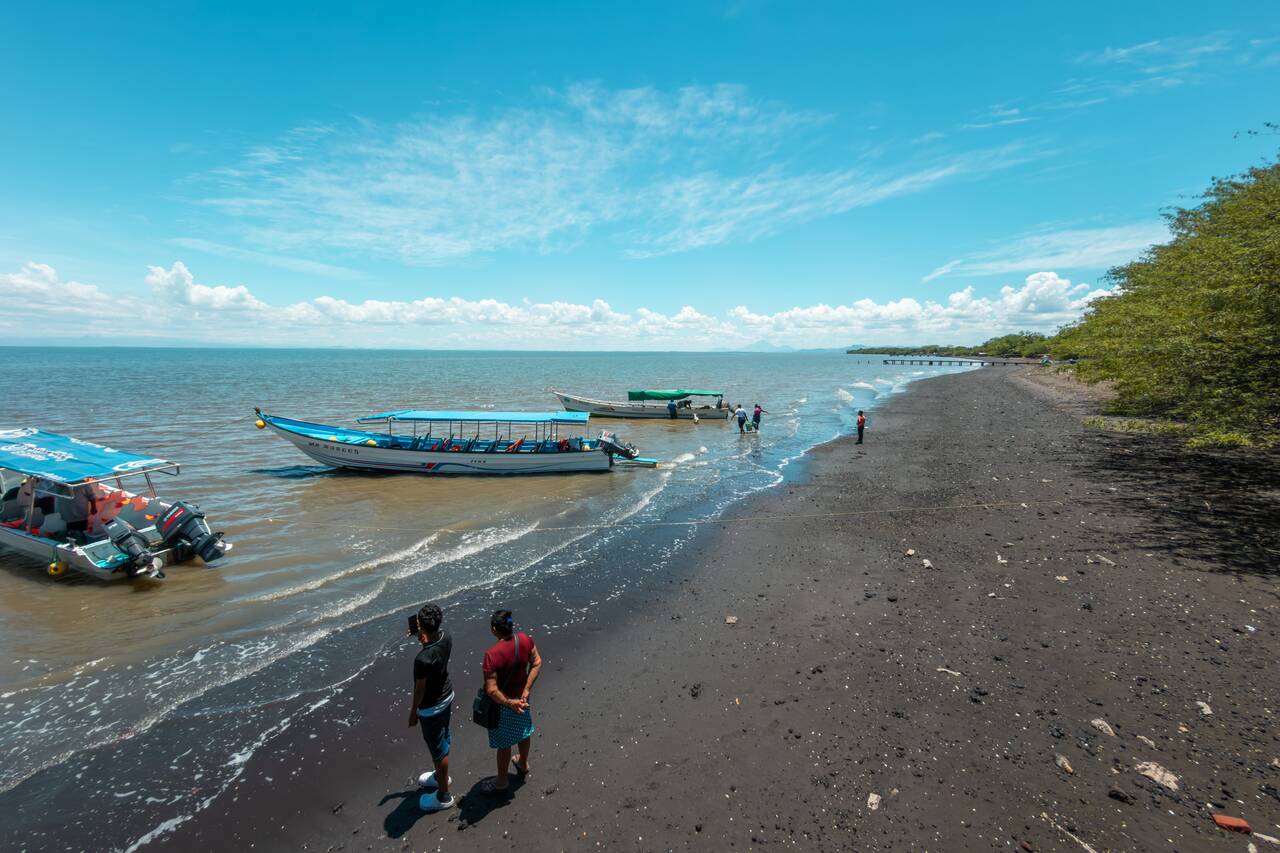
To get from Leon, Nicaragua to El Tunco, El Salvador, you can travel with Gekko Trail Explorer, which operates a combined shuttle and boat service from León, Nicaragua to El Tunco. It is a long journey, taking around 10 hours, but it is one of the easiest and most scenic ways to enter El Salvador without going through Honduras.
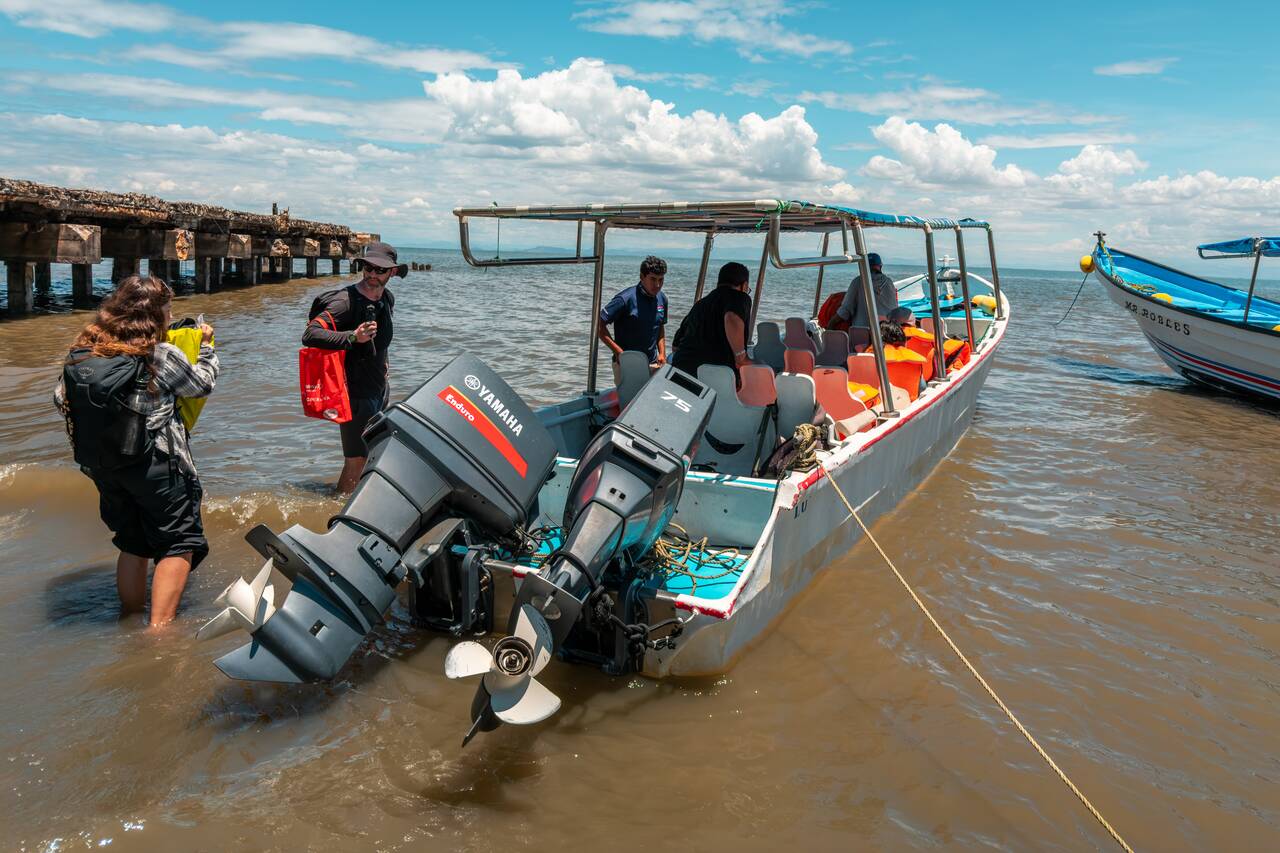
Instead of crossing through Honduras by land, you'll travel from Potosí on the Nicaraguan side across the Gulf of Fonseca to La Unión in El Salvador, completely bypassing Honduras. The coastal scenery along the way is spectacular, and I found it to be one of the most memorable border crossings of my travels in Central America.
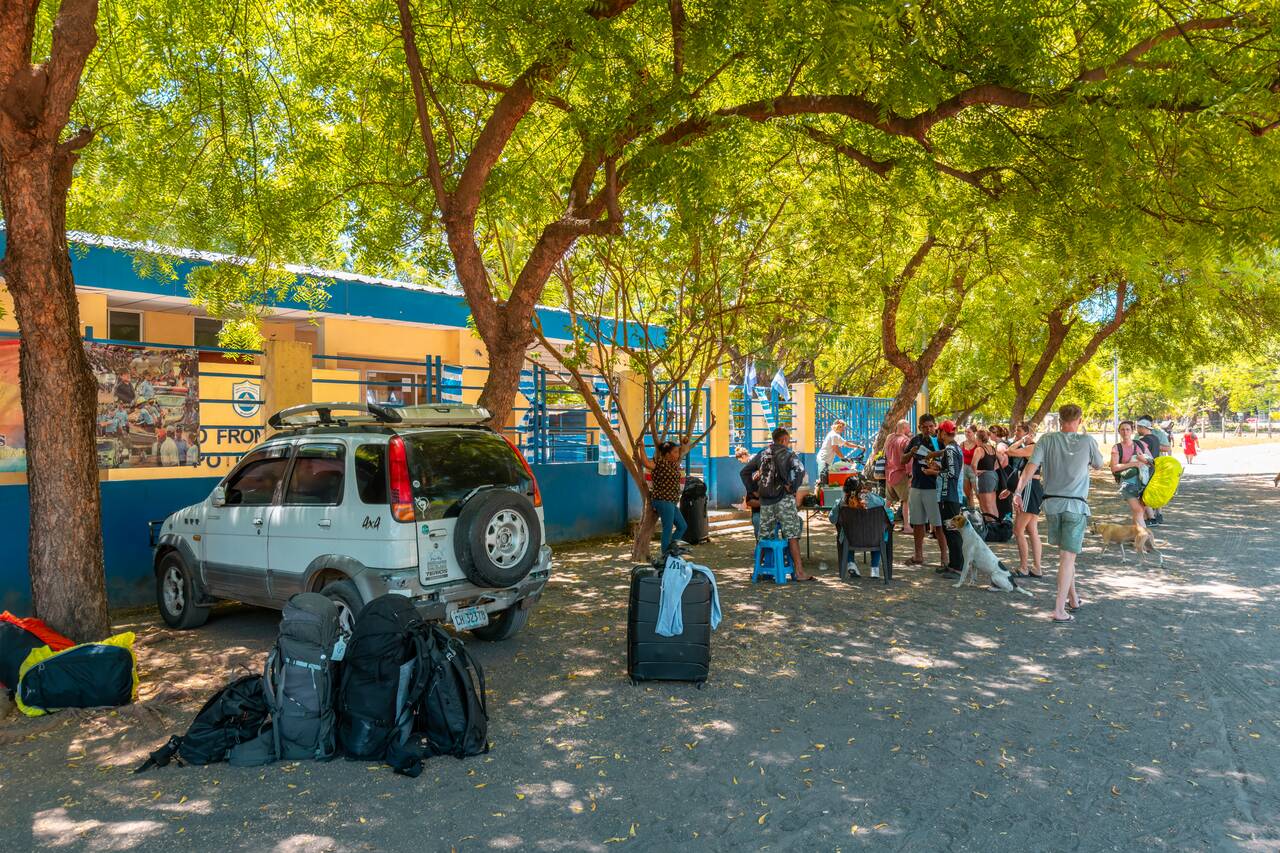
The border crossing from El Salvador was smooth, while the Nicaraguan immigration process was a little slower, although still much quicker than my experience at the Peñas Blancas Border Crossing with Costa Rica. You will likely need a few photocopies of your passport for this crossing, but don't worry, your shuttle operator should let you know exactly what documents you need before your trip.
Day 43-44: El Tunco, El Salvador (2 nights)
- 📍 Stay: Hotel & Bar La Guitarra
- 🕐 Time: 2 nights
- 📖 Full Guide: A Guide to El Tunco: Things to Do, Travel Tips & More
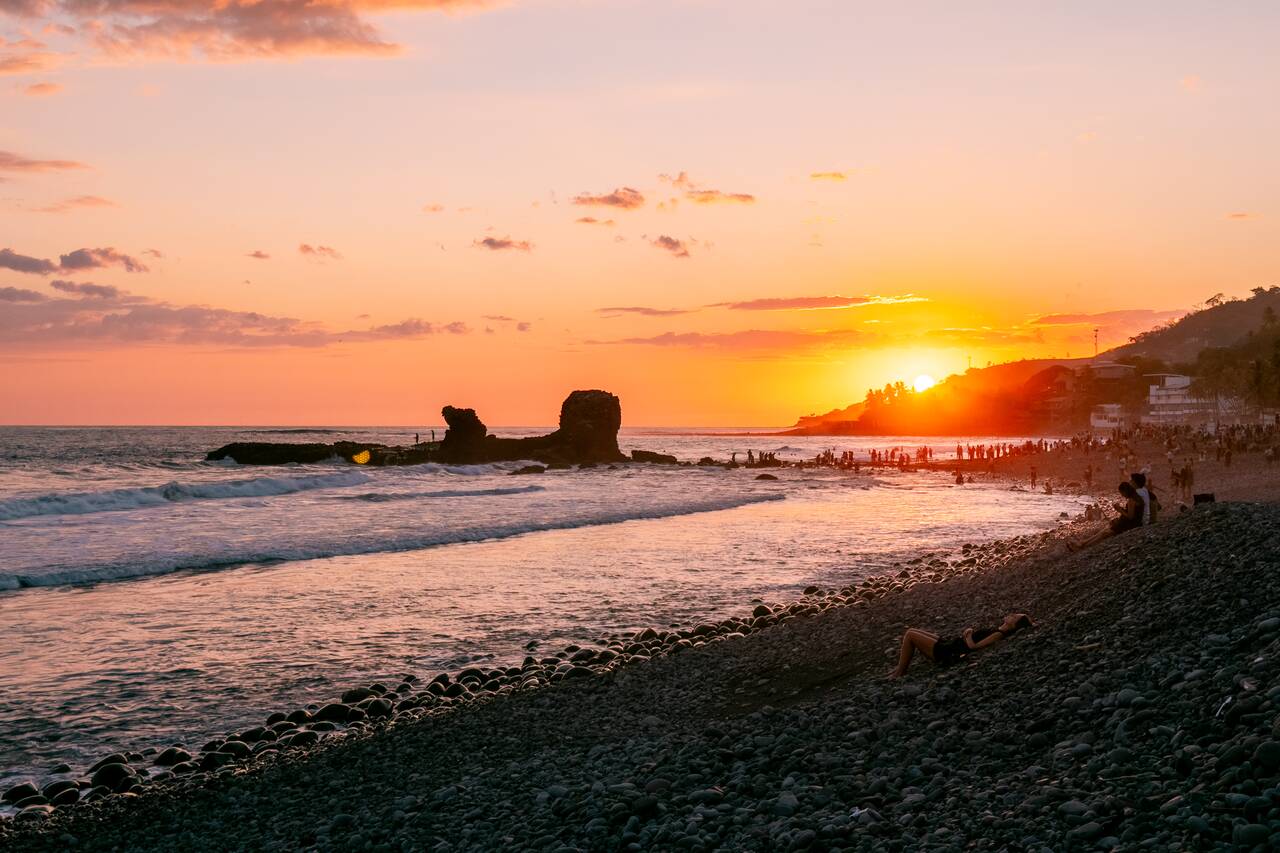
Dubbed "Surf City", El Tunco is one of Central America's up-and-coming surf towns, thanks to its location on the beautiful El Salvador's Pacific coast, world-class waves, stunning sunsets, and relaxed, laid-back atmosphere. This is the perfect place to begin your journey in El Salvador. It was my first stop in the country as well, and I couldn't have asked for a better introduction to El Salvador and its unique culture.
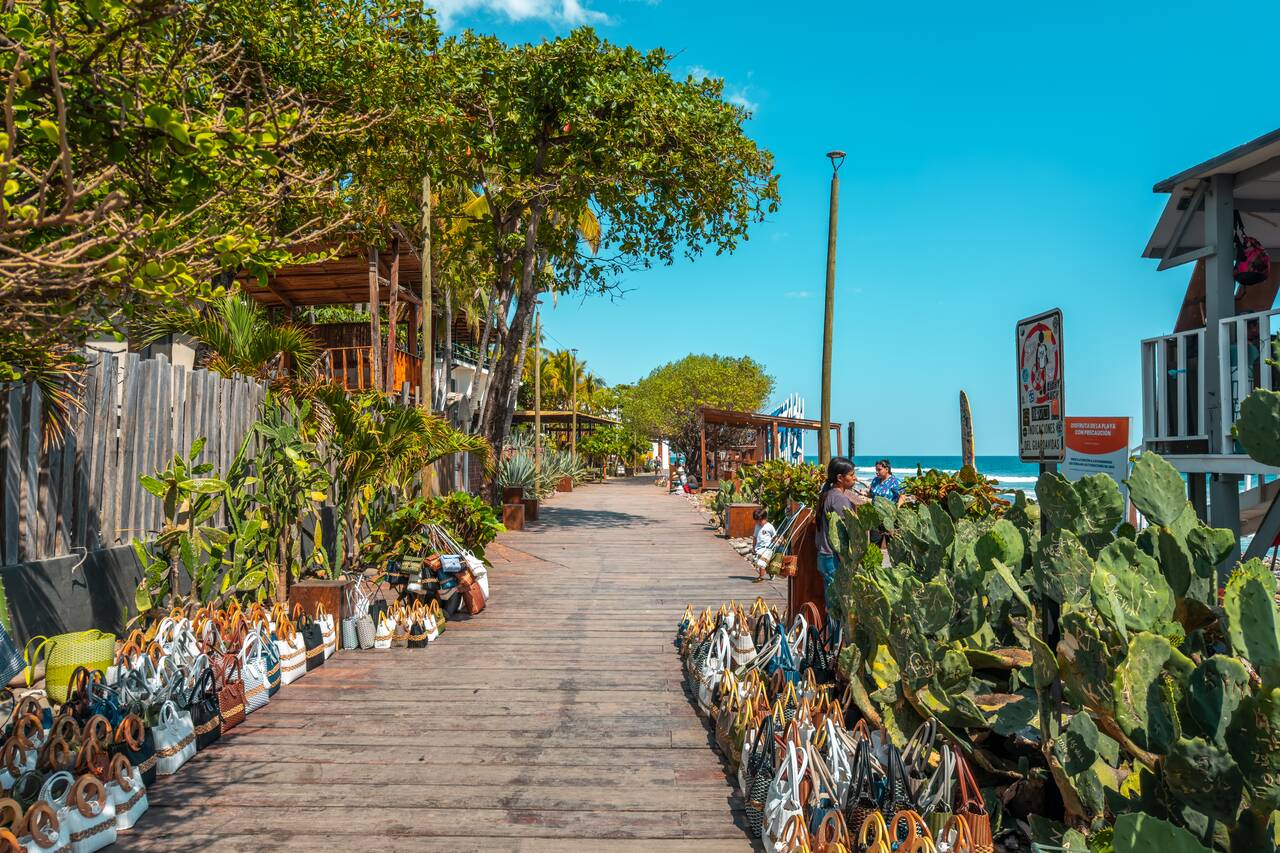
On your first evening in El Tunco, take a stroll along El Tunco's Beachfront Promenade, a newly built wooden boardwalk that hugs the town's coastline, offering unbeatable ocean views and plenty of scenic spots to stop and enjoy the sunset. It's the perfect place to get acquainted with the lively atmosphere of El Tunco.
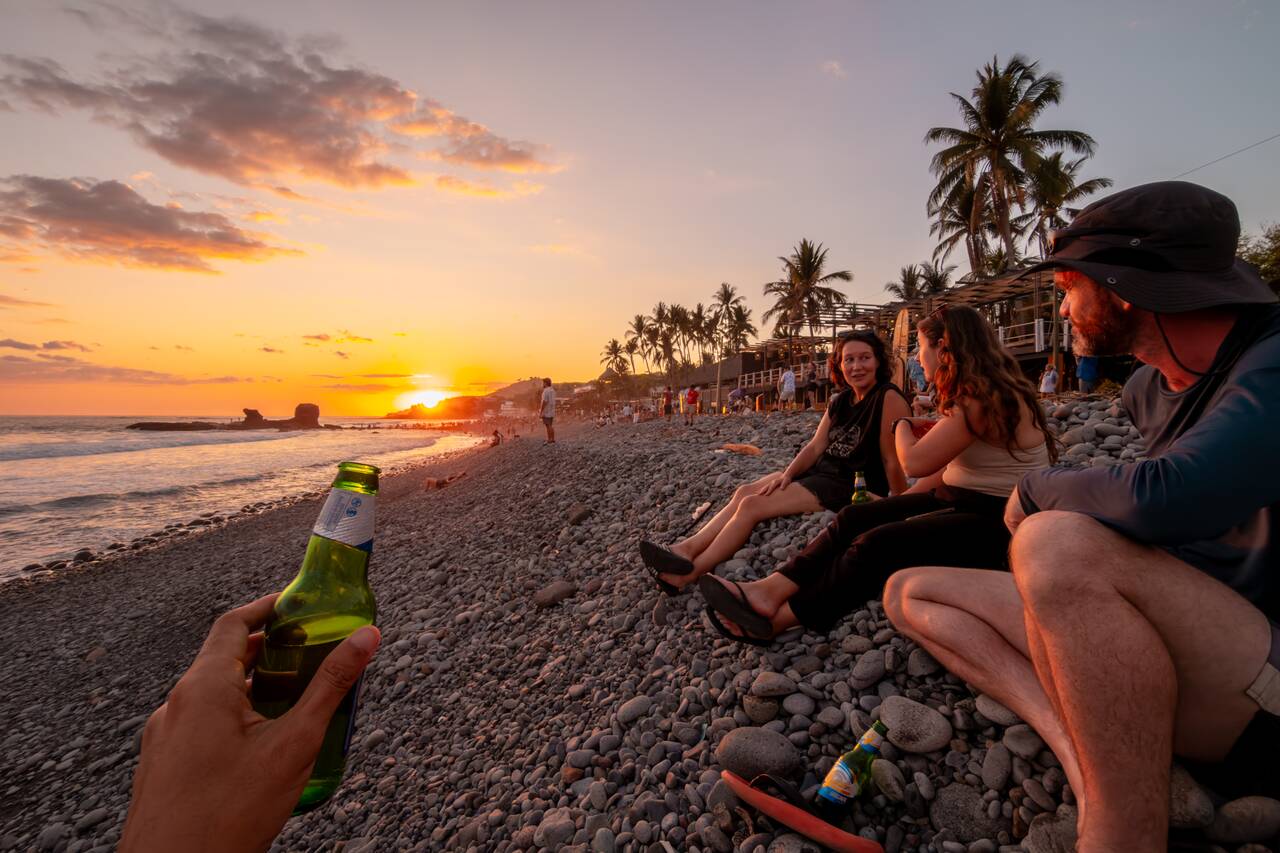
Right next to the promenade, you will find El Tunco beach, a pebble beach where you can grab a few beers from the restaurant nearby, go find a quiet place to sit and watch the incredible sunset over the Pacific Ocean.
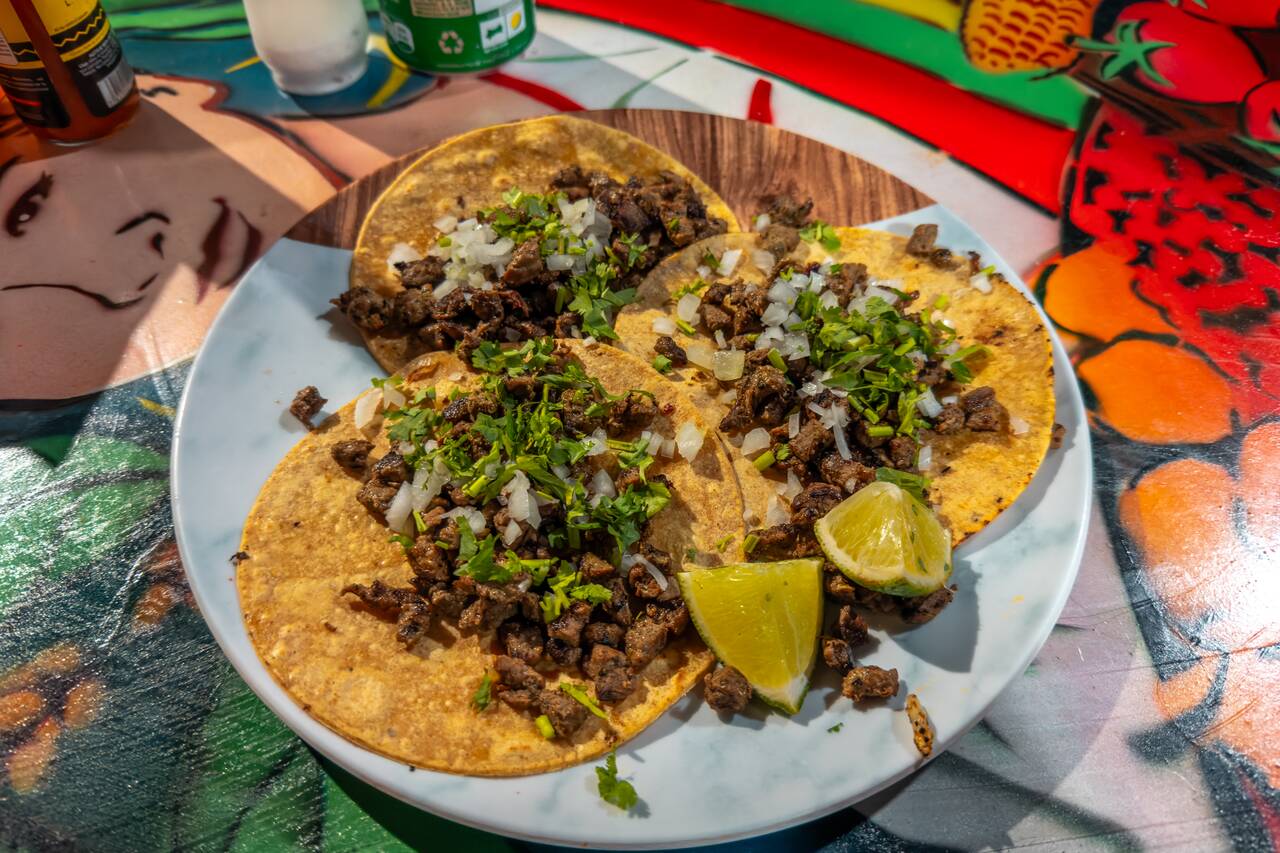
After you are done, you can go and check out El Compa Tacos for some delicious street-style tacos for dinner. I love tacos with all my heart, so when I saw this place packed with both locals and tourists in the evening, I decided to give it a try, and boy, was it the right decision!
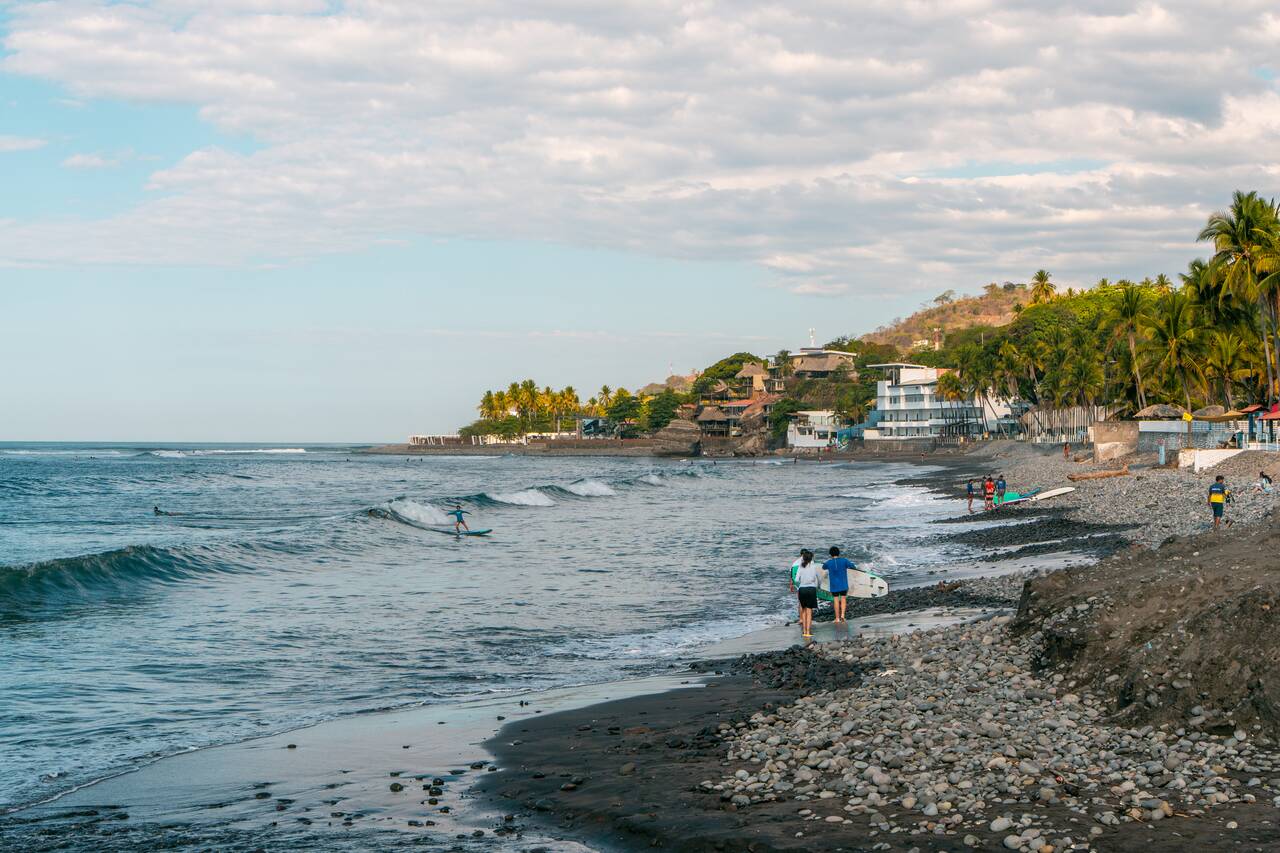
Once done, you can retreat for the night and begin exploring El Tunco proper the next day. On our first day proper, you can spend the day exploring El Tunco town, trying pupusas, the country's most famous and beloved dish, at a local Pupusería, walk around the main street, and go learn how to surf.
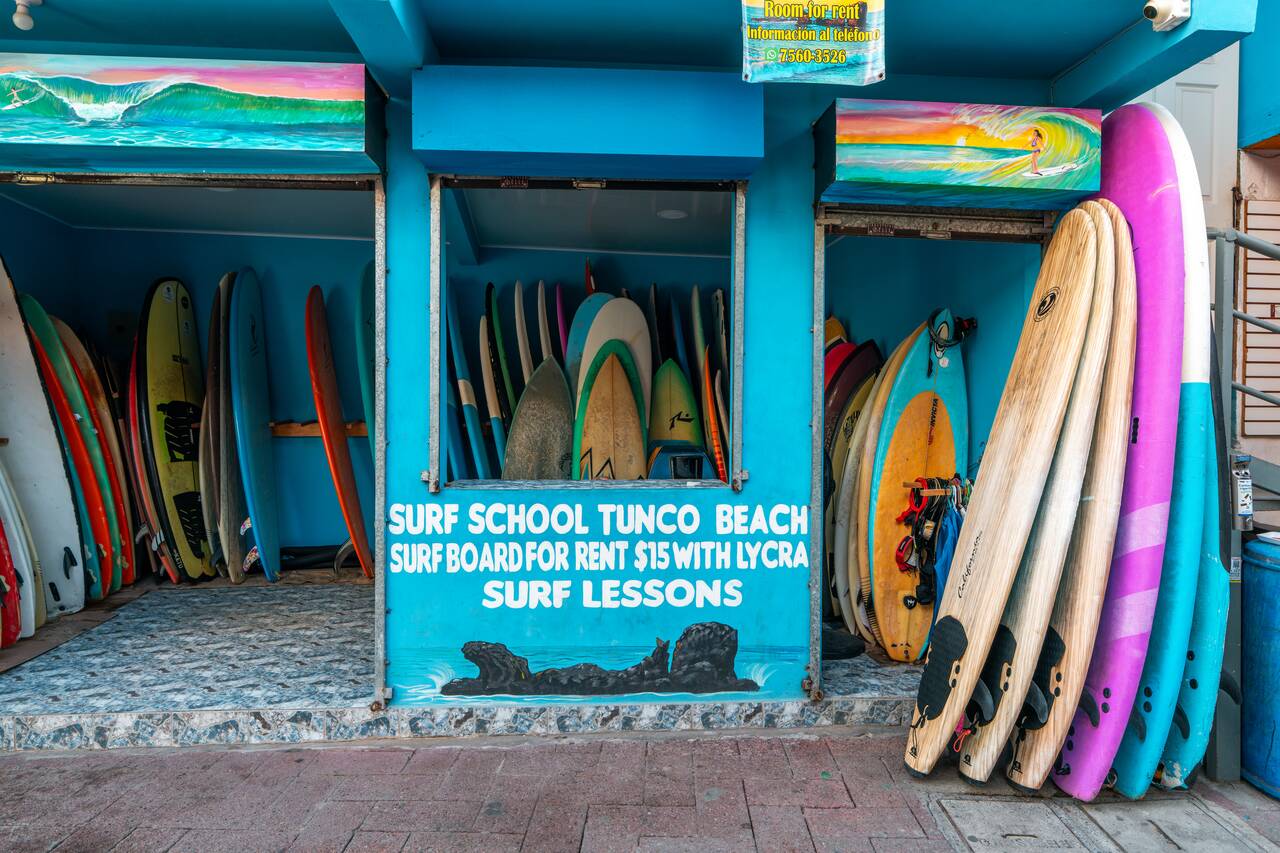
With consistent Pacific swells, warm water year-round, and a laid-back surf culture, this is one of the best places in Central America to get your first taste of surfing or improve your skills. Even if you've never stood on a surfboard before, don't worry. There are plenty of surf schools and instructors around town who can teach you the basics for about 35 USD per hour. Wayo Surf School comes highly recommended, so be sure to check them out.
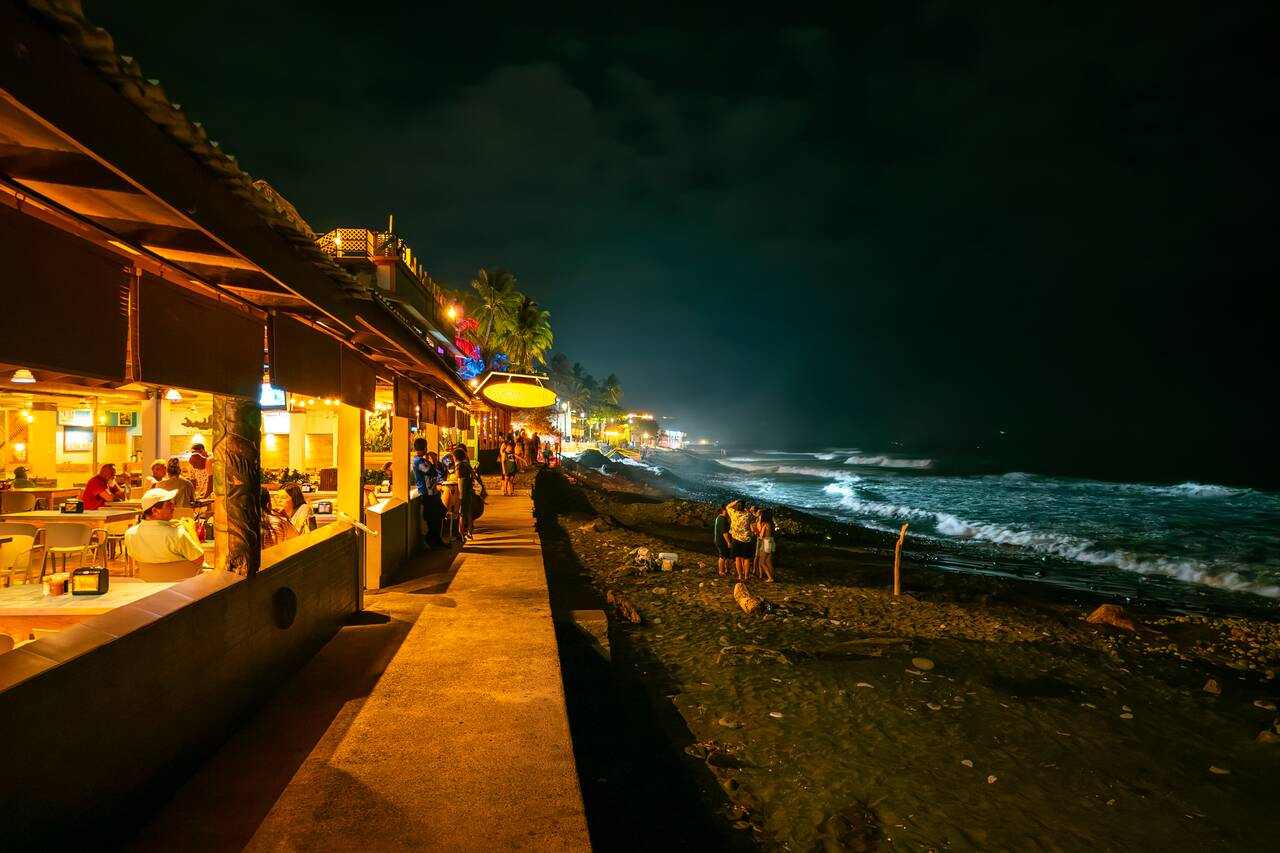
Once night comes, you can go and enjoy the nightlife of El Tunco, which is surprisingly lively despite it being a small surf town. Most of the action happens around the main street, where you'll find plenty of bars, restaurants, and beachfront spots serving cocktails, beers, and live music. Enjoy your time and retreat for the night and prepare for the next day.
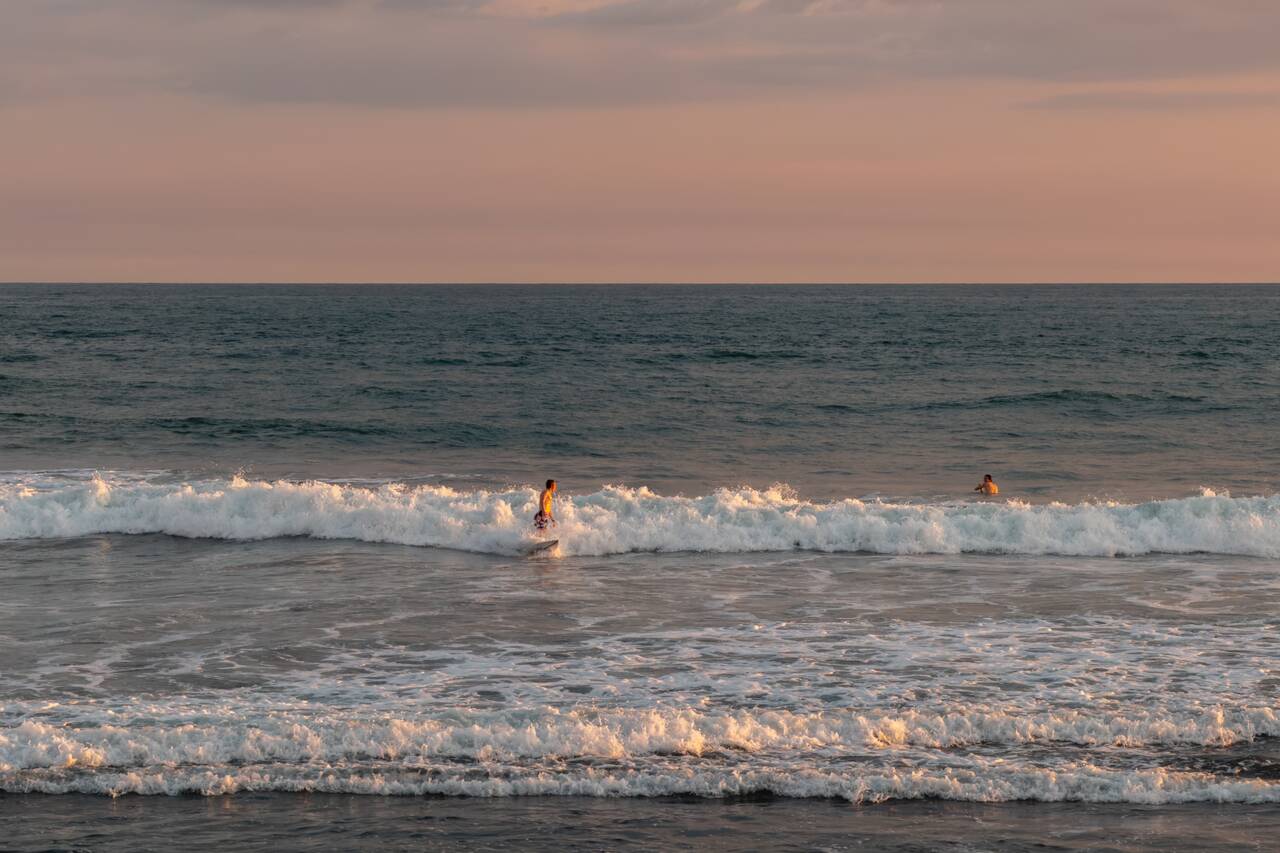
On your last day in El Tunco, you can take the local bus (#102A), an Uber or a taxi, to El Zonte Beach, which I think is a much nicer place to relax than El Tunco. Unlike El Tunco, with its lively backpacker scene, restaurants, and nightlife, El Zonte has a quieter, more laid-back atmosphere. Spend a few hours swimming, watching surfers ride the waves, relaxing at a beachfront café, or simply sitting on the sand and soaking up the scenery.
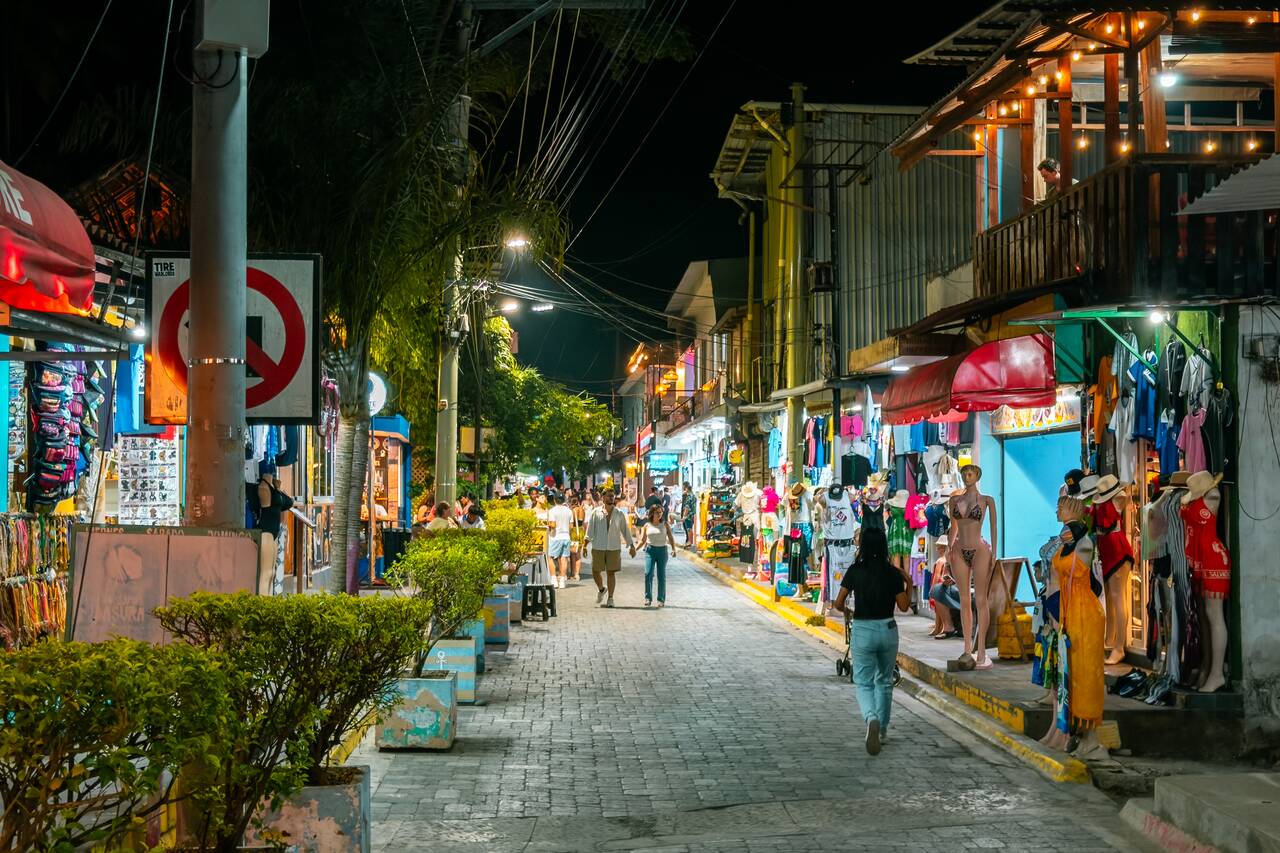
You can spend the rest of the day relaxing there, or if you rented a motorbike, continue exploring the other beaches scattered along the coastline. That should be more than enough to keep you busy for the day. Once you're done, head back to El Tunco for one last night and get some rest, as we'll be leaving the coast behind and traveling inland to the beautiful colonial city of Santa Ana the next day.

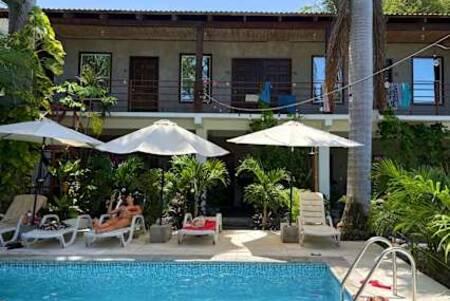
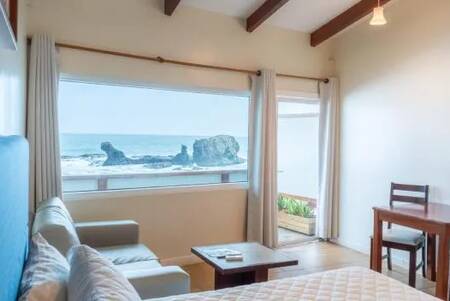
Getting from El Tunco to Santa Ana

There is no direct public bus between El Tunco and Santa Ana, so you'll first need to take the #102A bus from the main highway here to San Salvador. Stay on the left hand side of the road as the bus will go through La Libertad first.
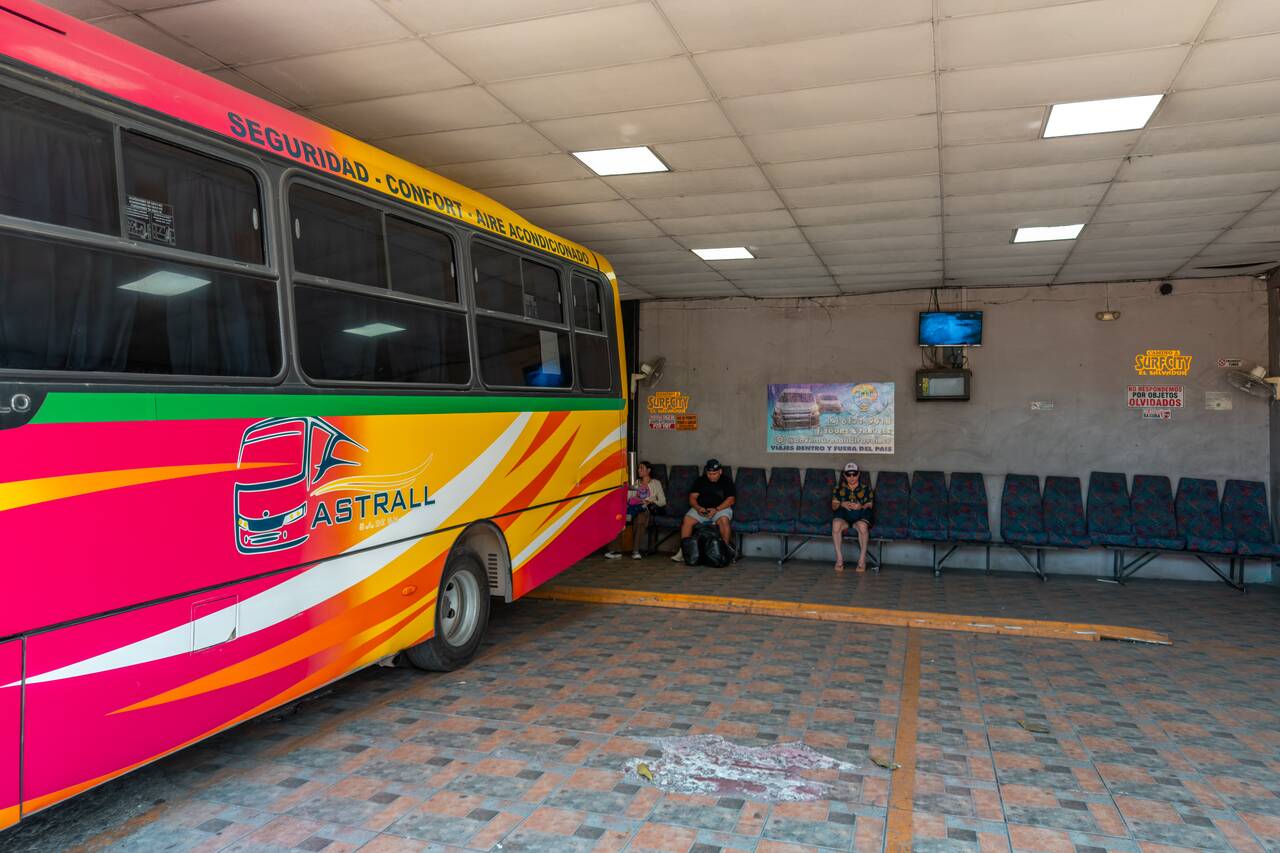
Once you arrive, the bus will drop you off at this terminal, where you can take an Uber to Terminal de Occidente. From there, you'll find plenty of buses bound for Santa Ana. The journey takes around 3 - 4 hours in total and should cost 3 - 5 USD for the entire trip.
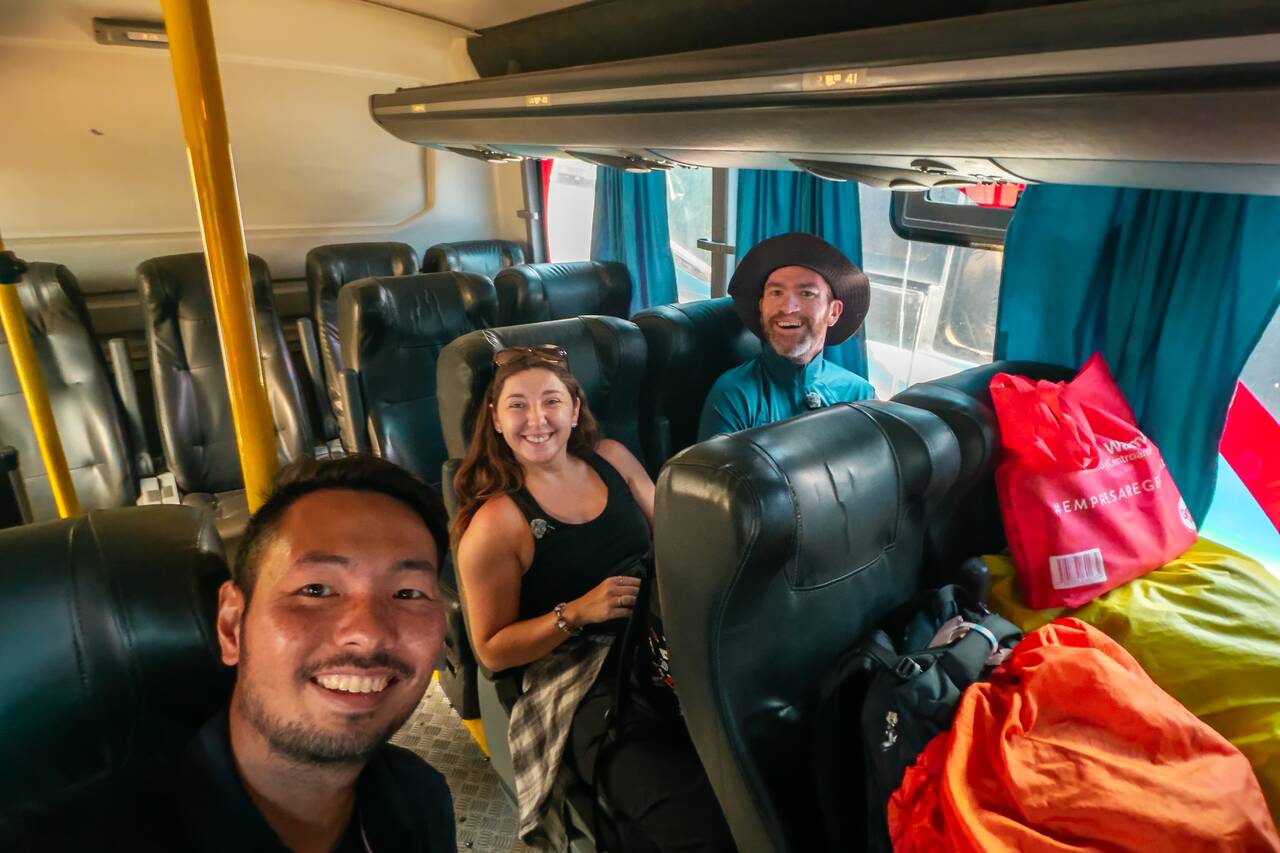
Keep in mind that there are two types of buses: regular buses without air conditioning that cost 1.25 USD, and more comfortable buses with AC for 1.5 USD. I highly recommend paying the extra 25 cents for the air-conditioned bus. At the terminal, simply look for a bus with a Santa Ana sign on the front and closed windows, those are usually the AC buses.
Once you arrive in Santa Ana, the bus will pass through the southern edge of the downtown area but won't enter the city center. If your accommodation is along the route, let the driver know where you'd like to get off so you won't have to walk as far. Otherwise, you'll be dropped off at the Santa Ana bus terminal, from where you can walk or take a short taxi ride to your accommodation.
Again, you can also rent a car and drive this route. Driving from El Tunco takes around 2 hours. The roads are generally in good condition, and you should be able to rent one from the airport or through here.
Day 45-47: Santa Ana, El Salvador (3 nights)
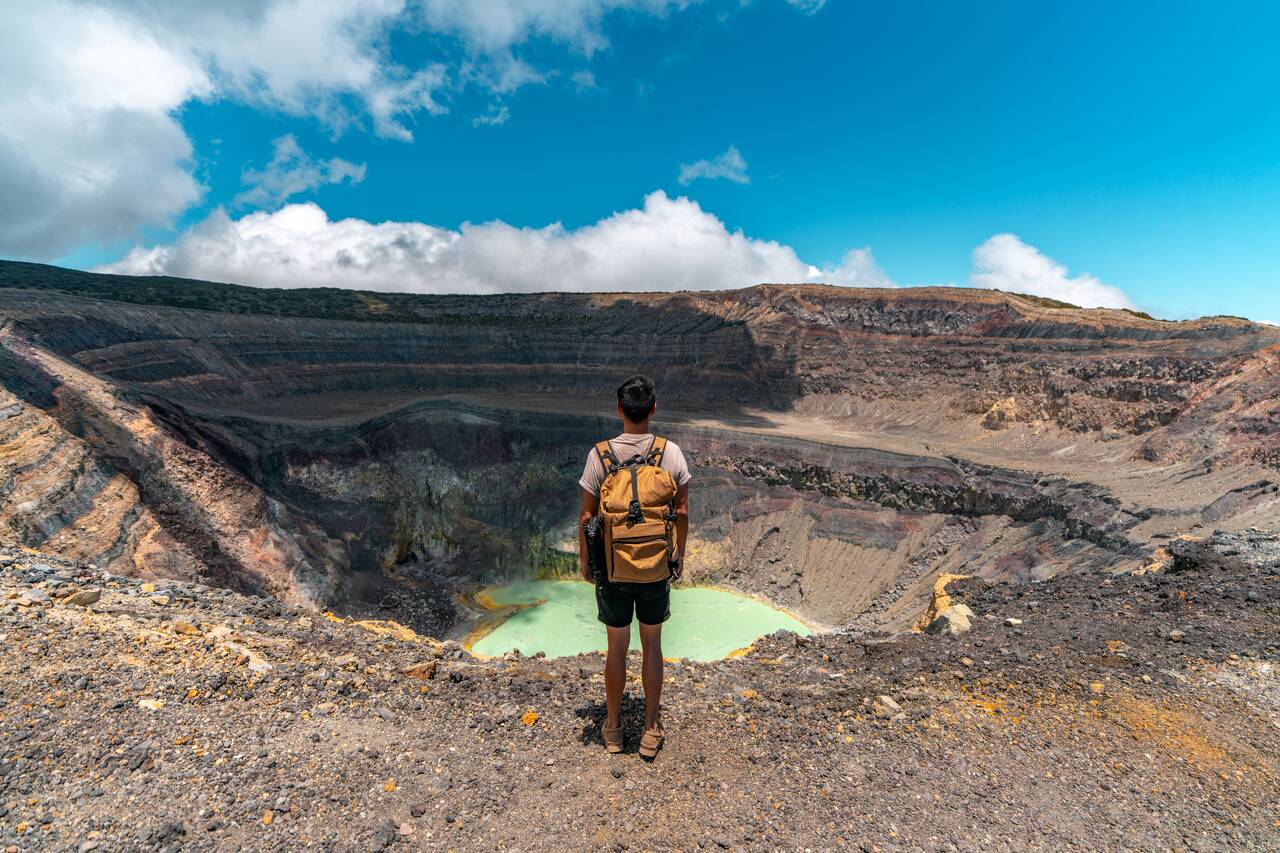
- 📍 Stay: Casa Central de Santa Ana
- 🕐 Time: 3 nights
- 📖 Full Guide: Explore Santa Ana: My Favorite Things to Do, Travel Tips & More
Located in western El Salvador, Santa Ana is one of the country's most beautiful destinations and hands down one of my favorite places to base myself while exploring some of El Salvador's most incredible natural attractions. On your first day in Santa, you can hit the ground running and go hike Santa Ana Volcano.
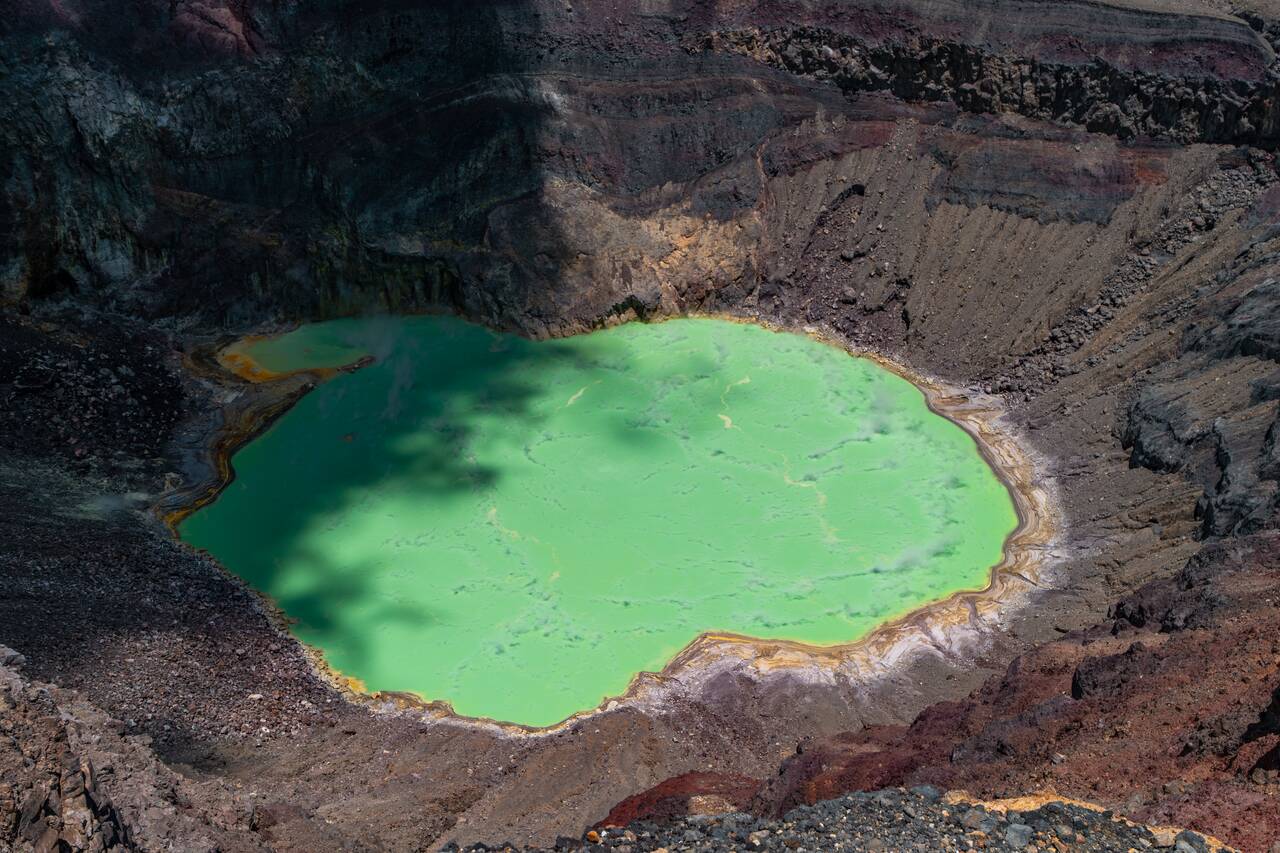
Standing at 2,381 meters above sea level, Santa Ana Volcano is the highest volcano in El Salvador and offers one of the most breathtaking views in the country. The highlight of the hike is reaching the summit, where you can look directly into the volcano's turquoise-green crater lake while enjoying panoramic views of Lake Coatepeque, Izalco Volcano, and the surrounding landscape from afar.
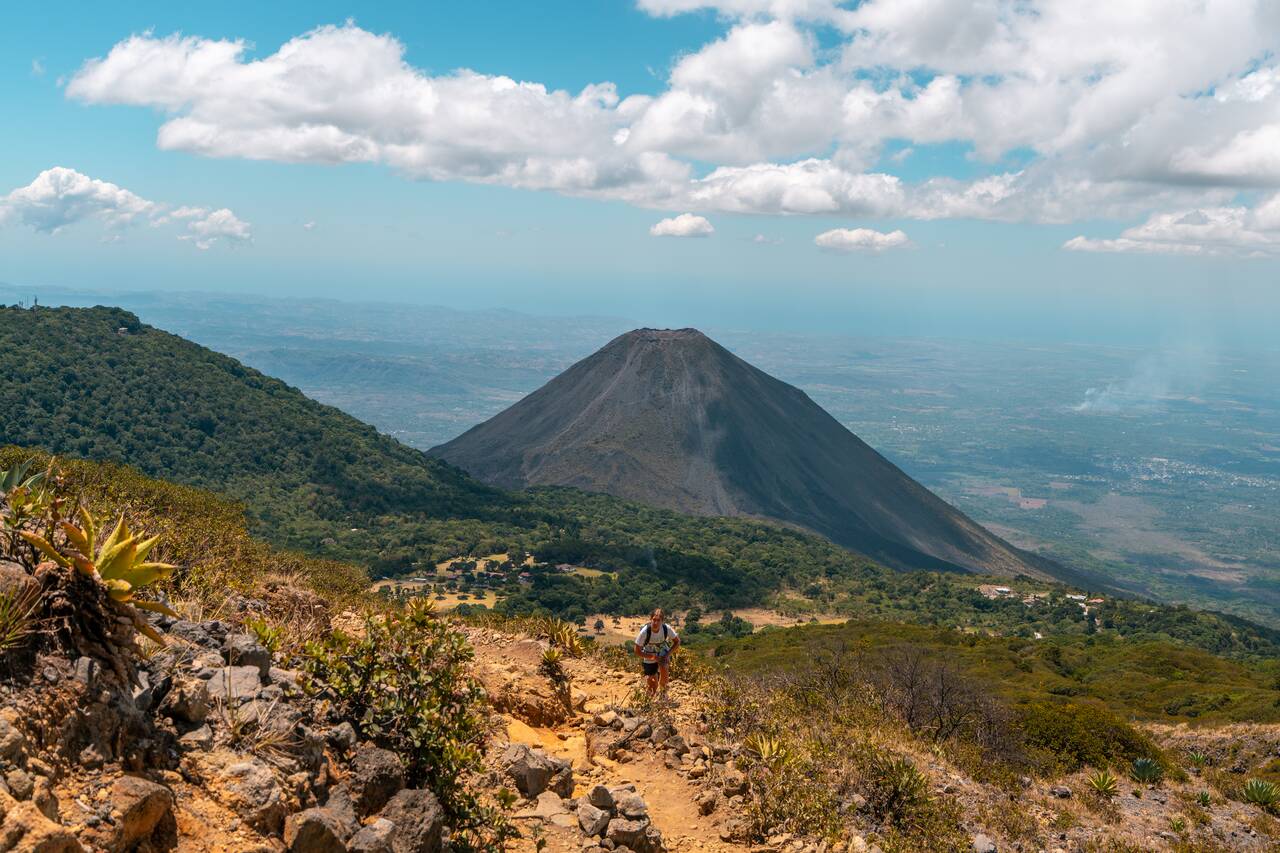
The hike itself is not overly difficult, but some might find it a bit challenging due to the altitude, sun exposure, and some steep sections near the top. The trail is about 8 km and takes around 2 - 3 hours to complete, depending on your pace, and you will need to hike with a local guide or join a group tour as access to the trail is regulated.
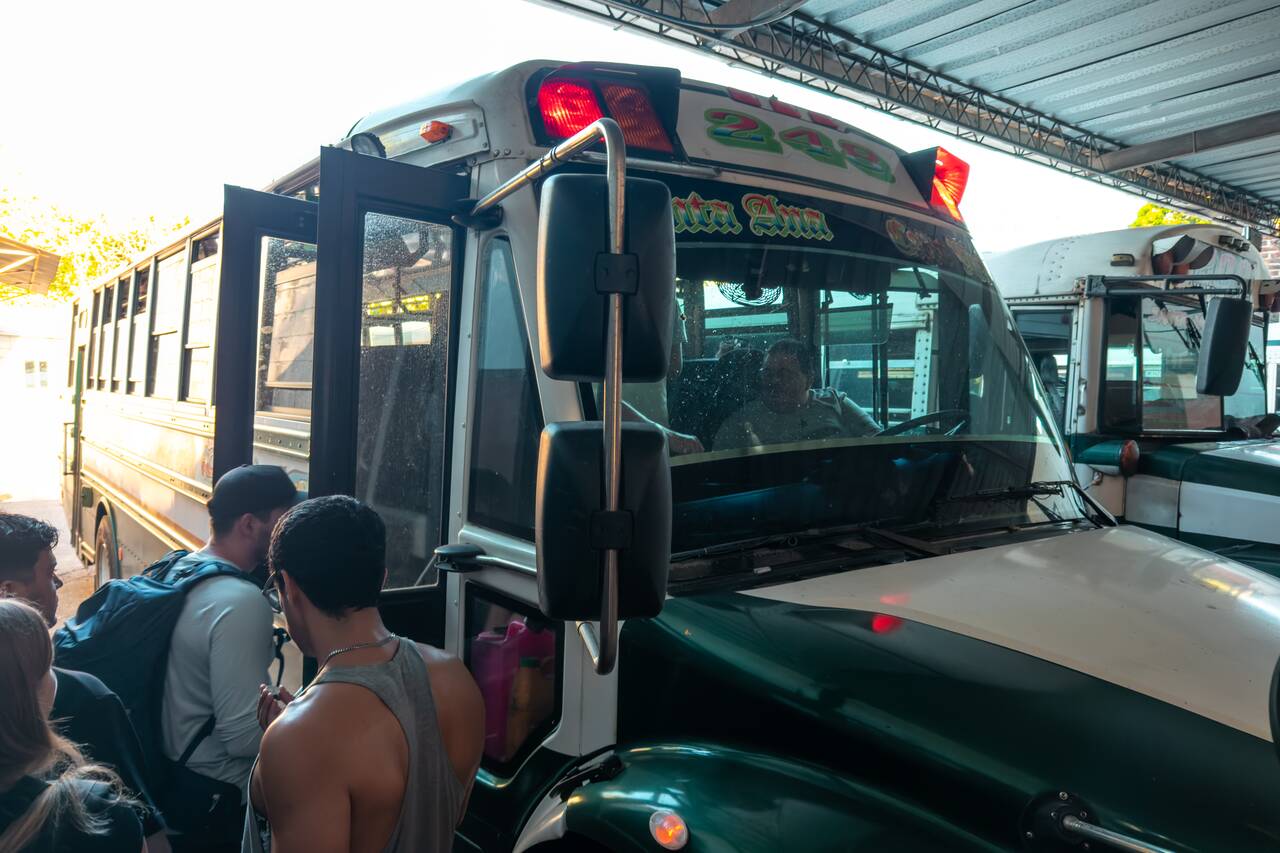
To get to the volcano, you can go by public transportation, which is very easy and extremely affordable. First, you will need to get to this bus terminal before 7:30 AM so you can catch the 248 bus departing at 7:40 AM. There's only one morning bus per day so don't miss it! The journey takes around 2 hours and costs only 0.70 USD.
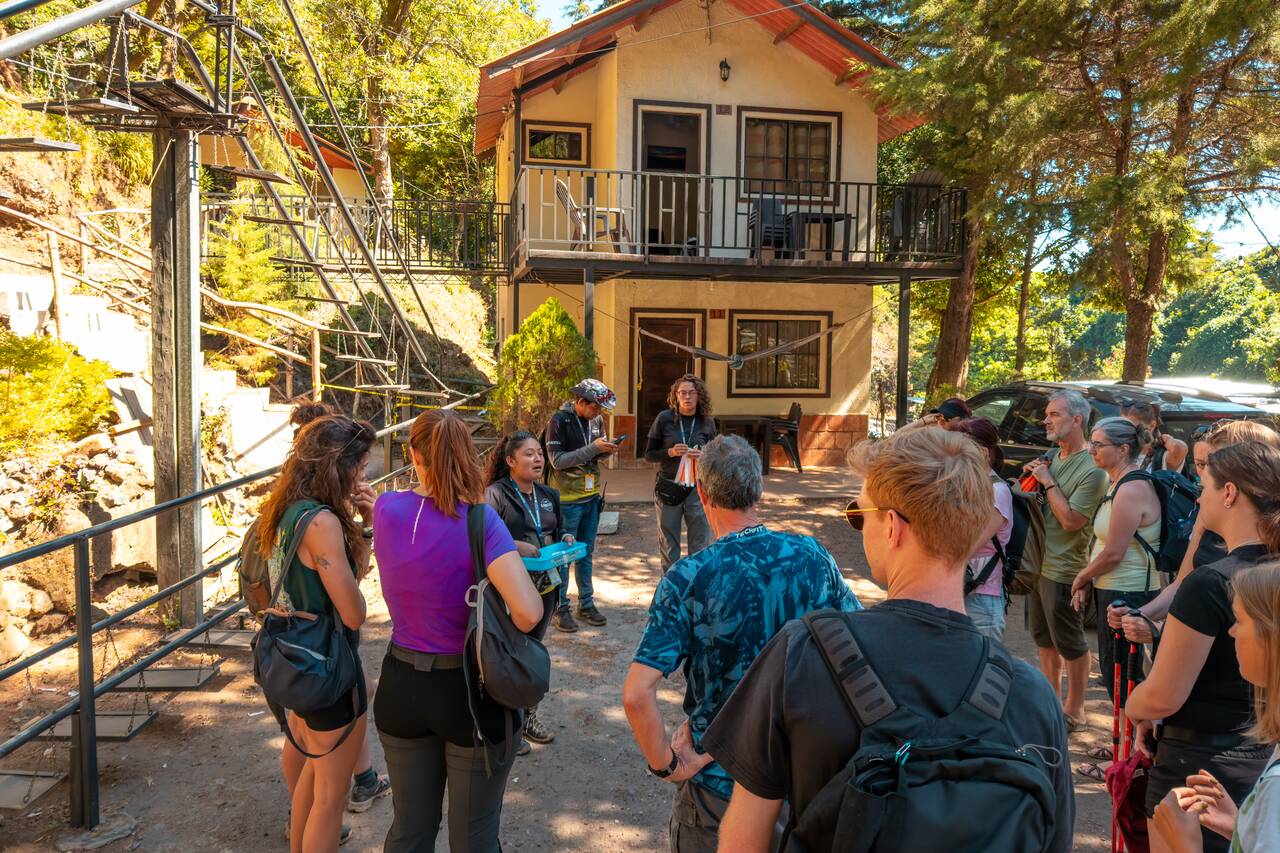
The bus will drop you off at the entrance to the volcano hike, where you will then have to wait for the staff to form you in groups and assign guides to each one, as it is mandatory and the guide will tell you when to come back so you can catch the bus back to Santa Ana in time.
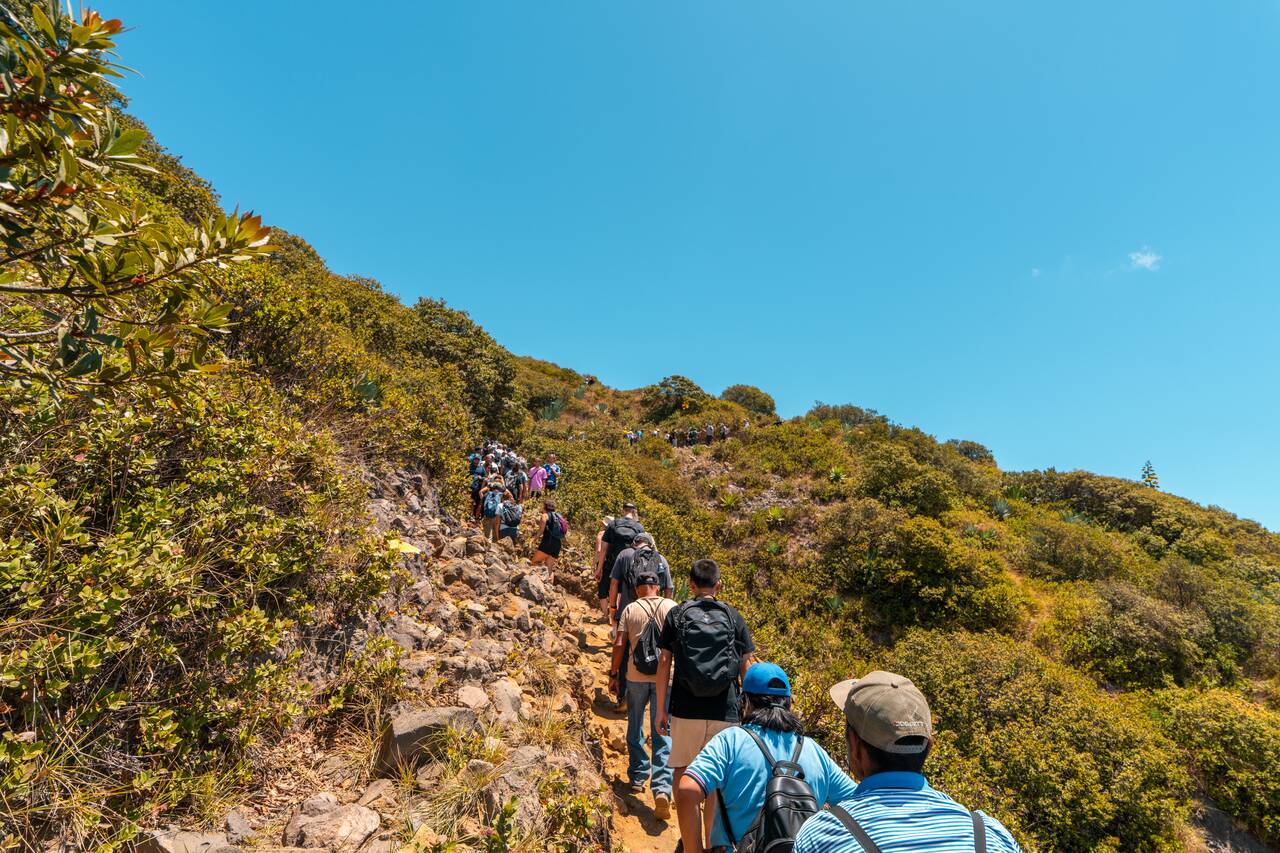
The cost of the guide is 4 USD per person, while the entrance fee to the national park is 3 USD. Since the hiking trail passes through private property, you will also need to pay an additional 1 USD along the way. In total, including the bus fares, the entire hike should cost around 9.40 USD. Everything must be paid in cash, as credit cards are not accepted.
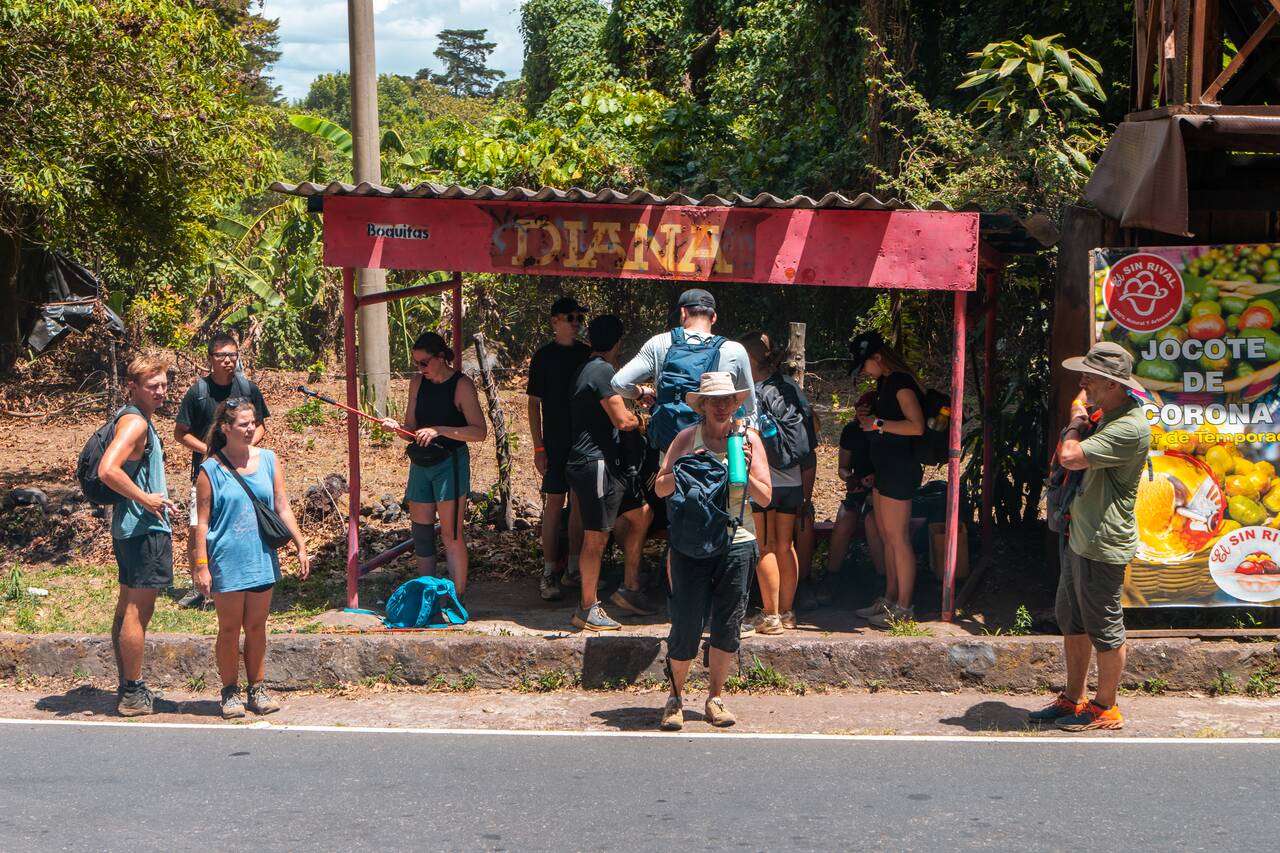
By around 12:30 PM, if you want to catch the 1:30 PM bus back to Santa Ana, you will need to start making your way down. The guide will also let you know when it is time to descend, so keep an eye out for them. Once you reach the bottom, head over to this red bus stop and wait for the bus back to Santa Ana.

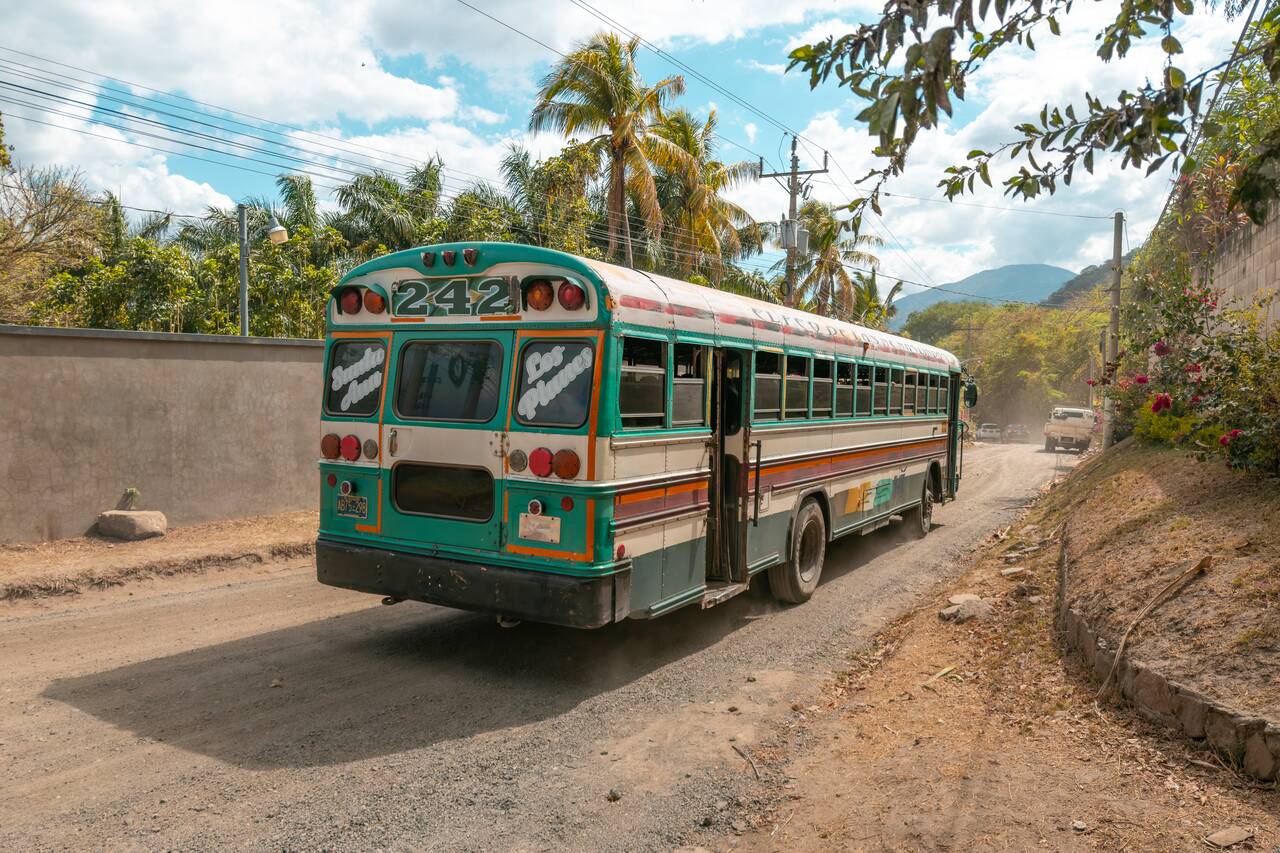
Once you get on the bus, do not take it all the way to Santa Ana, as we will be visiting Lake Coatepeque first! Make sure to get off at this intersection in El Congo, where you can switch to another bus (#242) to Lake Coatepeque.
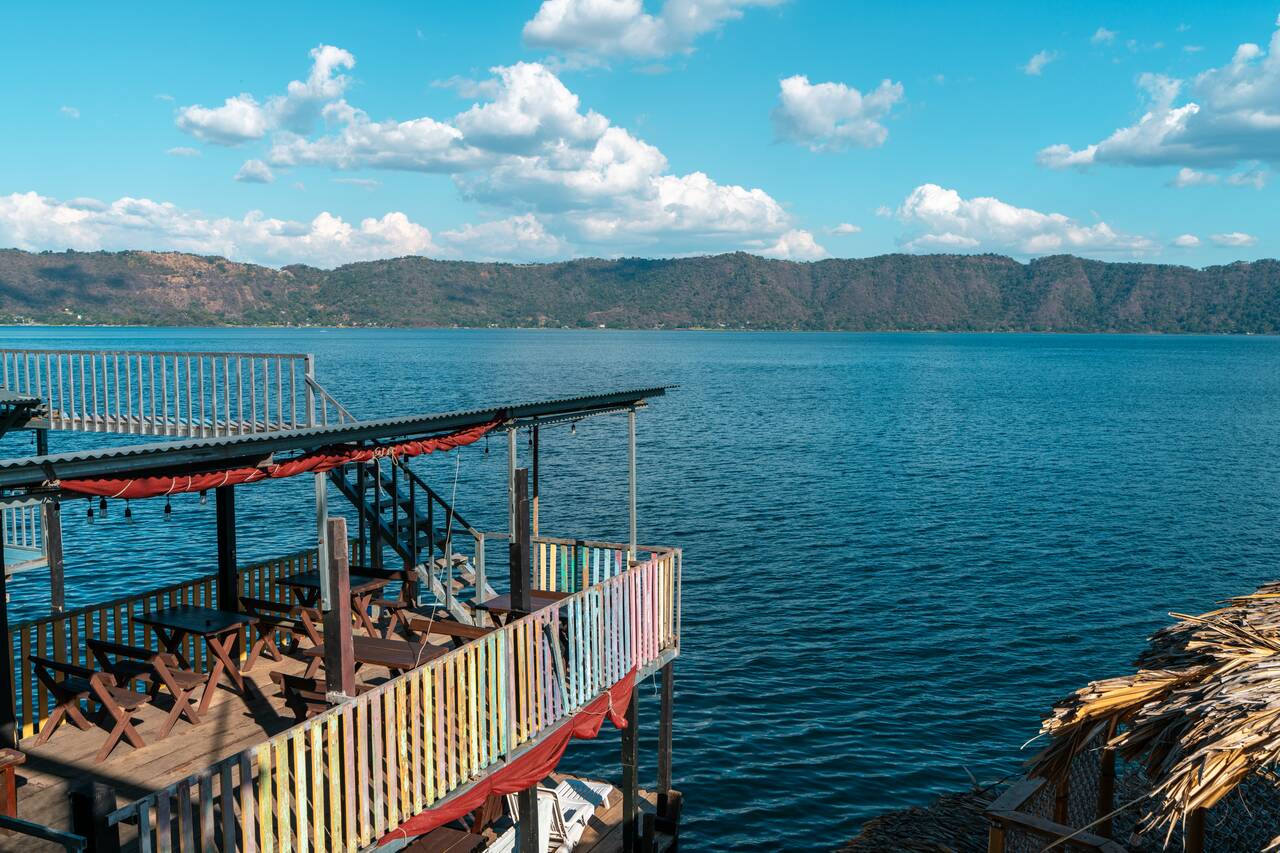
The most popular area to visit at Lake Coatepeque is around the western shore of the lake, where you will find plenty of hostels and beach clubs offering day passes that give you access to the lakefront and their facilities. I highly recommend Captain Morgan Hostel, a lakeside hostel with a restaurant and bar attached.
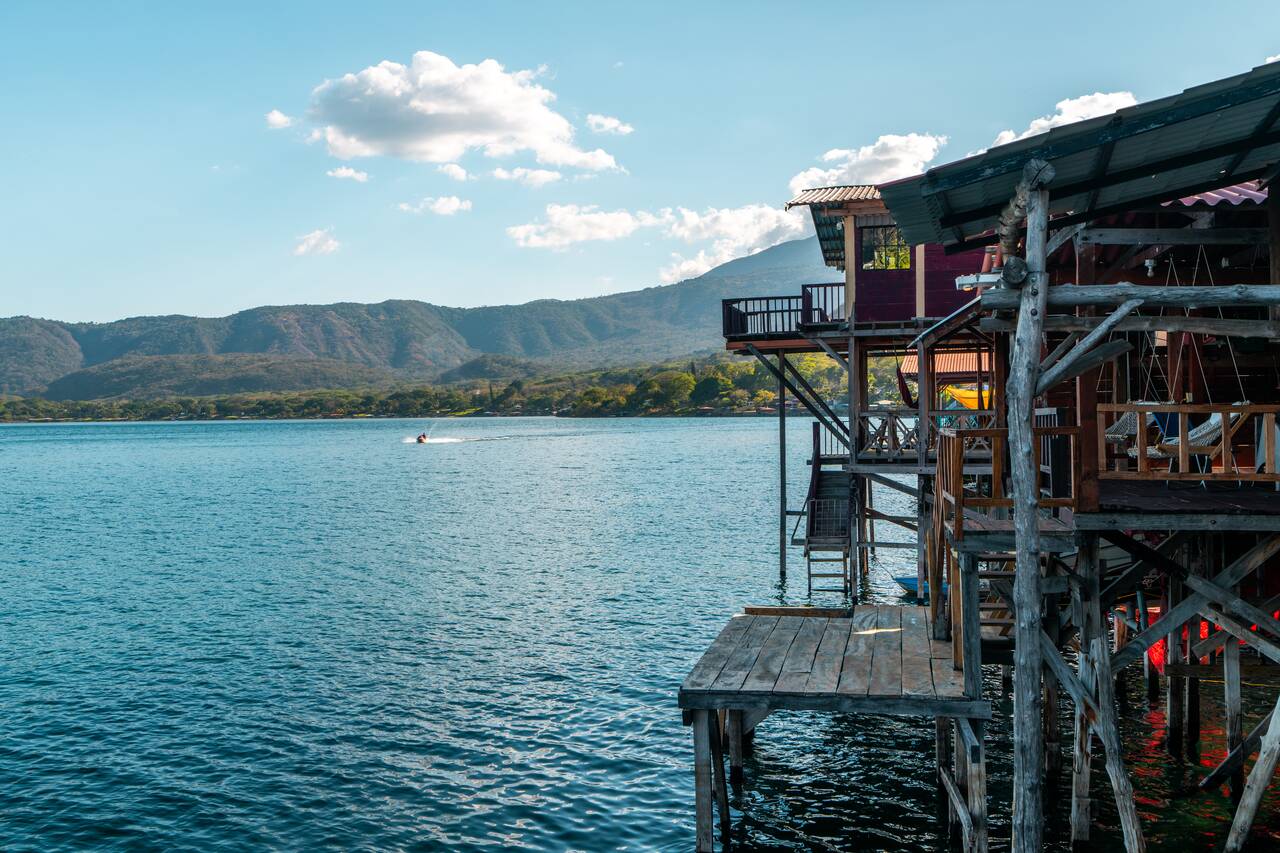
Captain Morgan Hostel offers a day pass for 5 USD, which can be redeemed for one drink at the bar. There, you will find a restaurant where you can order food, plenty of places to sit, and several spots where you can jump straight into the water.
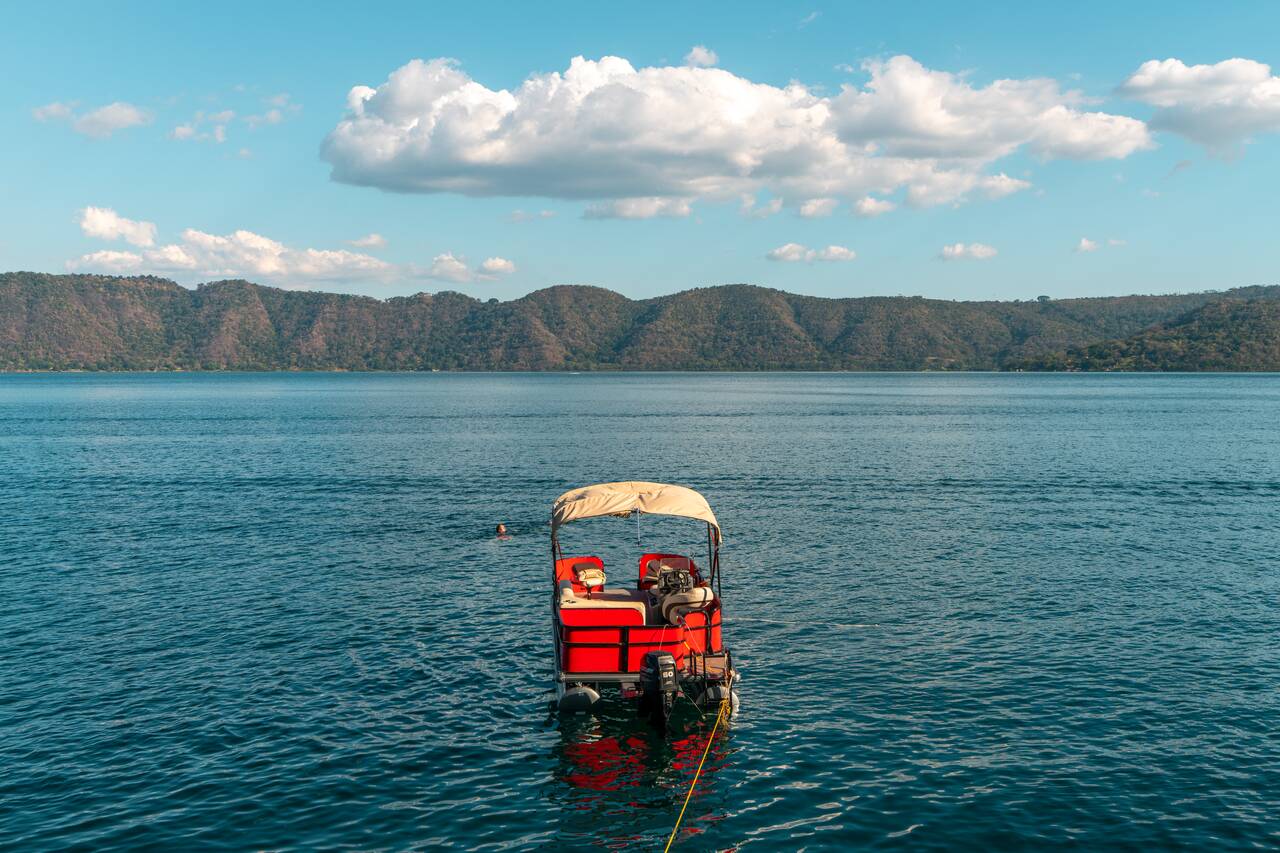
After you're done at the lake, if it's still before sunset, you can take the local bus back to El Congo and catch the next bus to Santa Ana. If it's getting late, I recommend calling an Uber instead, which will take you directly back to Santa Ana. Once you're back, call it a day and get some rest before tomorrow's more laid-back activities.
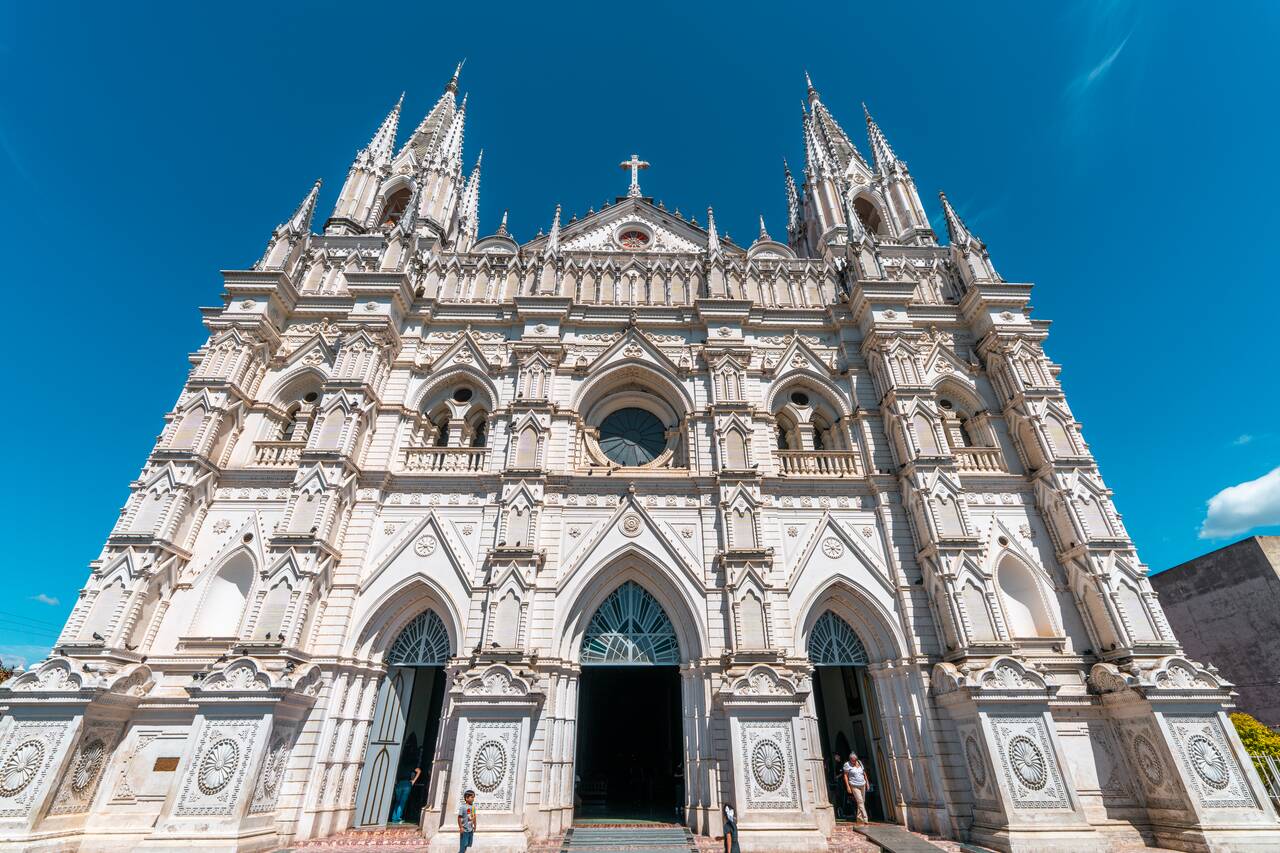
The next day, you can take it slow and go explore some of the coolest attractions in Santa Ana. Start with Santa Ana Cathedral, which is one of the most impressive landmarks in the city. This stunning neo-Gothic cathedral is famous for its intricate white facade, towering spires, and unique architectural style that feels completely different from the colonial churches found elsewhere in Central America.
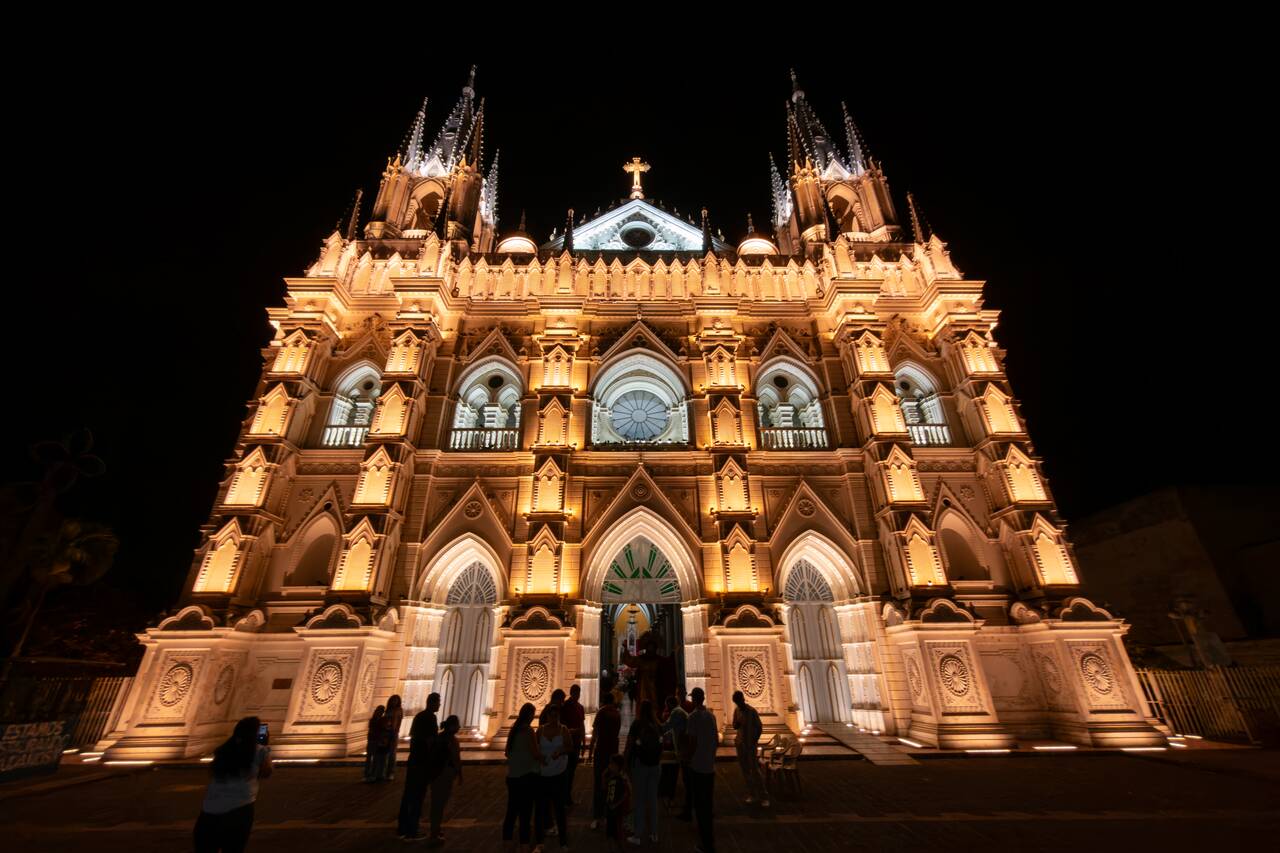
I recommend visiting both during the day to admire the details of the facade and again in the evening when they turn on the lights. The surrounding area comes alive with locals and tourists hanging out at the park in front of the church, creating a wonderful atmosphere. The lights are usually turned on around sunset, so be sure to come and check it out.
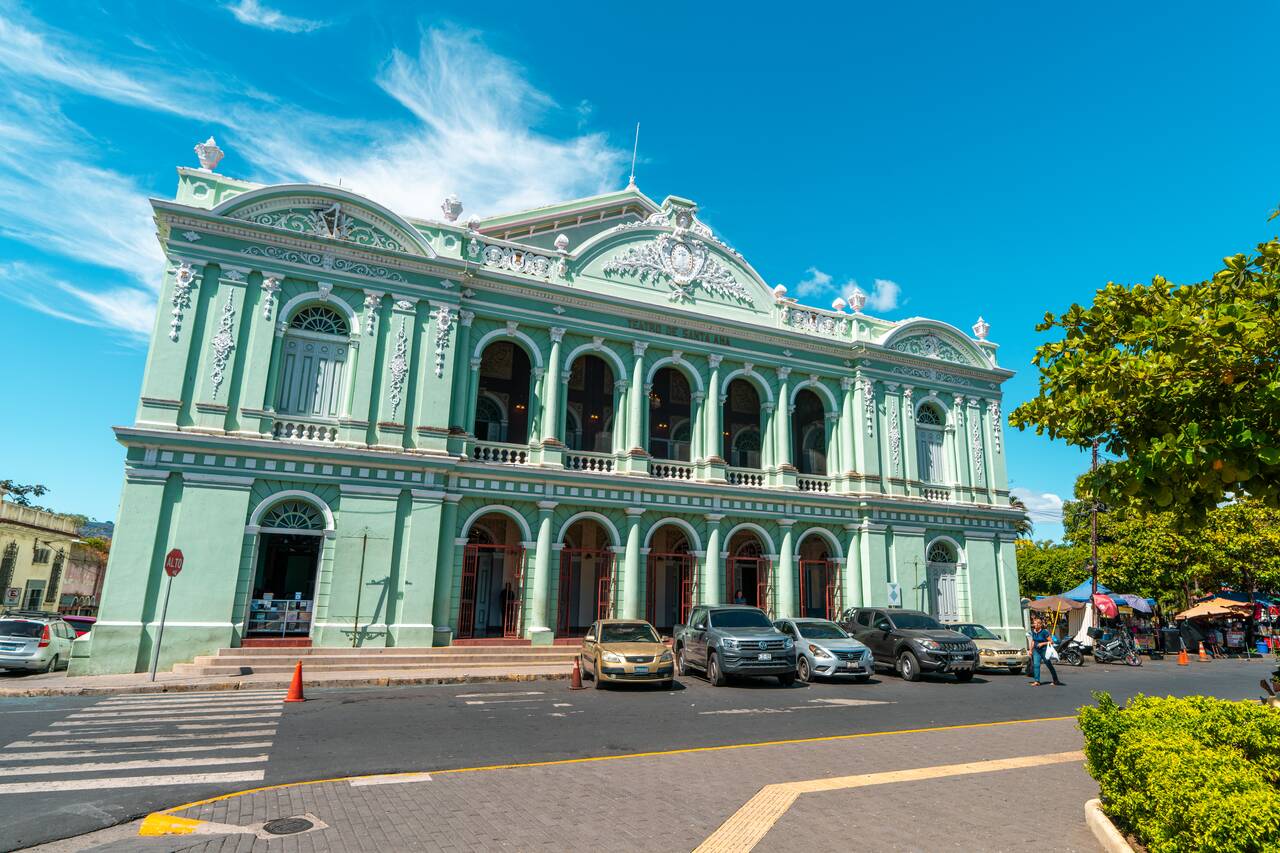
The cathedral is located at Parque Libertad which is surrounded by some of the city's most beautiful architecture like Teatro de Santa Ana, so be sure to spend some time and explore the area.
After exploring Santa Ana's historic center, take some time to slow down and relax at one of the city's many local cafés. Santa Ana has a growing café scene, with cozy spots hidden around the historic streets where you can grab a coffee, enjoy a pastry, and watch the city go by.
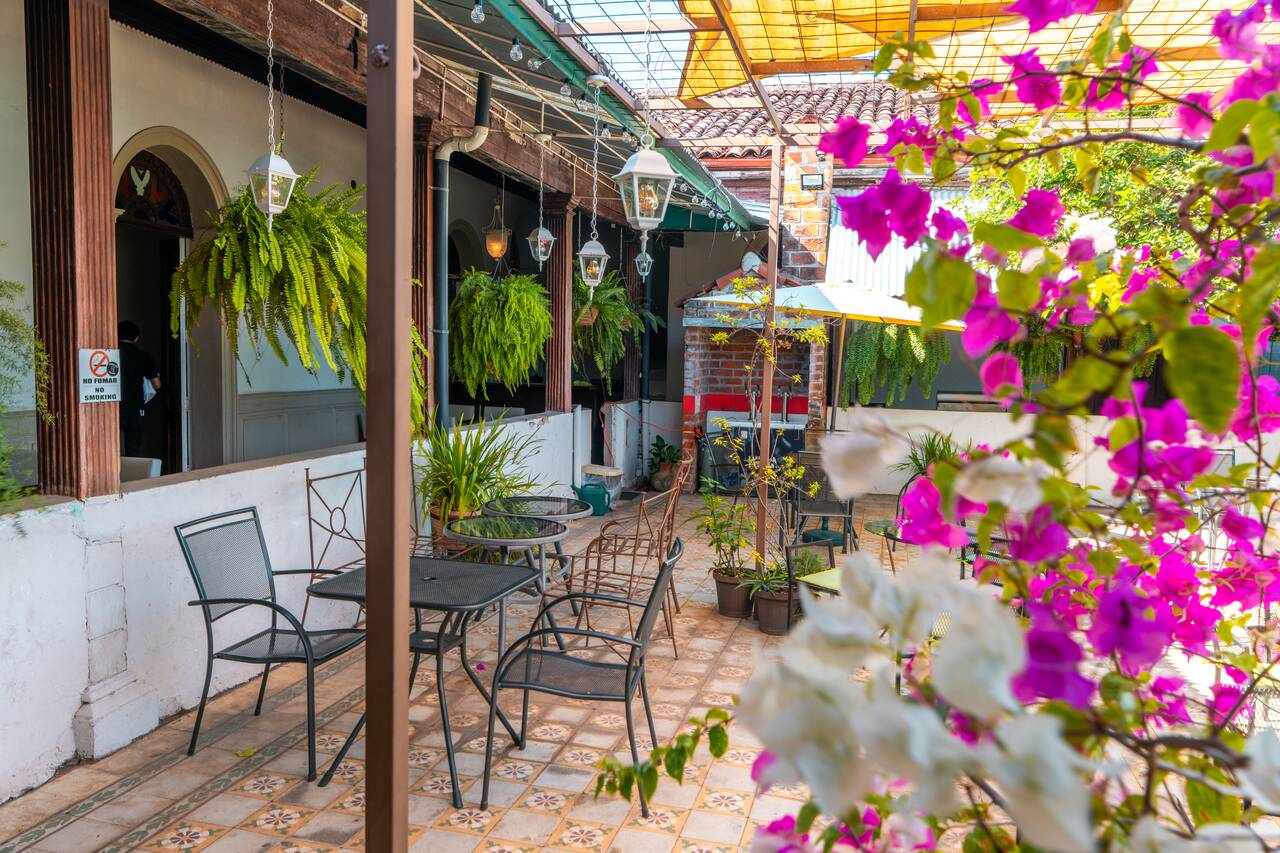
I love finding a quiet café while traveling, and Santa Ana is a great place to do just that. Places I recommended are Beats Coffee Centro Historico, which is a lovely cozy cafe located inside a historical building, Pirómano Coffee Centro, a nice cafe with great food and snack selections, and Artisant, a local's favorite that also serve food and beers.
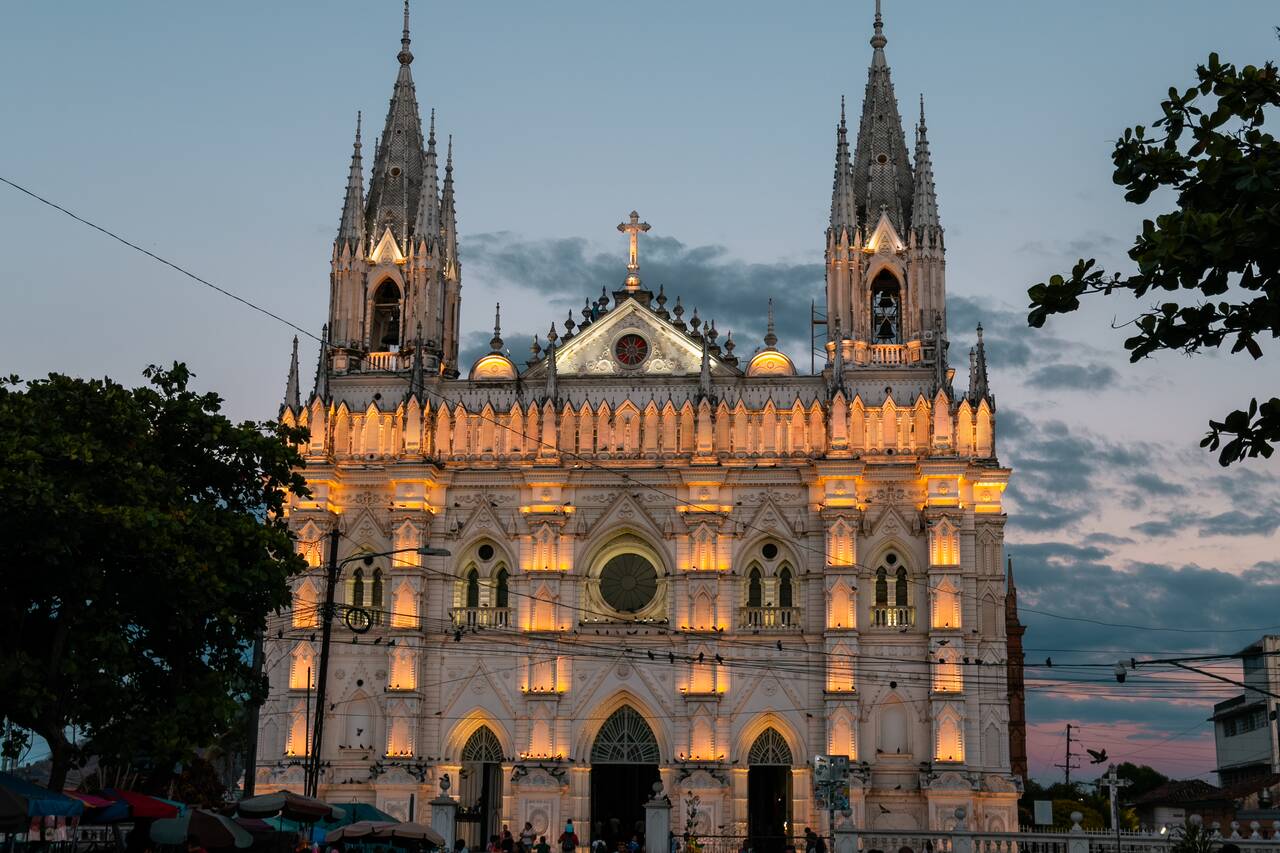
After exploring Santa Ana during the day, don't miss the chance to experience the city after dark. While Santa Ana may feel quiet at night, the fun is actually hidden behind closed doors, with plenty of speakeasy-style bars waiting to be discovered.
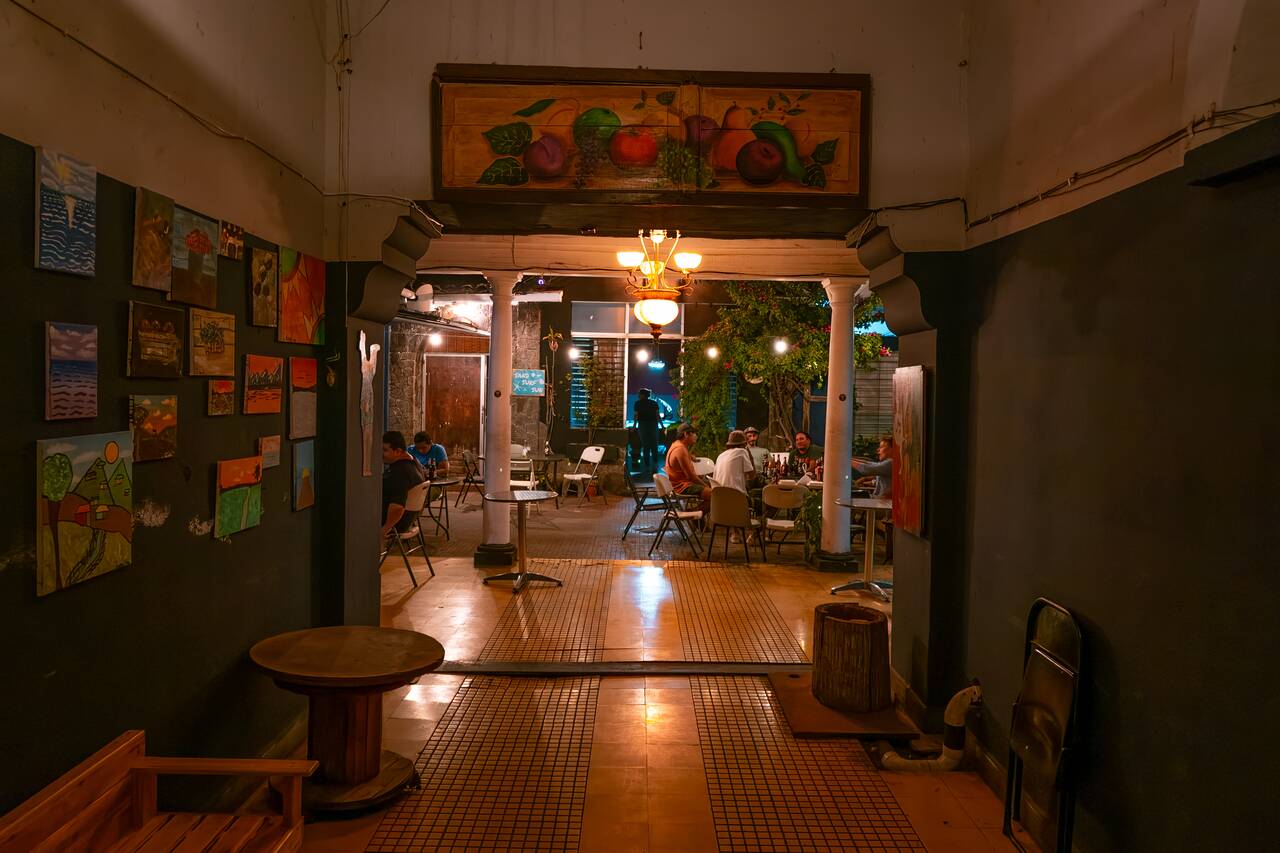
A friend of mine took us to Downtown Santa Ana, which is a very unassuming bar that we would not have known about if he hadn't accidentally stumbled upon it the night before. The vibe was fun and relaxed, and it was not too crowded. There are also other places like La Berna and Chicken Bus, so be sure to go out and explore the wonderful nightlife scene of Santa Ana before retreating for the day!

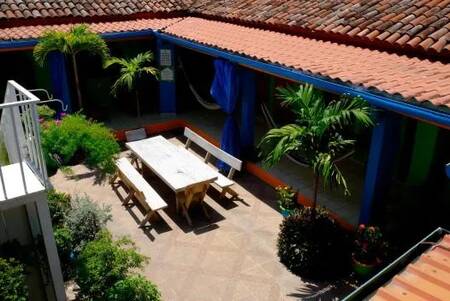


Getting from Santa Ana to Ruta de las Flores
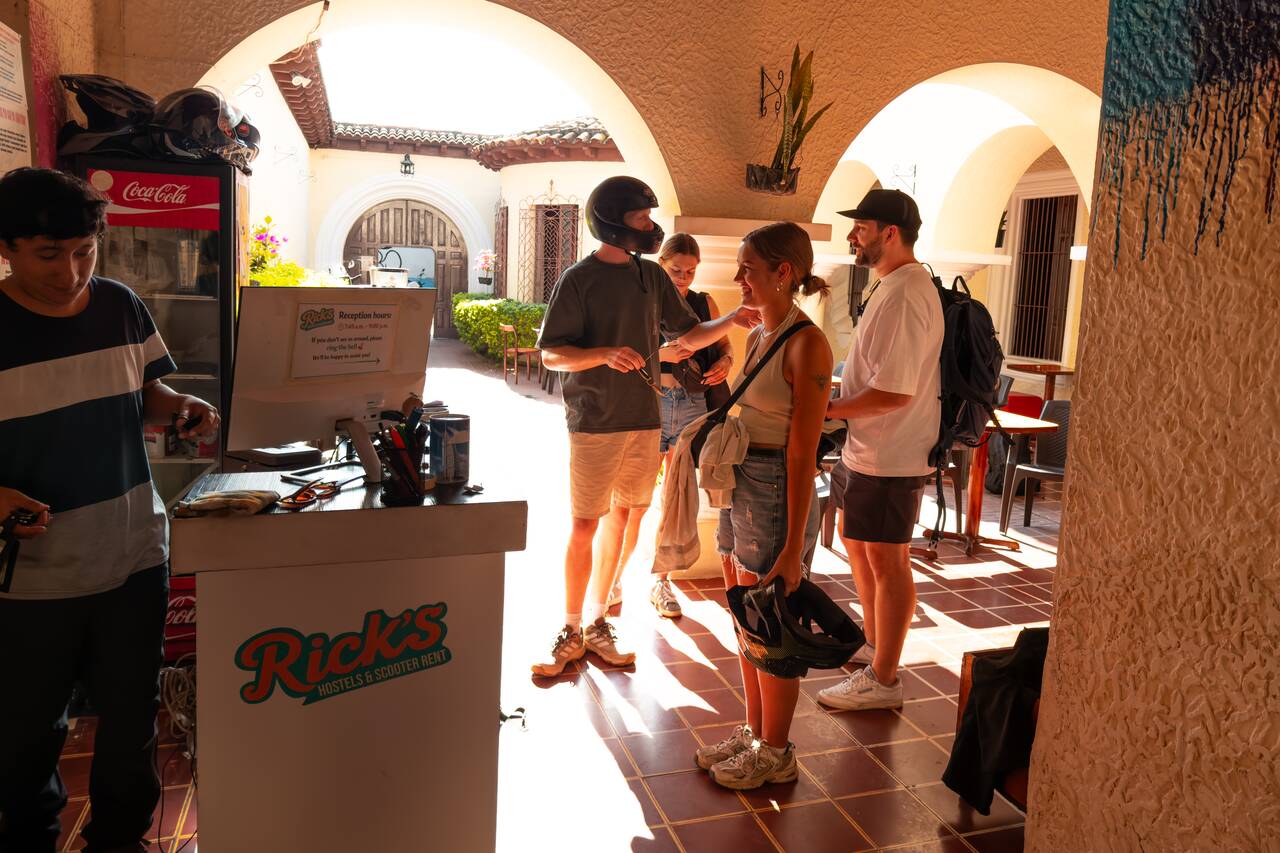
The easiest way to get from Santa Ana to Ruta de las Flores is to rent a motorbike or car and drive yourself. Since we will be spending the next 2 days exploring this mountainous region of western El Salvador, make sure you organize your rental the day before.
You can rent a motorbike at Ricks Rental. I rented with them and had a great experience! It cost only 15 USD per day, and the motorbikes were in excellent condition. Ricks Rental even have a drop-off location at Ricks Hostel in Juayúa if you want to drive one way only, which is extremely convenient.
If you prefer renting a car instead, you can do so from this or this rental shops in Santa Ana, and you can text them via Whatsapp and organize the pick up and drop off location.
If you are not the strongest driver, you can also take a bus from Santa Ana to Juayúa and rent a motorbike from Rick's Hostel in Juayúa. This way, you won't have to ride as far and can jump straight into exploring the best parts of Ruta de las Flores. You can catch the #238 bus from Santa Ana Bus Terminal. Buses depart every 2 hours from 9:50 AM to 6:30 PM daily. The journey takes around 1.5 hours and costs no more than 1 USD.
Day 48-49: Ruta de las Flores, El Salvador (2 nights)
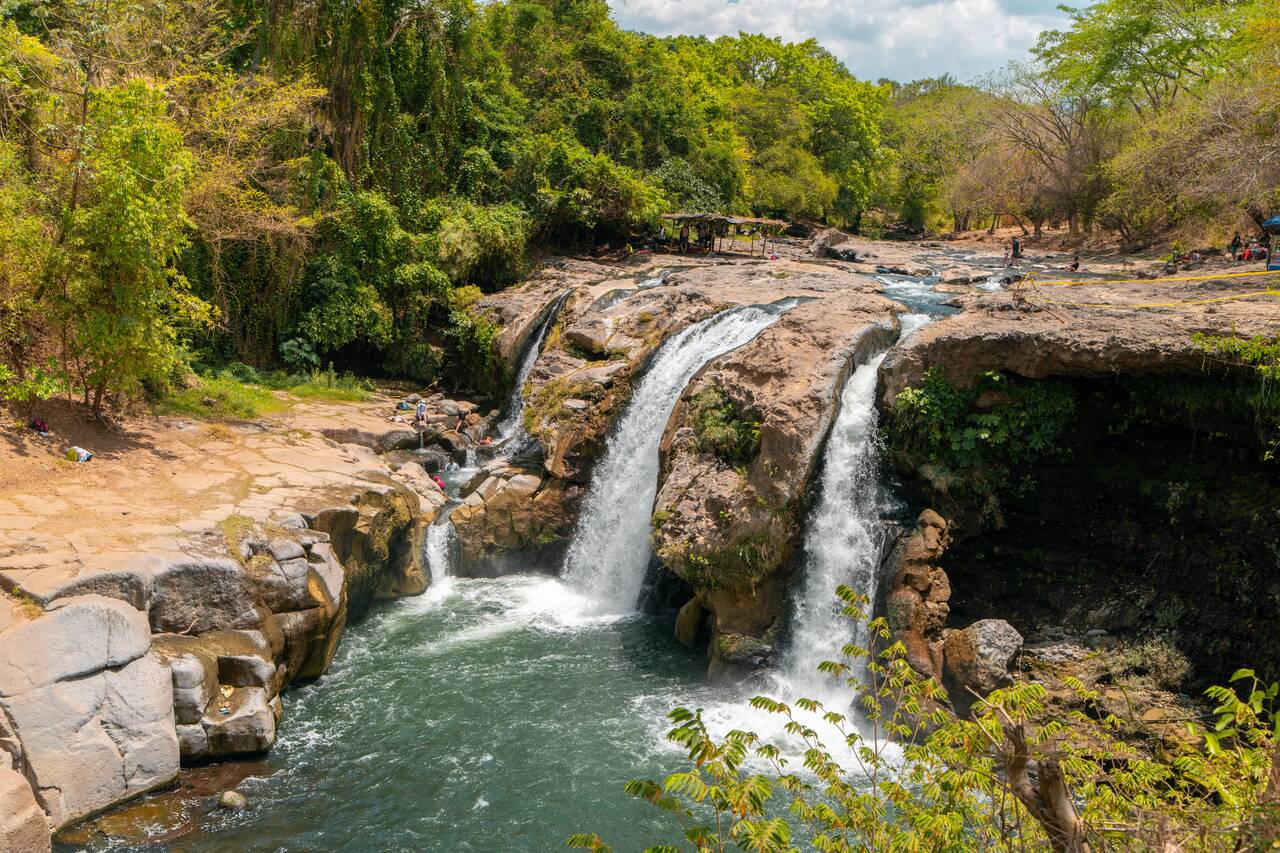
- 📍 Stay: Hotel Anáhuac
- 🕐 Time: 2 nights
- 📖 Full Guide: Ruta de las Flores Road Trip Itinerary from Santa Ana
For the last 2 days in El Salvador, we are going to go explore Ruta de las Flores, one of the most beautiful regions in El Salvador. This scenic route connects a series of charming mountain towns known for their colorful streets, coffee plantations, waterfalls, local markets, and incredible food scene.
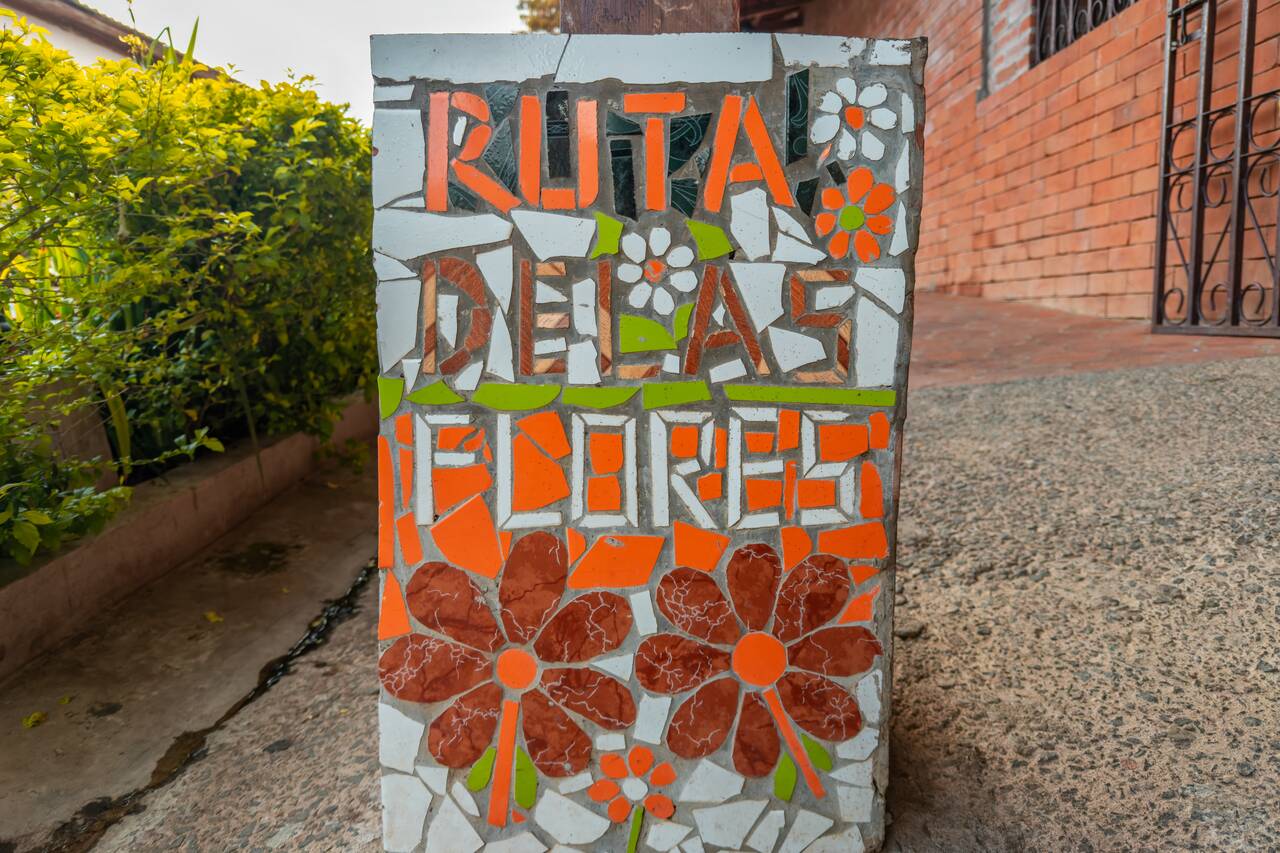
The route gets its name from the vibrant flowers that bloom along the roads during certain times of the year, but there is much more to discover here beyond the scenery. Each town has its own unique character, from the colorful murals and cobblestone streets of Concepción de Ataco to the famous food market and waterfalls of Juayúa.
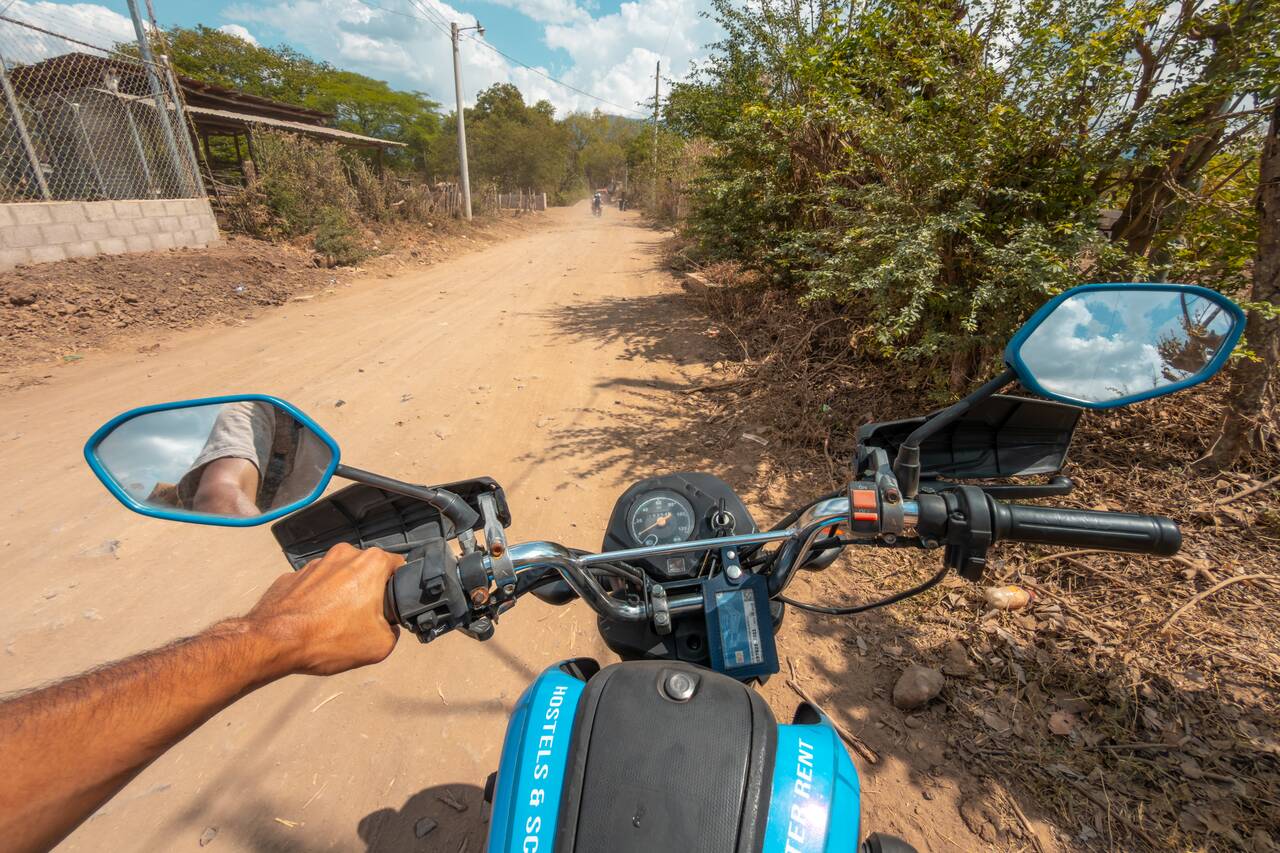
The easiest way to explore Ruta de las Flores is by renting a motorbike or car, as it gives you the freedom to stop whenever you want. You can rent a motorbike at Ricks Rental. I rented with them and had a great experience! It cost only 15 USD per day, and the motorbikes were in excellent condition. Ricks Rental even have a drop-off location at Ricks Hostel in Juayúa if you want to drive one way only, which is extremely convenient.
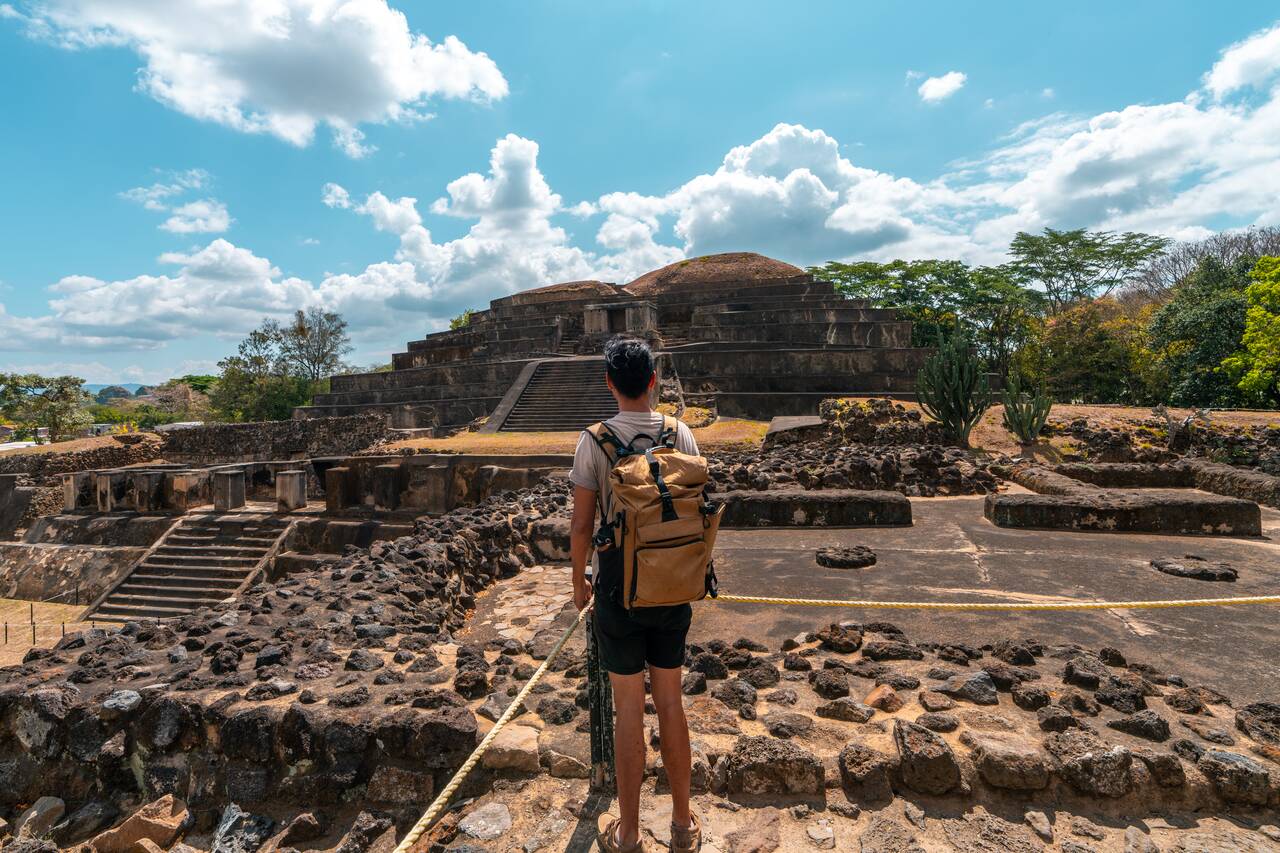
If you are driving from Santa Ana to Ruta de las Flores, I highly recommend making a quick detour to Tazumal Archaeological Site. Located in the town of Chalchuapa, just a few minutes off the main route, it is one of the most important Maya archaeological sites in El Salvador and makes for an easy stop before continuing into the mountains.
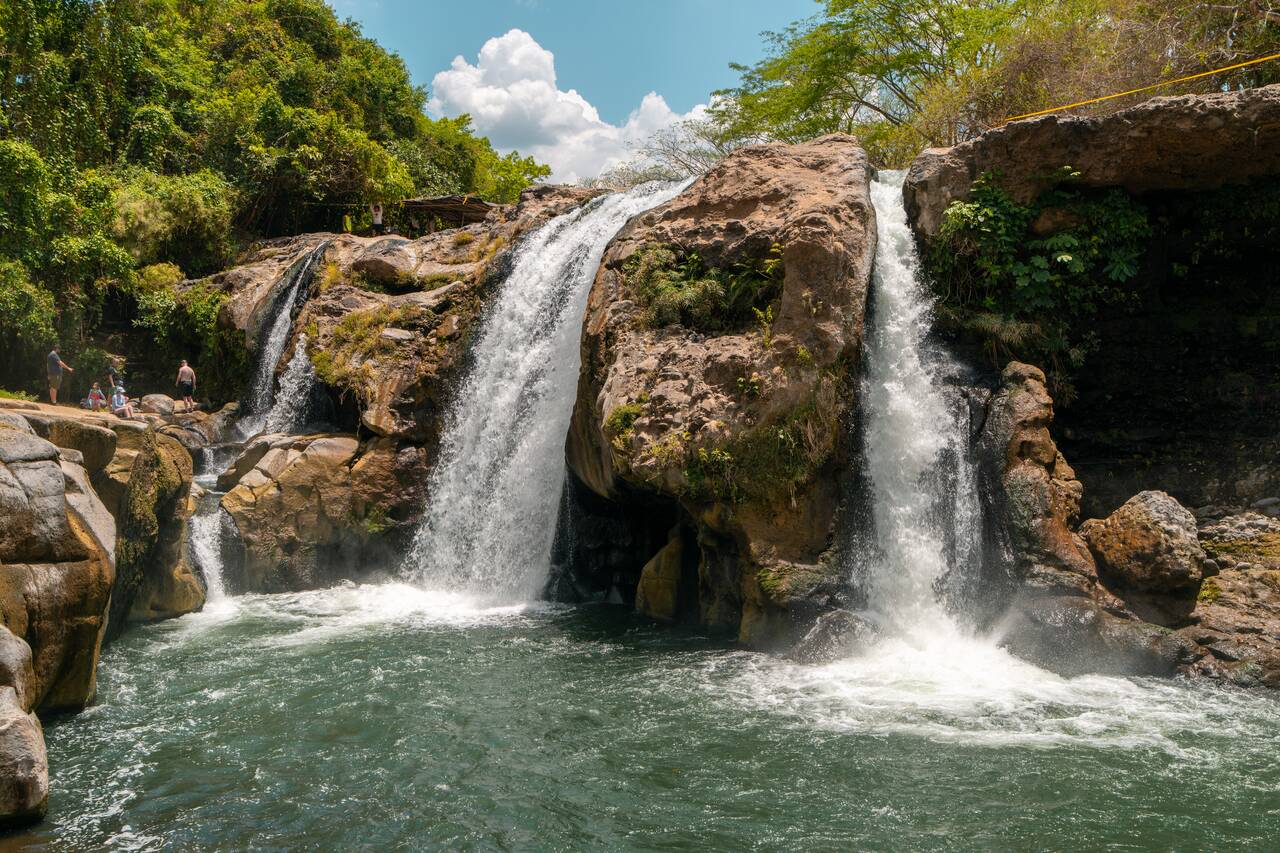
After you are done with Tazumal, I recommend you go on another detour and check out El Salto de Malacatiupán, one of the most unique waterfalls in El Salvador. This hidden waterfall is located in the small town of Atiquizaya and is famous for its turquoise pools, which are warm, almost hot, to the touch.
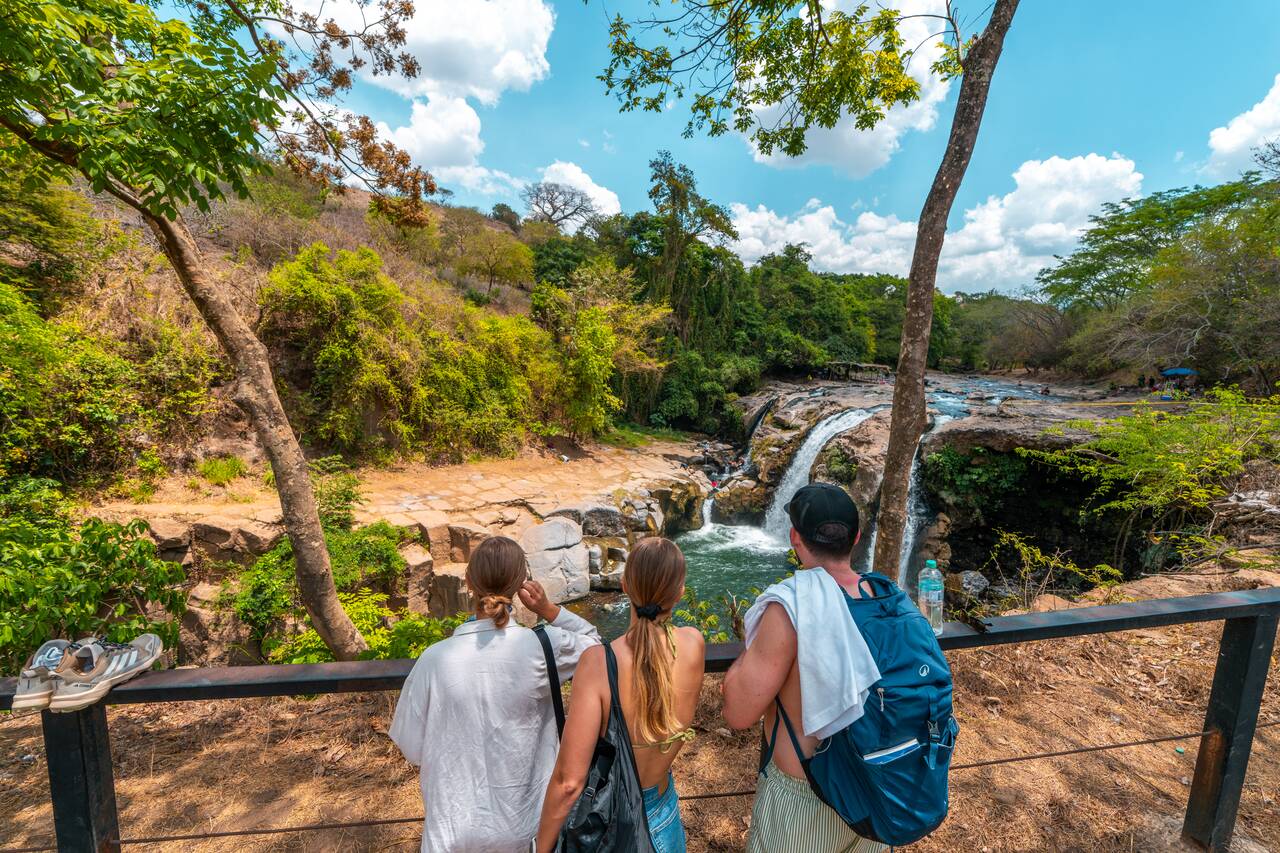
Before you jump in, be sure to dip your feet in first and check the temperature, as the water here is surprisingly warm. Your body can get a little confused because when we see a waterfall, we automatically expect the water to be refreshing and cold, but this one is completely different.
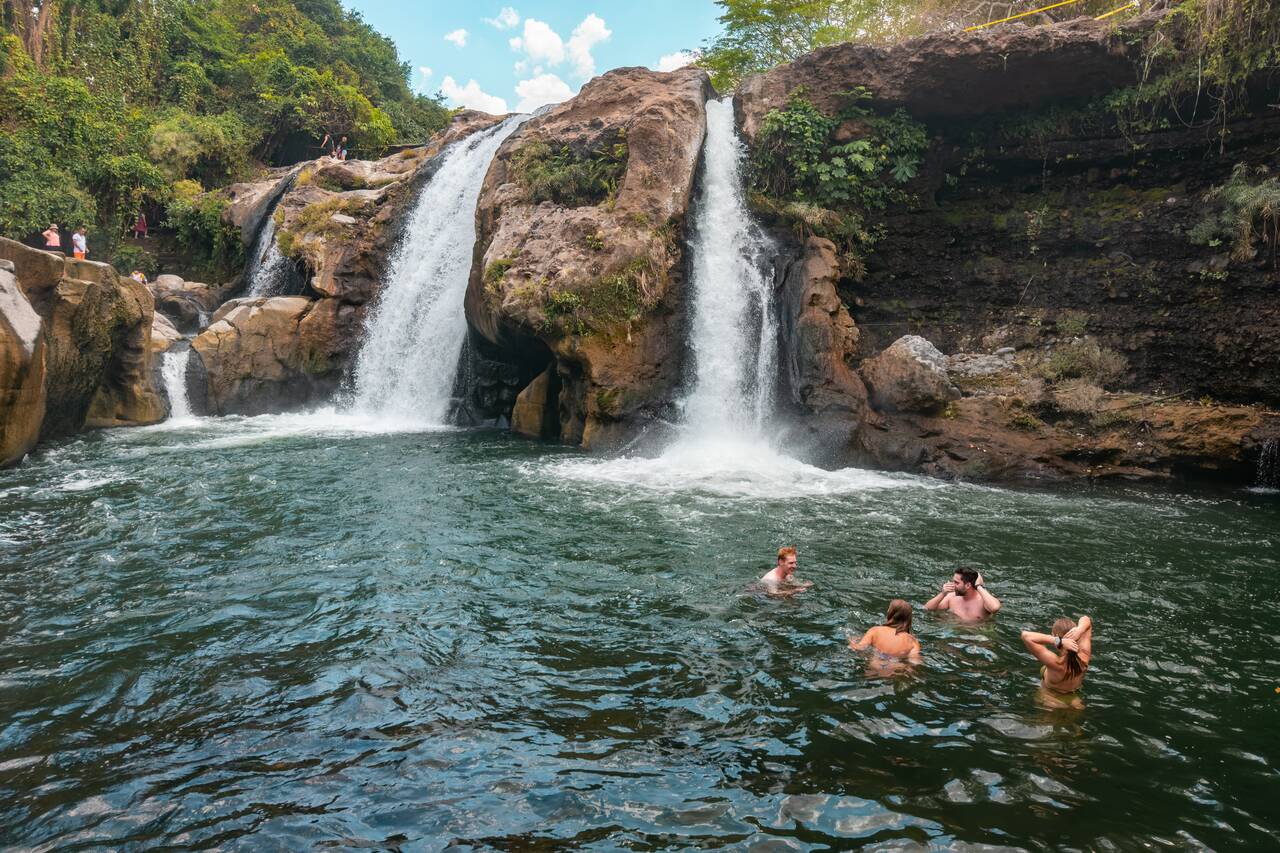
The ride from Santa Ana takes around 1 hour. You only need around 2 - 3 hours here, so you should be able to continue on to Ruta de las Flores before noon. Just be sure to bring a swimsuit, towel, and some cash for the entrance fee, which is 1.50 USD per person, plus 1 USD per motorbike for parking.
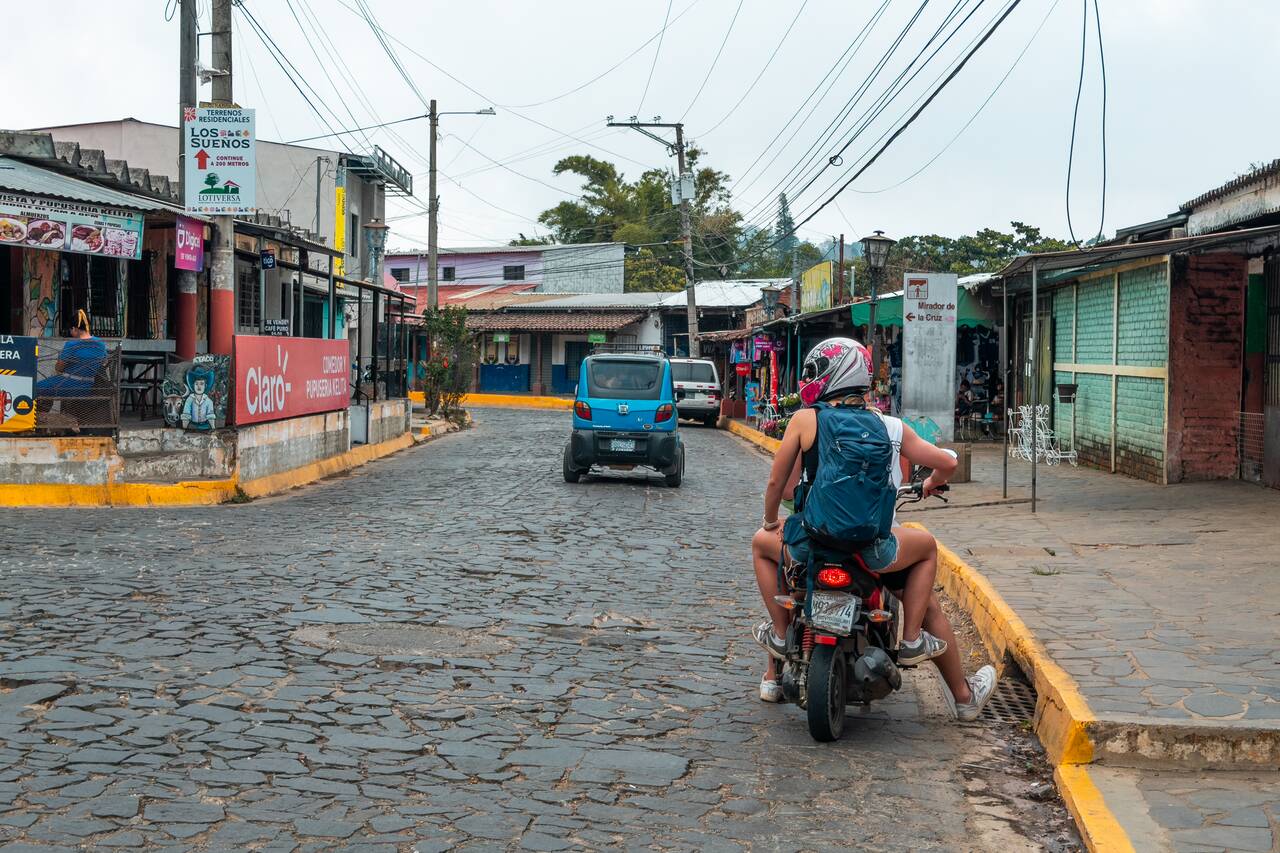
After a morning of exploring Tazumal and El Salto de Malacatiupán, continue your journey into the mountains and make your first stop at Ahuachapán, the largest city in the region, or you can continue on to Concepción de Ataco, which has a more small mountain vibe than Ahuachapán. Either way, these places are perfect for taking a break after a long ride from Santa Ana.
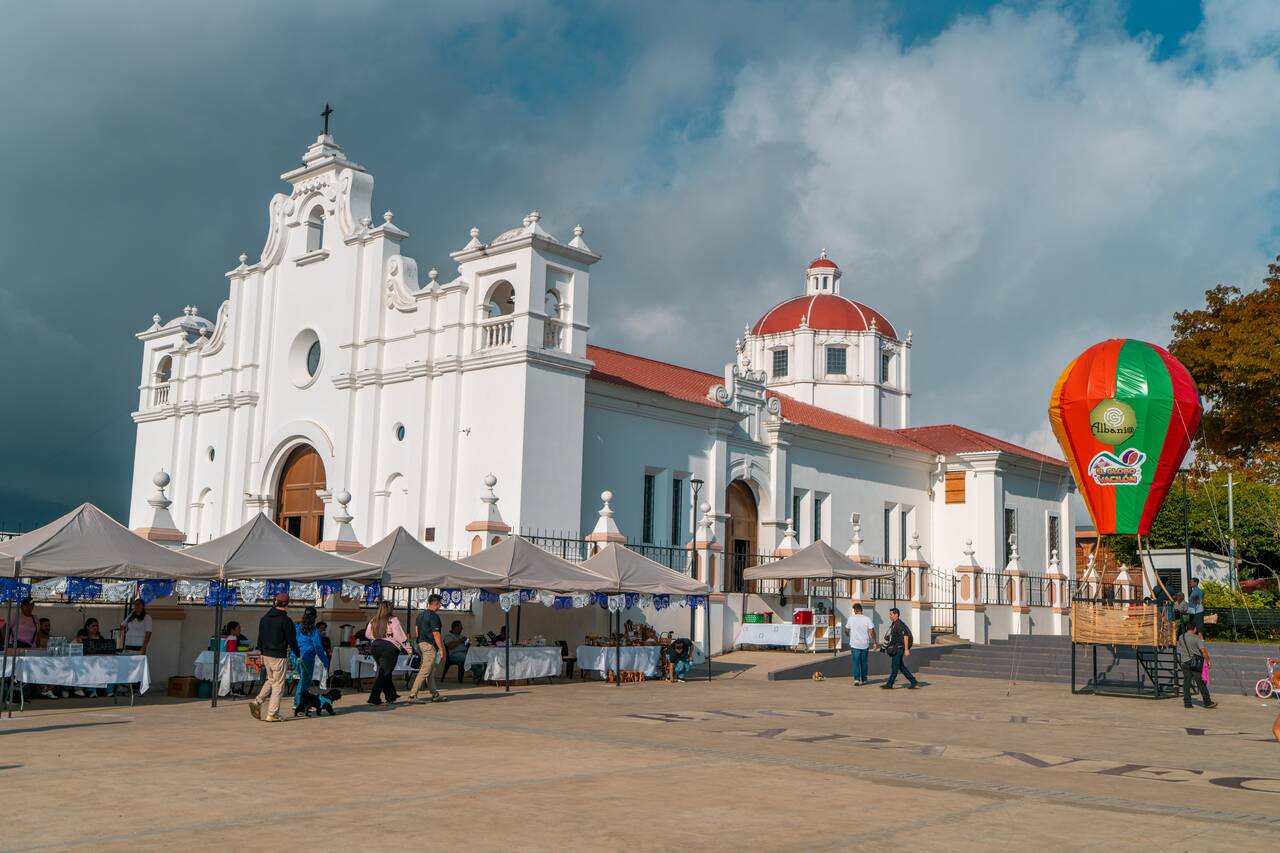
After exploring Concepción de Ataco, continue a little farther north to Apaneca, another charming mountain town with incredible views of the surrounding mountains. Sitting at one of the highest elevations in El Salvador, Apaneca enjoys a much cooler climate than the surrounding lowlands.
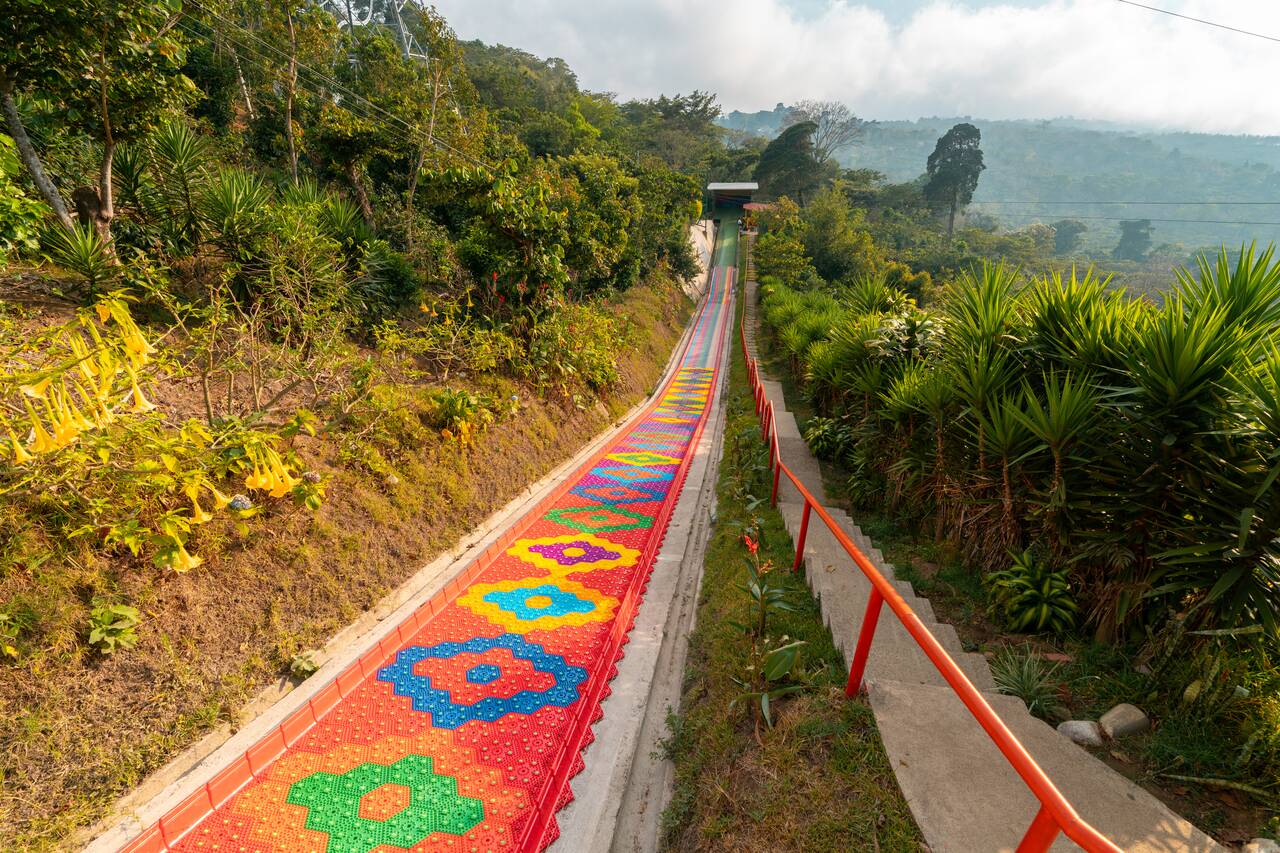
Just a few minutes outside Apaneca, you'll find Café Albania, one of the most popular attractions along Ruta de las Flores. What started as a café with spectacular mountain views has grown into a fun adventure park packed with activities, all set against some of the most beautiful scenery in the region.
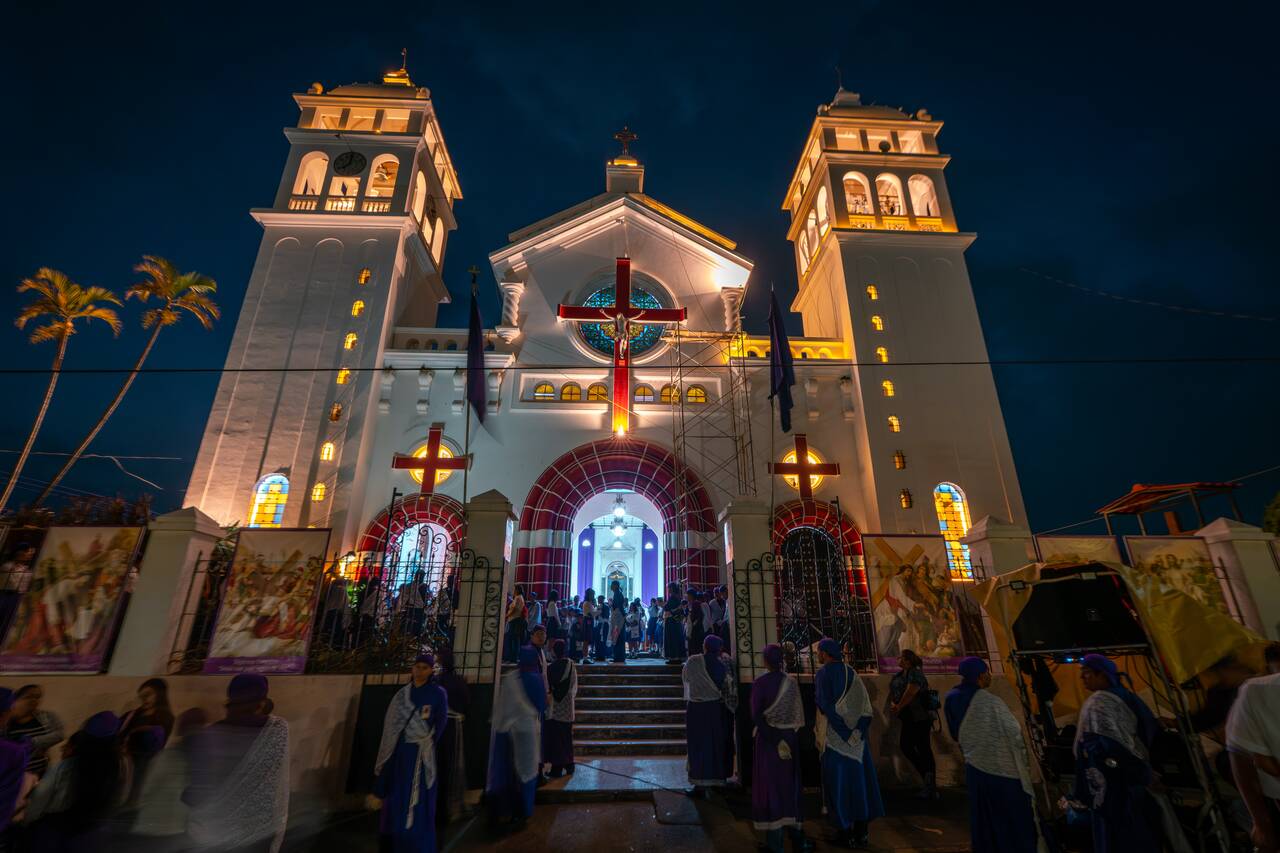
After exploring the colorful mountain towns along Ruta de las Flores, make your way to Juayúa, the perfect place to spend the night and use as your base for exploring the stunning nature in the area. Juayúa is the most tourist-friendly town along the route, thanks to its well-developed tourism infrastructure and the wide range of accommodation options available.
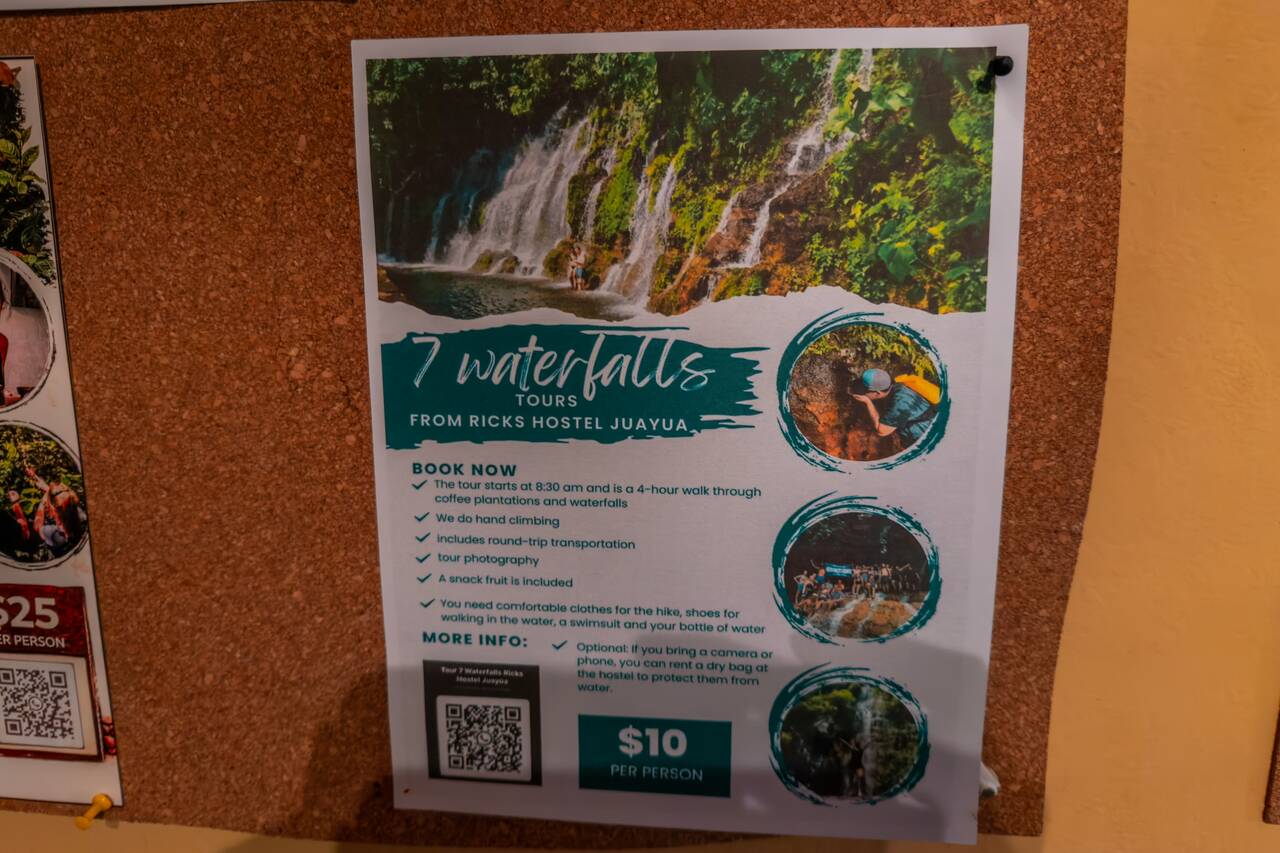
After spending the night in Juayúa, the next morning, go and hike the Seven Waterfalls, one of the best hikes you can do in Ruta de las Flores. You should be able to join a shared tour via your accommodation, and it should cost around 10 USD per person for a half-day trip.
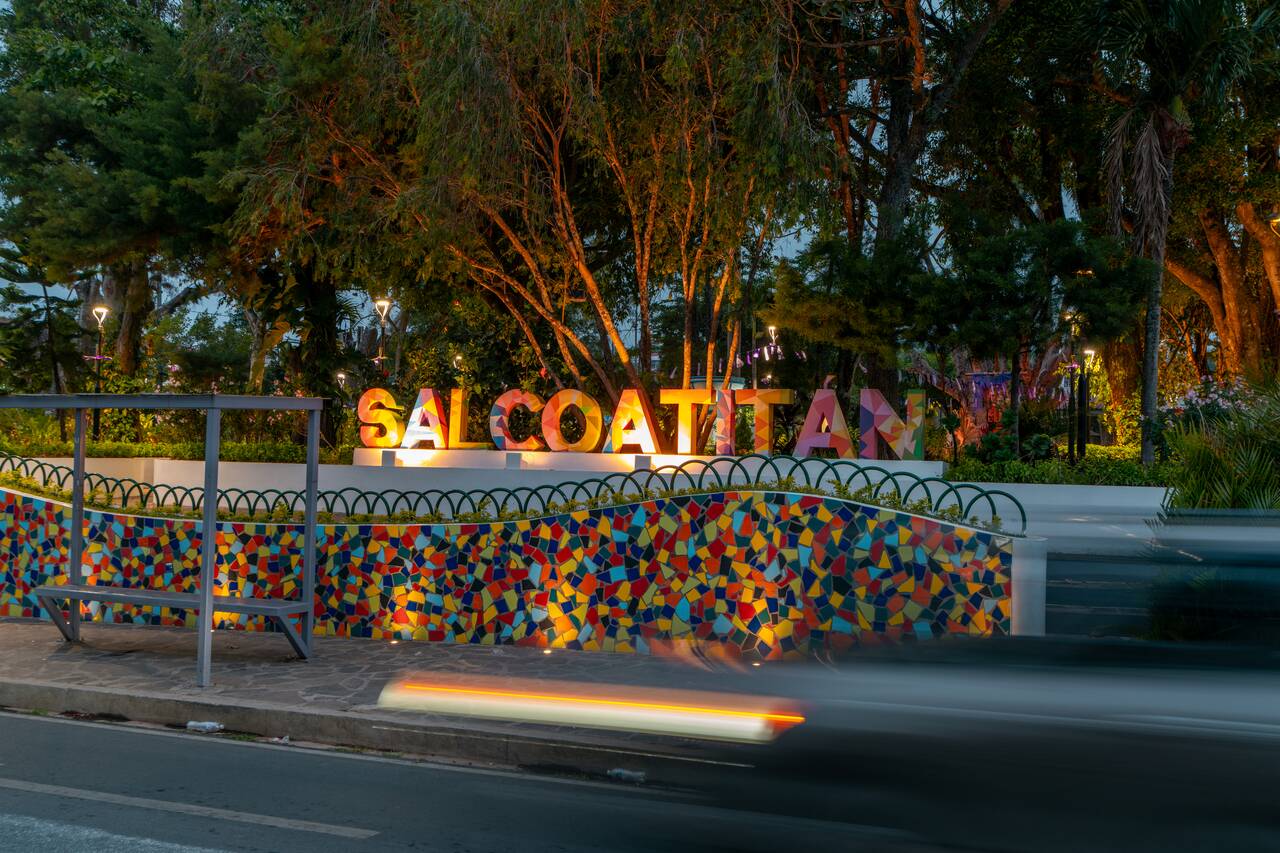
After the hike, if you still have your car or motorbike rental, you can spend the rest of the day exploring any towns along Ruta de las Flores that you may have missed the day before, such as Nahuizalco and Salcoatitán. If not, you can take it easy in Juayúa, relax at one of its cafés or restaurants, and enjoy a well-earned rest after the hike before calling it a day.

Where to Stay in Ruta de las Flores (Juayúa)?
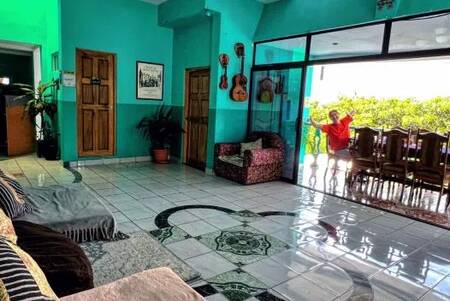
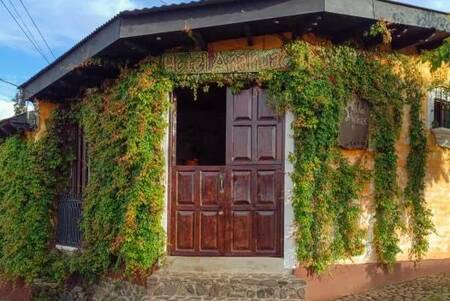

Getting from Ruta de las Flores to Santa Ana
From Ruta de las Flores, you can either ride your rental motorbike back to Santa Ana or take bus #238 from Juayúa Bus Terminal if you choose to return your bike at Ricky's Rentals' Juayúa branch. Buses run daily from around 4 AM to 4 PM, departing roughly every hour, and the fare costs only a few USD.
Day 50: Santa Ana, El Salvador (1 night)
- 📍 Stay: Casa Central de Santa Ana
- 🕐 Time: 1 night
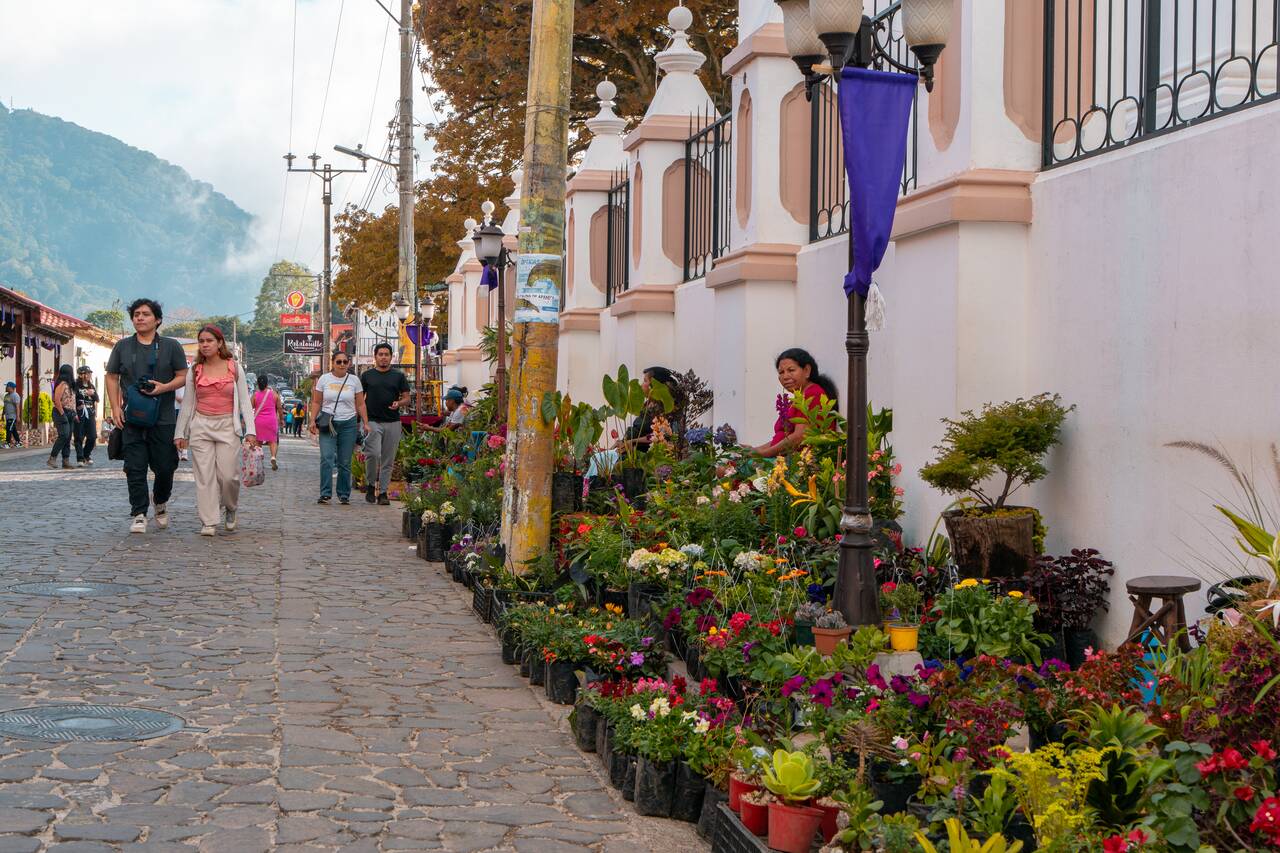
The next day, make your way back to Santa Ana and return your rental car or motorbike. You'll have a free day in Santa Ana before continuing to Copán Ruinas in Honduras the following day, so take the opportunity to relax, enjoy more café-hopping, sample as much of the local street food as you can, and turn in early for the night.
Getting from Santa Ana to Copan Ruinas, Honduras
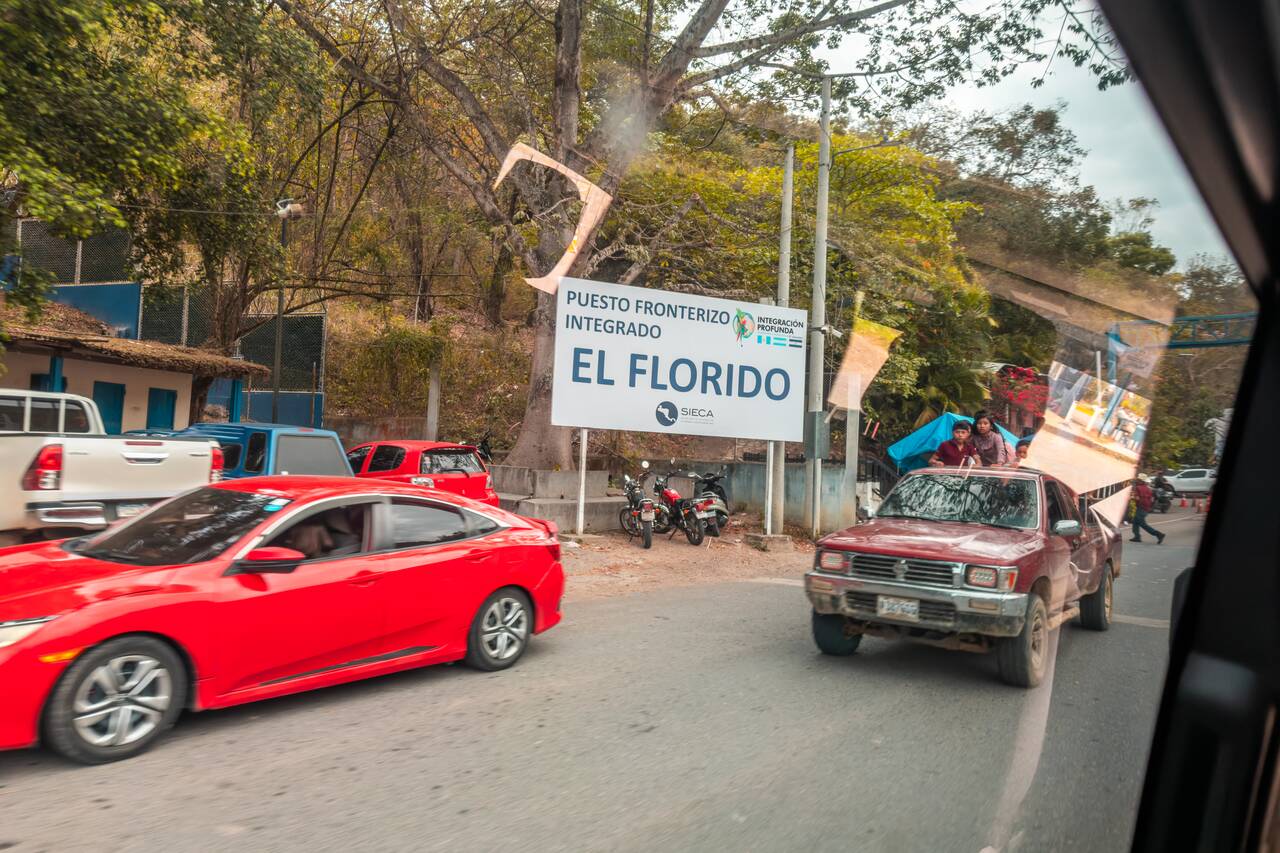
To get from Santa Ana to Copán Ruinas, you can take a shared shuttle with Gekko Trails Explorer. The journey takes around 5 hours, including the border crossings through Guatemala before entering Honduras.
The shuttle picks you up from your accommodation in Santa Ana and drops you off directly at your hotel in Copán Ruinas, which is extremely convenient. Copán is surprisingly hilly, so having the shuttle drop you off at your accommodation is a godsend, especially if you are carrying a lot of luggage.
Be sure to bring your passport and have all the necessary documents ready for entry (if you require a visa), as you'll cross two international borders along the way. If you hold a British passport, make sure to check the latest Honduras entry requirements before your trip and have any required documents prepared in advance.
A British traveler I met on the bus had a particularly difficult time crossing the border because he carried two passports, one of which was British, which caused some confusion during the immigration process. He had previously been rejected when trying to enter Honduras using his British passport, and even after obtaining the visa, immigration officers still questioned him for nearly an hour at the border.
Everything eventually worked out, but it was a stressful experience that could have been avoided by having all the paperwork clearly prepared beforehand. Most travelers will also need to pay a small Honduras entry fee of around 3 USD in cash at the border.
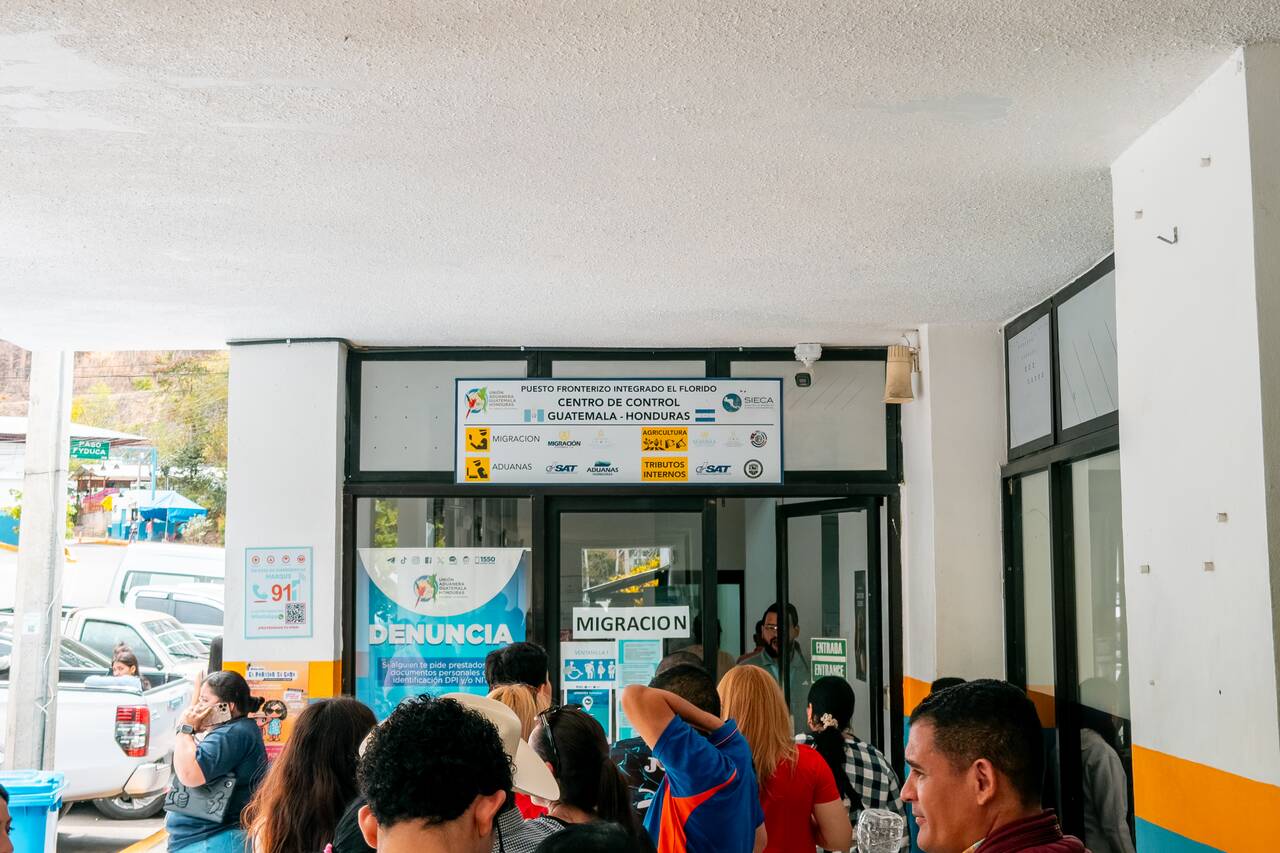
I took this shuttle myself and found it to be quite convenient although my passport had an issue with Guatemala as I carry 2 passports and they found that suspicious 🤨, so they interviewed me for a good 20 minutes before they let me in. No problem when entering Honduras though. It's definitely the easiest way to cross the border without having to deal with multiple local buses or taxis.
Day 51-52: Copan Ruinas, Honduras (2 nights)
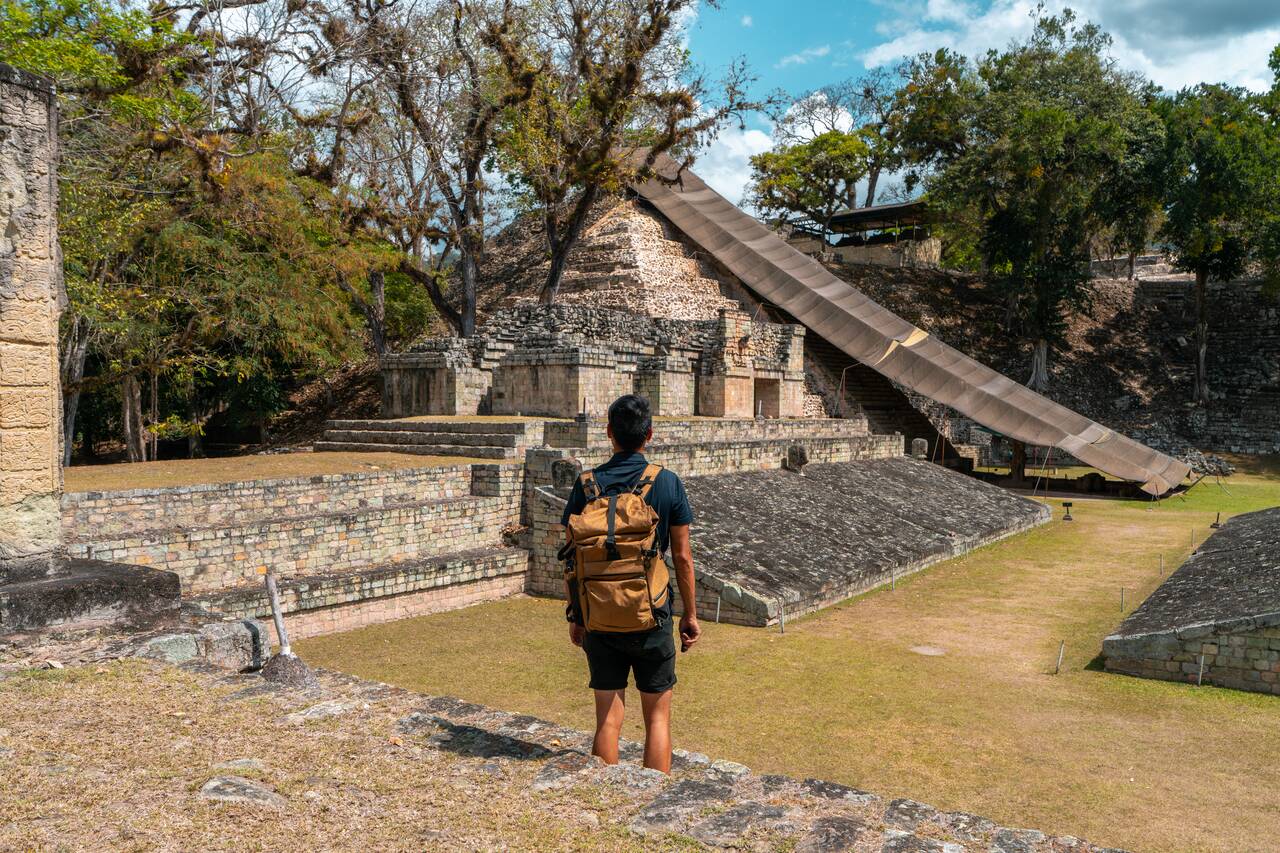
- 📍 Stay: Berakah B&B- Central Park
- 🕐 Time: 2 nights
- 📖 Full Guide: Copán Ruinas Guide: Visiting the Mayan Ruins, Travel Tips & More
After arriving in Copán Ruinas, spend the rest of the evening getting your bearings and withdrawing some cash from an ATM if needed. Don't take out too much, though, as we'll only be spending two nights in Honduras before continuing to Guatemala.
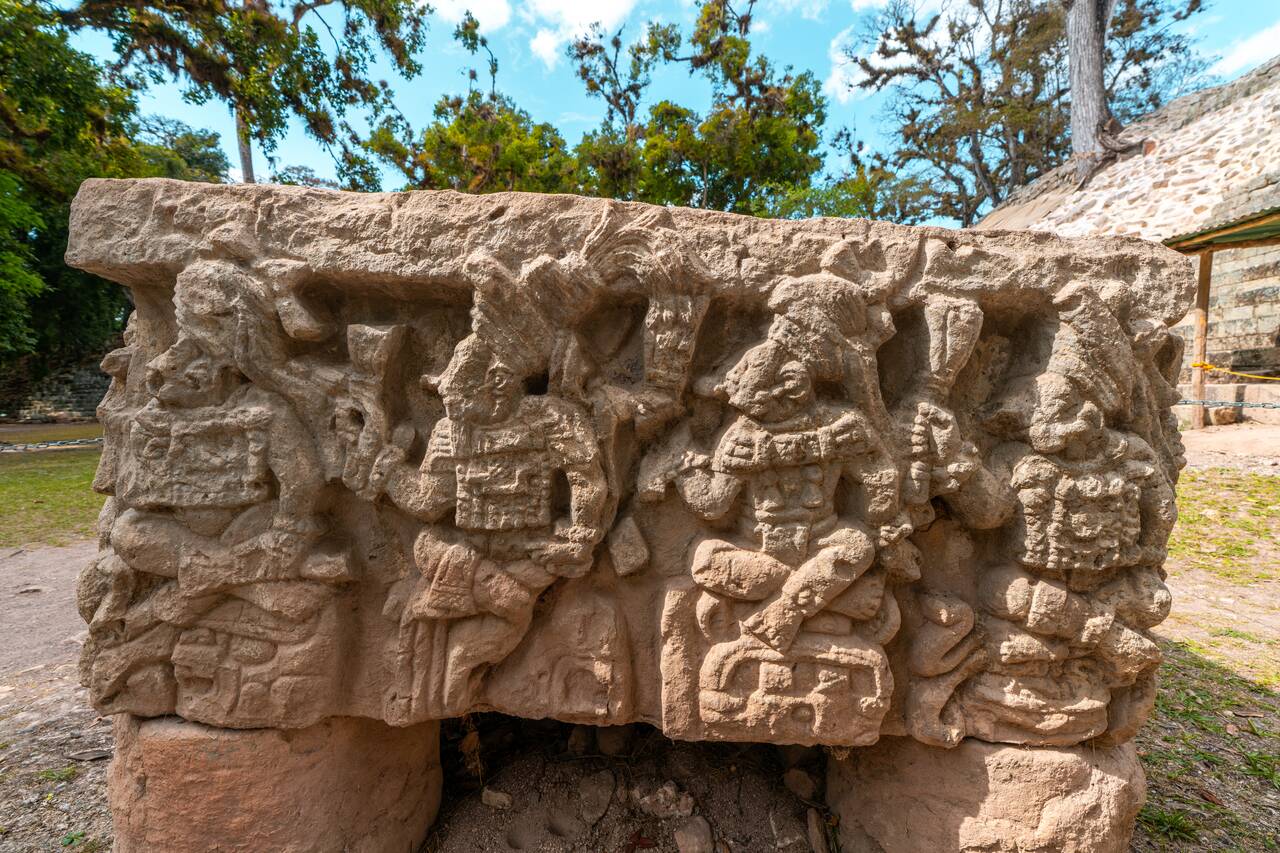
Most places, including the Copán Archaeological Site, accept credit cards, but some smaller restaurants and local businesses are still cash-only. I actually didn't withdraw any cash during my visit because I wanted to avoid the hassle, and it turned out to be completely manageable. I simply ate at restaurants that accepted credit cards and had no issues throughout my stay.
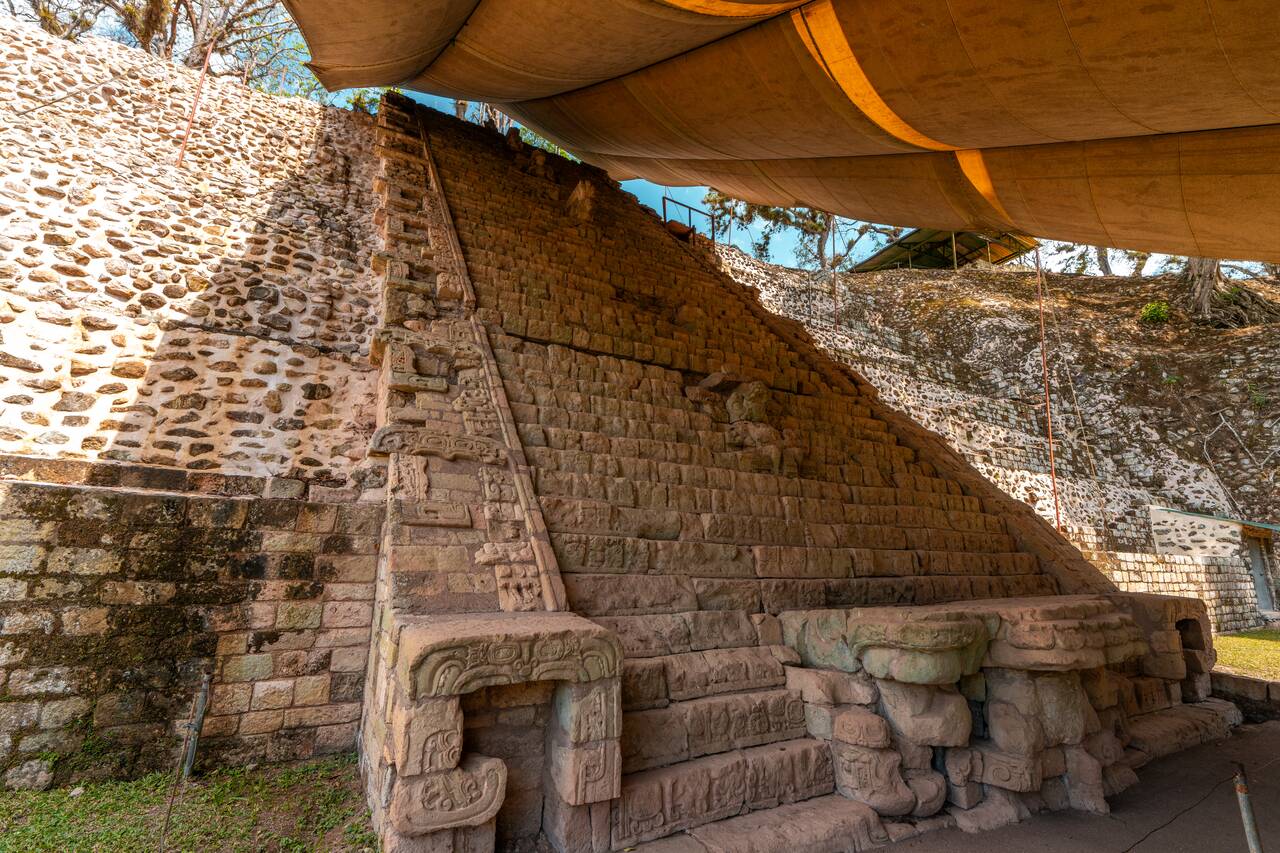
After resting, you can spend the entire next day exploring one of the most impressive Mayan archaeological sites in Central America, Copan Archeological Site. You can spend around 2 - 3 hours wandering through the Great Plaza, admiring the beautifully carved stelae, and checking out the famous Hieroglyphic Stairway, the longest known Mayan inscription ever discovered
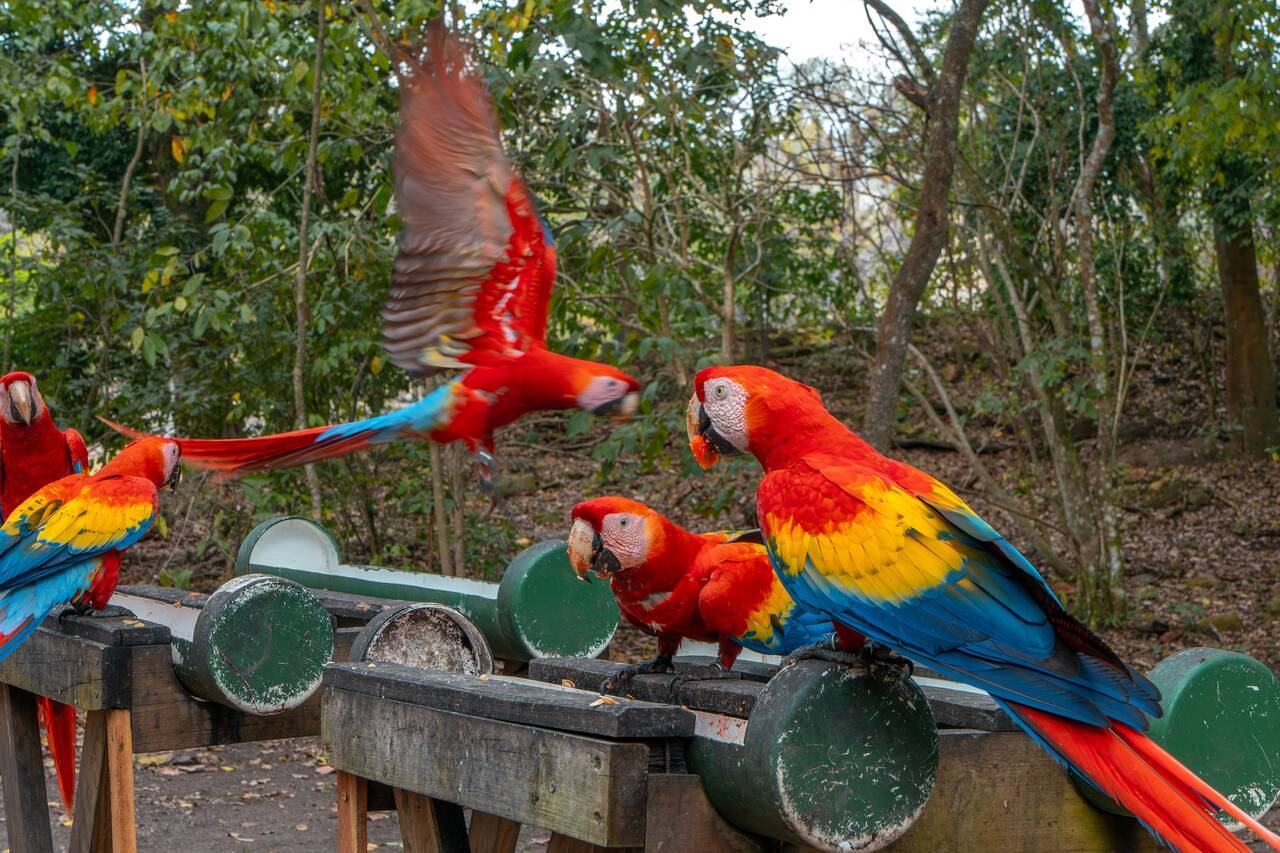
Keep an eye (and ear) out for the resident scarlet macaws soaring overhead, as these colorful birds are part of a local conservation program and have become one of the highlights of visiting Copán. Don't worry, you will hear them right away the moment you enter the site.
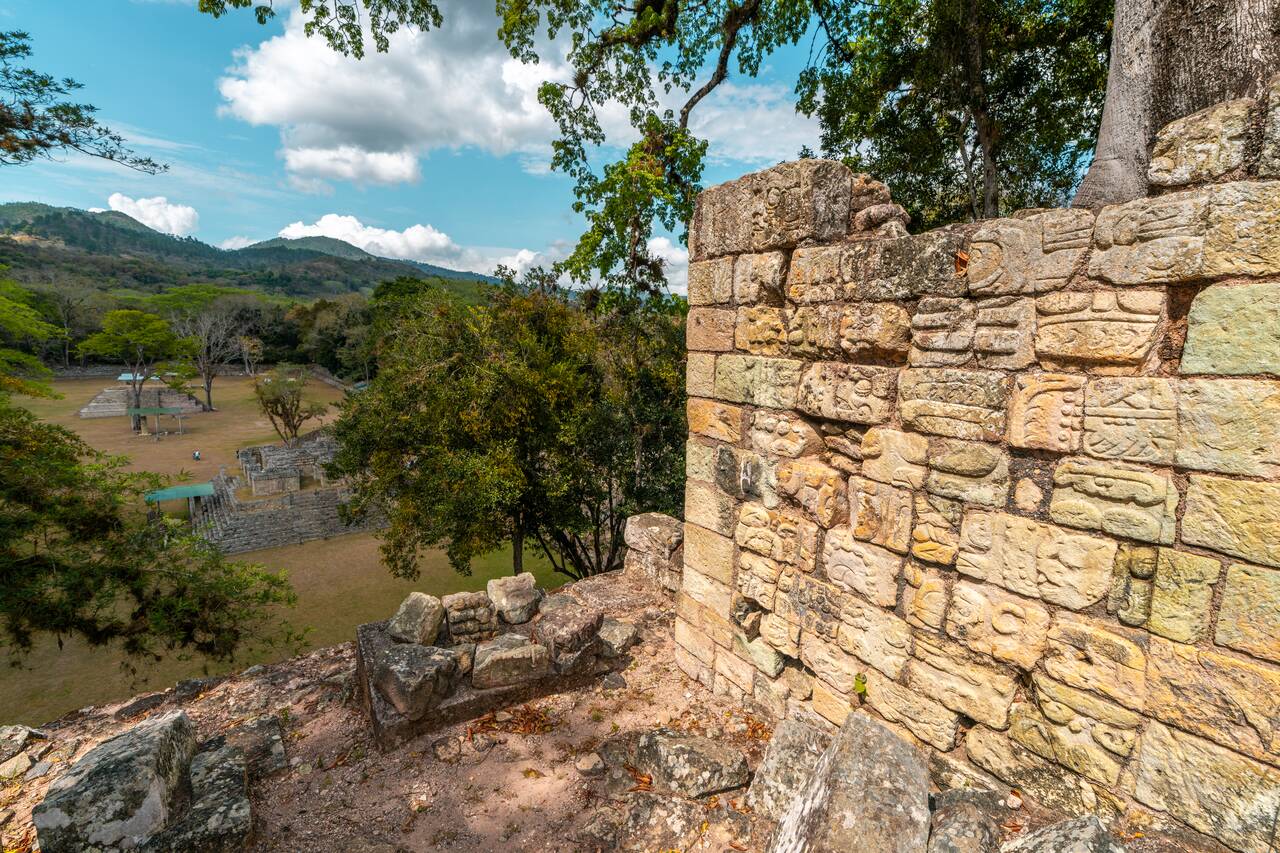
While Copán may not be as massive as Tikal in Guatemala, which wew will also visit later in this itinerary, it is famous for its incredibly detailed stone carvings, earning it the nickname "The Paris of the Mayan World." Plan to arrive right when the site opens to avoid the midday heat and enjoy the ruins before the crowds arrive.
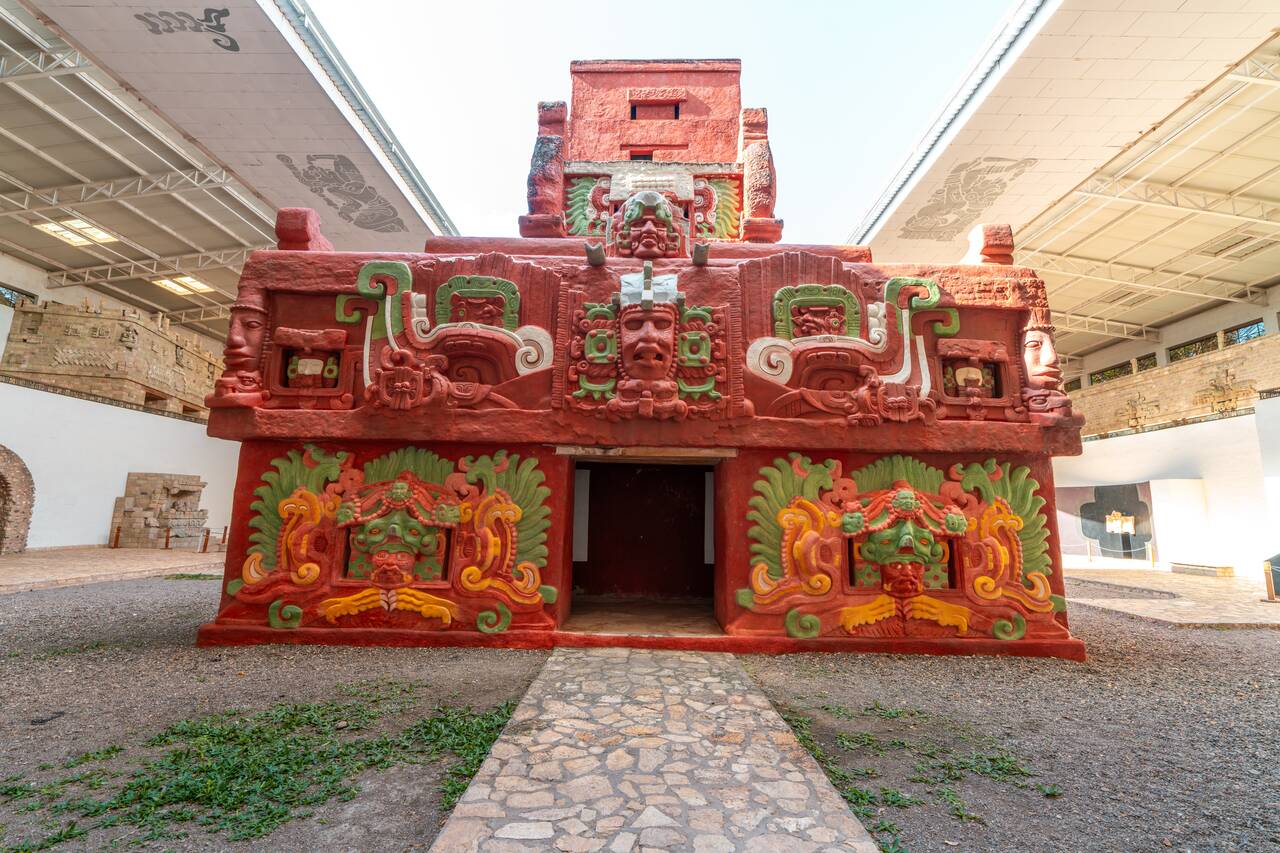
After exploring the ruins, walk over to the nearby Copán Sculpture Museum, home to an impressive full-scale replica of the brightly colored Rosalila Temple, allowing you to see what the temples may have looked like over a thousand years ago. The museum also houses many original sculptures and artifacts that provide more context about the ancient Maya civilization.
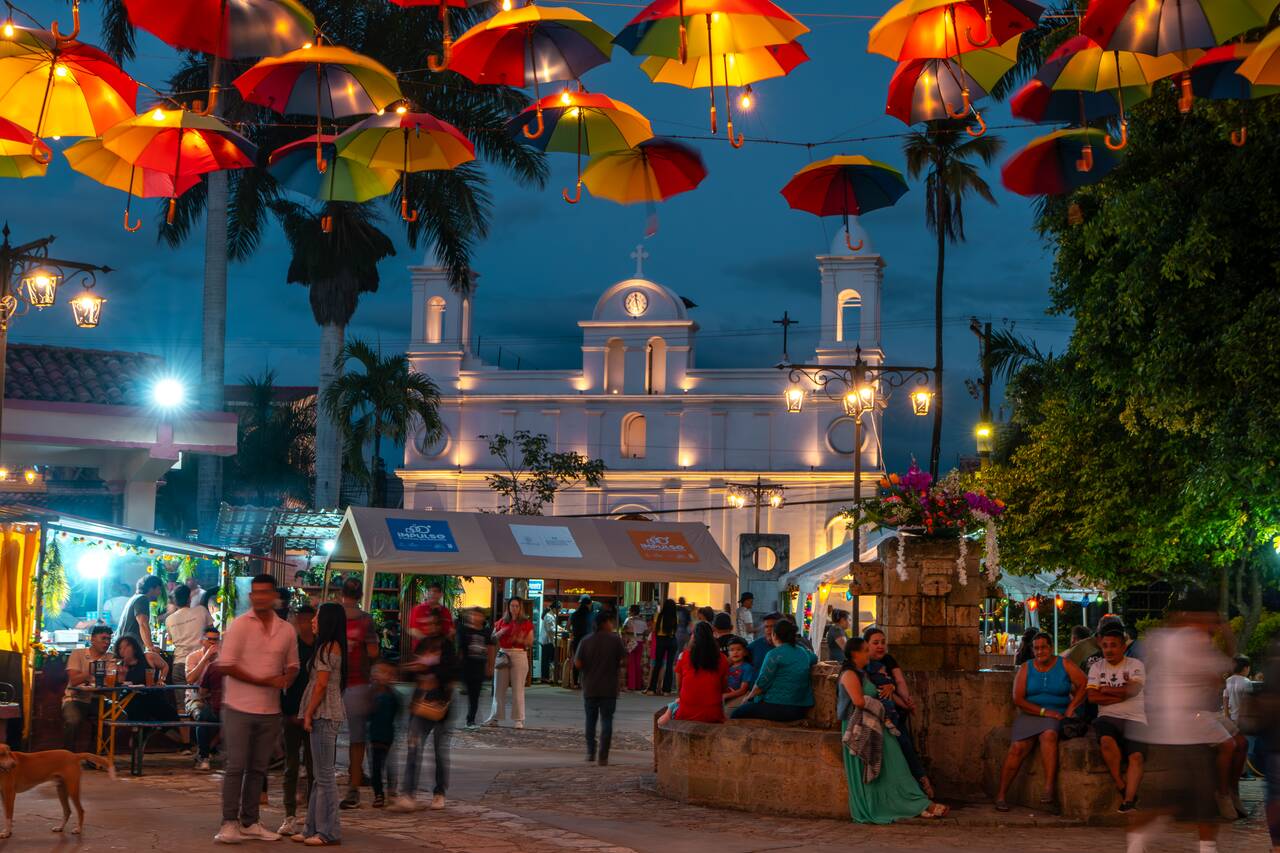
Once you're done, head back into town for a late lunch. Be sure to try a baleada, Honduras' most famous street food, before spending the rest of the afternoon wandering Copán Ruinas' charming cobblestone streets. Browse the locally made handicrafts at La Casa de Todo, stop by Café San Rafael for one of Honduras' excellent coffees, and spend some time exploring Parque Central, which becomes especially lively after sunset, before calling it a day and preparing to cross back into Guatemala the following morning.

Getting from Copan Ruinas to Antigua
From Copán Ruinas, you can also take a tourist shuttle operated by Gekko Trail Explorer. The shuttle will pick you up from your accommodation early in the morning, take you across the border into Guatemala, and continue all the way to Antigua, where you'll be dropped off at your accommodation. The journey takes around 7 hours, costs approximately 40 USD, and you can easily book your shuttle online in advance here.
Day 53 - 55: Antigua, Guatemala (3 nights)
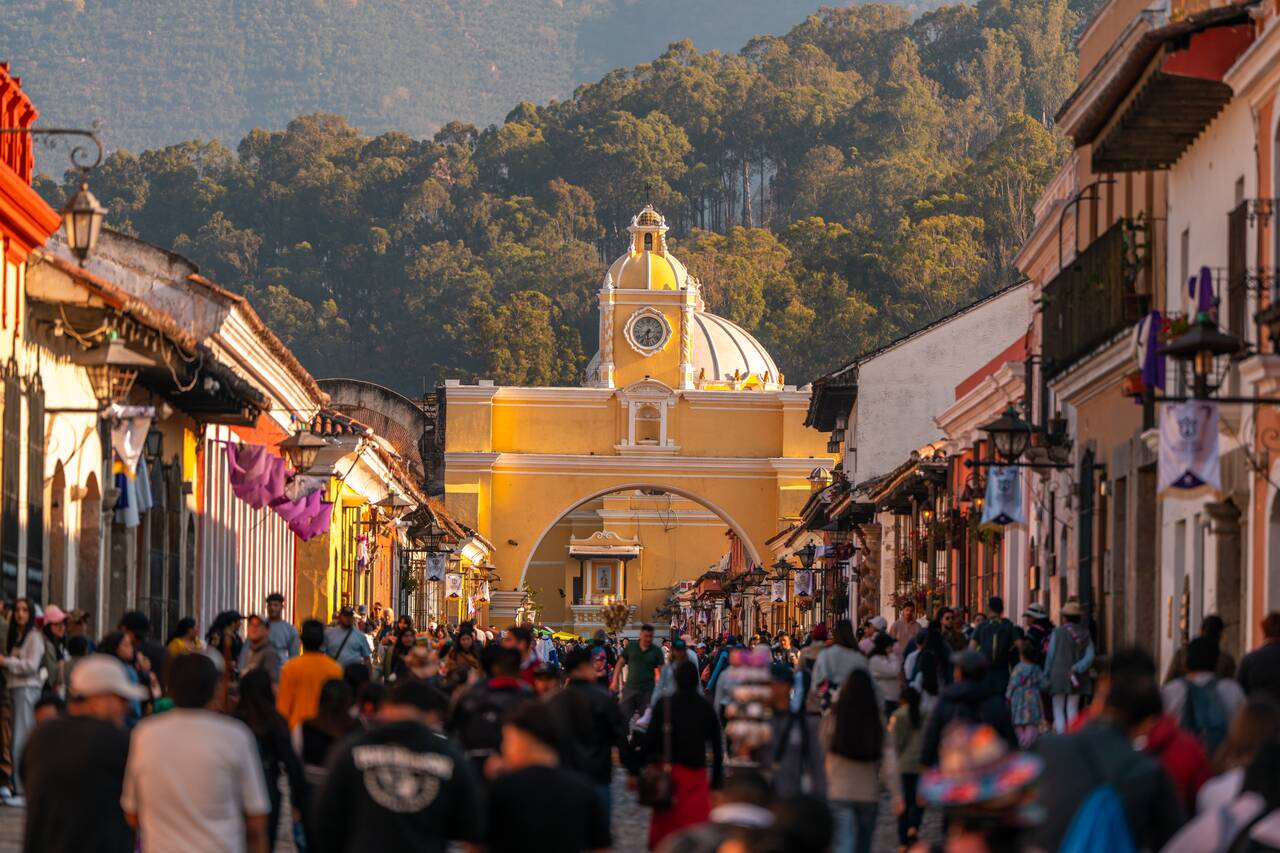
- 📍 Stay: Casa del Sol
- 🕐 Time: 3 nights
- 📖 Full Guide: Antigua, Guatemala Travel Guide: Things to Do, Itinerary & More
After taking the tourist shuttle from Copán Ruinas in Honduras to Antigua, Guatemala, you should arrive in the late afternoon. Spend the rest of the evening settling in, getting some cash from an ATM if needed, and resting up before we explore Antigua properly the next day.
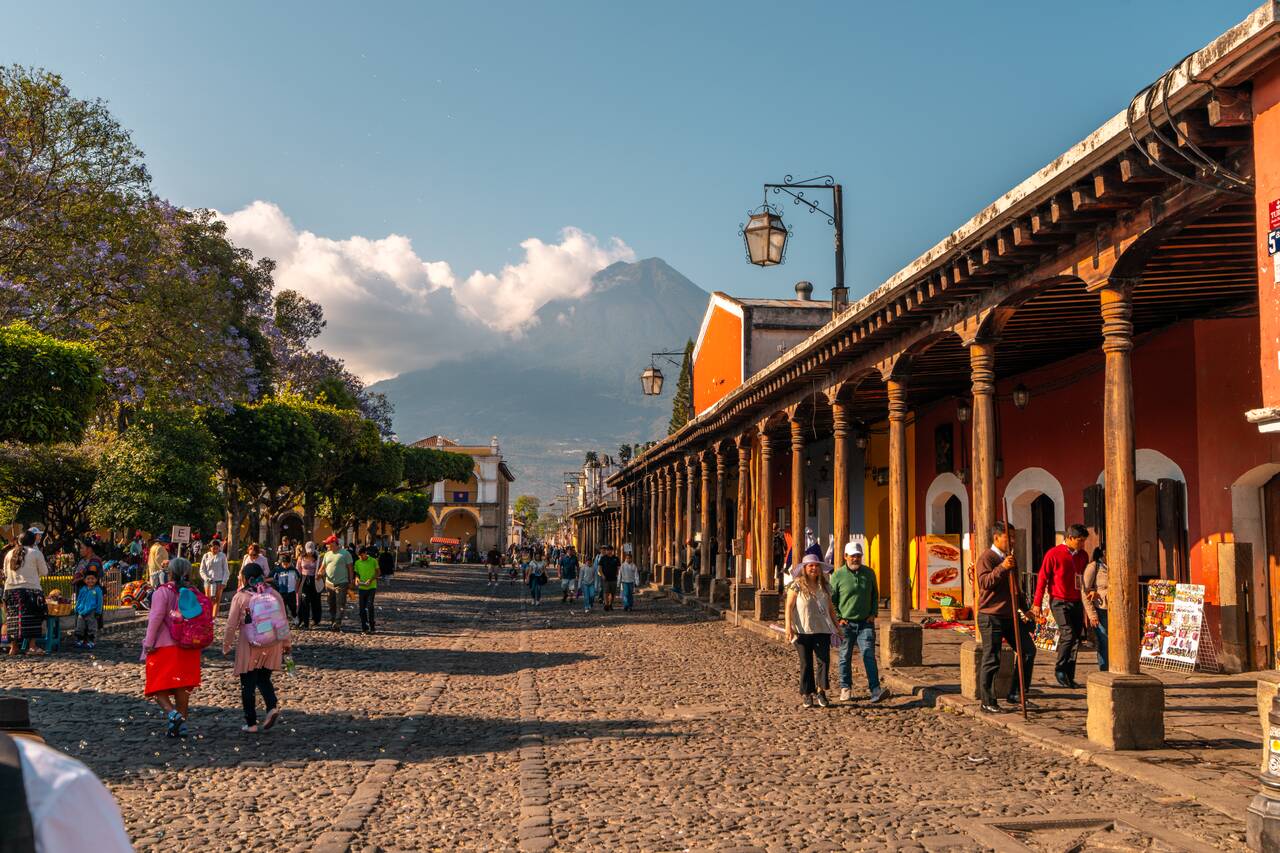
Antigua is one of my favorite cities in Central America, with its colorful colonial streets, beautiful historic architecture, excellent cafés, and incredible views of the surrounding volcanoes. It is the perfect place to ease into your trip, get your bearings, and prepare yourself before exploring the rest of Guatemala.
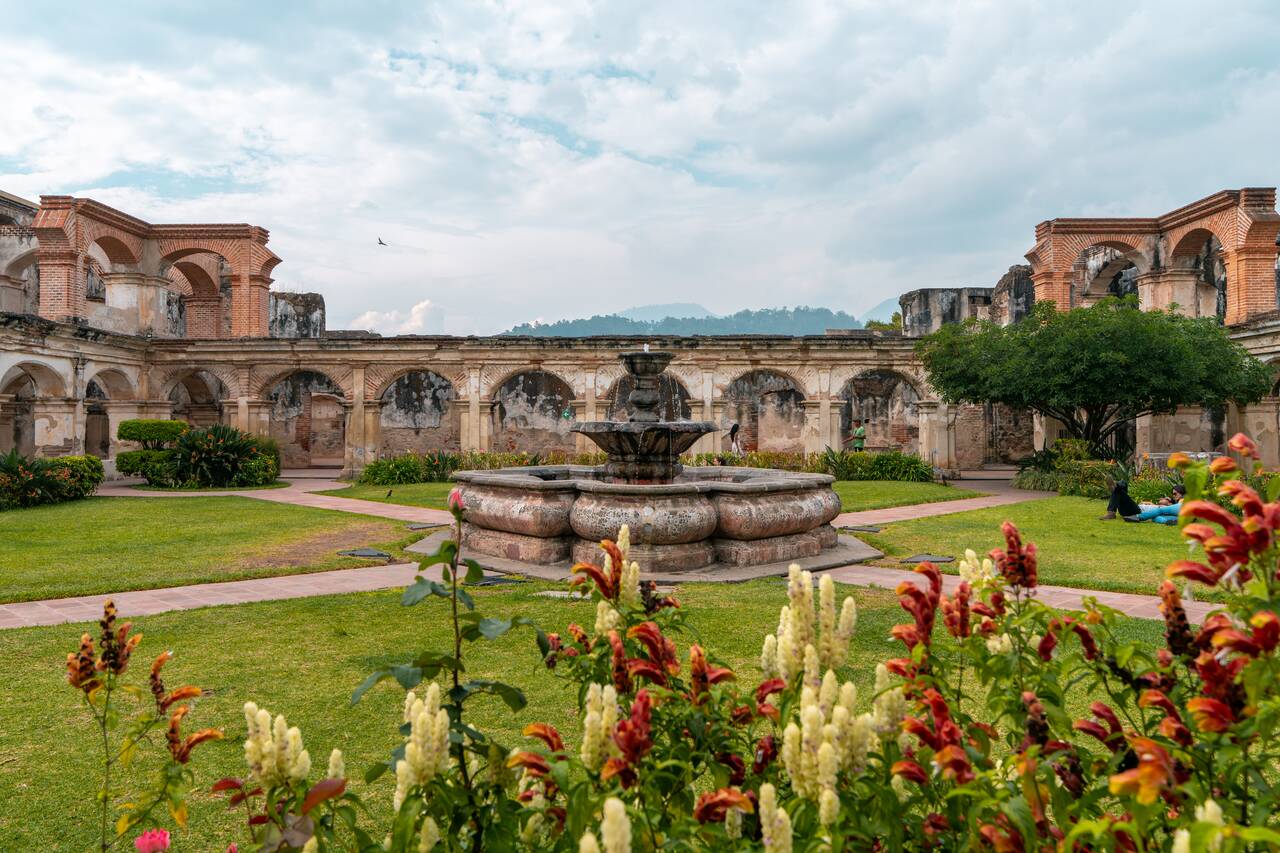
Spend your first day exploring the historic center of Antigua at a relaxed pace. Visit some of the city's most iconic landmarks, including the Santa Catalina Arch, Parque Central, and the many beautiful colonial churches and ruins scattered throughout the city like the Ruins of Antigua Cathedral and Convento Santa Clara.
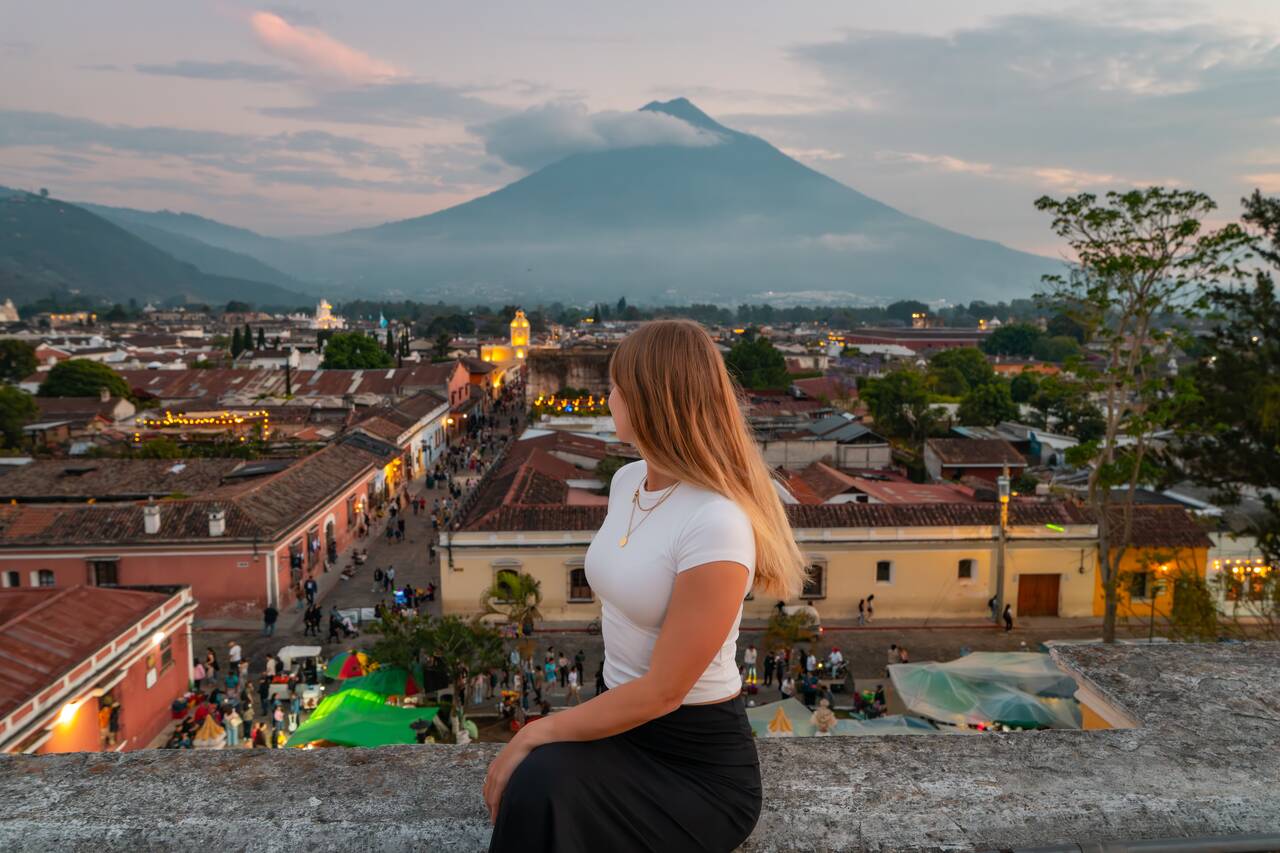
That should occupy you the entire day. For sunset, I highly recommend you go up to the rooftop of Iglesia de la Merced, which is one of the most beautiful churches in the city and has a great view over the main street of Antigua with the Agua volcano in the backdrop.
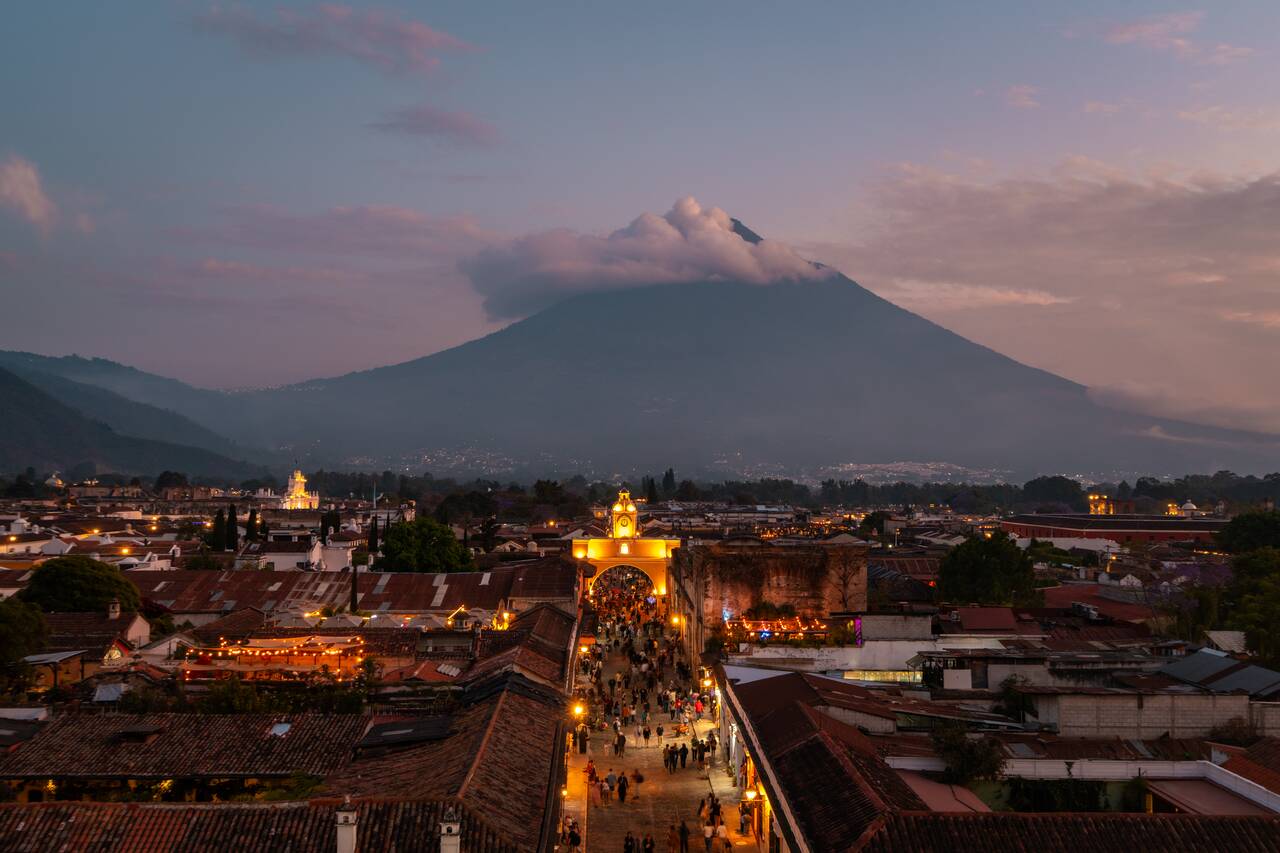
I highly recommend coming around sunset, as the view is best during the blue hour after sunset, when the sky is painted purple, the streets of Antigua are illuminated by artificial lights, and, if the weather permits, you might even be able to see eruptions from Fuego Volcano in the distance once it gets dark enough but not too dark.
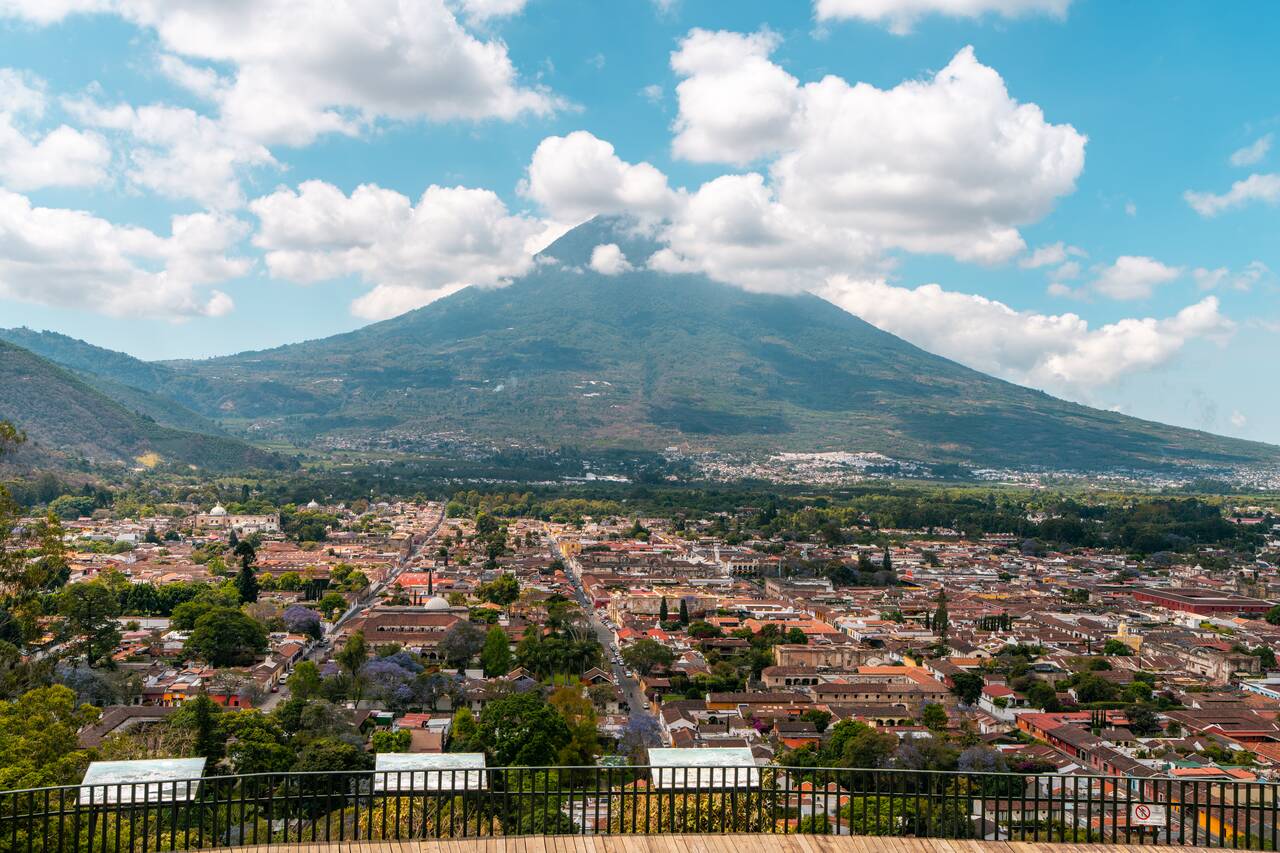
With another two days in Antigua, you can take your time experiencing more of what the city has to offer. In the morning, go and hike up Cerro de la Cruz, one of the best viewpoints in Antigua. From up there, you will have a stunning panoramic view over the entire city with the towering Volcán de Agua perfectly framed in the background.
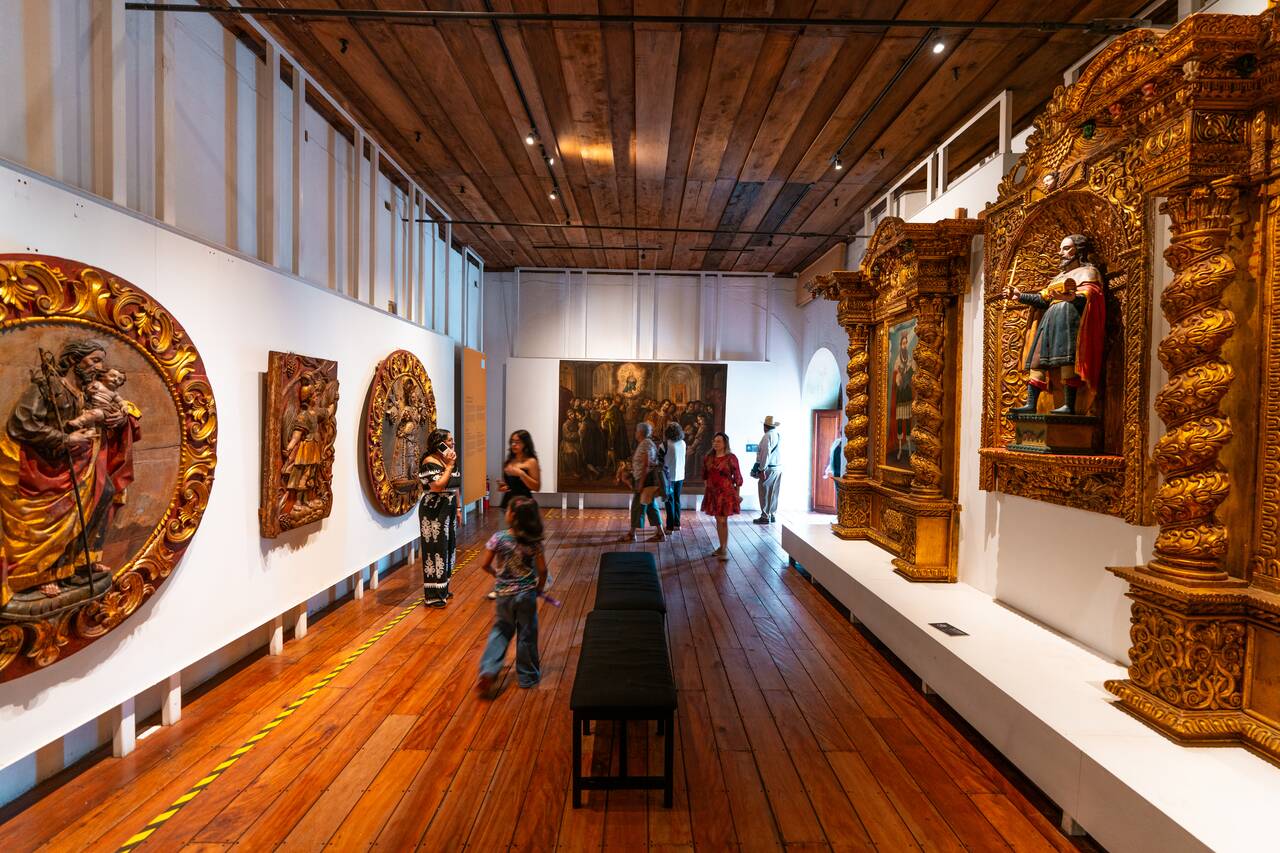
You can also visit museums, like Museo Nacional de Arte de Guatemala which is my favorite as it held a great collection of local artworks inside this beautiful colonial building with a great courtyard set against the backdrop of Agua volcano, and best of all, it is free to enter.
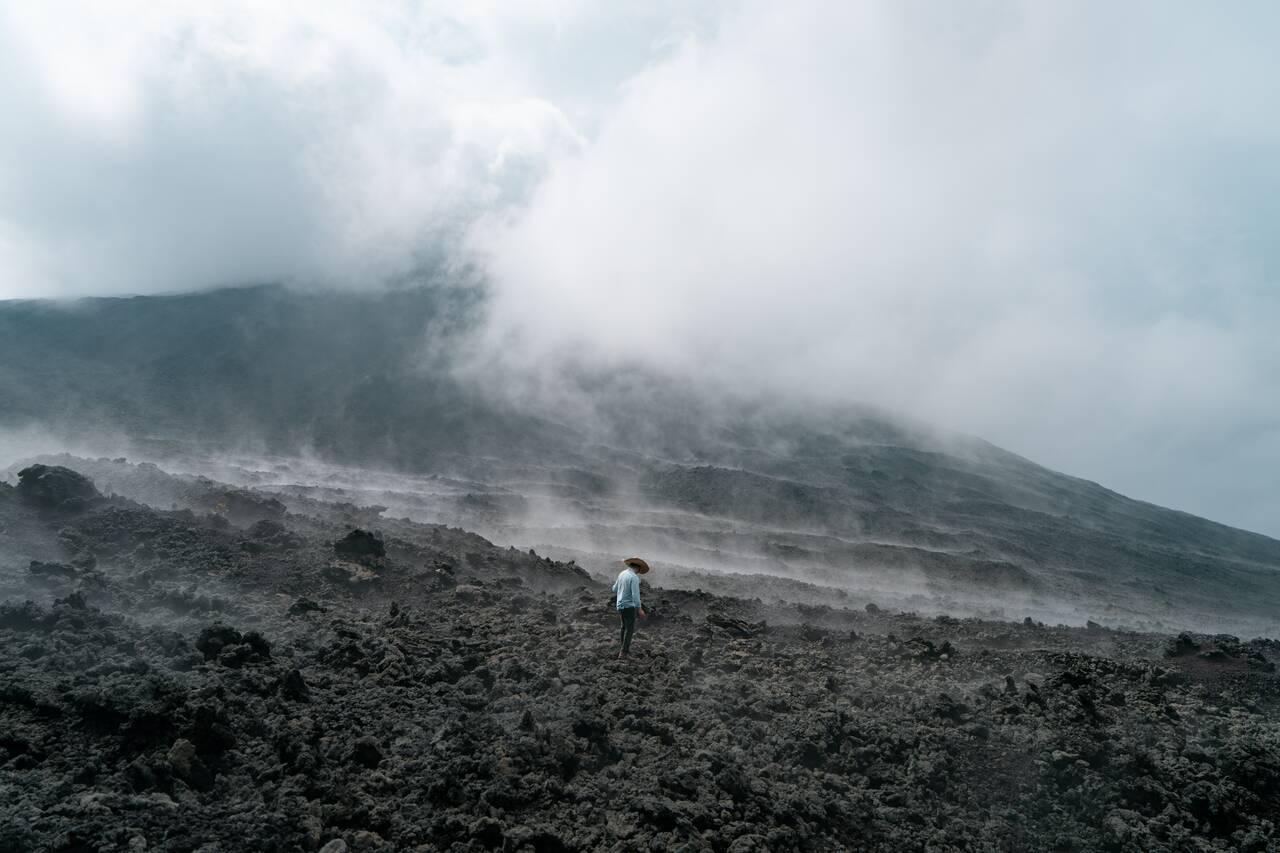
You can also take a day trip to Pacaya Volcano to prepare for the Acatenango hike that we will tackle the next day. Located about an hour from Antigua, Pacaya is one of Guatemala's easiest and most accessible active volcanoes, which makes for an easy half-day trip from the city.
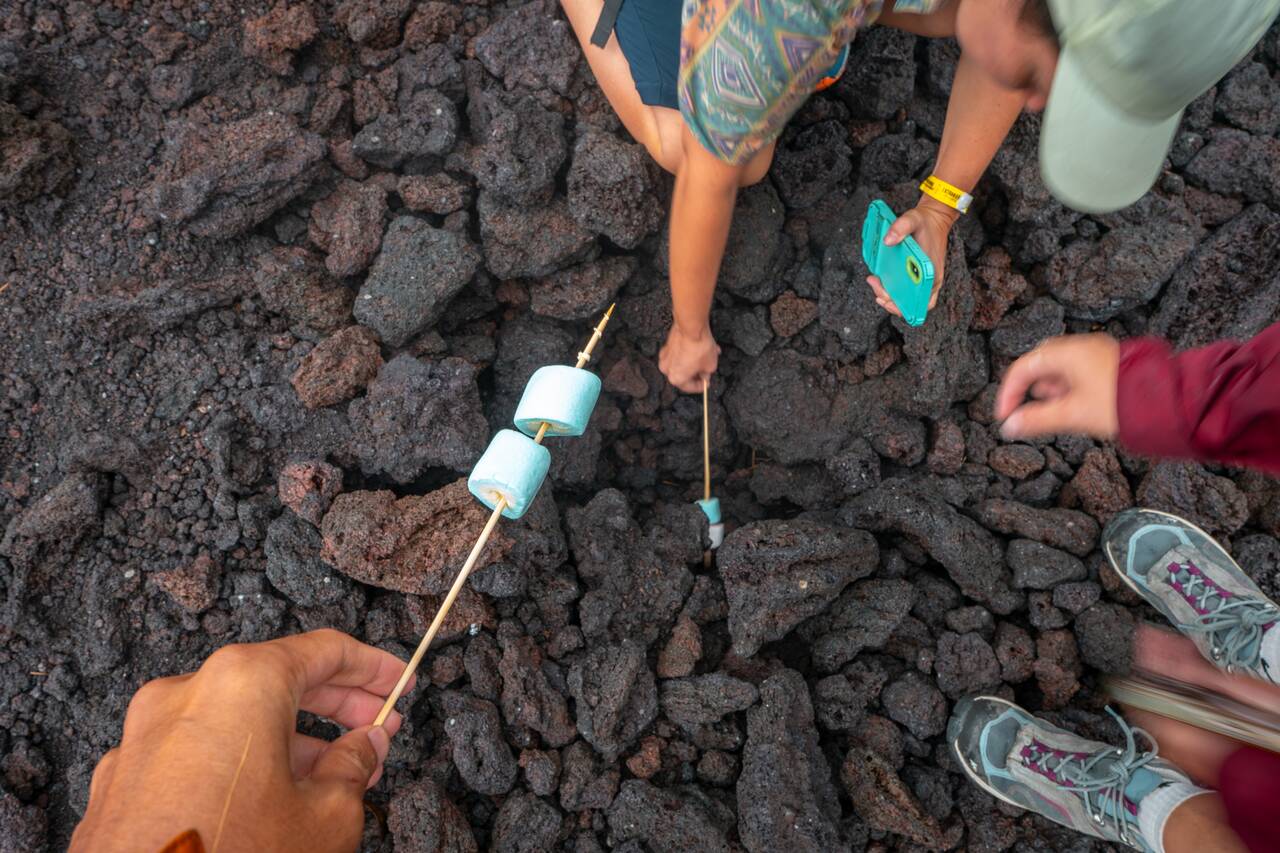
To hike Pacaya, you will have to join a guided tour, which includes round-trip transportation from Antigua and takes around half a day, usually leaving at 6 AM and returning around 2 PM. The hike is very easy, and almost anyone can do it. I hiked Pacaya hoping it would prepare me for Acatenango, which it was a nice introduction to, but honestly, it was far too easy to prepare my knees for the onslaught that was the Acatenango hike 🤣.

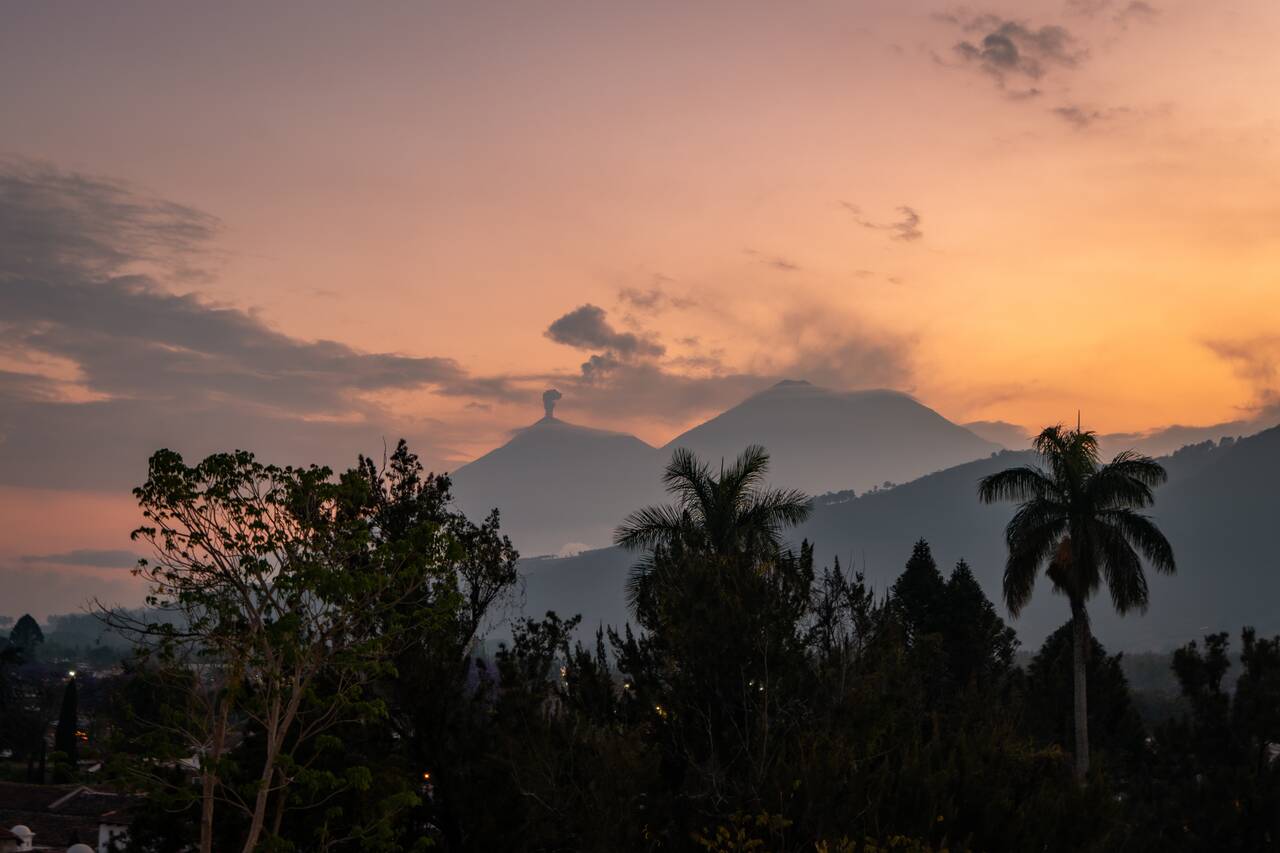
Before ending your second day in Antigua, make sure you spend some time preparing for your upcoming Acatenango Volcano hike. This is one of the most demanding hikes you will ever do, and even after hiking extensively around the world, I still found it pushed me to my limits. You should also book your tour well in advance, as this is an extremely popular hike and the best tour companies often get fully booked weeks ahead. Don't leave it until the last minute!
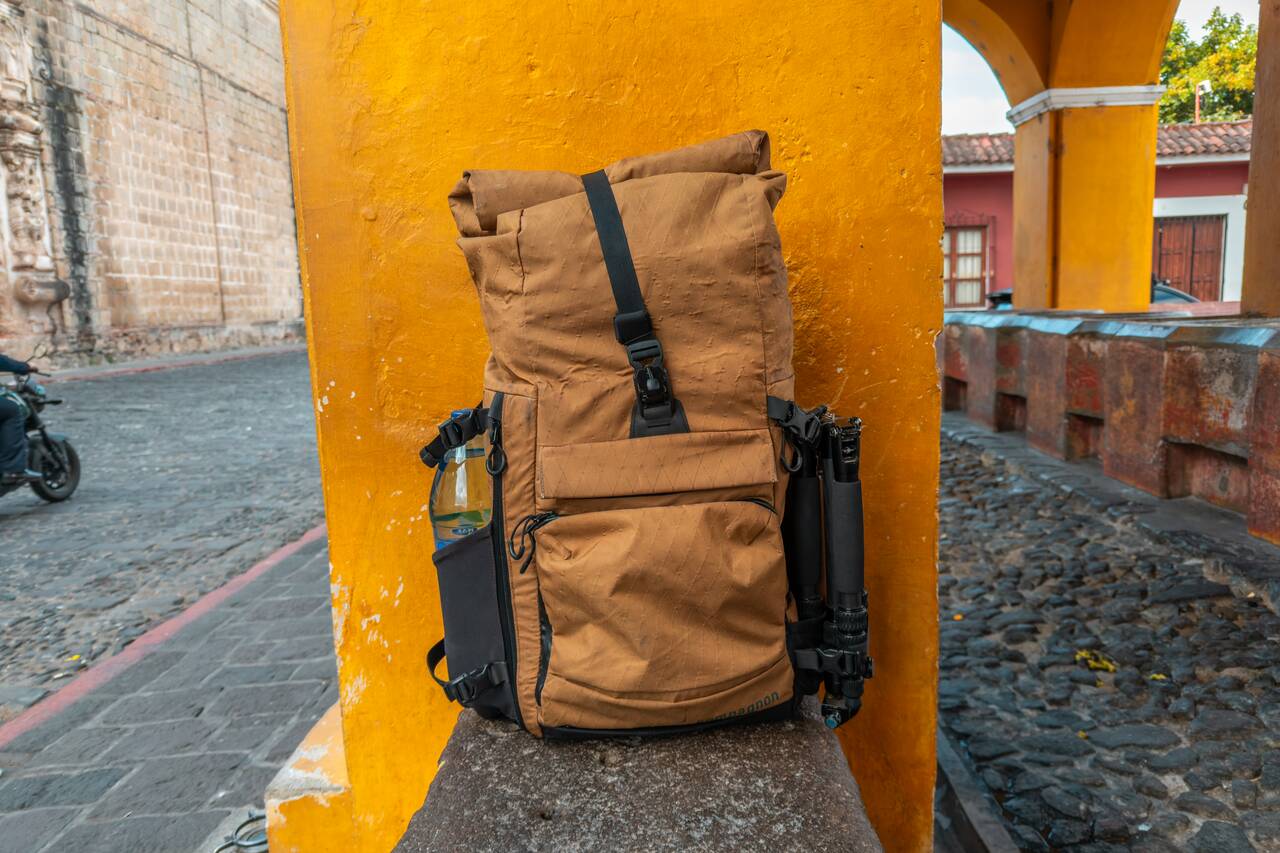
Make sure you have warm clothing (you can also rent gear through your tour company), snacks, at least 2 liters of water, and all the essentials ready, as the temperature at the campsite can drop significantly at night. Get an early rest, because you are going to need all the energy you can get, and trust me, sleeping at altitude is not easy.


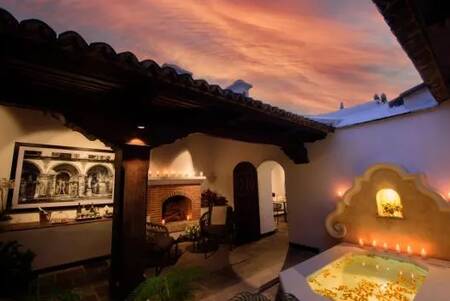
Getting from Antigua to Acatenango
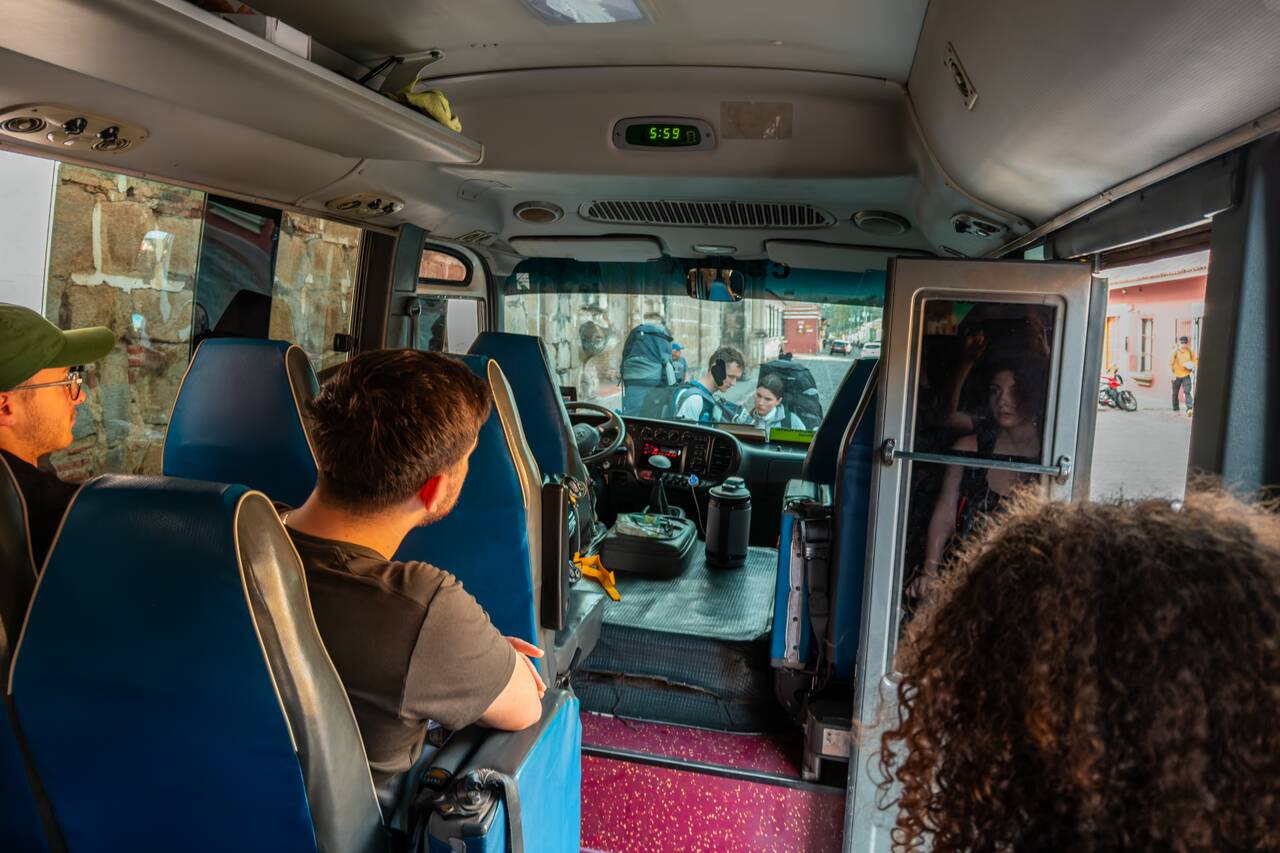
The best way to get from Antigua to Acatenango is by booking an Acatenango hiking tour. I went with this tour, and they were great. The campsite faced directly toward Volcán de Fuego, giving us incredible views of its eruptions throughout the evening. The guides were friendly and professional, and my group had only around 18 people, which made it easy to get to know everyone along the hike. In contrast, some of the more well-known companies I saw were leading groups of over 40 people, which is an insane amount of people 😬!
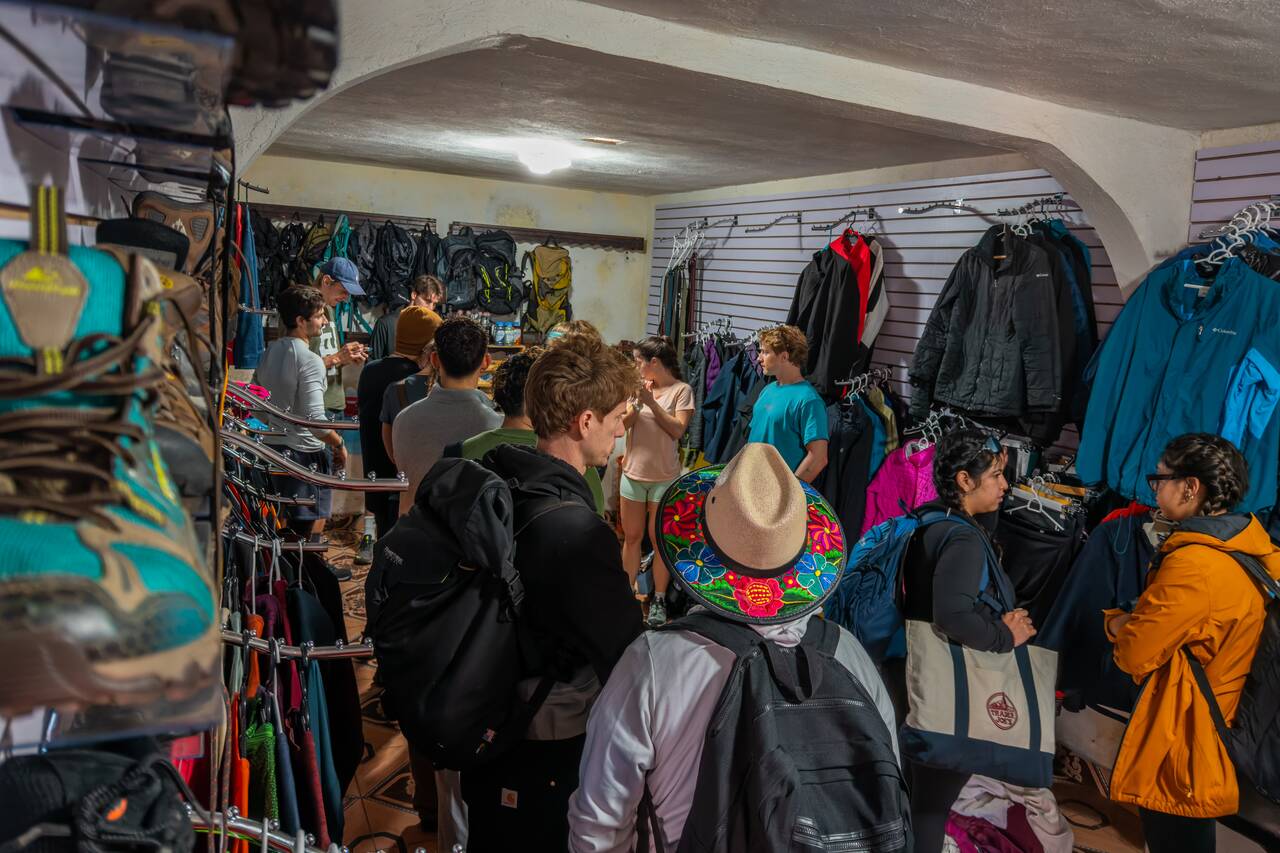
Most tours include hotel pickup in Antigua between 7 AM and 8 AM, round-trip transportation between Antigua and the Acatenango trailhead, the option to rent hiking gear (which I highly recommend, as it gets extremely cold at the summit), a guided hike, basic accommodation at the campsite, and transportation back to Antigua the following day. If you want to hike Volcán de Fuego from the campsite, expect to pay an additional fee of around 250 GTQ (30 USD).
Day 56: Hiking Acatenango, Guatemala (1 night)
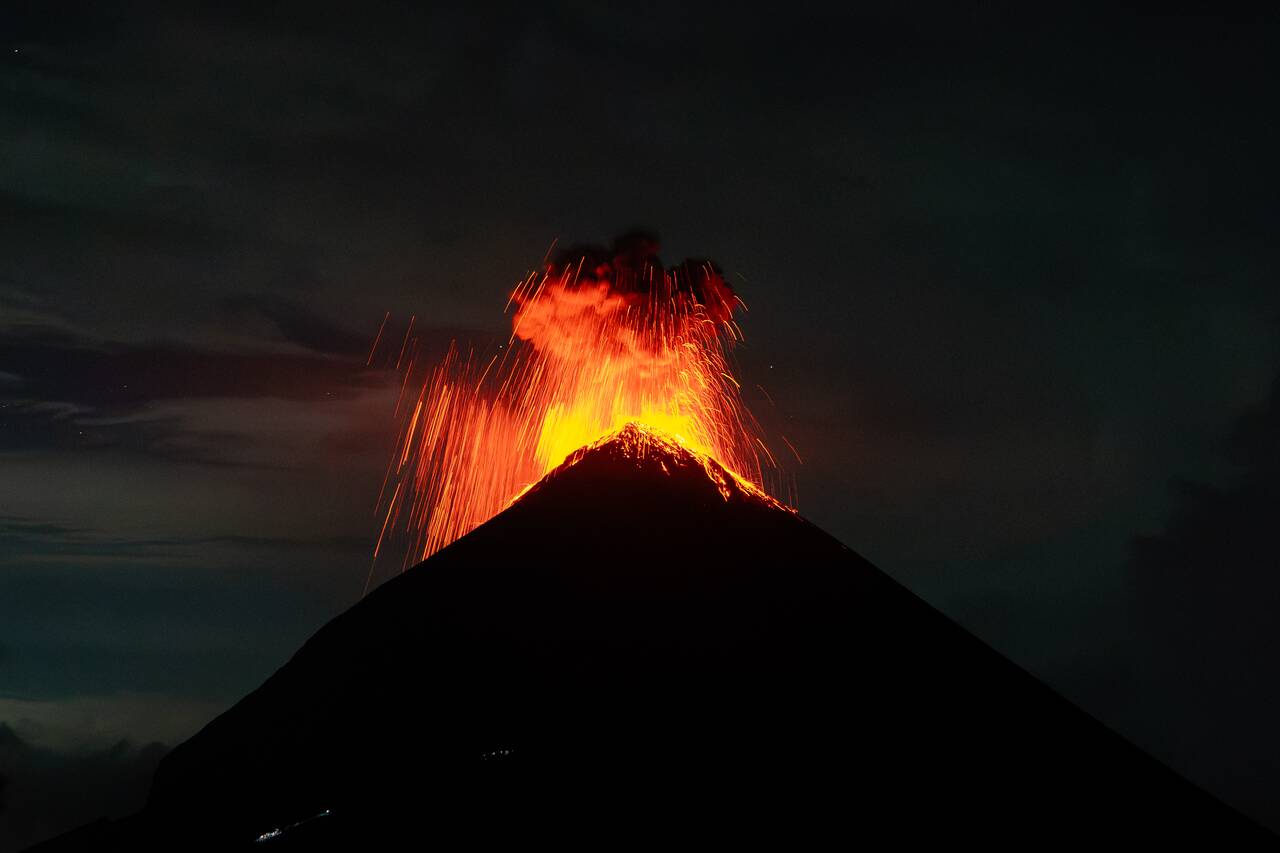
- 📍 Stay: Acatenango Campsite
- 🕐 Time: 1 night
- 📖 Full Guide: Hiking Acatenango & Fuego Volcanoes in 2026
Hiking Acatenango and Fuego Volcanoes is, hands down one of the most epic hikes you can do, not just in Guatemala, but in Central America! This multi-day hike will take you all the way up to 3,976 m (13,045 ft) at the top of Acatenango Volcano, where you get a clear view of the active Fuego Volcano, which regularly erupts throughout the day and night, sending plumes of smoke and lava into the sky. You can hike Acatenango with this tour.
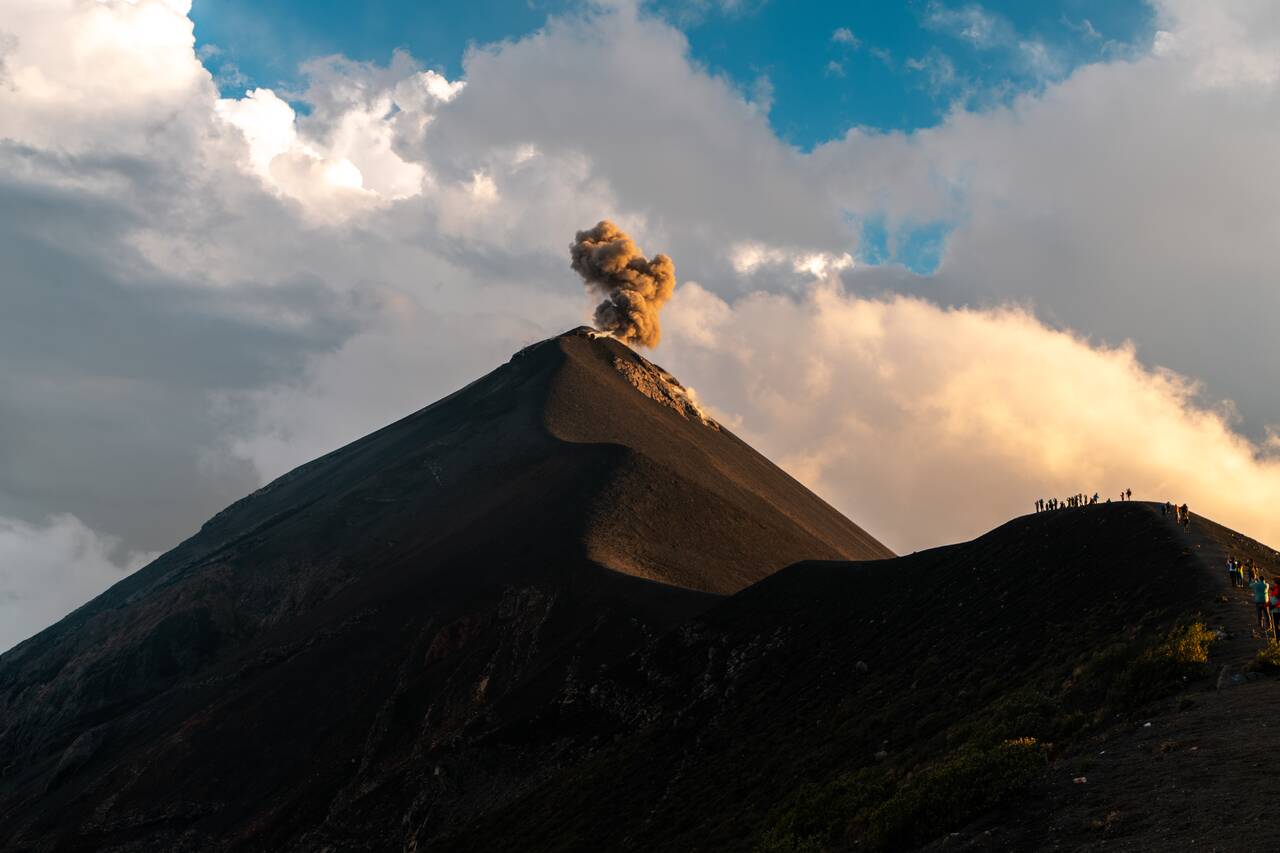
The hike is definitely challenging, not because of the technical difficulty of the trail, but because, to experience it fully, you'll need to complete two long hikes of around 4–5 hours each in a single day. The best time to witness Fuego's eruptions is at night, as the lava's orange glow is much harder to see during the day.
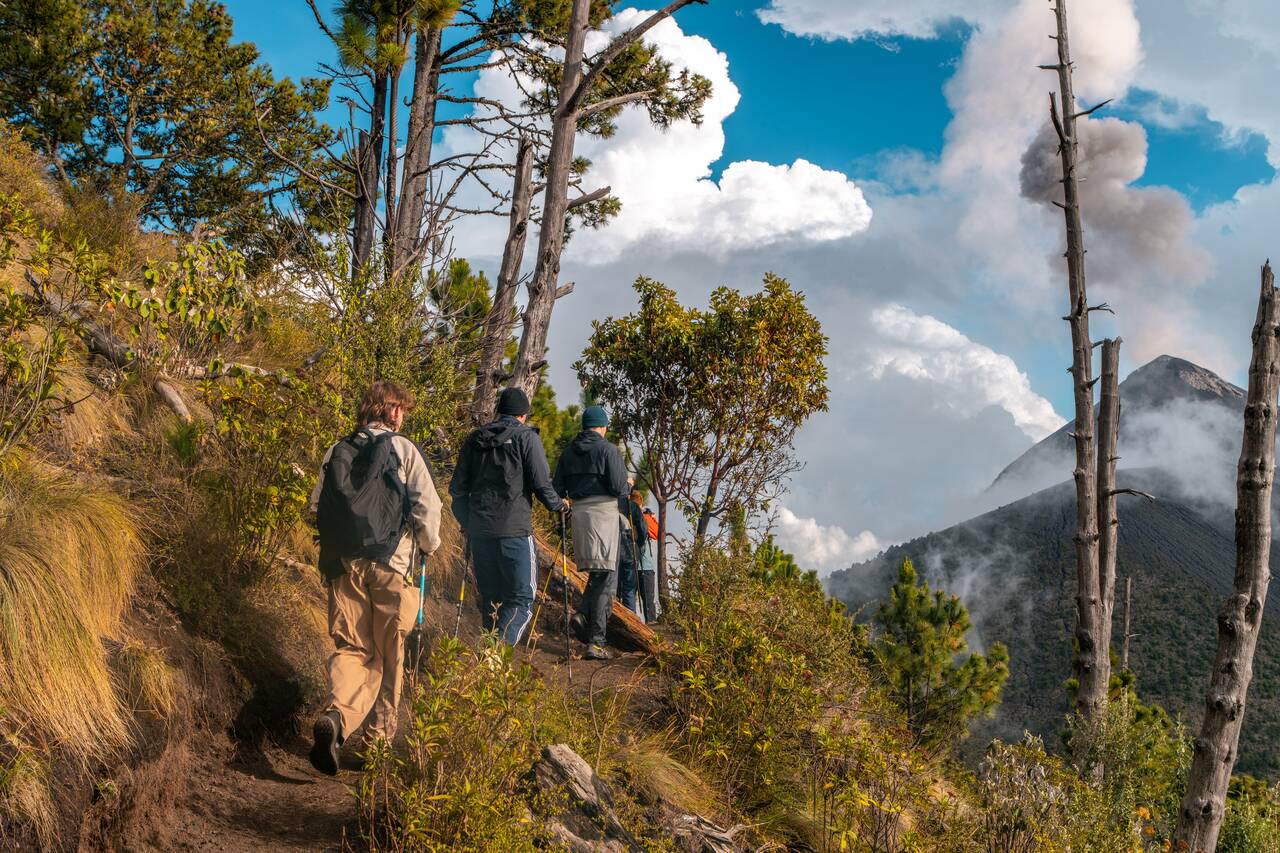
This means you'll have to push through the long climb to base camp, where you'll then have around an hour rest before you have to descend Acatenango and hike up to the Fuego ridge for a closer view of the eruptions. After waiting until sunset to see the volcano light up, you'll make the climb back down at night, and up Acatenango again to spend the night at camp.
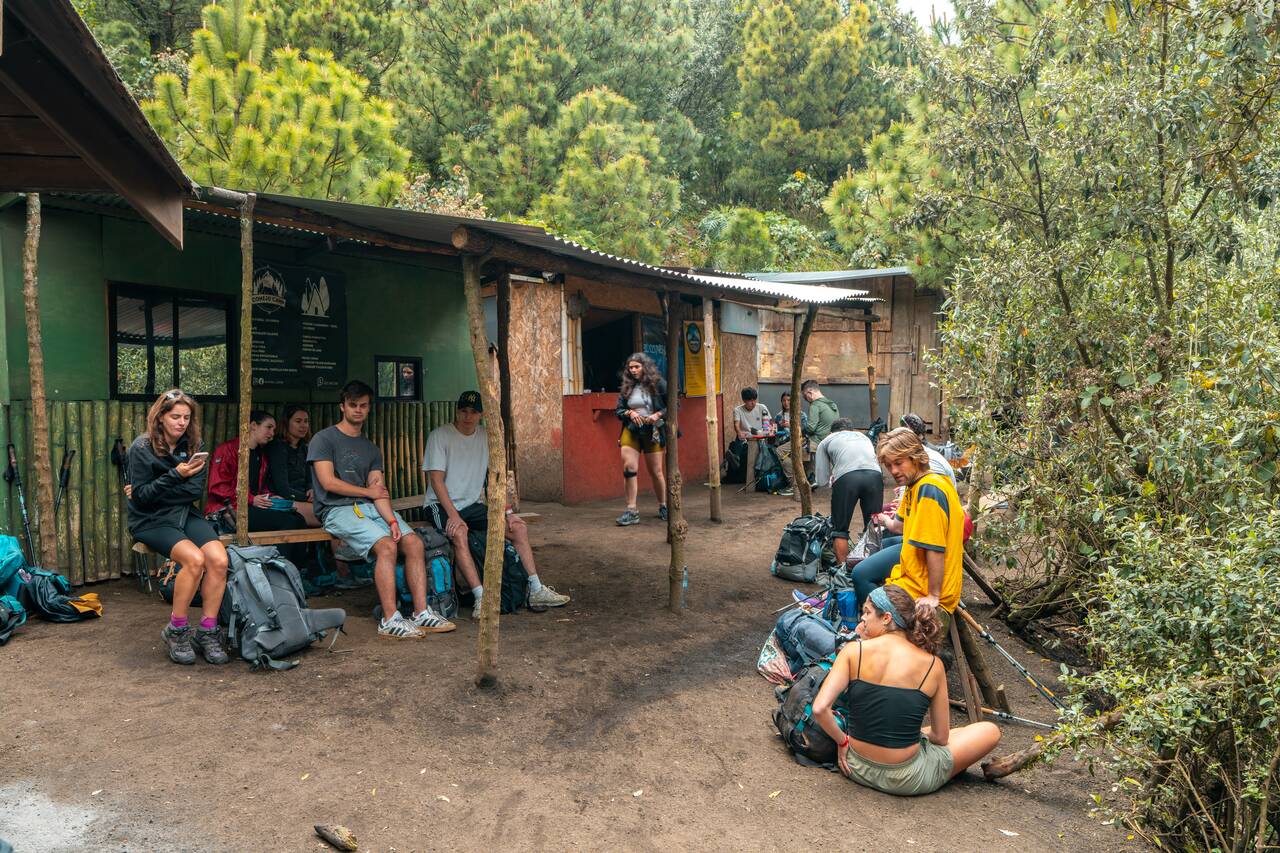
I did the whole thing, and here's how it went: We started the hike around 10:30 AM at the trailhead, arrived at the base camp around 3 PM, taking about 5 hours, with around 4 - 5 rest stops, which is plenty. The trail to the base camp was steep from start to almost finish when the trails even out towards the end as you go around the crater to your campsite.
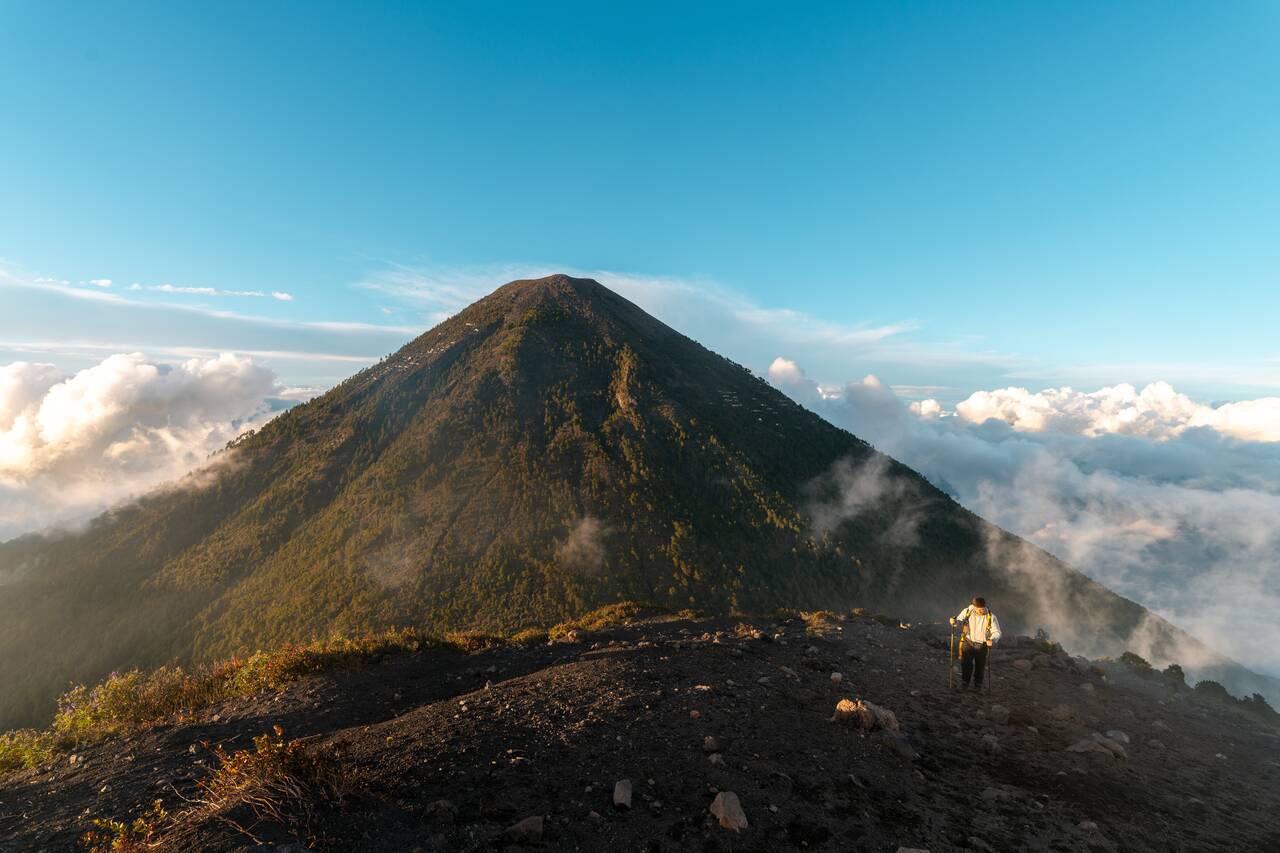
Once we arrived at the campsite, we rested for about an hour before starting the hike to Fuego again at 4 PM. The trail begins with a steep and slippery descent for about an hour before climbing uphill for another hour toward the Fuego ridge. We arrived at the viewpoint around 6 PM, after a 2-hour hike, just in time to watch the sunset over the volcano.
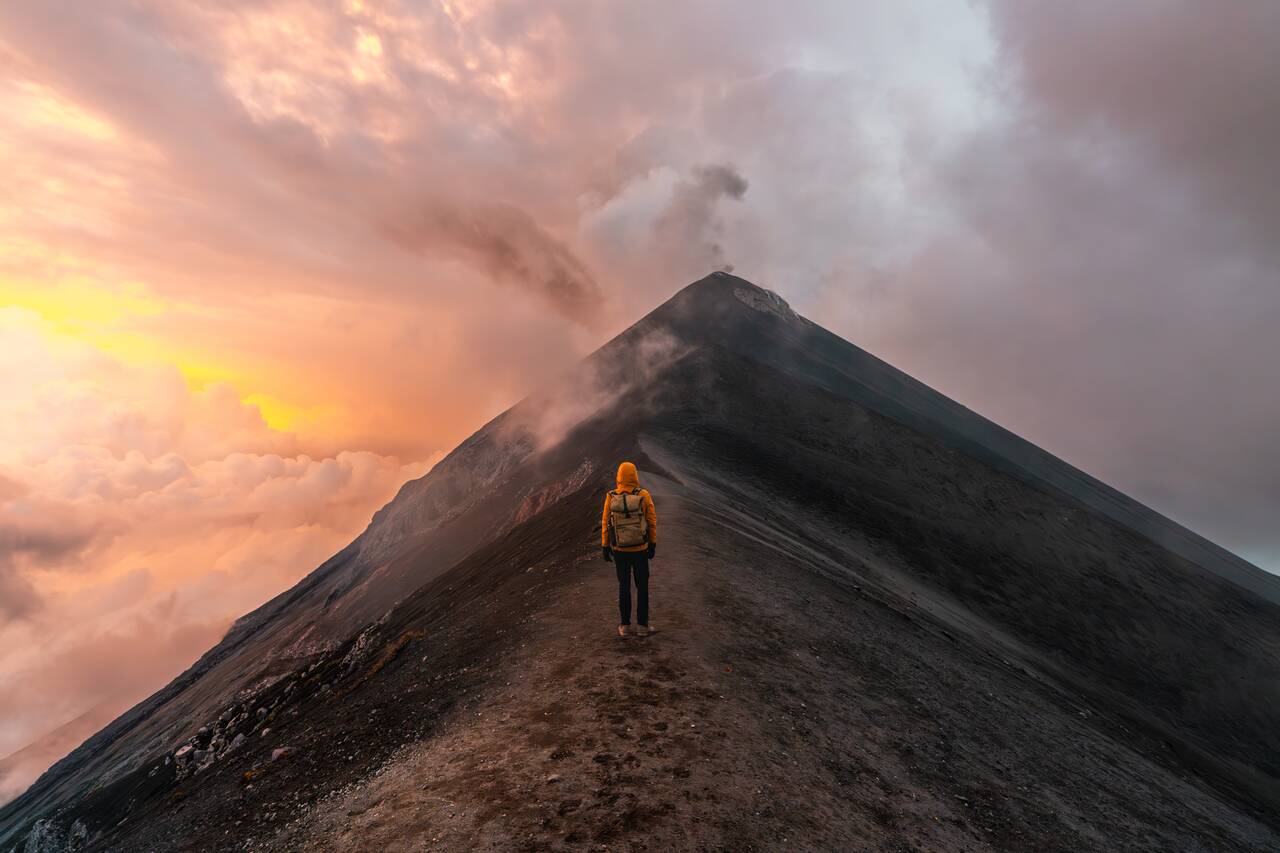
We waited and watched the sunset and the eruptions, which happened every 15–20 minutes and were incredible! Some of them were massive, and we were all cheering while hoping the debris wouldn't fall on us 😬. At around 7 PM, we put on our headlamps and headed back to base camp.
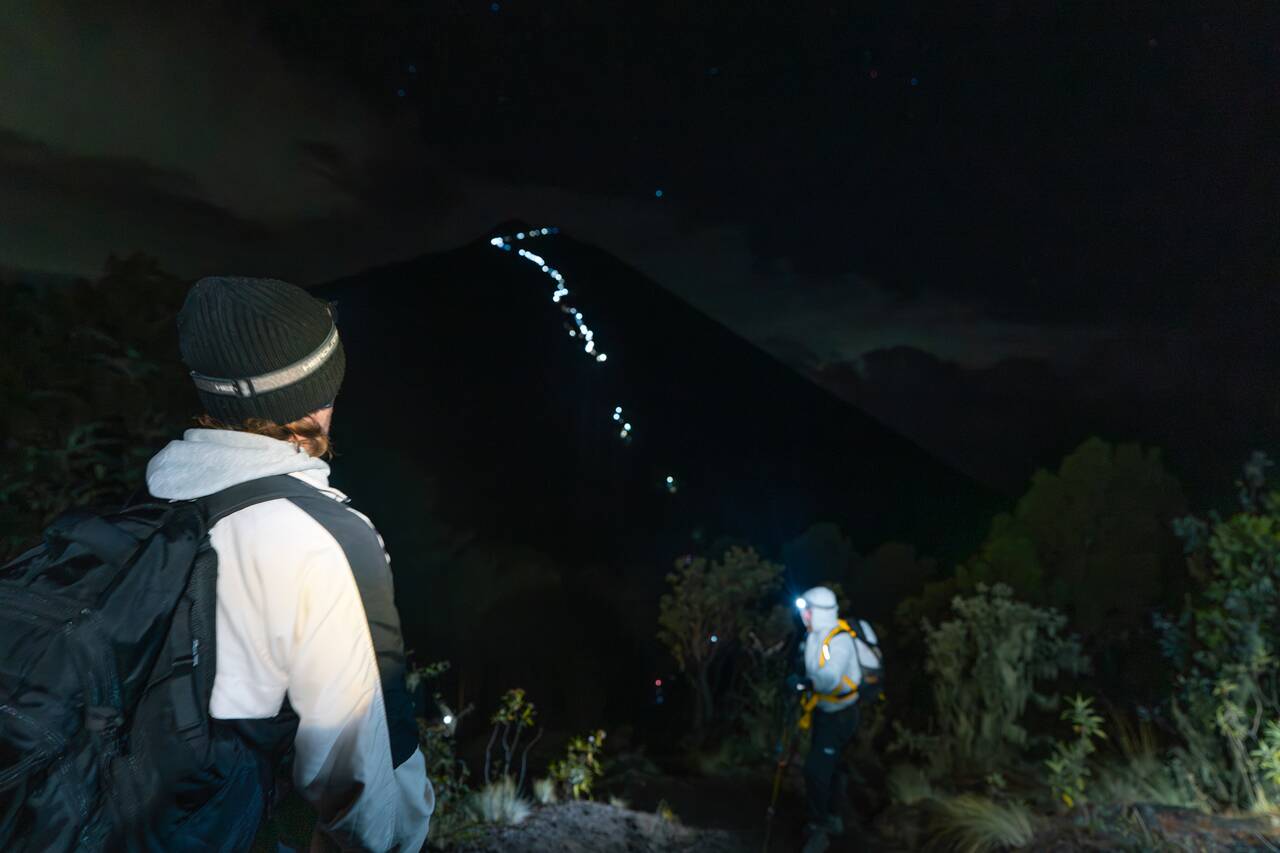
It took us another 2 hours to complete the trek back, which was the toughest part, as the hike back up was extremely steep. Combined with the exhaustion and having to navigate the trail at night, it was hell on earth, to be honest. We got back at the camp at 9 PM, where we had our late dinner and hot cocoa, thank god, and we retreated for bed immediately.
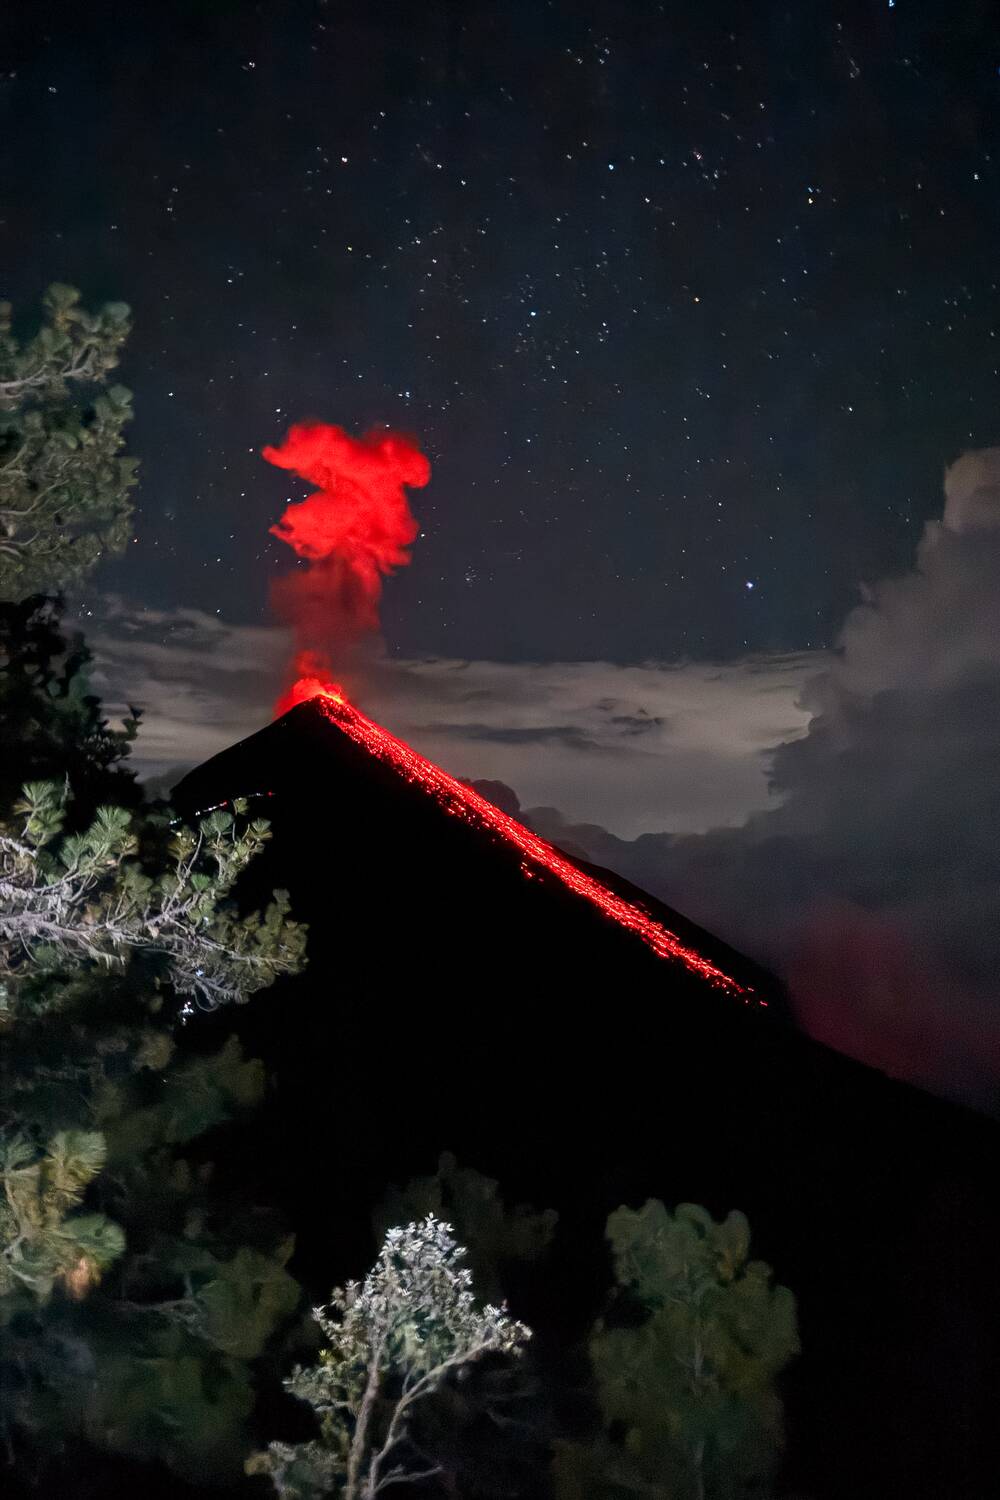
It was a long 11-hour hiking day, and it was one of the toughest hikes I have ever done, despite having completed many challenging hikes around the world. Sleeping up here was also not easy, thanks to the perfect storm of conditions: the extreme altitude of almost 4,000 meters, freezing temperatures, howling winds that drowned out almost everything, and the occasional explosion and ground shaking every time Fuego erupted. Don't expect a good night's sleep, but try to rest as much as you can, as you will still have the option to wake up early, hike up Acatenango for sunrise, and make your way back down afterward.

Day 57 - 58: Hiking Down from Acatenango & Rest Day in Antigua, Guatemala (2 nights)
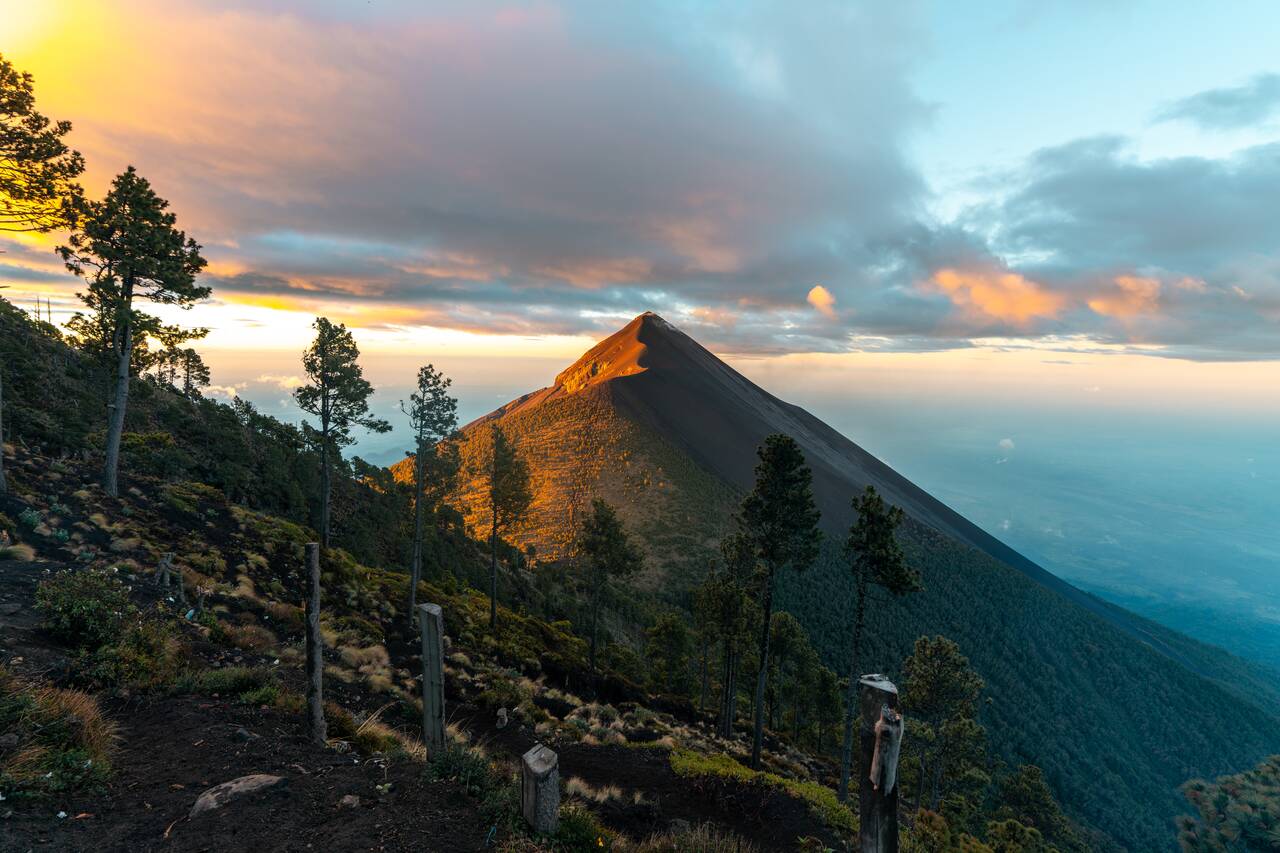
- 📍 Stay: Casa del Sol
- 🕐 Time: 2 nights
- 📖 Full Guide: Where to Eat and Drink in Antigua: My 7 Top-Picks
On this day, you have the option to hike up Acatenango for sunrise or skip it, as I did, since hiking Fuego was already challenging enough. I heard that although the hike to the summit of Acatenango is shorter, it is actually steeper and follows a loose rocky trail, making it even more difficult. The fact that it starts at around 3 AM does not make it any easier either.
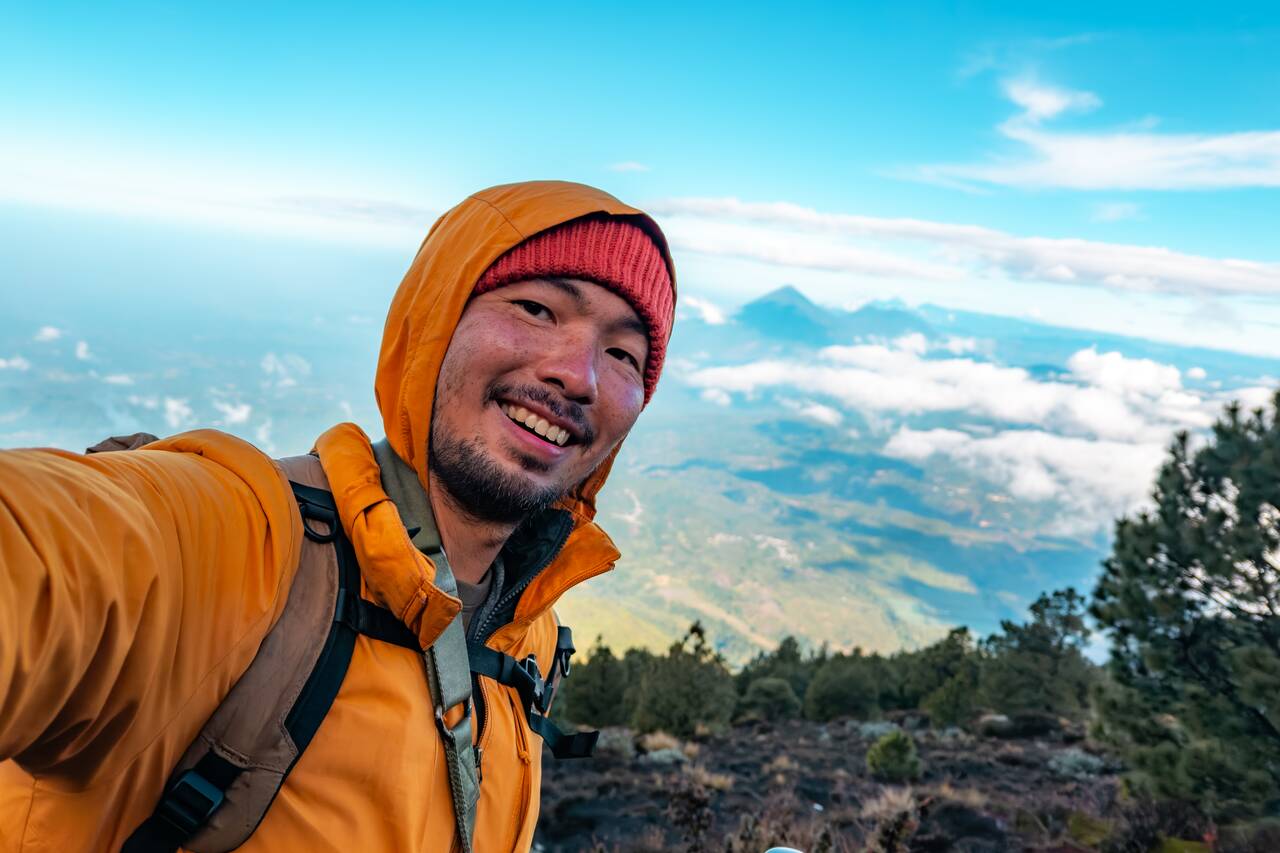
Nevertheless, you should still wake up early to watch the sunrise from the campsite. The view is truly a sight to behold, with the surrounding volcanoes and clouds slowly glowing under the morning light. After breakfast, you should start making your way down around 7 AM, reaching the trailhead by around 10–11 AM and returning to Antigua by approximately 1 PM.
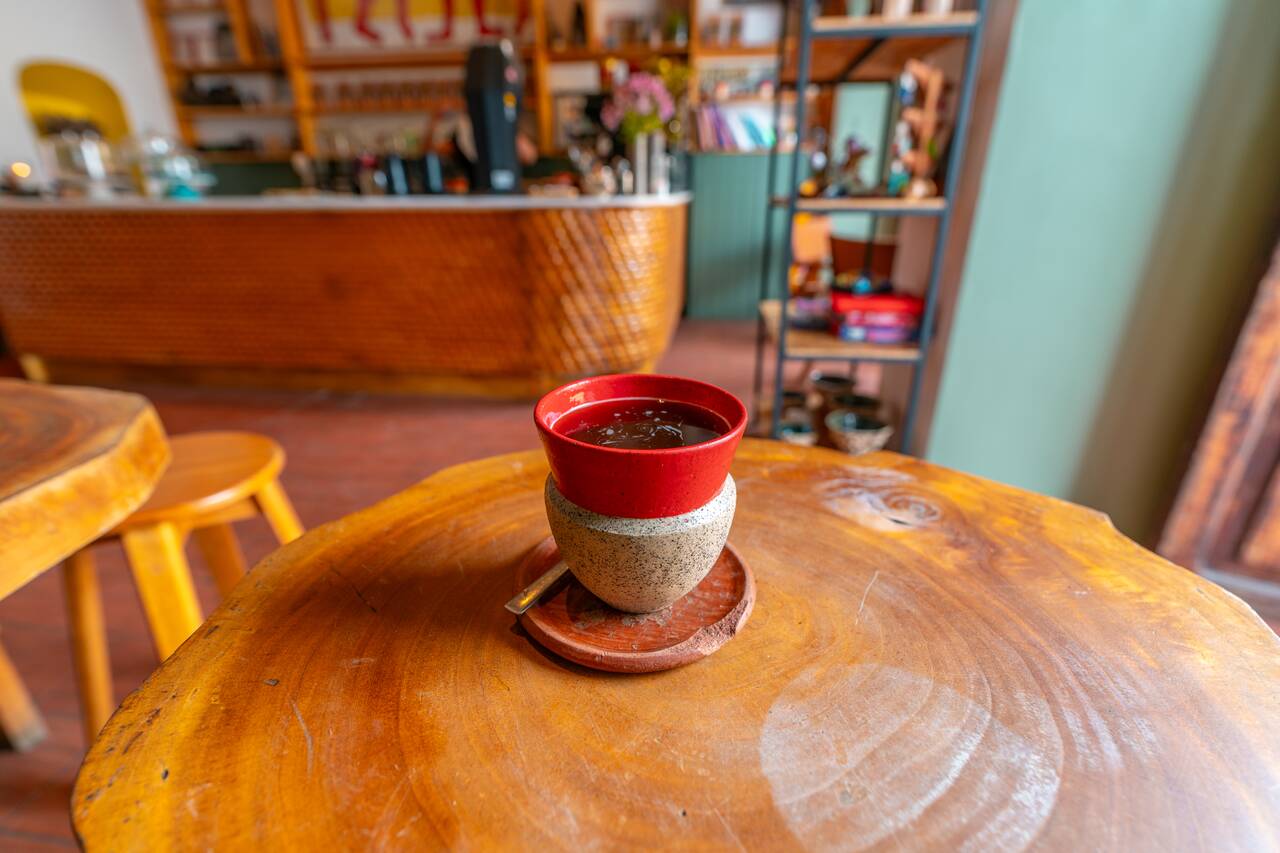
We will have 2 more nights in Antigua so you can rest up and recover before moving on to the next destination. Trust me, you are going to need this rest day 😉! You can spend the day doing absolutely nothing, revisiting some of the places you may have missed in Antigua, exploring more of the city's charming streets, or simply go cafe-hopping as there are tons of great cafes here.
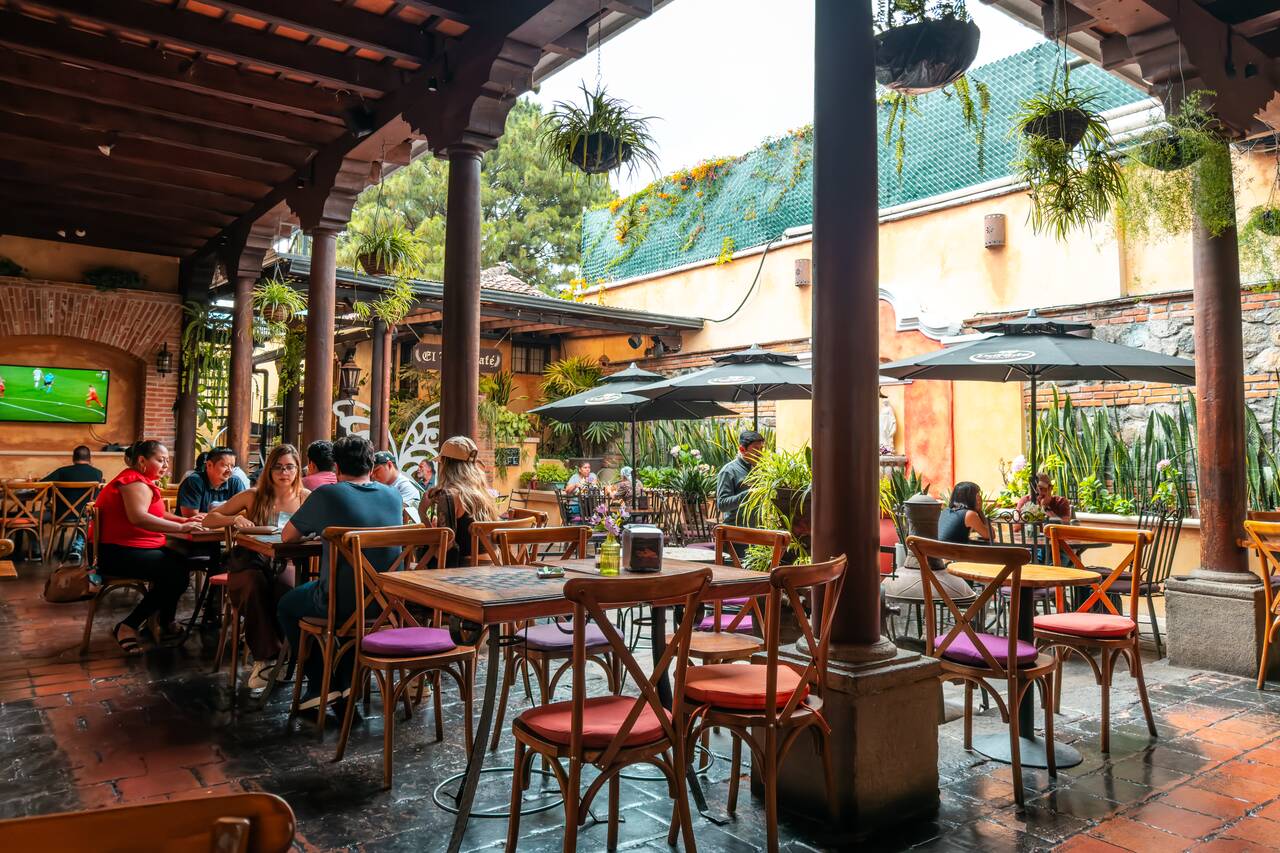
Some of my favorite cafés in Antigua include Alegría Café, Cafe Boheme, and El Viejo Café, but honestly, you can hardly go wrong with whichever café you stumble upon while wandering the city streets. Go out and explore to your heart's content! Relax for the rest of the day before retreating for the night and preparing for your trip to Lake Atitlán the following day.

Getting from Antigua to Lake Atitlan
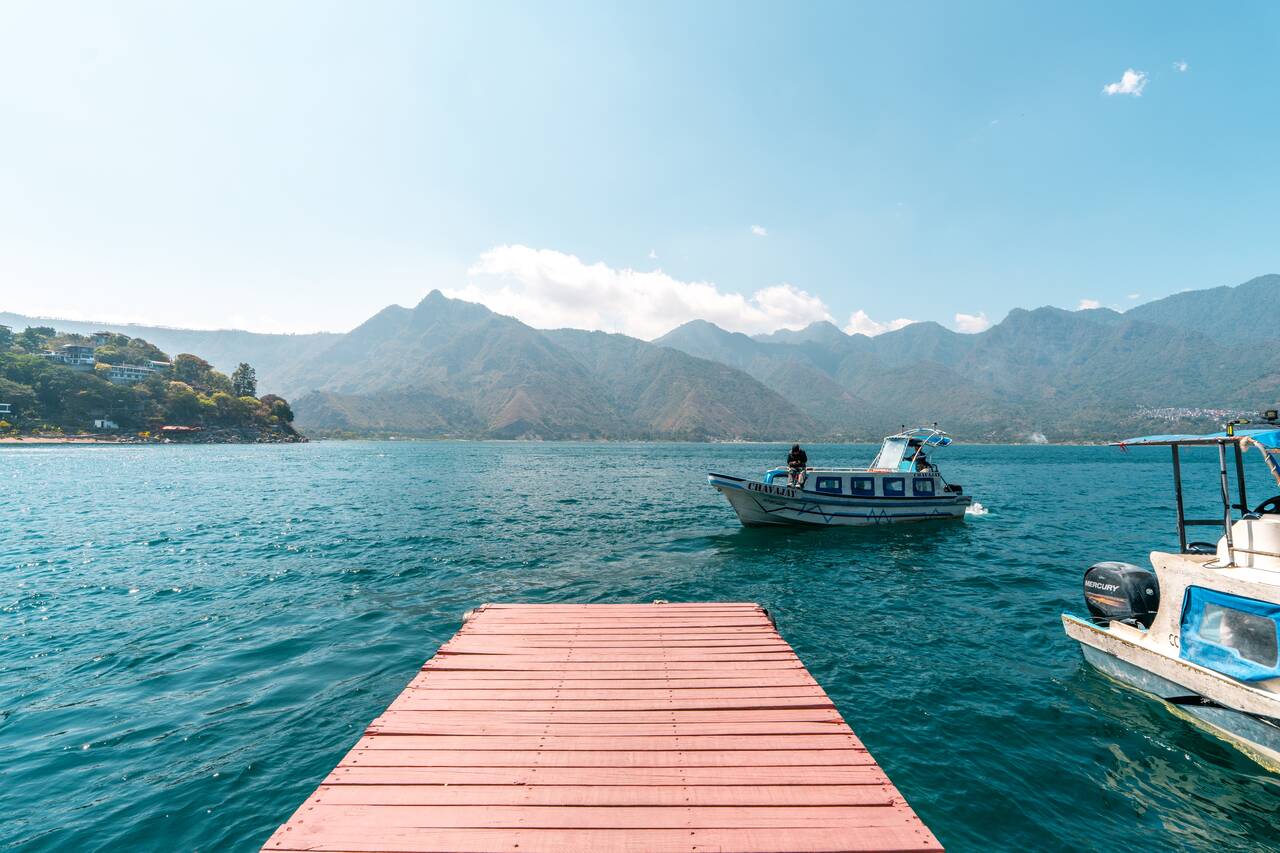
From Antigua, shared tourist shuttles depart daily from hotels and travel agencies throughout the city. I traveled with Gekko Trail Explorer, and they were reliable throughout my travels in Central America, so I highly recommend them. Before booking your shuttle, though, you should first decide which town you want to use as your base around Lake Atitlán.
The lake is surrounded by several villages, each with its own personality, atmosphere, and attractions. Here are some choices for you to consider:
- San Pedro La Laguna (for a lively atmosphere, budget-friendly accommodation, and a great backpacker scene)
- San Juan La Laguna (for a more relaxed atmosphere and slower pace of life)
- San Marcos La Laguna (for a hippie, spiritual, and bohemian vibe)
- Santa Cruz La Laguna (for the best volcano view)
The journey usually takes around 3 to 4 hours, depending on traffic. Most shared shuttles drop passengers off in Panajachel, the main gateway to Lake Atitlán, where you can catch a shared boat to your town of choice.
However, Gekko also offers direct shuttle services to San Juan La Laguna and San Pedro La Laguna, allowing you to skip the boat ride altogether. Tickets usually cost between 100 and 150 GTQ (13–20 USD).
If you are staying in San Marcos La Laguna or Santa Cruz La Laguna, you can take any shuttle bus to Panajachel or the same Gekko shuttle to San Juan La Laguna or San Pedro La Laguna. From there, simply catch the next public boat, which operate in a loop between the lakeside villages throughout the day, and a one-way ticket typically costs around 25 GTQ (3 USD).
Day 59-62: Lake Atitlan, Guatemala (3 nights + 1 night on the bus)
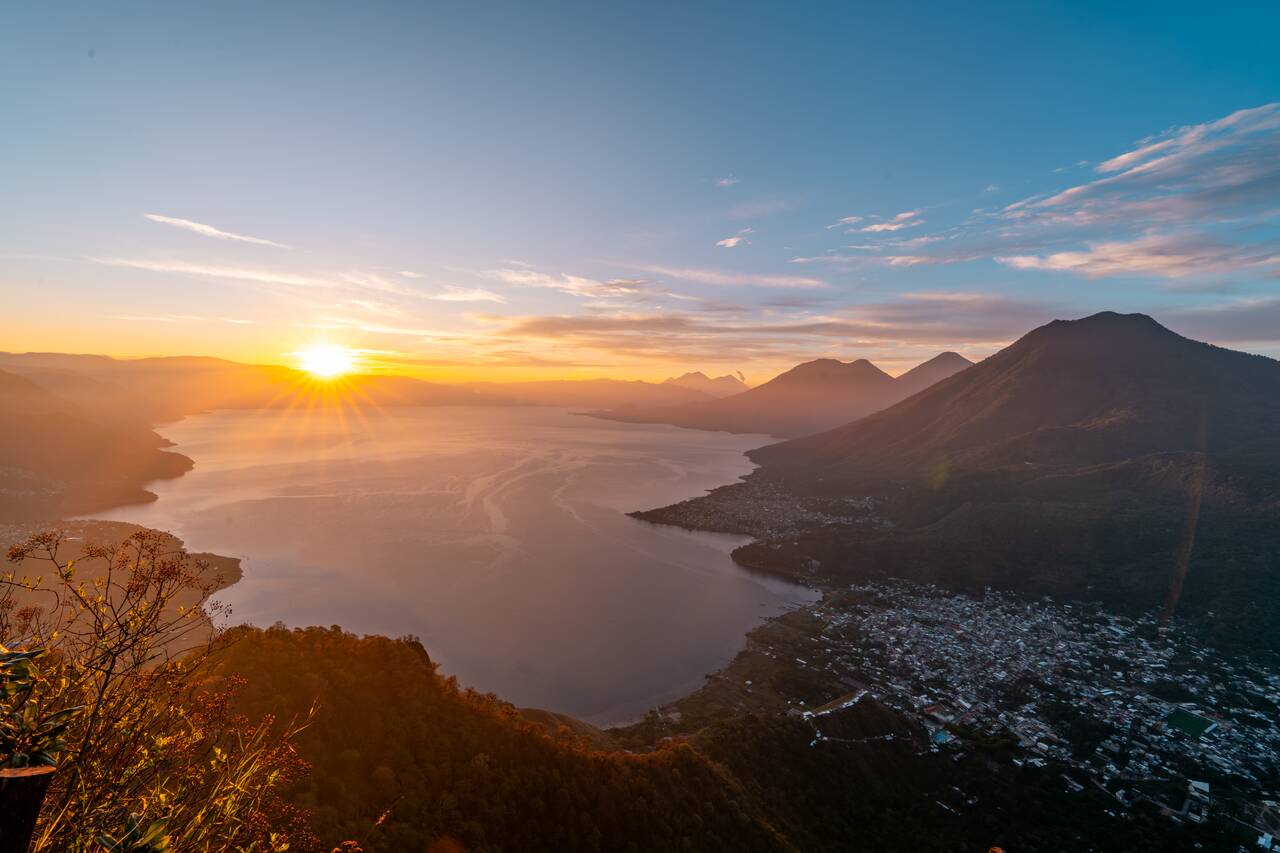
- 📍 Stay: Hotel Villa del Lago, Gladys
- 🕐 Time: 3 nights + 1 night on the bus
- 📖 Full Guide: Explore Lake Atitlan: Things to Do, Towns to Visit, Itinerary & More
If there is one thing I recommend you do at Lake Atitlán, it is waking up early and hiking Indian Nose for sunrise. This is easily one of the most beautiful viewpoints around the lake with a breathtaking panoramic view of the surrounding volcanoes, villages, and the lake below.
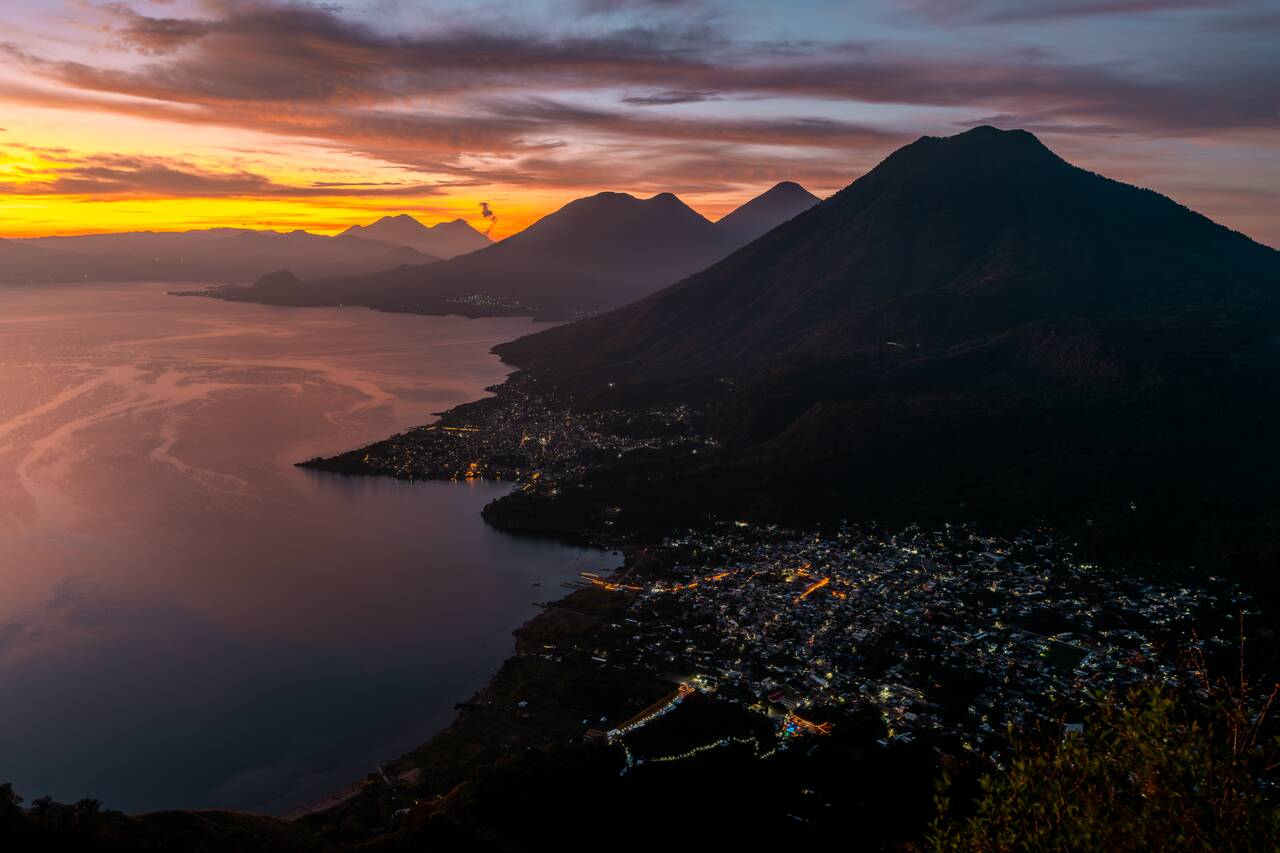
On a clear morning, you can even see Acatenango and Fuego Volcano erupting in the distance. The fact that I had just hiked these two volcanoes two days before made me appreciate their true scale even more. I recommend checking the weather forecast before your hike to choose a morning with clear skies, as clouds can completely cover the views from the viewpoint.
You can sign up for this Indian Nose sunrise hike on your first morning at Lake Atitlán, and the whole trip should take around 4 hours from start to finish. Depending on where you are staying, whether it is San Pedro or San Juan, the tour should pick you up somewhere in town. From there, you will be driven to the trailhead and begin the hike, which takes around 45 minutes of steady uphill walking to reach the viewpoint.
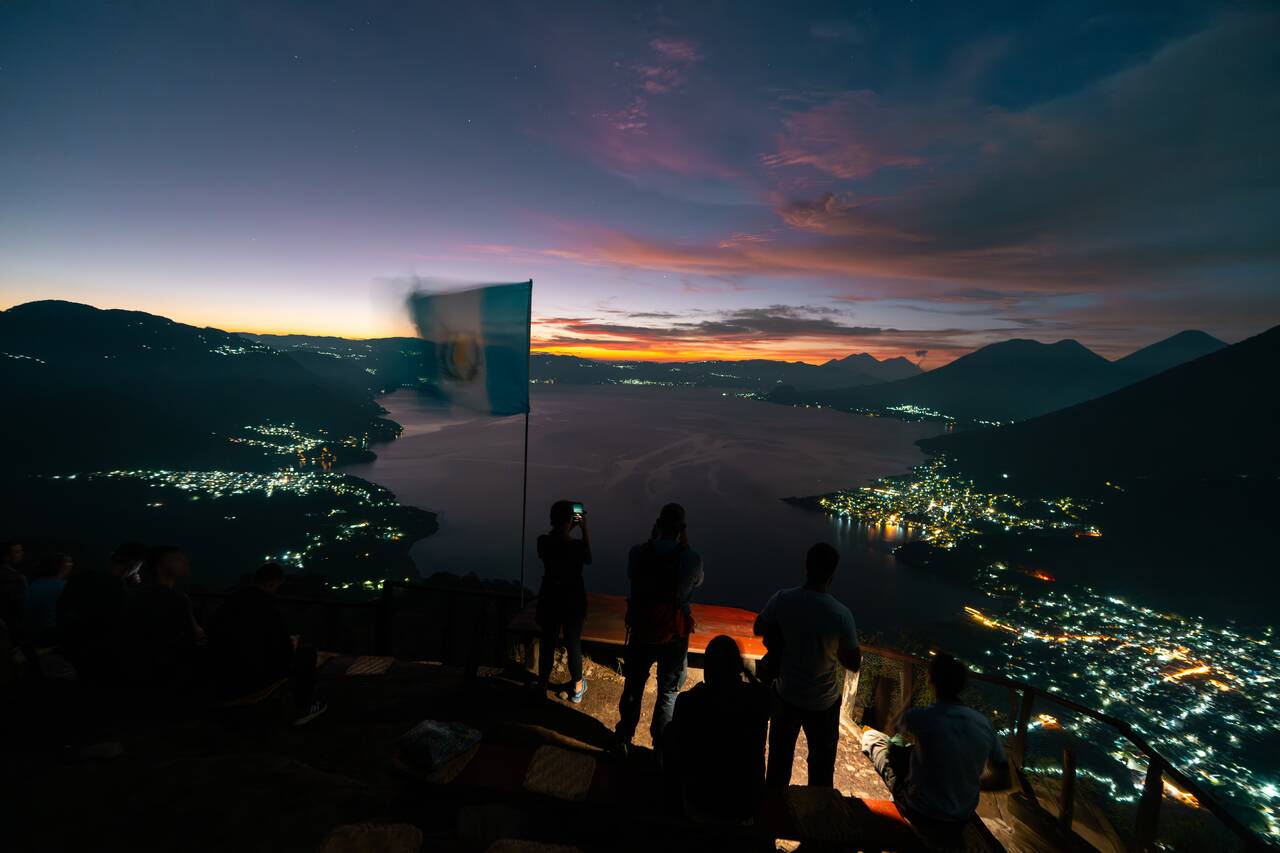
The hike itself was not too difficult, I'd say moderate mostly because it is a continuous uphill climb, although since I just hiked Acatenango 2 days prior, my knees were definitely every step of it 🤣. That said, it should be manageable for most people with a decent level of fitness as the hike doesn't drag on for too long.
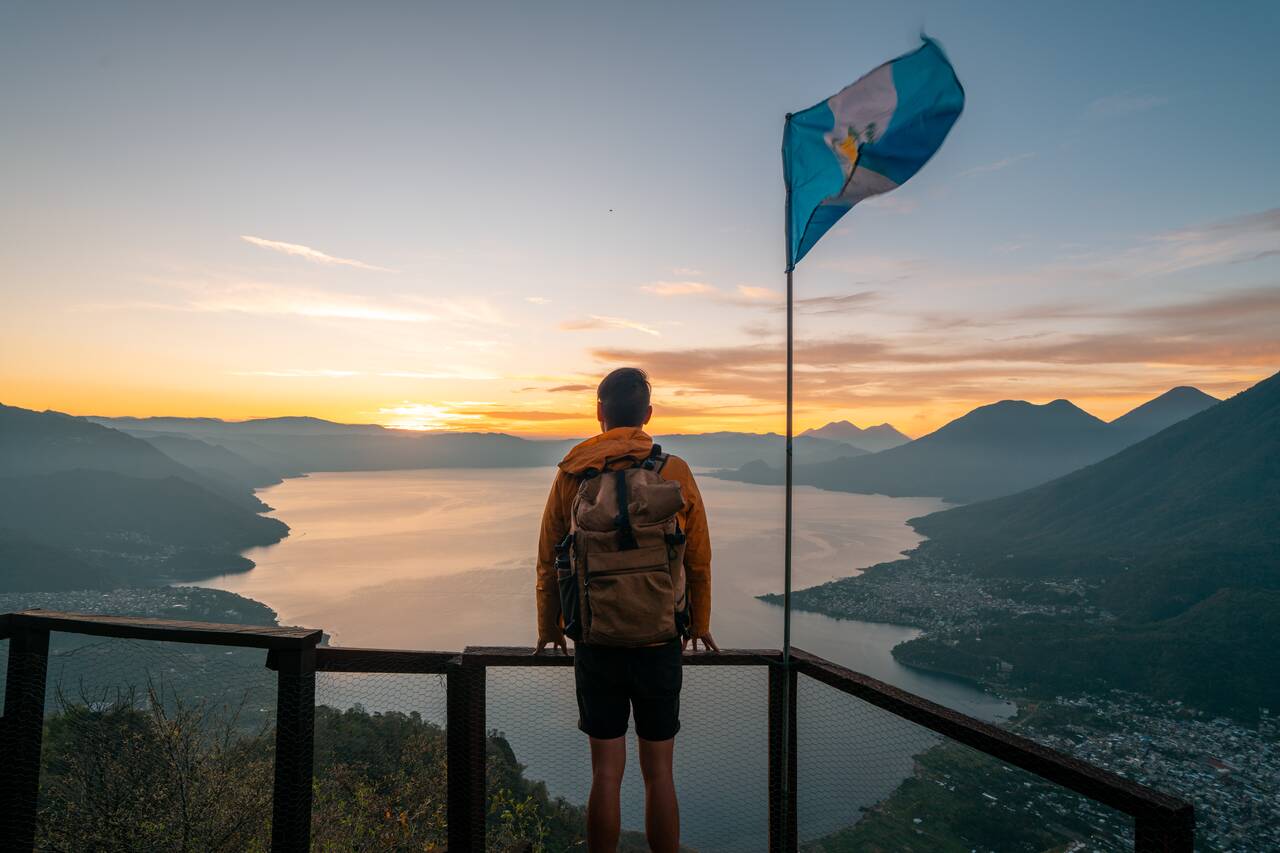
You will have about 1.5 hours to enjoy the views before making your way back down at around 6:30 AM. The descent will be much easier, and you should be back in town around 7:30 AM, just in time for the second breakfast at your accommodation.
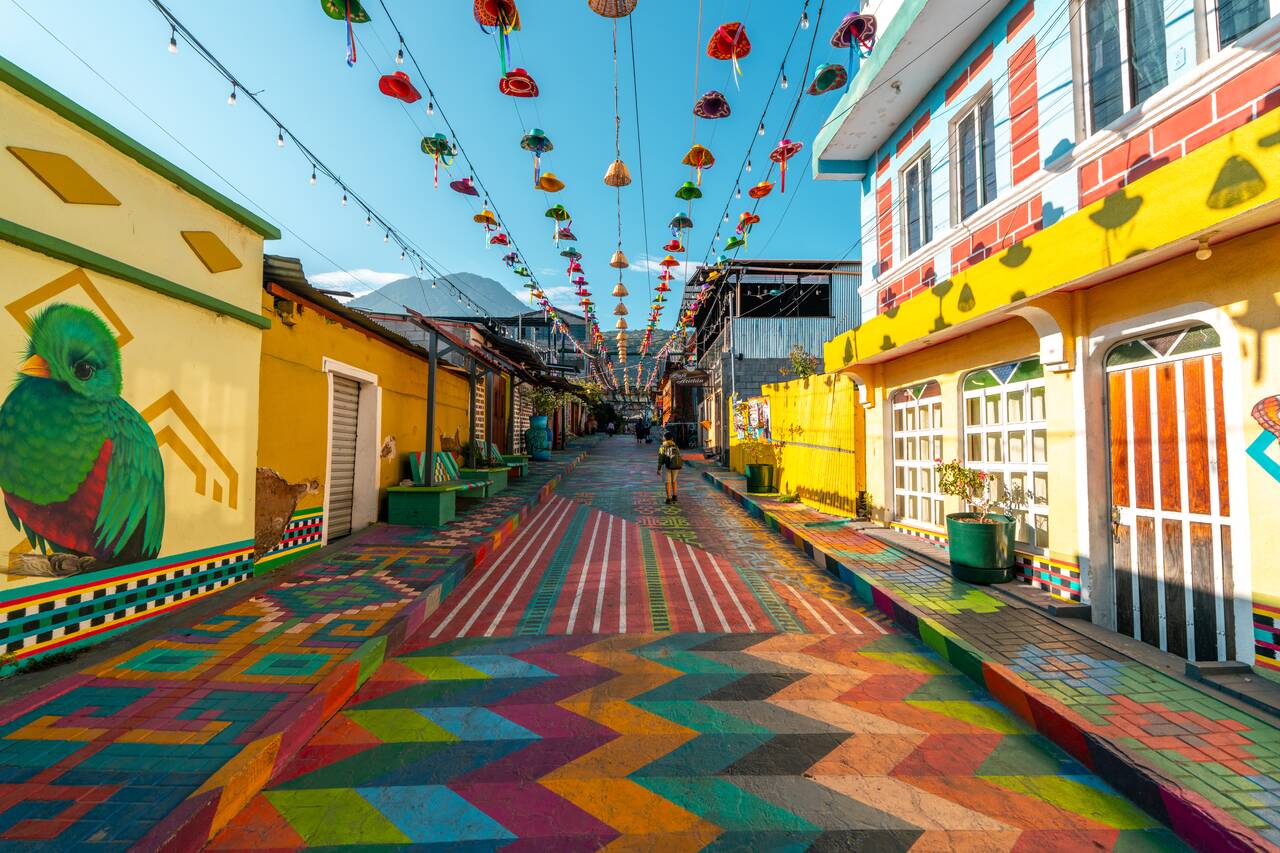
You can spend the rest of the day relaxing and exploring the town you are based in. San Juan La Laguna was my personal favorite. Unlike some of the more touristy towns around the lake, San Juan still feels connected to its local culture, with locals still living among the colorful streets filled with traditional Mayan art.
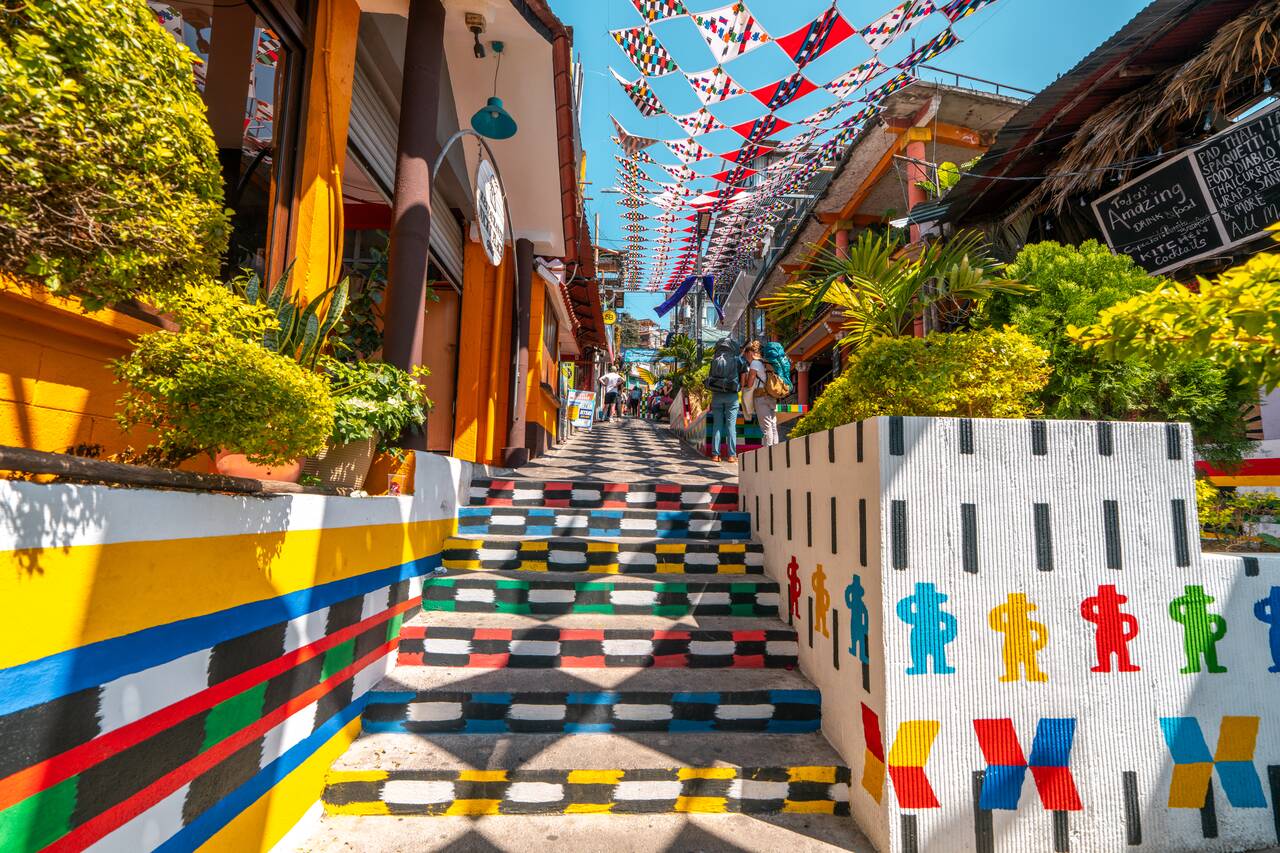
If you are staying in San Pedro La Laguna, you can also spend the day exploring the town. It is the liveliest village around Lake Atitlán and has long been a favorite among backpackers and Spanish students. The town is packed with restaurants, cafés, bars, hostels, and travel agencies, giving it a much more energetic atmosphere compared to the quieter villages around the lake.
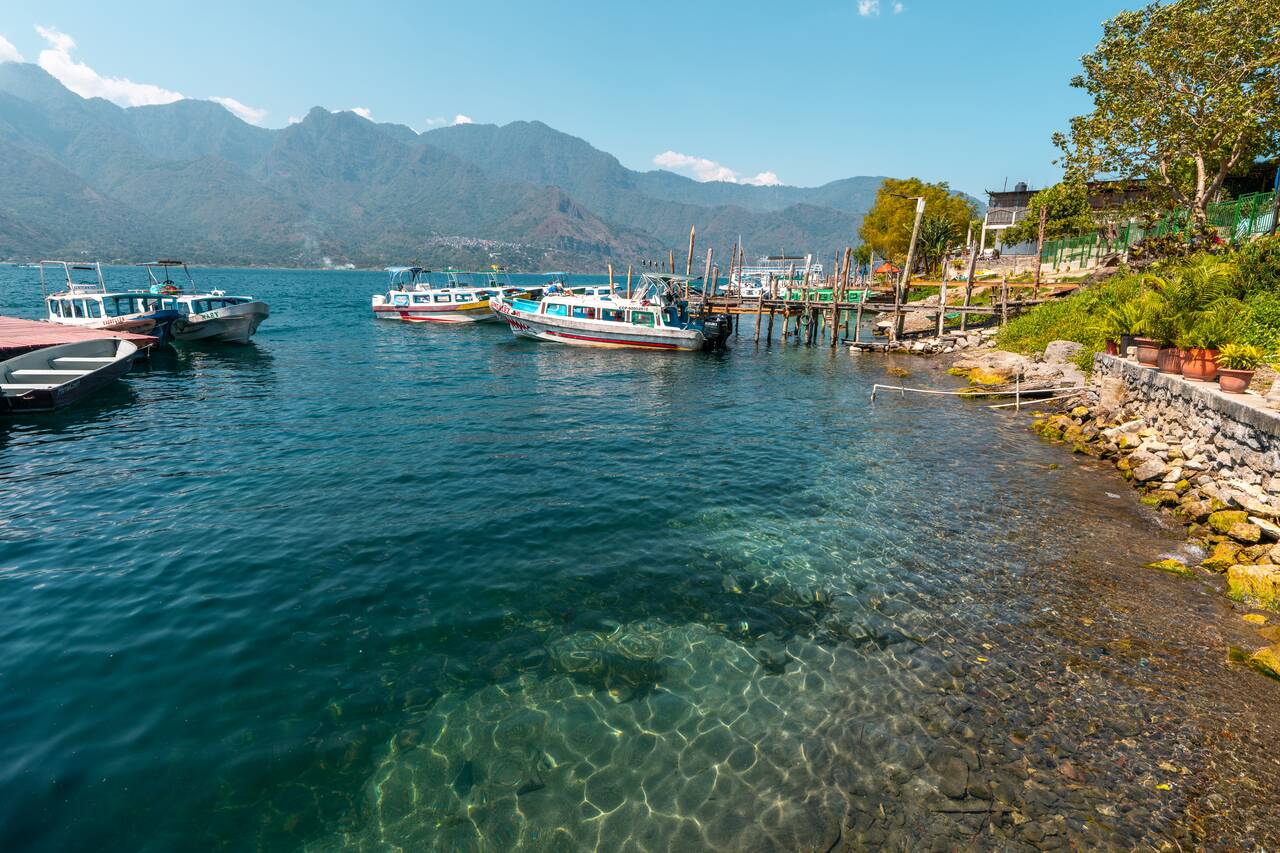
San Juan and San Pedro are right next to each other, so you can easily spend the day exploring both towns. You can spend the late morning and midday in San Juan to chill and relax, then head to San Pedro in the afternoon and evening to experience its parties and lively atmosphere before ending your first day here.
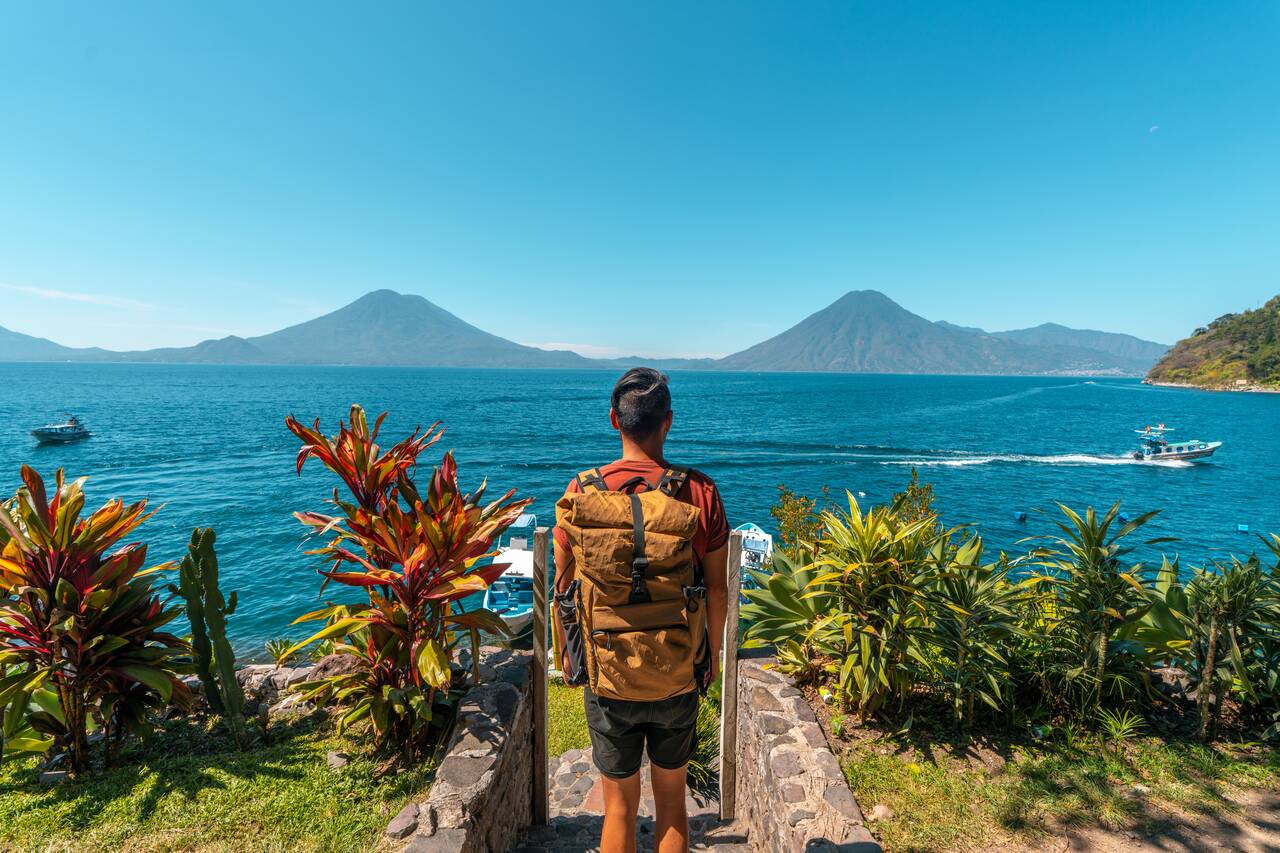
The next day you can spend the day exploring some other towns around Lake Atitlan. For a good itinerary, I recommend taking an early morning boat across the lake to Santa Cruz La Laguna, which has the best view of all, as the town is located right by the lake side and it faces directly towards 3 volcanoes, San Pedro, Tolimán, and Atilan Volcanoes, without any obstruction!
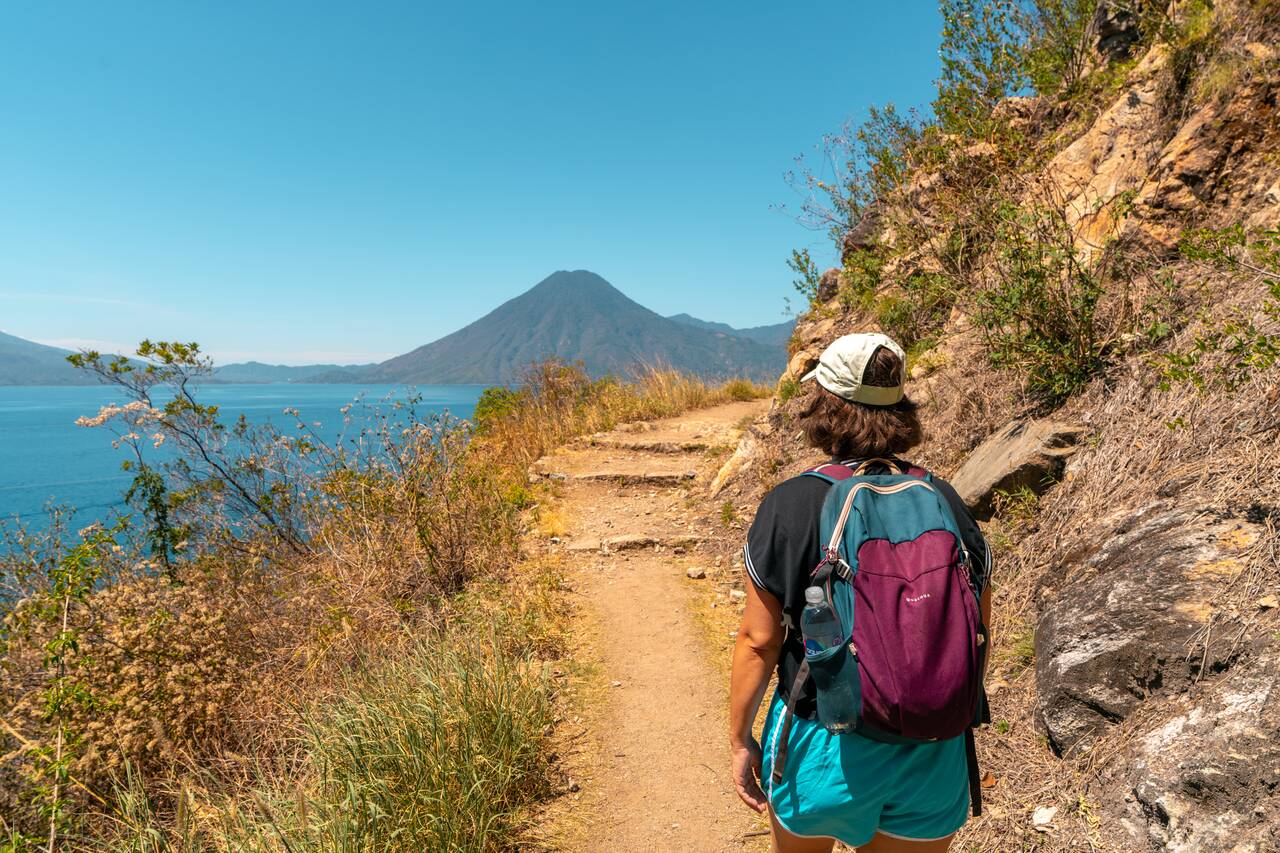
From there, you can hike the Lower Mayan Trail, a lakeside trail connecting Santa Cruz La Laguna and San Marcos La Laguna. The trail hugs the shoreline for much of the hike, taking you through forests, rocky paths, quiet bays, and a few secluded properties with spectacular views of the lake and the surrounding volcanoes. It is a fantastic way to experience a quieter side of Lake Atitlán that most people miss.
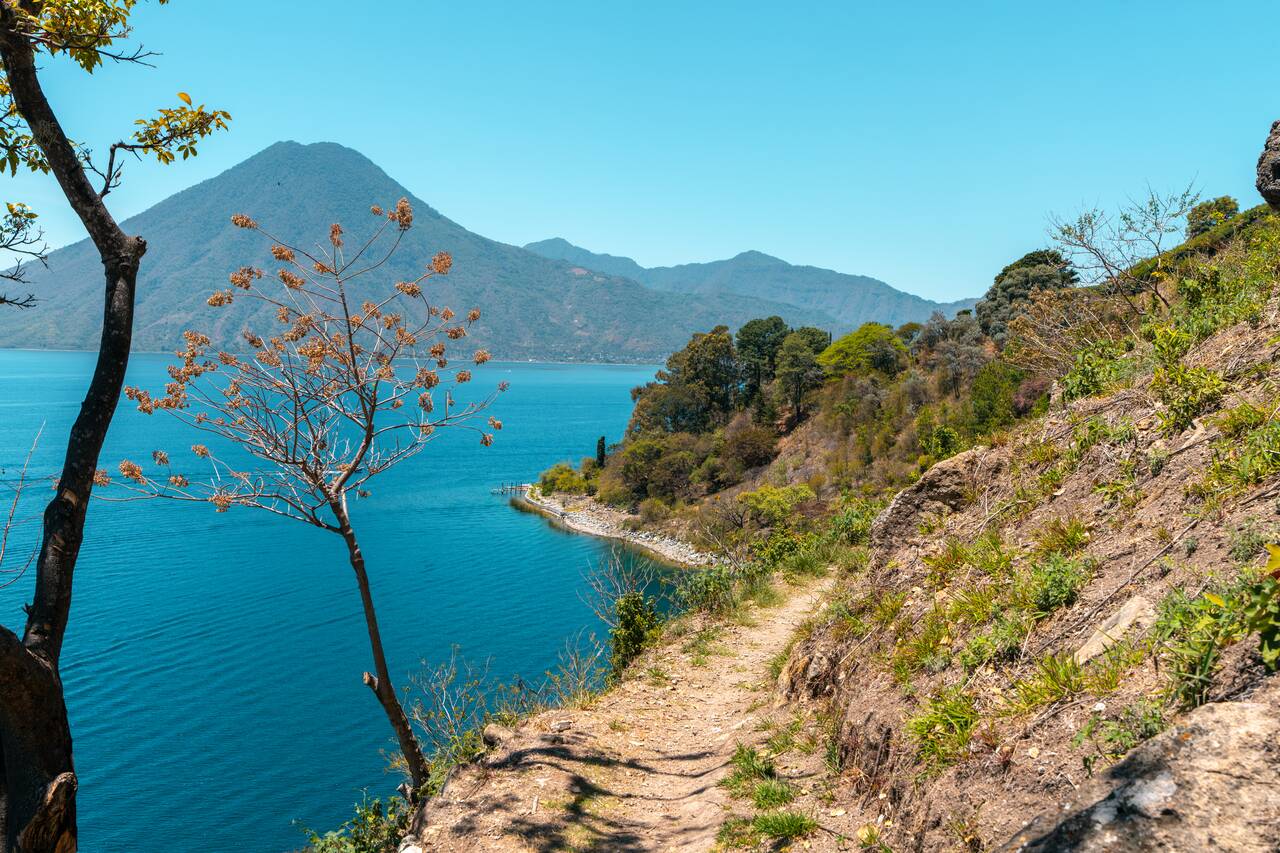
The hike is around 5 km (3.1 miles) long and takes roughly 2.5 to 3 hours, depending on how often you stop for photos or to enjoy the scenery. The route is generally considered easy to moderate, with short bursts of ups and downs rather than one long climb. Along the way, you'll pass hidden beaches, lakeside hotels, and several incredible viewpoints overlooking the lake.
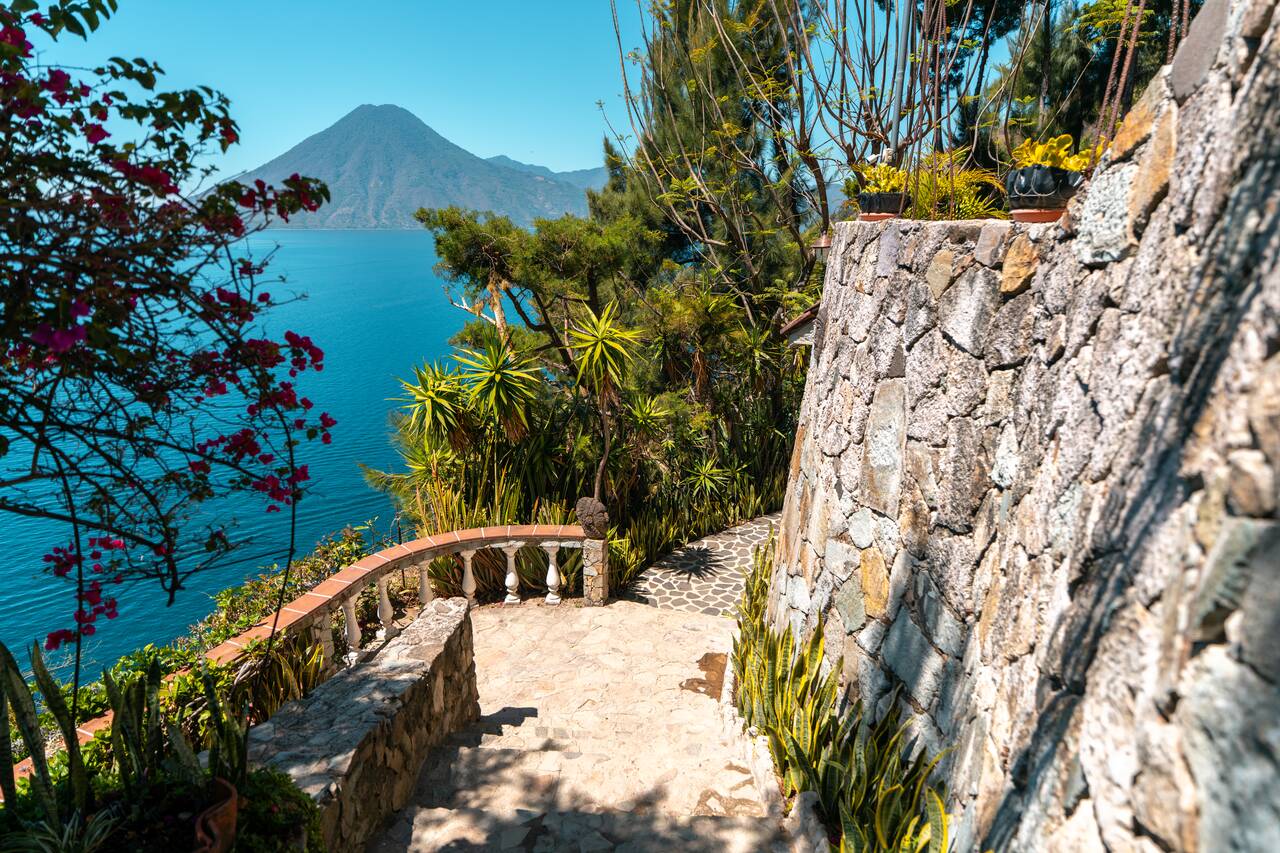
Also located along the trail is La Casa del Mundo, a beautiful lakeside hotel tucked away among rocky cliffs and forested hillsides. Even if you are not staying there, it is well worth stopping for a drink, a meal, or simply to jump straight into the lake. We will discuss more on this place later in the guide.
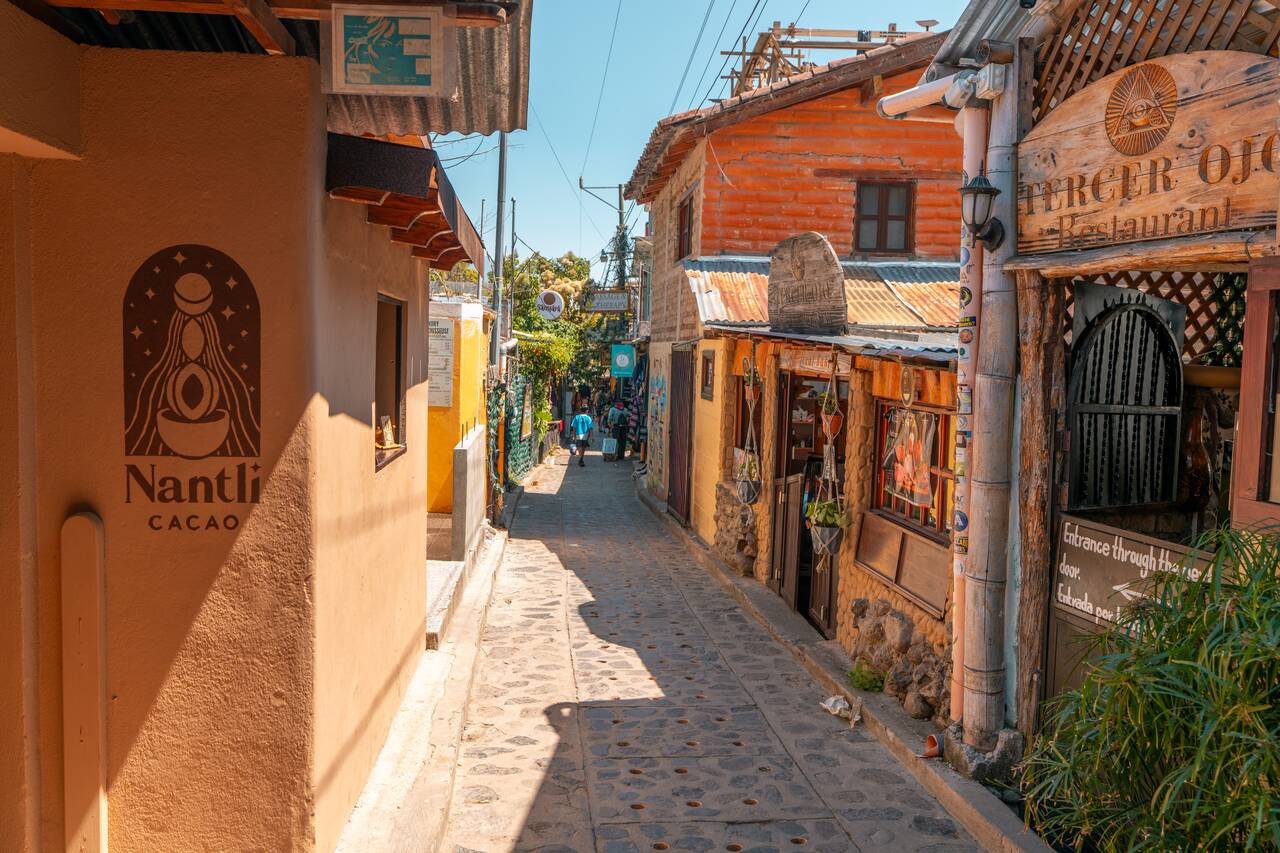
Once you reach the end of the Lower Mayan Trail, you'll arrive in San Marcos La Laguna, another cool village with its unique atmosphere unlike other towns here. Known for its laid-back, bohemian atmosphere, the town has become a popular destination for yoga retreats, meditation centers, wellness workshops, and healthy cafes.
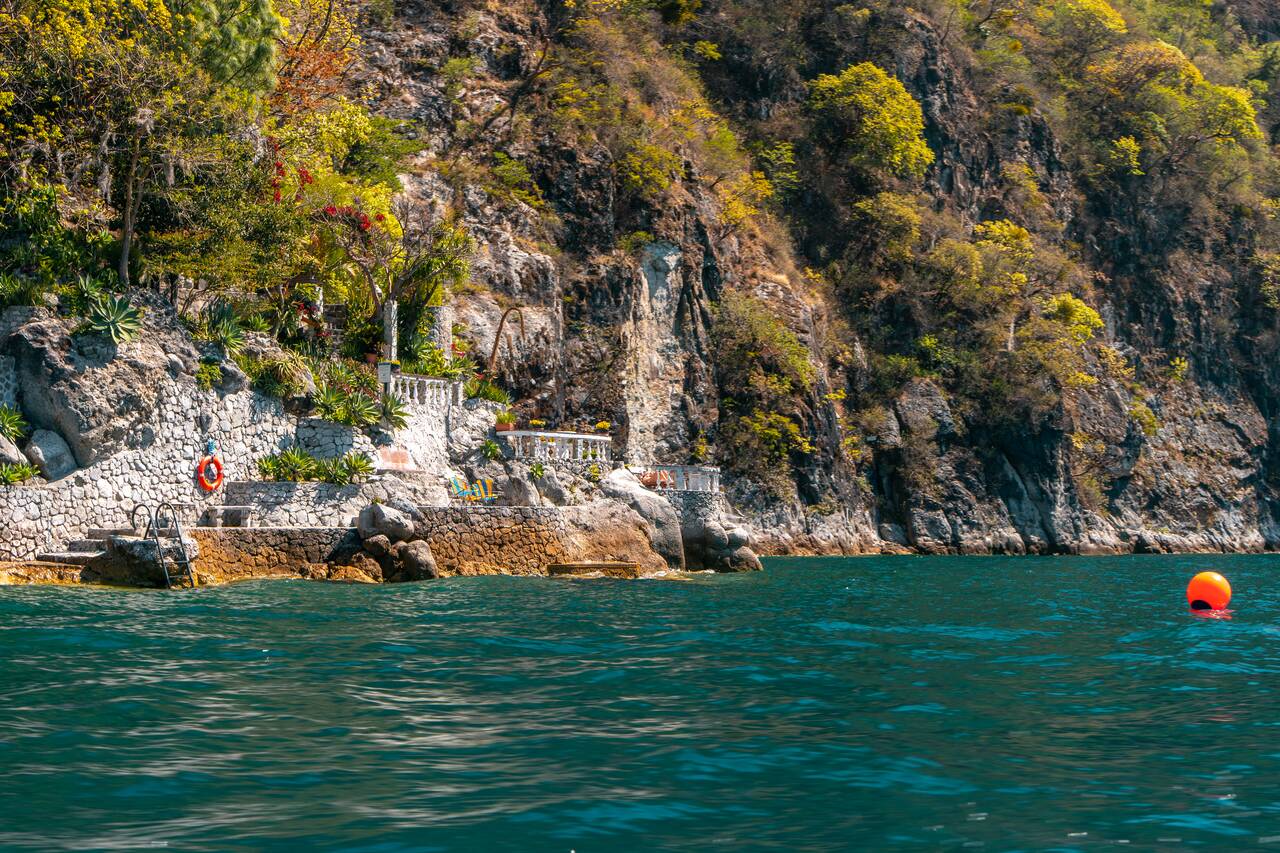
If you do not want to hike the Lower Mayan Trail, you can also opt for spending a day at La Casa del Mundo, one of the most beautiful spots to relax around Lake Atitlán. I actually discovered this place by accident while traveling by boat from San Juan to Santa Cruz, and its lakeside setting immediately reminded me of Lake Como, with its stunning villas built along the cliffs.
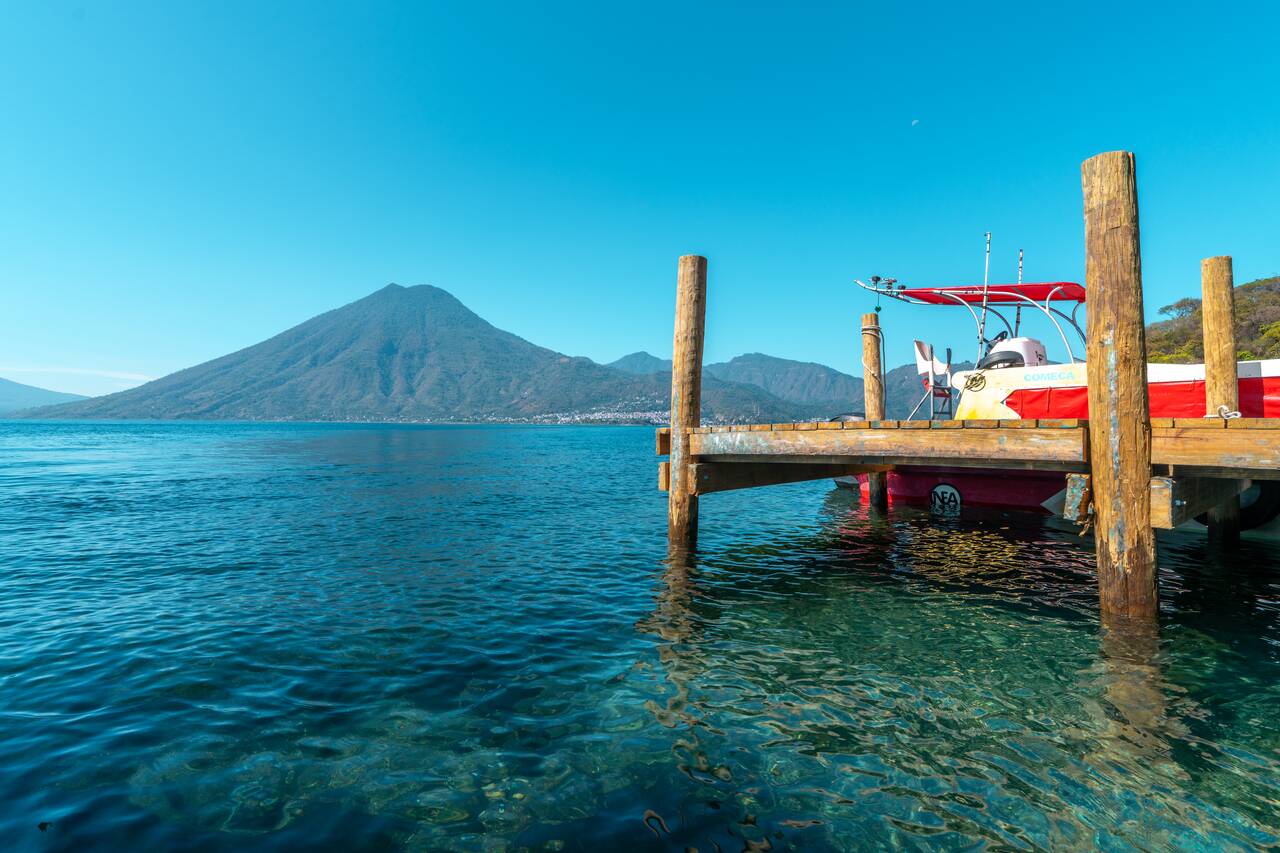
This should keep you occupied for the rest of your second day here. On your third day, you can take it slow and enjoy a relaxing day at your accommodation and your base town, or you can take a boat to other faraway towns like Santa Catarina Palopó and explore more of the lake. Since you will be taking an overnight bus to Semuc Champey at 8 PM, you can either leave your backpack with your accommodation for the day and continue exploring, or book an extra night so you have a room to relax until your bus leaves. It is going to be a long ride, so be prepared!

Where to Stay at Lake Atitlan?
One of the first things you'll notice when planning a trip to Lake Atitlán is that there isn't a single town called "Lake Atitlán". Instead, the lake is surrounded by several villages, each with its own personality, atmosphere, and attractions. Choosing the right place to stay can make a big difference in your experience, so it is worth considering what kind of trip you are looking for before booking your accommodation.
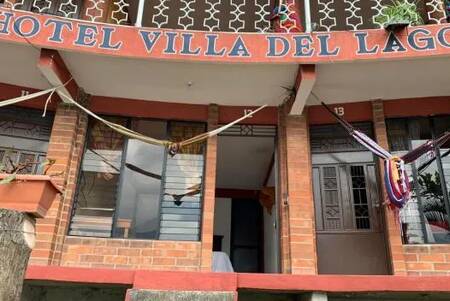
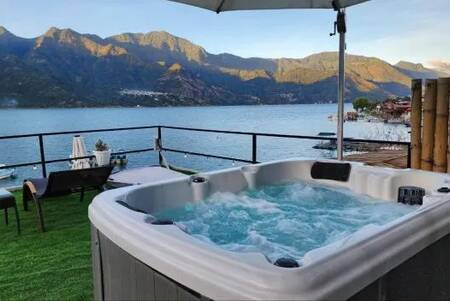
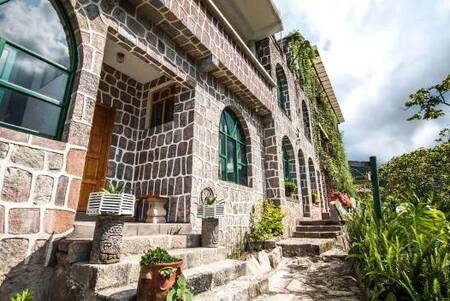
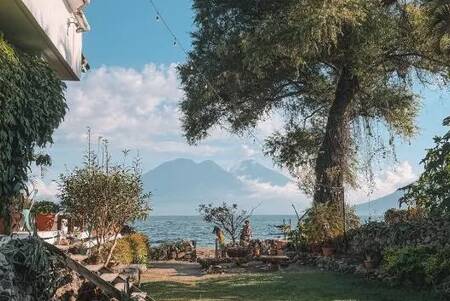
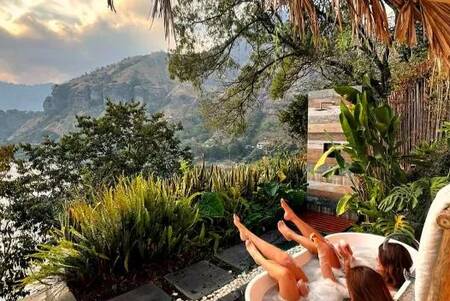
Getting from Lake Atitlan to Semuc Champey
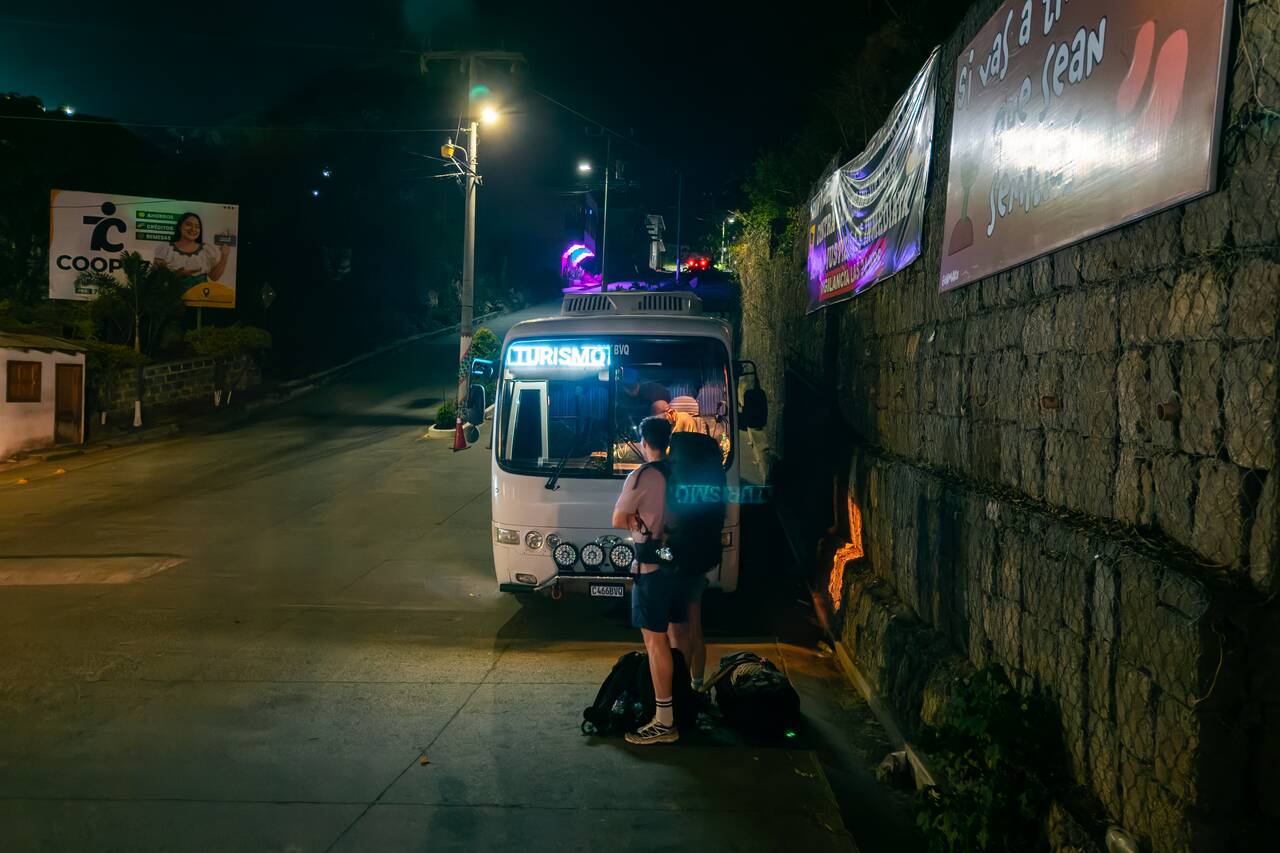
From Lake Atitlán, you can catch an overnight shuttle bus, which can be booked here. It departs from this intersection at 8 PM and takes around 10 hours, arriving in Lanquín at around 6 AM the following morning. The shuttle first travels to Guatemala City to pick up more passengers before continuing to Lanquín.
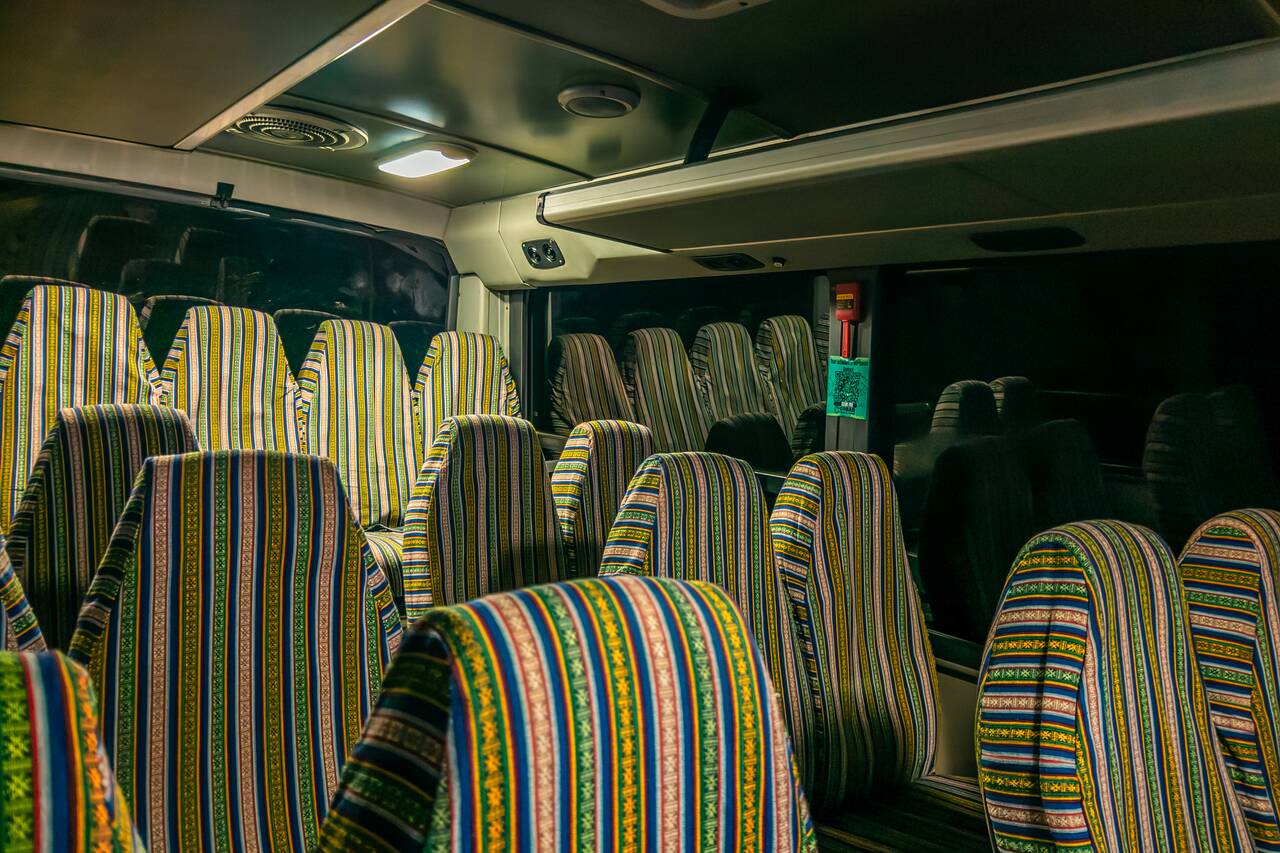
I took this shuttle myself, and it was decent. It wasn't the most comfortable bus I rode in Central America, but it certainly wasn't the worst either. The bus stops for bathroom breaks two or three times along the way, and every seat was occupied during my journey, so be prepared for a long and crowded ride. The air conditioning also gets quite cold, so make sure you bring a jacket. The shuttle drops passengers off at the bus terminal in Lanquín.
Day 63-64: Semuc Champey, Guatemala (2 nights)
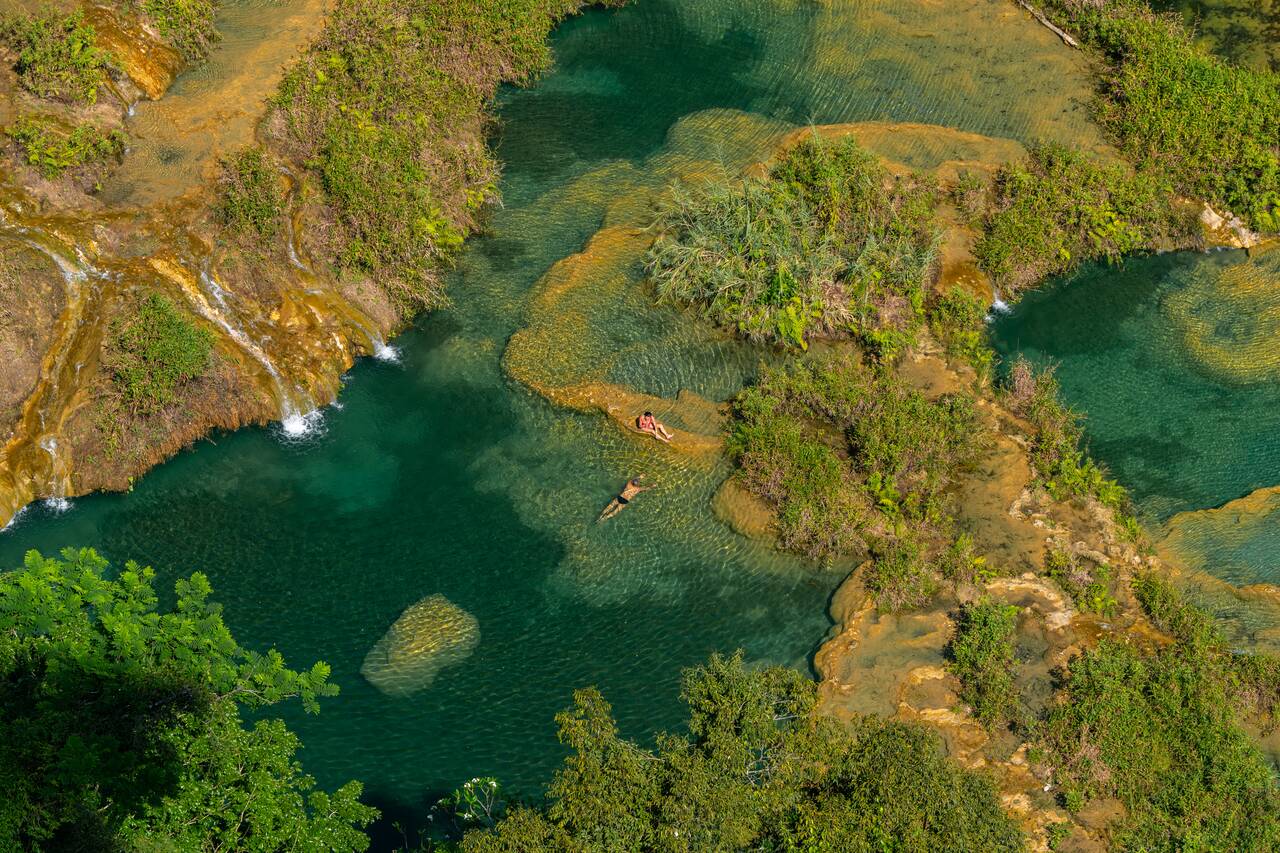
- 📍 Stay: Hotel Rabin Itzam
- 🕐 Time: 2 nights
- 📖 Full Guide: Semuc Champey Travel Guide: Things to Do, How to Get There & More
Tucked away deep in the lush jungles of Central Guatemala, Semuc Champey is one of the country's most breathtaking natural wonders. The place is famous for its turquoise limestone pools cascading over the Cahabón River, where you can swim, relax, and cool down in the crystal-clear water, or hike to its stunning viewpoint to fully appreciate this incredible landscape from above.
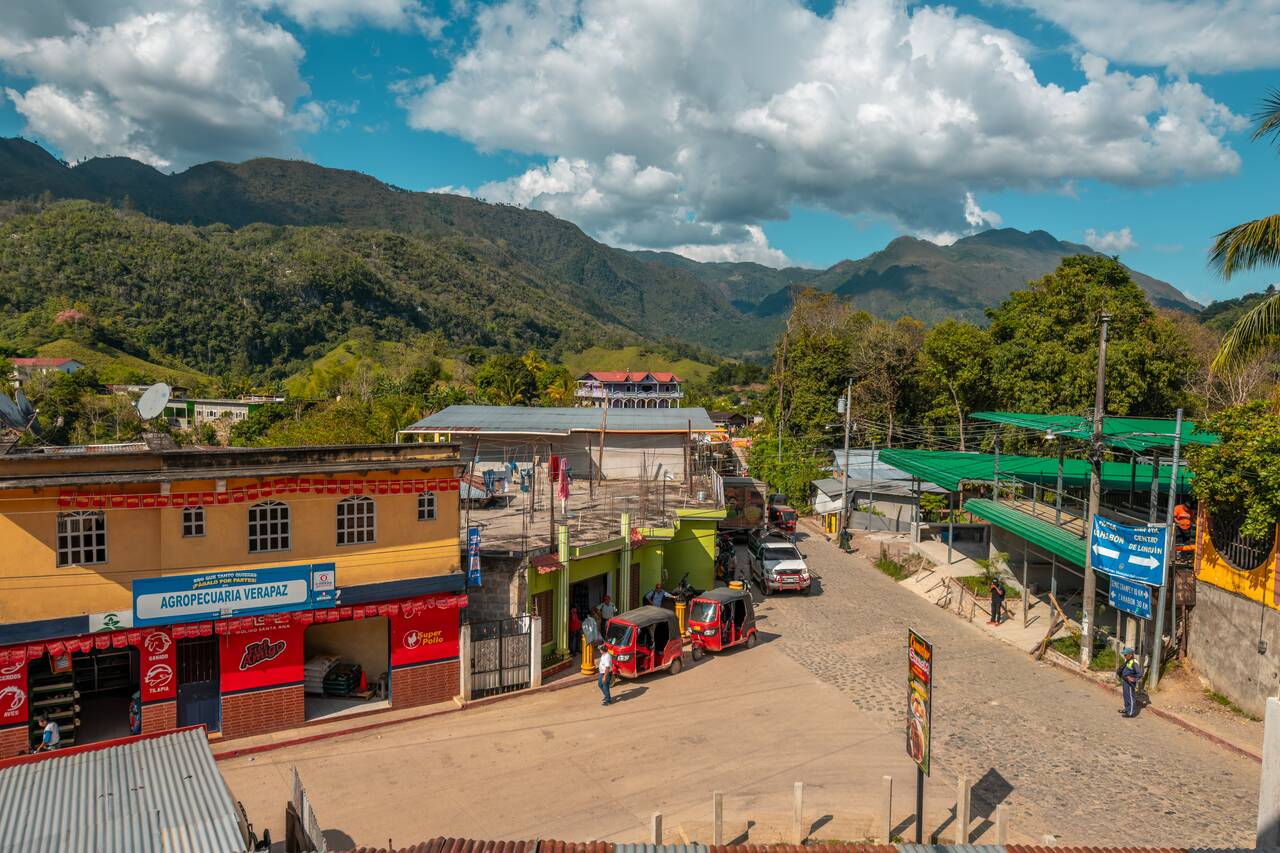
With the overnight bus from Lake Atitlan, you should arrive in Lanquin around 6 AM, maybe a little too early to check-in as most hotels check-in time here is around 2 PM, so you can spend the morning resting at the hotel or go explore the town a bit.
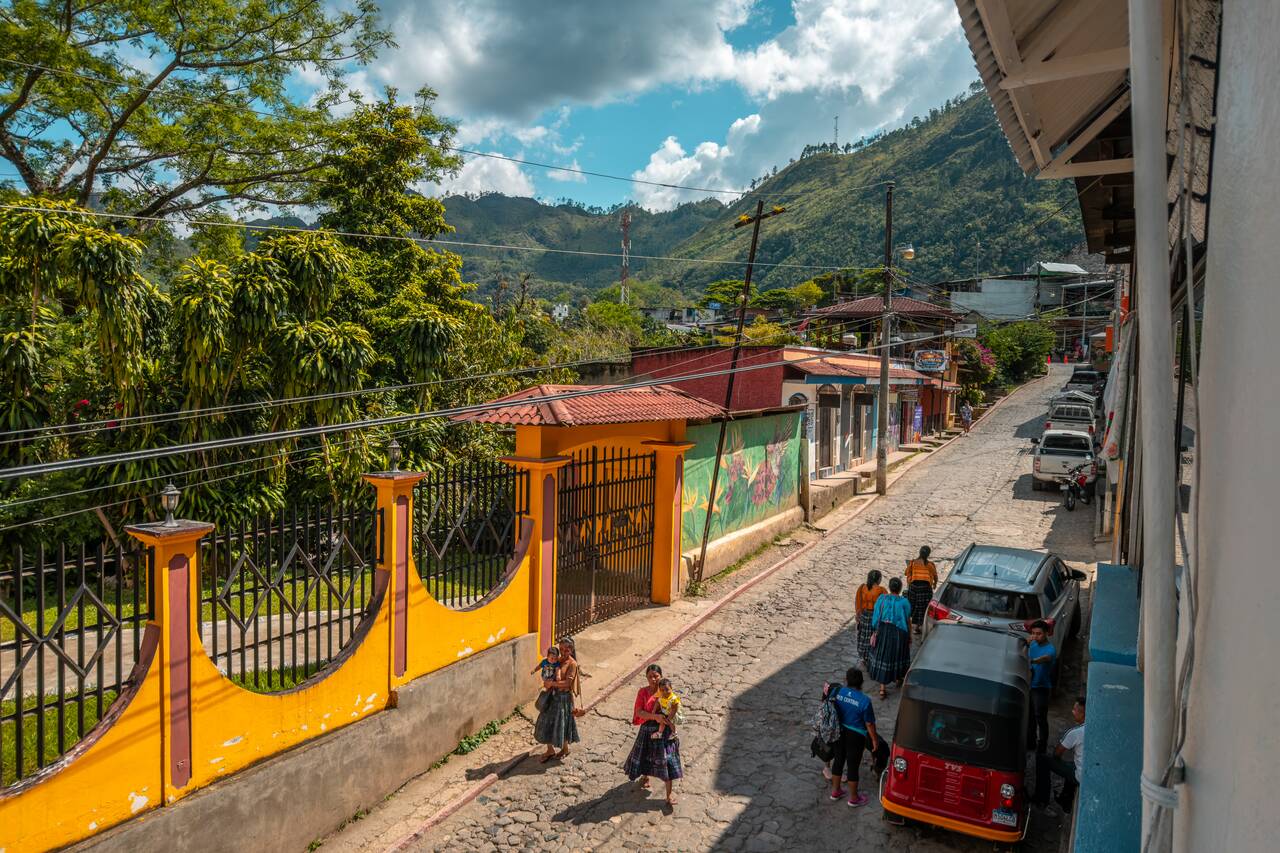
The town itself is quite small and can be explored on foot in a short amount of time. Take a walk around the central area, visit the local market that often pops up around Lanquín Central Park, grab some food from a small family-run restaurant, and enjoy the slower pace of life here.
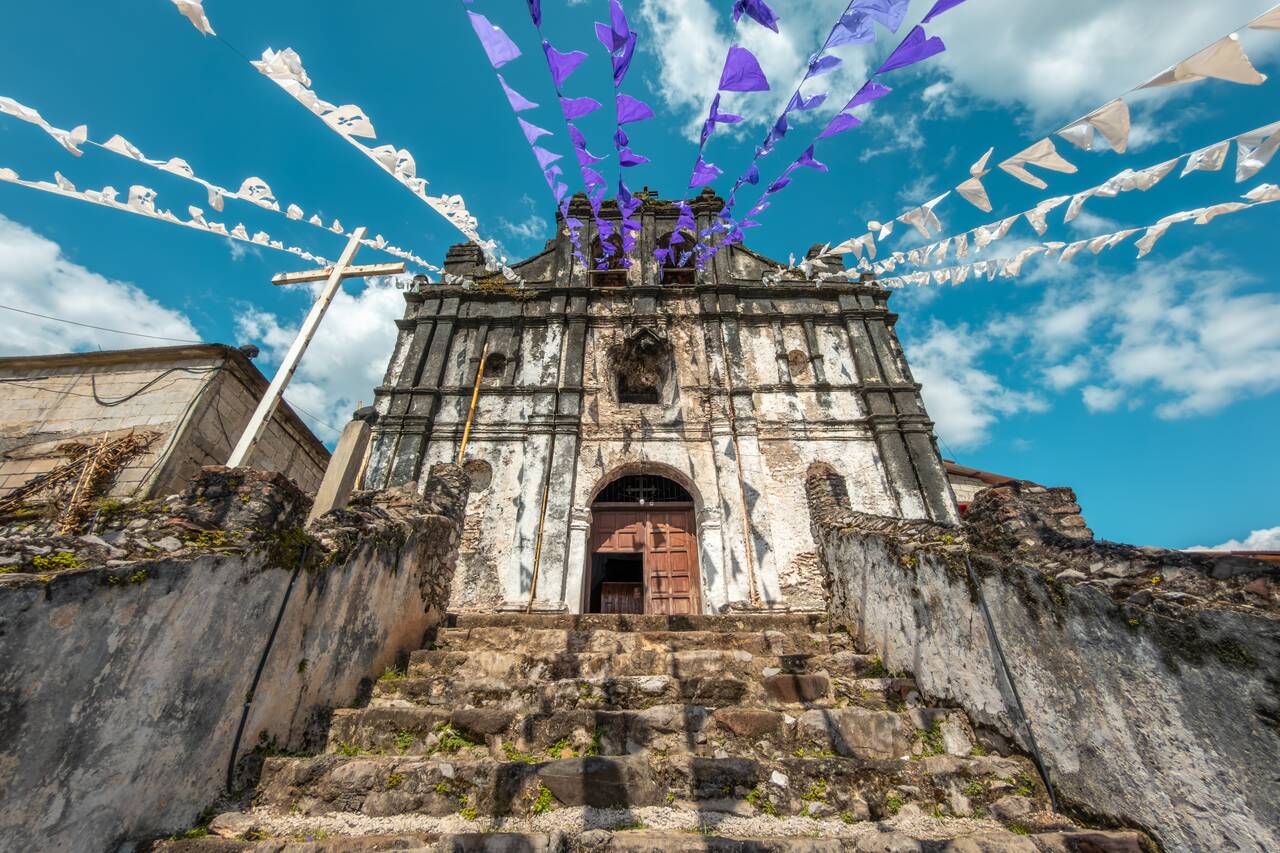
While exploring Lanquín Town, be sure to stop by Catedral de Lanquín, a small but charming church located right in the heart of town on top of a hill overlooking the valley. It might not be the grandest cathedral you will see in Guatemala, but its simple rustic design, white-washed facade, and quite peaceful vibe sure make it a wonderful place to drop by.
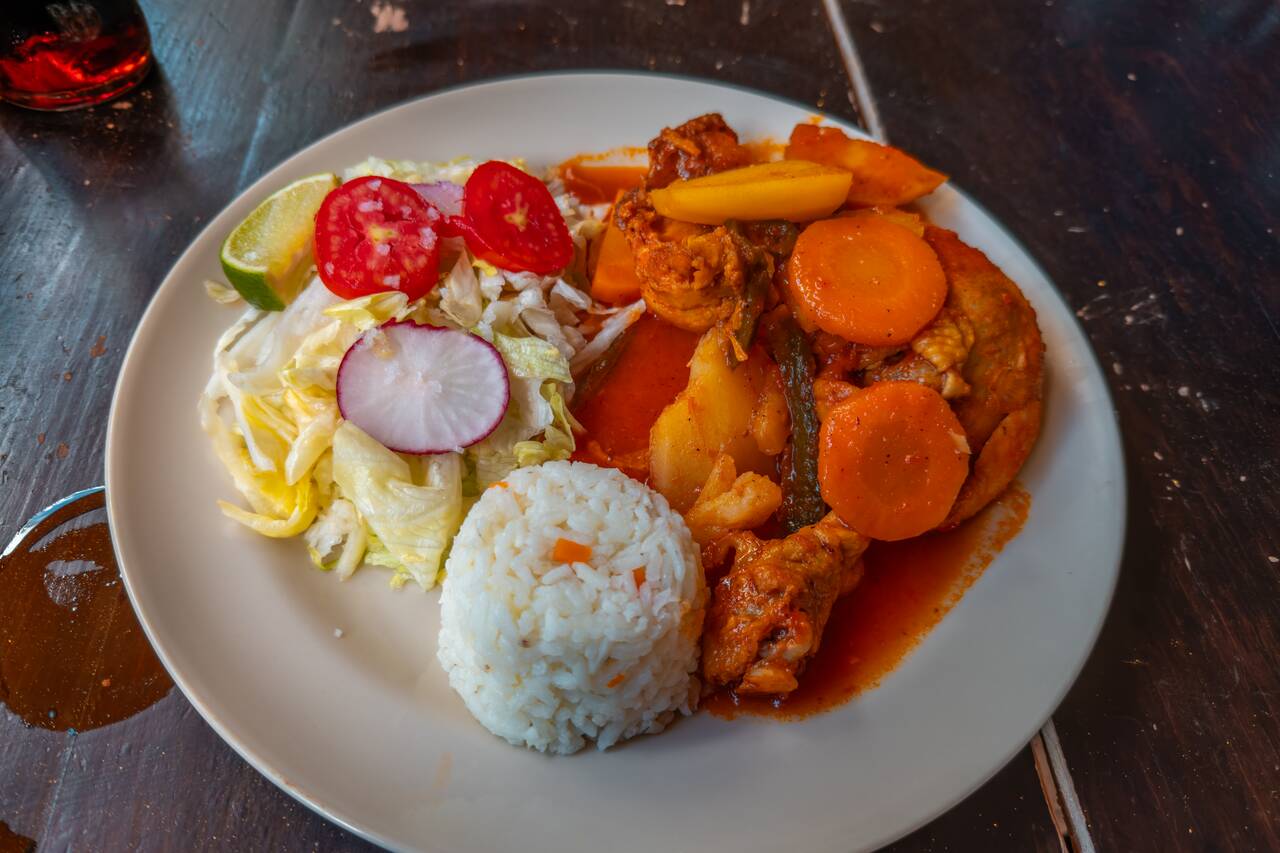
If you are looking for a small family-run local restaurant in Lanquín to try, I highly recommend Comedor La Bendición. They serve authentic local dishes where you can choose your preferred type of meat, which is freshly cooked on the grill and served with a variety of sides such as salad, rice, macaroni, vegetables, frijoles, and tortillas.
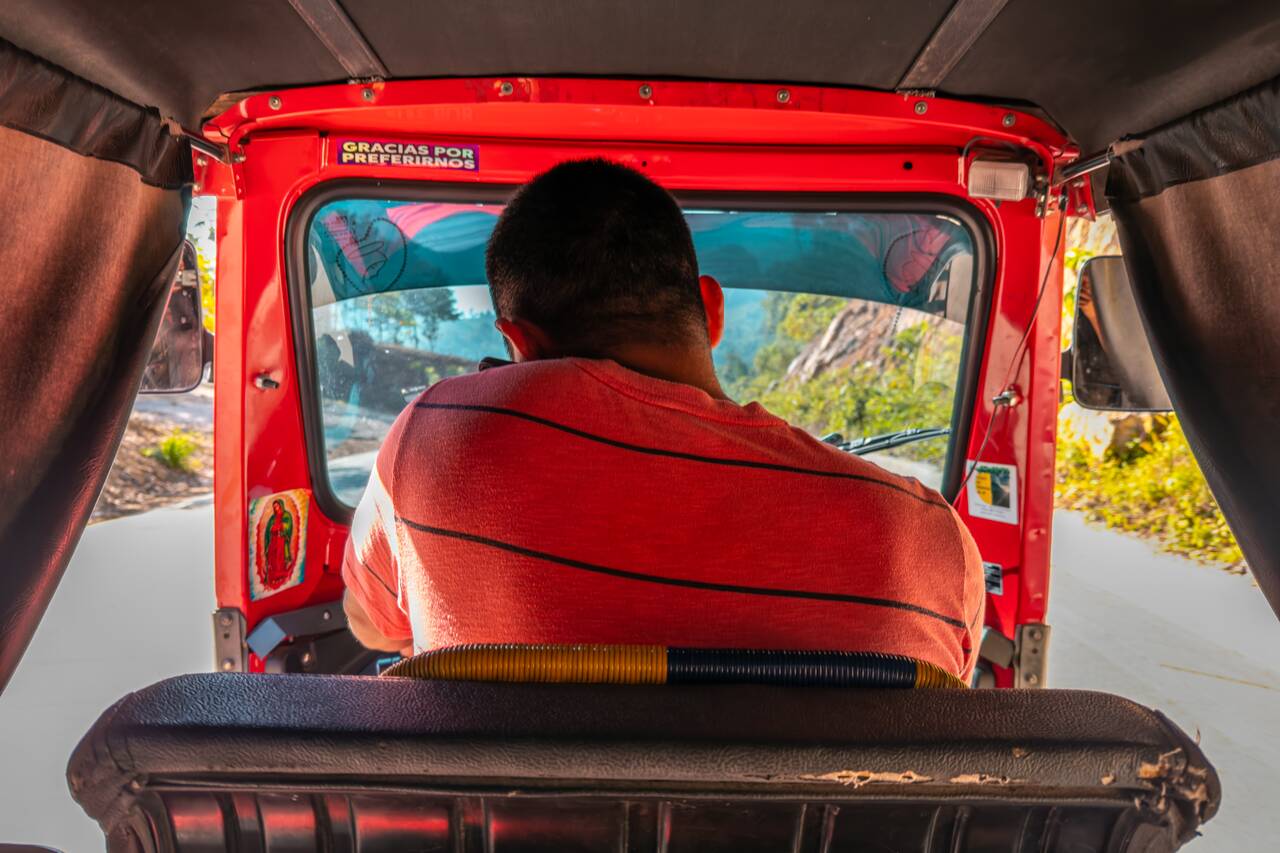
Once you can check in to your accommodation, you can spend the rest of the day resting and preparing for your visit to Semuc Champey the next day. I highly recommend starting early in the morning by either taking a shared pickup truck or a tuk-tuk, which should cost around 25 GTQ one way. You can ask your accommodation to arrange transportation for you.
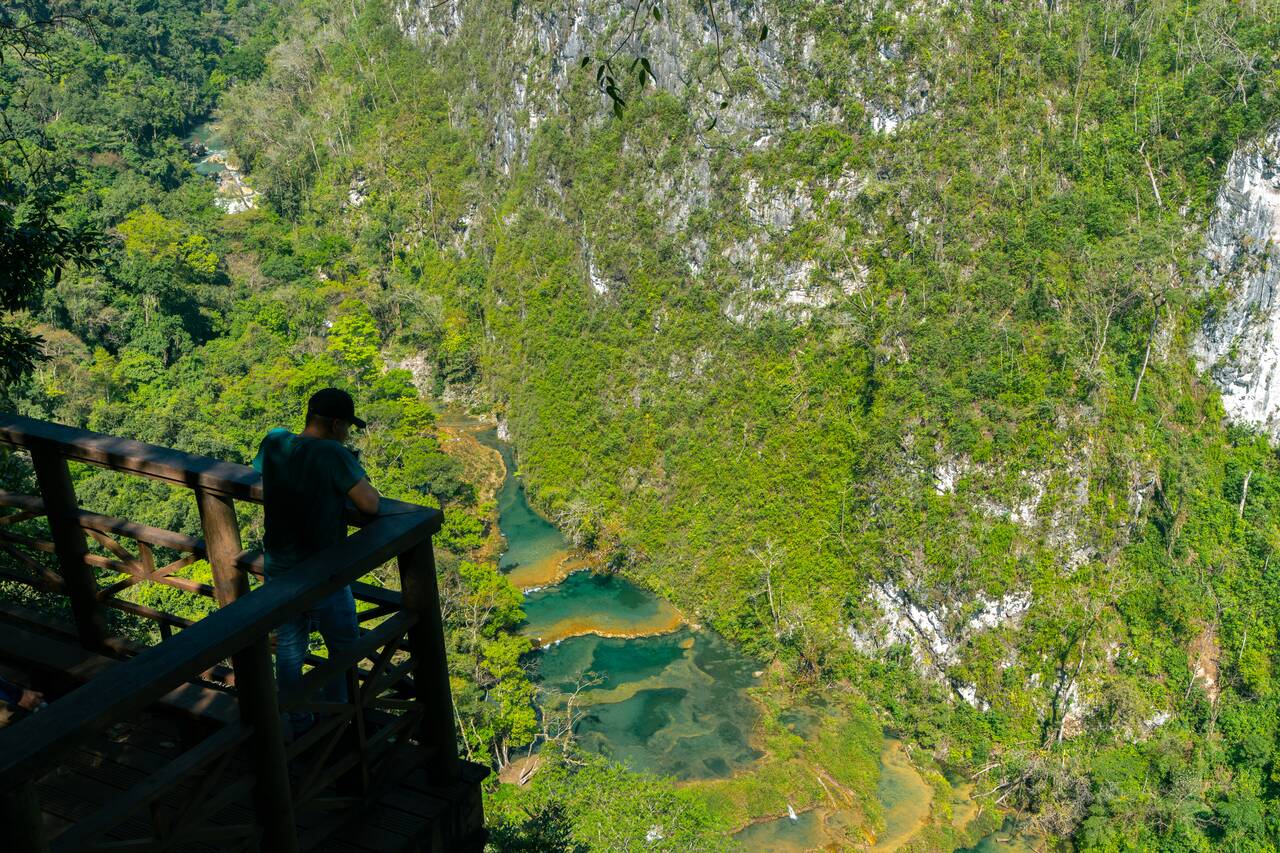
By far one of the most popular things to do, and probably the reason that got me interested in visiting Semuc Champey in the first place, is seeing the stunning landscape from above at El Mirador, a short but rewarding hiking trail inside the park. From here, you'll get the iconic panoramic view of the turquoise limestone pools winding through the dense Guatemalan jungle, easily one of the most breathtaking views in the country.
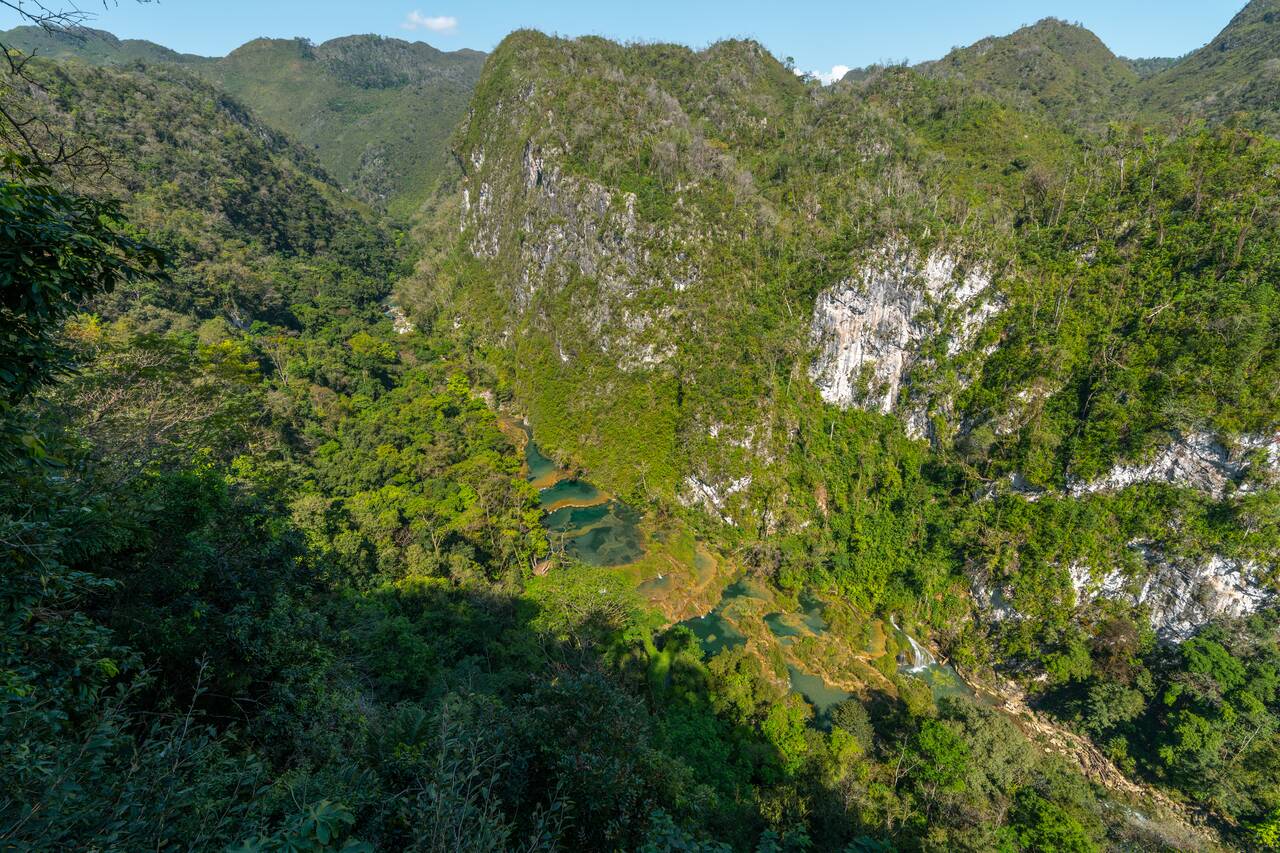
The hike begins just inside the park entrance and takes around 30 to 45 minutes each way, depending on your fitness level. Although the trail is relatively short, don't underestimate it. It is steep almost the entire way, with plenty of stairs, exposed tree roots, and muddy sections, but once you reach the viewpoint, you'll be rewarded with a spectacular bird's-eye view of Semuc Champey.
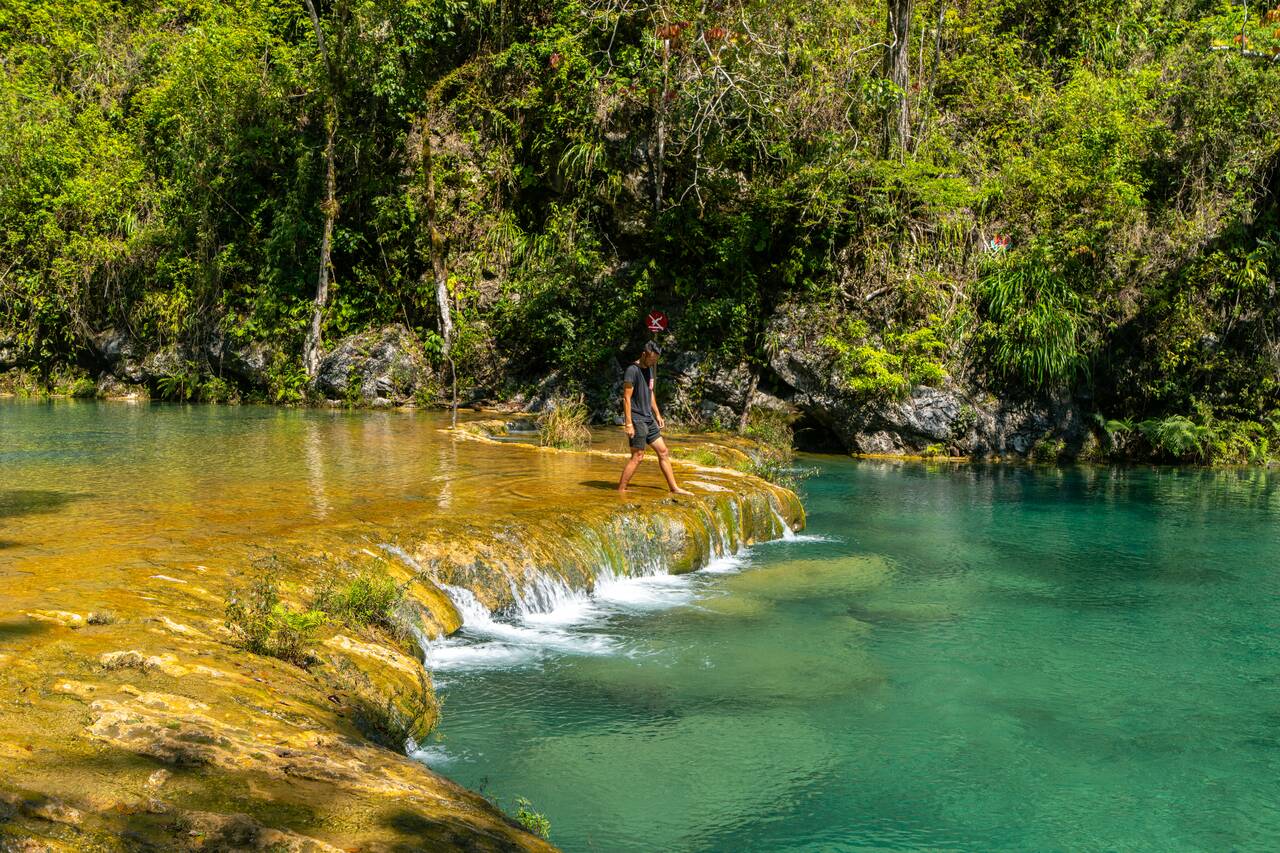
There is no better way to cool down from the hike you just did than by jumping into the famous turquoise limestone pools of Semuc Champey. These natural pools are the main attraction of the park, and once you see them from above, you'll understand why they are considered one of Guatemala's most beautiful natural wonders.
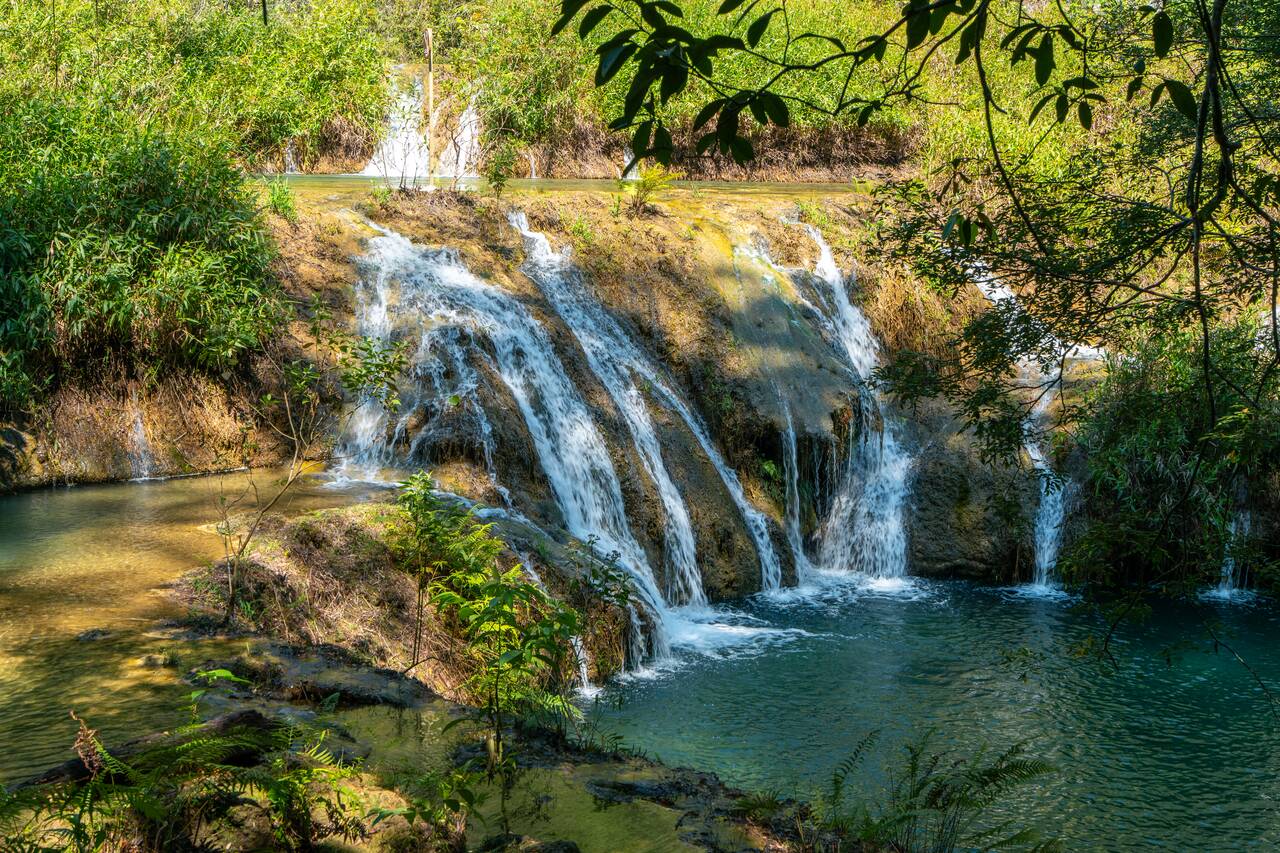
After you are done swimming and relaxing by the pool, make sure you spend some time and explore the trail the runs along Cahabón River. As you walk along the wooden pathways and rocky trails around the pools, you'll discover a series of small waterfalls, natural cascades, and hidden corners surrounded by lush jungle.
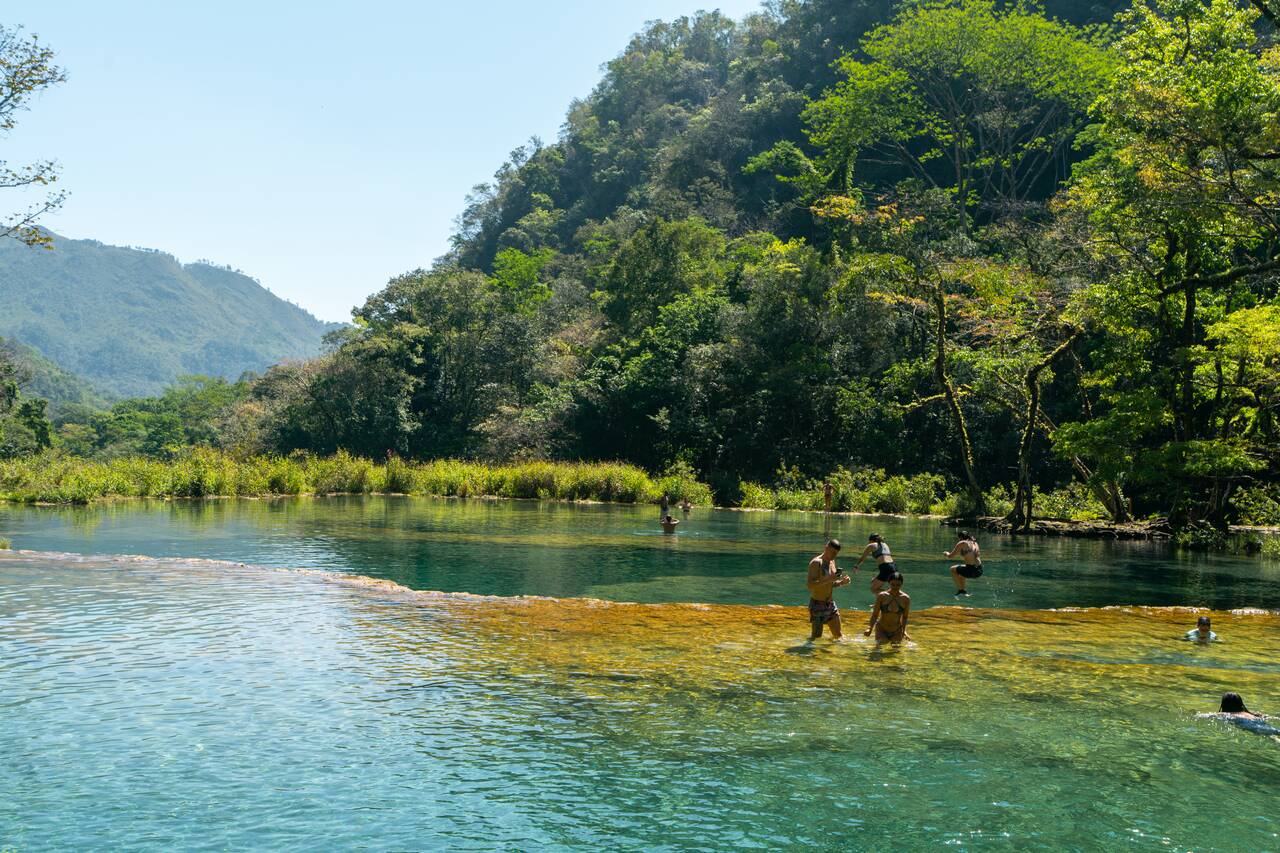
You can spend about half a day here before heading back to relax at your accommodation in town, or you can stay inside the park and enjoy the pools until closing time. For me, half a day was enough, as I was looking forward to doing nothing afterward and recovering from the long journey. The trip from here to Flores the next day will be another long 10-hour ride during the day, so make sure you leave enough time to rest and recharge.

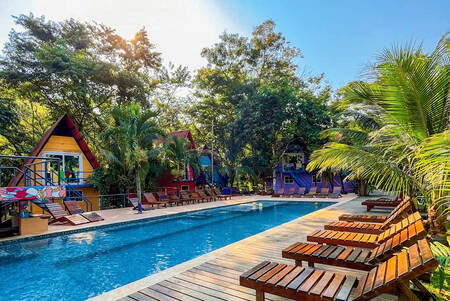
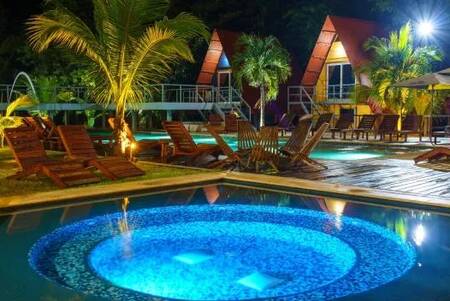
Getting from Semuc Champey to Flores
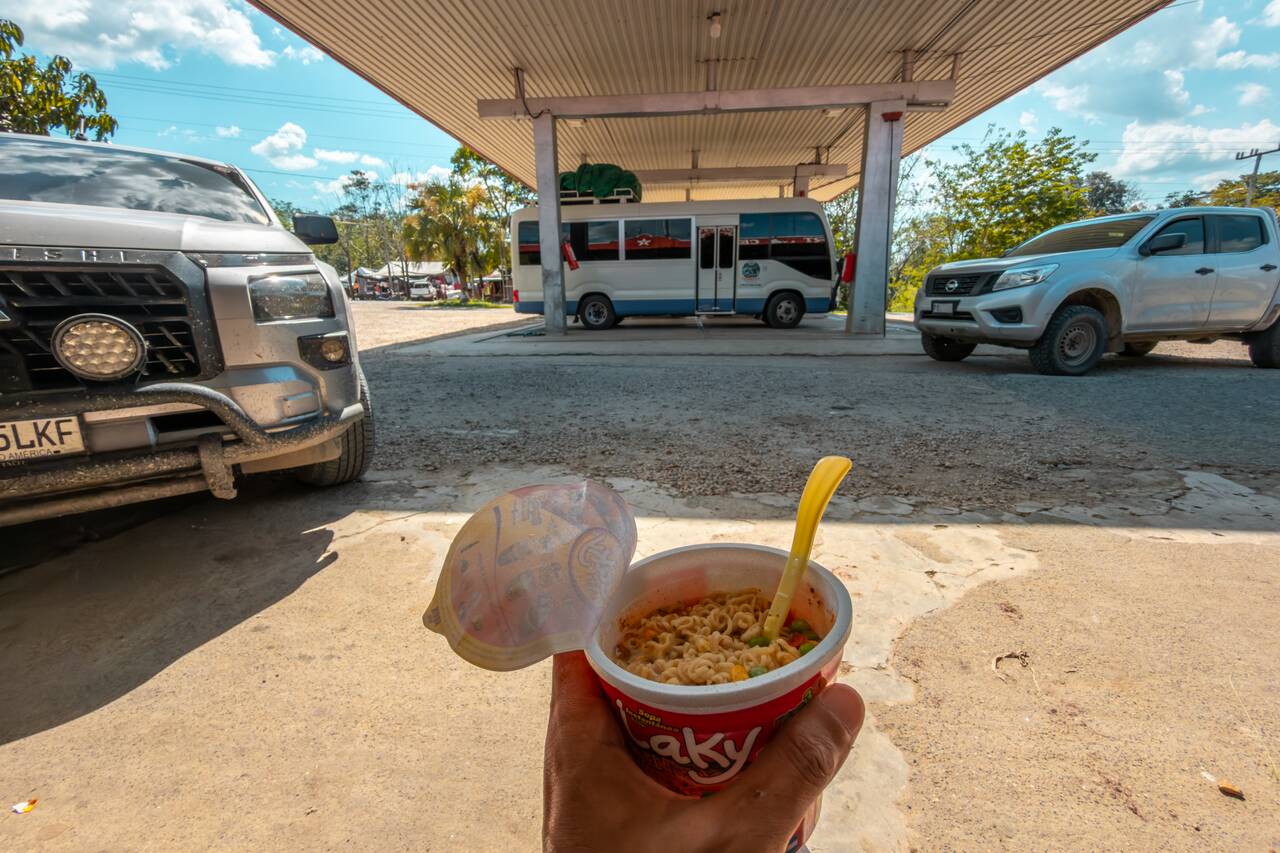
From Semuc Champey (Lanquín), there is one shared tourist shuttle running daily, taking around 7 to 8 hours, depending on road conditions. It departs at 8 AM from the Lanquín Bus Terminal and usually arrives in Flores at around 6 PM dropping you off at the entrance of Flores island.
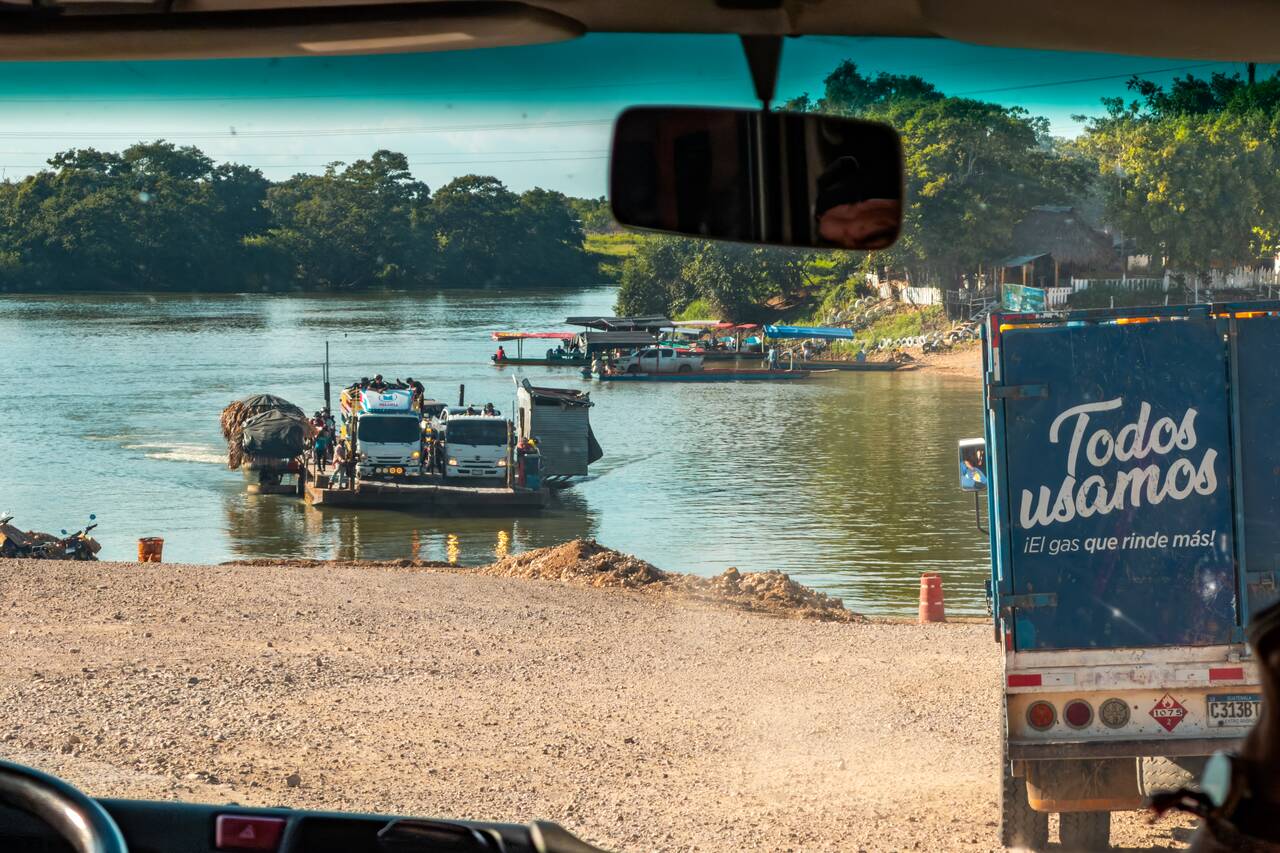
This is the shuttle I took, and although things were a little disorganized in Lanquín that morning, everything worked out fine in the end. Most accommodations in Lanquín can arrange the shuttle for you, or you can book it online in advance here.
Day 65-67: Flores & Tikal, Guatemala (3 nights)
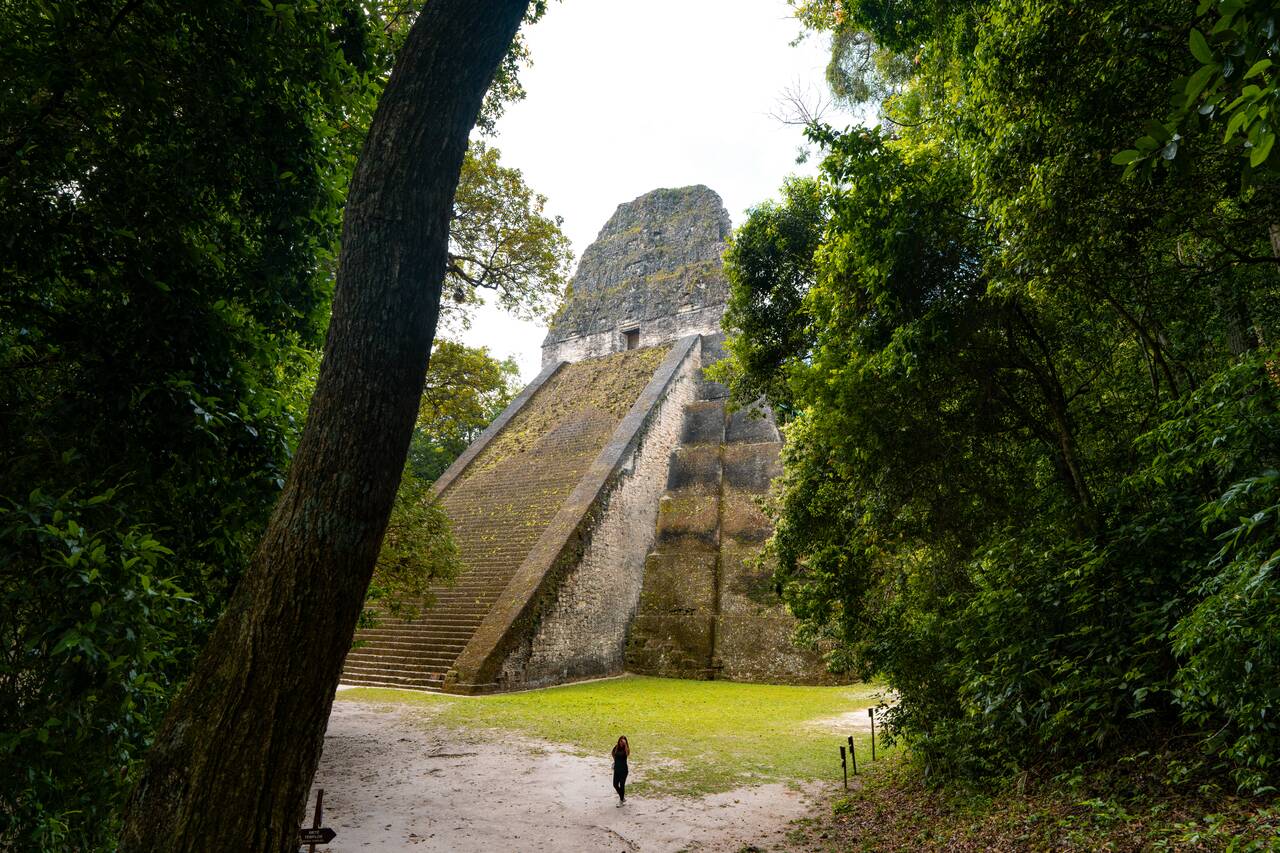
- 📍 Stay: Casa Maya Itza
- 🕐 Time: 3 nights
- 📖 Full Guide: Flores Guatemala Travel Guide & Tikal Travel Guide
Without a doubt, the main reason most travelers visit Flores is to explore the incredible Tikal National Park, one of the largest and most important ancient Mayan cities ever discovered, and that is what you are going to do on your first day in Flores. I've visited quite a few Mayan ruins around Mexico and Belize, and Tikal is by far my favorite.
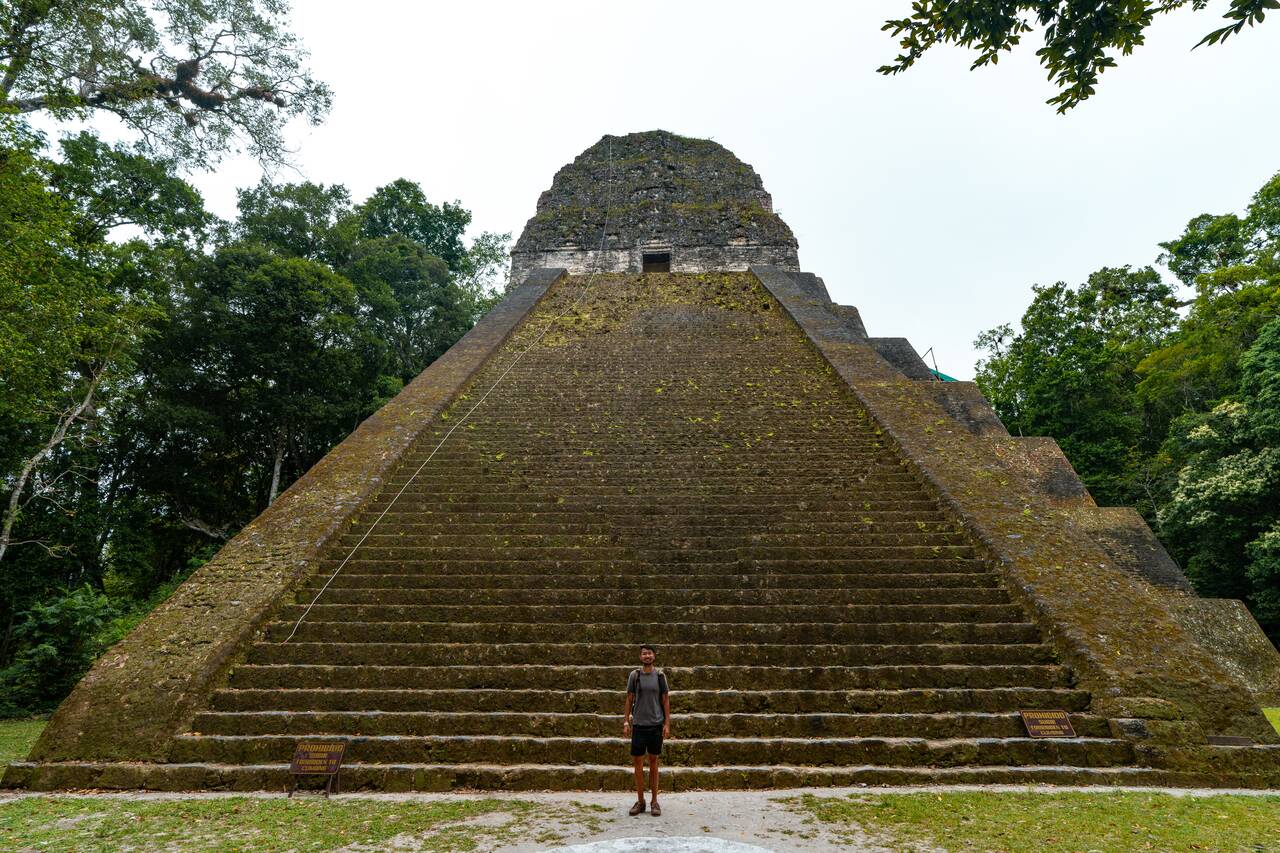
Flores is the perfect base for visiting Tikal, as the park is located only about 1.5 to 2 hours away by road. Most hotels and tour agencies offer daily shuttle services, and you can choose between a regular day tour, which usually departs around 4:30 AM and returns to Flores around 3–4 PM, a sunset tour, or a sunrise tour if you want to experience the jungle waking up around the ancient ruins.
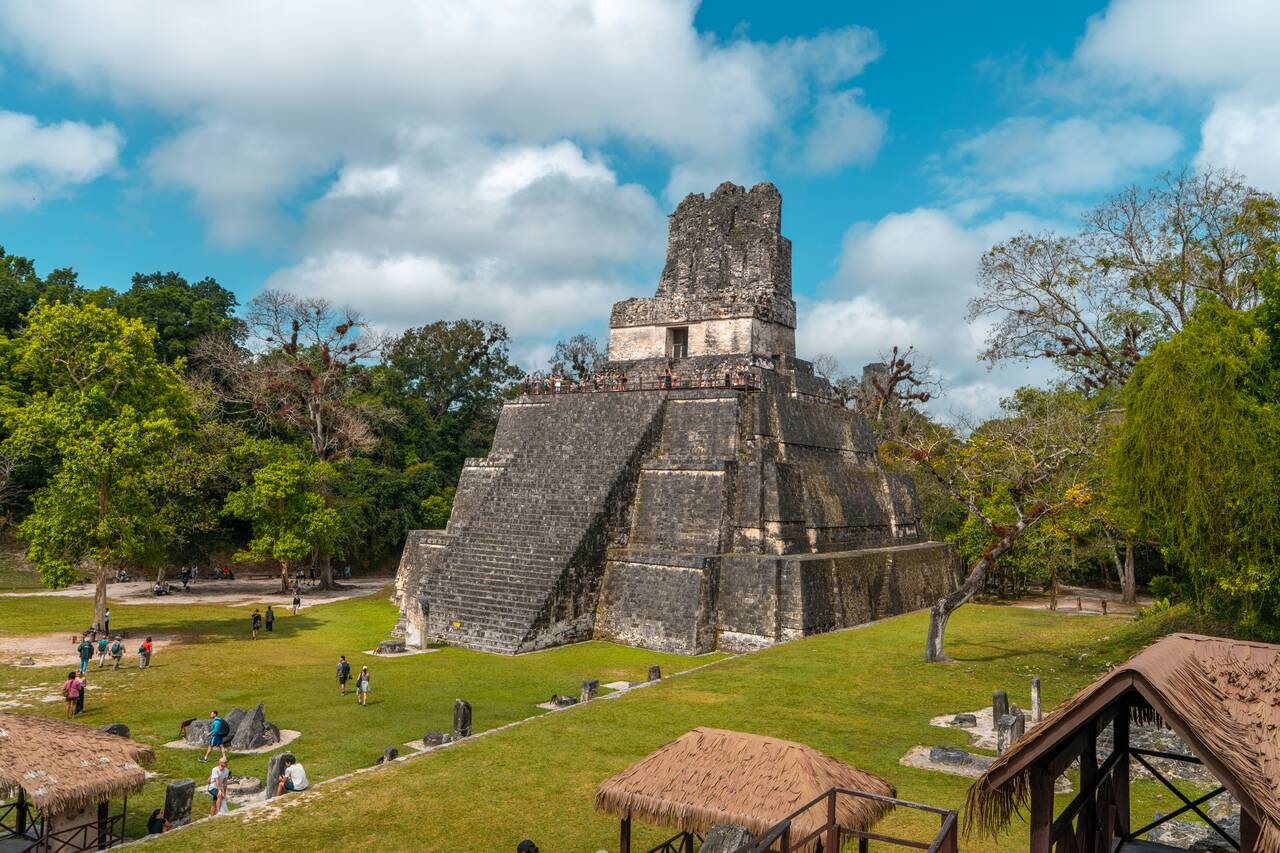
Personally, I recommend arriving as early as possible to enjoy the cooler temperatures, hear the jungle come alive with the sounds of howler monkeys and tropical birds, and explore the ruins before the larger tour groups arrive. I went with the sunrise tour which leaves from Flores at 3 AM and arrives at Tikal around 4:30 AM.
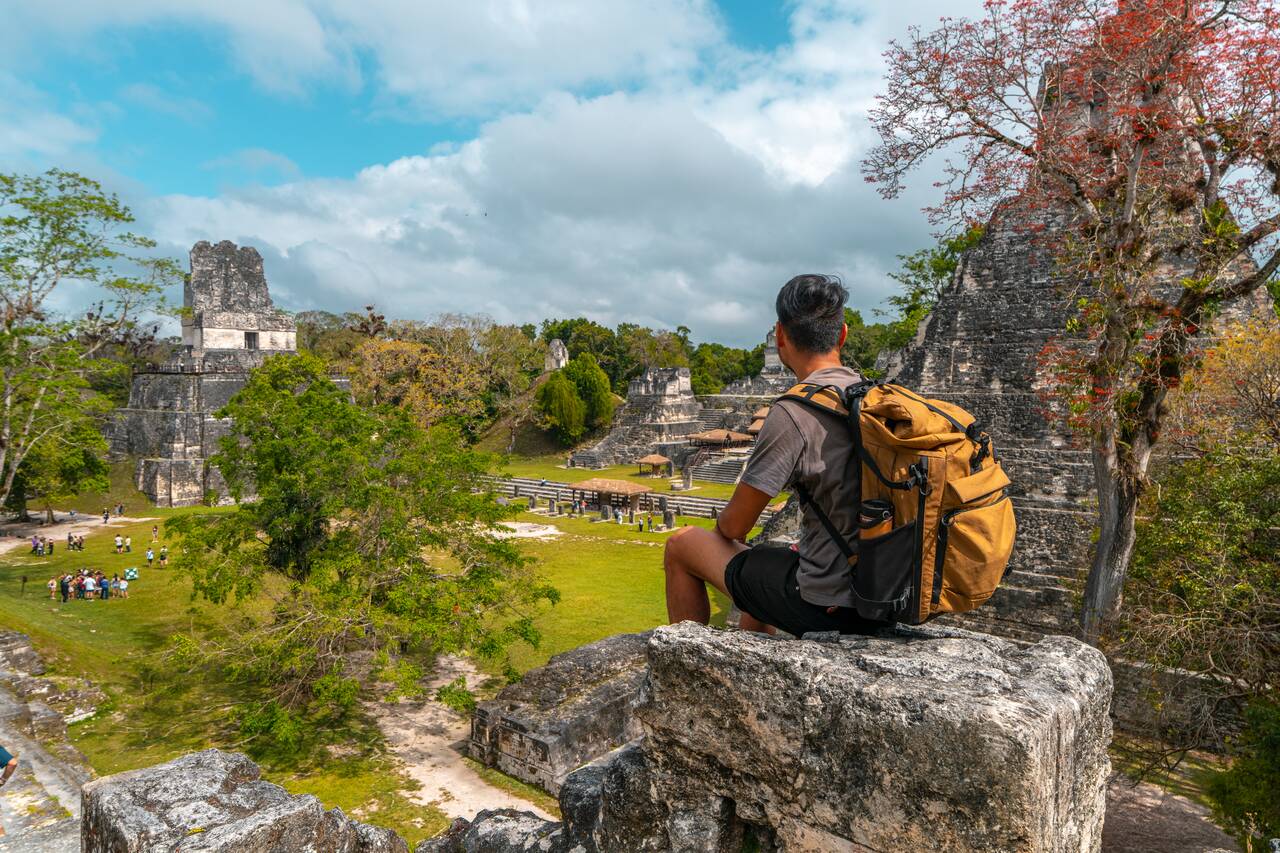
The archaeological site is enormous, so plan to spend at least half a day exploring. Some of the highlights include Temple I (Temple of the Great Jaguar), Temple II, the Great Plaza, and, of course, the towering Temple IV, the tallest temple in Tikal and the best place to watch the sunrise over the jungle canopy.
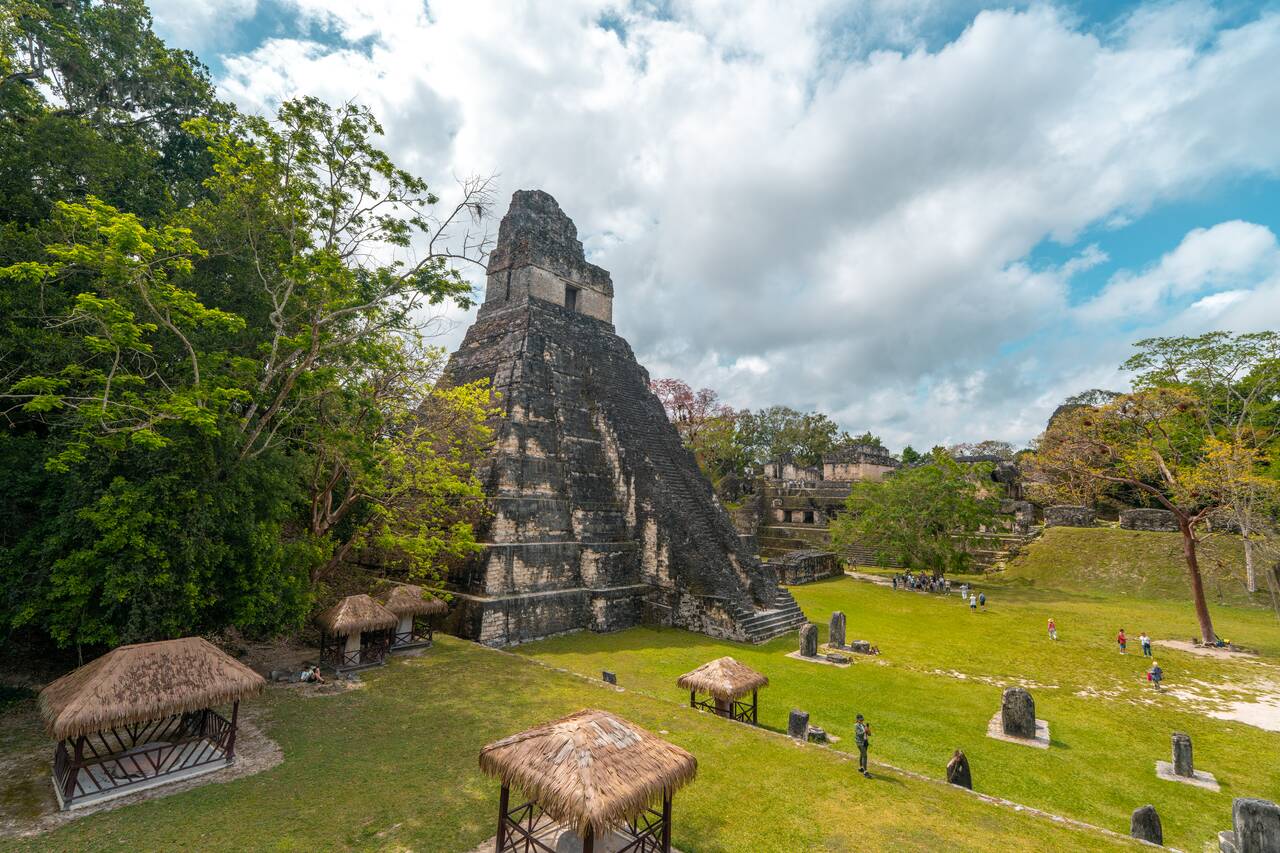
If you're planning to visit Tikal, make sure you book your entrance ticket and the correct time slot from the official website the day before, as most tours do not include the entrance ticket. For visitors over 12 years old, the regular entrance ticket costs around 150 GTQ (20 USD) per person, and the park is open daily from 6 AM to 5 PM.
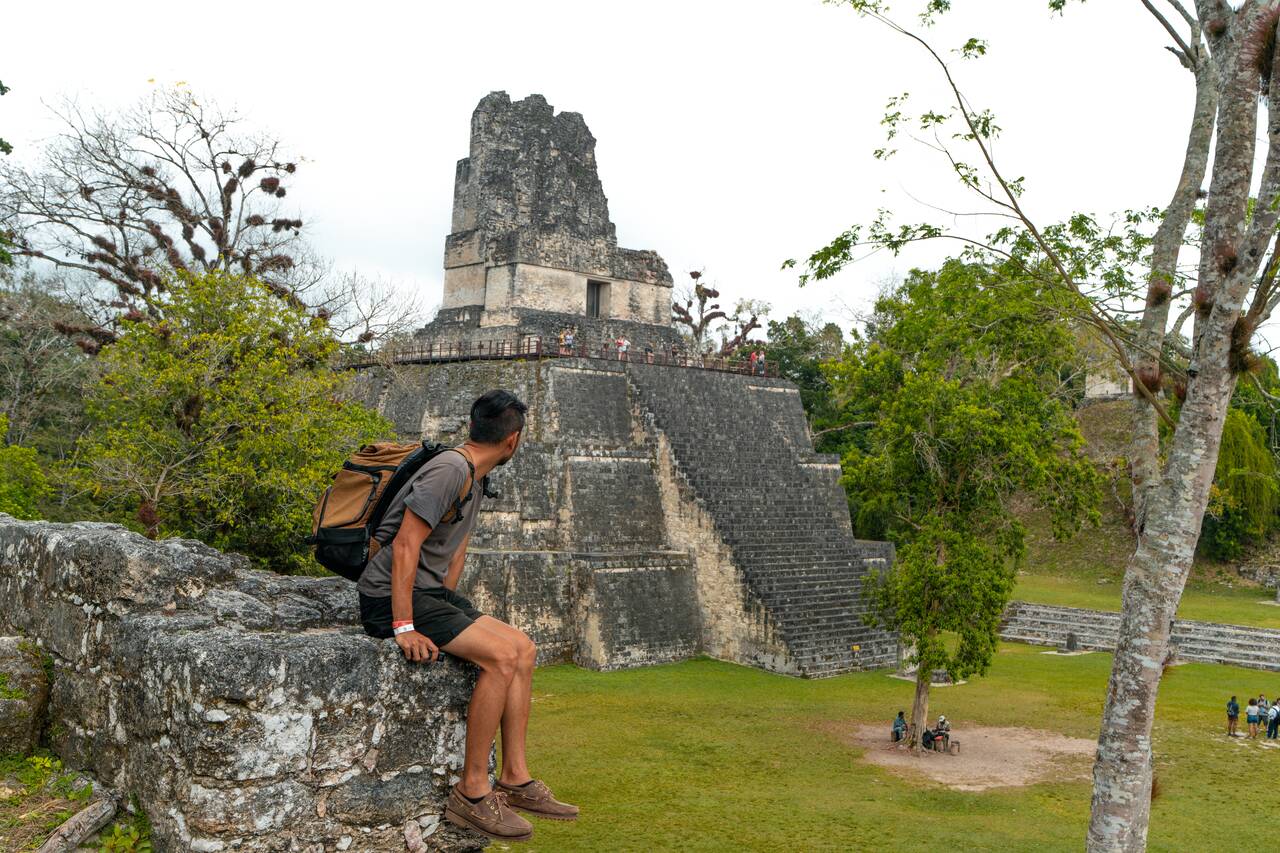
If you are visiting for sunrise or sunset, which allows entry outside the regular opening hours, you will need to purchase an additional sunrise/sunset ticket on top of the regular entrance fee. This costs another 100 GTQ (13 USD), bringing the total to around 250 GTQ (33 USD) per person. Make sure you select the correct ticket type when booking, as my friend accidentally booked a sunset ticket for a sunrise visit, and it took some time to get it changed.
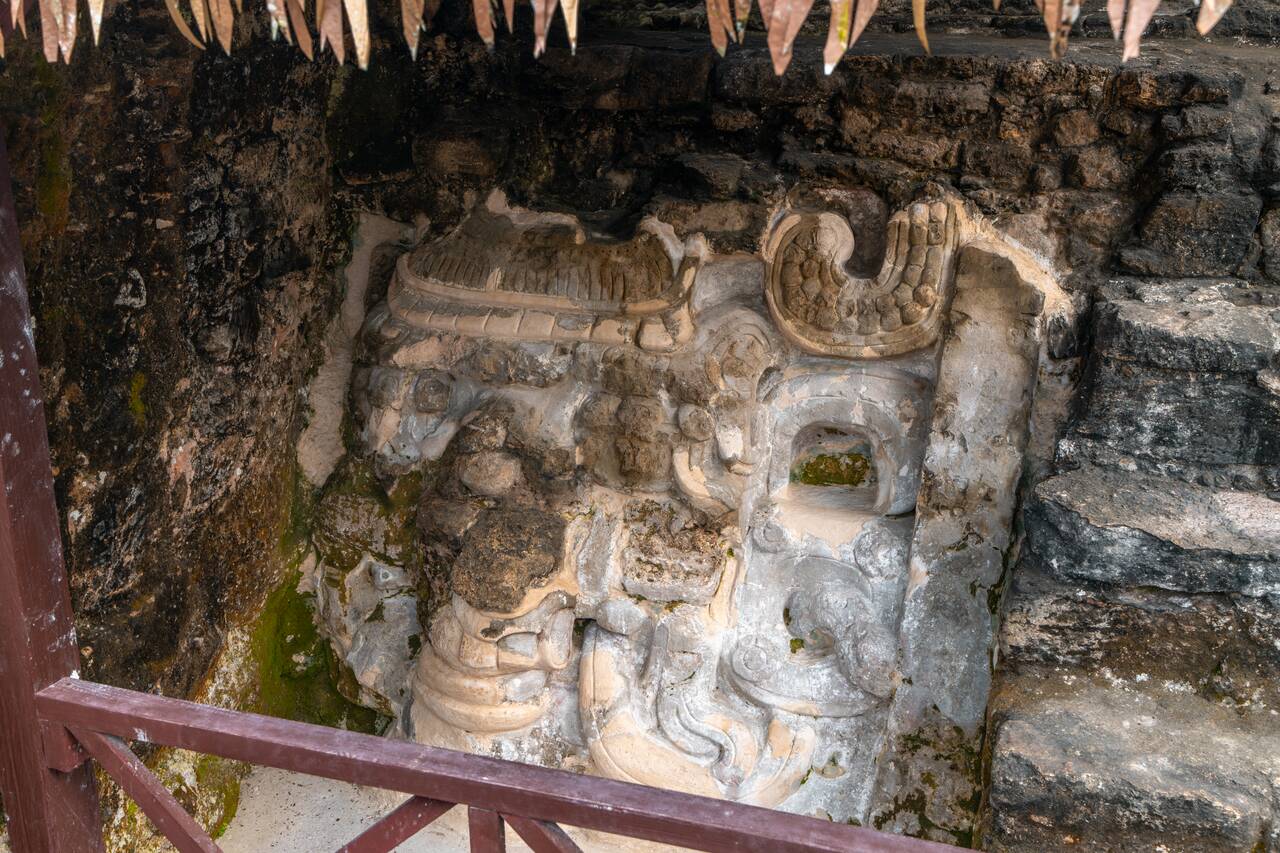
For tours, you can either book through your accommodation or browse available options here. These are my recommended tours: sunrise tour, sunset tour, and regular daytime visit.

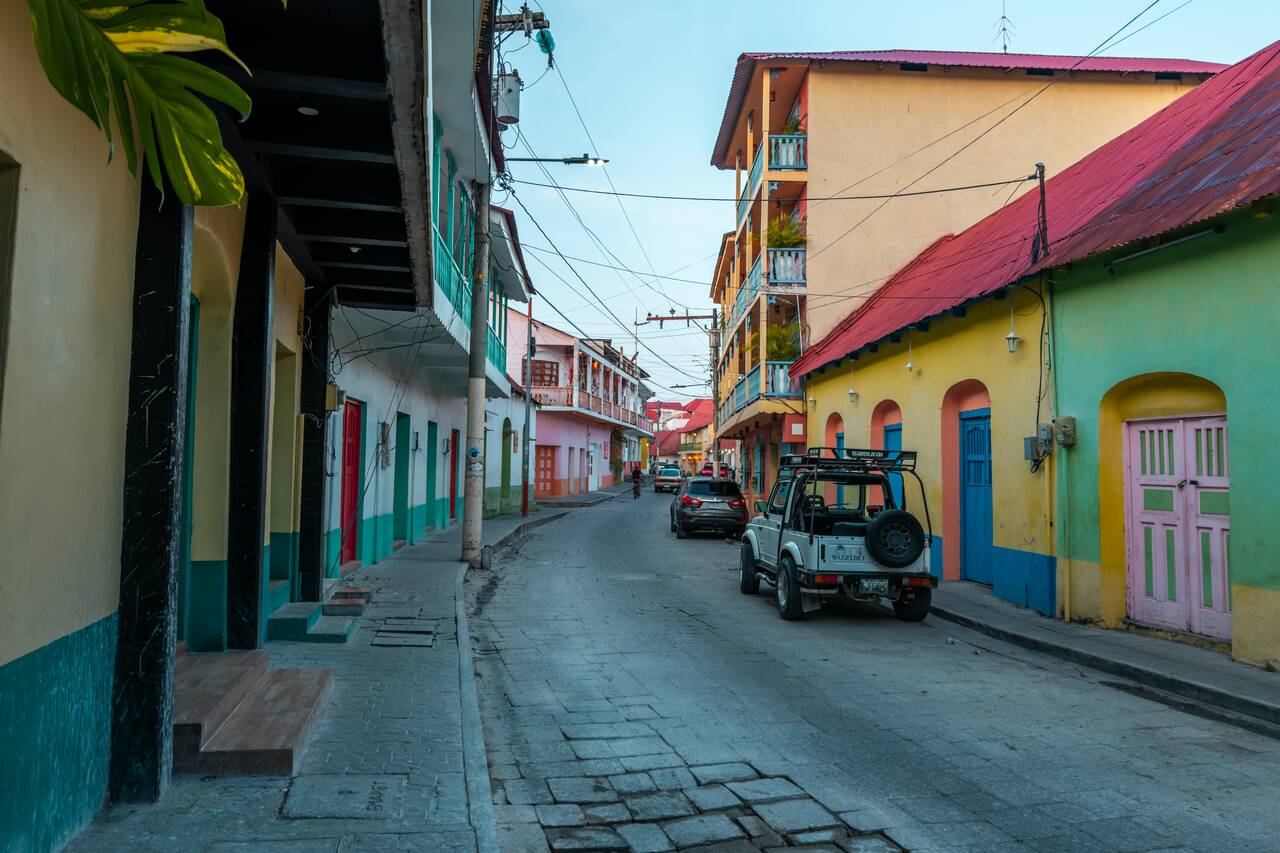
After spending the day in Tikal, you can come back and spend the rest of the day exploring Flores Island and wandering around its colorful streets. Connected to the mainland by a short causeway, this tiny island is filled with colorful colonial buildings, cobblestone streets, local shops, and beautiful views of Lake Petén Itzá all around it.
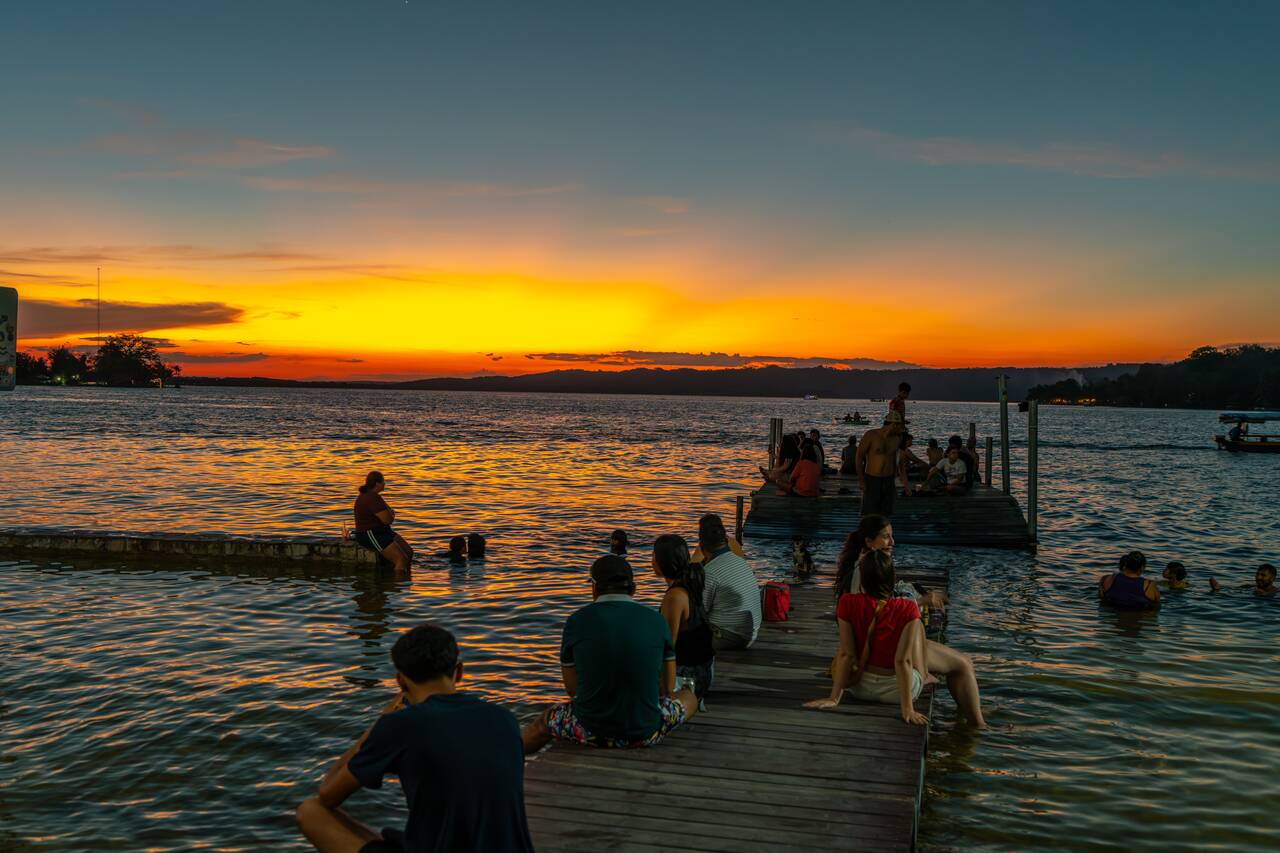
One of the best places to watch the sunset in Flores is along the Malecón, the waterfront promenade that wraps around Flores Island. This is where locals and travelers gather in the evening to enjoy the cooler breeze, watch boats passing by, and take in the beautiful views across Lake Petén Itzá as the sun slowly disappears behind the horizon.
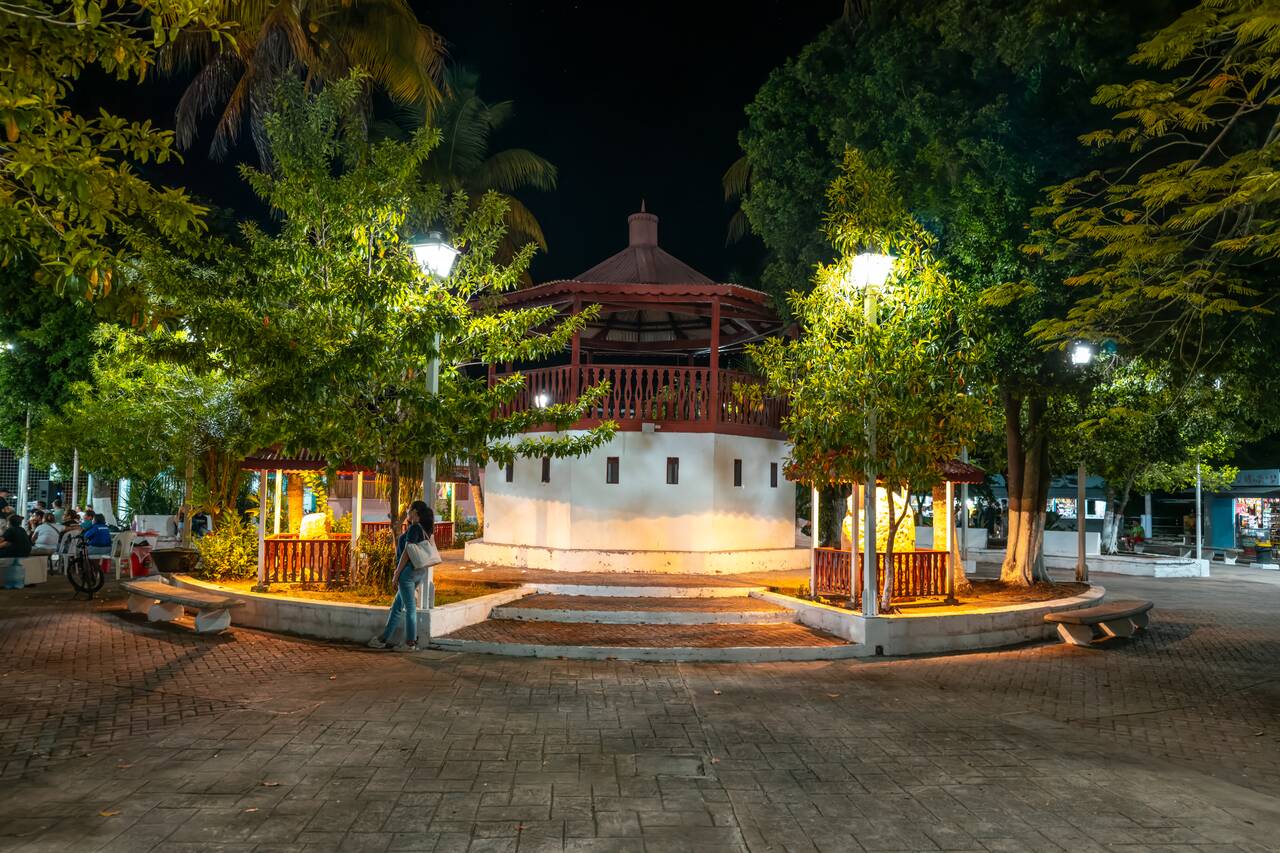
After sundown, be sure to come check out Flores Petén Park, a small local park surrounded by beautiful colonial houses and a stunning white-washed cathedral. With a pavilion in the center and plenty of benches to sit and enjoy the lively atmosphere, I often found myself here, sitting, and relaxing after a day of exploration, watching whatever local events were taking place.
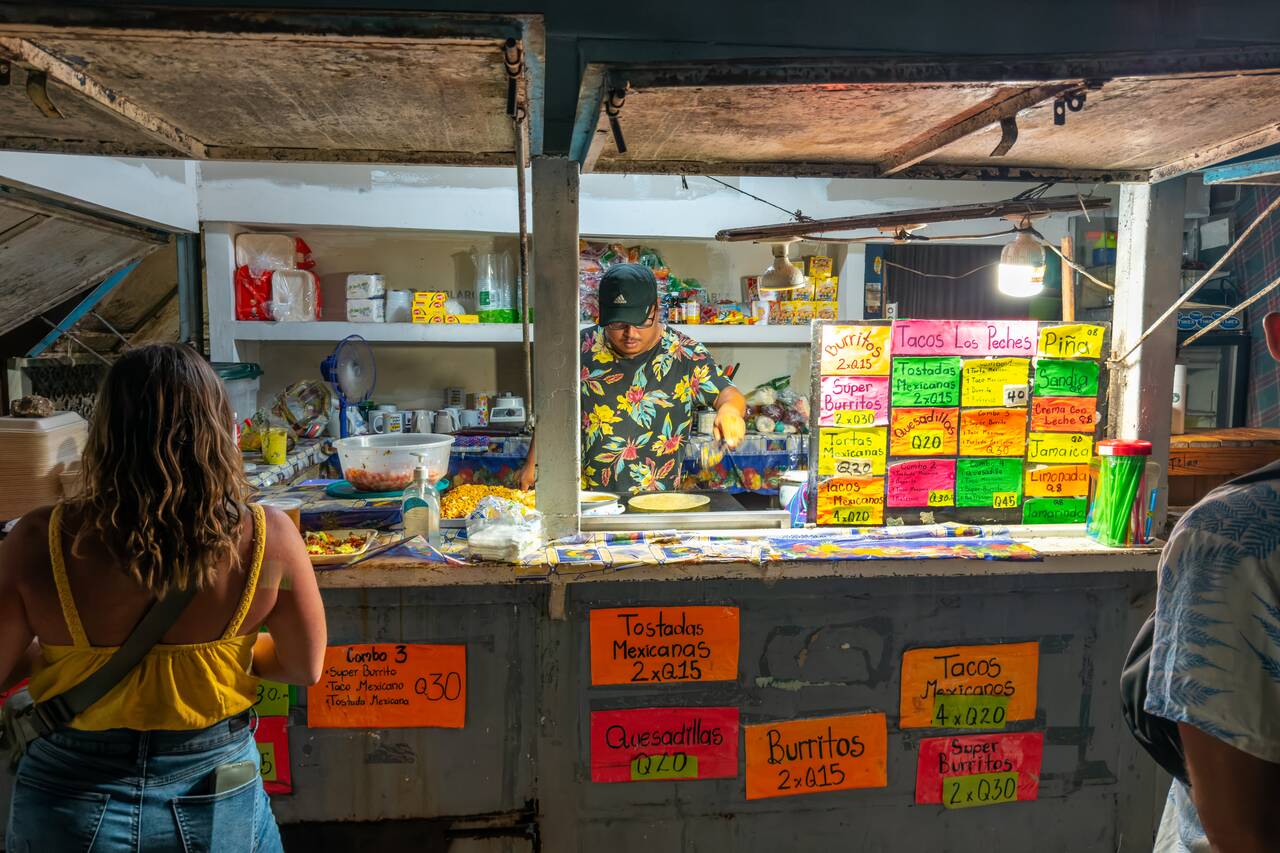
I recommend you grab a few tacos from Tacos Los Peches, and sit down somewhere in the park and enjoy the vibe. The atmosphere here felt a little more Caribbean, perhaps due to its proximity to the Caribbean coast, with a slower pace of life and a more relaxed island vibe compared to places like Antigua. After you are done, you can retreat for the night and get ready for adventure the next day.
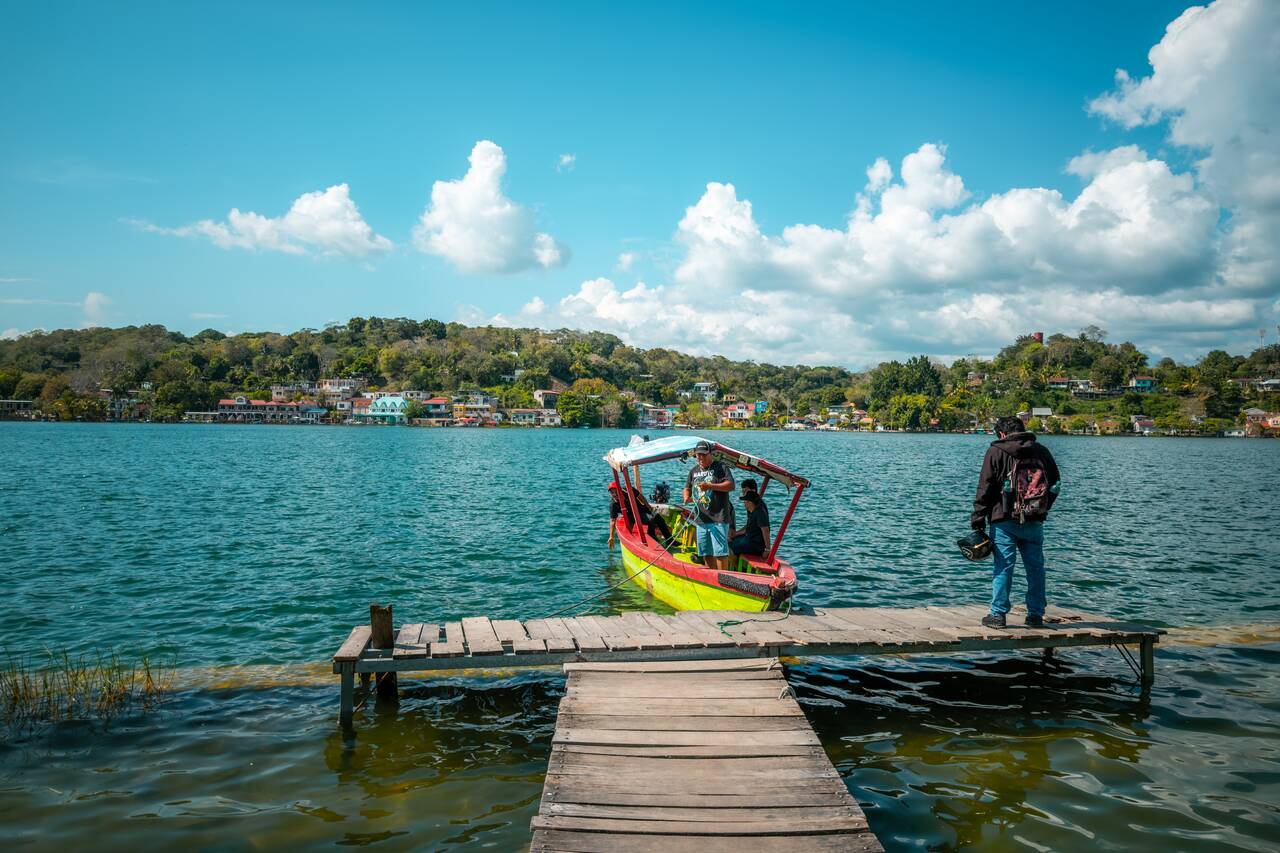
On this day, you can start the day late and enjoy a lovely breakfast at Maple & Tocino by the lake, before spend the rest of the day at Jorge's Rope Swing, a fun lakeside recreational spot where you can swim, relax, and enjoy the beautiful scenery away from the busy streets of Flores. It is a great half-day escape if you want to experience more of the lake beyond Flores Island.
If you prefer exploring the lake at your own pace, renting a kayak and explore by yourself a great way to enjoy the lake up close and experience a quieter side of Flores. You can rent the kayak from this Kayak Rental Place which should cost around 45 GTQ/hr for a kayak and 75 GTQ per 2 hours for a paddleboard. You can also do the full day for 200 GTQ total.
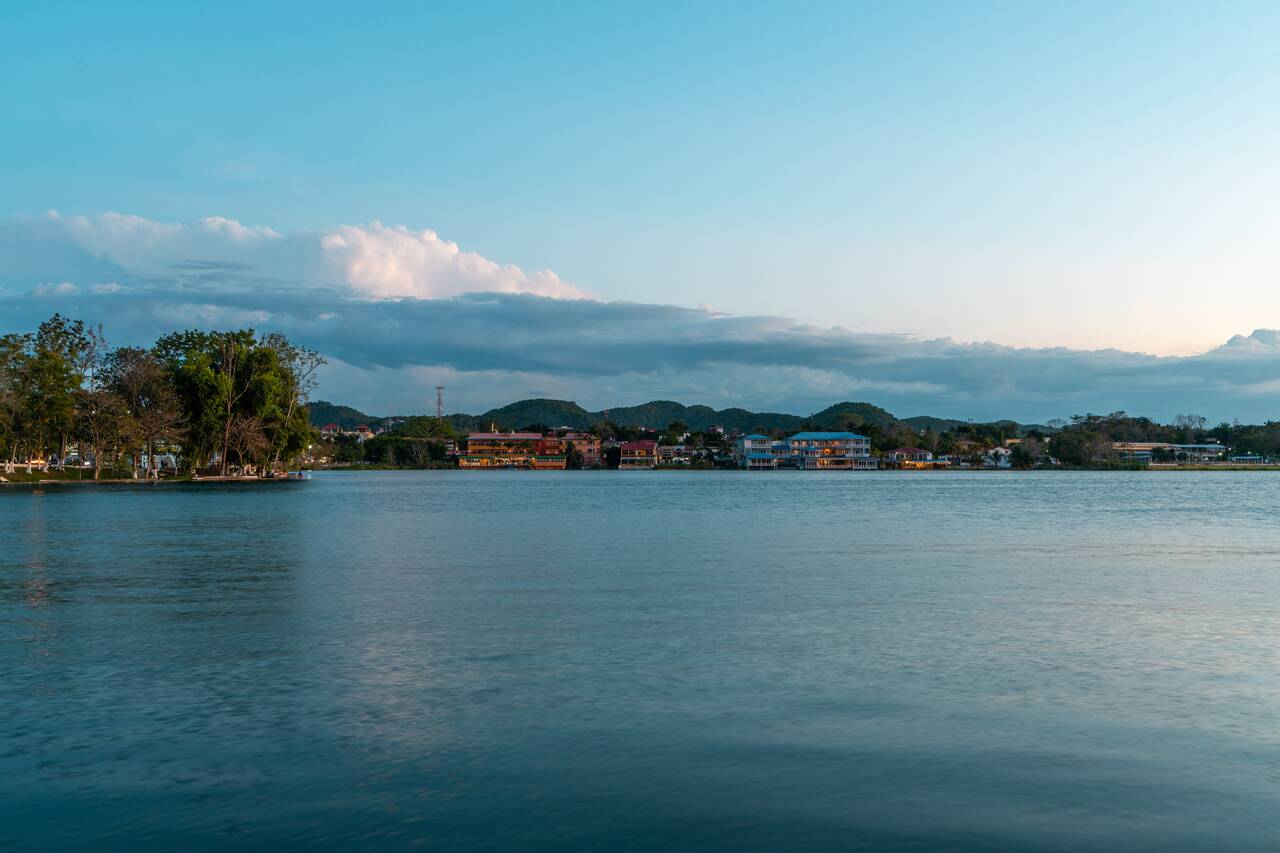
You can spend the entire day kayaking around the lake, and even paddle all the way to Jorge's Rope Swing by yourself without having to pay for the boat ride, which can get quite expensive, especially if you are traveling solo like I was.
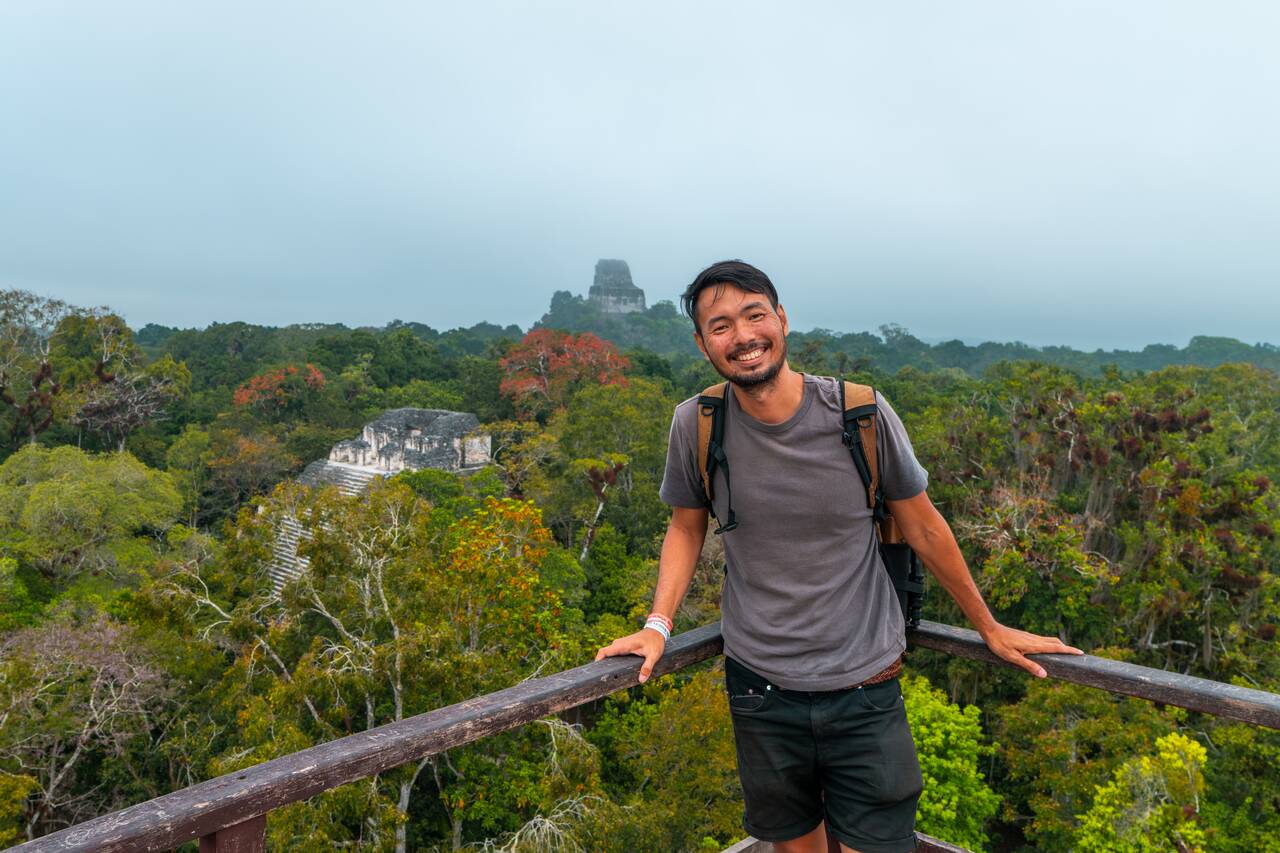
This should keep you occupied for the rest of the day. Once you are done, you can head back to Petén Park to enjoy your last night in Guatemala before we headed over to our last country in this itinerary, Belize, home to some of the best snorkeling spots in the world!

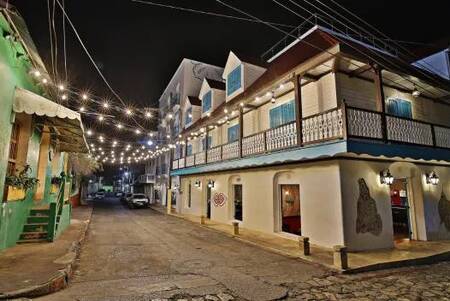
Getting from Flores, Guatemala to San Ignacio, Belize
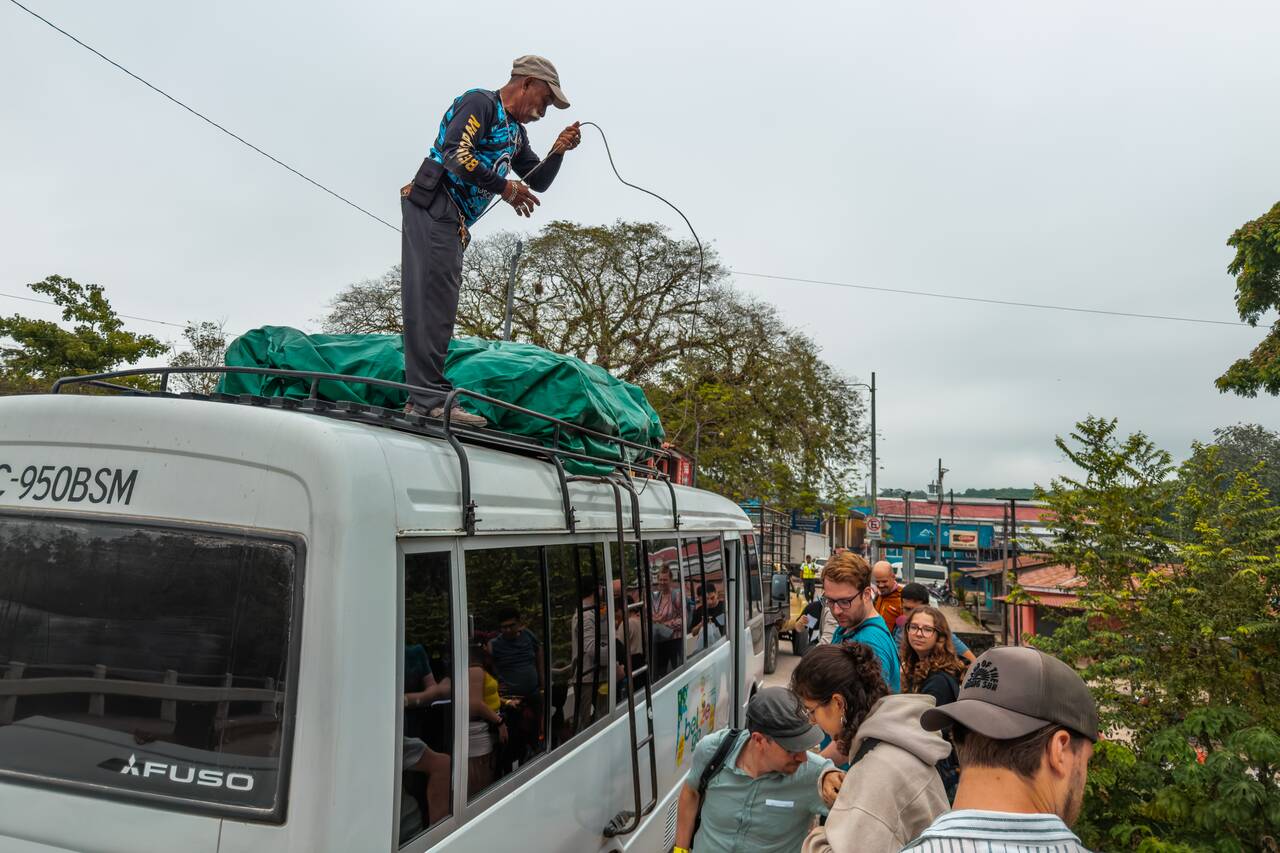
From Flores, Guatemala, you can catch a tourist shuttle operated Gekko Trail Explorer or these other shuttles that connect Flores with San Ignacio in Belize. The shuttle often leaves in the early morning and should take about 4 hours and costs 22 USD per person.
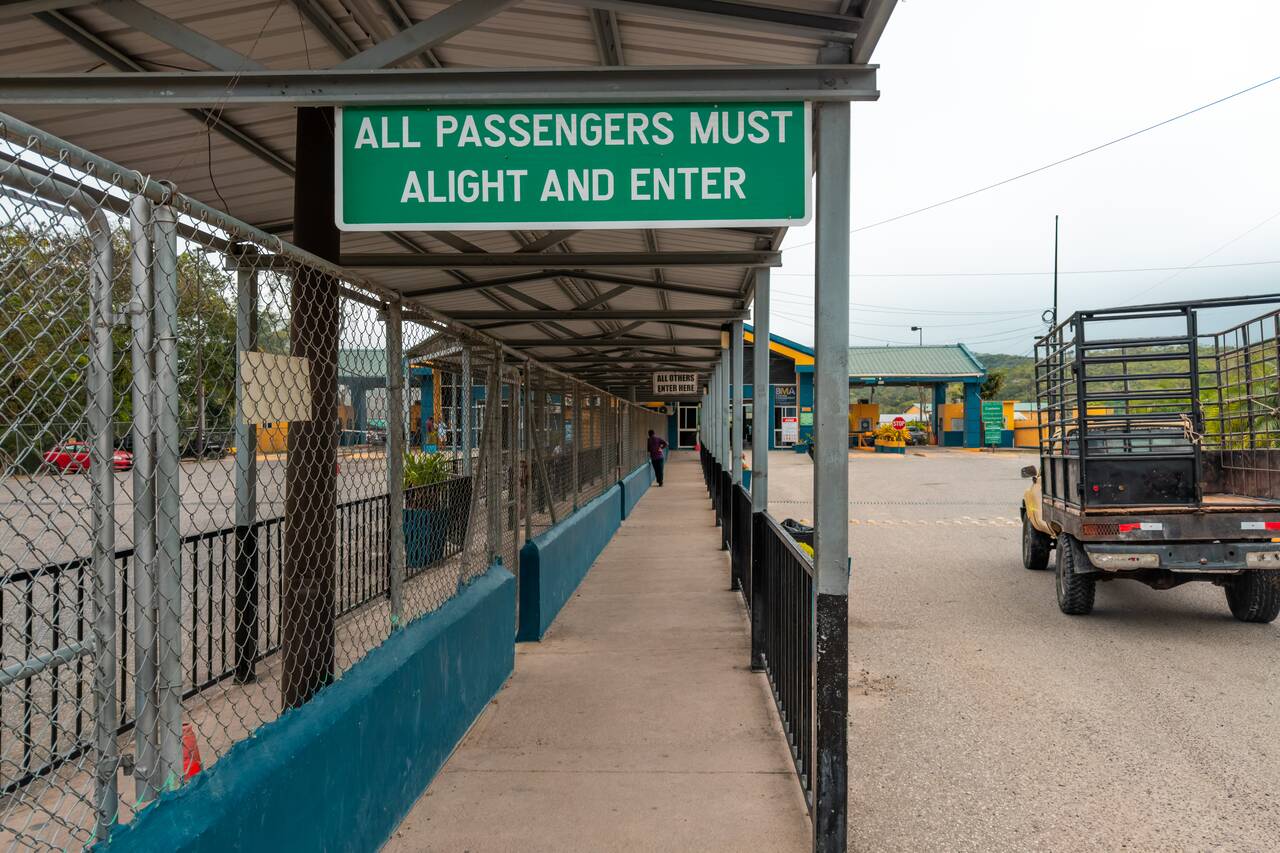
The border crossing is usually straightforward when exiting Guatemala. However, entering Belize can take some time depending on your passport and the documents requested by immigration. Belize immigration can be quite thorough, especially if you have a weaker passport like I do. If you are from a country that does not require a visa for Belize, the process should be much smoother and quicker.
Day 68-71: San Ignacio, Belize (4 nights)
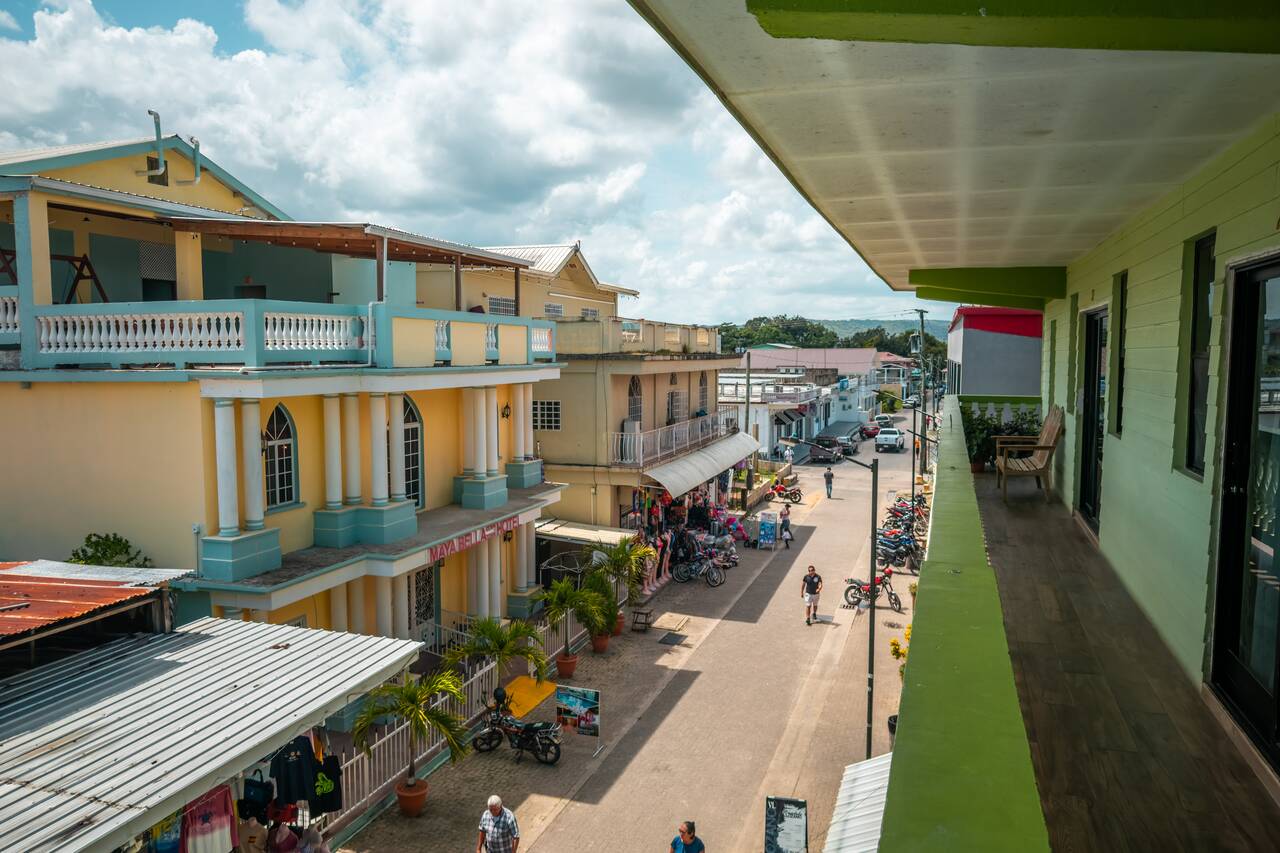
- 📍 Stay: Hilltop Horizon Guesthouse
- 🕐 Time: 4 nights
- 📖 Full Guide: Exploring San Ignacio: 9 Best Things to Do & More
After crossing the Guatemala-Belize border, you will arrive in San Ignacio, the adventure capital of Belize, home to some of the the country's finest Mayan ruins, rapids, and caves. On your first day here, settle into your accommodation before exploring San Ignacio itself.
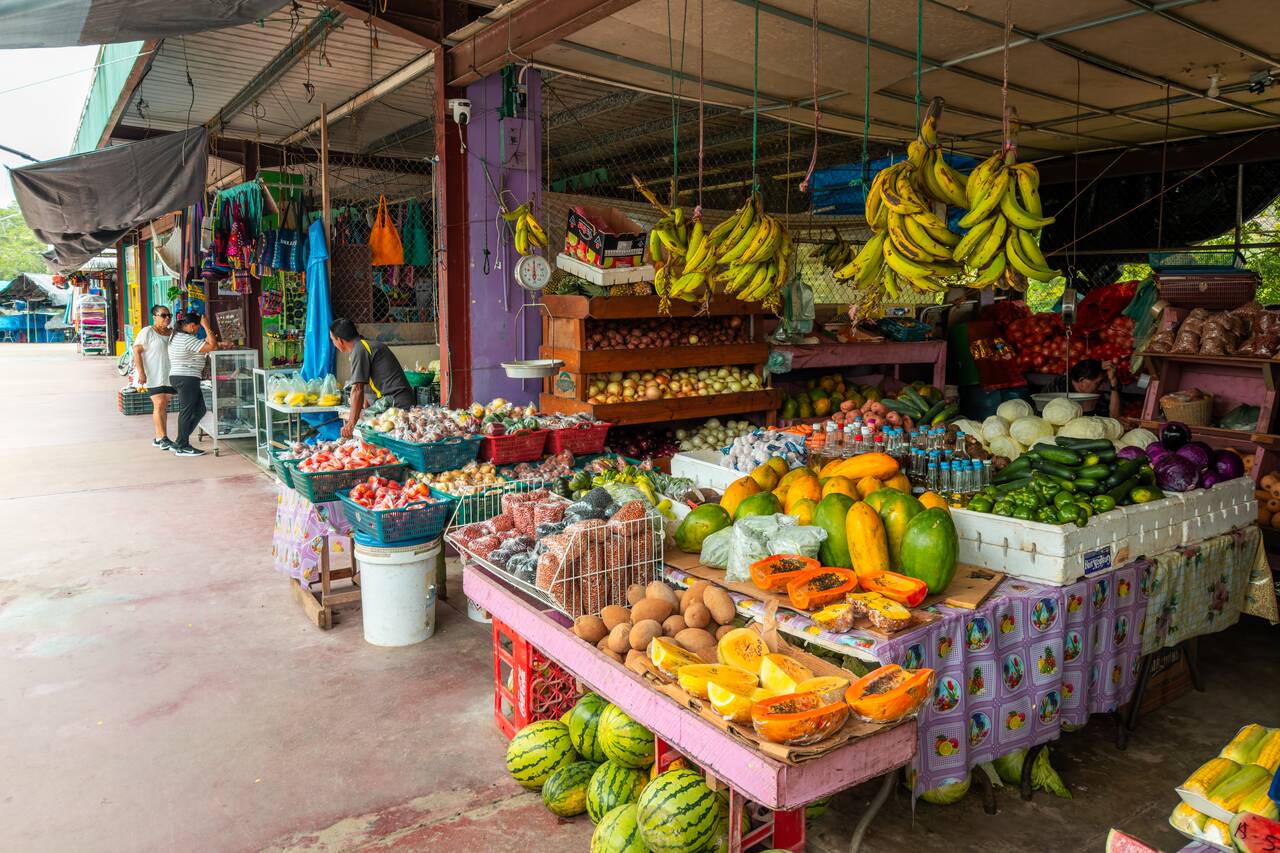
Wander through the San Ignacio Market, stroll along the El Cayo Boardwalk, and enjoy a delicious Belizean lunch at El Fogon as you get your bearings.
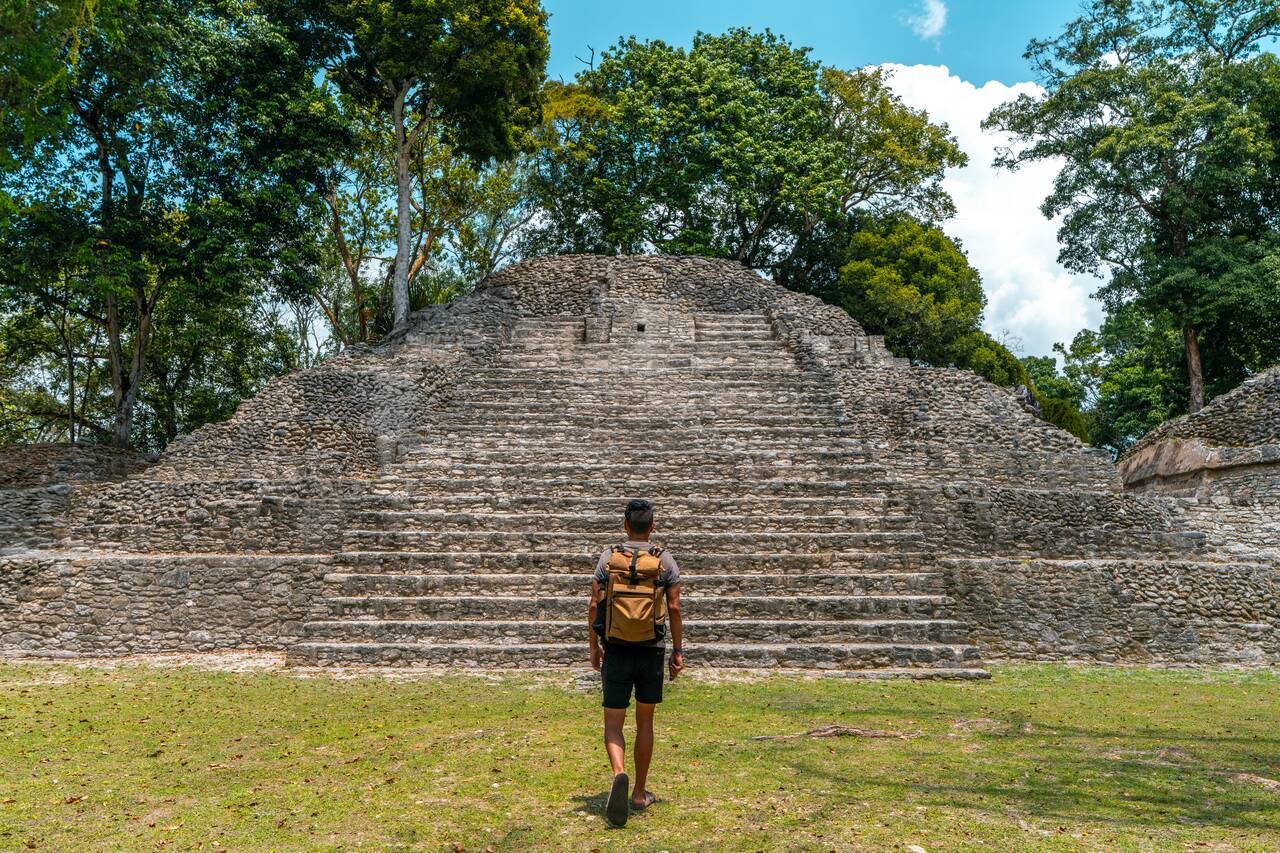
Belize is unlike any other country in Central America. For one, English is the official language, and the culture feels far more Caribbean than Latin American in many ways. If you are arriving from Guatemala like I did, the contrast is immediately noticeable, and it may take a little time to adjust, but that's all part of what makes Belize such a fascinating place to visit.
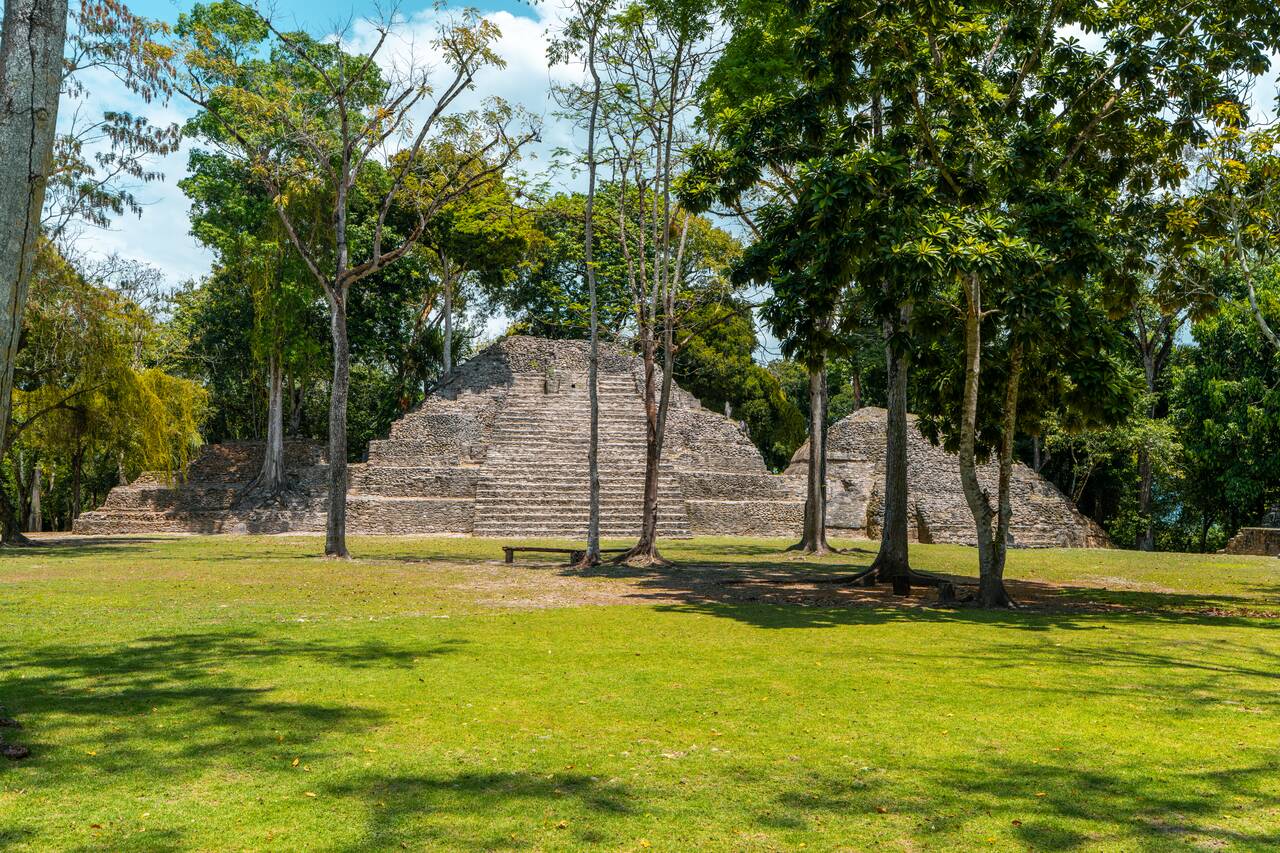
In the afternoon, walk up to Cahal Pech, a wonderful Maya archaeological site located right in town. It should take you about an hour to explore the site and its museum. After exploring the ruins, reward yourself with a drink while overlooking San Ignacio at Lola's Restaurant and Bar. If it's late, you can also have dinner here.
Dedicate your second day to visiting the legendary Actun Tunichil Muknal (ATM) Cave, one of the most unforgettable experiences in Belize. This full-day adventure takes you hiking through the jungle, swimming into a cave system, and exploring an ancient Maya ceremonial site where pottery and human remains have remained untouched for centuries.
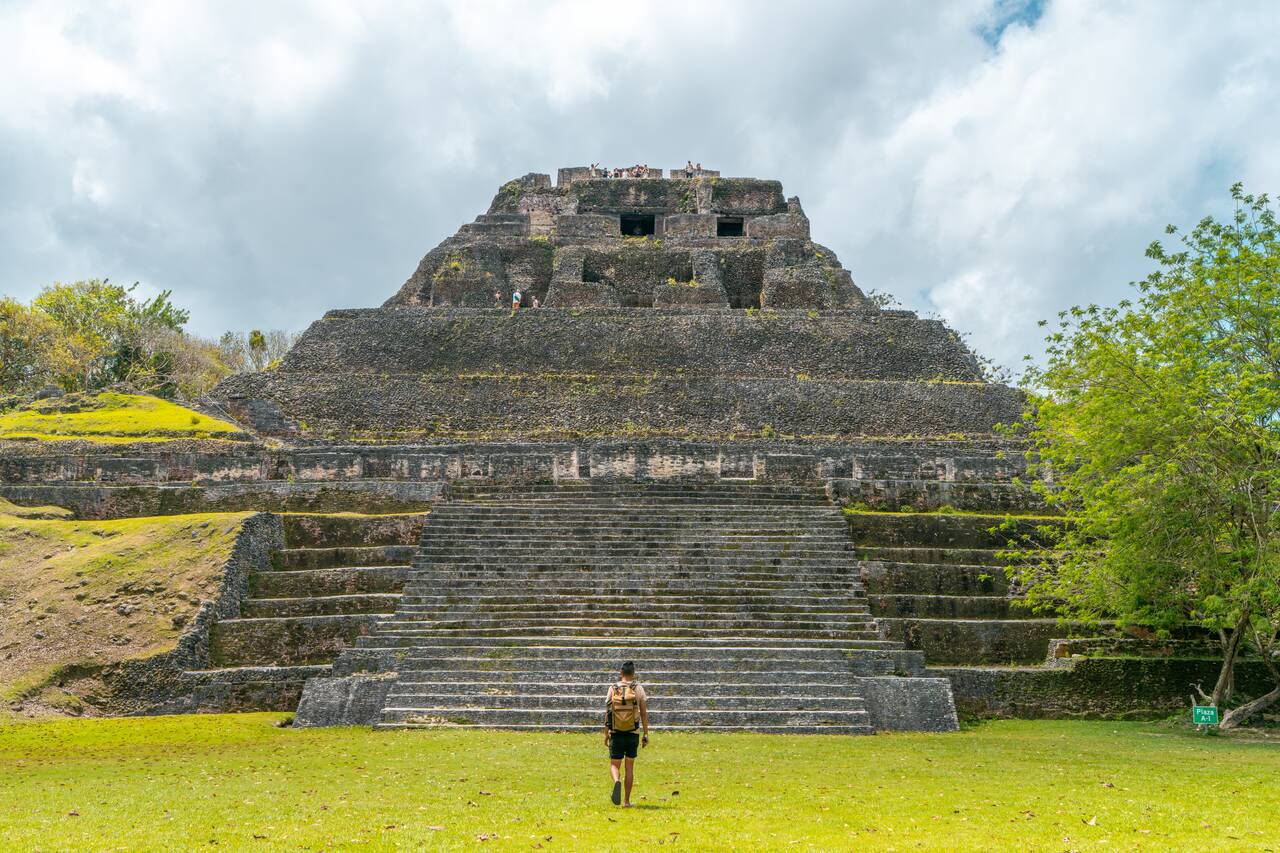
On your final full day, head to Xunantunich, one of Belize's most impressive Maya cities in Belize. You can easily catch the bus from this bus stop in town heading towards Benque and get off at the hand-cranked ferry port. You can cross the river with the awesome hand-cranked ferry.
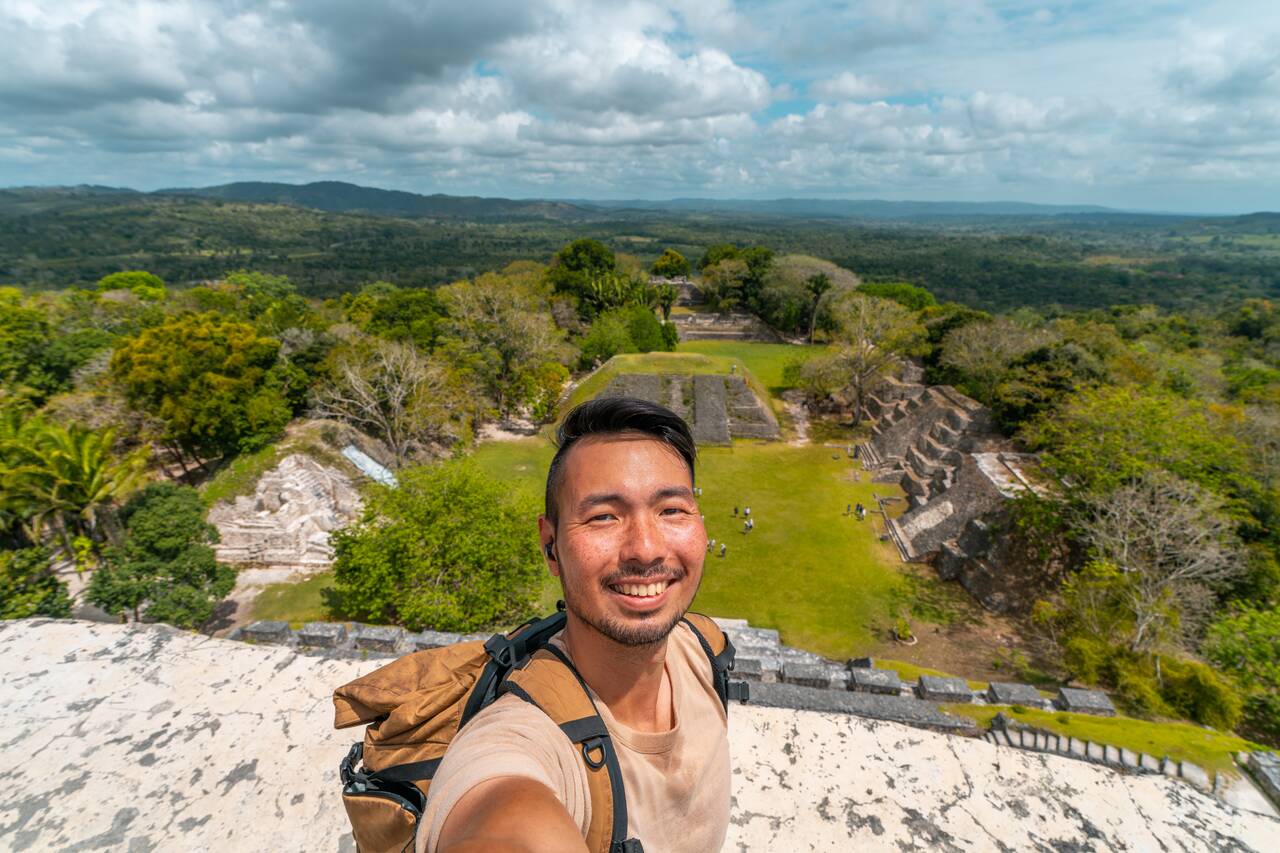
After crossing the river on the hand-cranked ferry, it is about a 30-minute walk to Xunantunich. Spend 1–2 hours exploring the ancient city and climbing to the top of El Castillo for panoramic views stretching across Belize and Guatemala. Including the journey from San Ignacio, you should allow around half a day for the entire trip, leaving you plenty of time to explore more of San Ignacio afterward.
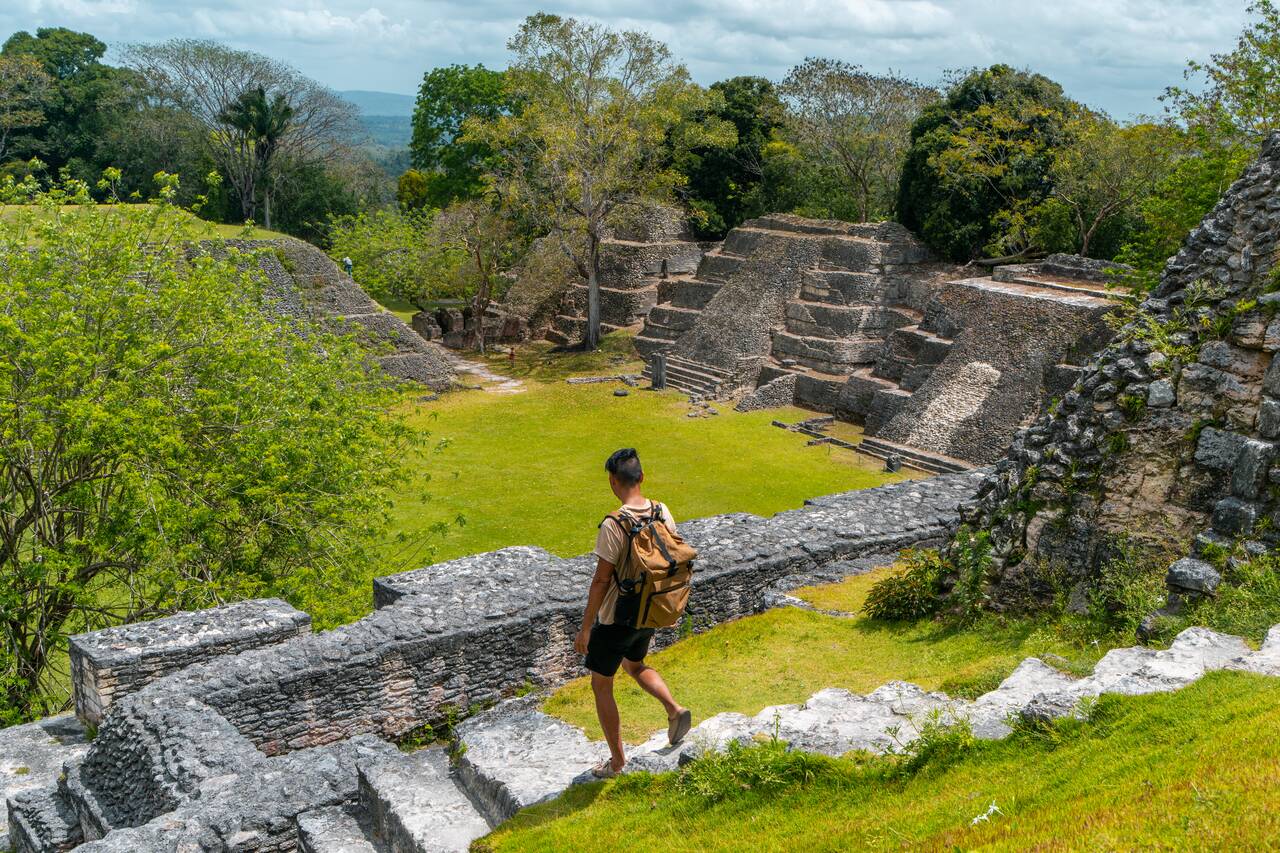
If you still have time afterward, stop by the Green Iguana Conservation Project back in San Ignacio to learn about the conservation work being done to protect Belize's native green iguanas, before retreating for the day.



Getting from San Ignacio to Caye Caulker
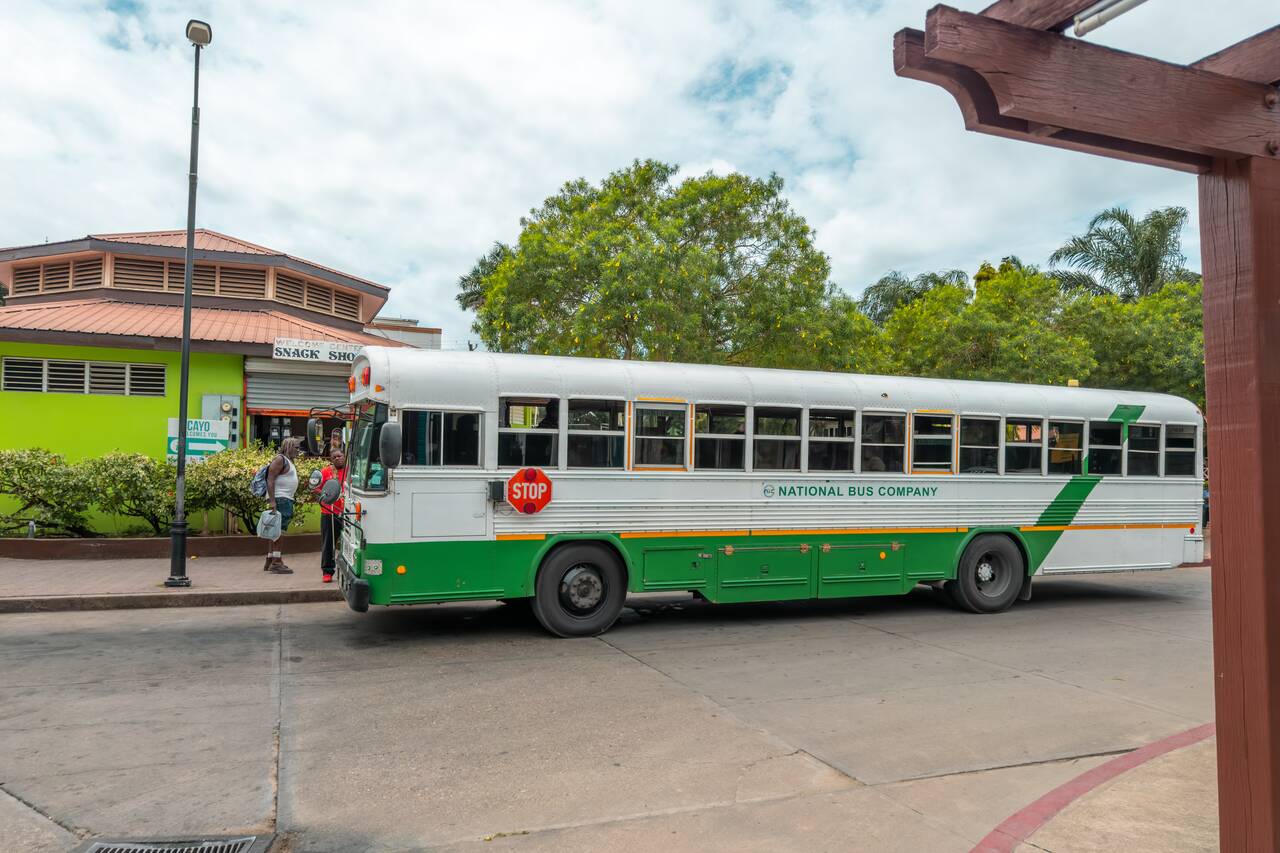
From San Ignacio, you can easily make the journey independently by taking a morning bus from this bus stop in town. The ride to Belize City takes around 2.5 hours and costs 11 BZD (5.5 USD). Buses run approximately every 2 hours from 7:30 AM to 5 PM daily. You can check the latest bus schedule here.
The bus will drop you off at Belize City Bus Terminal. From there, you can either walk or take a taxi (be sure to negotiate the fare first) to the San Pedro Belize Express Water Taxi Terminal, where you can catch the ferry to Caye Caulker. Ferries depart throughout the day at 8 AM, 9 AM, 10:30 AM, 12 PM, 1:30 PM, 3 PM, 4:30 PM, and 5:30 PM. The ferry ride takes around 45 minutes to 1 hour and costs 58 BZD (29 USD).
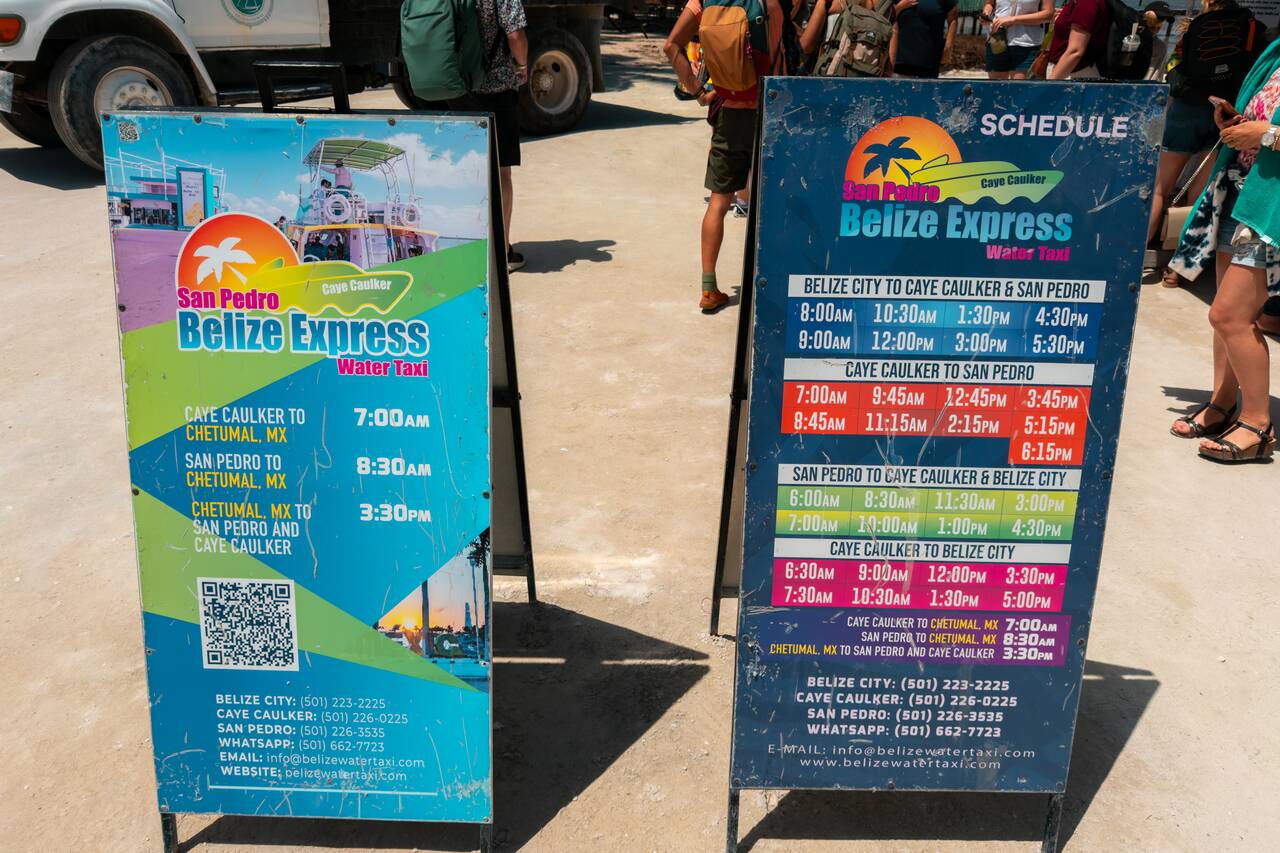
The entire journey should take you no more than 5 hours, depending on traffic and ferry connections. I caught the 9 AM bus from San Ignacio, arrived in Belize City at around 11:30 AM, and had just enough time to catch the 12 PM ferry to Caye Caulker. It was a very straightforward trip, and I never felt the need to book a tourist shuttle.
Day 72-74: Caye Caulker, Belize (3 Nights)
- 📍 Stay: Caye Caulker Beach Hotel
- 🕐 Time: 3 Nights
- 📖 Full Guide: Discover Caye Caulker: 10 Best Things to Do & More
After spending a few days exploring the jungles and ancient Maya cities of mainland Belize, it is time to slow down and experience the Caribbean side of the country. Take a bus back to Belize City and catch the water taxi from Belize Ferry Terminal to Caye Caulker, a tiny island famous for its "Go Slow" lifestyle, crystal-clear waters, and some of the best snorkeling experiences in the world.
Spend your next three nights here enjoying the laid-back island atmosphere, where the biggest challenge of the day is deciding where to eat, where to watch the sunset, or which marine creature you want to swim with next. Unlike many Caribbean islands that are dominated by resorts, Caye Caulker still retains a charming village feel, and it is hands down my favorite place in the country.
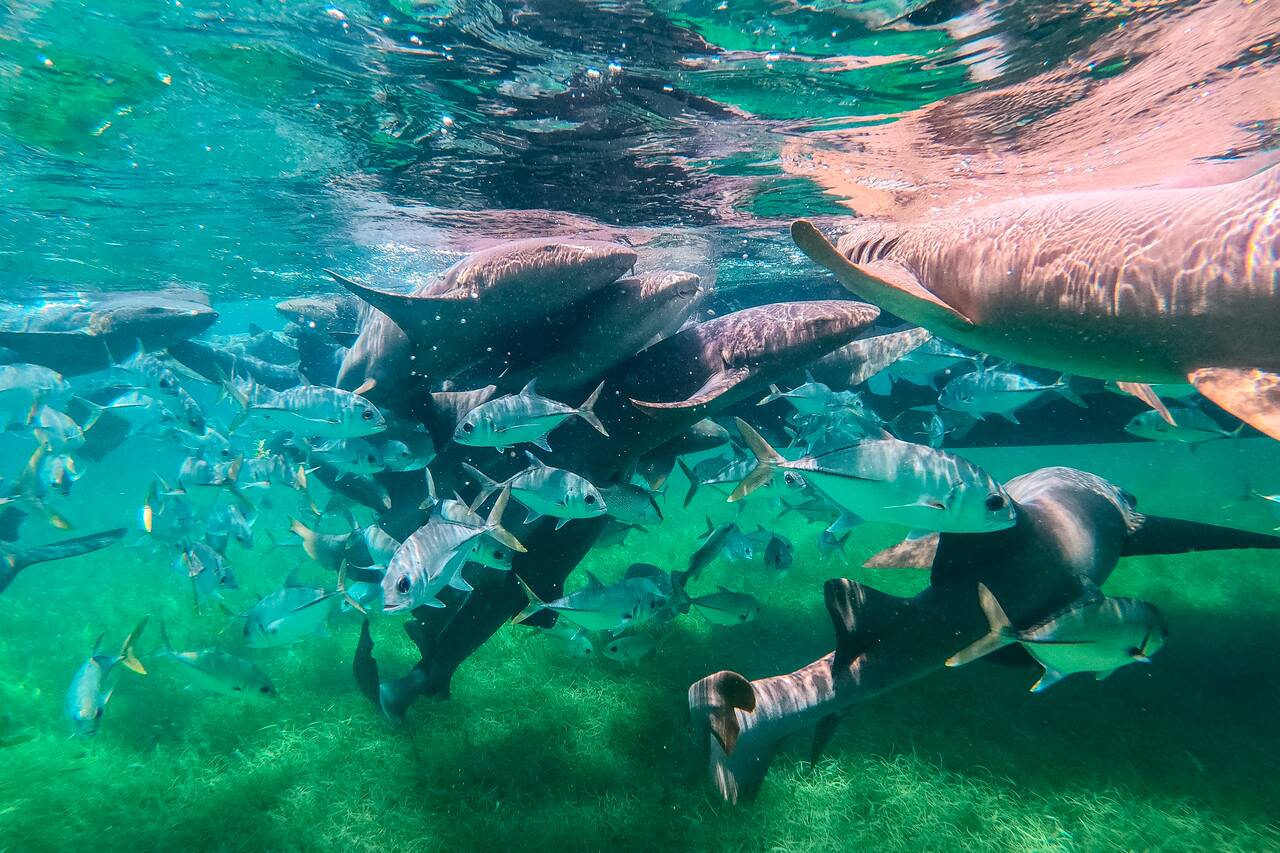
Your first full day should be dedicated to the incredible underwater world surrounding the island. Join a snorkeling trip to Hol Chan Marine Reserve and Shark Ray Alley, where you can swim alongside nurse sharks, stingrays, eagle rays, sea turtles, and possibly even manatees.
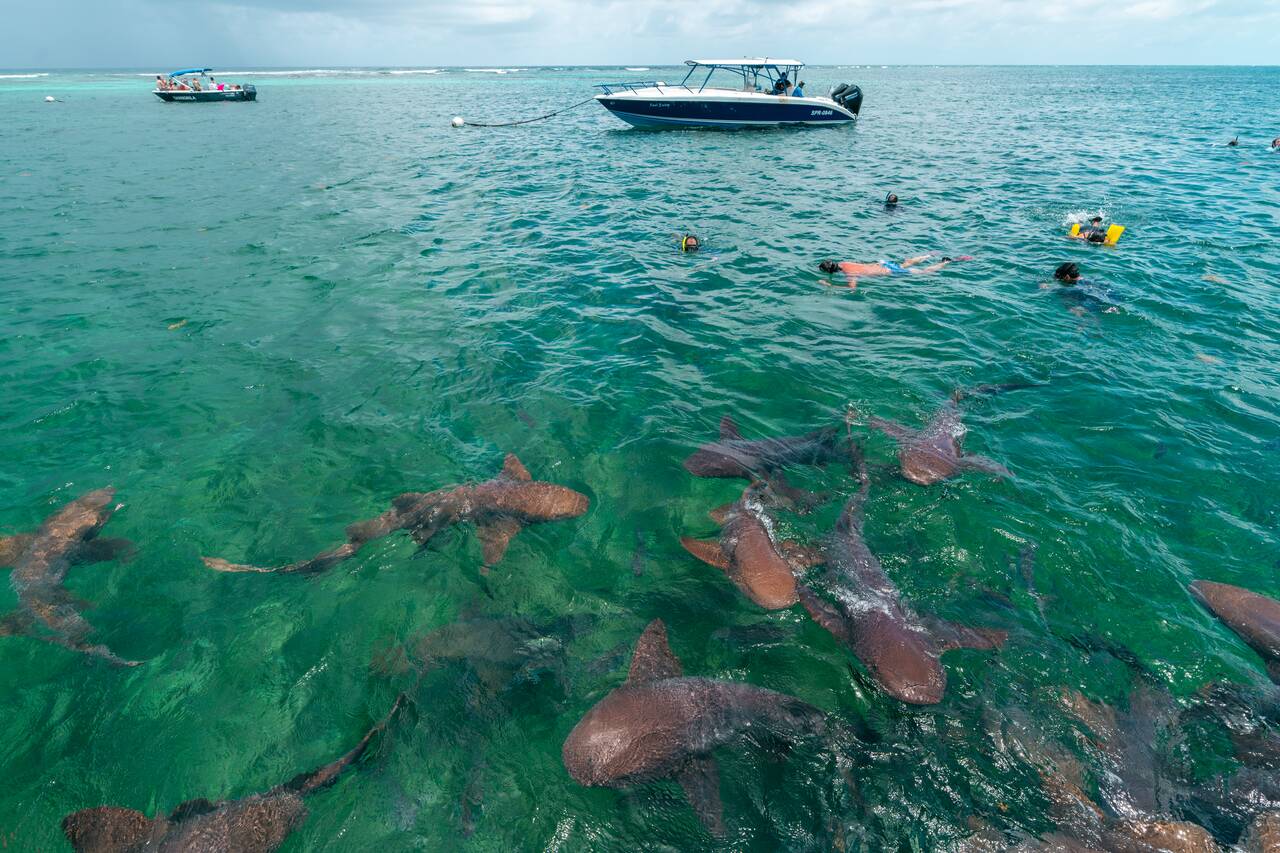
Out of all the places I have snorkeled, including Thailand where I am from, this was easily one of my favorite snorkeling experiences. The combination of healthy coral reefs, incredible marine life, and crystal-clear Caribbean water is just perfect for snorkeling and you are going to have a blast spending the entire day out in the water.
After your first day snorkeling, you can spend the second day slowing things down and explore the island itself. Wander through Caye Caulker Village, grab a coffee by the sea at Ice and Beans Café, explore the quieter local streets beyond The Split, and enjoy the laid-back island life Caye Caulker is famous for.
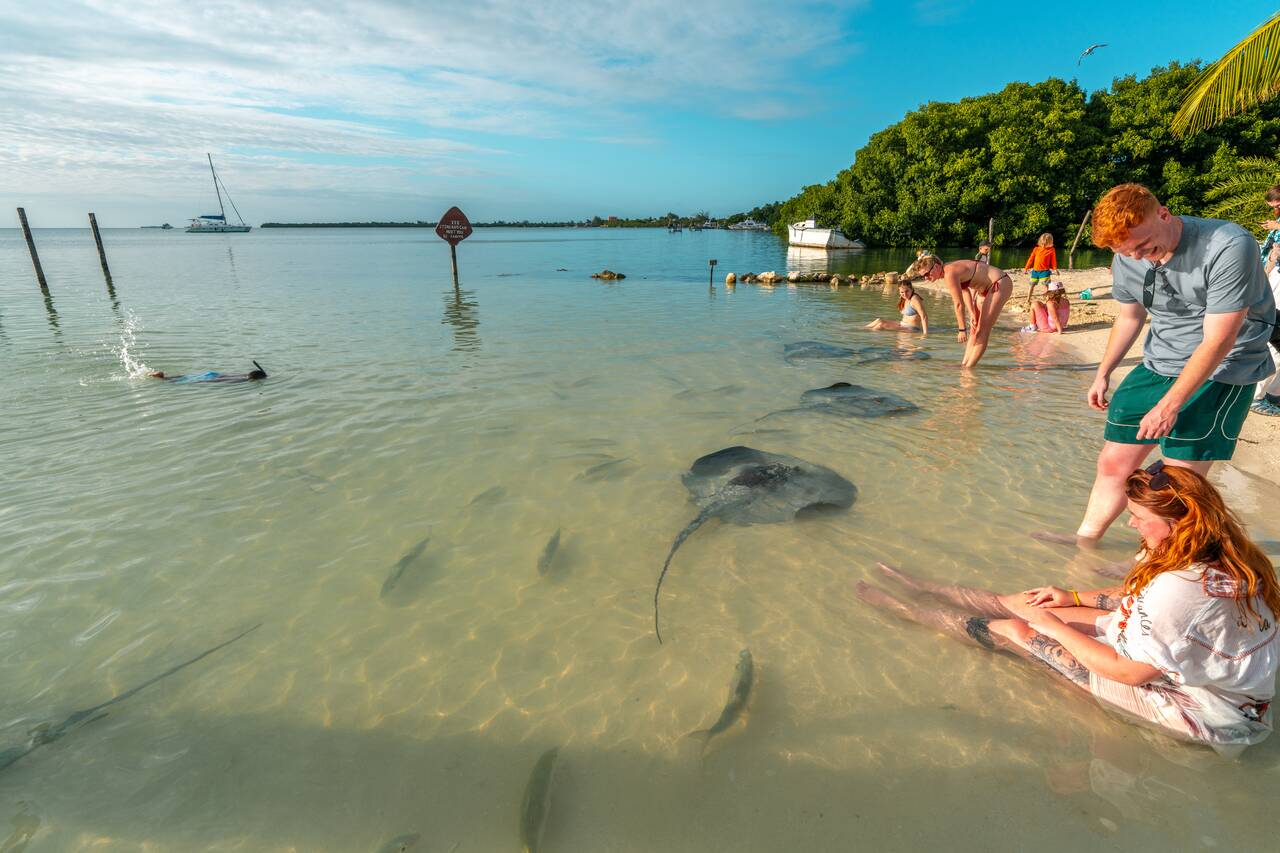
For sunset, head to Stingray Beach, where you can sit in the shallow water and watch stingrays swim around your feet as the sky turns orange over the Caribbean Sea. Nearby, keep an eye out for the small waterway where you can spot seahorses hiding among the mangroves—something I never expected to see so easily in the wild.
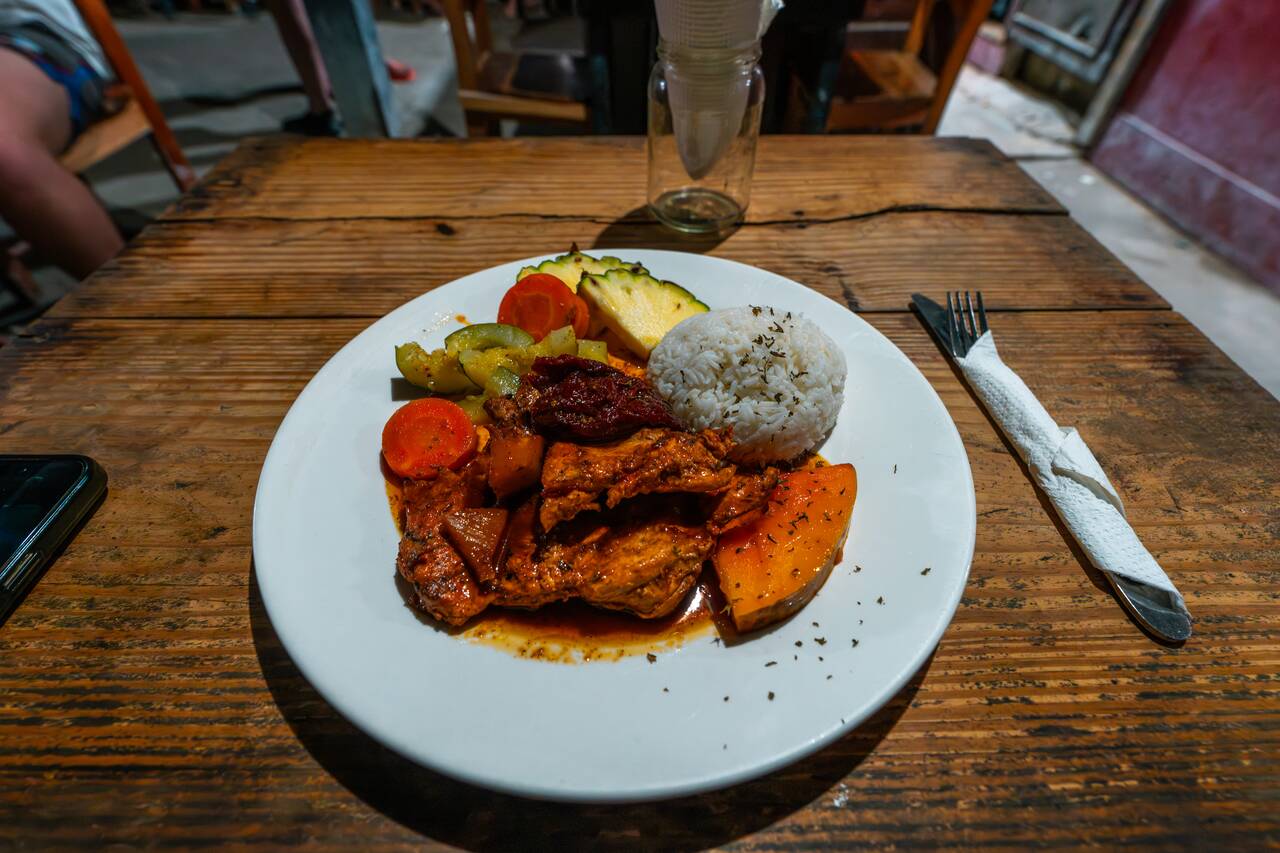
Food is also a big part of the Caye Caulker experience. Try fresh seafood and Caribbean-inspired dishes at Reina's, or visit Meldy's Restaurant for a more local, home-cooked experience. If you happen to visit on a Sunday, join the famous Sunday Funday, a social island party that is perfect for meeting other travelers.
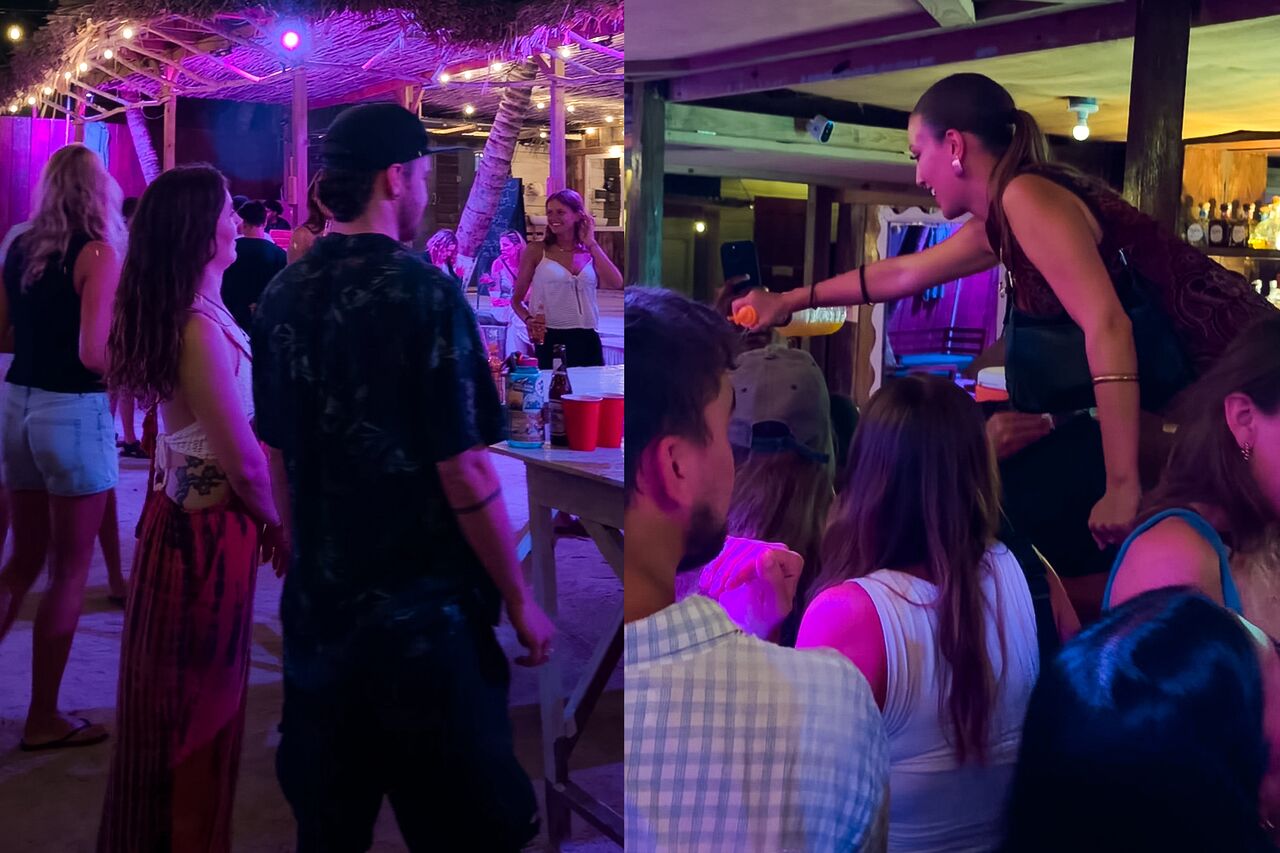
You can spread these activities out over the next two days so you don't feel rushed. The Sunday Funday will take up your entire evening and continue late into the night, so you will definitely want to leave enough time to enjoy it properly!


Getting from Caye Caulker to Belize City/Chetumal, Mexico
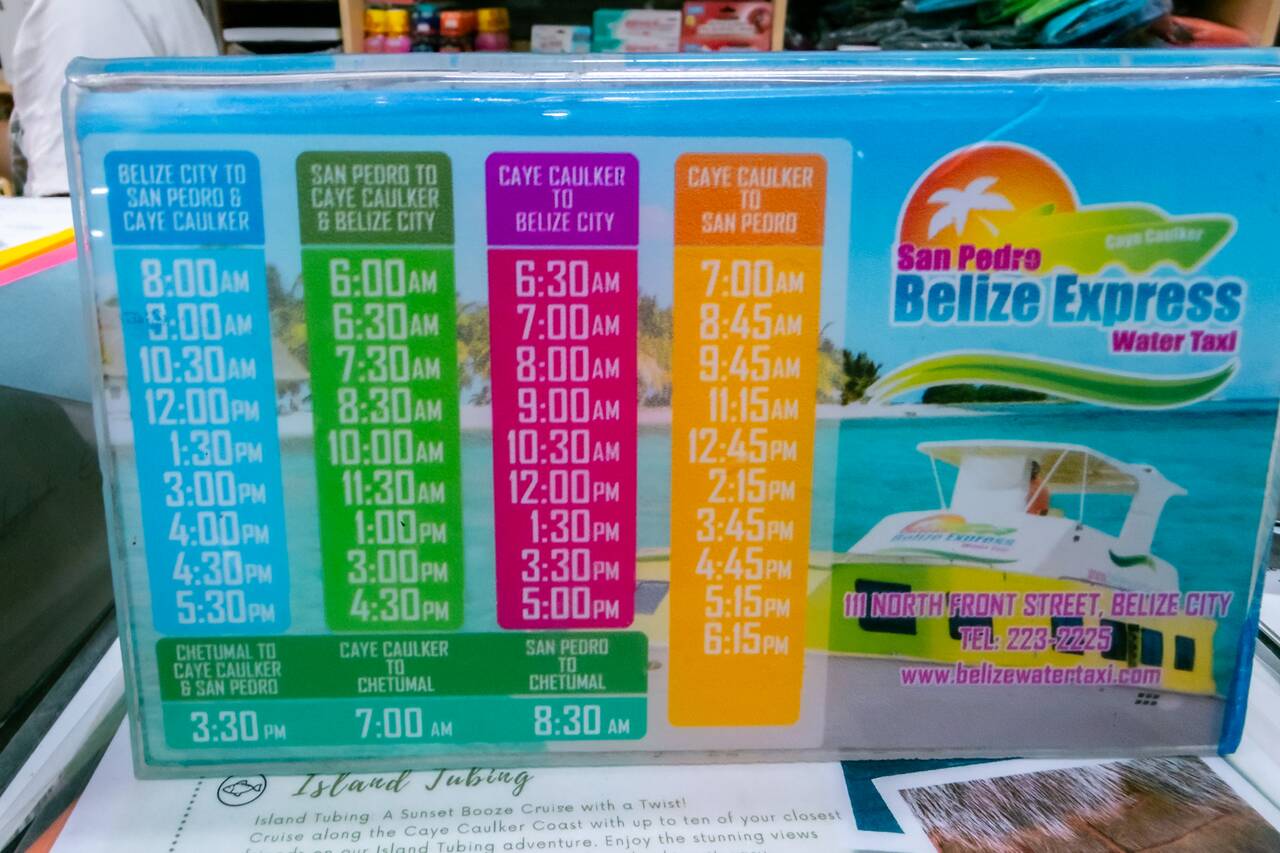
If you are flying back home from Belize, you will have to get back to Belize City again. Simply catch one of the many daily ferries from the Caye Caulker Water Taxi Terminal. The journey takes around 45 minutes to 1 hour, and ferries run throughout the day.
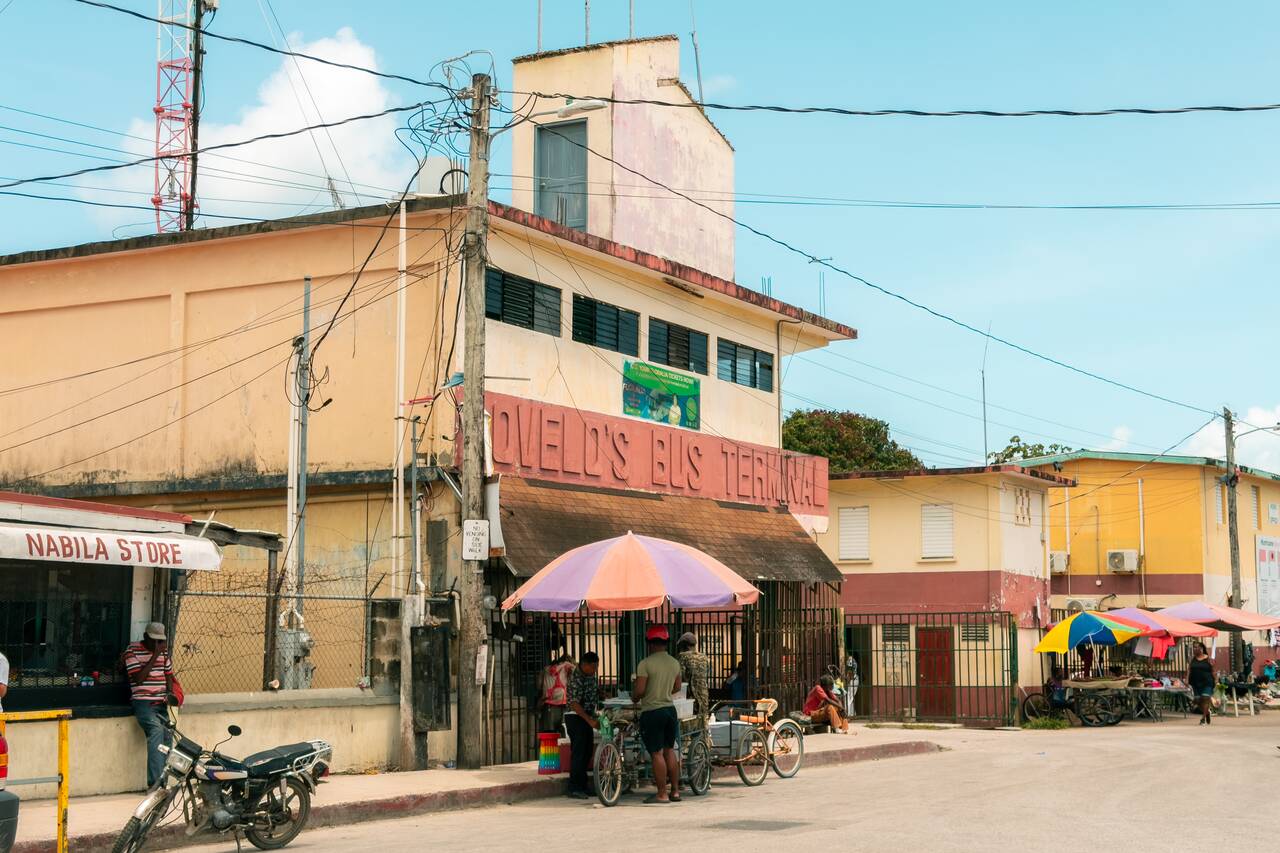
Once you arrive at the Belize City Water Taxi Terminal, you will find plenty of taxis waiting outside, although they often charge 30–35 USD for the 15 km ride to the airport. A much better option is to book an airport shuttle together with your ferry ticket through Sprinter Water Taxi. It is a shared transfer, but it costs only 15 USD, saving you money and the hassle of negotiating with taxi drivers. You can book the airport transfer here.
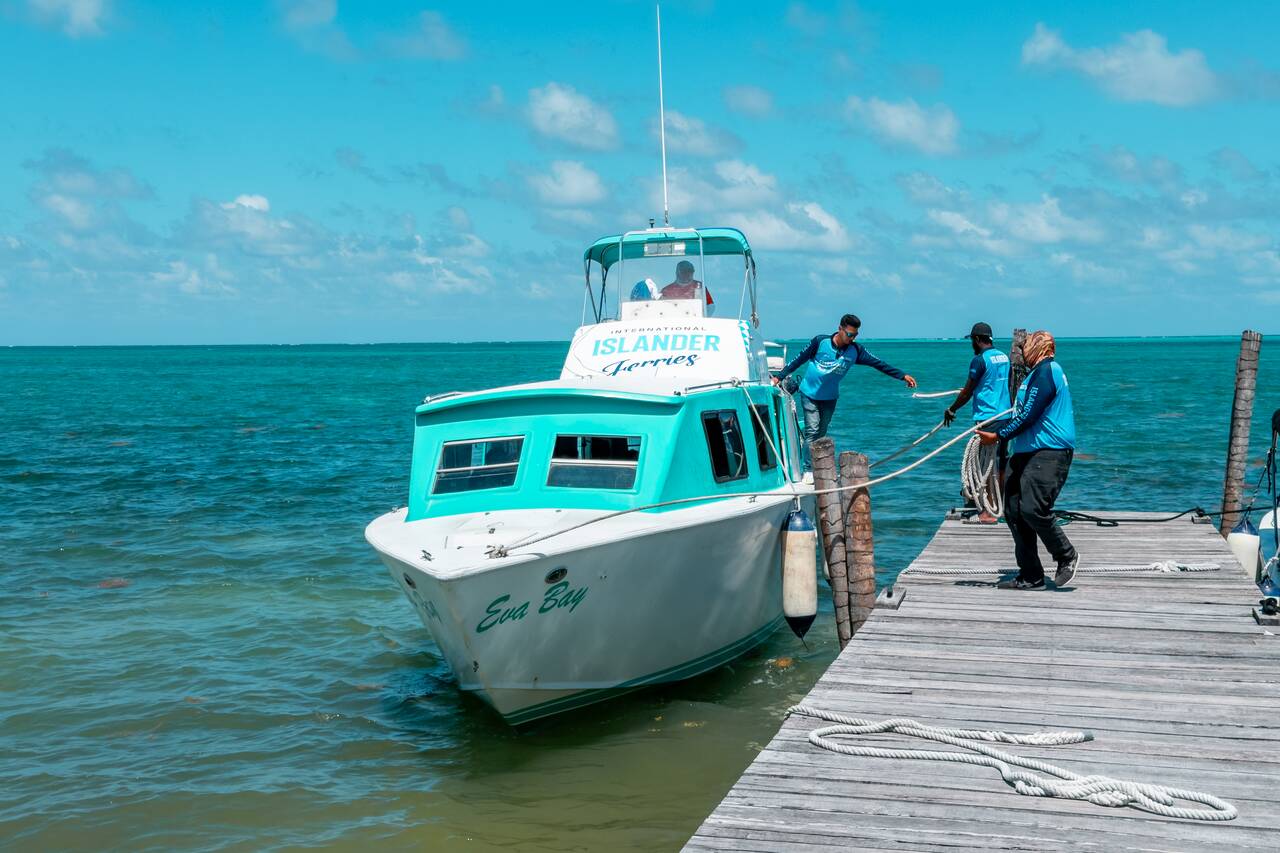
If you are heading to Mexico next, you can take one of the daily international ferries directly to Chetumal, just across the Belize–Mexico border. The ferry operates throughout the week and can be booked here.
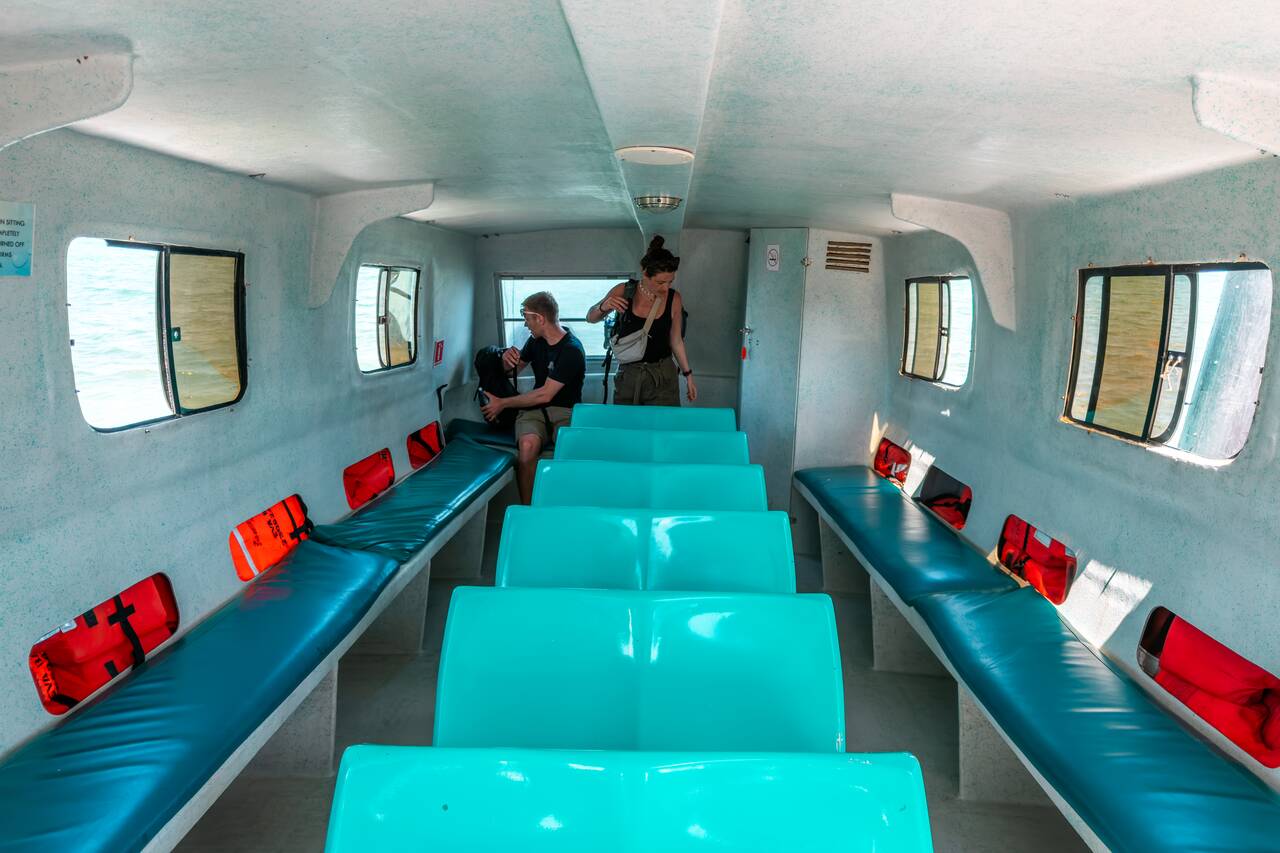
Along the way, the ferry stops in San Pedro, where you will clear Belize immigration and pay the required departure fees before continuing on to Chetumal. Once you arrive, you will go through Mexican immigration and can easily continue your journey to destinations like Bacalar, Tulum, or Cancún. The entire trip usually takes around 3–4 hours, depending on immigration queues.
Day 75: Flying Out from Belize City or Onward to Mexico
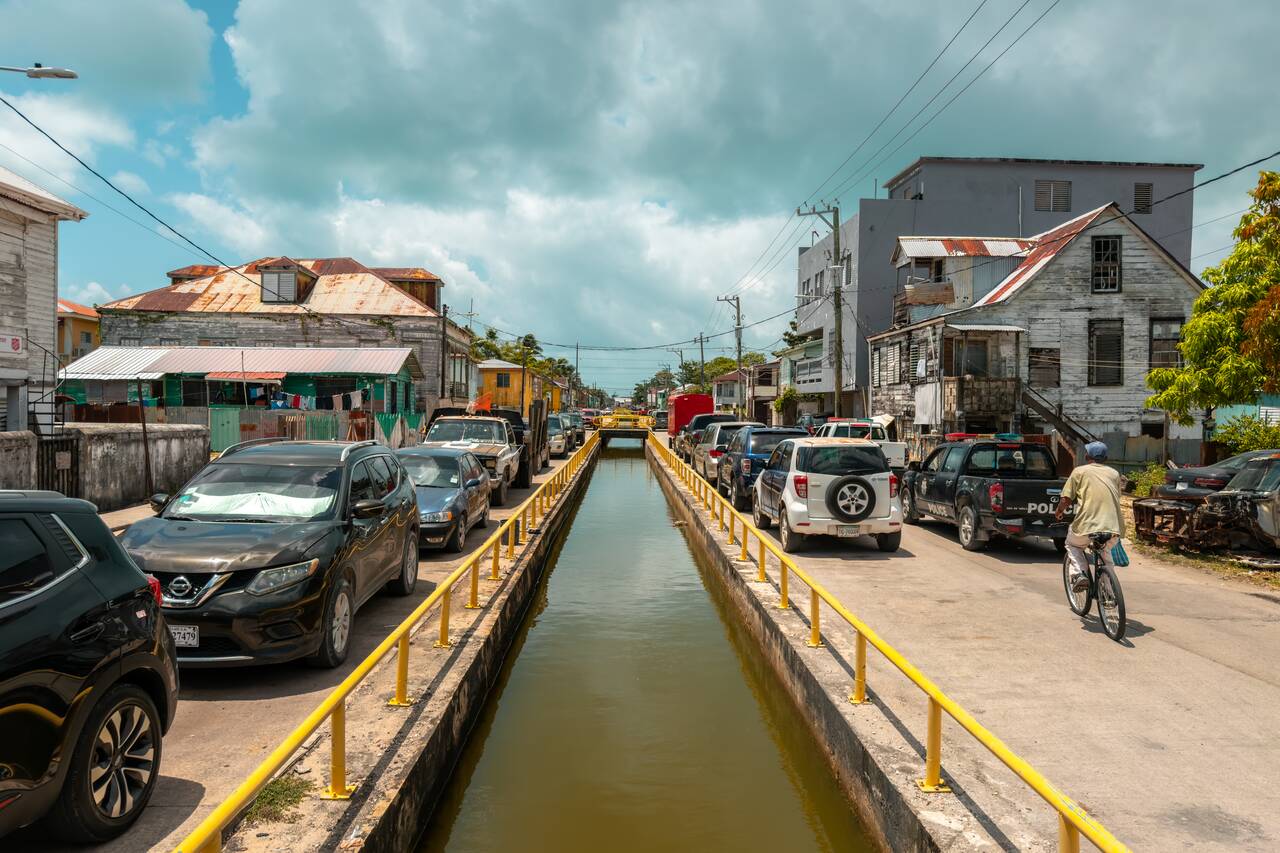
After 2.5 months exploring Central America, it is time to conlcude this epic itinerary. Congratulations! You've finally visited all the countries in Central America! Depending on your plans, you have a few different options for leaving Belize. If you are flying home, take a morning water taxi back to Belize City and fly back home from Philip S. W. Goldson International Airport (BZE).
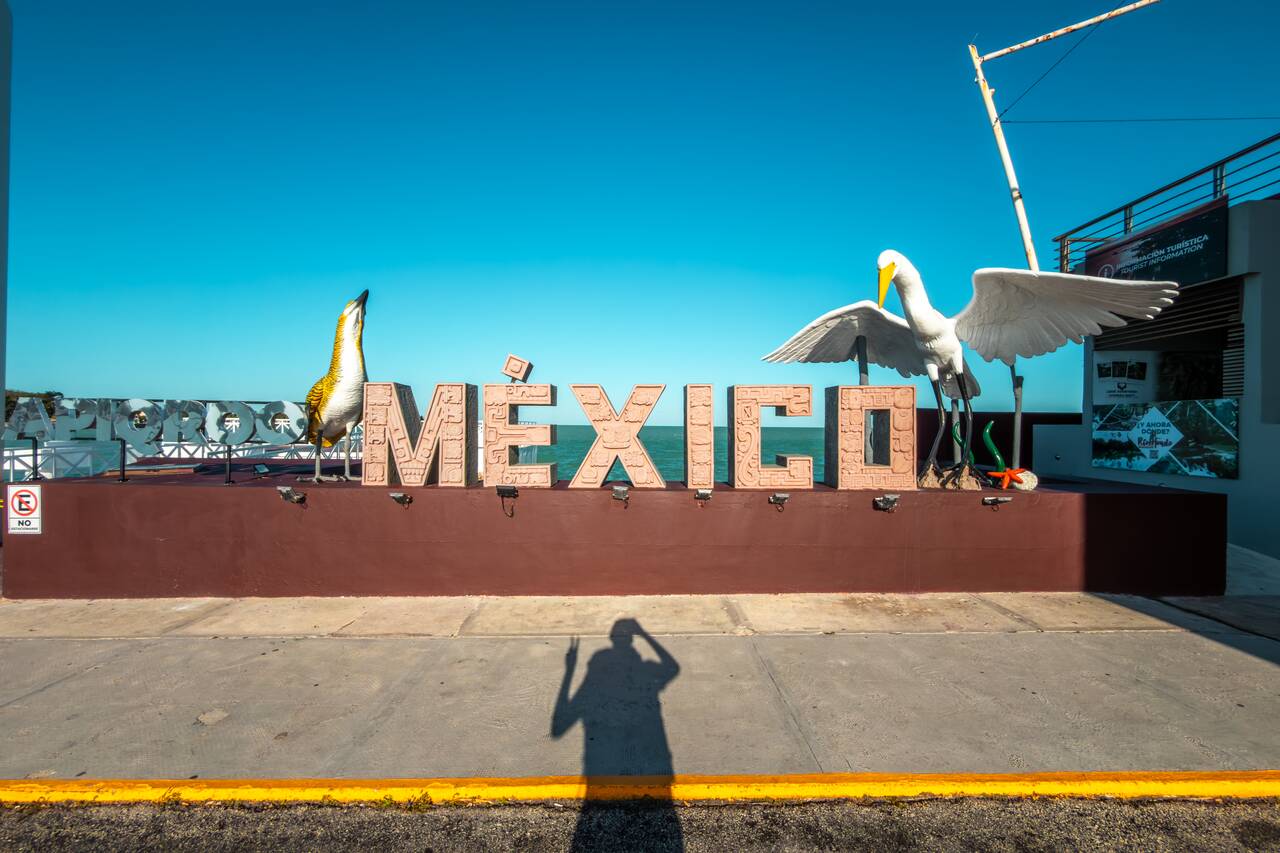
If you are continuing your adventure into Mexico as I did, you can take a direct international ferry from Caye Caulker to Chetumal, Mexico, where you can continue onward to destinations like Bacalar, Tulum, or Cancún.
When to Visit Central America?
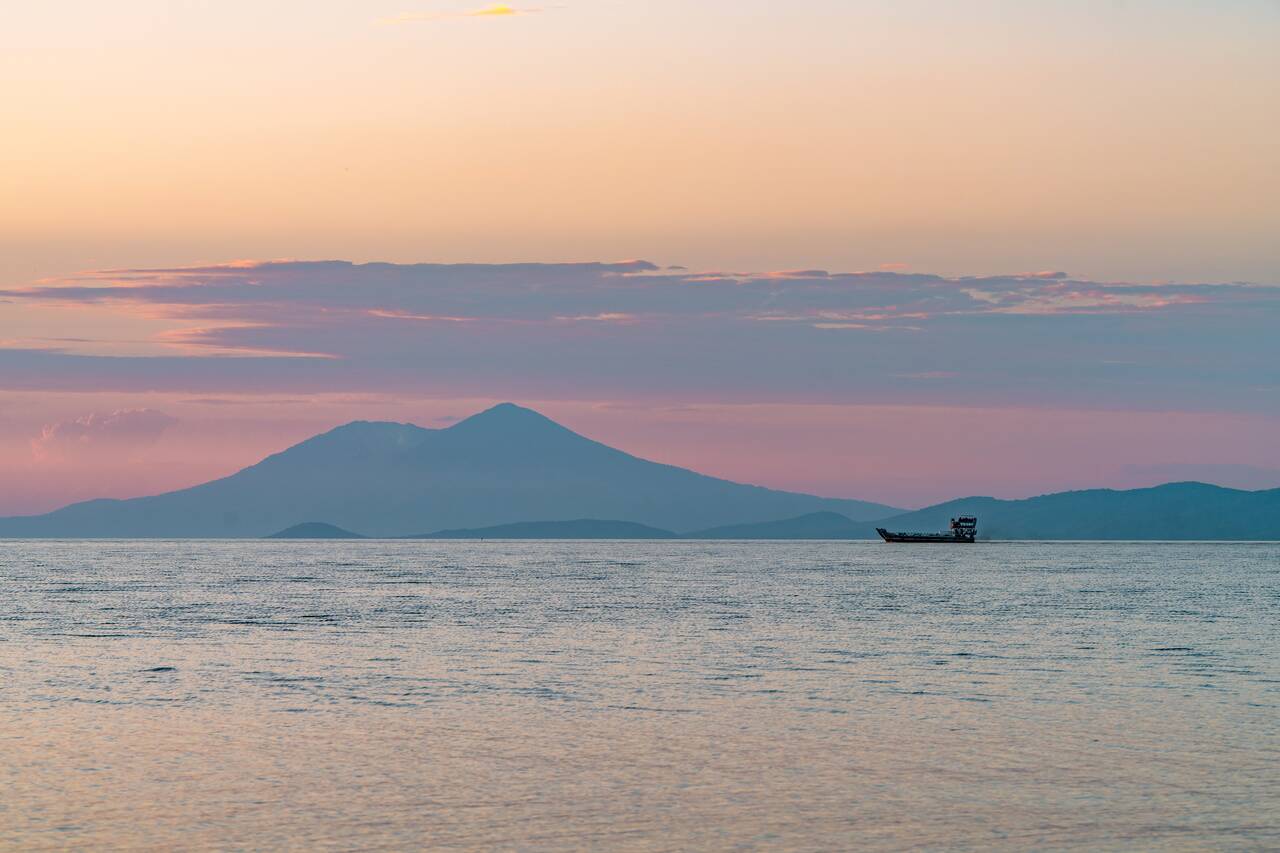
Central America is a fantastic destination to visit year-round, but the best time generally falls during the dry season, which runs from December to April. During these months, you can expect plenty of sunshine, lower humidity, and excellent conditions for hiking, wildlife spotting, beach hopping, and exploring colonial towns.
I personally traveled through Central America with this exact itinerary from late February to late April, and the weather couldn't have been better. I was able to do everything I had planned, from island hopping in Panama and spotting wildlife in Costa Rica to hiking volcanoes in Guatemala, without having to change my itinerary because of the weather. While I did encounter the occasional short tropical shower, they were usually brief and rarely disrupted my plans.
If you're planning to follow this itinerary, I'd recommend visiting sometime between January and April. You'll enjoy the best chance of clear skies, dry hiking trails, calm Caribbean waters, and reliable transportation throughout the region, making it the ideal time for an unforgettable Central American adventure.
How to Get to Central America?
This itinerary begins in Panama City, one of the best-connected transportation hubs in Central America. Thanks to Copa Airlines, Panama has an extensive network of direct flights from major cities across North America, South America, and even Europe, which makes it ideal to begin this overland journey through Central America. It's also the reason I chose to start my own trip here, and I highly recommend you do the same. Be sure to browse Skyscanner or Expedia to find the best flight deals.
By starting in Panama, you can avoid unnecessary backtracking and follow a logical overland route north through Costa Rica, Nicaragua, El Salvador, Honduras, Guatemala, and finally Belize. This allows you to experience the highlights of each country while minimizing long travel days and expensive flights.
At the end of the itinerary, you can either fly home from Belize City or continue your adventure north into Mexico, which is exactly what I did after completing this route. It gives you the flexibility to either end your trip in Belize or seamlessly continue your journey into Mexico if you have more time.
How to Get around Central America?
Getting around Central America is surprisingly easy, thanks to a well-established network of tourist shuttles, public buses, and ferries. Throughout this itinerary, we'll rely primarily on shared tourist shuttles for crossing international borders, as they are the most convenient and time-efficient option. Within each country, we'll use a mix of shared tourist shuttles, local buses, ferries, and the occasional motorbike rental to get around.
For Panama, we'll be using its well-established and easy-to-navigate public bus network for most of the journey, with one shared tourist shuttle from Boquete to Bocas del Toro to save time and avoid the hassle of multiple bus transfers and backtracking.
For Costa Rica, we'll rely mostly on shared tourist shuttles, ideally Interbus, which I found to be the best shuttle services here. These shuttles connect the country's major tourist destinations directly without the need to deal with complicated bus transfers.
This is especially convenient when traveling between places like La Fortuna, Monteverde, and Liberia. Along the Pacific Coast, however, we'll use public buses between Uvita and Manuel Antonio, as getting around that part of the country is straightforward and inexpensive.
For Nicaragua, we will be using shared tourist shuttles as they are convenient, not too expensive, and they have spaces for luggage and backpacks which chicken buses do not have. You can often book shared tourist shuttle from here.
For El Salvador, we'll be relying mostly on public transportation, as the country has a surprisingly good bus network that is affordable, with most journeys costing only a few USD. The buses are also generally more comfortable and less crowded compared to the traditional chicken buses found in other parts of Central America. We will rent a motorbike to explore Ruta de las Flores, as this region is perfect for a scenic road trip, before taking a shared tourist shuttle to cross the border into Honduras.
For Honduras, we won't be traveling around much, as we are only visiting Copán Ruinas. We will rely on shared shuttle services operated by Gekko Trail Explorer to enter and exit the country, which makes the border crossing much easier and more convenient.
For Guatemala, we'll also rely mostly on shared tourist shuttles, with one overnight bus journey between Lake Atitlán and Semuc Champey. Keep in mind that Guatemala is a large country, and some travel legs can take up to 10 hours, especially the routes between Lake Atitlán and Semuc Champey, as well as Semuc Champey and Flores. You can book shared shuttle services here.
For Belize, we'll use its extensive public transportation network to get around the mainland and rely on its well-established water taxi services, which can be booked here, to travel between the islands as we explore its beautiful Caribbean coastline.
Overall, I found transportation throughout Central America to be straightforward, safe, and affordable. As long as you book cross-border shuttles a few days in advance during the busy season, you'll have no trouble following this itinerary.
How Much Money Do I Need For 2.5 months in Central America?
From this 2.5-month itinerary, we can calculate approximately how much money you will be spending here (average) as follows:
| 🇵🇦 Panama (15 days): | 1,156.50 USD (77.1 USD/Day) |
|---|---|
| 🇨🇷 Costa Rica (14 days): | 1,235.94 USD (88.28 USD/Day) |
| 🇳🇮 Nicaragua (13 days): | 846 USD (56.4 USD/Day) |
| 🇸🇻 El Salvador (8 days): | 267 USD (38.14 USD/Day) |
| 🇭🇳 Honduras (2 days): | 62 USD (31 USD/Day) |
| 🇬🇹 Guatemala (15 days): | 859 USD (57.27 USD/Day) |
| 🇧🇿 Belize (8 days): | 645.5 USD (92.21 USD/Day) |
| 💰 Total Budget: | 5,071.94 USD (67.63 USD/Day) |
Is it Safe in Central America?
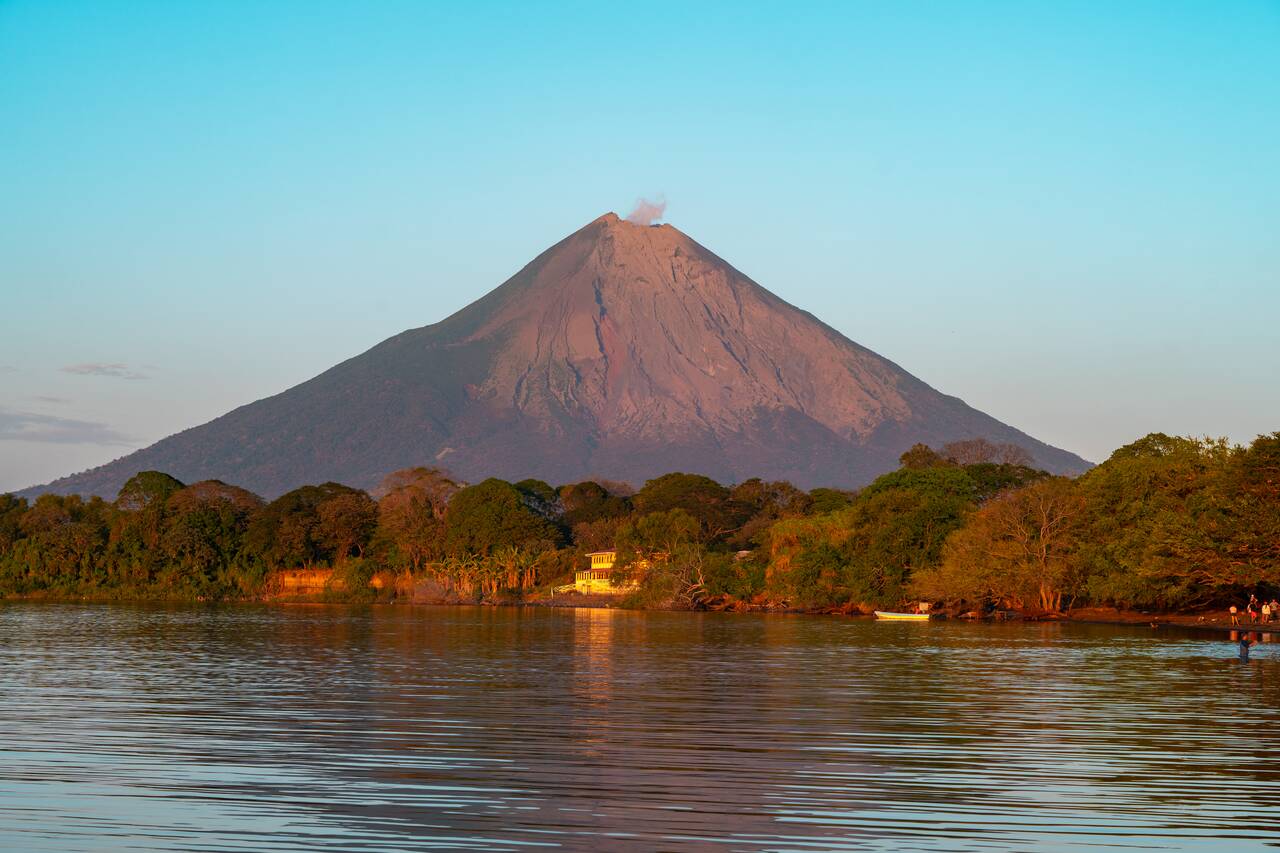
Central America often gets a reputation for being dangerous, but after spending more than two months traveling through the region, I found it to be much safer and easier to navigate than many people expect. In fact, I personally felt safer traveling through Central America than in some parts of South America and even some major cities in Western Europe, where petty theft can be more common.
That said, like anywhere else in the world, safety depends heavily on where you are and how you travel, but with basic precautions and some preparation, you can have an incredible time here. Throughout this itinerary, I traveled through Panama, Costa Rica, Nicaragua, El Salvador, Honduras, Guatemala, and Belize, and I only had one safety-related incident during the entire trip. It happened while hiking the Lower Mayan Trail near Lake Atitlán, Guatemala.
While my friend and I were hiking the trail in broad daylight in the middle of the day, we encountered a group of people who told us that they had seen a sketchy masked man carrying a machete up ahead. Shortly after, we saw two female hikers approaching, so we asked them if they had encountered the man. They told us that they had to pay 100 GTQ (15 USD) per person to get past him, which confirmed our suspicion.
We decided to group together, waited for more people to join, and continued as a larger group, with some of us carrying rocks in our hands just in case things went down 😬. We made plenty of noise as we approached the area, with one girl loudly calling the tourist police to notify them of the incident. Luckily, we never encountered him. I assume he left once he realized a larger group was coming through.
Outside of that one incident, I felt safe throughout the rest of my journey. The main tourist destinations covered in this itinerary are well-established, receive plenty of travelers, and are generally easy to navigate. The biggest risks you are likely to encounter are the same as in many popular travel destinations: petty theft, scams, and opportunistic crimes.
As always, avoid flashing valuables, keep your belongings secure, use reputable transportation, and avoid walking around unfamiliar areas alone at night. Central America is an incredibly rewarding region to explore, and with a bit of common sense, this itinerary is very manageable for anyone with some backpacking experience.
Which tourist SIM card is best for Central America?
The easiest way to stay connected while traveling through Central America is by using an eSIM. Instead of buying a new physical SIM card every time you cross a border, you can install an eSIM before your trip and stay connected as you move between countries.
For this itinerary, I recommend getting a Central America eSIM bundle from providers like Airalo or Trip.com. These regional plans cover almost every country on this route, including Panama, Costa Rica, Nicaragua, El Salvador, Honduras, and Guatemala, allowing you to use the same SIM card throughout most of your journey without having to worry about changing SIM cards at every border crossing.
The only exception is Belize, which is not included in most Central America regional bundles. You will need to purchase a separate Belize eSIM or local SIM card once you arrive. Since Belize is the final stop on this itinerary, this is not a major inconvenience and can easily be arranged before the day you arrive.
I personally prefer using eSIMs because they save time, avoid the hassle of finding a local phone shop after a long travel day, and let you have internet access as soon as you arrive in a new country. Just make sure your phone is unlocked and supports eSIM before purchasing.
Tips: To stay connected with people at home, be sure that you have a VPN, such as ProtonVPN, installed before traveling. It's FREE, and you can gain access to services that may be blocked in certain countries.
Disclaimer: This post may contain affiliate links. See our disclosure policy.
First Published: