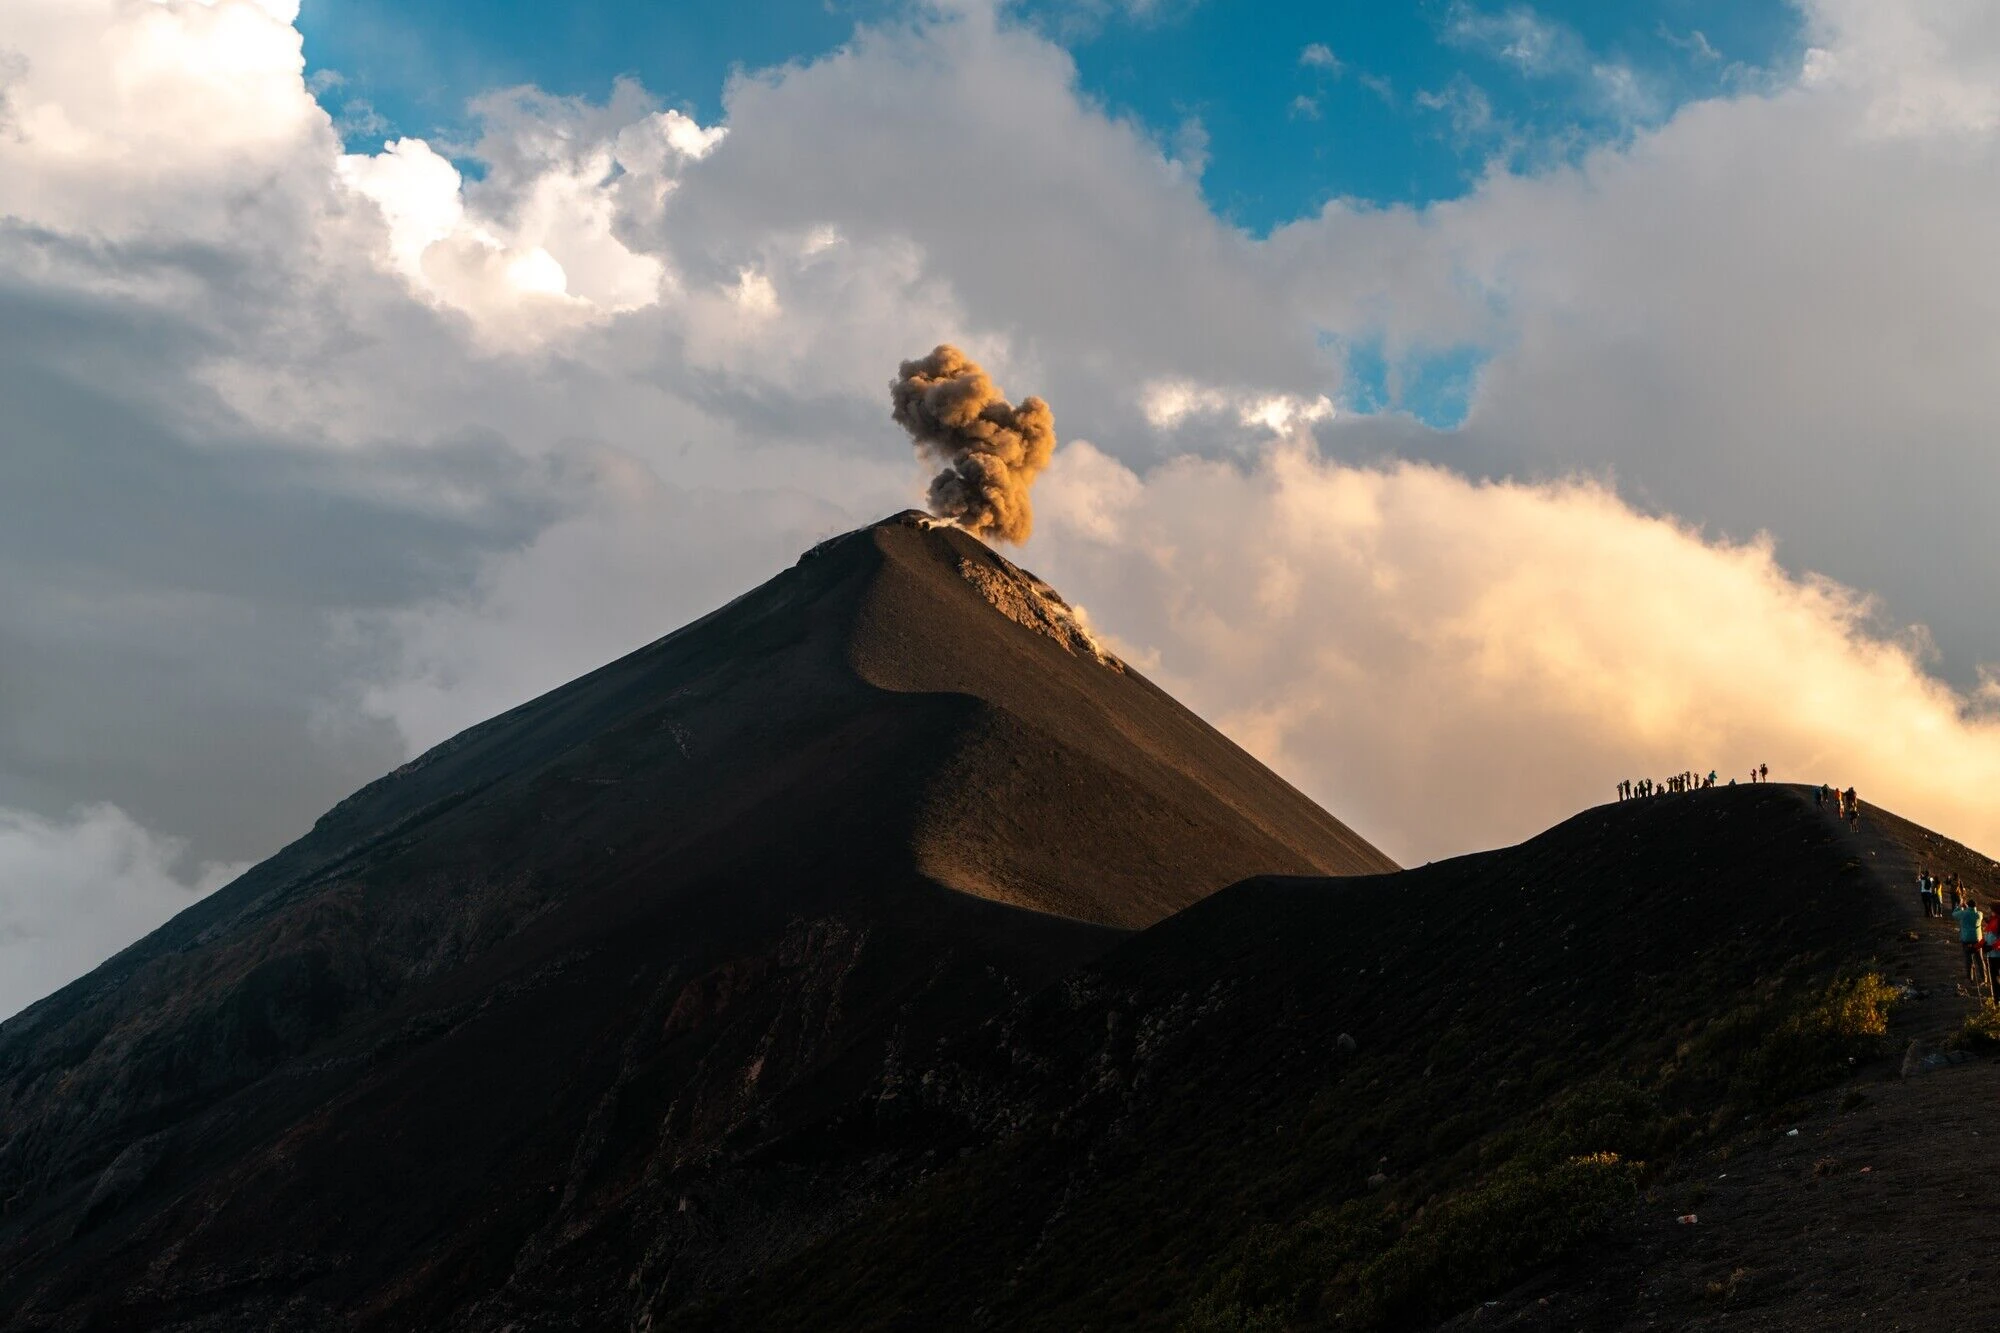


I have hiked several volcanoes across Indonesia and South America, but nothing prepared me for Acatenango and Fuego Volcanoes in Guatemala. Standing nearly 4,000 meters above sea level, watching an active volcano erupt right in front of me, with glowing lava shooting into the night sky and thunderous explosions echoing across the mountains, was one of the most incredible experiences of my life.
The Acatenango hike is not easy. You will battle steep climbs, freezing temperatures, high altitude, and exhaustion, all while carrying everything you need for an overnight stay on the mountain. But every painful step is worth it the moment you reach the campsite, look across at Fuego Volcano, and realize you are about to spend the night next to one of the most active volcanoes in Central America.
In this complete Acatenango Volcano hiking guide, I will share everything you need to know before taking on this epic adventure, including my day-by-day experience, how to choose a tour company, what to pack, how difficult the hike really is, safety tips, costs, and everything else you need to plan your own Acatenango and Fuego Volcano trek.

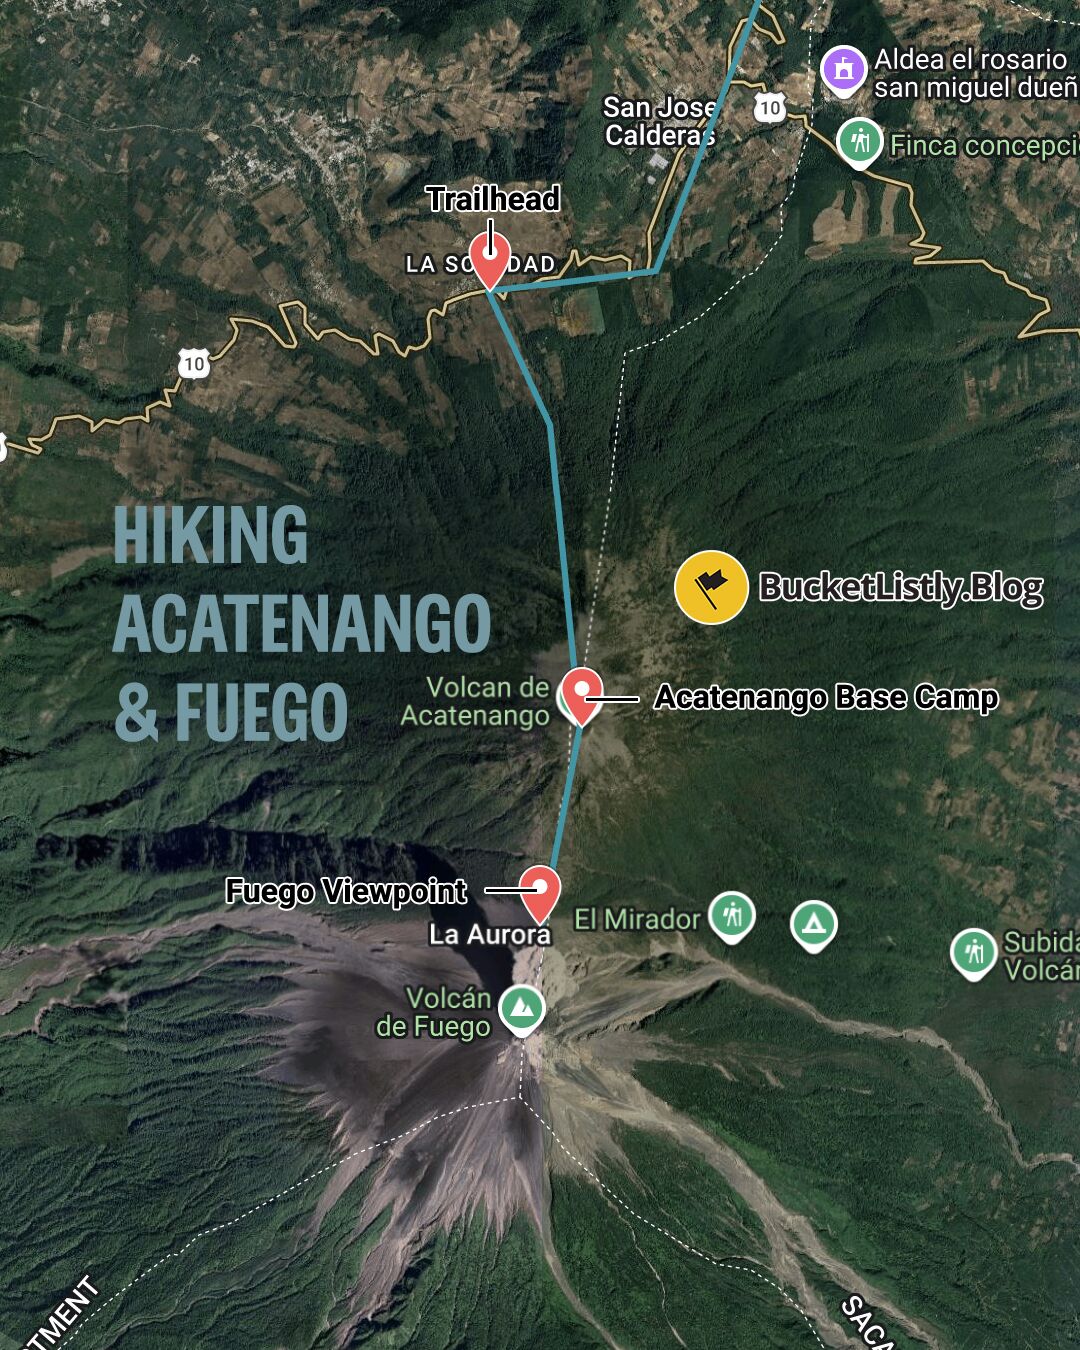
Map of Acatenango & Fuego Hikes
Quick Summary
| 🌋 Elevation: | 3,976 m (13,045 ft) |
| 🌤️ Best time: | November-April (Dry season) |
| 🚐 Getting there: | Organized tours from Antigua |
| 🕓 Time to spend: | 2 days / 1 night |
| 🚶♂️ Difficulty: | Very Hard |
| 💰 Cost: | Tour prices vary (~US$70-150) |
How Difficult Is the Acatenango Hike?
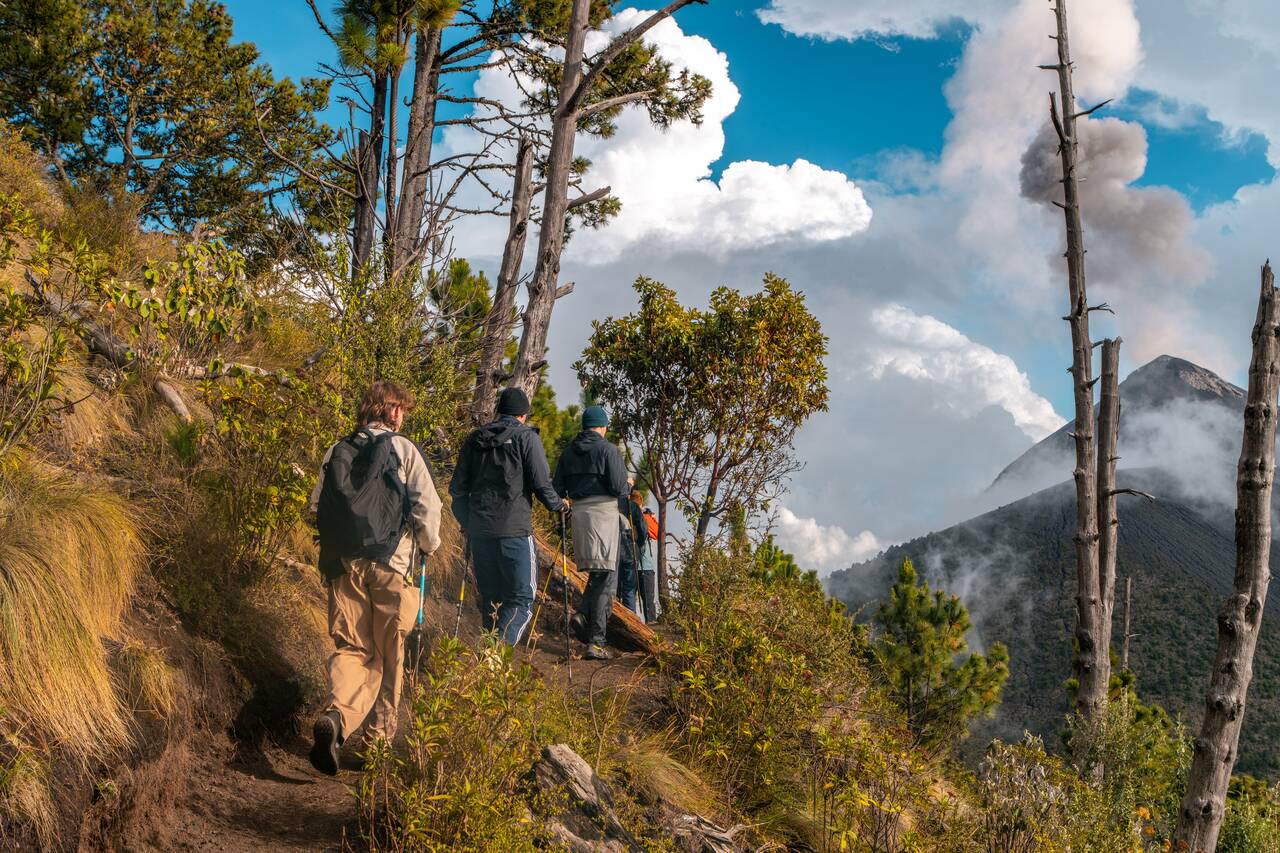
While the Acatenango hike is not technically difficult as there are no complicated sections requiring climbing skills or special equipment, but it is very physically demanding because the trail goes uphill almost the entire way. You will also be carrying everything yourself, including water, food, winter layers, and camping gear, which makes the climb much harder than it looks.
The biggest challenges are the steep incline, high altitude, cold weather, and the sheer length of the day. You will be hiking for hours, then after reaching base camp, you still have the option to hike Fuego, which adds another challenging round trip before you can finally rest.
I have done many difficult hikes around the world, and Acatenango is still one of the toughest ones I have ever done. However, unlike many difficult hikes where the reward is a beautiful viewpoint at the end, Acatenango gives you something much more special: a front-row seat to an active volcano erupting throughout the night.
Choosing an Acatenango Tour Company
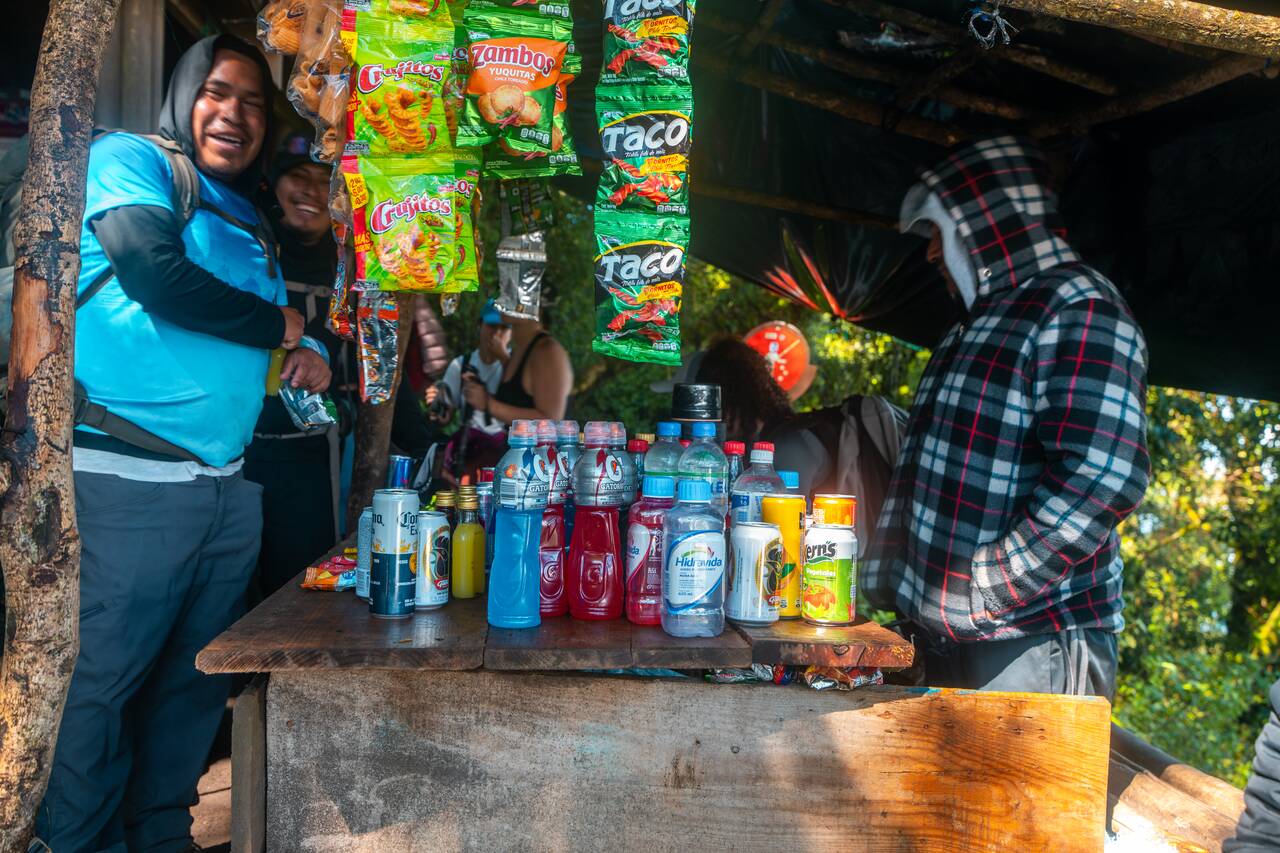
I first learned about the Acatenango hike and how popular it was about 2 weeks before my arrival in Antigua. Since I was visiting during Semana Santa, one of the busiest times to visit Guatemala, all the reputable companies like Lava Trails, AKT, OX Expedition, and Wicho & Charlie's were already booked out months in advance.
After days of searching, I found this tour on GetYourGuide. Even though many people recommend avoiding booking hiking tours through these platforms, I decided to go for it anyway, and I am really glad I did. The experience turned out much better than I expected.
Our group was only around 18 people, which was the perfect size. We got to know each other well, spent time together, and the whole experience felt much more personal. Meanwhile, some of the more popular companies, like Tropicana, had groups of 40–60 people, which looked way too chaotic and loud for my taste.
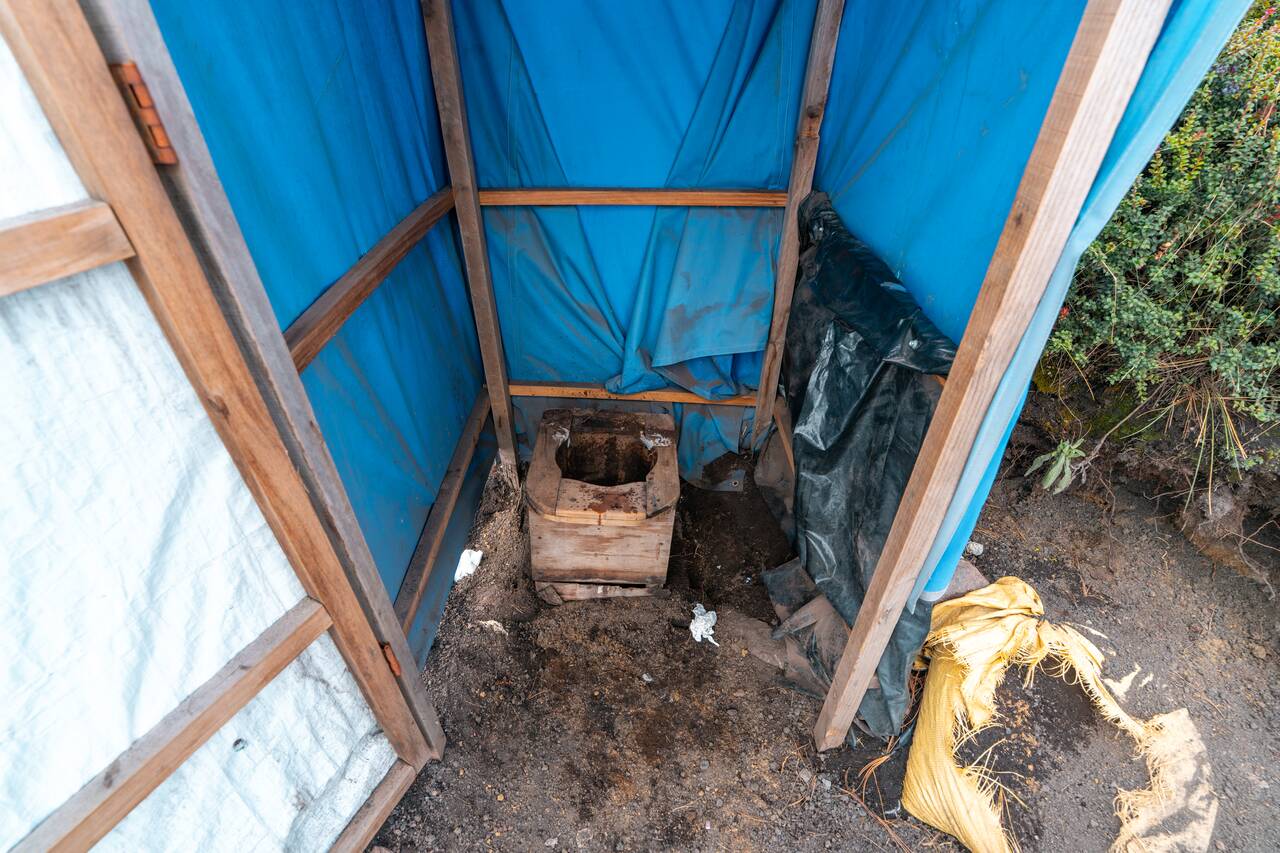
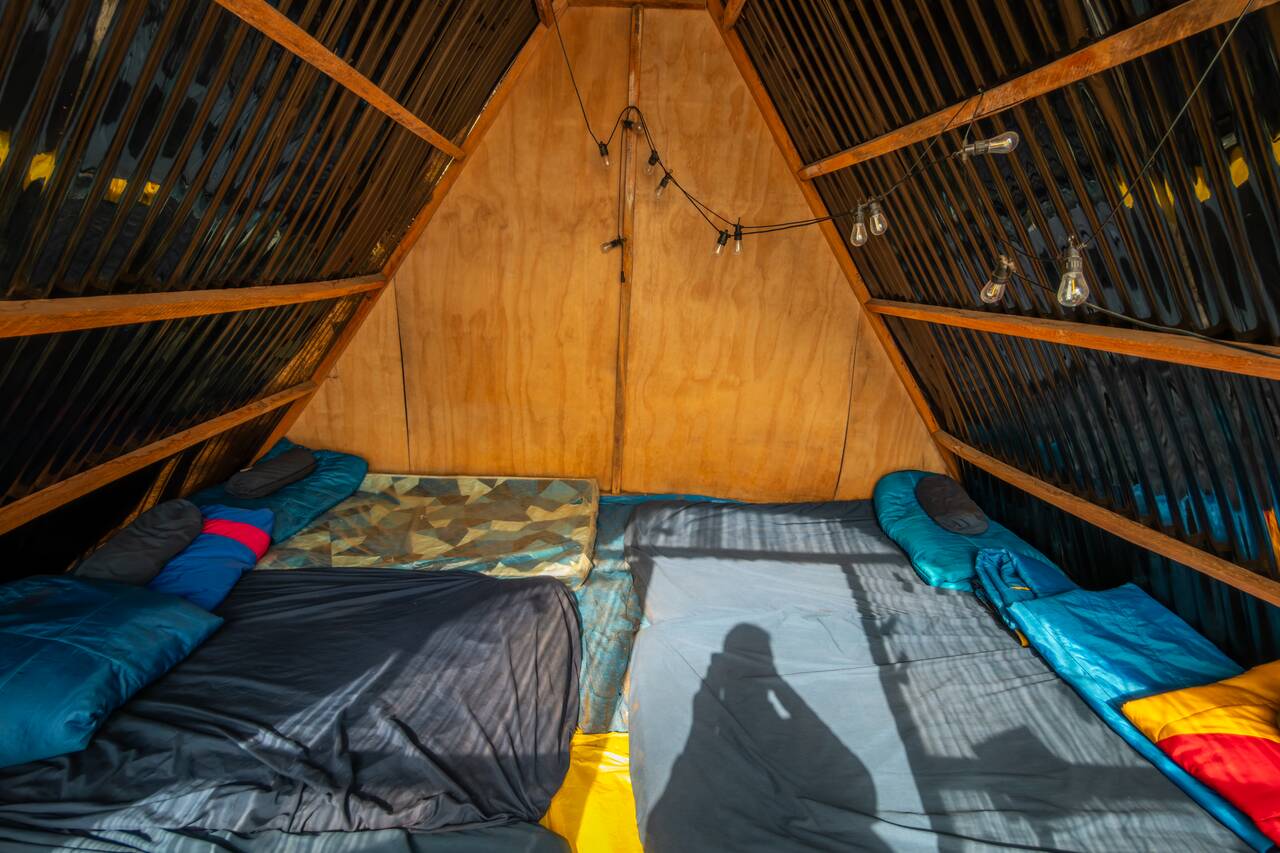
My advice when choosing an Acatenango tour is simple: do not go for the cheapest option. The reason why a tour is cheap usually becomes apparent once you are halfway up the mountain, where there is nothing you can do about it. It could be a cramped campsite, poor food, uncomfortable sleeping arrangements, or guides who are not attentive enough. You are going to be cold, tired, and exhausted, so paying a little more for comfort is absolutely worth it.
What It's Like Hiking Acatenango & Fuego Volcanoes
Getting to the Acatenango Trailhead & Gear Rental
Travel Time: 1 hours
Difficulty: No hiking involved
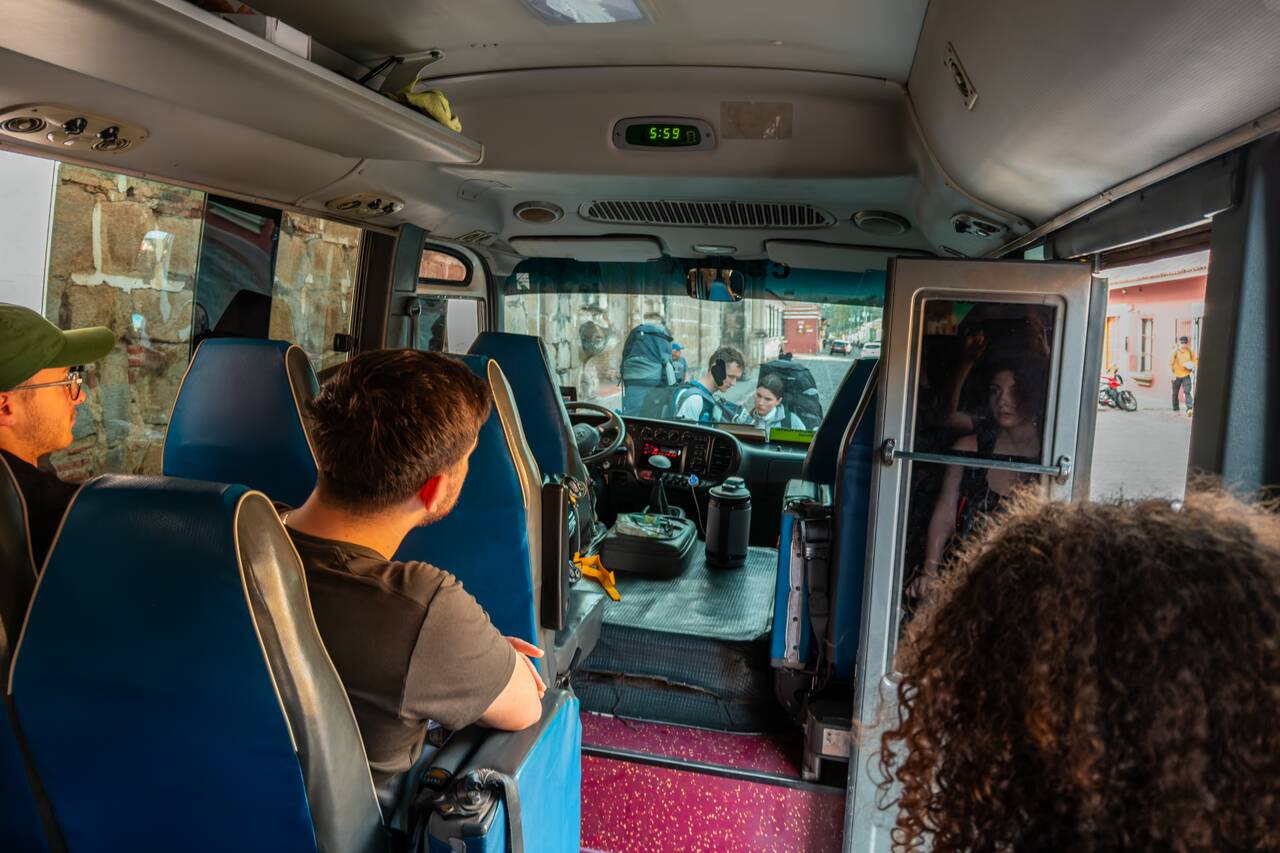
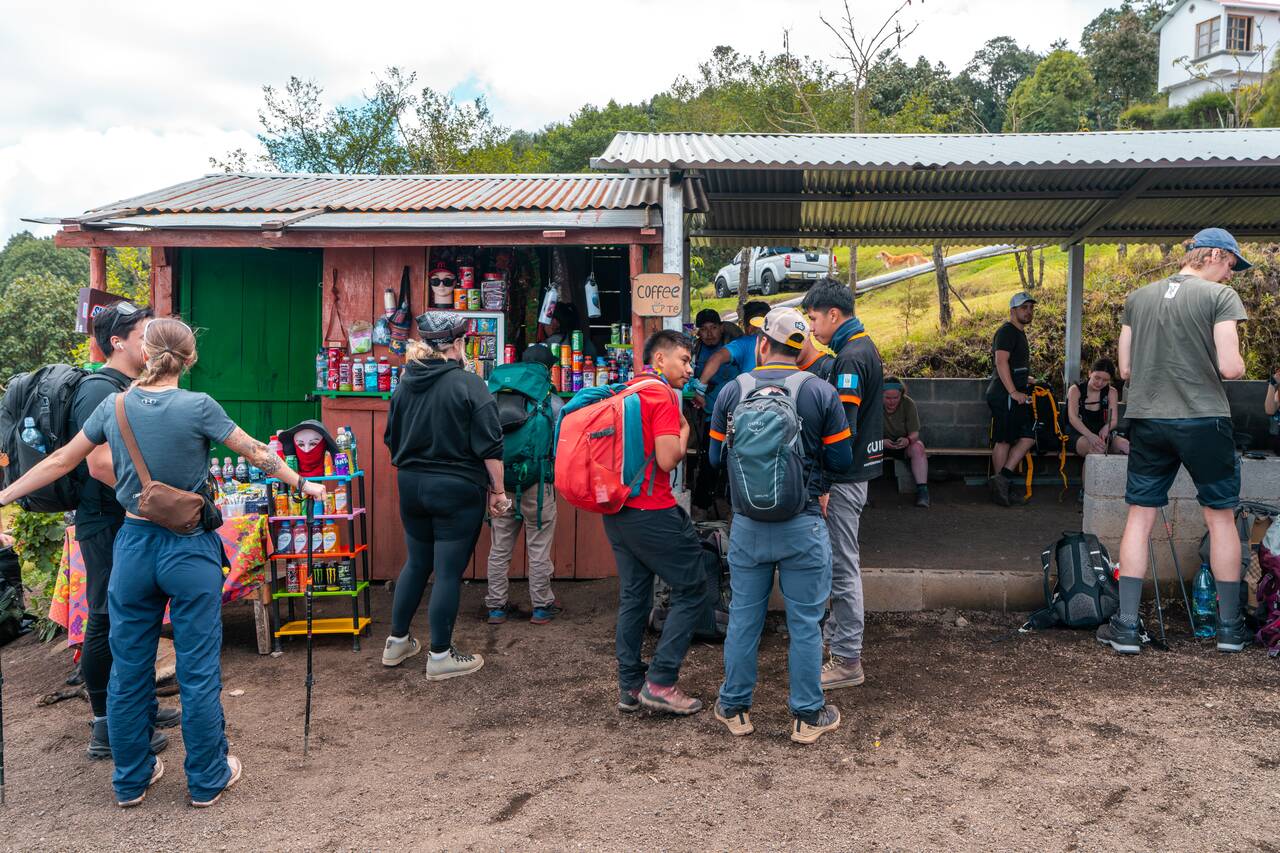
Once everything was sorted, we met up at the meeting point in Antigua at around 7:30 AM, where we were put into a shuttle and headed toward the Acatenango trailhead. The drive took around 1 hours, and before we started hiking, we stopped by the company's office, where we received a safety briefing from our guides, went through what to expect on the hike, and had the chance to rent any gear we were missing.
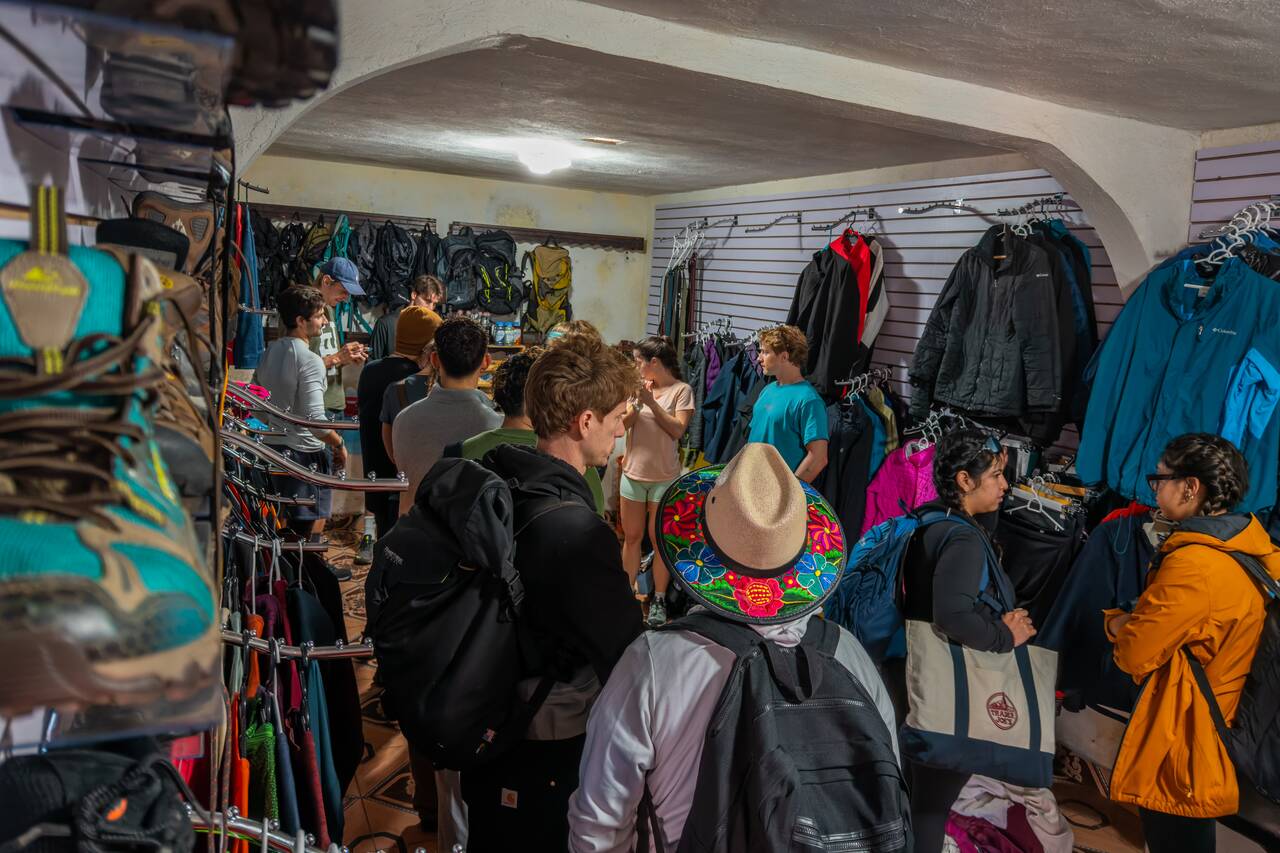
Most Acatenango tours include transportation from Antigua, and the usual process is to meet in town before taking a shuttle to the trailhead. Many companies will also have an office or gear distribution point where you can collect equipment, store any unnecessary luggage, and prepare your backpack before starting the climb.
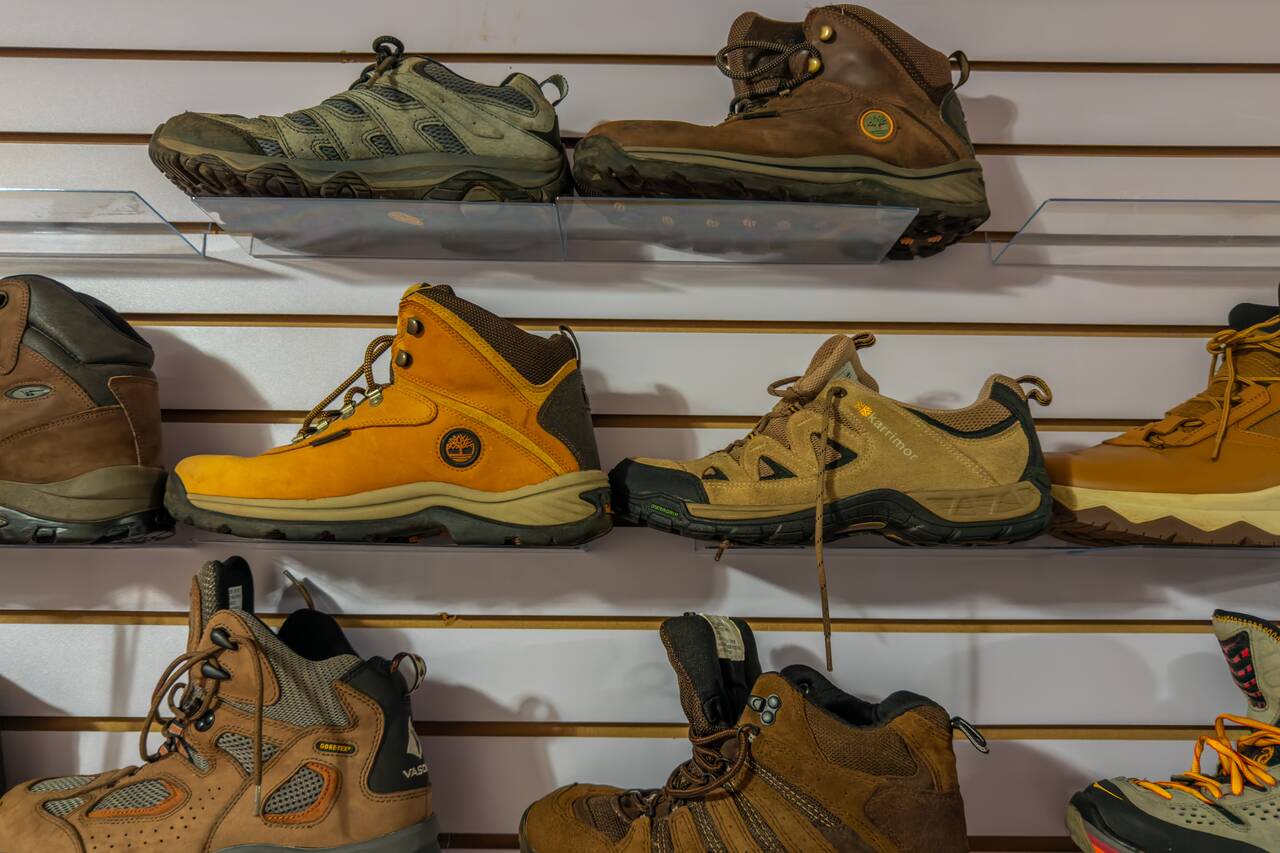
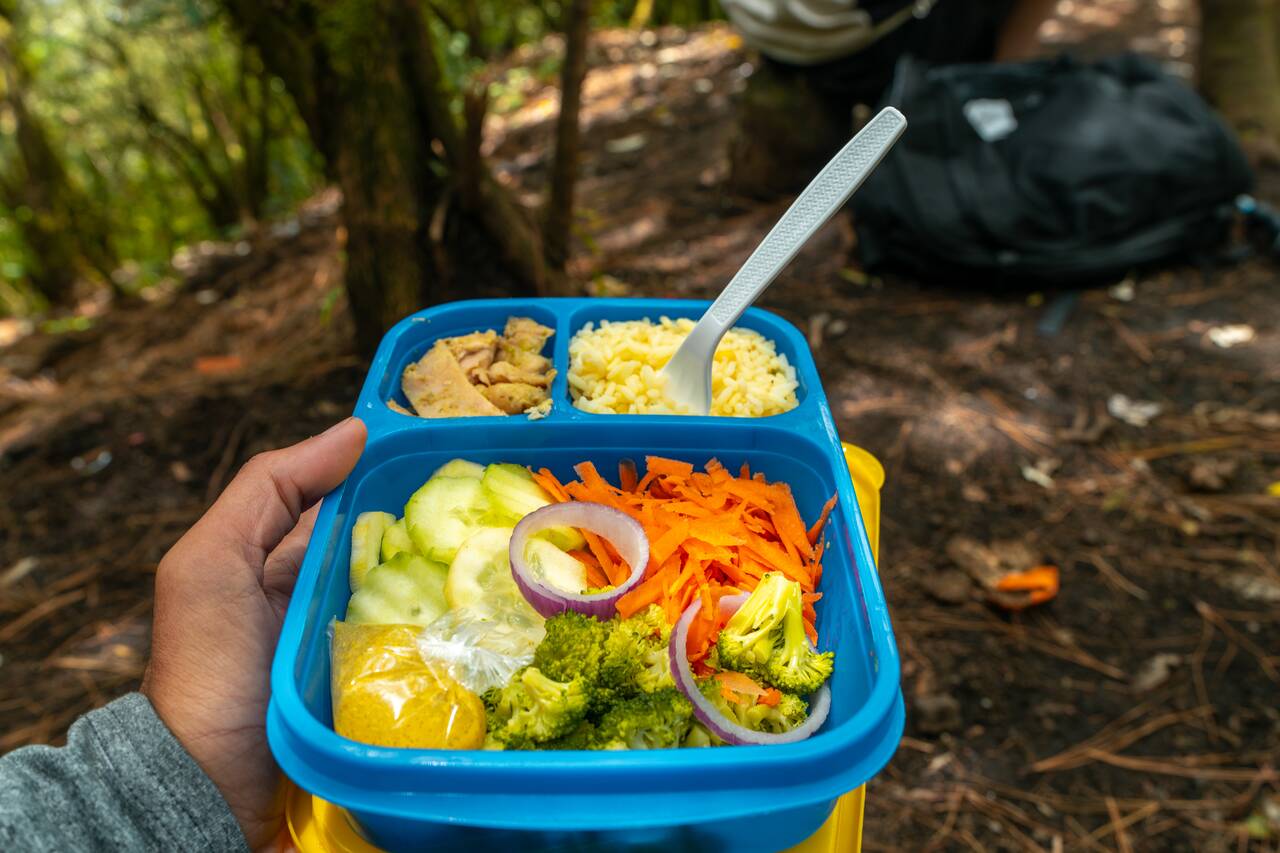
The companies usually have most of the gear you might need, from backpacks and trekking poles to jackets, gloves, beanies, and even hiking shoes. Remember that you will have to carry everything yourself, including at least 2 liters of water, lunch, dinner, warm layers, and personal items, so having the right equipment can make a huge difference.
- Ojala (Budget)
- Casa del Sol (Mid-Range) 👍 Top Pick
- Villa Las Mil Flores (High-End)
- Antigua Overnight Volcano Acatenango Hiking Adventure (2 days) 🏅 Top Pick
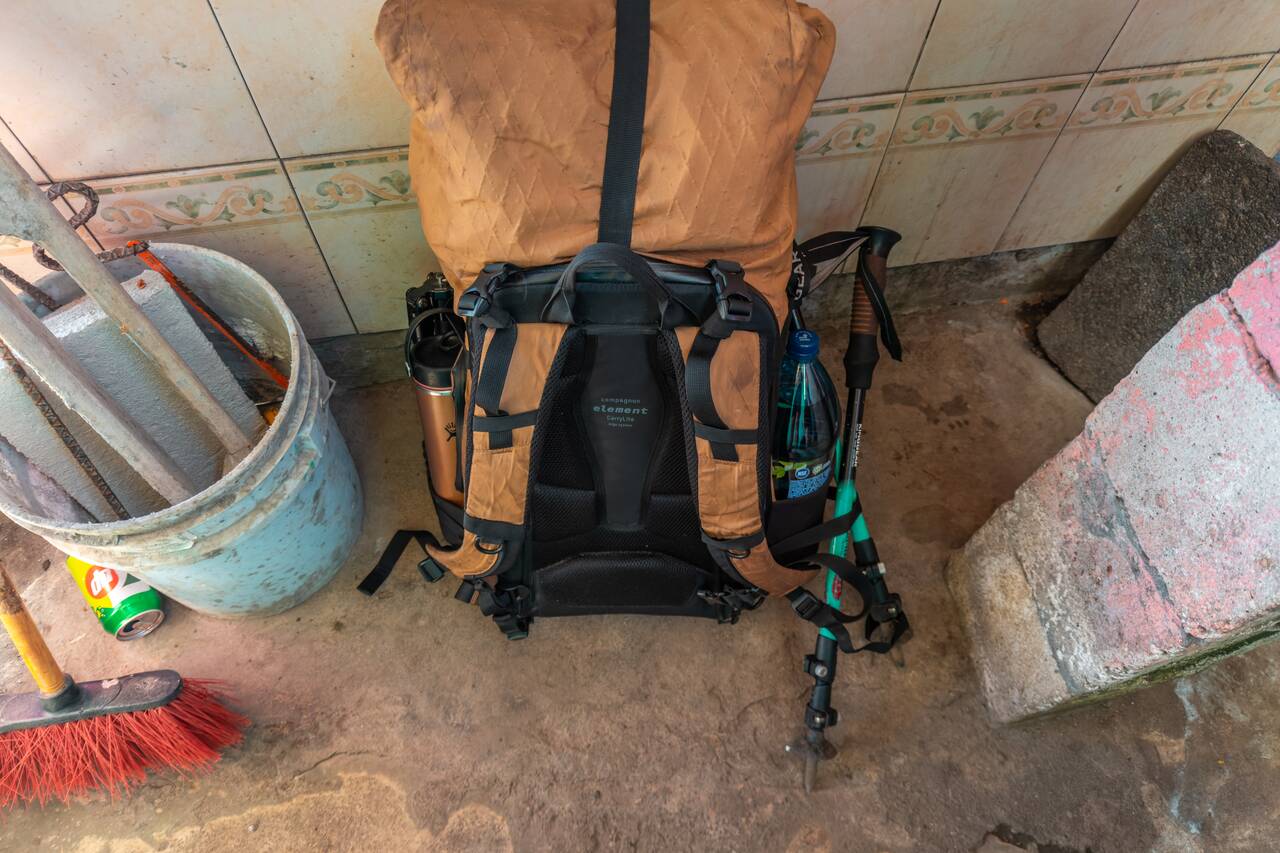
The rental prices vary depending on the item, but expect to pay around 5–20 USD for anything you need. I ended up renting a pair of trekking poles for about 5 USD, and it was one of the best decisions I made during the entire hike.
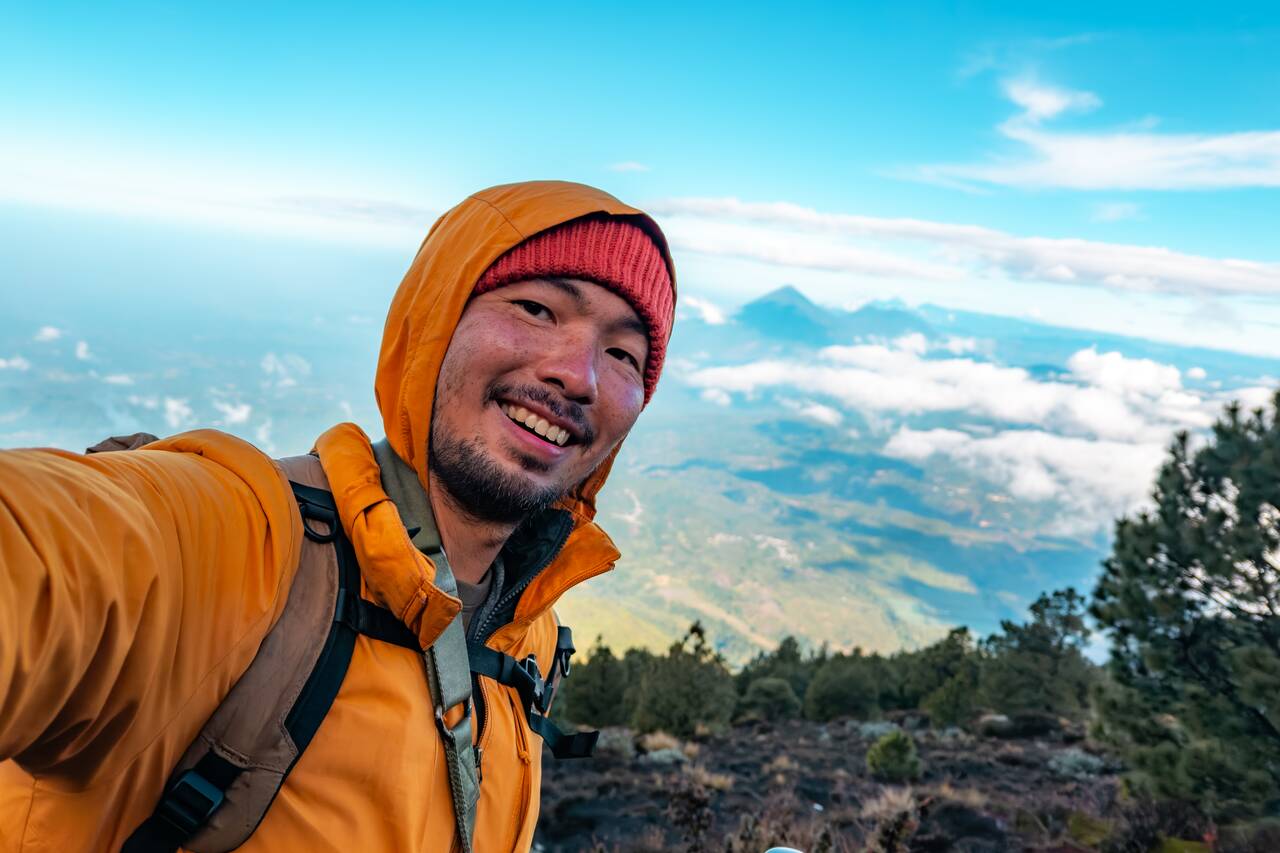
I was warned by my friend Lara, who did the hike the day before, to bring trekking poles, and boy, am I glad she did. I tried hiking without them at first, and halfway through the climb, my knees were throbbing like crazy. The trail goes uphill almost the entire way with very little flat section, and you are carrying everything you need for an overnight stay, so your knees will definitely thank you for having that extra support.
Hiking Up to Acatenango Base Camp
Hiking Time: 5 hours
Difficulty: Hard
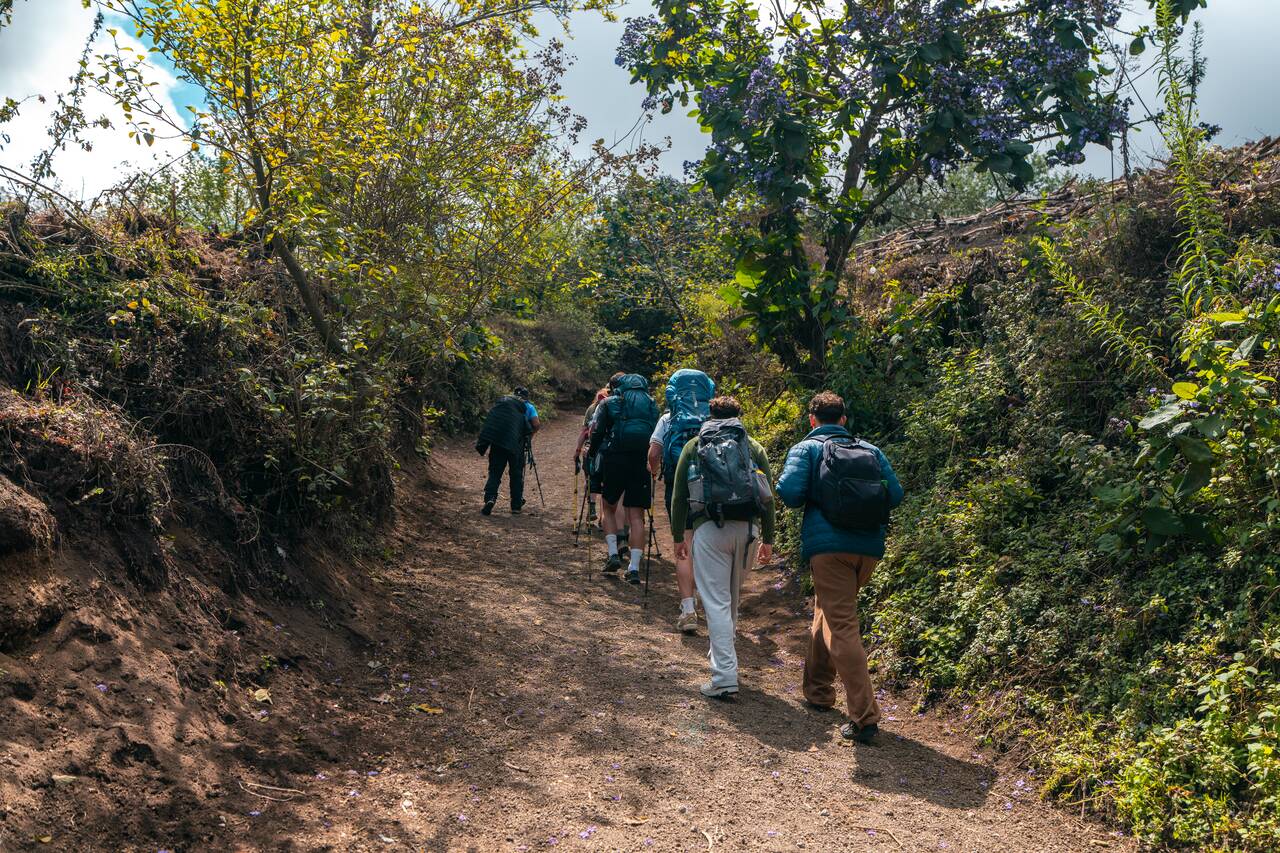
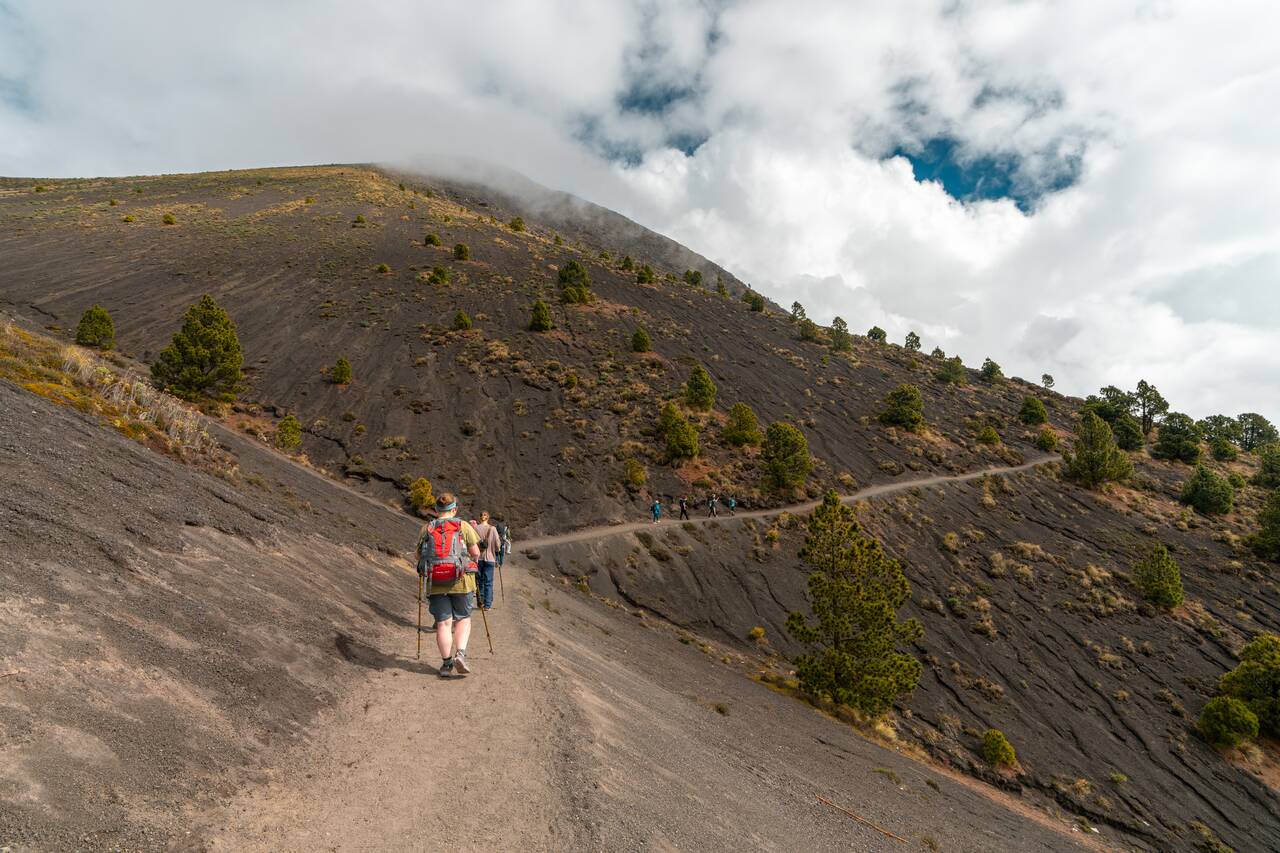
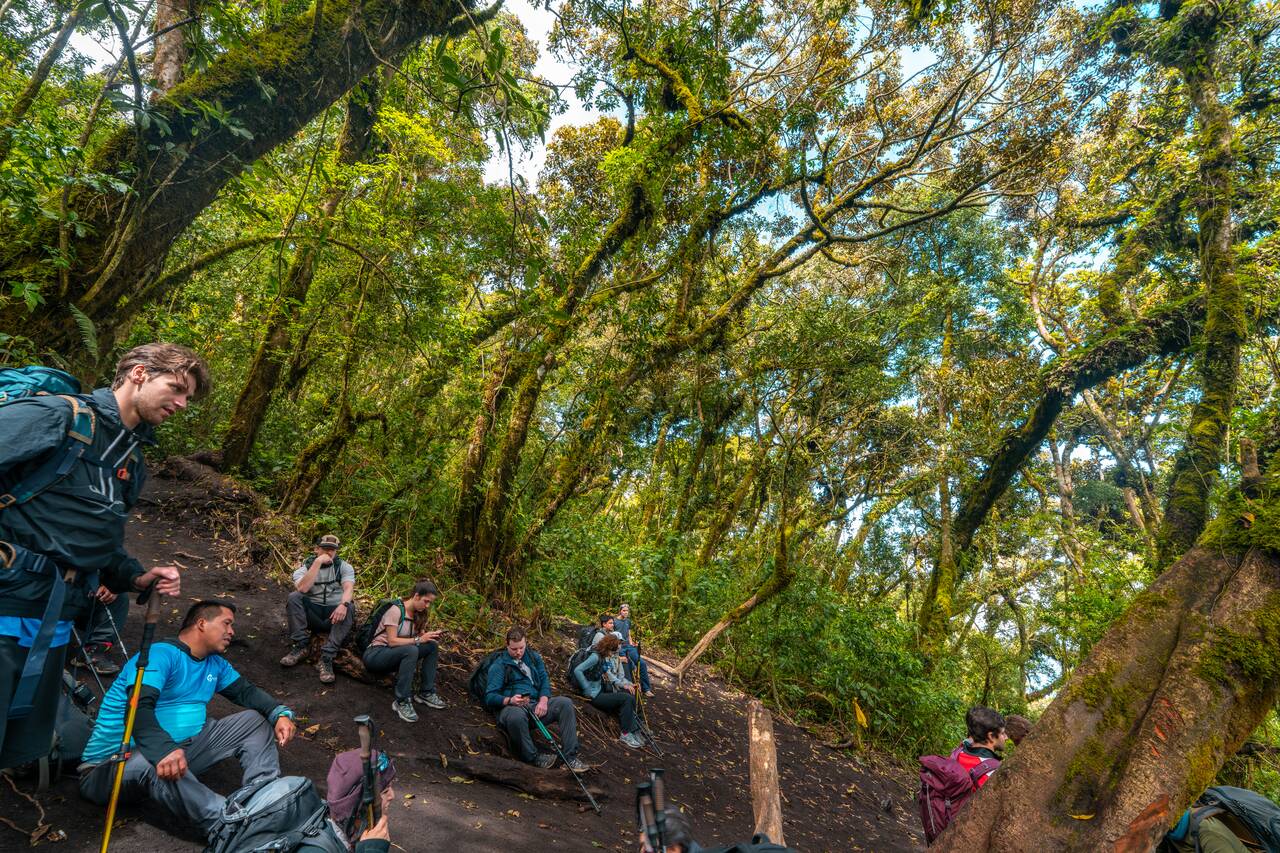
After all the preparations were done, we finally started the hike around 10:30 AM from the trailhead. The first thing you should know about Acatenango is that the trail does not really ease you into the hike. It goes straight uphill almost immediately, and there is very little flat section along the way.
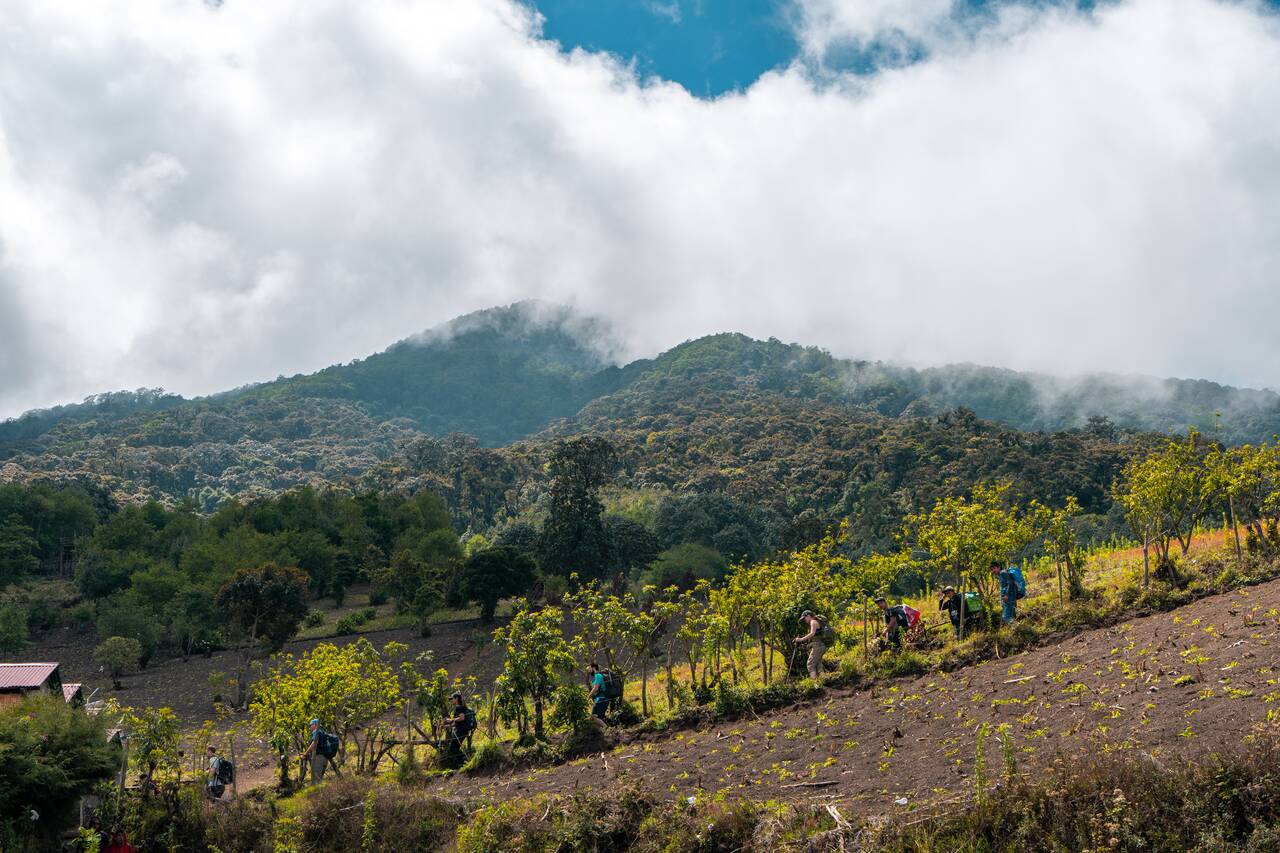
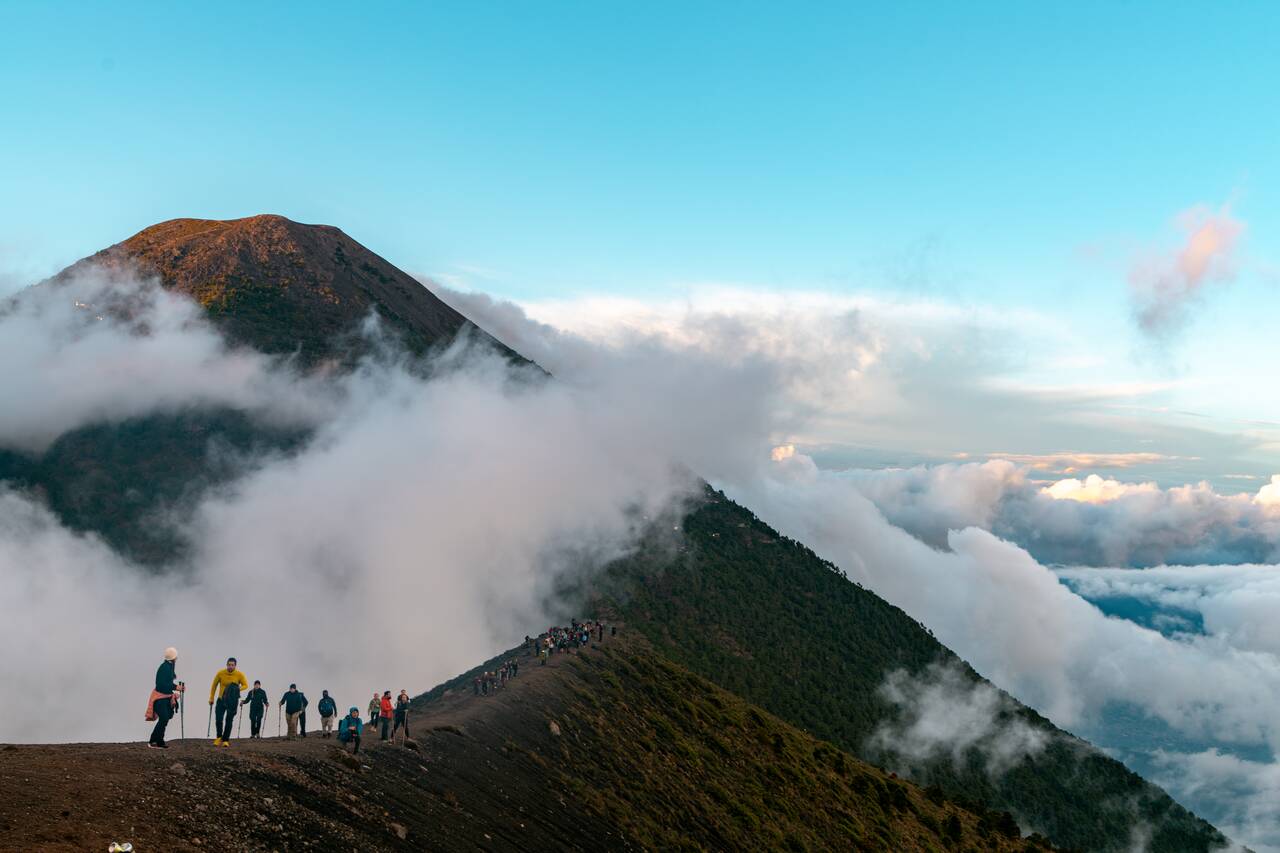
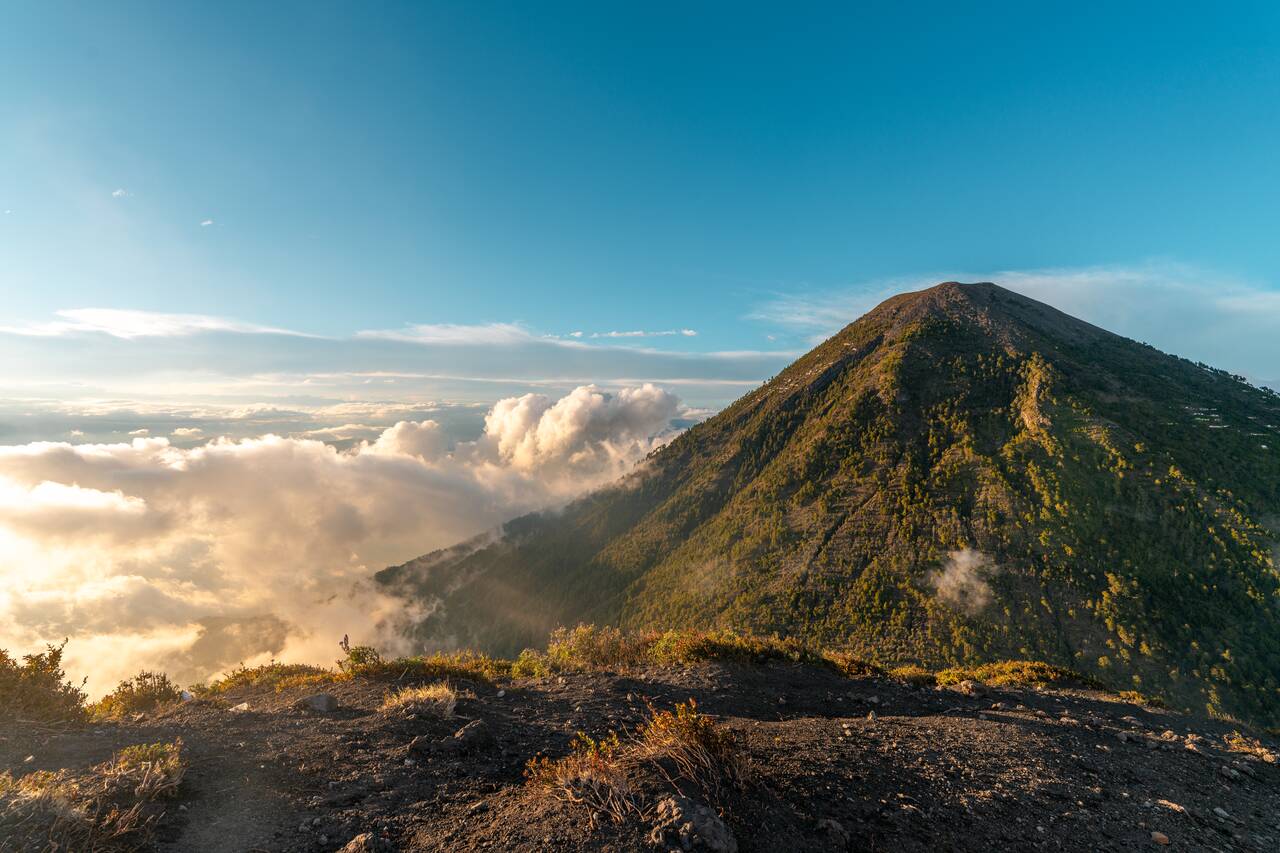
The hike takes you through around three different climate zones: farmland, cloud forest, and volcanic terrain, or as my guide called it, the "Guatemalan flats", which was basically a slightly flatter trail as we walked around the crater toward the campsite.
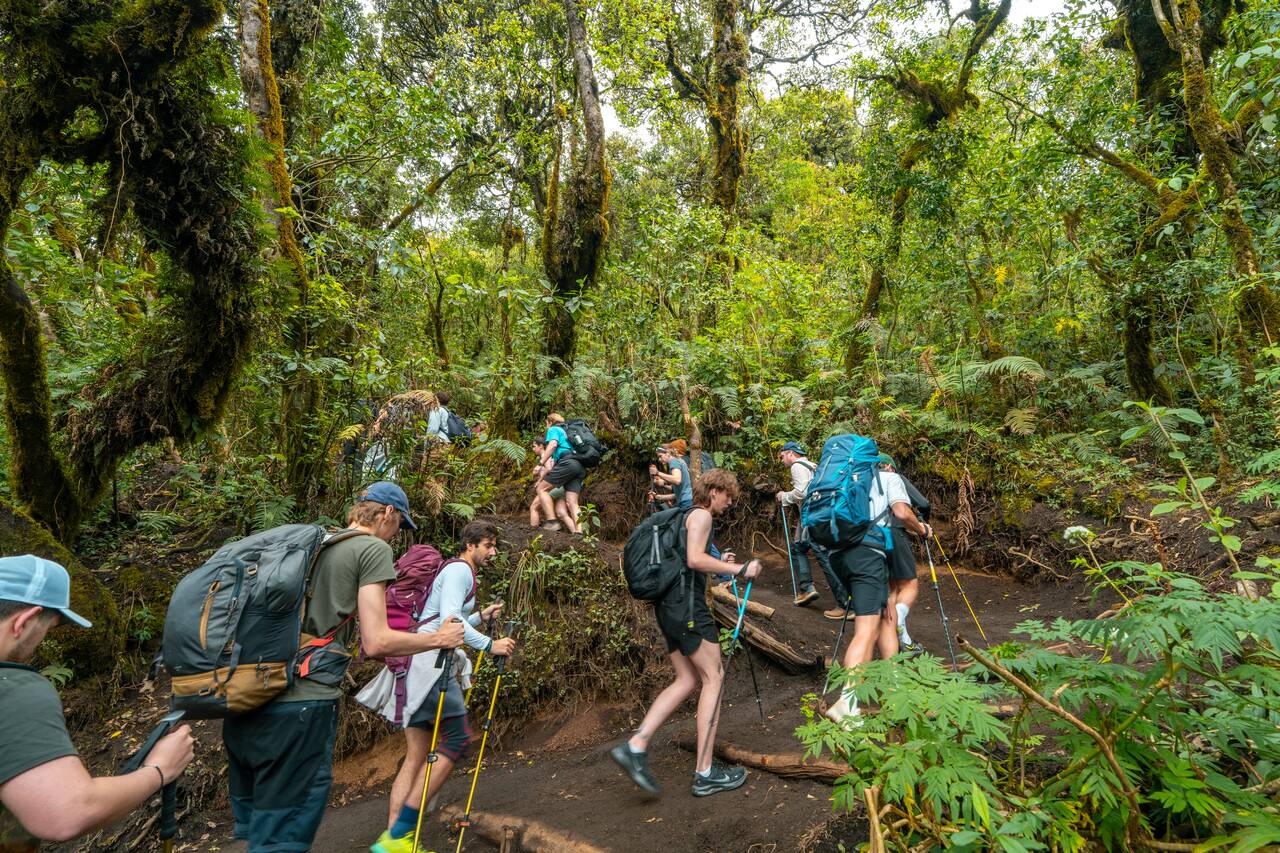
Since Acatenango is one of the most popular hikes in Guatemala, there are usually many groups climbing the mountain at the same time. Each company will often take a slightly different route up, so make sure you stay close to your group and follow your guide. Along the way, our guide stopped around 4–5 times for breaks, which was enough to catch our breath, drink water, and recover from the steep climb.
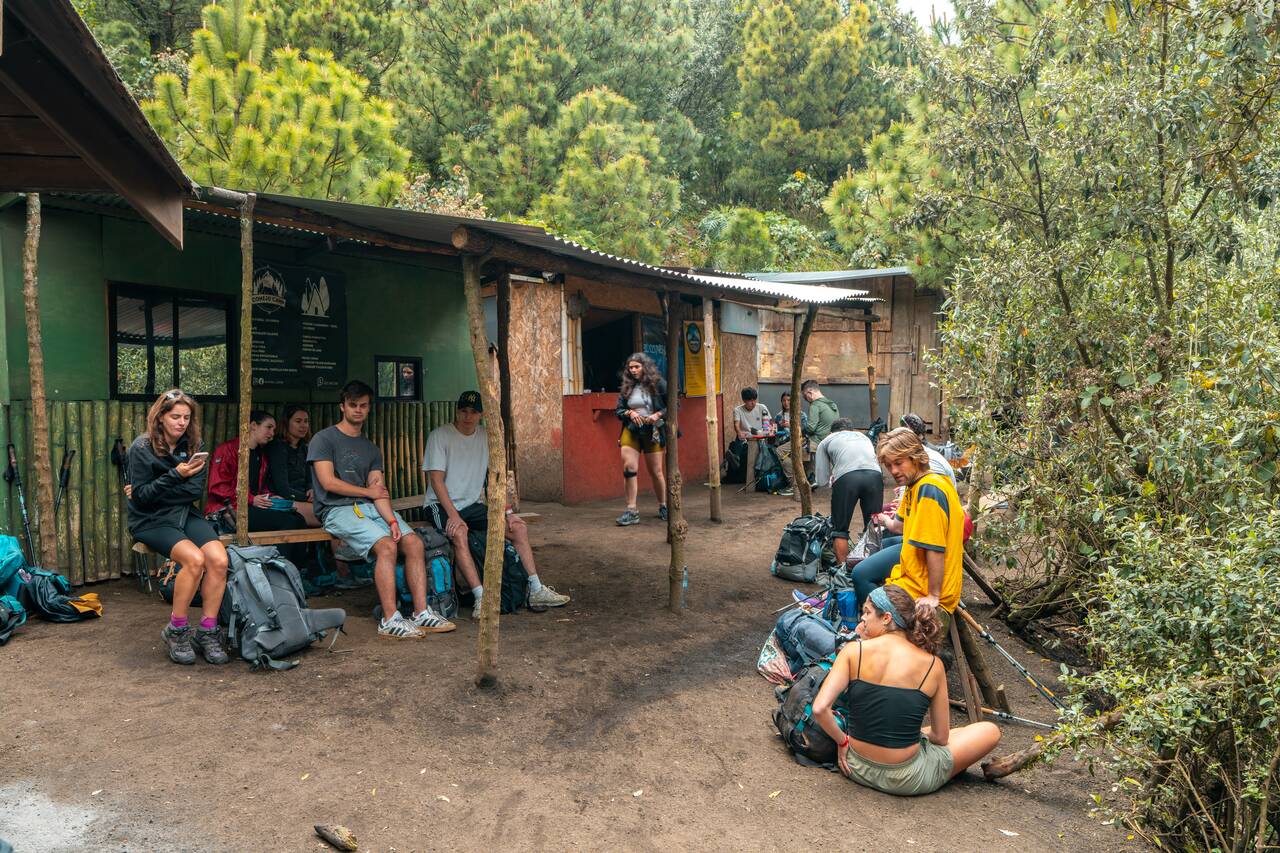
The hardest part of the first hike is not the distance but the constant uphill climb while carrying everything on your back. Your backpack will be heavier than usual because you are carrying water, food, warm clothes, and overnight gear, and the altitude slowly starts to make the hike more difficult as you get higher.
We finally reached the base camp at around 3 PM, after several hours of climbing, and the first thing that hit me was the incredible view. From camp, you can see Fuego Volcano directly in front of you, constantly sending plumes of smoke into the sky. Not gonna lie, after hours of suffering uphill, seeing an active volcano erupting right from your campsite is a pretty incredible reward.
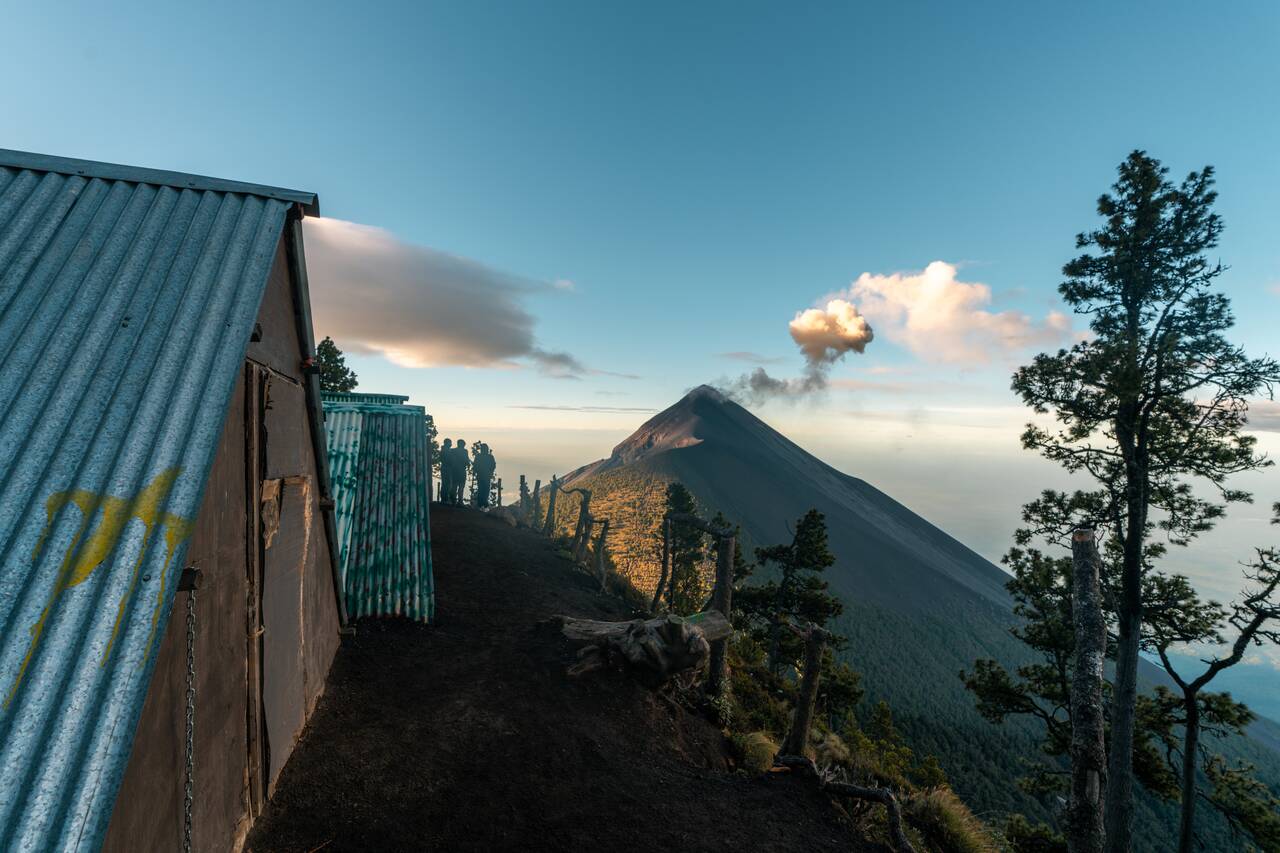
Once you arrive at camp, you will have around an hour to rest, eat, and decide whether you want to attempt the optional Fuego Volcano hike. This is where you need to be honest with yourself. If the first climb already pushed you to your limit, I would recommend skipping Fuego. However, if you are tired but still have energy left, the Fuego hike is what makes Acatenango such an unforgettable experience.
Hiking Fuego Volcano at Sunset
Hiking Time: 5 hours
Difficulty: Very Difficult
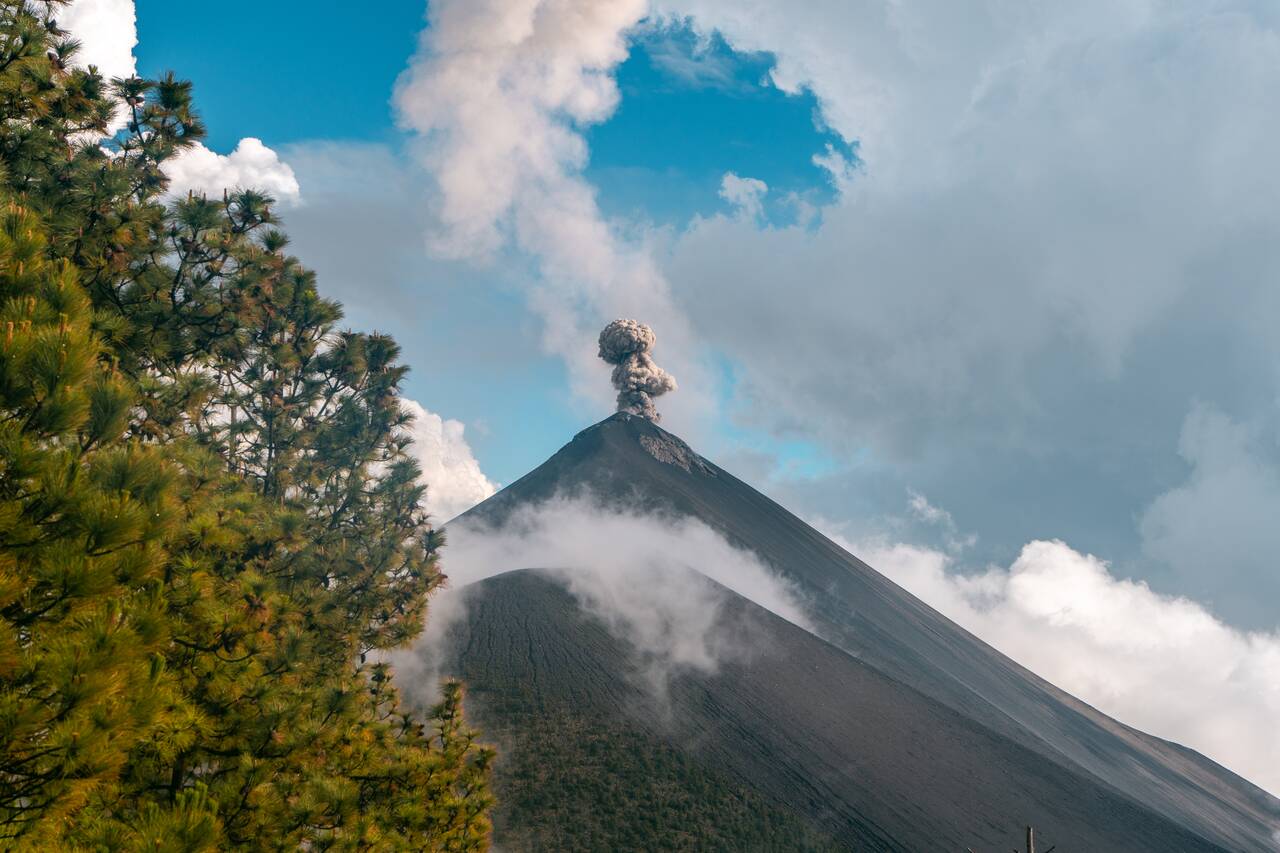
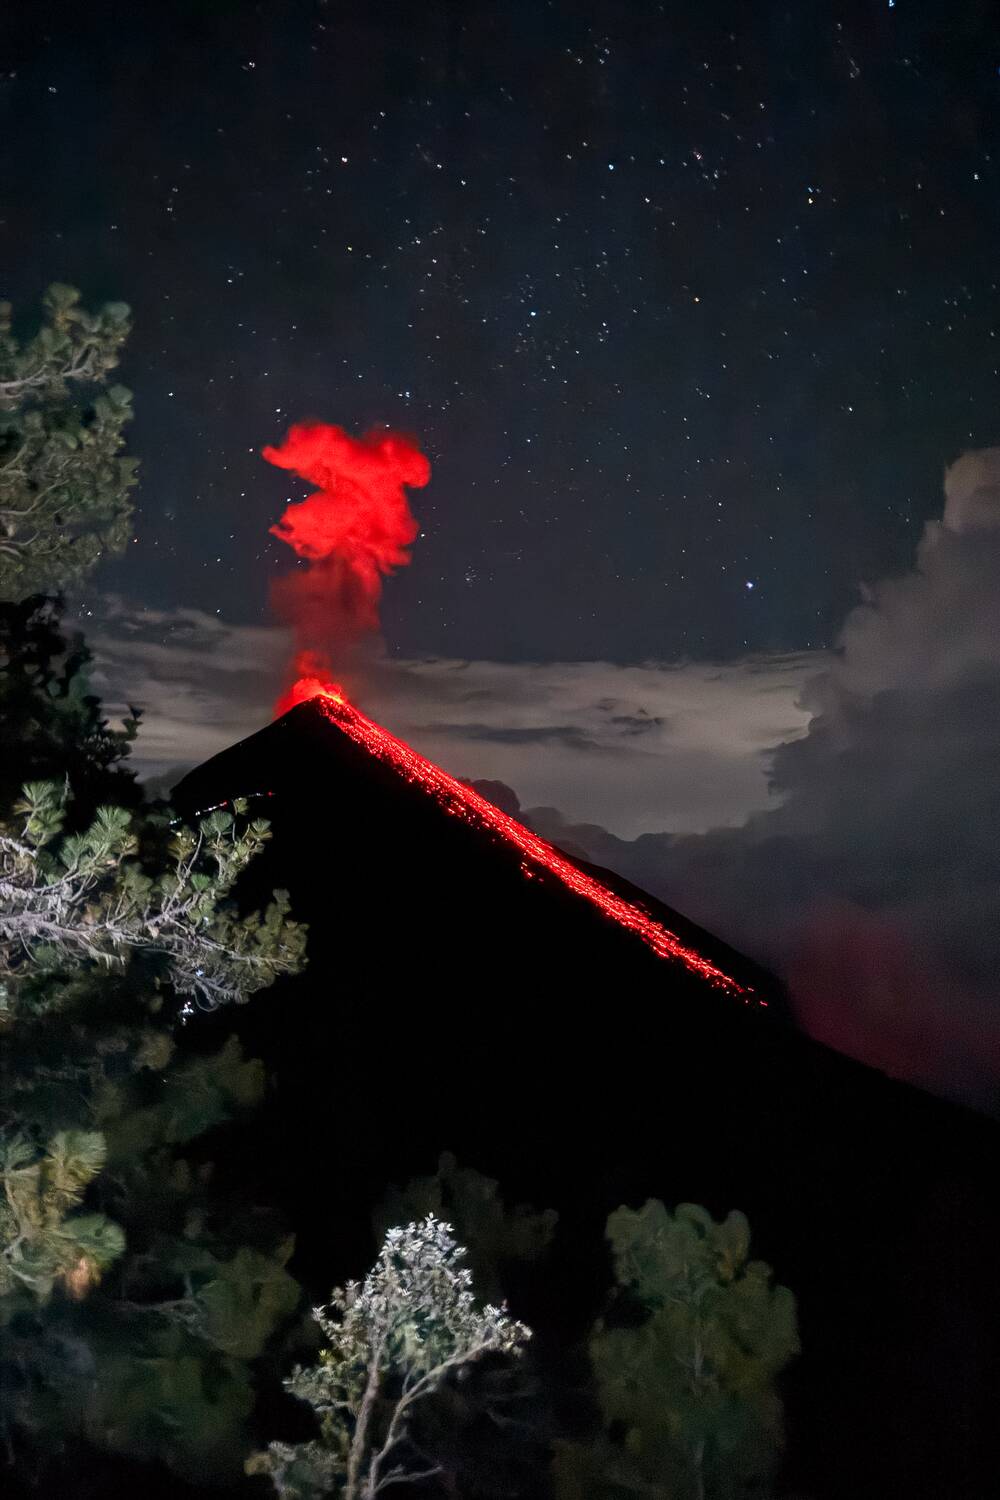
The optional hike to Fuego Volcano is, without a doubt, the highlight of the entire Acatenango experience. While reaching Acatenango's base camp already gives you an incredible view of an active volcano, hiking closer to Fuego allows you to witness its eruptions from much closer, with lava and smoke exploding into the night sky right in front of you.
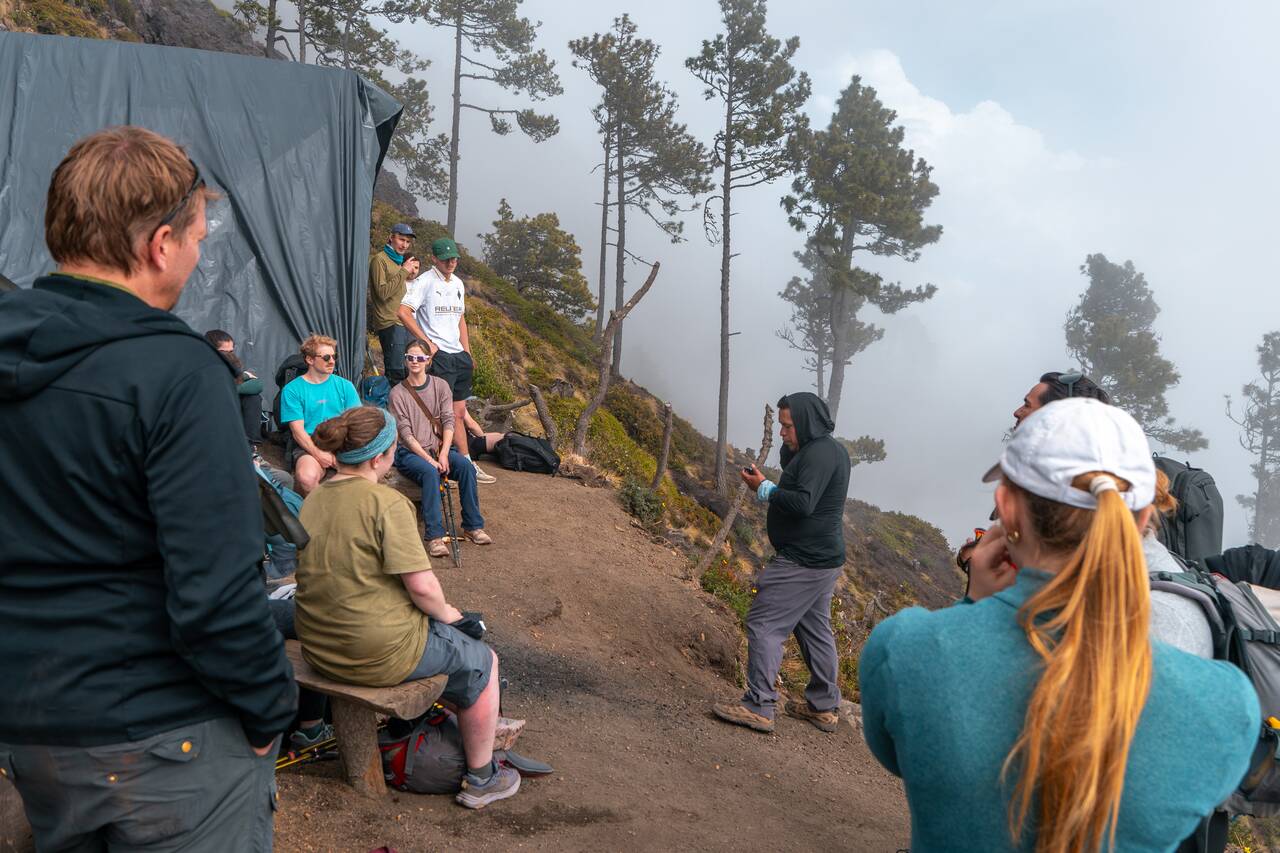
Before deciding whether to do the Fuego hike, make sure you are honest about your condition. The first part of Acatenango is already a tough climb, and if you are struggling by the time you reach base camp, I would recommend skipping it. However, if you are tired but still feeling strong, this is the moment where you push through, because the reward is something you will remember for the rest of your life.
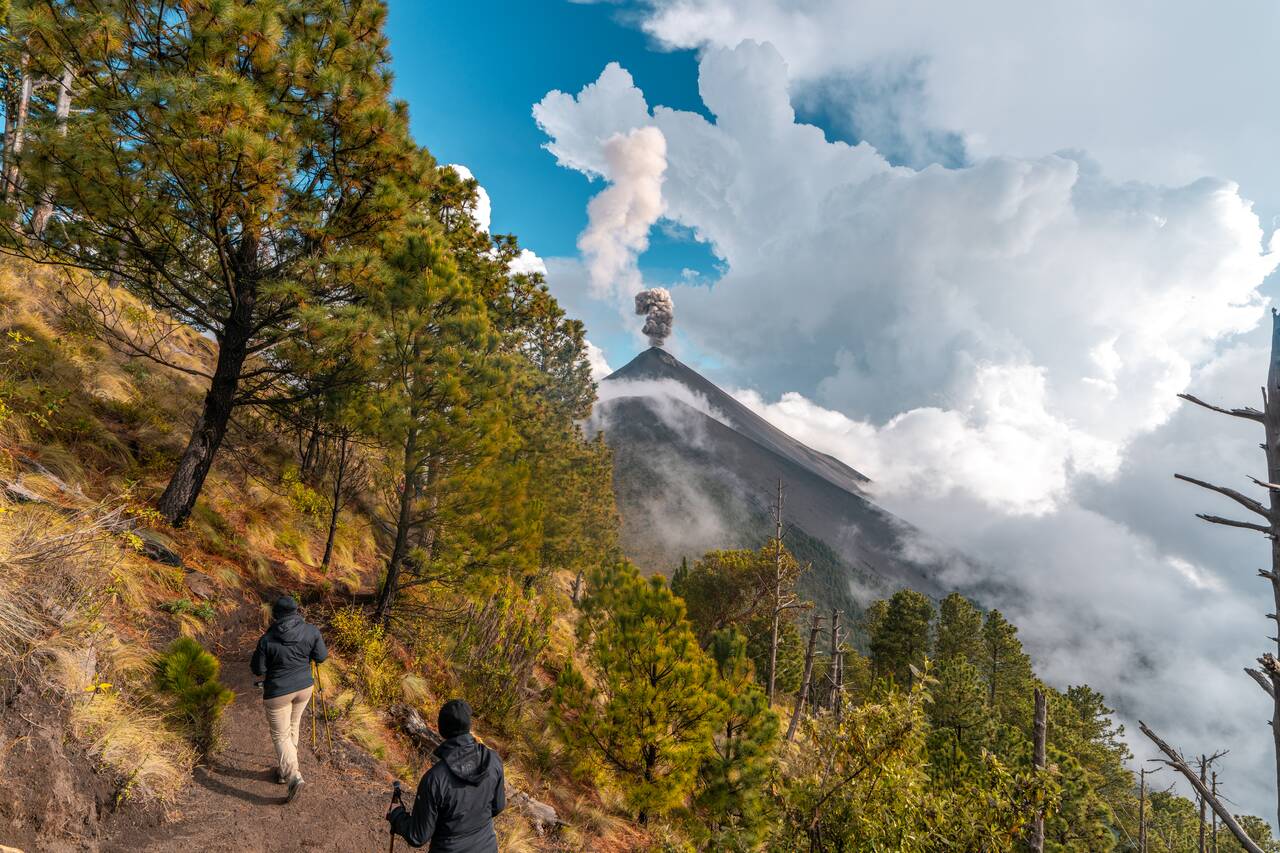
Keep in mind that hiking Fuego is technically not allowed, and most tour companies recommend against it. The guides from your Acatenango company will not accompany you because they do not want to be held responsible, but they can help arrange a local guide for the group. This usually costs an additional 250 GTQ (30 USD), which you pay in cash.
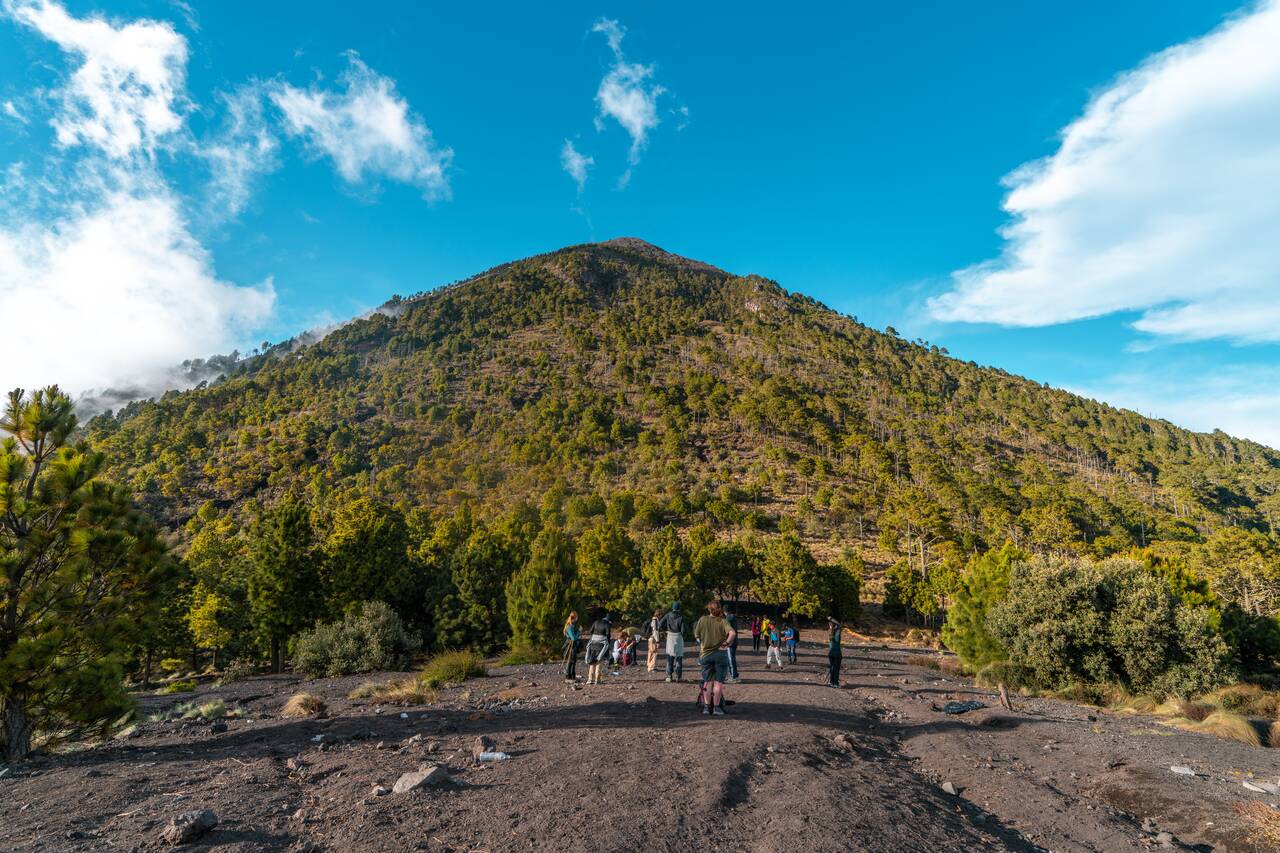
Once everything was arranged, we started our hike to Fuego at around 4 PM. The trail begins with a steep and slippery descent for about an hour before climbing uphill for another hour toward the Fuego ridge. The funny thing is that you are basically hiking all the way down from Acatenango, only to climb back up almost to the same elevation again 😅.
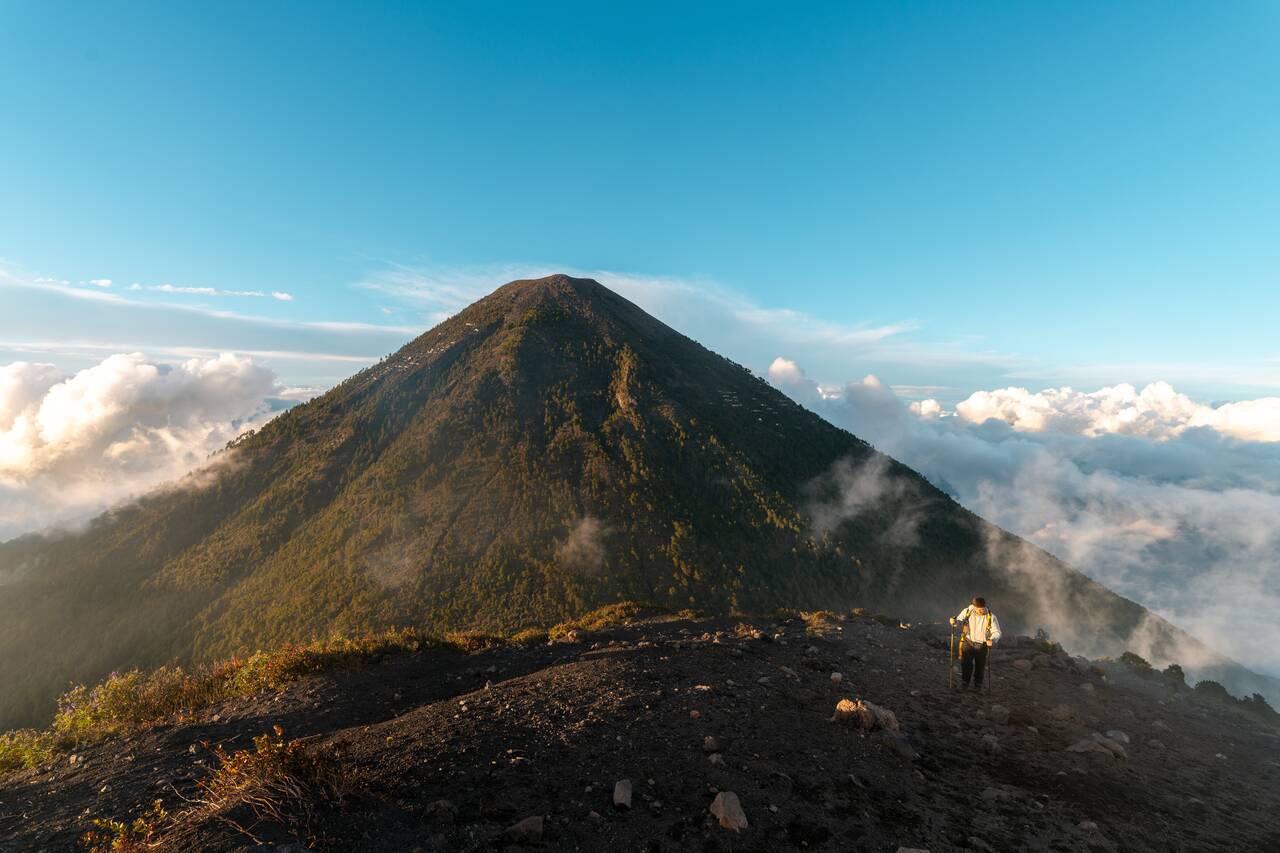
The trail was challenging, especially after already spending hours climbing Acatenango earlier in the day. The volcanic gravel makes some sections slippery, and every step up feels heavier when your legs are already tired. However, as soon as we started getting closer to Fuego and hearing the occasional rumble from the volcano, the exhaustion started to disappear.
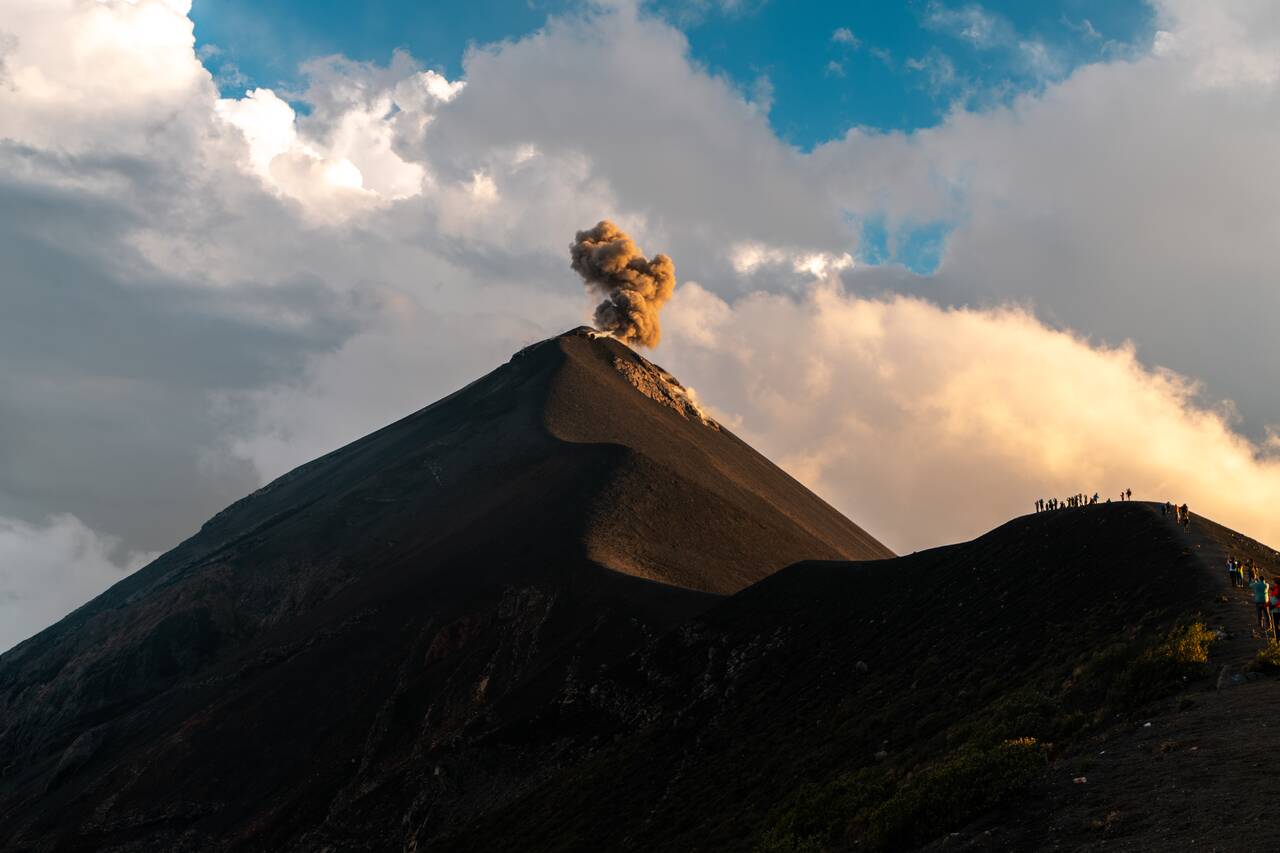
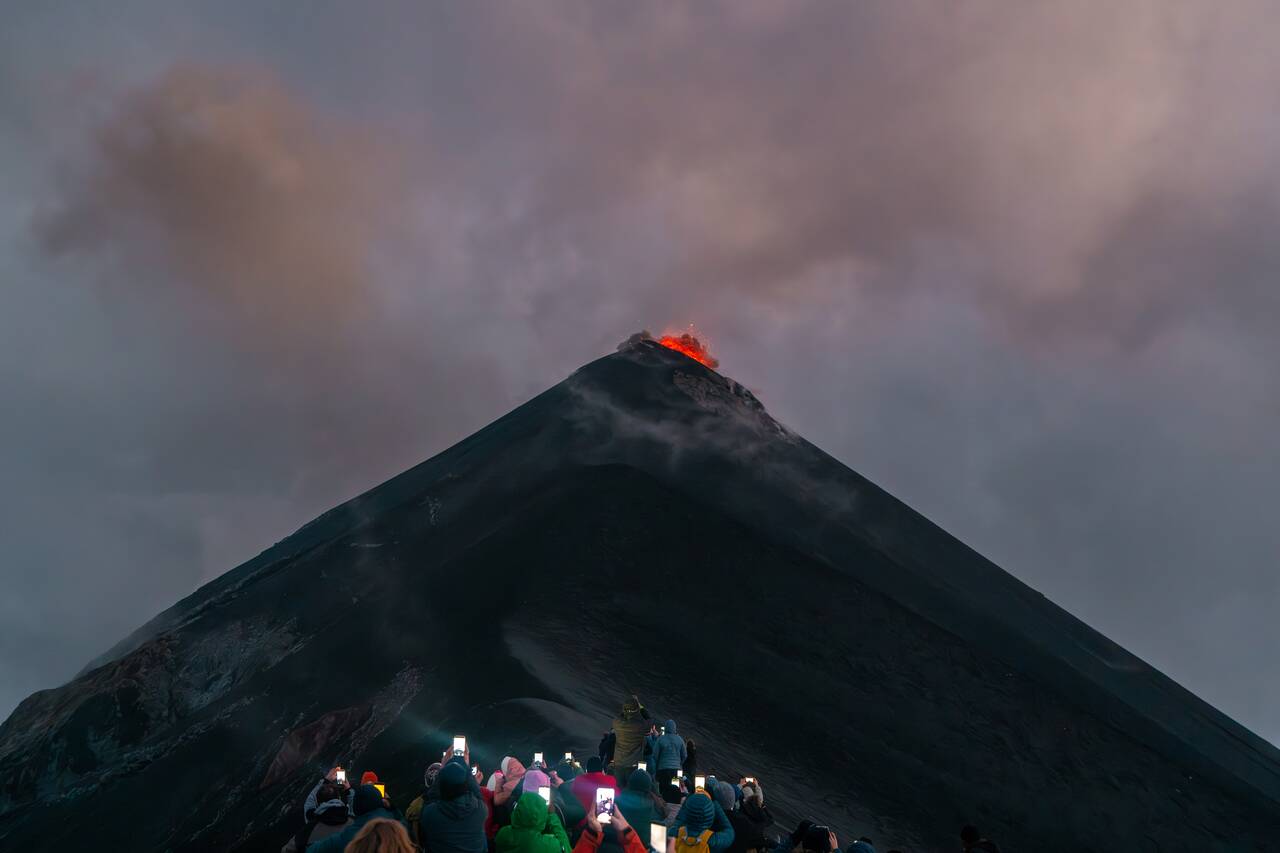
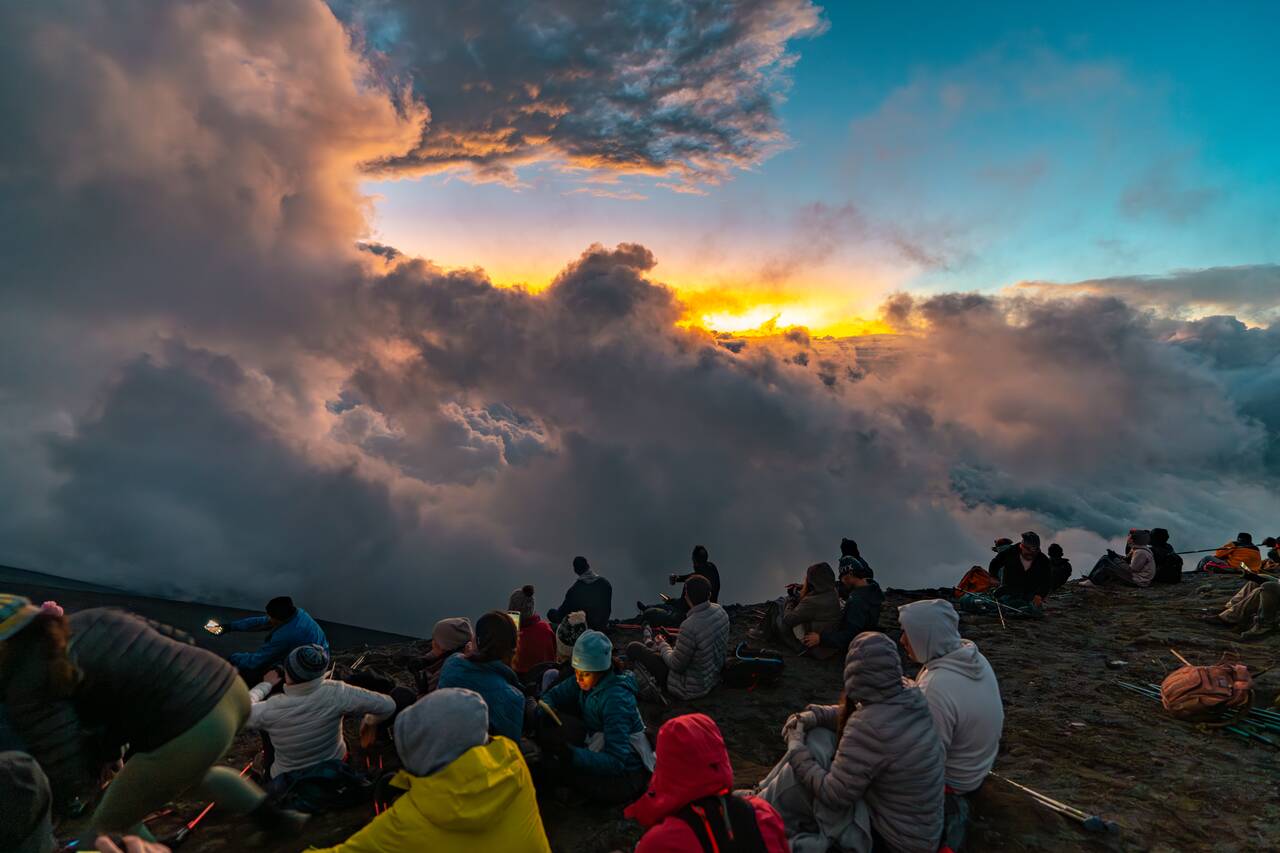
We arrived at the Fuego viewpoint around 6 PM after about 2 hours of hiking, just in time for sunset. Watching the sky slowly change colors while standing beside an active volcano was an incredible experience, but the real show had not even started yet.
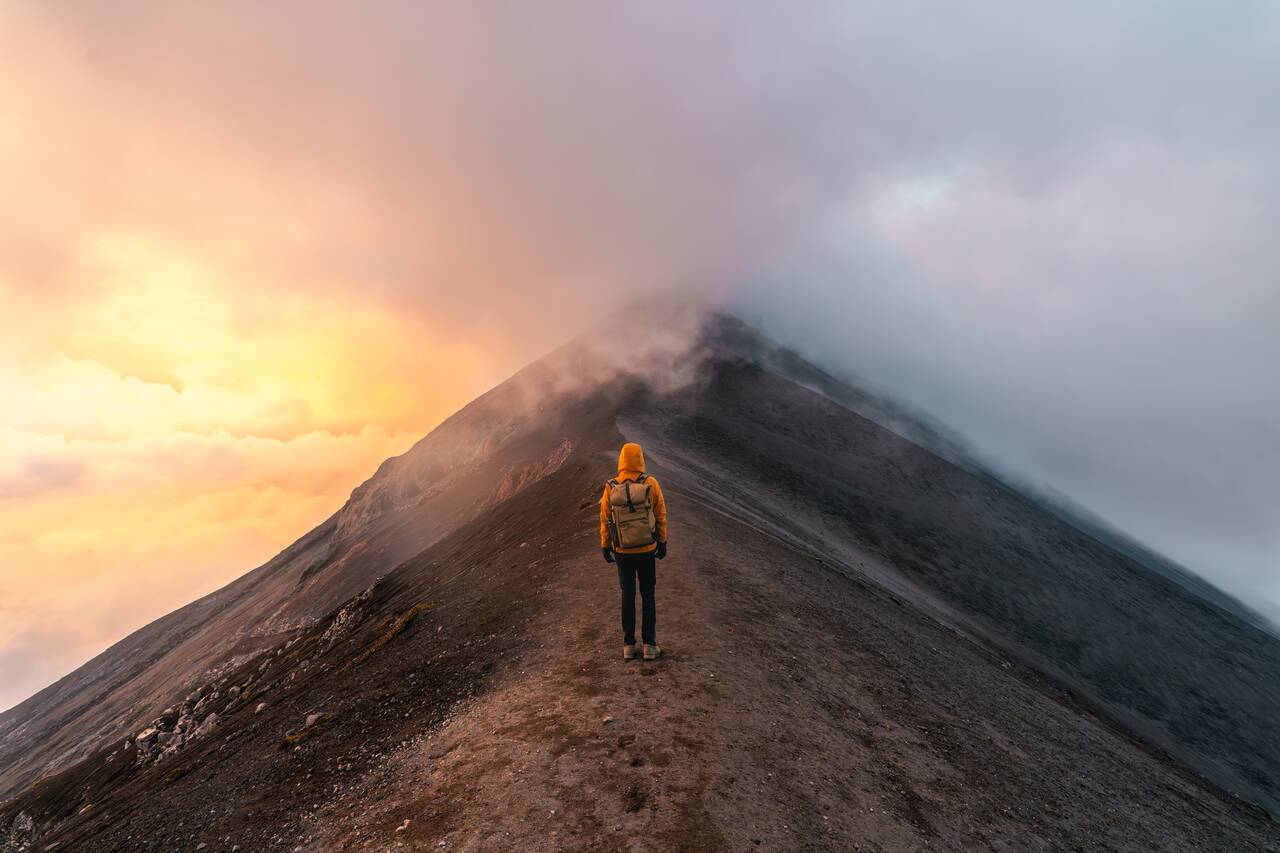
After sunset, we were able to start seeing the glowing lava debris that Fuego often spews every 15–20 minutes, sending huge plumes of smoke and glowing lava into the sky. Some eruptions were massive, and everyone would cheer every time the volcano exploded. It was one of those rare moments where everyone around you stops talking and simply watches nature put on a completely unreal show.
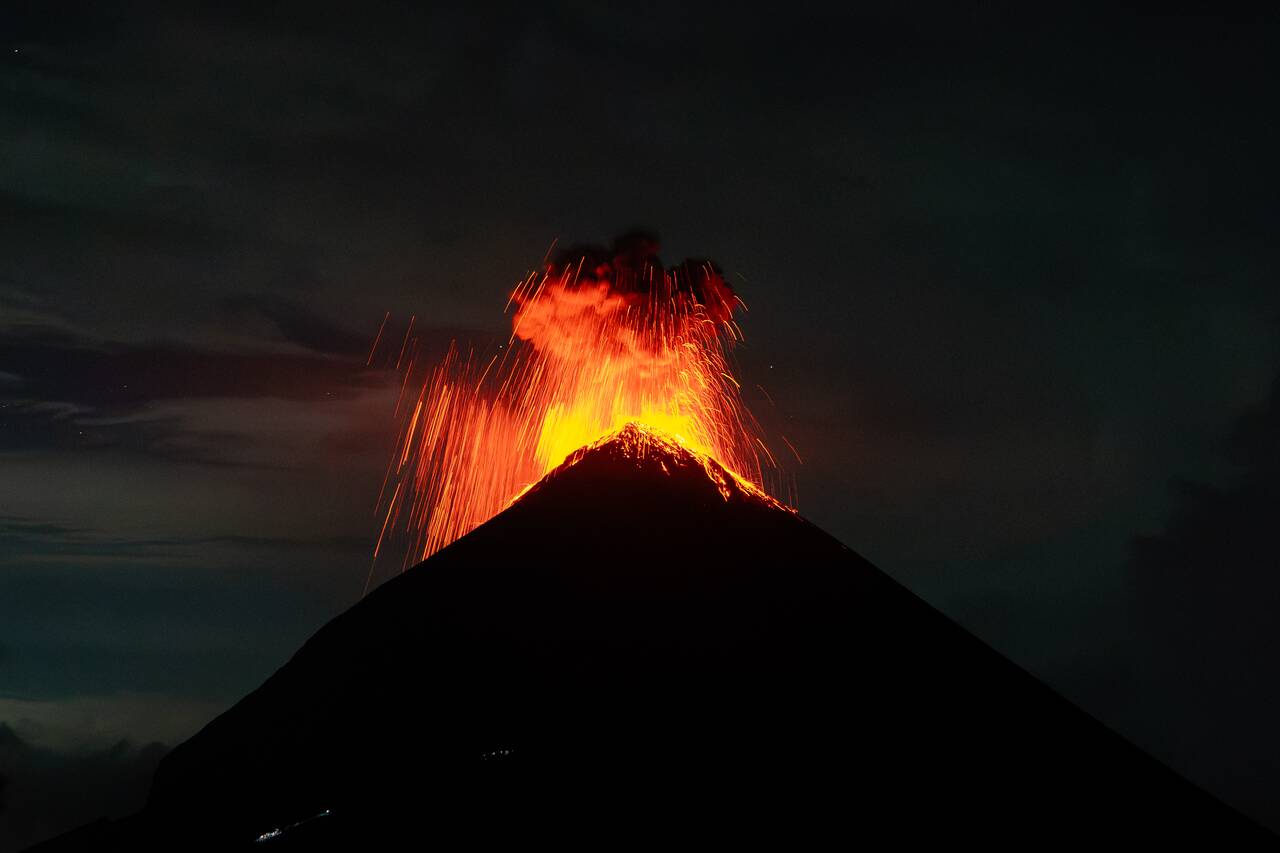
This is also the most dangerous part of the hike. While we were standing at a relatively safe distance from the volcano, you never know how powerful an eruption will be or where the wind will carry volcanic debris, as you can see it from this video where molten lava rained on hikers. We were completely fine during our visit, but the conditions can change quickly, so always listen to your guide and understand the risks before attempting this section.
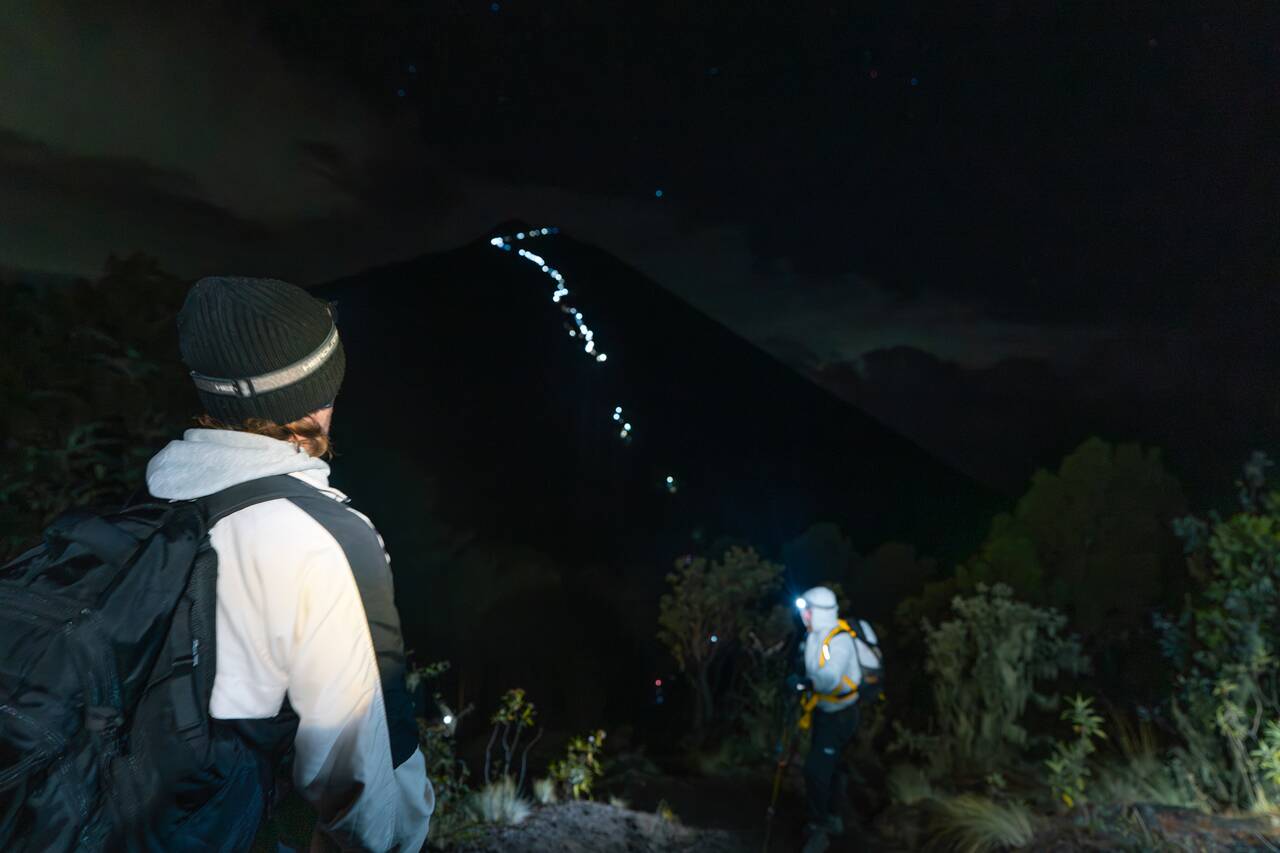
I personally would not recommend doing the Fuego hike if the weather is bad. My friend attempted it on a cloudy day and could not see the volcano erupt at all, which would be incredibly disappointing considering how much effort it takes to get there. Clear skies make all the difference.
Sunrise at Acatenango & Hiking Back Down
Hiking Time: 3 hours sunrise hike (optional) + 4 hours down
Difficulty: Difficult (sunrise hike), Easy (hiking down)
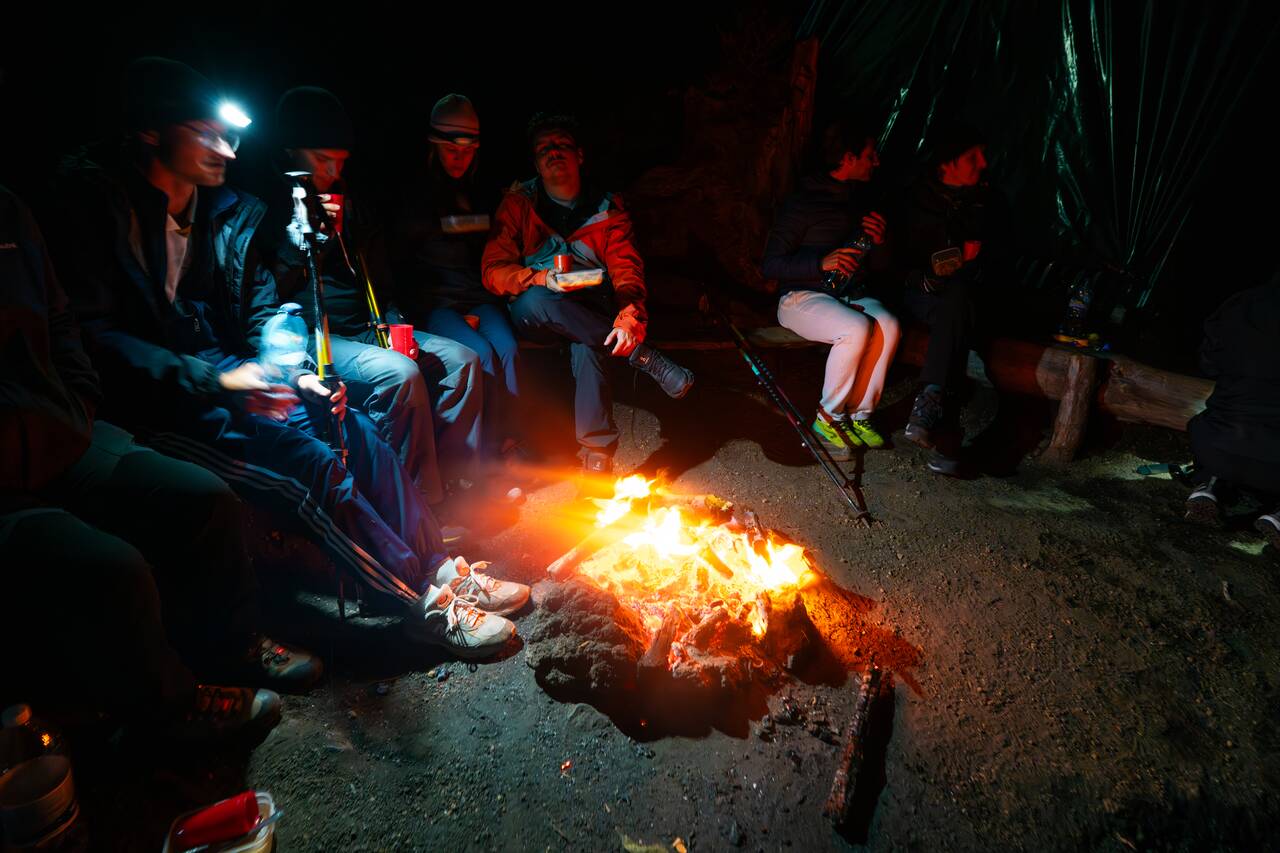
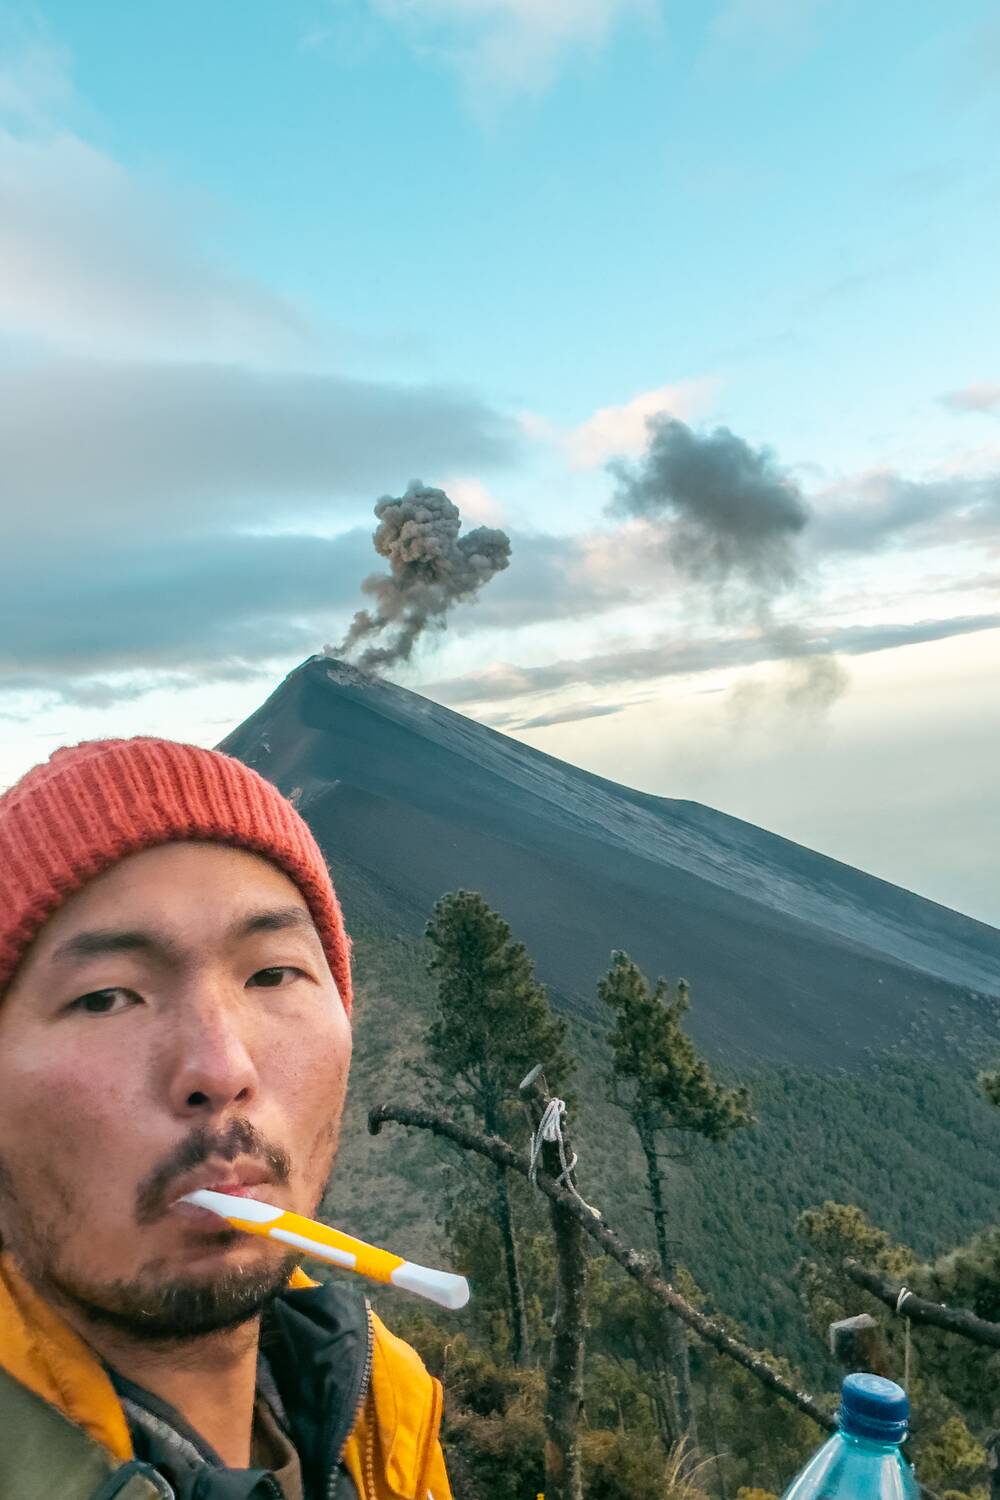
After returning from the Fuego hike, arriving at around 9 PM, we had our late dinner and some hot cocoa before heading straight to bed. To be honest, I don't think anyone can get a good night's sleep up here anyway. Between the howling wind, the occasional eruptions from Fuego shaking the ground and echoing across the mountains, and the freezing temperature, sleeping at nearly 4,000 meters above sea level is definitely not easy.
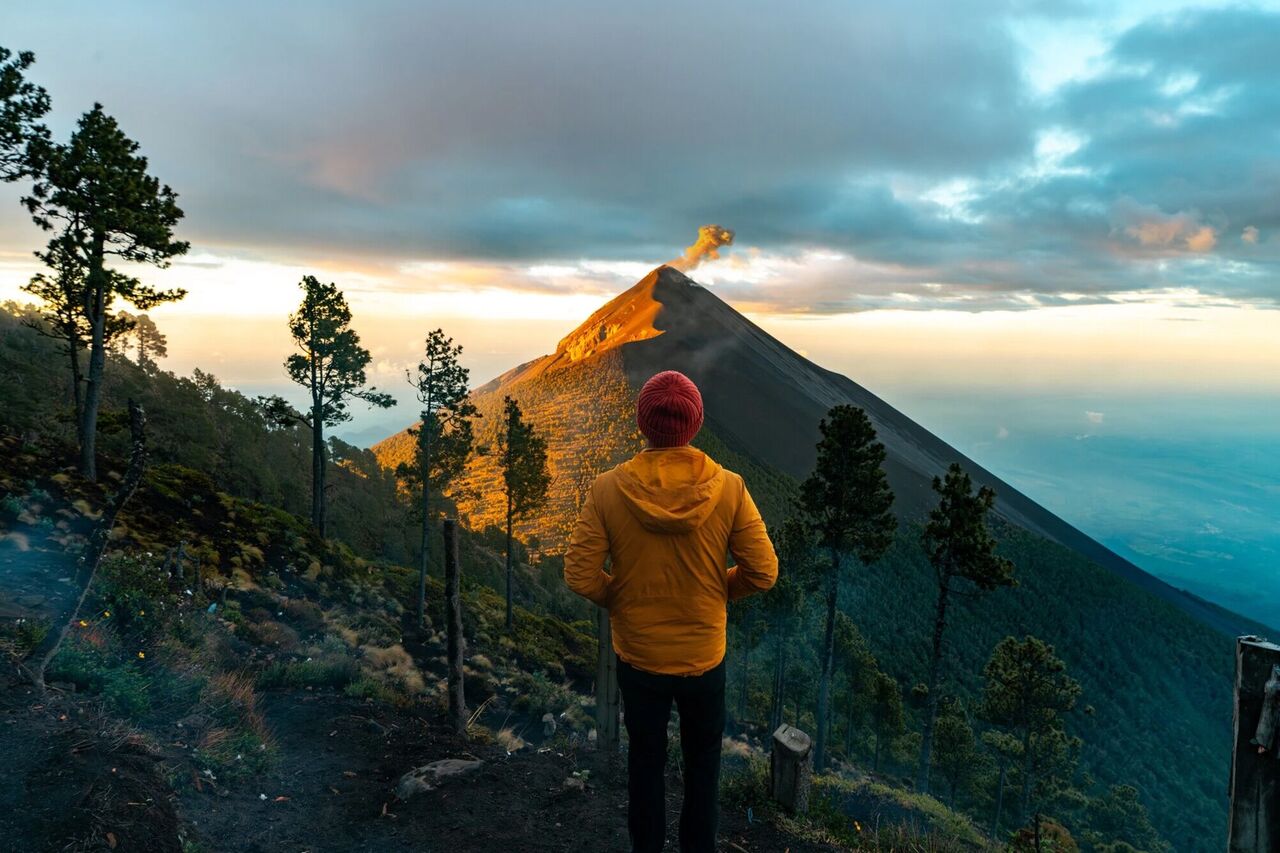
Thankfully, you do not have to sleep for very long. I recommend waking up before 6 AM so you can catch the sunrise from camp. Watching the first light hit the surrounding volcanoes and seeing the landscape slowly reveal itself after a cold night on the mountain was absolutely beautiful.
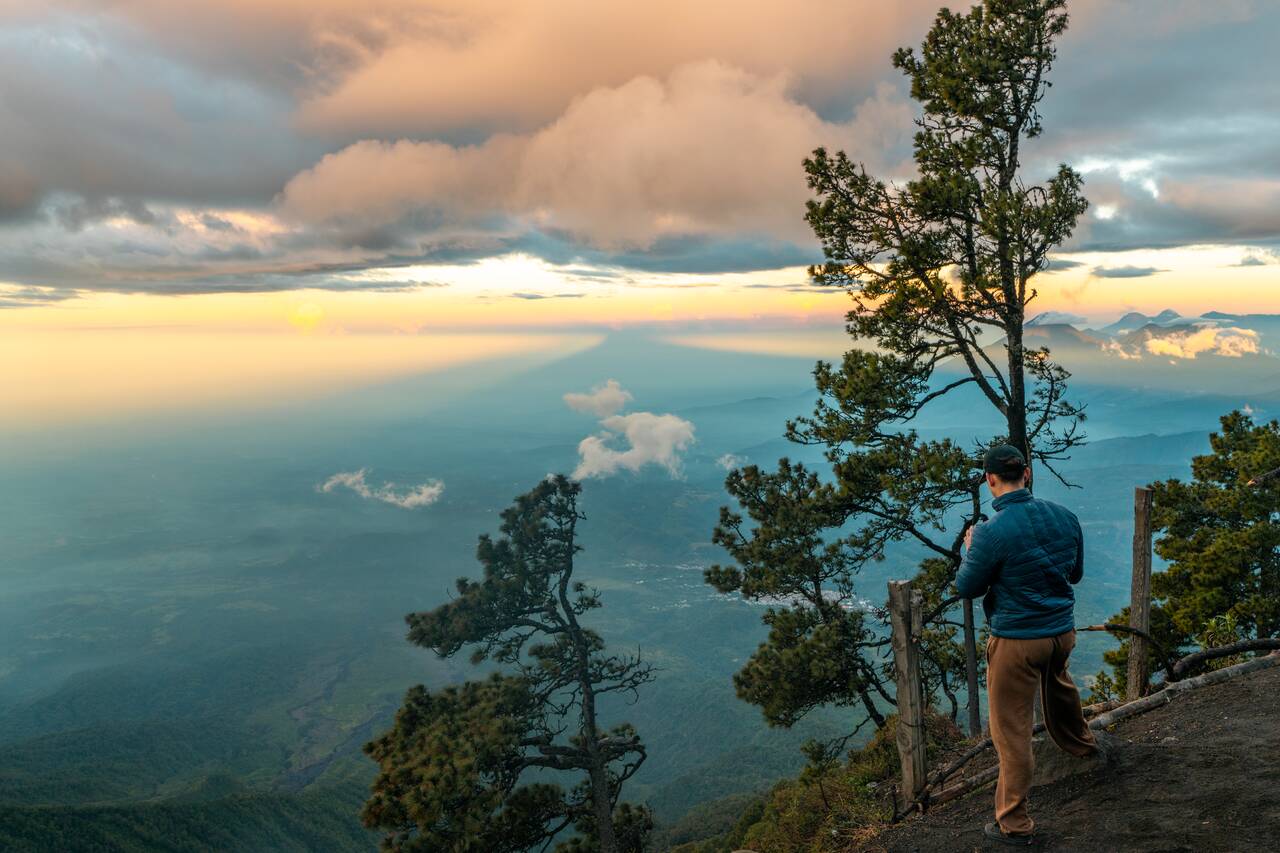
You can also choose to wake up around 4 AM and hike to the summit of Acatenango for sunrise. This involves climbing loose volcanic rocks straight up from base camp to the summit, and it is another challenging push after an already exhausting day. I decided not to do it because I was completely exhausted from the Fuego hike, but if you still have the energy, the sunrise from the top would be an incredible experience.
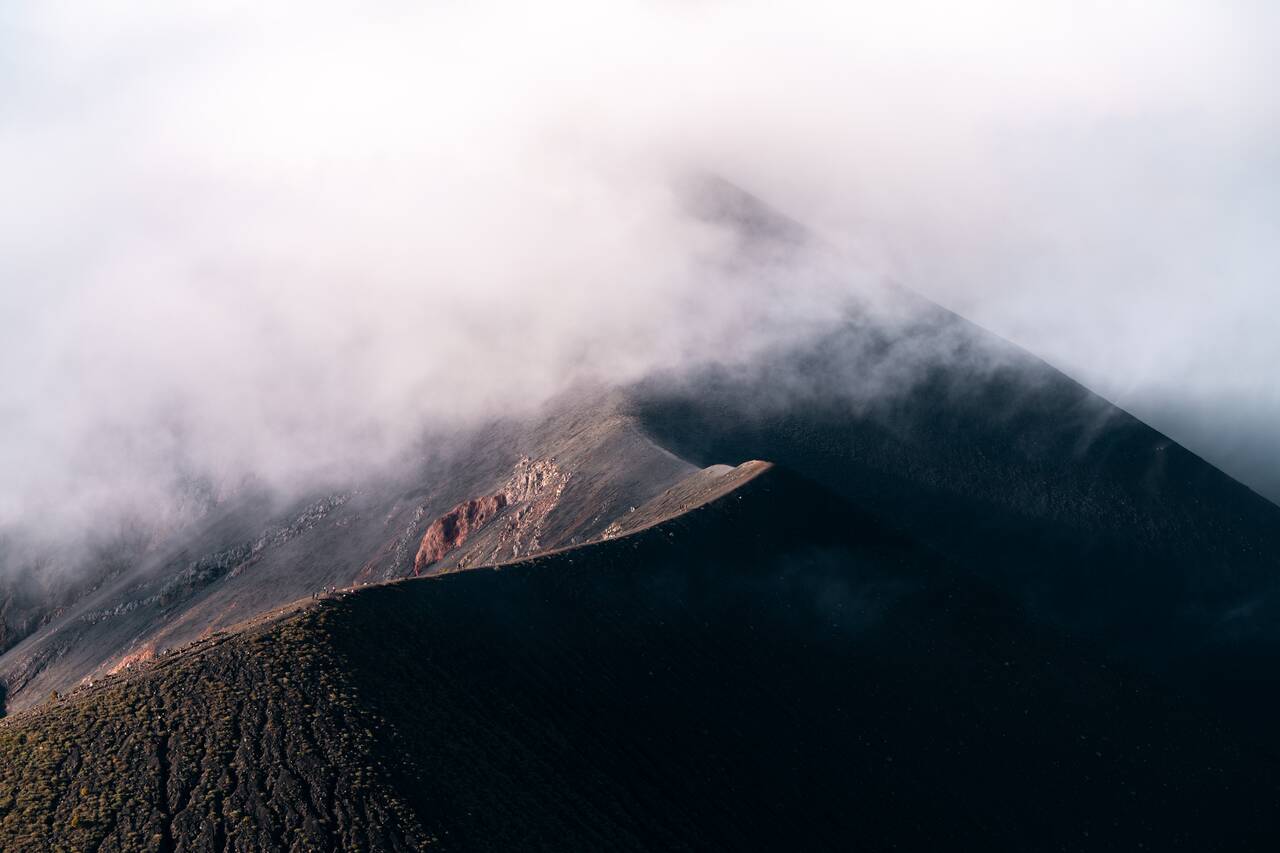
After breakfast, we packed up our things and started heading down around 7 AM. Compared to the climb up, descending Acatenango feels much easier on your lungs, but the loose volcanic gravel makes it tricky on your knees and ankles. Take your time going down, as it is easy to slip, especially when the trail is covered with fine volcanic sand.
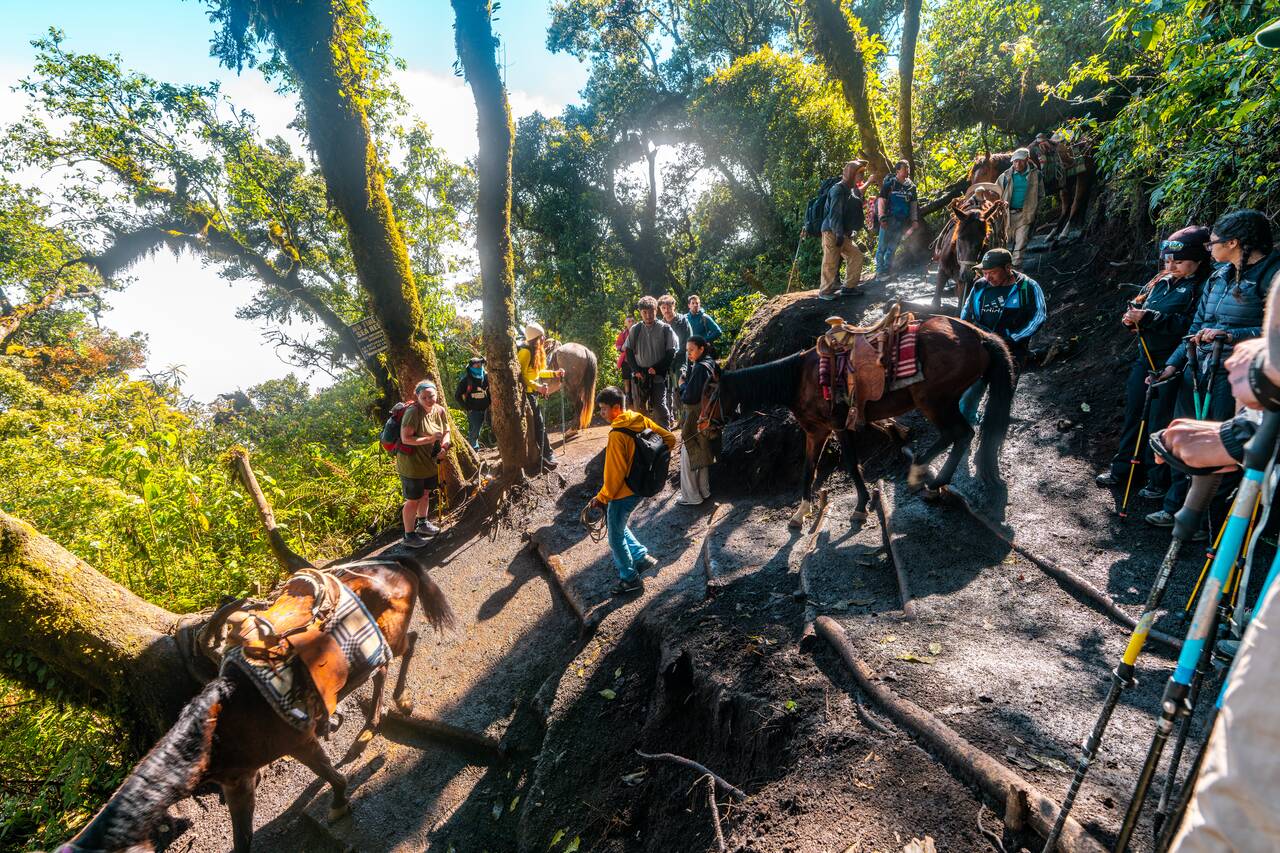
We eventually made it back to the trailhead and returned to Antigua around 1 PM. After spending nearly two days hiking, camping, freezing, and watching an active volcano erupt in front of me, I can confidently say Acatenango was one of the most challenging but rewarding hikes I have ever done. Even though I complained the entire way up, every painful step was worth it the moment Fuego started erupting in front of us.
If you are visiting Guatemala and are physically able to do it, I cannot recommend the Acatenango hike enough. It is not an easy adventure, but it is the kind of experience that stays with you long after you leave the mountain.
When is the Best Time to hike Acatenango?
The best time to hike Acatenango is during Guatemala's dry season, from November to April, when the weather is generally clearer, the skies are less cloudy, and you have the best chance of seeing Fuego Volcano erupting. Clear weather is especially important for this hike because the main reward is watching the eruptions, and clouds can completely block your view even after hours of climbing.
I personally hiked Acatenango during Semana Santa (Holy Week) in April, which is one of the busiest times to visit Guatemala. While the atmosphere in Antigua was incredible, with colorful processions and celebrations happening throughout the city, it also meant that many of the popular Acatenango tour companies were fully booked months in advance.
If you are planning to hike during peak seasons like Semana Santa, I highly recommend booking your tour well ahead of time. Otherwise, you may end up with limited options or have to choose from less-established companies like I did.
The rainy season runs from May to October, and while you can still hike Acatenango during this period, the weather is less predictable. The trail can become muddy and slippery, and clouds are more common, which means there is a higher chance that you might not get the clear views of Fuego Volcano that make this hike so special.
No matter when you go, remember that mountain weather is unpredictable. Even during the dry season, temperatures at nearly 4,000 meters can drop dramatically at night, and strong winds are common, so always prepare for cold conditions.
What to Pack for the Acatenango Hike
Packing properly for Acatenango is extremely important because the weather up there is no joke. You will be hiking from the warm farmland to almost 4,000 meters above sea level, where temperatures drop dramatically, strong winds can cut through your layers, and the cold can make the night at camp very uncomfortable if you are not prepared.
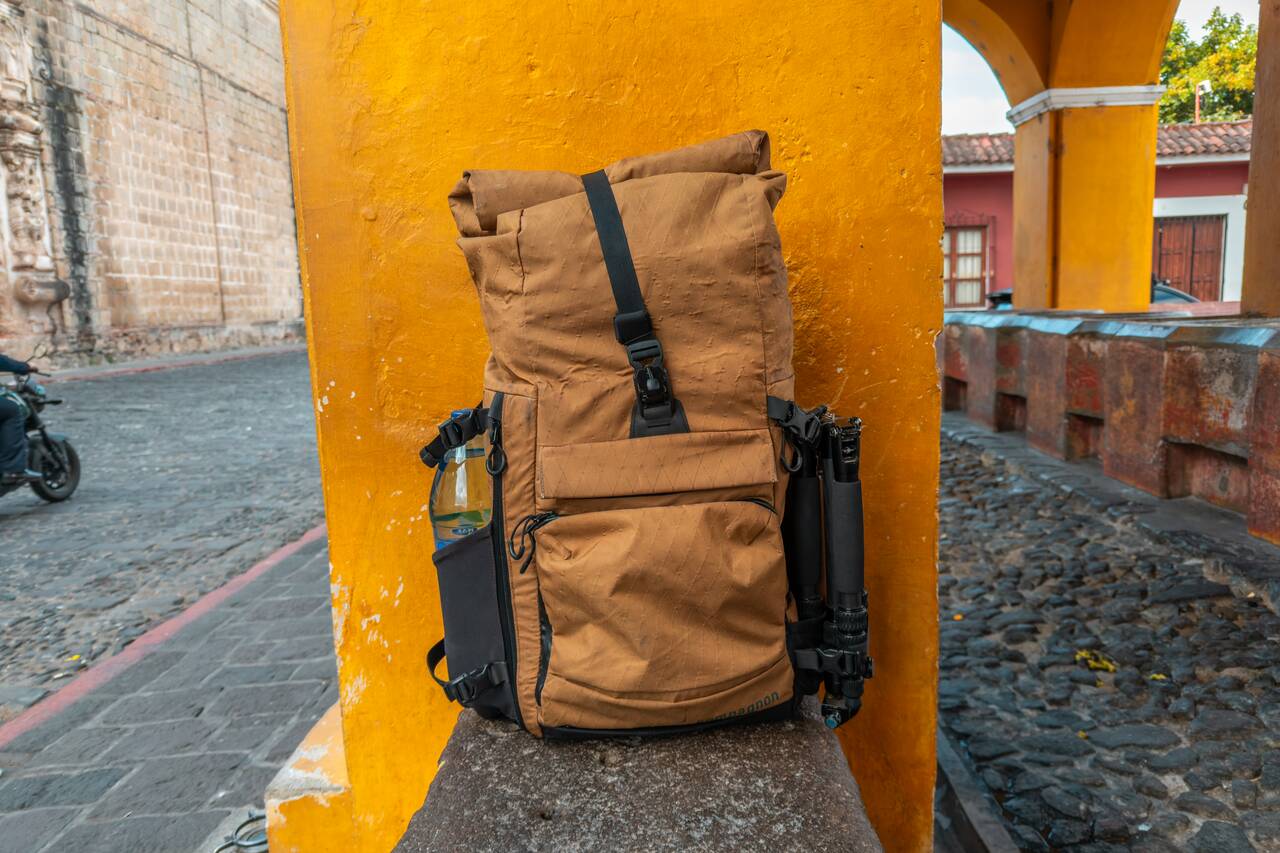
The key is to pack enough warm layers while keeping your backpack manageable, as you will have to carry everything yourself, including water, food, and overnight gear. I used a 30L backpack with a roll-top, and I barely managed to fit everything inside, so I would recommend bringing a backpack of around 40L or larger for a more comfortable fit.
Clothing
- 👕 T-shirt (for hiking during the warmer sections)
- 🧥 Fleece jacket
- 🧥 Down jacket (highly recommended for camp)
- 🌧️ Outer shell or windproof jacket
- 🧤 Gloves
- 🧢 Beanie
- 🧦 Warm socks
- 🧣 Scarf, buff, or anything to protect your neck from the wind
- 🥾 Hiking shoes with good grip
Hiking Gear
- 🎒 Backpack (40L+ recommended)
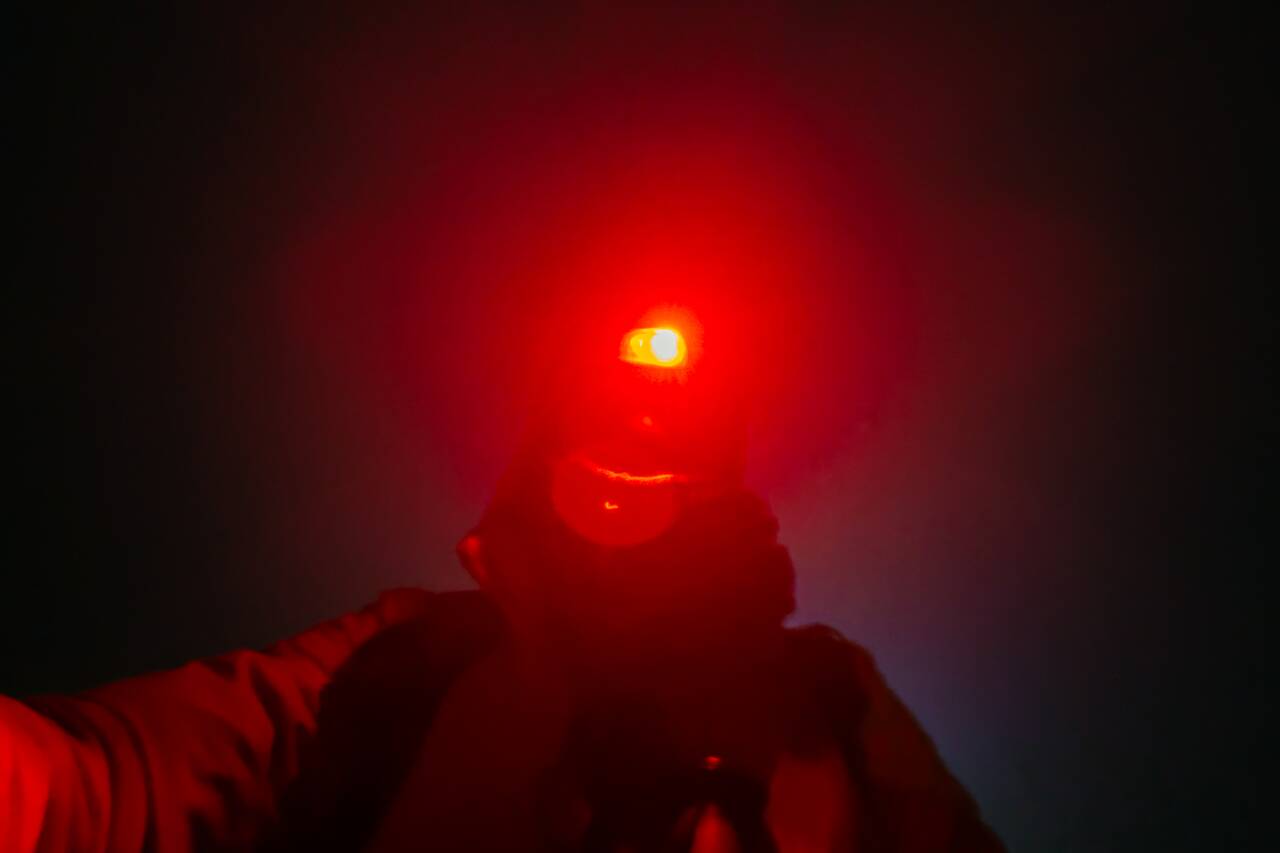
- 💡 Headlamp (essential for the Fuego hike and walking back at night)
- 🥾 Trekking poles (highly recommended, especially for your knees)
- 💧 2 liters of water
- 📱 Power bank (cold temperatures drain batteries quickly)
I highly recommend renting trekking poles if you do not own a pair. I rented mine for around 5 USD, and it was one of the best decisions I made during the hike. The trail goes uphill almost the entire way, and you are carrying a heavy backpack, so your knees will definitely appreciate the extra support.
If you are missing any gear, most tour companies offer rentals before the hike. You can usually rent items like backpacks, jackets, gloves, trekking poles, and even hiking shoes, with prices generally ranging from around 5–20 USD depending on the item.
How Much Does Acatenango Cost?
| 🌋 Acatenango Tour: | 70 - 150 USD |
| 🧥 Gear Rental: | 5 - 20 USD/item |
| 🥾 Fuego Hike: | 250 GTQ (30 USD) |
| 🎒 Porter (Optional): | 200 GTQ (25 USD) each way |
| 💰 Total Budget: | 110 - 170 USD/person |
Safety Tips for Hiking Acatenango & Fuego Volcanoes
While Acatenango is one of the most incredible hikes you can do in Central America, it is not without risks. The combination of high altitude, steep trails, freezing temperatures, and the active Fuego Volcano means you need to come prepared and know your limits.
The biggest challenges are altitude sickness and the physically demanding trail. You will be climbing to almost 4,000 meters above sea level, and even if you are fit, the altitude can affect anyone. Take your time, drink enough water, listen to your body, and do not push yourself if you start feeling unwell.
The trail itself is not technically difficult, but it is steep and covered with loose volcanic gravel, which can make sections slippery, especially when descending. Trekking poles are highly recommended, as they provide extra stability and will help protect your knees during the long climb and descent.
The cold is another thing you should not underestimate. Temperatures at camp can drop significantly at night, and the strong winds can make it feel even colder. Bring proper layers, including a down jacket, gloves, a beanie, and something to protect your neck from the wind. You will be almost 4,000 meters above sea level, after all.
If you decide to hike Fuego, understand that you are taking on an additional risk. The trail brings you much closer to an active volcano, where eruptions, wind direction, and volcanic debris are unpredictable. Here is a video where molten lava rained on hikers during their Fuego hike. Always listen to your guide, avoid going during poor weather conditions, and understand that you are doing this section at your own risk.
Lastly, keep track of your belongings, especially during the Fuego hike. There will be many people at the viewpoint, and once it gets dark, it is surprisingly easy to lose things in the clouds and darkness. I almost left my trekking poles behind and had to scramble around looking for them before it became too dark to see.
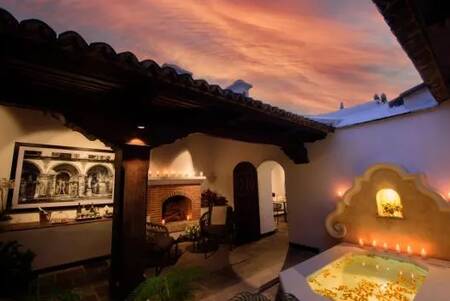
Where to Stay in Antigua?


Acatenango Volcano Hike FAQ
Can beginners hike Acatenango?
Yes, beginners can hike Acatenango, but you should not underestimate it. The trail is not technically difficult, meaning you do not need climbing experience, but it is very physically demanding because of the steep incline, high altitude, cold weather, and the fact that you have to carry everything yourself.
If you are reasonably fit and comfortable hiking uphill for several hours, you should be able to complete it. However, if you rarely exercise or hike, I would recommend doing some preparation beforehand, especially training your legs and endurance.
Is the Acatenango hike worth it?
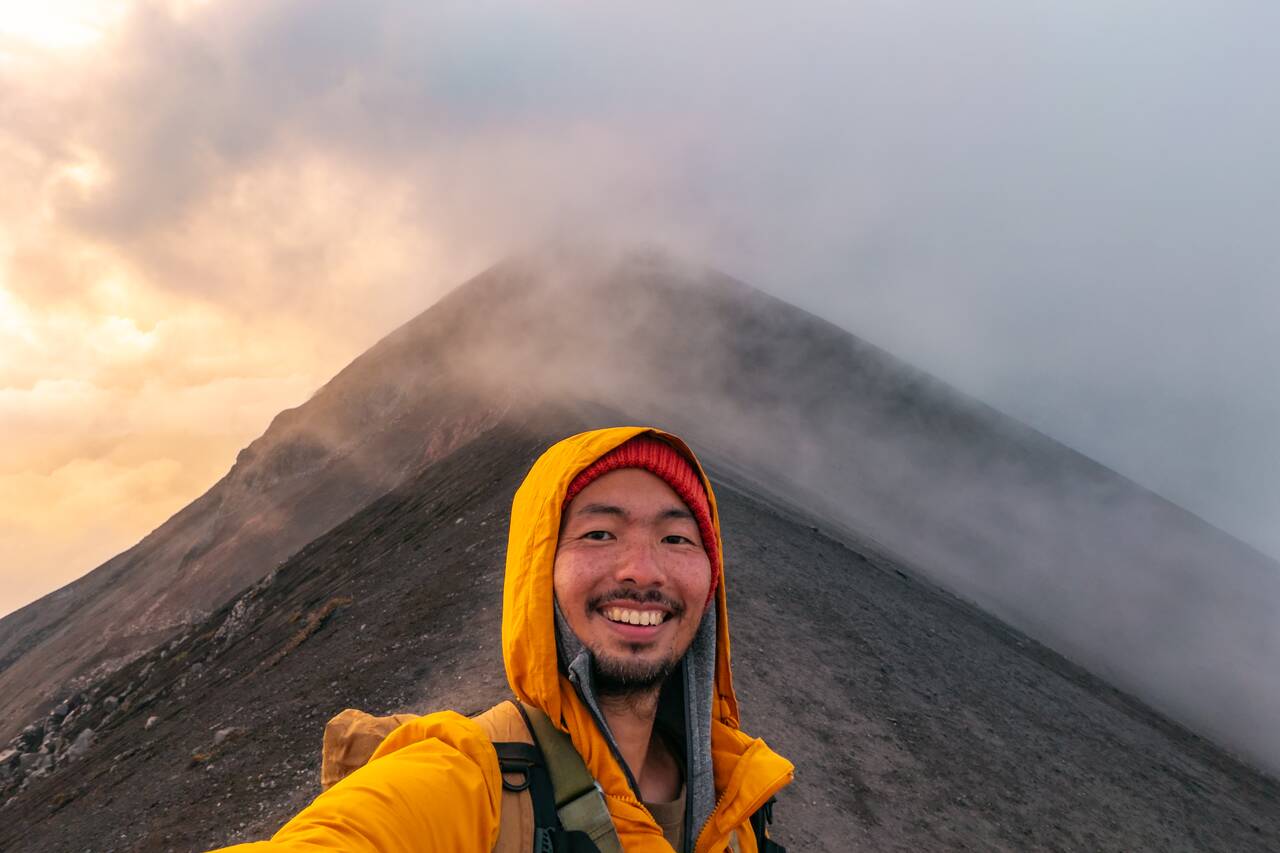
Absolutely. Acatenango is one of the most challenging hikes I have done, but it is also one of the most rewarding. The climb is tough, and there will be many moments where you question why you signed up for it, but the moment you stand in front of Fuego Volcano as it erupts into the night sky, all the pain becomes worth it.
Watching an active volcano erupt every 15–20 minutes while standing on a mountain ridge is an experience that is difficult to compare to anything else.
How far in advance should I book an Acatenango tour?
During popular periods like Semana Santa, tours can sell out months in advance, especially with the more reputable companies. I booked only about two weeks before arriving in Antigua and found that many of the well-known companies were already fully booked.
If you are visiting during peak season, I recommend booking as early as possible. Outside of busy periods, you will generally have more flexibility, but booking a few days ahead is still a good idea.
How cold does it get on Acatenango?
Much colder than most people expect. While Antigua is warm and comfortable, temperatures at the Acatenango campsite can drop significantly at night, and strong winds can make it feel even colder.
You will be sleeping almost 4,000 meters above sea level, so bring proper layers, including a fleece jacket, down jacket, gloves, beanie, and something to protect your neck from the wind.
Should I hike Fuego Volcano?
The Fuego hike is the highlight of the entire Acatenango experience, but it is also the most physically demanding and risky part. You should only attempt it if you still feel strong after reaching base camp.
The weather also plays a huge role. If conditions are cloudy or poor, you may not see the eruptions at all, which can be disappointing after such a difficult climb. Always understand the risks and make the decision based on your own condition and the advice of your guide.
Can I leave my luggage in Antigua while hiking Acatenango?
Yes. Most travelers leave their main luggage at their hotel or hostel in Antigua and bring only a small backpack with the essentials for the hike. Most accommodations in Antigua are used to guests doing the Acatenango trek and are generally happy to store your belongings for a night. Some tour companies can also hold your luggage for you during the hike, usually for an additional fee.
Do I need trekking poles for Acatenango?
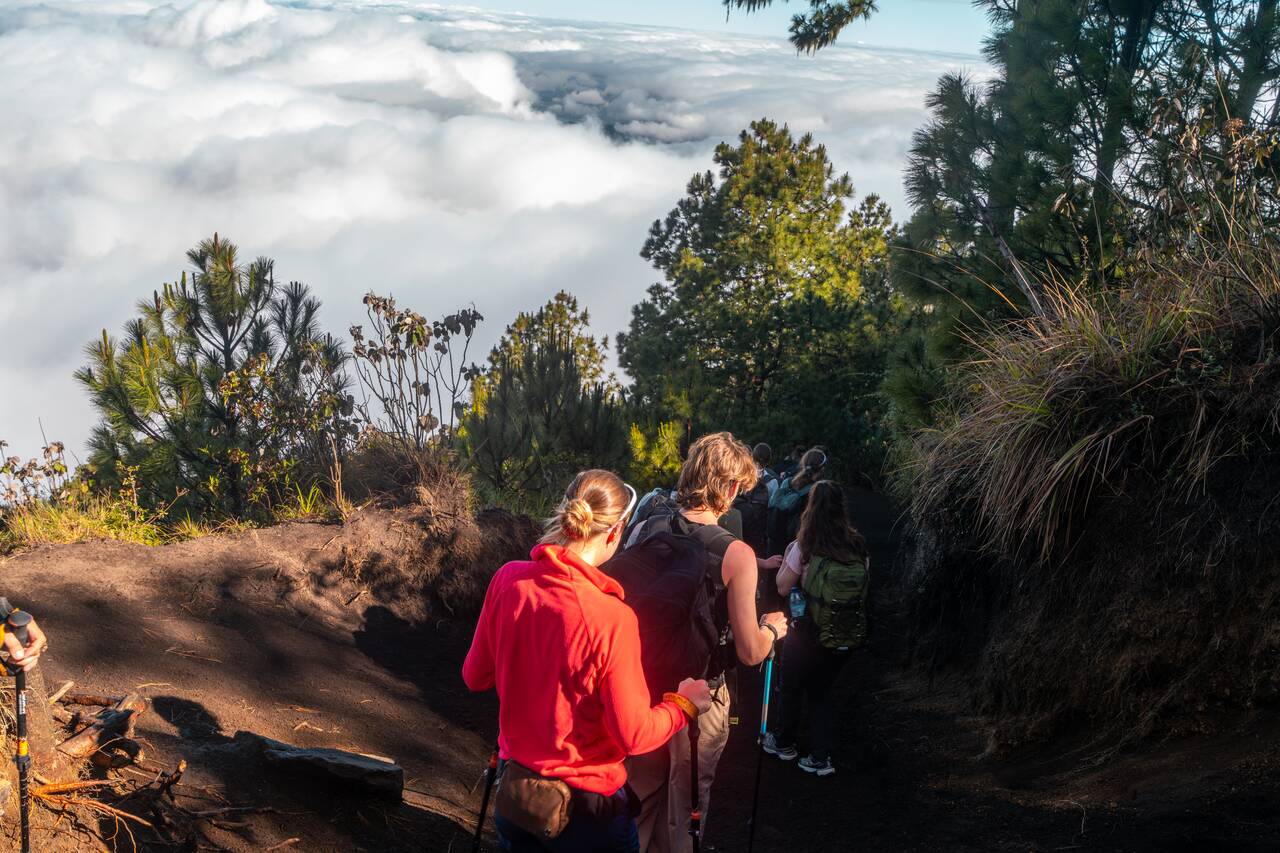
I highly recommend renting trekking poles. The trail is steep almost the entire way, and you will be carrying a heavy backpack with water, food, and warm layers. Trekking poles help reduce the strain on your knees, especially during the long climb and descent. I rented a pair for around 5 USD, and it was one of the best decisions I made during the entire hike.
Disclaimer: This post may contain affiliate links. See our disclosure policy.
First Published: