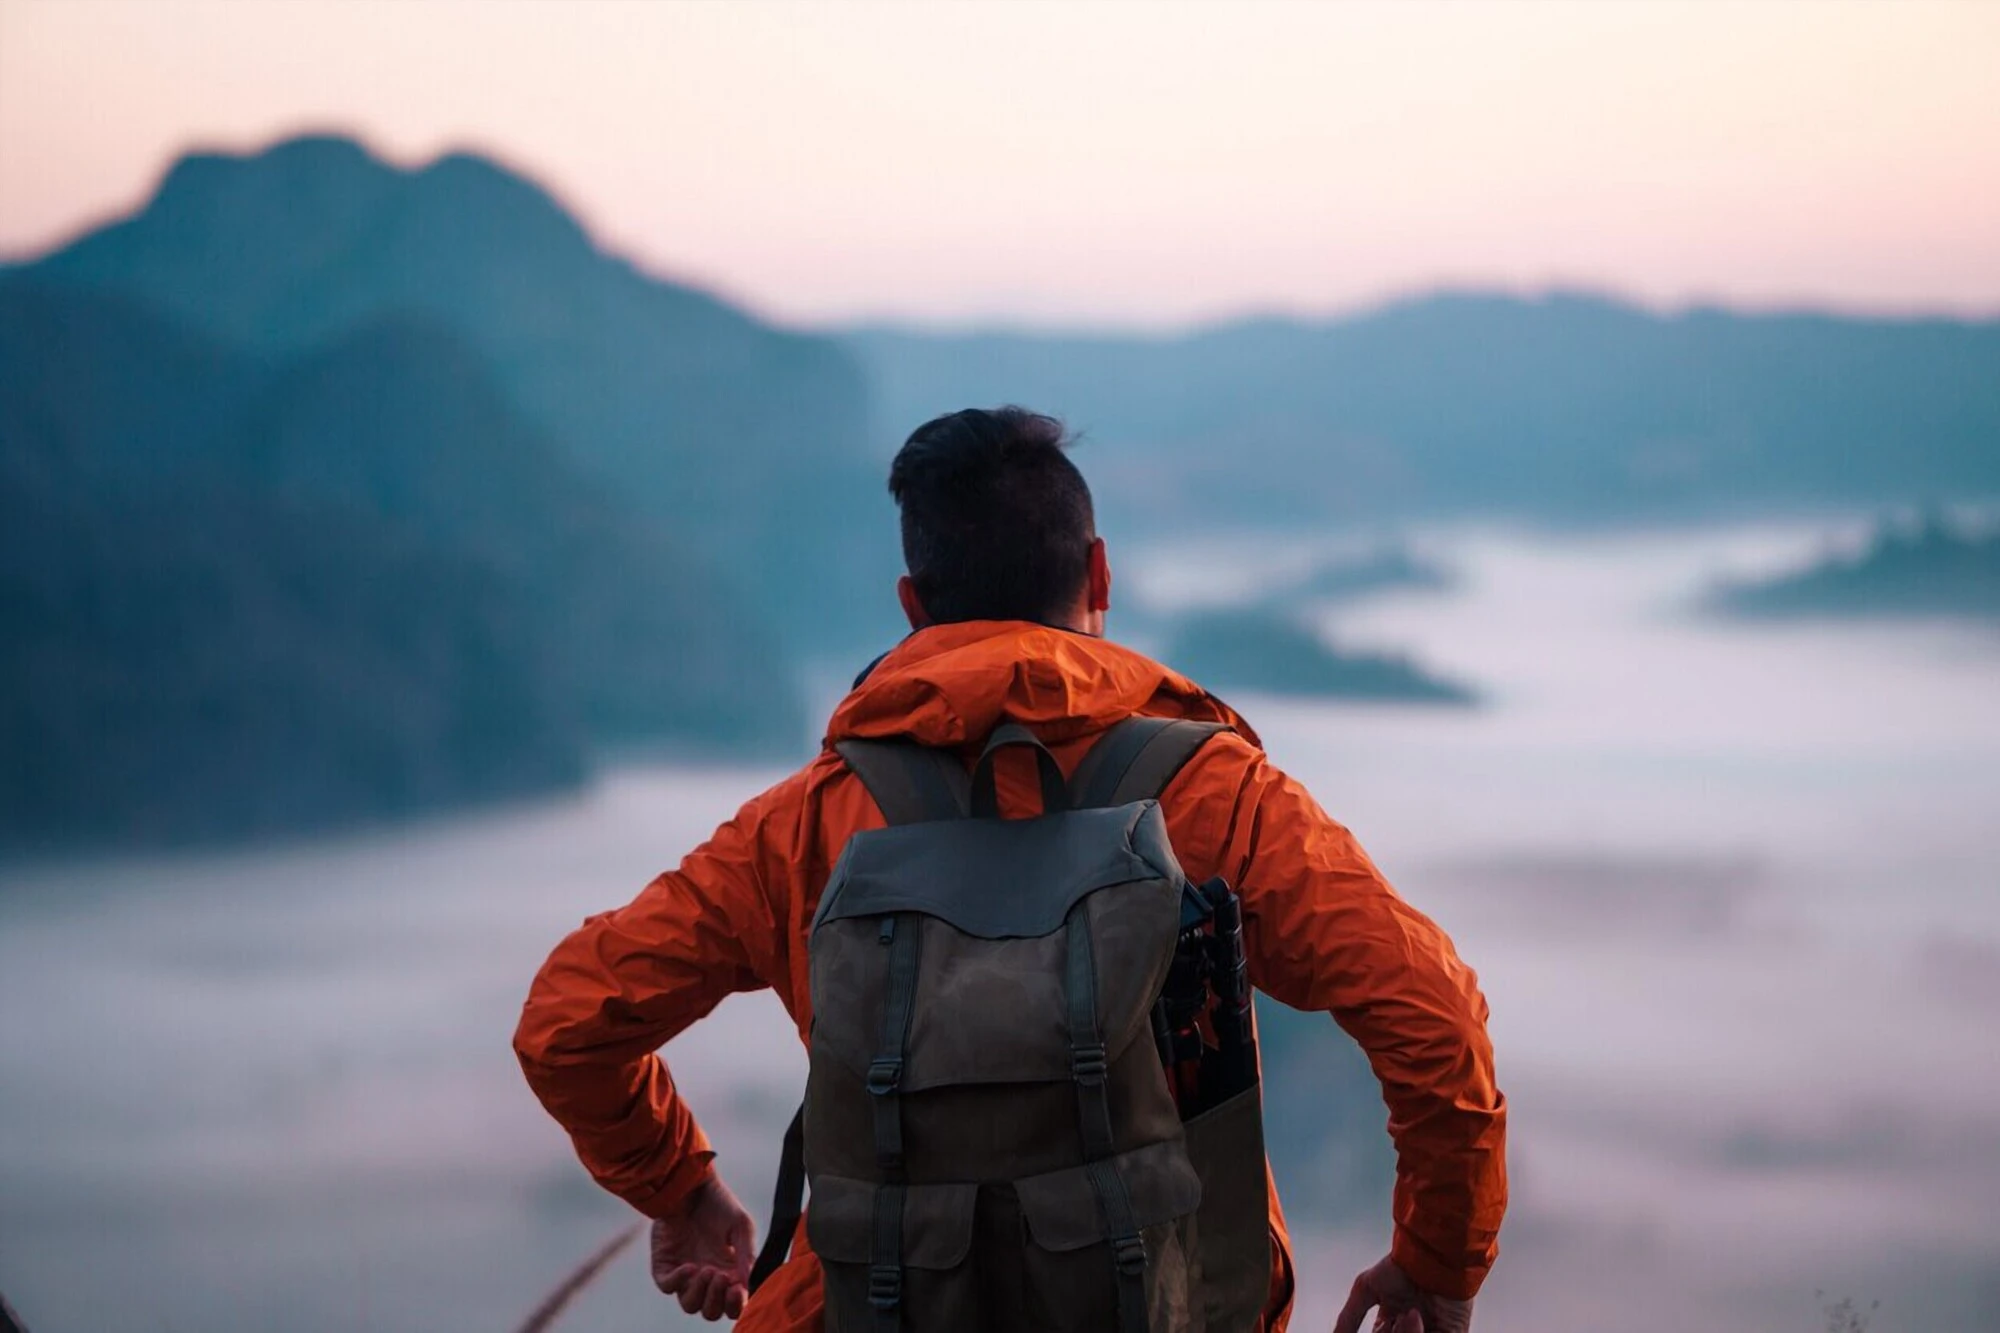
I have been traveling solo for 10+ years now, and the question I often get asked the most is how do I take such a good picture of myself while traveling solo.
A simple answer is through trials and errors, lots and lots of trials and errors. You can see the older photos I took in my old articles, and then you can compare them with the recent ones I took. I know, right? My old photos are terrible.
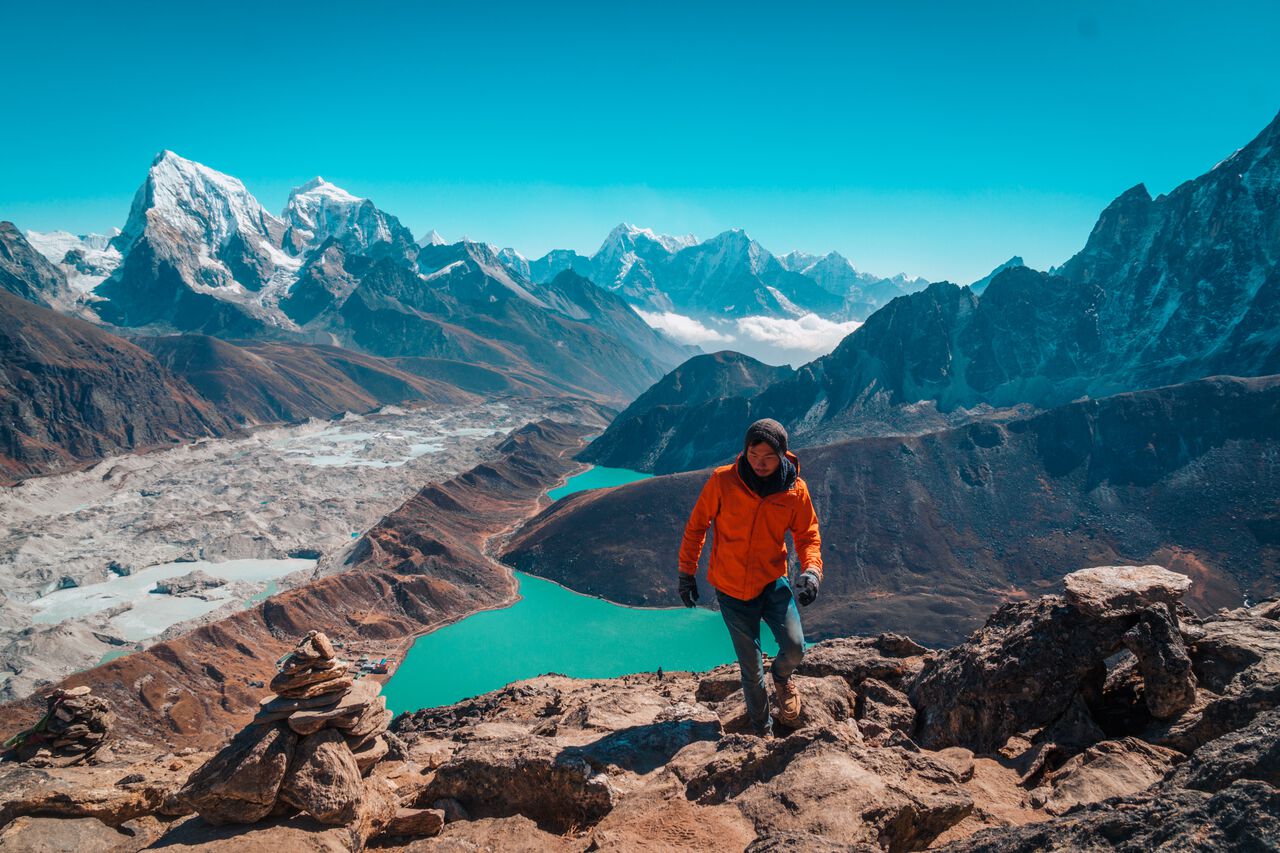
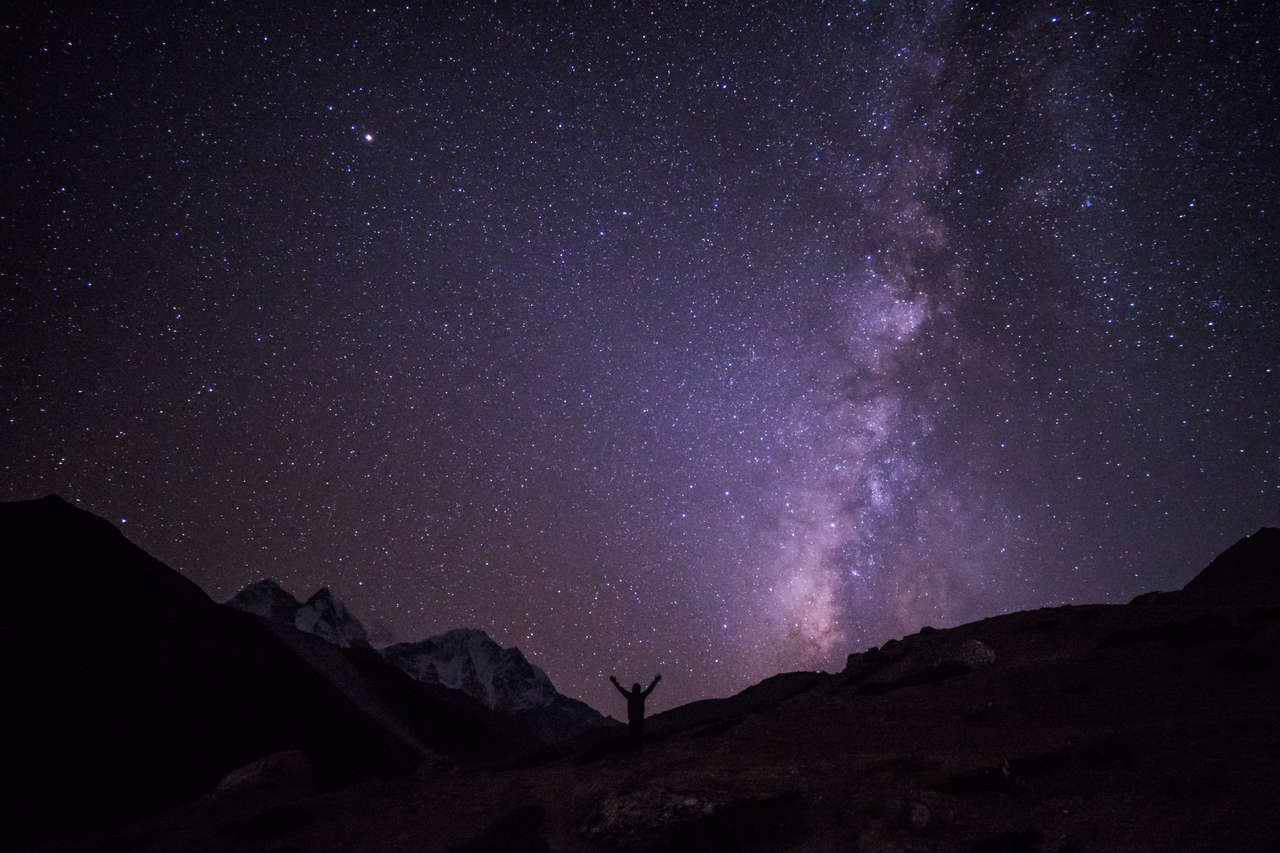
Well, for those of you who really want to know how I was able to get so many epic pictures of myself in places like the Himalayas, I have decided to share all the tips and tricks I learned from being on the road for 10+ years with a step-by-step guide on how to take those epic pictures of yourself.
If you are also using a Sony Mirrorless Camera (I am currently using the Sony a6500), I also have a few tips and tricks up my sleeve that I have never shared with anyone until now to help you utilize your camera to the fullest and make your camera work for you.
Without further ado, let's begin with a step-by-step guide on how to take good pictures of yourself when you are traveling solo.

10 Best Tips to Take Great Pictures of Yourself
1. Use A Tripod
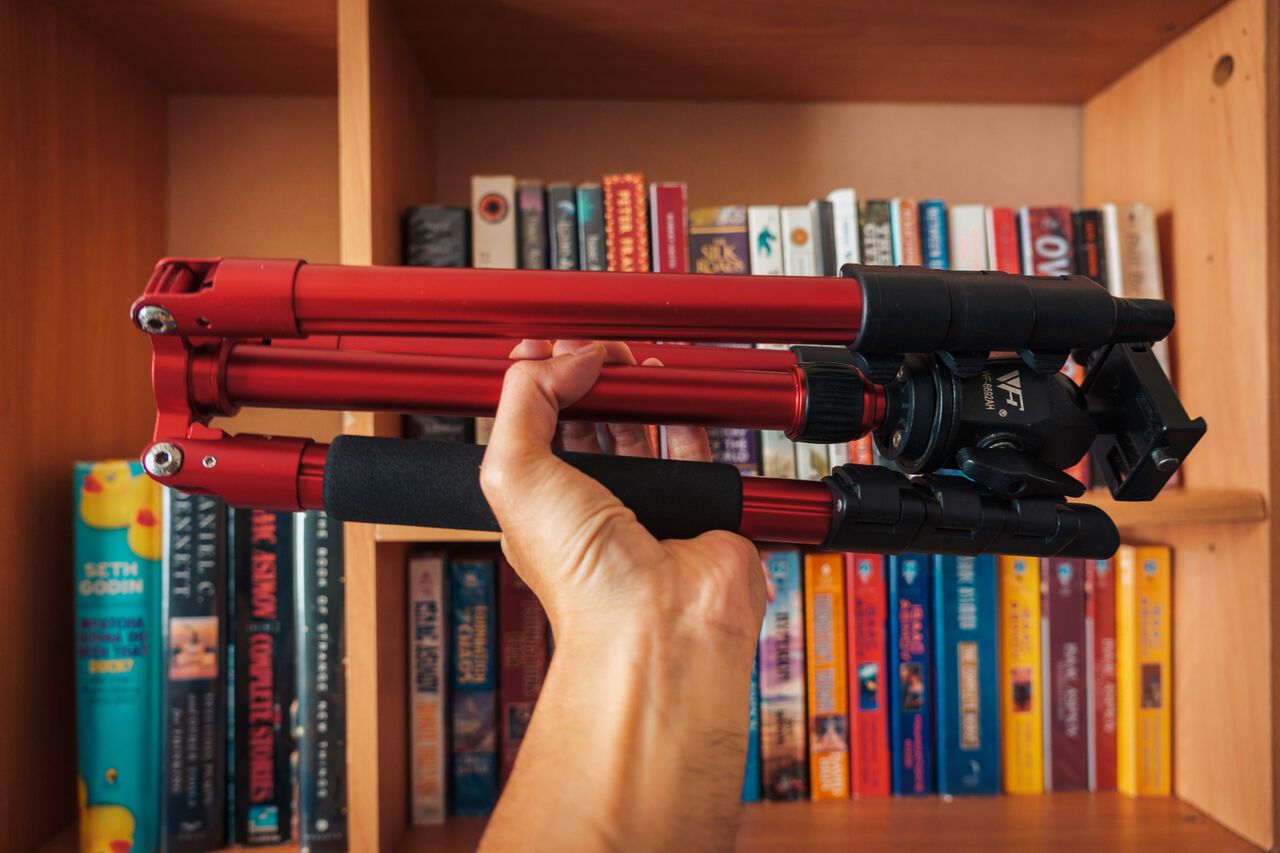
First and foremost, if you are going to take a good picture of yourself while traveling, buy a tripod. Do not trust other people to take good photos of you. You know best what kind of photos you want, and in order to do that, you will need your own tripod.
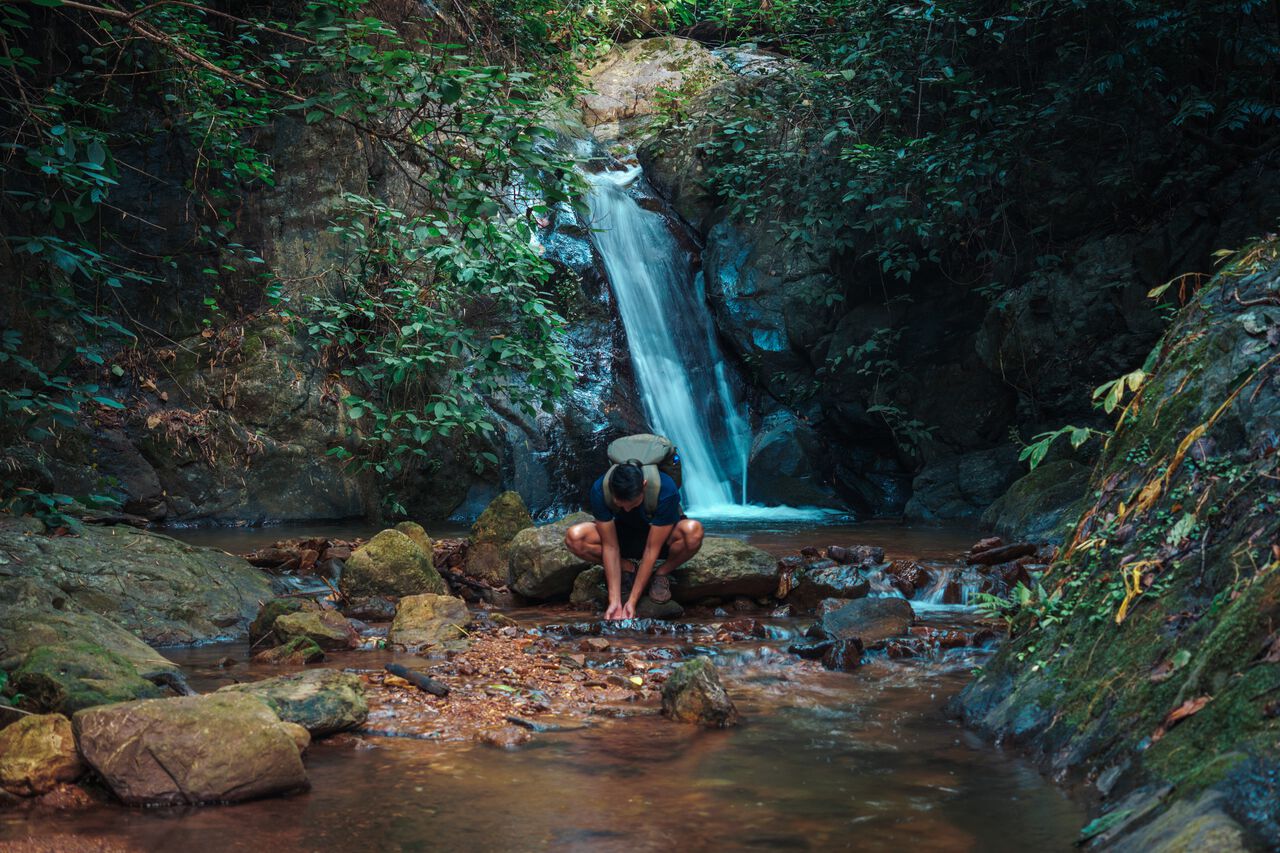
With a tripod, you can set it up anywhere you like, whether it's on a lush stream or on top of a mountain. This will allow you to set up the frame however you like.

Just make sure that you can secure the tripod with enough weight to keep it steady. The tripods I will be recommending below have a hook that will allow you to easily add weight to prevent them from falling due to strong winds. You can put your backpack on the hook or buy a pouch and put some rocks in it.
Now, a tripod is not light, and in order for you to be able to take good photos of yourself, you will have to carry it wherever you go, which is not ideal.
Fortunately, there are tripods for almost every type of situation you could imagine, and there are several lightweight options for you to choose from. Depending on the camera you are using, here are some of the tripods you can pick up for your travel:
- For smartphones: Manfrotto Compact Light Smart Tripod
- For Compact Cameras: Manfrotto Compact Light Aluminium Tripod
- For Mirrorless Cameras: Manfrotto Element Traveller Tripod, Small Tripod

2. Pick the Right Lens for the Job
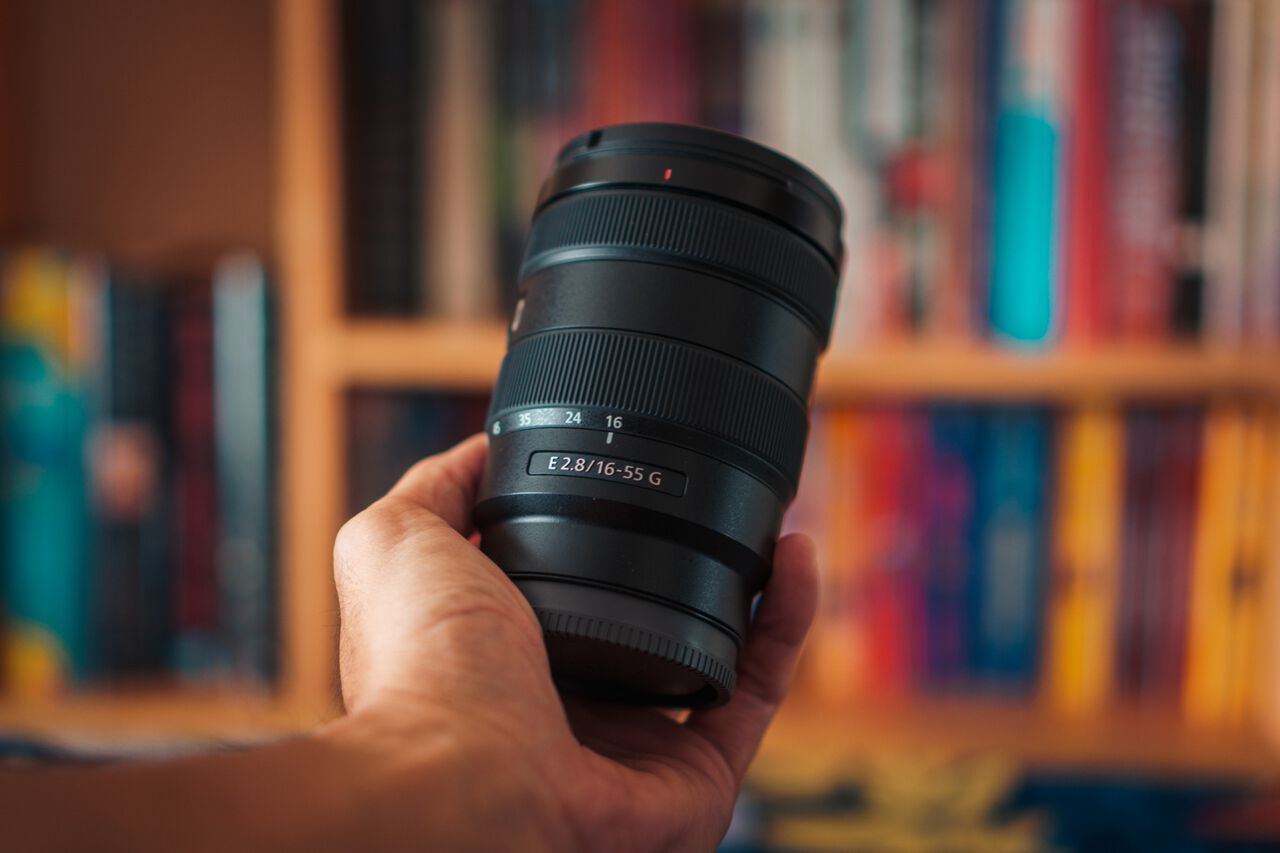
One of the most important factors contributing to how beautiful your pictures will turn out is the lens you use, so be sure to pick the right lens for the job.
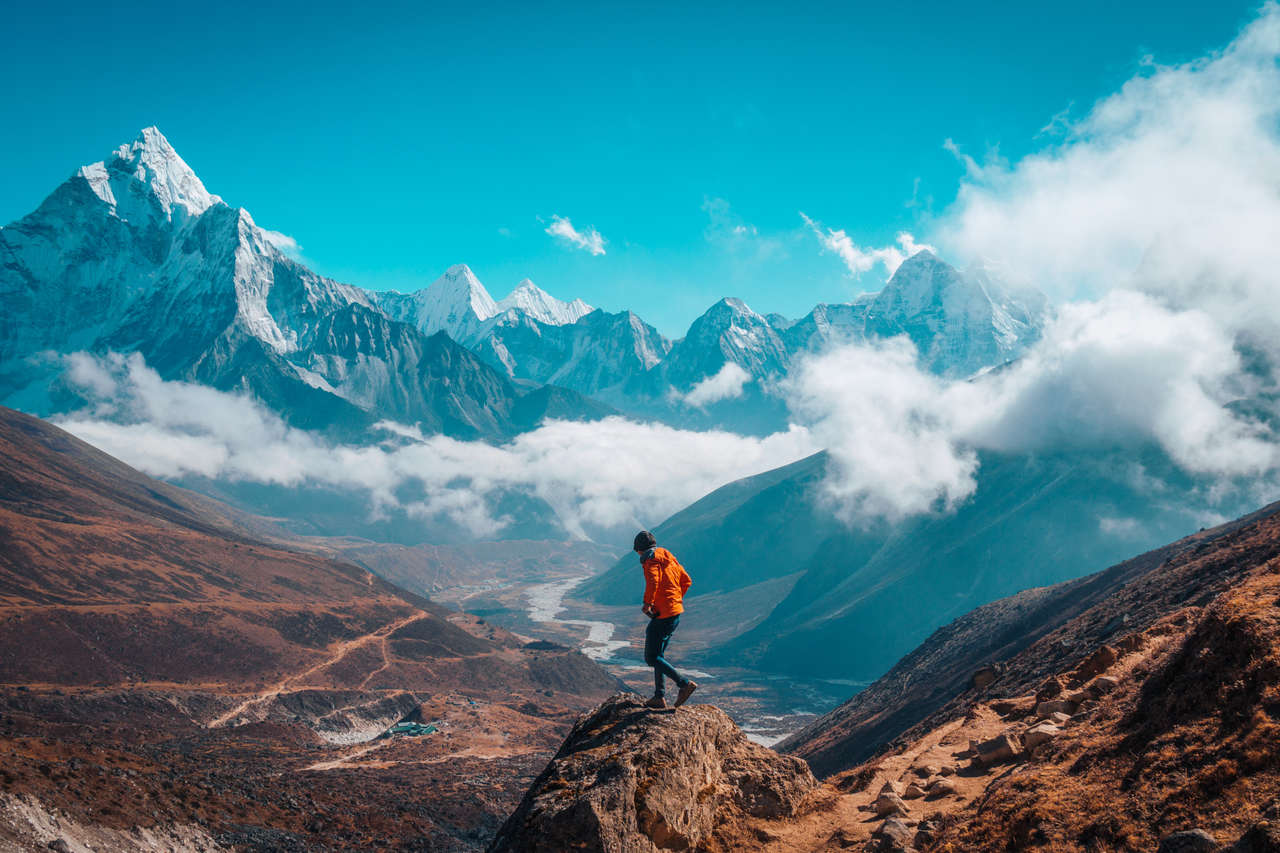
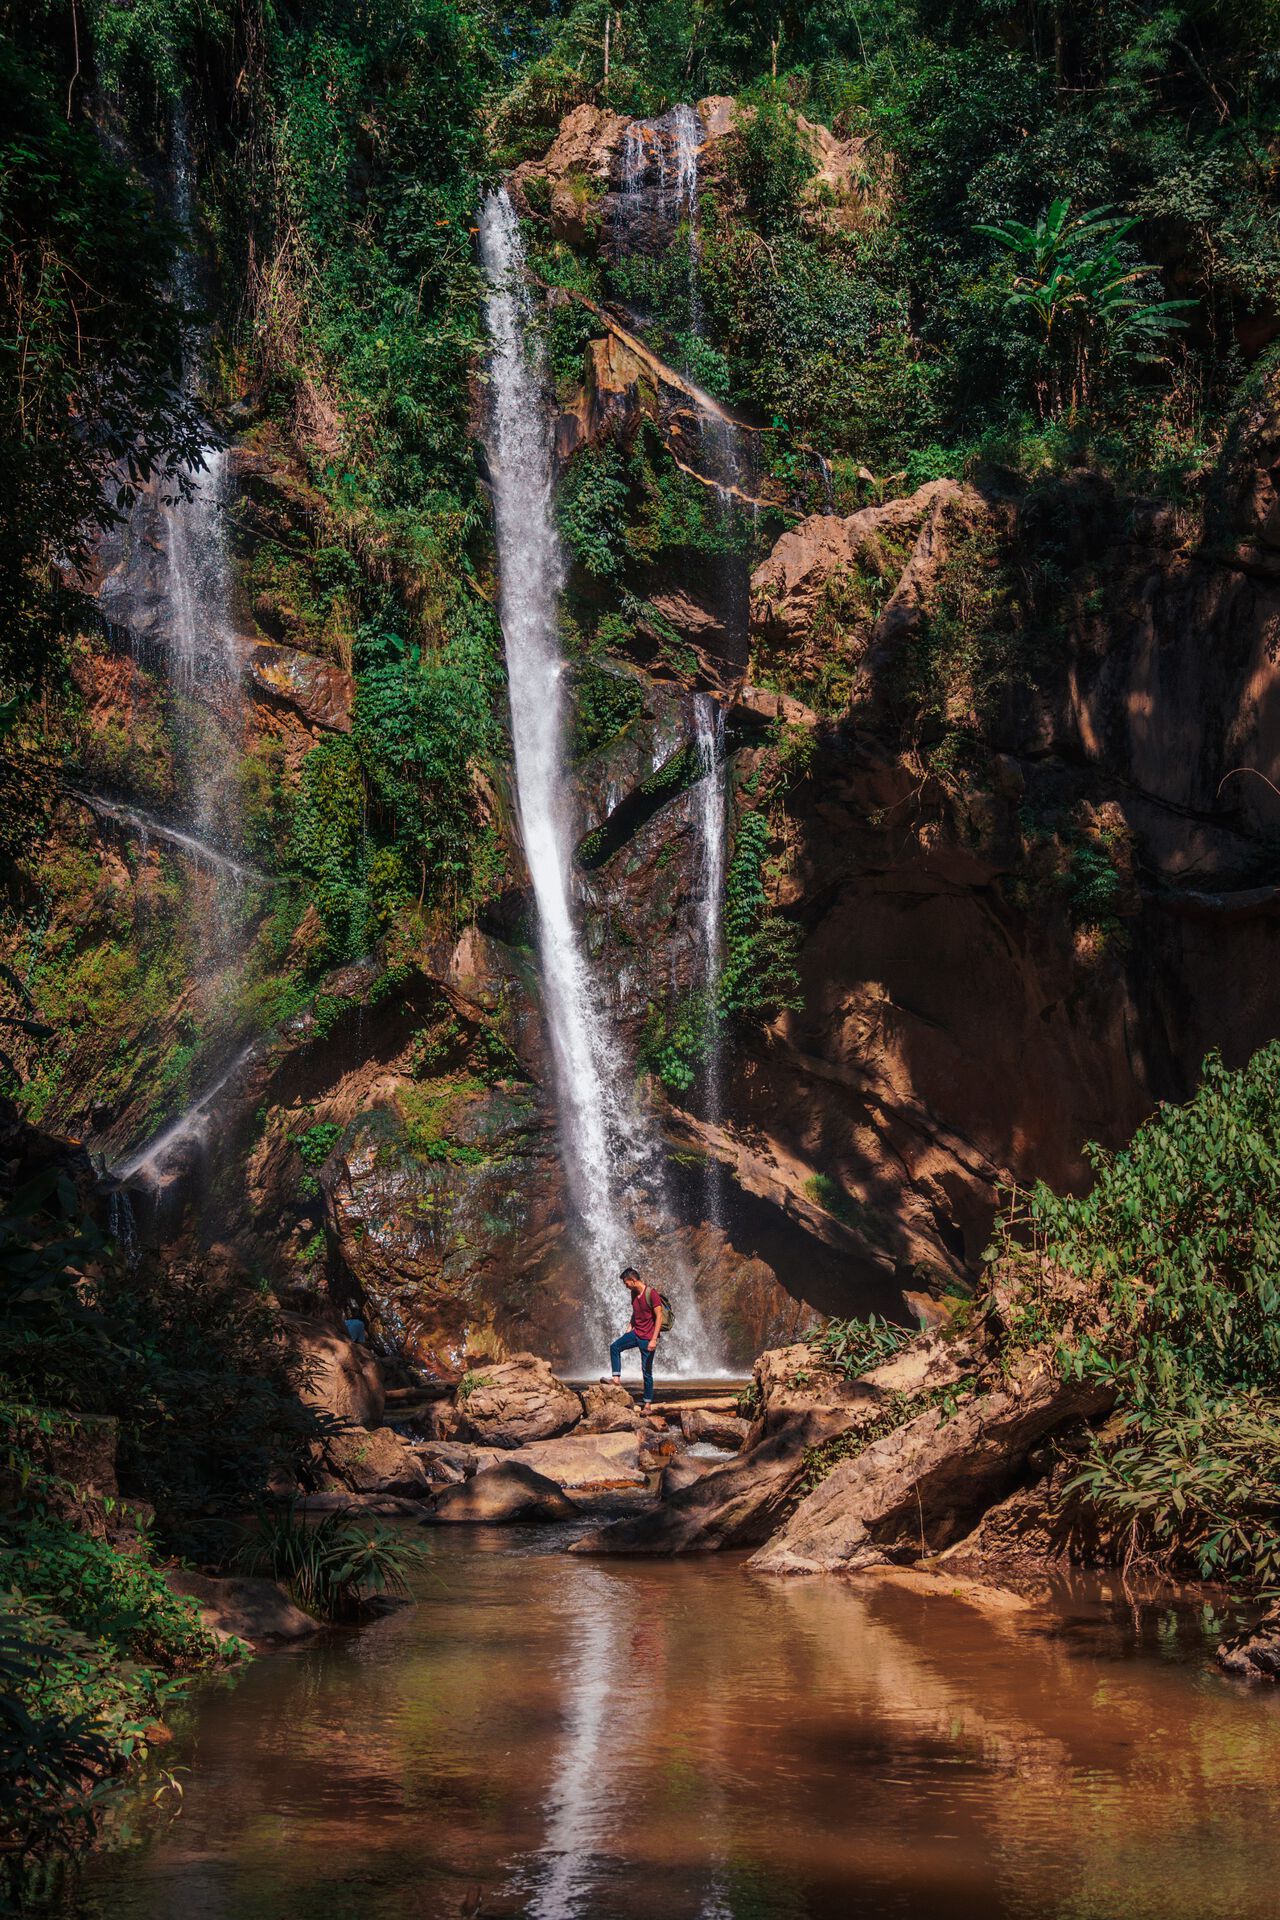
Personally, I found myself using a wide-angle zoom lens like the Sony 16-55mm F2.8 lens at 16mm most of the time because it is wide enough to capture both myself and the view in one frame.
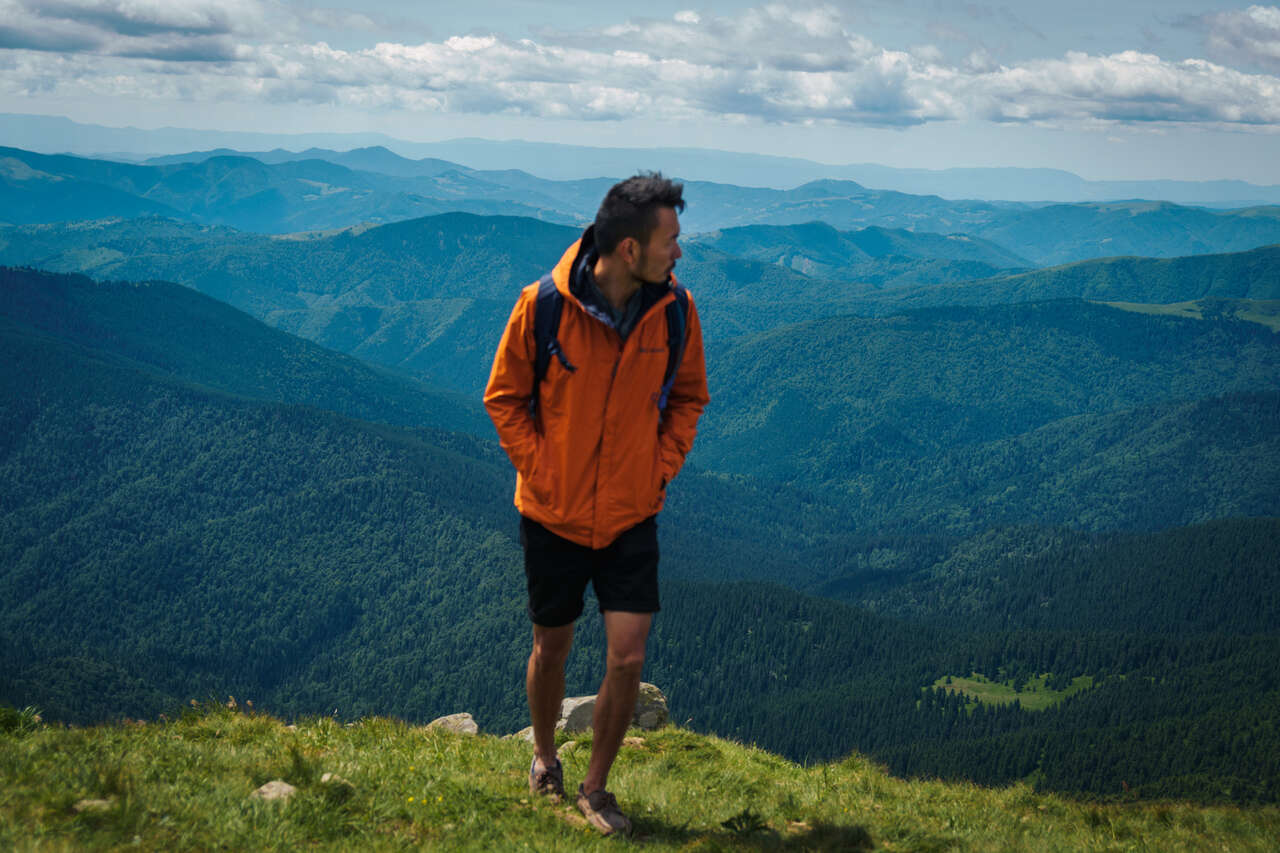
Occasionally, I will use a portrait lens to capture myself with stunning bokeh using the Sigma 56mm F1.4 lens on my Sony a6500 camera, which is hands down the best portrait lens for the Sony APS-C system.
All in all, make sure to pick the lens that works best for your situation before you do anything else, so that you can frame your shot correctly. Then, you can set up your gear and start taking pictures.

3. Frame Your Shot
Now that you have a tripod, it is time to find the perfect frame for your shot. The golden rule for composing your epic shot is to utilize the rule of thirds.
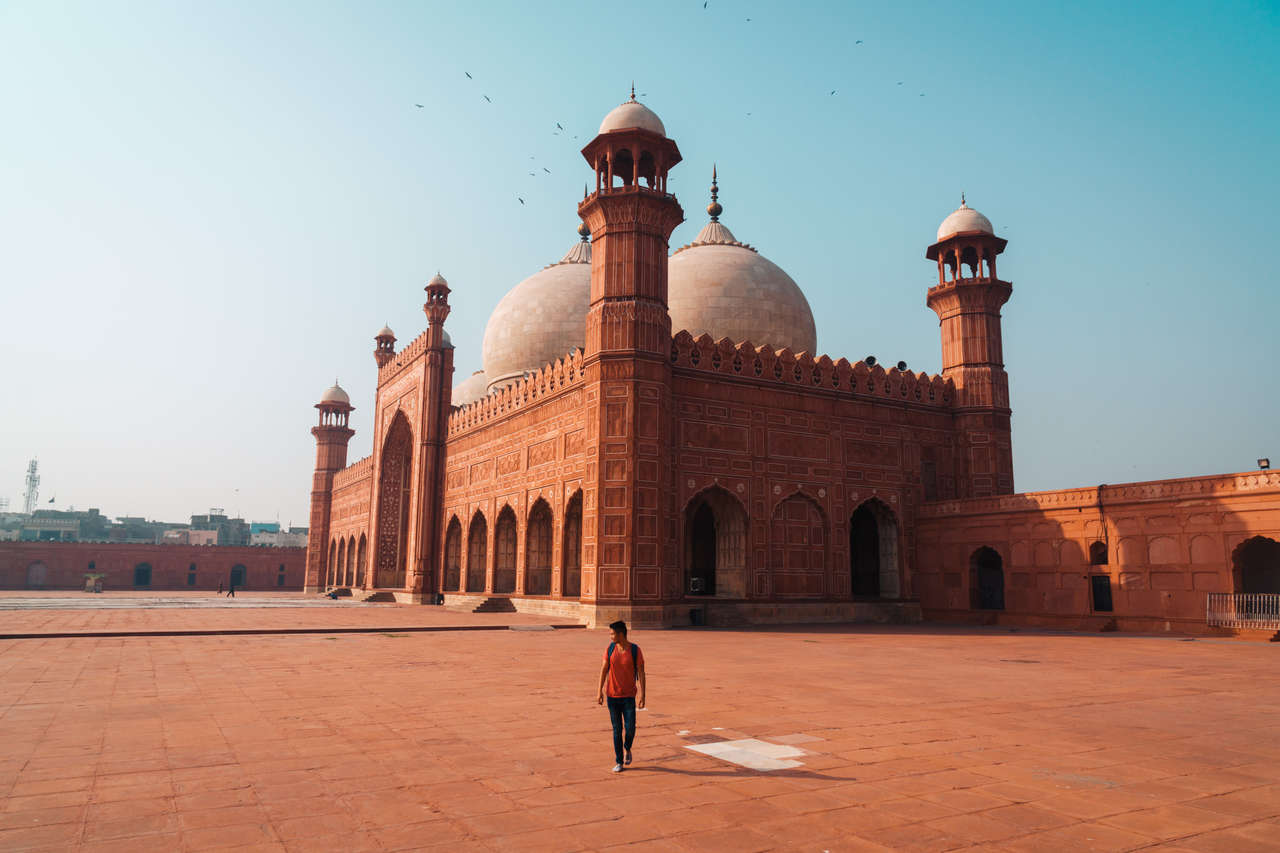
To use the rule of thirds in photography, you will first have to turn on the grid function on your camera and then align the point of interest, which is you, where the grid line crosses. This is the golden rule I often use when the place I want a photo with is not symmetrical.
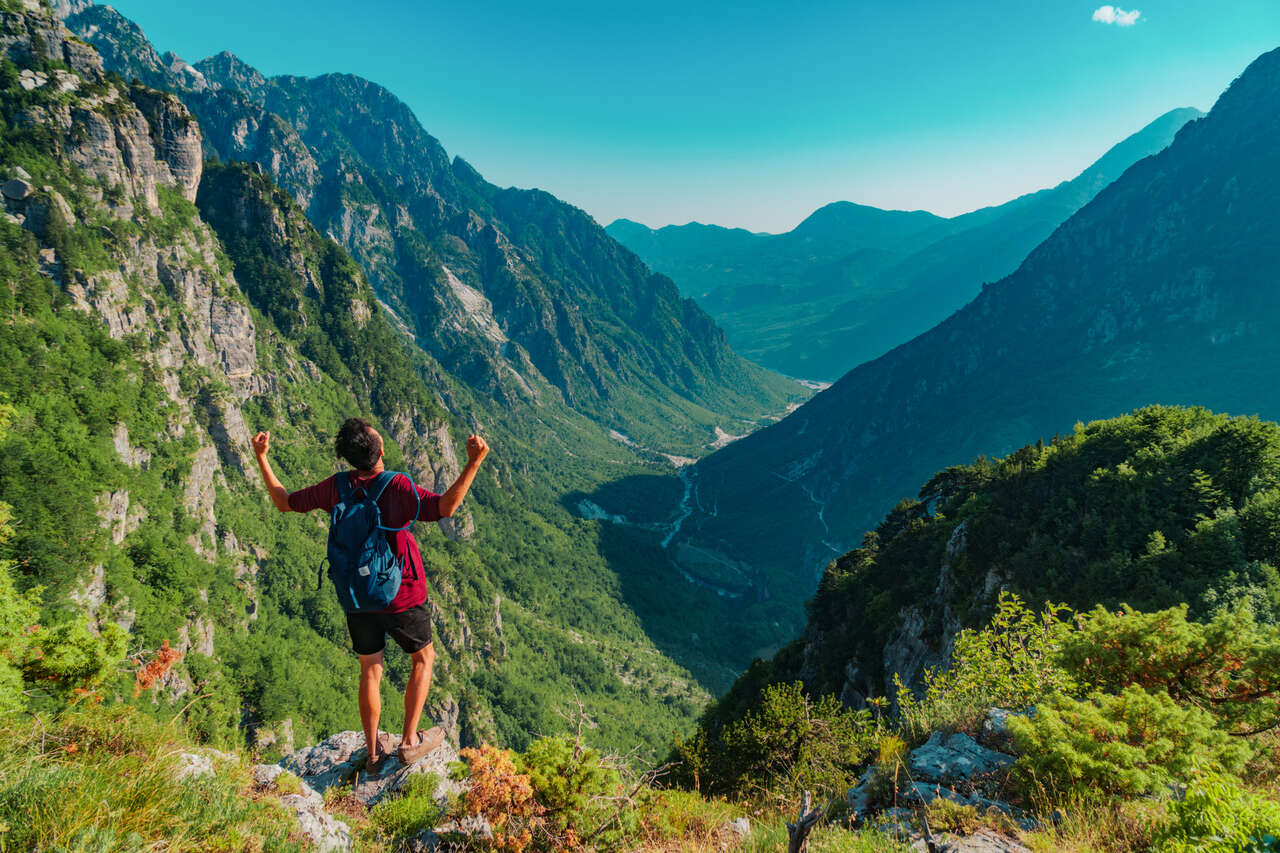
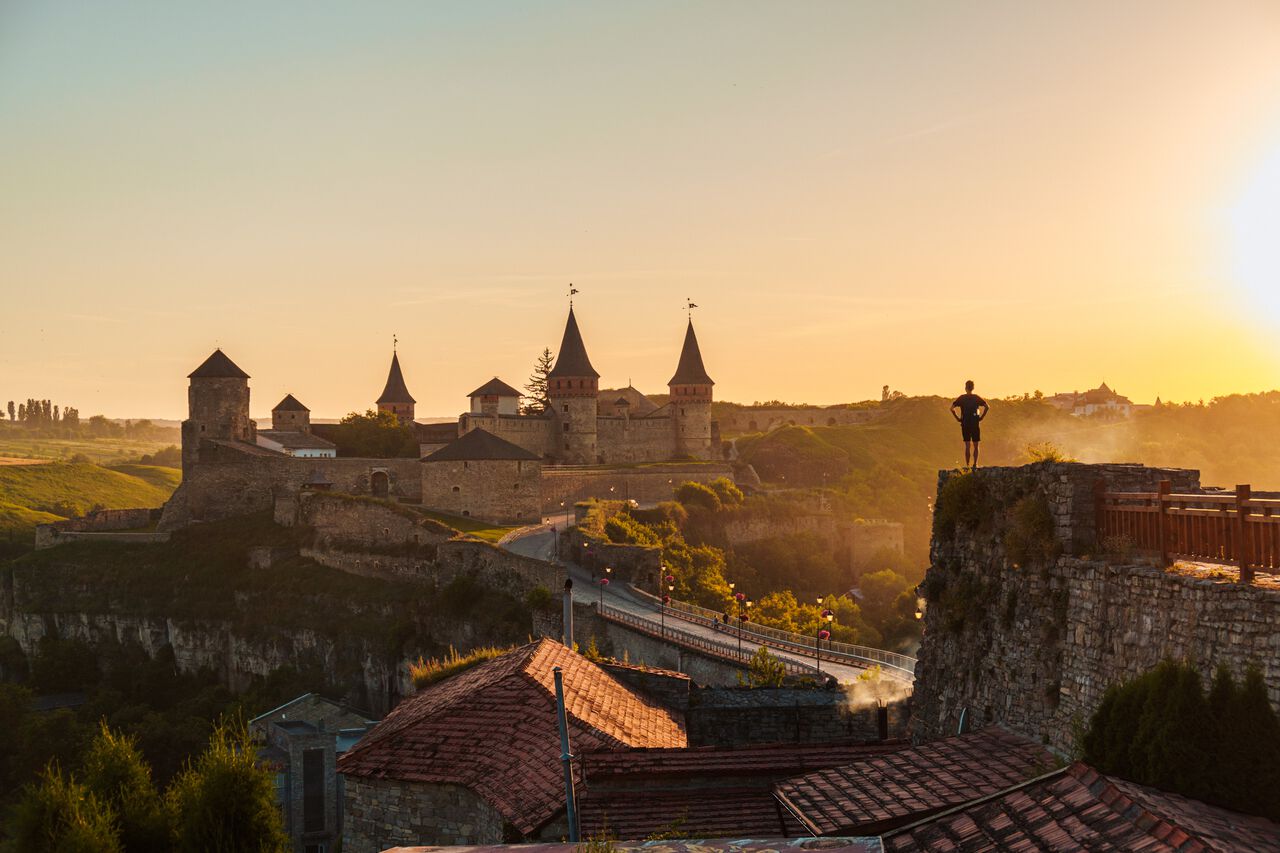
If the place you are taking photos of is symmetrical, such as a valley, then you can break the rule of thirds and center your point of interest instead.
As always, photography rules are sometimes meant to be broken when the situation arises. So, take a look around your surroundings, frame the shot you want, and utilize whichever technique that works well for the situation and the photo you want.

4. Find A Good Spot to Set Up Your Gear
Another question I often get asked after I tell people I use a tripod to take good pictures of myself is, "Aren't you scared that someone will steal your camera?"
The answer to that question is no, as long as I don't do it in a crowded place like Times Square, etc. Plus, a crowded place doesn't make for a good travel photo anyway, so if you are in that situation, you might as well just take a regular selfie and move on.
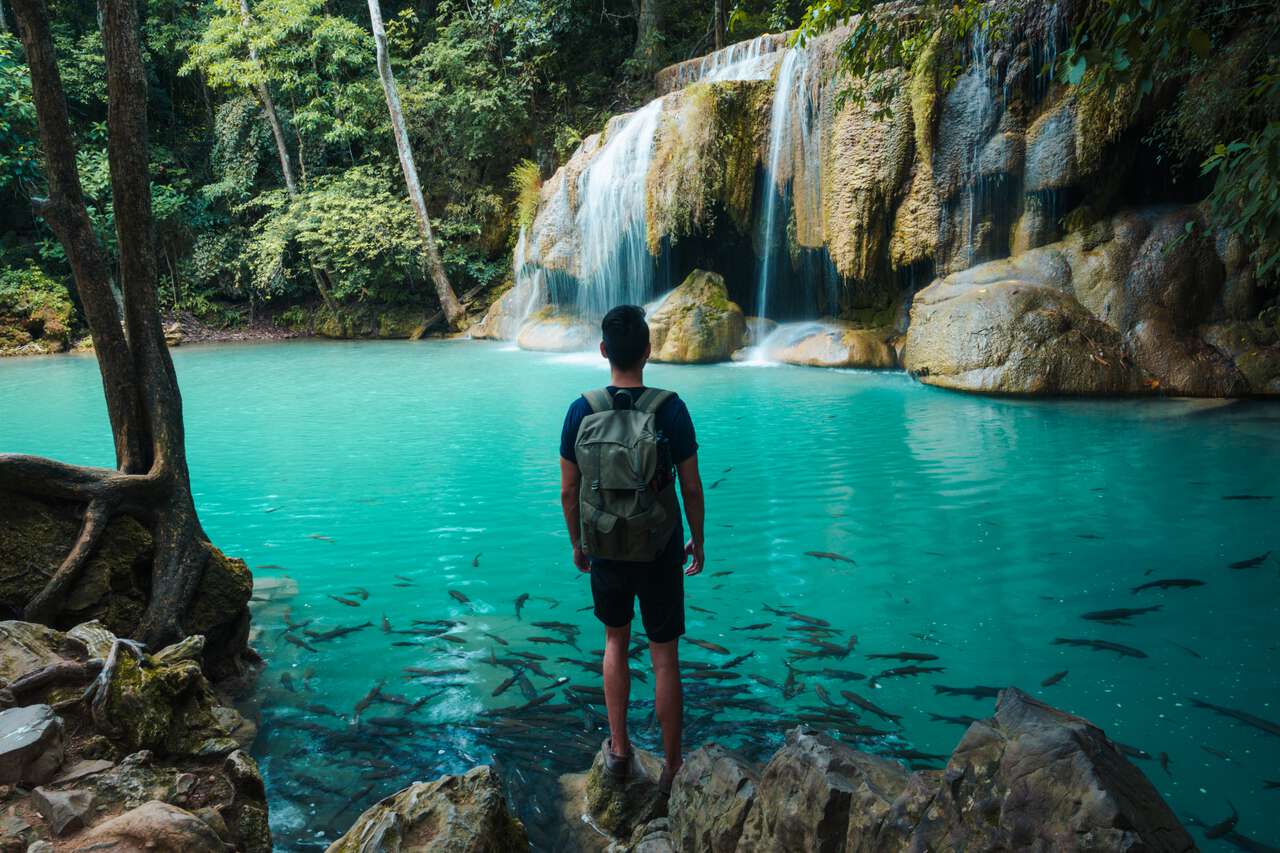
Now, if you are in nature, say, hiking in the Himalayas or at a remote waterfall in Southeast Asia where there is not a whole lot of foot traffic, then you should be able to easily find a spot to set up your gear for the perfect shot you want without having to worry that someone might snatch your camera.
Once you have found the desired frame and composition, look around for a safe spot to set up your tripod. Ensure that your tripod is firmly planted on the ground and stable enough to withstand strong gusts of wind before proceeding to the next step.
Add a counterweight to your tripod using the counterweight hook or arrange piles of rocks on the three tripod legs to keep it stable. Also, ensure that you fully extend your tripod legs, as this will help distribute the weight accurately.
5. Set Up a Timer and Take a Few Sample Shots
Once you have set up your gear, you can then prepare all the settings you want, set a timer (say, 5-10 seconds), and take a few sample shots to see if it works.
That way, you will be able to see how the photo will come out and allow you to adjust the frame and composition accordingly before shooting. This is also a good way to see if all the settings you have just made are correct.
No matter how long you have been taking photos, it all happens to the best of us. It happened to me even now, as I often forget to readjust my ISO or aperture, causing the photos to come out noisy and soft.
This is also a good time to check if you have enough space on your SD Card for the next step, as we will be shooting continuously and it can take up a lot of space before you get the perfect picture of yourself.
6. Use the Timelapse App to Shoot
Now comes the secret sauce to my epic picture of myself: shooting timelapse with an interval of 1-2 seconds instead of on a timer. Most cameras nowadays have a timelapse function that will allow you to set your camera to shoot a photo automatically at any given interval.
Use the feature, set it to 1 or 2 seconds depending on how far you will be in the picture, and hit the shutter button. Then, walk to the spot where you want yourself to be in the composition.
7. Change Pose Every Second
Once the timelapse is firing, walk slowly and naturally to the spot where you want to be in the composition and switch poses every second or so. This will allow the camera to capture all the poses that you think might work in the picture, as well as the poses you might not have thought of.
This is often the case for me. The picture of the poses that I thought would look great with the composition is often not the picture I ended up choosing.
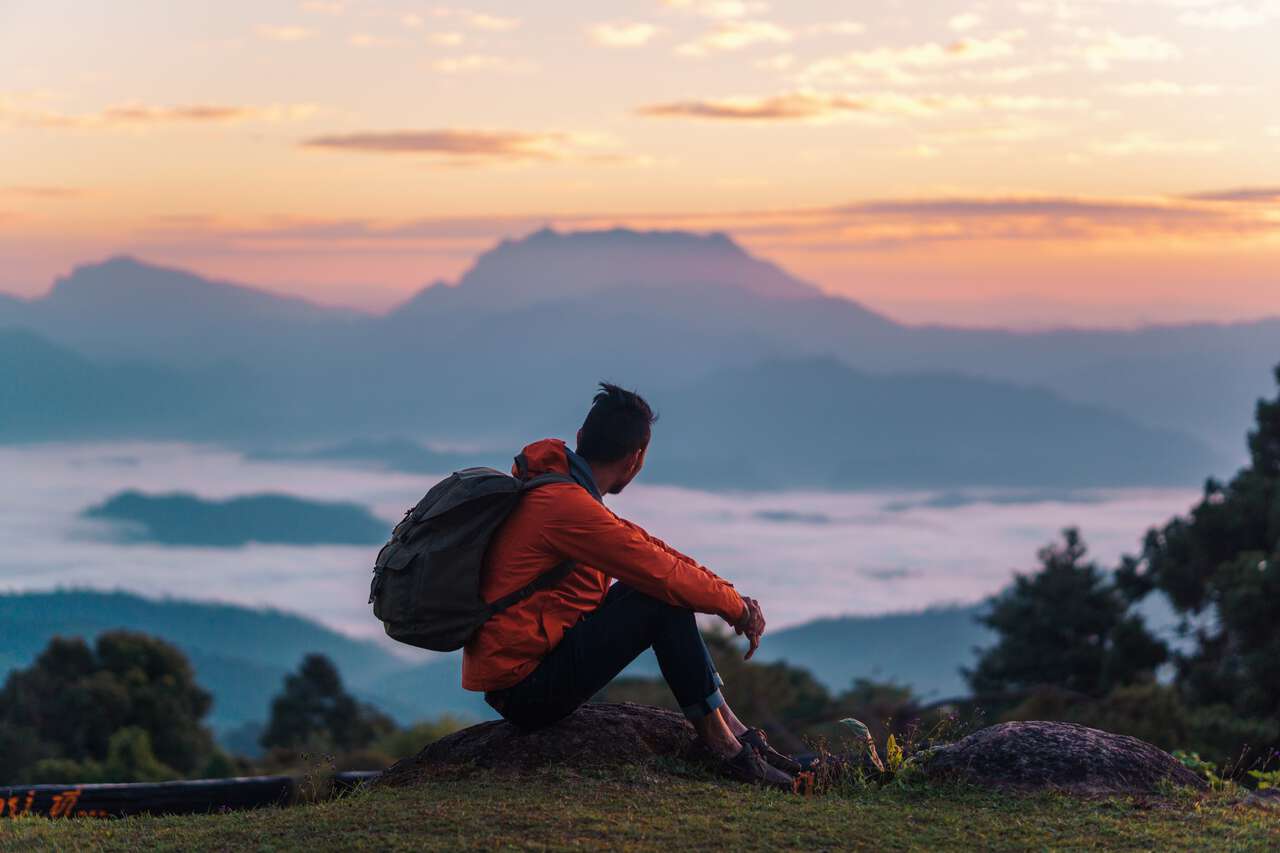
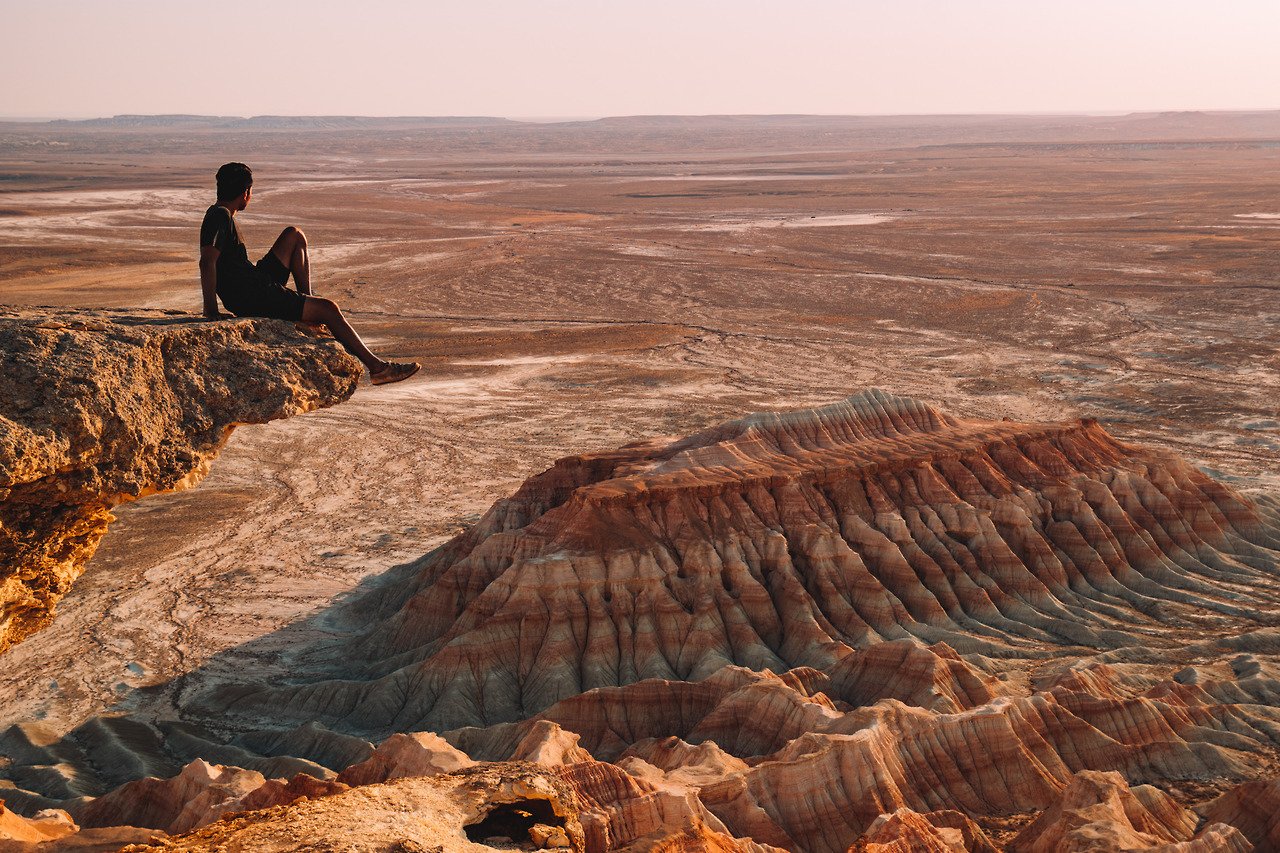
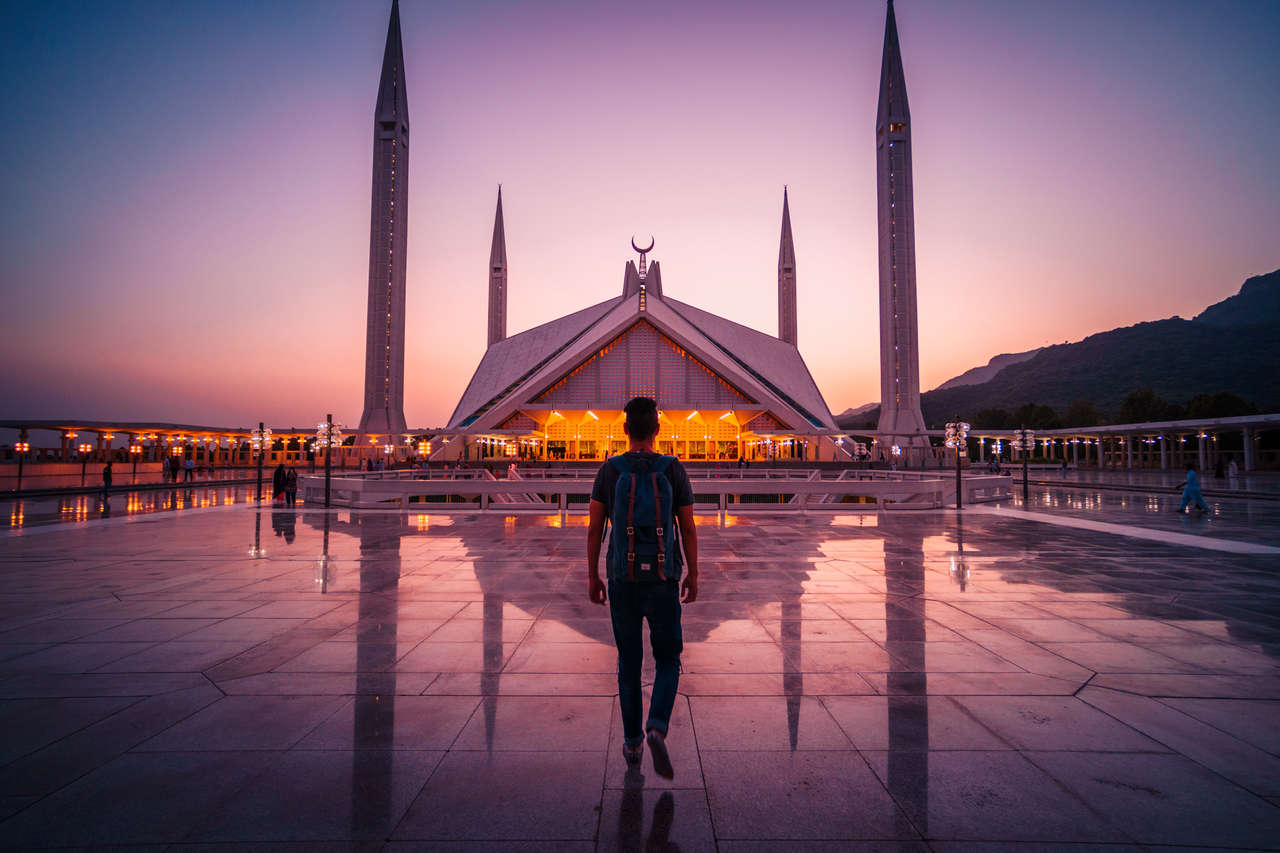
I often go for a more natural look, such as walking along the trail or sitting by the cliff, looking at the scenery. With the timelapse, the camera will be able to capture it all for you to choose from.
This way, you will have a higher chance of capturing the perfect picture of yourself that you desire in one go instead of having to try it several times. Just make sure to switch poses every second. Try turning back, sitting, smiling at the cameras, fun poses, etc., and then you can pick the best one later.

8. Pick the Best and Most Natural Pictures of Yourself
Have you ever wondered why when people pose in photos, they often look awkward and unnatural? Well, that is because they are trying way too hard.
When we pose, we are often too self-conscious about our looks that we end up looking unnatural and awkward. In my humble opinion, the best picture of ourselves is the picture that captures the most natural version of us, and that is what you will get if you use the timelapse function.
With the timelapse function, you will be able to capture almost every movement you make when you pose, and I guarantee you that one of those pictures will be the perfect picture of you in the most natural pose and in the best condition.
Pick one picture or several where it looks like you are interacting with the location, and you look amazing doing it. Then, we can start editing these photos.
9. Edit Your Photos
To get the best out of your photos, I highly recommend editing them with photo-editing apps like Adobe Lightroom CC, where you will be able to adjust the lighting and help emphasize yourself as the point of interest in the picture.
Adobe Lightroom is available on PC and Mac as a paid app and Android and iPhone as a free app, so make sure to download it and start editing your photos.
To help emphasize yourself as the point of interest in your pictures, you can use the airbrush to brighten yourself up with Adobe Lightroom Classic. If you are on mobile, you can use a combination of white balance, clarity, and shadow tools to adjust the lighting and bring yourself out from the rest of the composition.
Tips: If you are looking for a fast way to edit photos on Adobe Lightroom, you may be happy to know that I have released my ultimate collection of Lightroom presets that allow me to turn any photos into pro-grade travel photos you see here on this blog with just one click.
If you are interested in supporting me and buying the Lightroom Presets, you can check out my Travel Lightroom Presets page here. We also offer a free Lightroom preset, so make sure to check that out too.

10. Share Your Work
Now, once you are done editing photos, make sure to share them with the rest of the world on Instagram. If you do share your awesome picture of yourself using this technique, be sure to use the #BucketListly hashtag on Instagram to tag me, and I'll take a look 😉.
Tips for Taking Epic Selfies With Your Sony Mirrorless Cameras
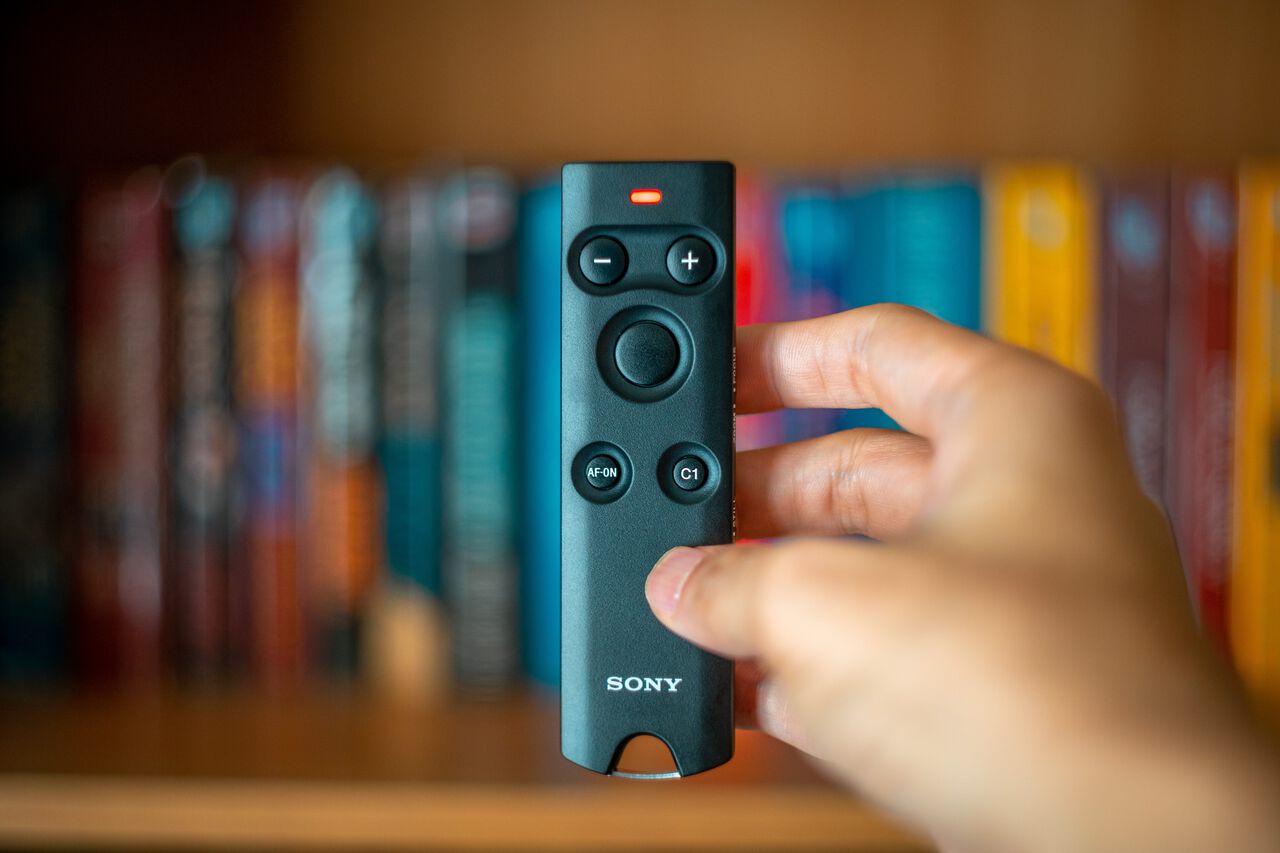
If you are currently using a more recent Sony mirrorless camera like the Sony a7C, a7IV, or newer, you can use the Sony Bluetooth Remote Commander to easily take a photo of yourself from afar.
Once the Bluetooth is paired, it is very convenient to take photos of yourself. All you have to do is set your camera on a tripod, turn on the camera, pick up the remote, and the remote should auto-connect and allow you to shoot photos instantly.
The Sony Remote Commander is extremely well-built and much more reliable than any other third-party Bluetooth remote controls out there. It's definitely more reliable than the JJC Remote Control that died on me after less than a year. If you are looking for a long-lasting product, you are better off investing more money in the Sony one instead, believe me.
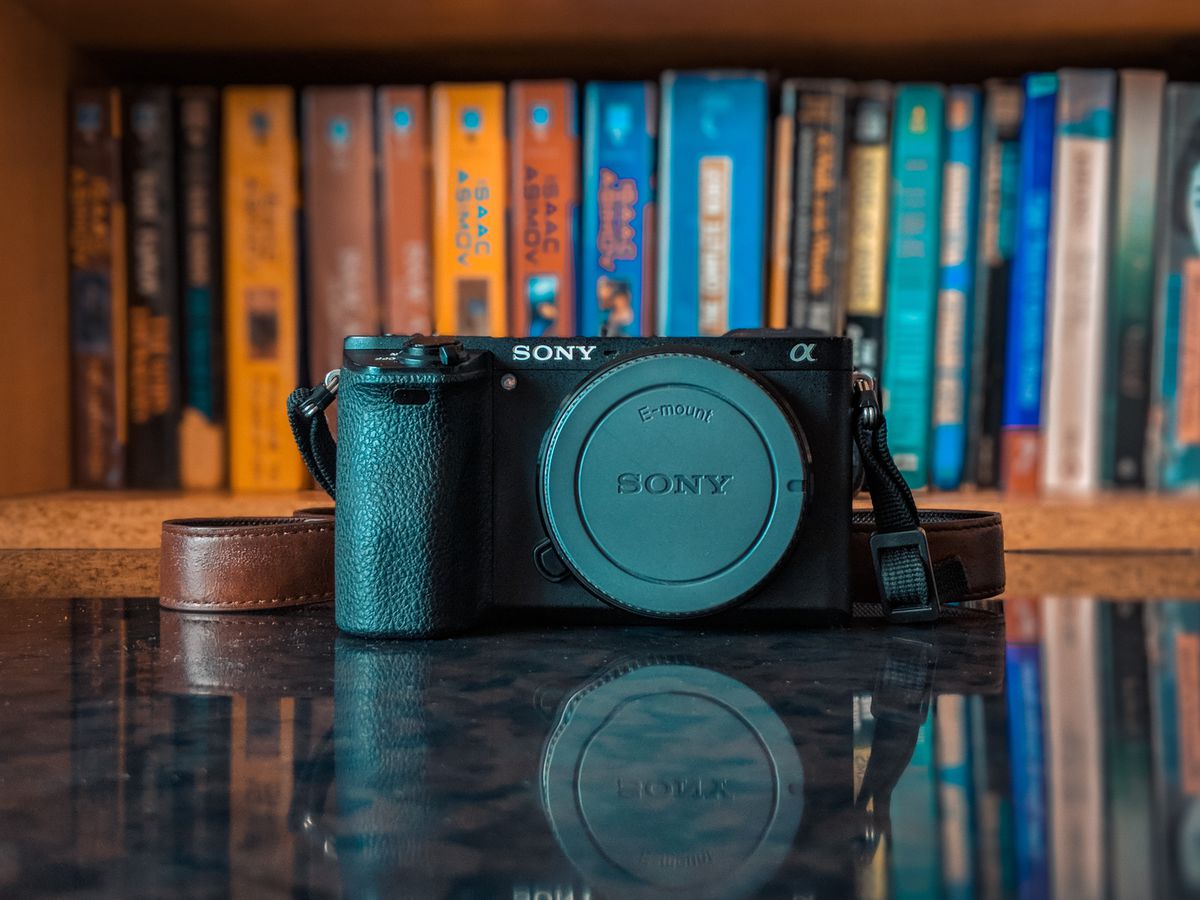
If you are using an older Sony Mirrorless Camera such as the Sony a6000, a6300, and a6500, there are ways to help improve our quality of life when we want to take photos of ourselves.
Here are some tips that have changed the way I take photos of myself with these cameras, and hopefully, they will help you as well. Be warned, some of the steps are a little hacky, so follow them at your own risk. In my opinion, it was definitely worth the hack.
1. Install OpenMemories Framework to Your Camera
One of the gripes I have with the older Sony mirrorless cameras is that they don't come with their own timelapse feature out of the box. You can buy it on their PlayMemories Store for about $15, which is rather ridiculous.
Thankfully, I found a free and better way to add the Timelapse feature to your Sony Mirrorless Camera, but you will need a computer and a cable to connect your camera to your computer with.
First and foremost, you will have to install the OpenMemories Framework to unlock your Sony mirrorless cameras and release the tight grip Sony has on the system, allowing you to install third-party apps.
In order to install OpenMemories Framework on your camera, make sure that your camera is updated to the latest firmware and you have PlayMemories Camera Apps Downloader (Sony-PMCA) installed on your PC or Mac, following these instructions.
Once you are done, you can launch the Sony-PMCA app and then follow the simple instructions provided in the program to install the OpenMemories Framework and other third-party apps on your Sony Camera.

2. Install TimeLapse App by jonasjuffinger
Once you have successfully installed OpenMemories Framework, you can then install the free Timelapse app by jonasjuffinger, which I highly recommend over Sony's own Timelapse app.
For one, this Timelapse app by jonasjuffinger is bare bones with only the necessary features available, making the app extremely light on the camera. This will help with the load time and battery life. In my personal experience with the Timelapse app, I found that it opens much faster than the Sony-owned Timelapse app and consumes significantly less battery.
Not to mention, this Timelapse app functions the same way as when you take photos normally, where the autofocus will readjust before every picture being taken, allowing you to move around the frame without losing focus.
This is not possible with Sony's Timelapse app (for a $15 app, I expected more), and it is one of the main reasons why I decided to switch over to the TimeLapse App by jonasjuffinger.
Again, this is a rather hacky way to do it, so proceed at your own risk. However, I found it to be beneficial and worthy of the risk. If you are already proficient with computers, you should have no trouble installing it.
3. Change the Focus Mode to Wide
With the new Timelapse app by jonasjuffinger, the autofocus will now work while shooting timelapse. And, in order to make sure that the camera can pick you up when you move around, make sure to set up the focus mode of your Sony mirrorless camera to wide.
This way, the camera will be able to find you in the frame and automatically focus on you as you move around. This should allow you to keep your picture sharp as well as maintain the bokeh of the picture.
Extra: Use My Lightroom Presets to Make Your Travel Photos Pop
Since I shoot with a Sony mirrorless camera, my Lightroom presets will work best on a photo produced with a Sony mirrorless camera. So, if you are using one of the Sony mirrorless cameras yourself and are looking for a way to edit your travel photos quickly and efficiently with Lightroom, be sure to check out my Travel Preset Collections.

Disclosure: This post may contain affiliate links.