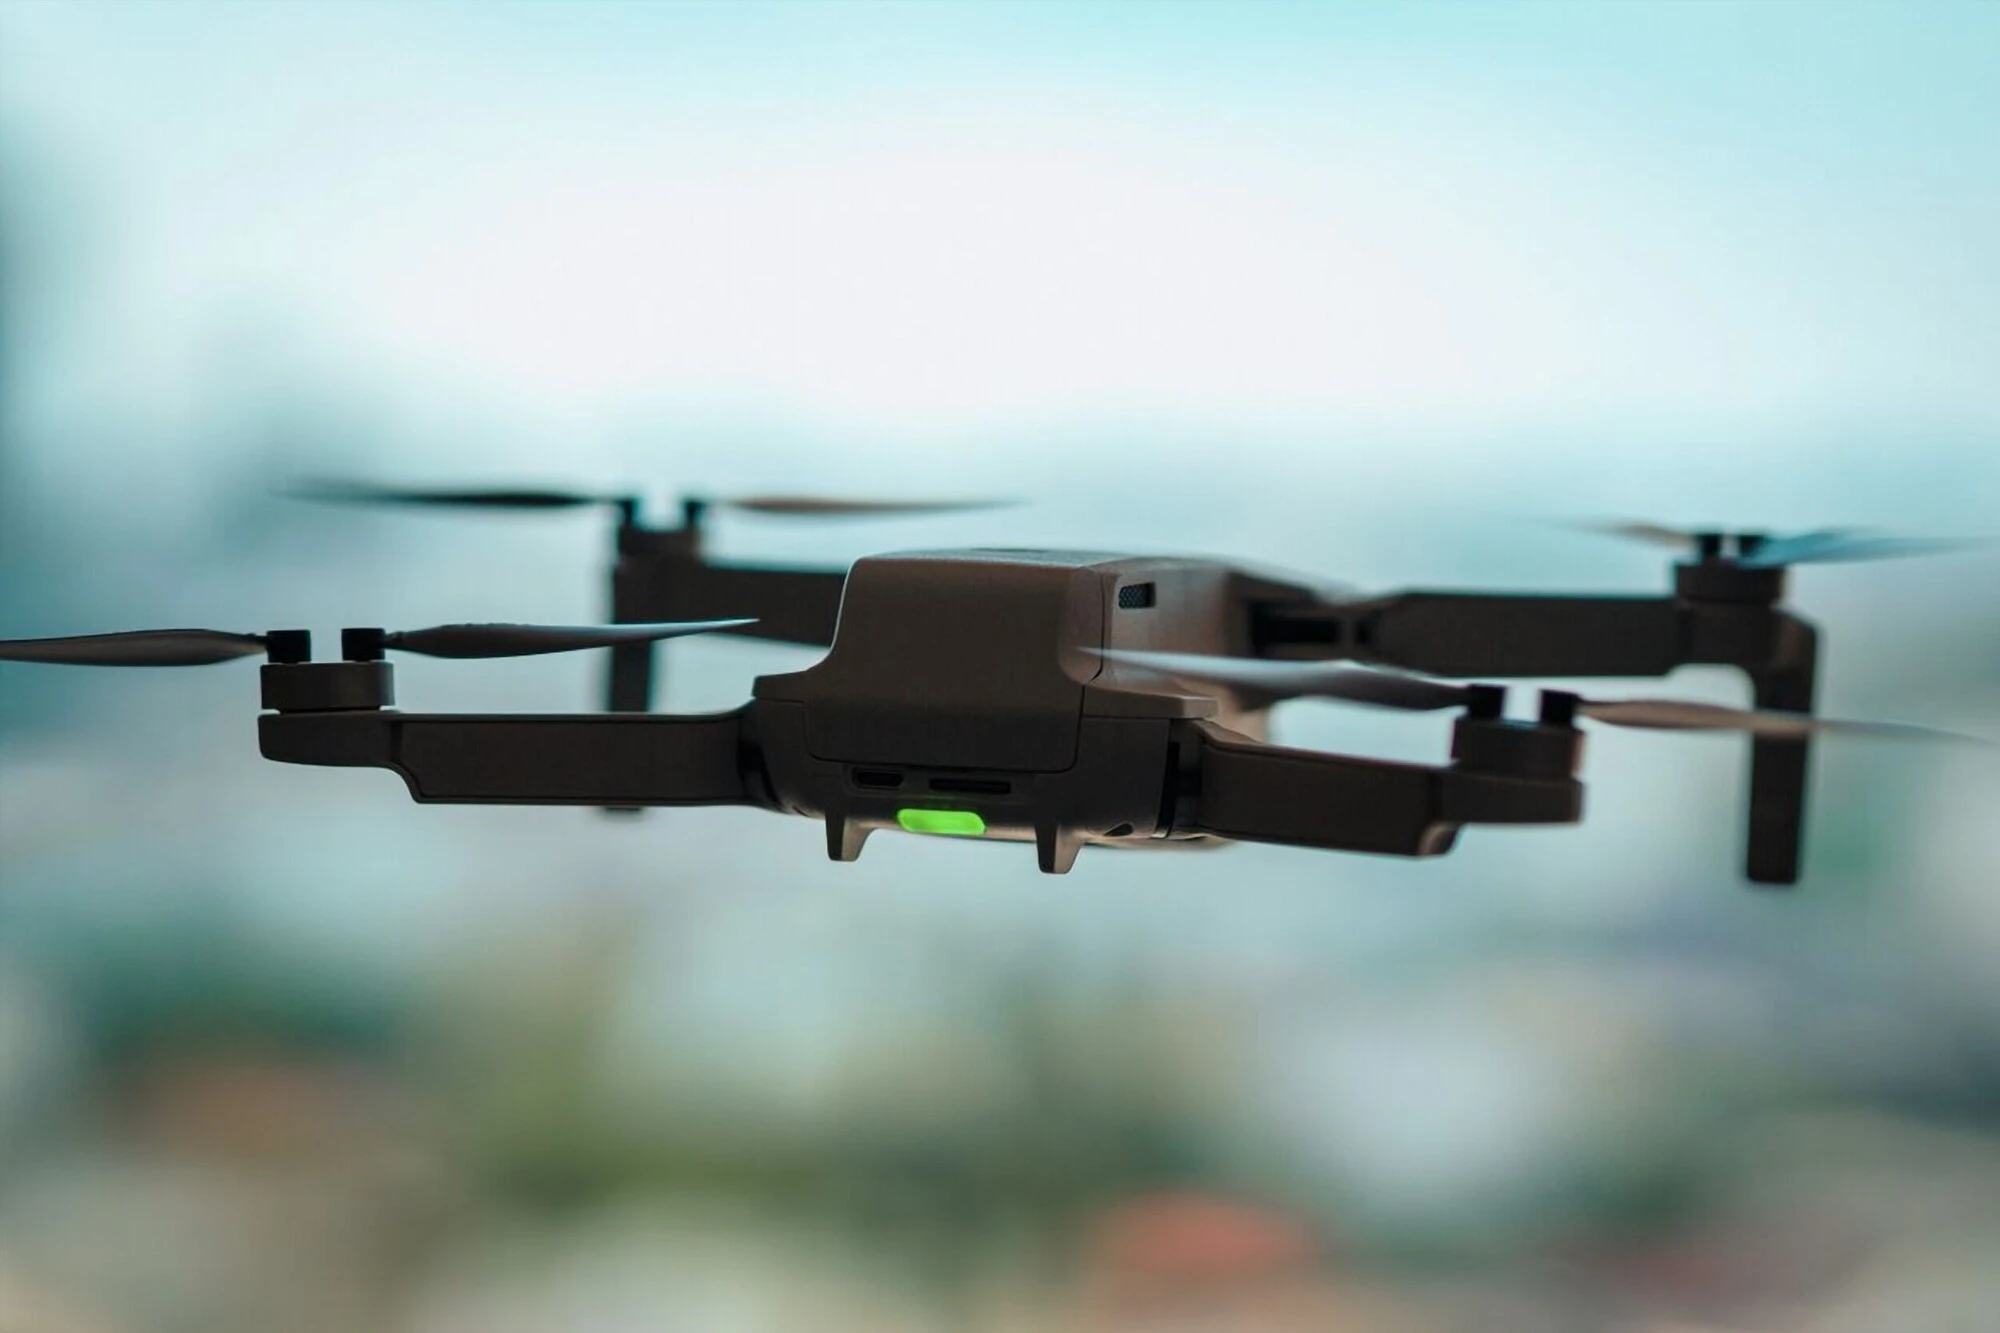
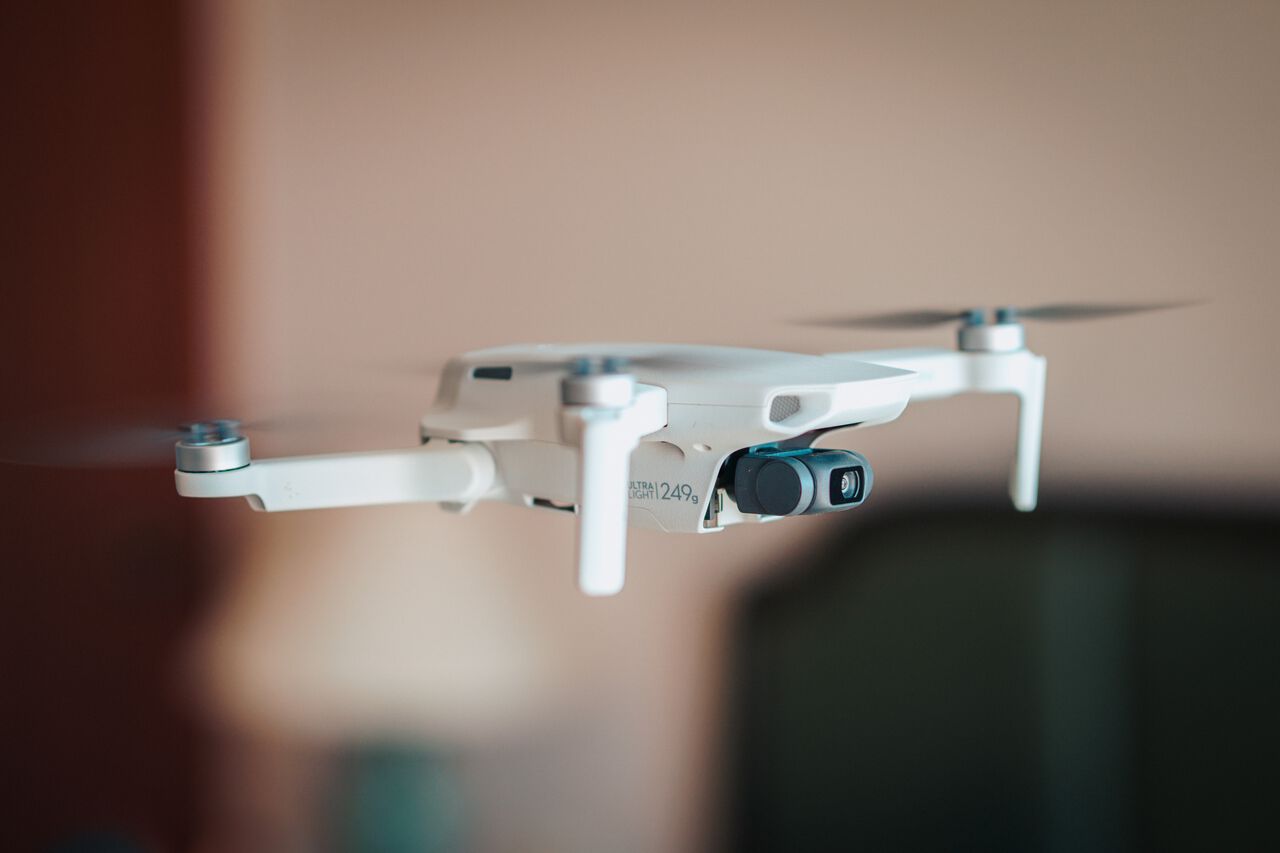
Back in 2019, I finally bit the bullet and bought my first drone ever, the DJI Mavic Mini, a small and lightweight yet extremely capable drone that is something I had always been looking for.
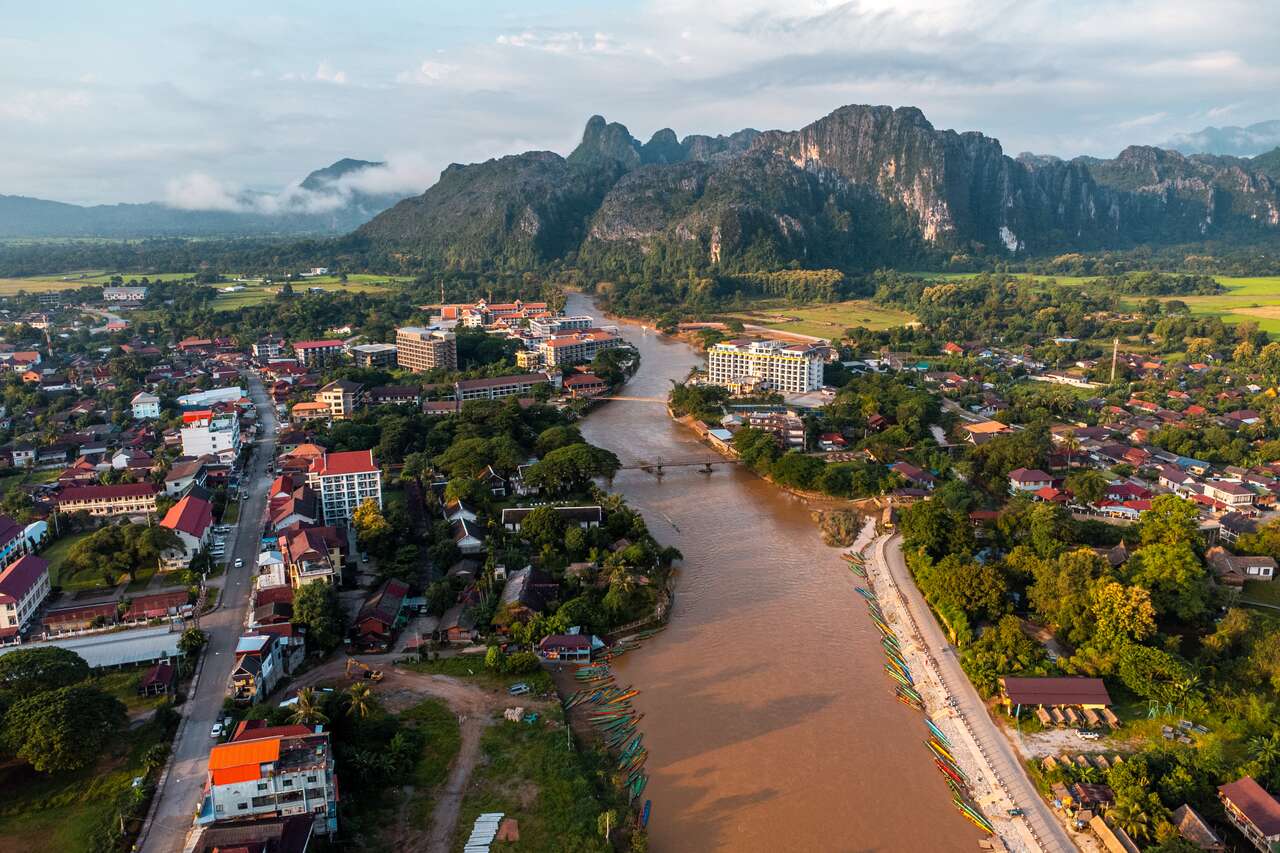
I spent about a month at the end of 2019 traveling in Northern Thailand with the DJI Mavic Mini, flying around beautiful historical parks and stunning temples, mostly experimenting with this little beast to see what the DJI Mavic Mini had to offer. Ahh, the good old days when we could all travel wherever we wanted without having to worry about COVID-19.
Anyhow, I have learned a lot about the DJI Mavic Mini and flying my first drone in general, so I am here today to tell you all about it. From the things I have learned while traveling with the DJI Mavic Mini to the things I wish I knew before my first flight, here are all the tips and tricks for your new DJI Mavic Mini.
Let's begin with the things I wish I knew about the DJI Mavic Mini:

Things I wish I knew Before Buying the DJI Mavic Mini
1. Check If Your Home Is Inside the No-Fly Zone
Imagine spending 400 USD on a drone only to realize that you cannot test it around your house due to being in a no-fly zone. That's one hell of an expensive paperweight.
All DJI drones come equipped with Geofencing Technology that uses the GPS signal to detect your location and prevent your drone from taking off if it detects that you are in a no-fly zone, which is roughly a 9 km radius from the closest airport.
Seriously, you can't even get it off the ground when you are in a no-fly zone, no matter if you are indoors in your own home or your backyard, so make sure to check it out before purchasing your first drone.
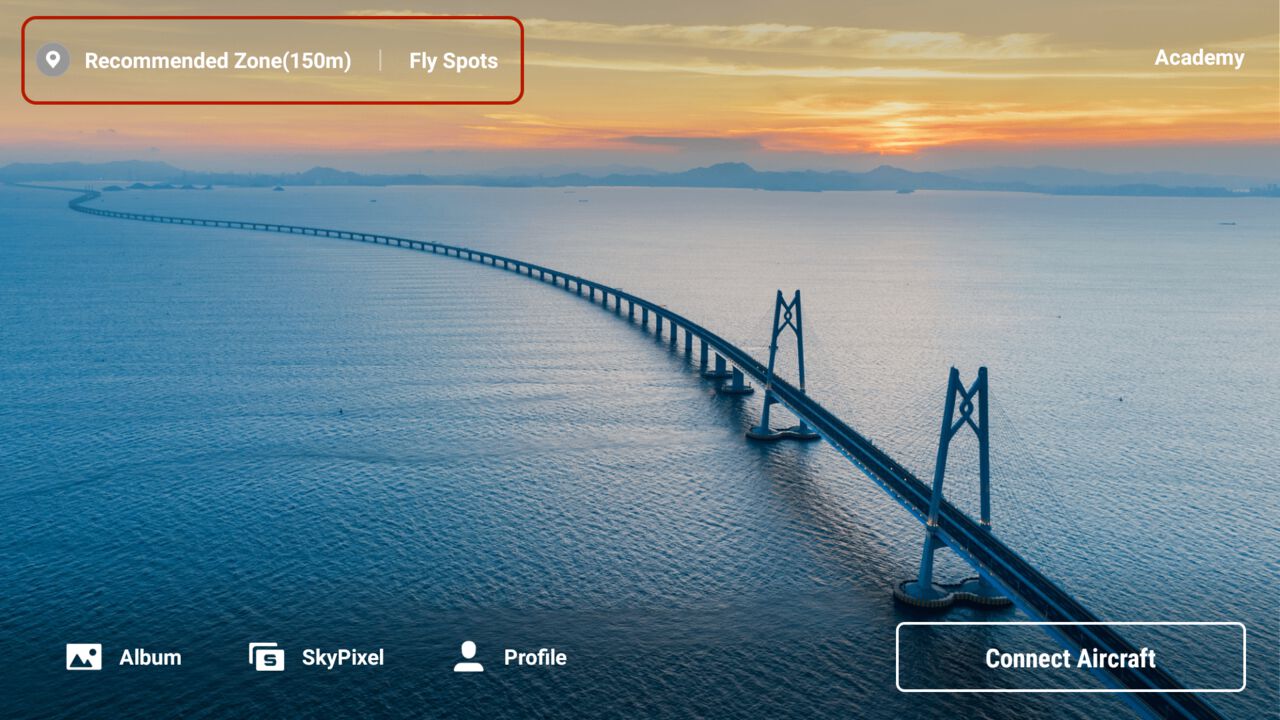
To check whether your home is in a no-fly zone, you can download the DJI Fly app, open it, and check the top-left corner of your screen where it will indicate whether you are in a recommended zone or not. You can also check it on the web by visiting the official DJI Fly Zone Map page, selecting your area, and the drone you want to buy, and you will see all the restricted and recommended flying zones.
2. Get the Fly More Combo
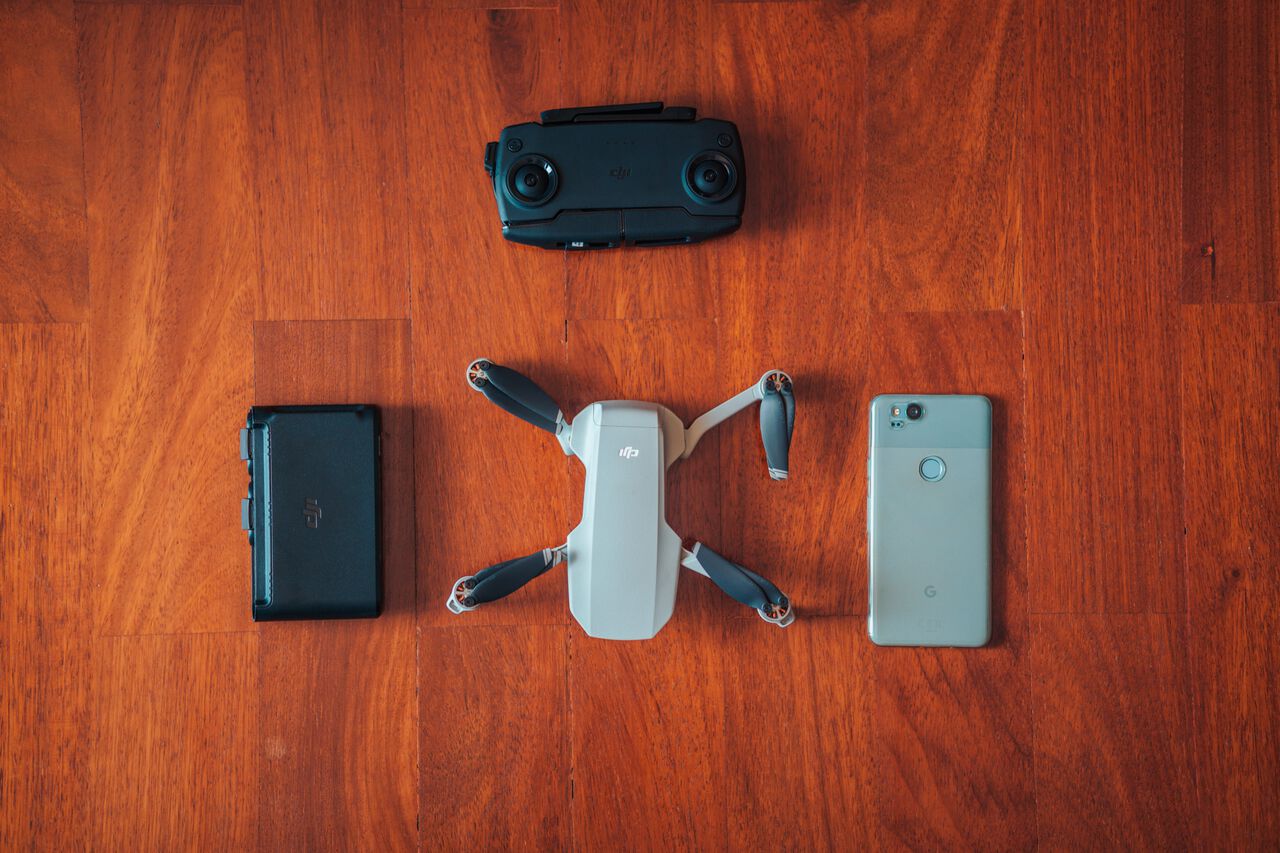
There are 2 options available for the DJI Mavic Mini: one is the regular Mavic Mini option that comes with the drone, a remote control, one battery, cables, and one set of spare propellers for 399 USD, and the Fly More Combo pack that comes with more for 499 USD, which is a much better option.
The Fly More Combo has everything the regular pack has, plus 2 extra spare batteries, making it a total of 3 batteries. It also includes a 3-battery-pack charger that can be used as a power bank, 3 sets of spare propellers, more spare screws, and much more.
The spare batteries from the Fly More Combo pack itself are already worth more than the $100 USD extra you paid for the pack. With three batteries, your flight time increases from 30 minutes to 1.5 hours, which is something you will definitely appreciate when it is time for you to fly. Trust me.
Plus, the 3-battery pack charger can also act as a power bank that you can use to charge your remote control, as well as other electronic devices, when the need arises.
3. Check Your Country's Regulations Before Buying
Even though the 249g weight of the DJI Mavic Mini, which is below the drone registration requirement by the FAA, is the main selling point of the drone, it applies only in the US and only in a few other countries.
I am from Thailand and as long as the drone is equipped with a camera, no matter how light it is, I still have to register with several government bodies in order to fly around legally. So, be sure to check your country's aviation association policy on drones before purchasing your drone.

9 Things I wish I knew Before I Flew My DJI Mavic Mini
4. Make Sure the Firmware is Updated
Before you set out to a location to fly your drone, first, make sure that your drone's firmware and your DJI Fly app are actually up-to-date, preferably when you are on WiFi.
The app will often alert you to update your firmware before you can fly, and that is something you definitely don't want to do when you are out and about.
You are not just wasting your precious batteries, but you will also be using your phone's data to download hundreds of megabytes. Then, you will have to stand there and wait for it to install for another 5 - 10 minutes. This can be easily avoided if you check and update the app before you start the day.
5. Check Whether Your destination is in a No-Fly Zone or Not
Again, the same goes for when you are traveling somewhere with your drone. Be sure to check your DJI Fly app to see if the place you are visiting is in a no-fly zone or not. You don't want to be hauling all your drone gear only to realize when you arrive that you cannot fly anywhere. That was me when I was in Chiang Mai, Thailand, where the airport is located right in the middle of the city.
6. Make Sure You Can Actually Fly In the Area Legally
After you have made sure that you can fly in the area you are visiting, make sure to watch out for a sign prohibiting drone flying when you arrive at the location. Sometimes, such as near an old monument or in a crowded area, there might be an outright prohibition on drone flying, and you could get told off or, worst case scenario, get arrested even if you do it unknowingly.
My golden rule is to always avoid flying in crowded areas or in big cities, which is often illegal anyway. Instead, I always fly around remote areas where there's no one around. That way, I avoid getting in trouble with the local authorities, which is something you don't want to experience as a foreigner.
7. Make Sure Everything is Fully Charged
The first thing I learned from traveling with a drone is that the number of things I have to charge is starting to get out of hand. When traveling with a drone, you will have to charge the battery inside your drone, all the spare batteries, and the remote control, all the while ensuring your phone has enough battery power left to control your drone.
You don't want to be out at a location and realize that you only have half a battery for your drone. With only 30 minutes of flight time per one fully charged battery, you won't be able to fly very far with anything less than that.
We have not even factored in the fact that you will have to spare at least 30 - 50% of the battery for the trip back, so be sure to charge all your batteries the day before.
8. If Not, You Can Use the Battery Charger As a Power Bank
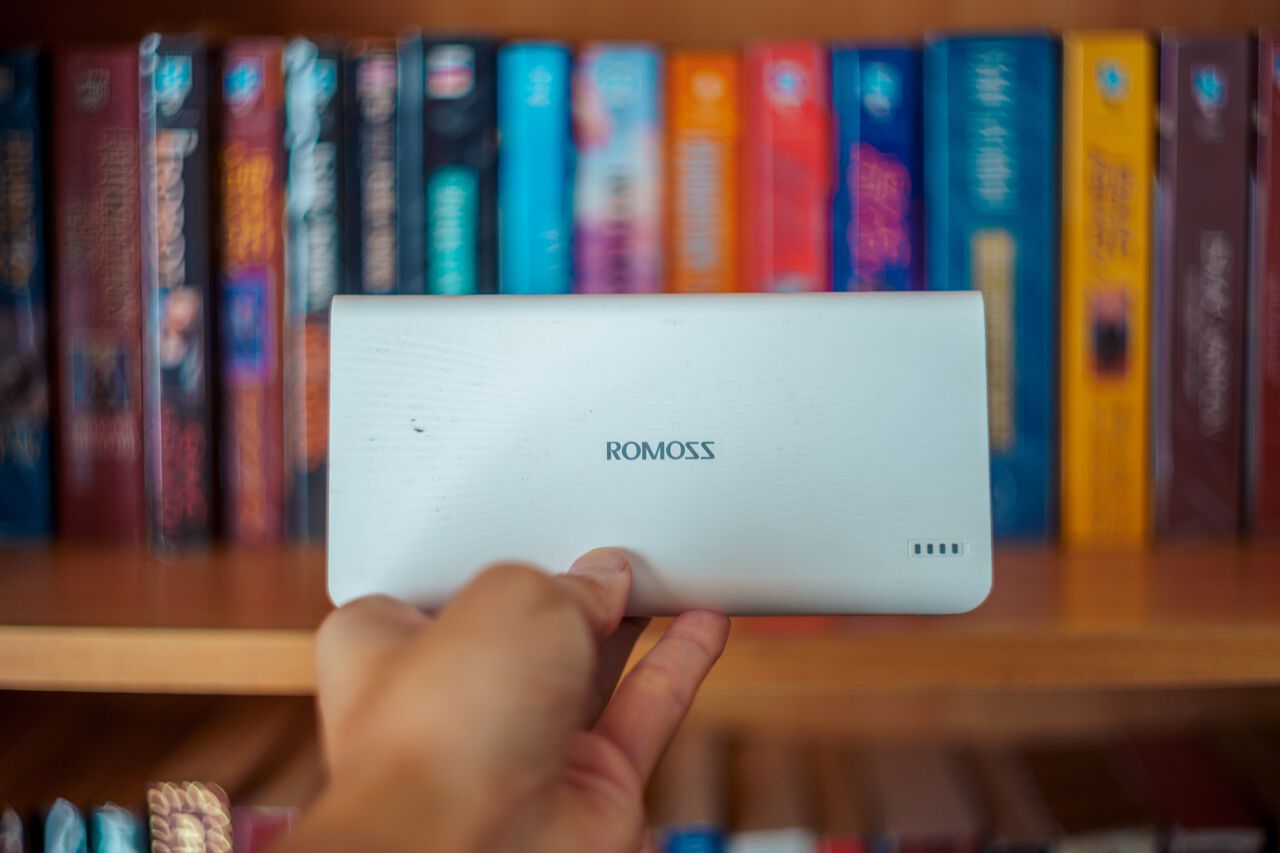
If you somehow find yourself in a situation where you are at a location and your remote control is not fully charged (trust me, it happens more often than you'd think), you can use the 3-pack battery charger that comes with the Fly More Combo package as a power bank to charge up your remote control or other electronic devices.
You will be sacrificing your spare batteries, but at least you have the remote control to fly around, which is so much better than not being able to fly at all.
9. Make Sure You've Set Your Video To Record at the Correct Format and FPS
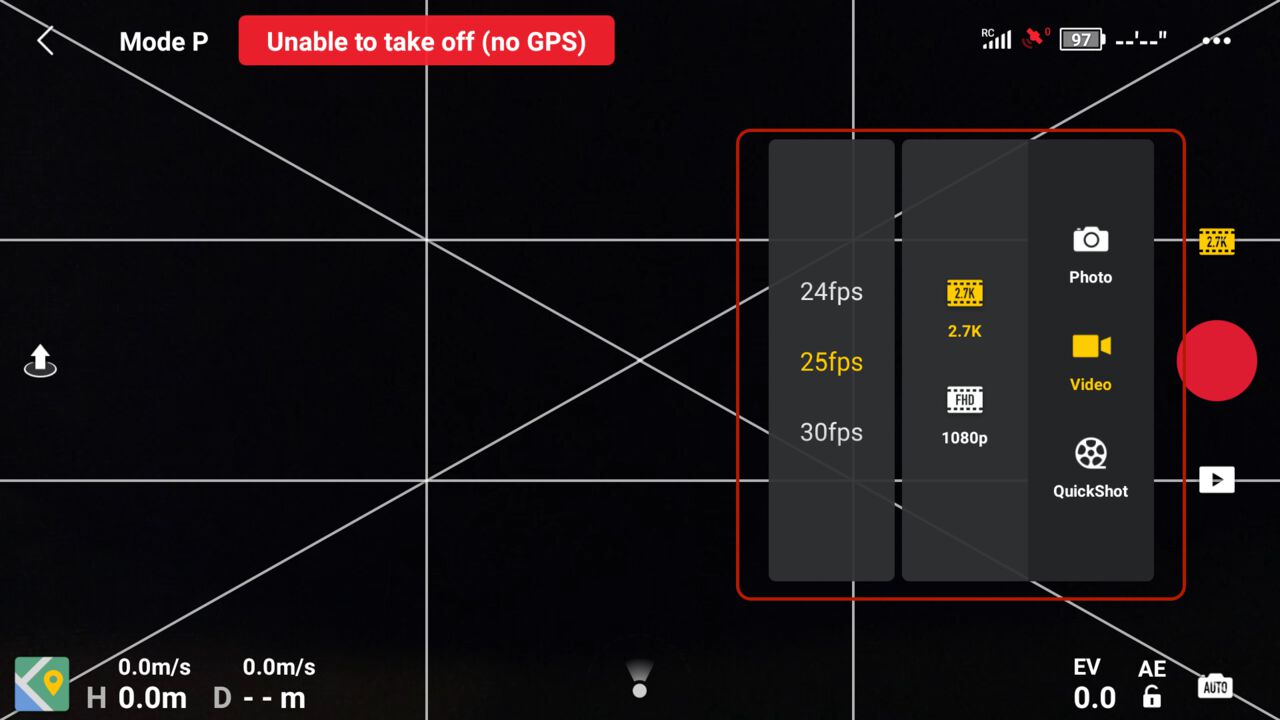
I made the mistake of not learning more about the settings in the DJI Fly app and using my Mavic Mini to record footage during my trip in Thailand all in 30 FPS mode, whereas my regular camera is set to 25 FPS.
Imagine my face sitting at a computer table after a month-long trip, trying to edit my Timeless Thailand travel video, and seeing the skipped frame rate. Do not be like me and match your drone video format with other cameras you have so that you can use all the footage together.
To set the video format, connect the DJI Fly app with your drone, click the video icon on your right, select the resolution you wish to record (2.7K all the way for me), and match your desired frame rate with your other cameras. The DJI Mavic Mini can record footage in 24FPS, 25FPS, and 30FPS at 2.7K resolution, and 50FPS and 60FPS at 1080P resolution.
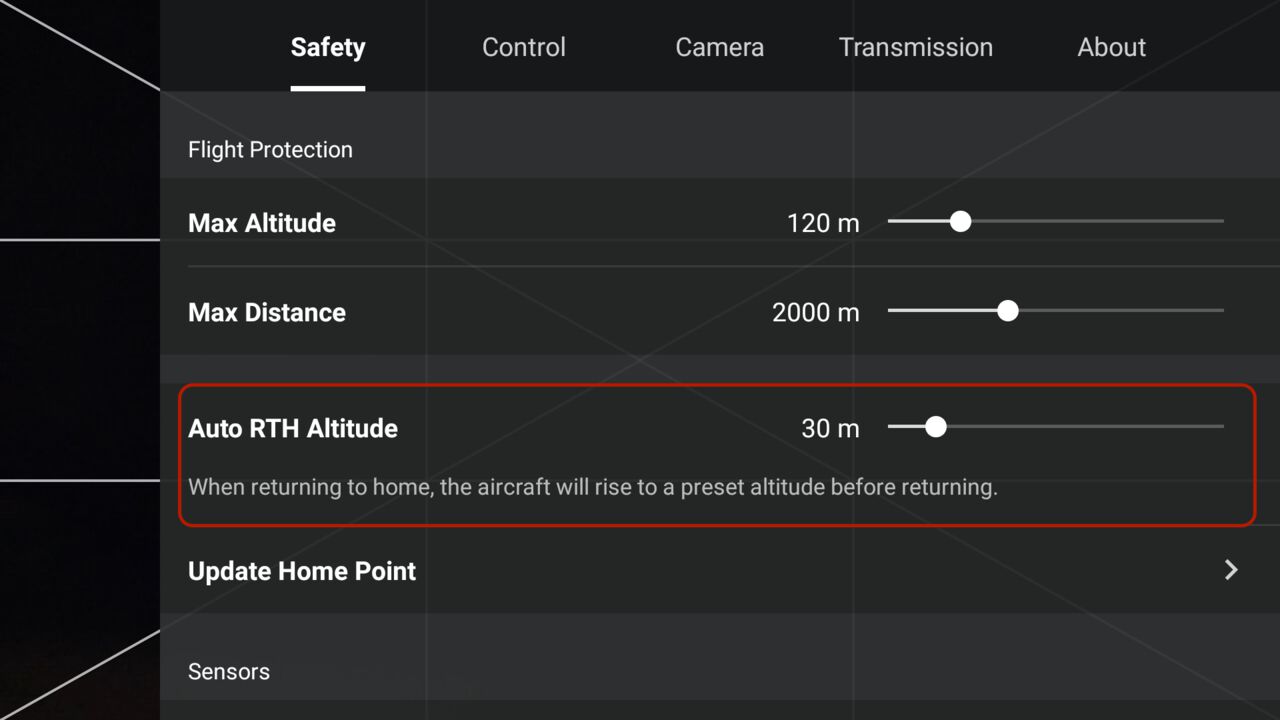
10. Set Return To Home Altitude Before Flying
One of the best features that has saved my ass countless times is the Back to Home feature, which allows your drone to fly back to the take-off location automatically with a press of a button.
The Return to Home feature is also a fallback feature for when your remote control loses the signal to the drone. The drone will make its way back to you automatically using the Return to Home feature.
How the drone does this is simple. It will fly up to the maximum altitude specified in the app to avoid obstacles, and then it will start flying back towards the take-off location.
This is why it is important for you to survey around your area before flying, look at the highest obstacle in the area, and set the Return to Home Altitude in the DJI Fly app to be above that obstacle so that when things go wrong, the drone can fly back to you safely without hitting anything.
To set the Return to Home Altitude, you can tap on the status indicator on the top left of your DJI Fly app, the one you use to check if you are in a no-fly zone or not. A panel will appear on the right where you will be able to view and set your Return to Home Altitude.
11. Find an Open Area For Your First Test Flight
For your first flight, it is best to experiment in an open area where there is enough room for you to control your drone. Do not test indoors if this is your first time flying a drone.
There is a higher chance that you will hit something, especially when you are indoors where the GPS signal cannot reach the drone, and it won't be able to hold its location very well. Plus, it is best that you test out the control first to see how fast it moves, and indoors is not the best place to do that.
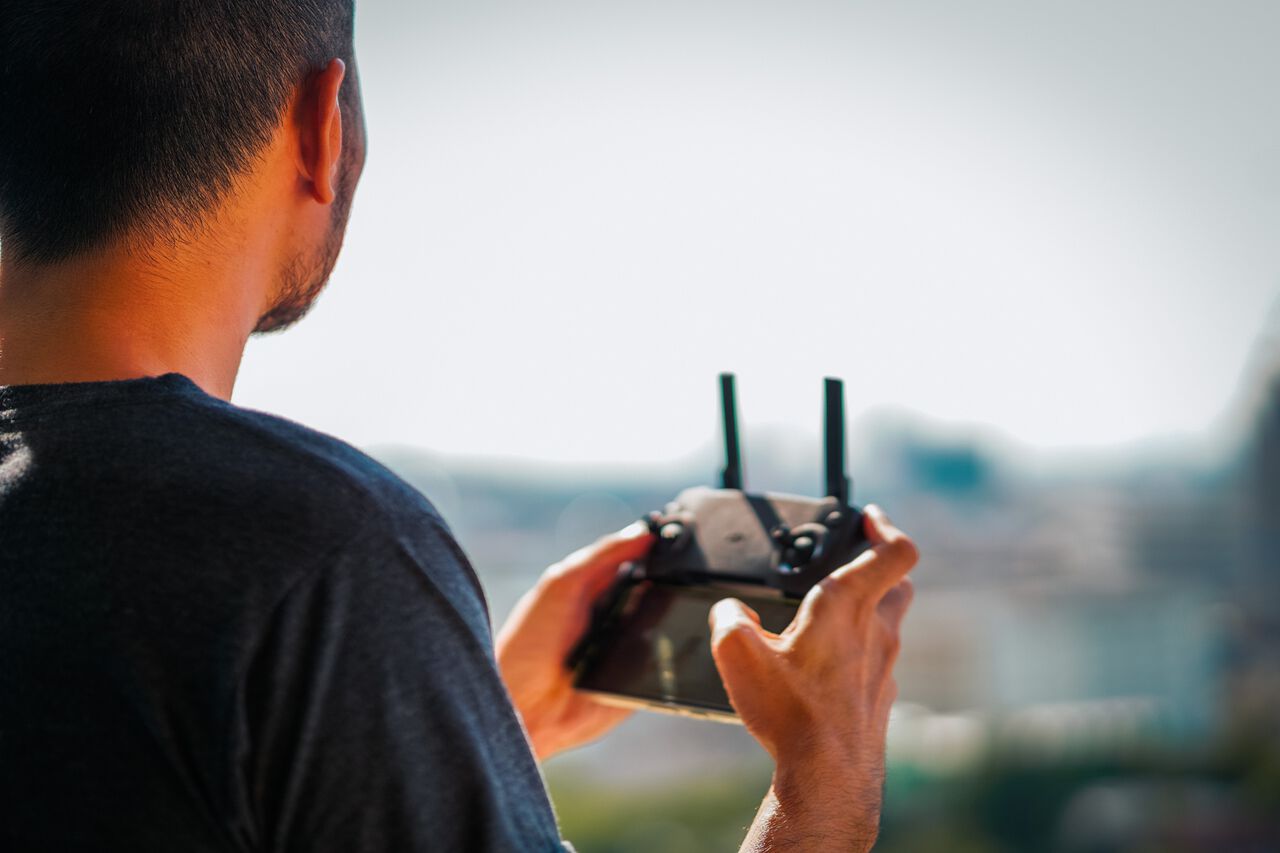
12. Make Sure the Flat Side of the Antennas are Facing the Drone
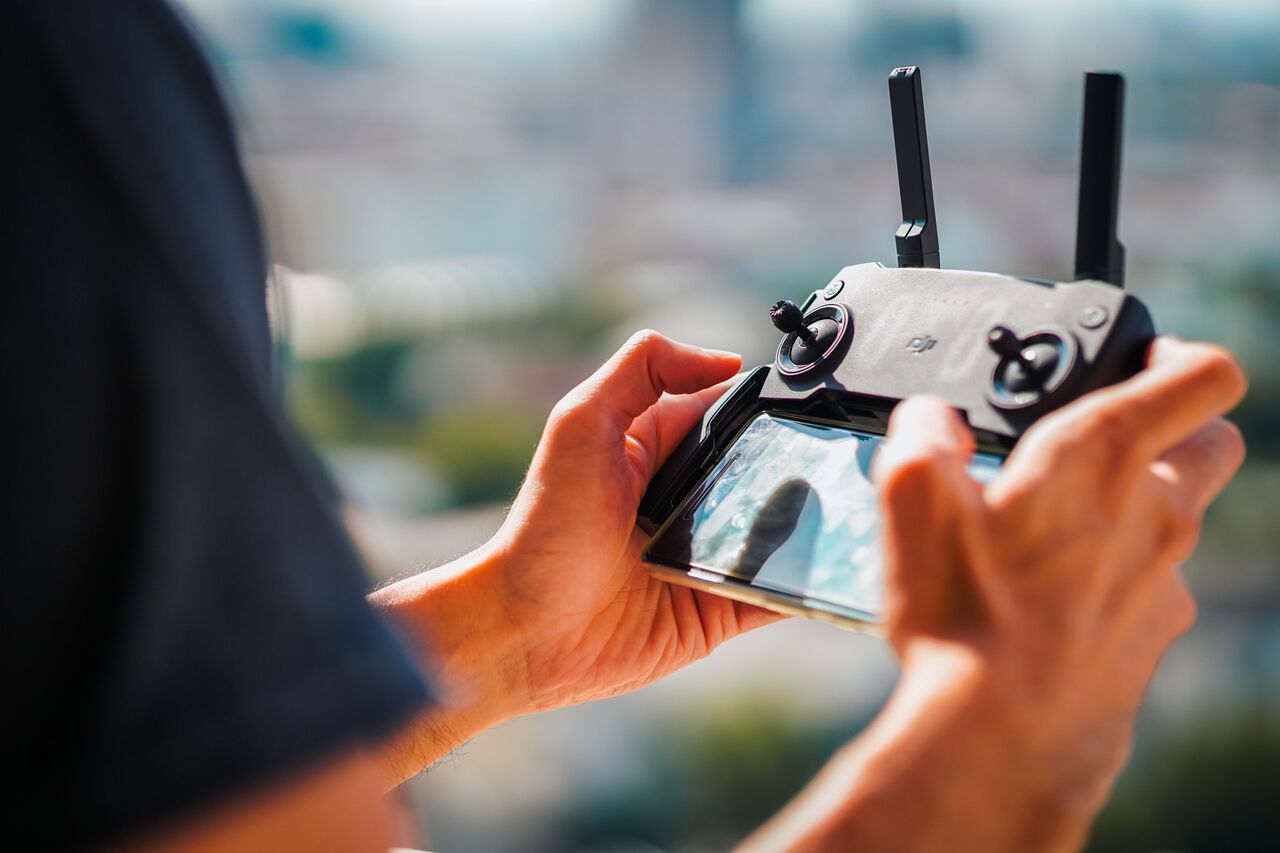
For the Mavic Mini's remote control, the 2 antennas attached at the top send and receive signals through the flat surface on its body. So, when you are controlling your drone, do not point the antennas' tops towards the drone to boost the signal. Instead, adjust your antennas so that the flat surfaces are facing the drone.
Tips and Tricks on How to Fly the DJI Mavic Mini
13. Do NOT Take Off Near An Obstacle
We are 12 points in, and I have not even mentioned any tips or tricks for when you are flying the Mavic Mini drone. So, here it is: Do not take off near an obstacle. The DJI Mavic Mini tends to rock a bit as it takes off and stabilizes itself, and there is a high chance that it might hit something if you are not careful.
My recommendation is to avoid taking off on a bench or surface with a fence or wall nearby. Stick to an open area for taking off, and you should be golden.
14. Be Mindful of the WIFI Interference Alert in the App
The DJI Mavic Mini uses an enhanced WIFI signal to control the drone, and unfortunately, it can be easily disrupted by interference. I found that flying in crowded areas like a city, or in an area where there are thick trees high above me, often led to signal loss, which is always nerve-wracking.
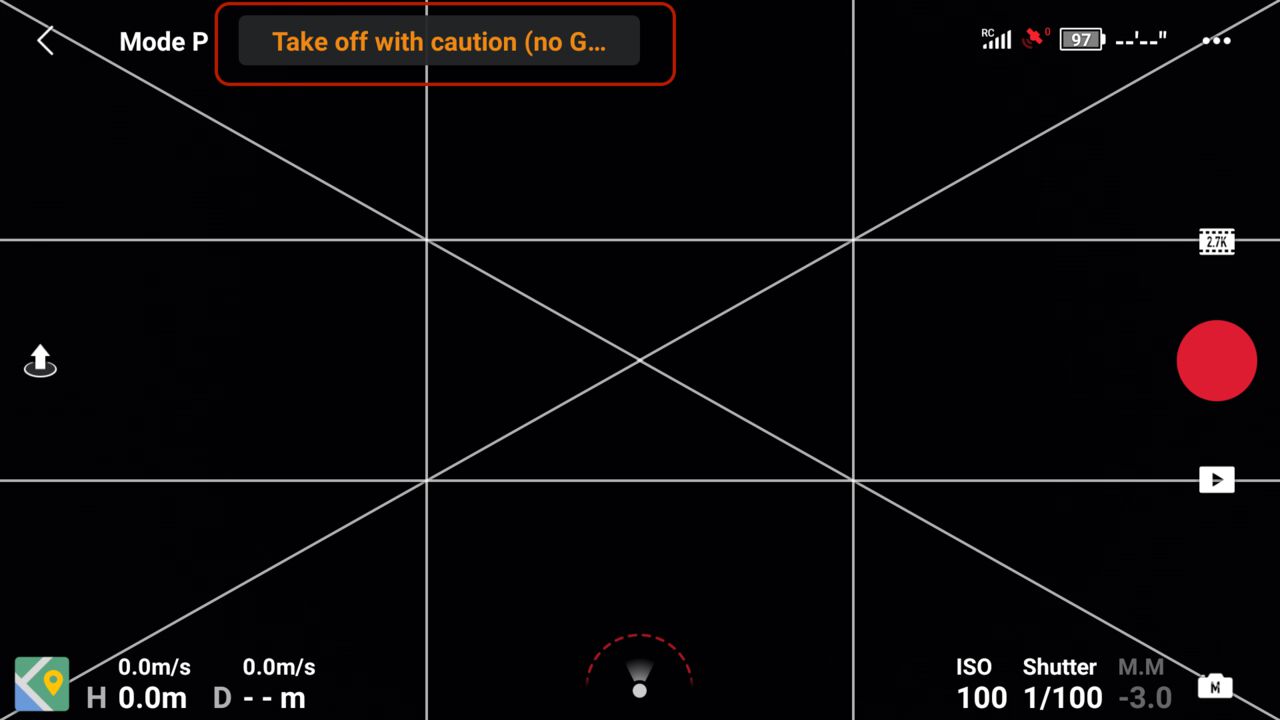
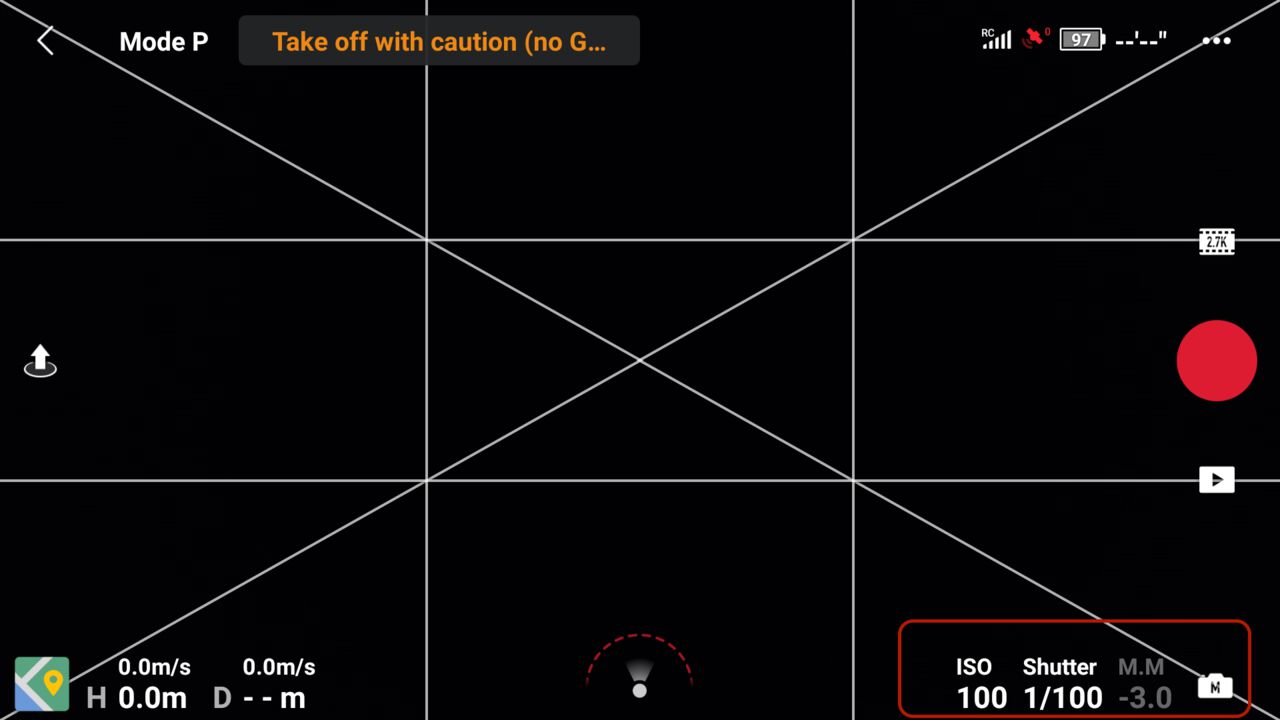
Within the app interface, at the top, you will see a small red satellite icon and an alert if the app detects signal interference or if the signal is low. When you see that, do not try to push your drone to see how far it goes. Instead, take it back and find a better place to fly.
I once tried to push it when the signal was low, and I lost the drone for about 9 minutes before it started its fallback procedure and activated the Return to Home feature. That is why it is so important to set your Return To Home Altitude before every flight!
15. Do NOT Use the Return To Home Feature When There is a Strong Wind
Talking about the Return to Home feature, it is great and all, but there is one situation where you should not be using the Return To Home feature: when there is a strong wind.
More often than not, when you are in the mountains, the higher the altitude, the stronger the wind. In my review of the Mavic Mini, I mentioned how light the drone is and how it struggles under strong wind because of it. If you somehow find yourself in that situation and your drone is drifting away due to strong wind, do not use the Return to Home function.
The Return To Home function will force your drone to go up even higher, where the wind is likely even stronger, and then you can say goodbye to your drone as it will drift even further away. Instead, reduce your altitude to as low as you can and start manually flying it back to you.
Usually, the wind will be calmer at your level, and the drone should be able to handle that just fine. If not, then why the hell did you take off and fly your drone when there's a strong wind in the first place!? 🤣
16. Make Sure You Are Actually Recording

Hey, it happens to the best of us, and I can't even count how many epic maneuvers I've done with my drone (not really, but you will never know 😂) to realize after several minutes that I didn't actually hit the record button.
Before you start flying around and doing your drone tricks, make sure that the red circular record button in your DJI Fly App on your right is squared out, and there is a ticking timer underneath it indicating that it is recording.
17. Turn On the Gridlines

Another thing you should do is to turn on gridlines in your DJI Fly app settings so that you can align your subject to the gridline and get the shot you want without being off-center.
To turn on the gridlines, open your DJI Fly app. Tap the 3-dots icon on the top right corner of the app. Go to the Camera tab and hit the Advanced Shooting Settings button at the bottom. You should be able to enable the gridlines from there.
18. Try Out Different Flight Patterns and Angles to Diversify Your Shots
Now that we've discussed the settings, let's talk more about how you can improve your drone filmmaking skills. Drones are excellent tools for filmmakers to add a new perspective to our travel videos, but if you follow only one flight pattern, your video might become repetitive instead.
As one of the travel video tips I gave in my other article, it is important to diversify your shots to keep your video engaging. So, experiment with your flight patterns. This way, you will have the option to mix and match your drone footage when you are in the editing room.
Try out the DJI Quickshots feature that simplifies complex maneuvers and allows you to shoot epic shots like the Dronie or the Helix with a touch of a button. Instead of flying straight, you can also tilt your camera down and go up while spinning to reveal more landscape.
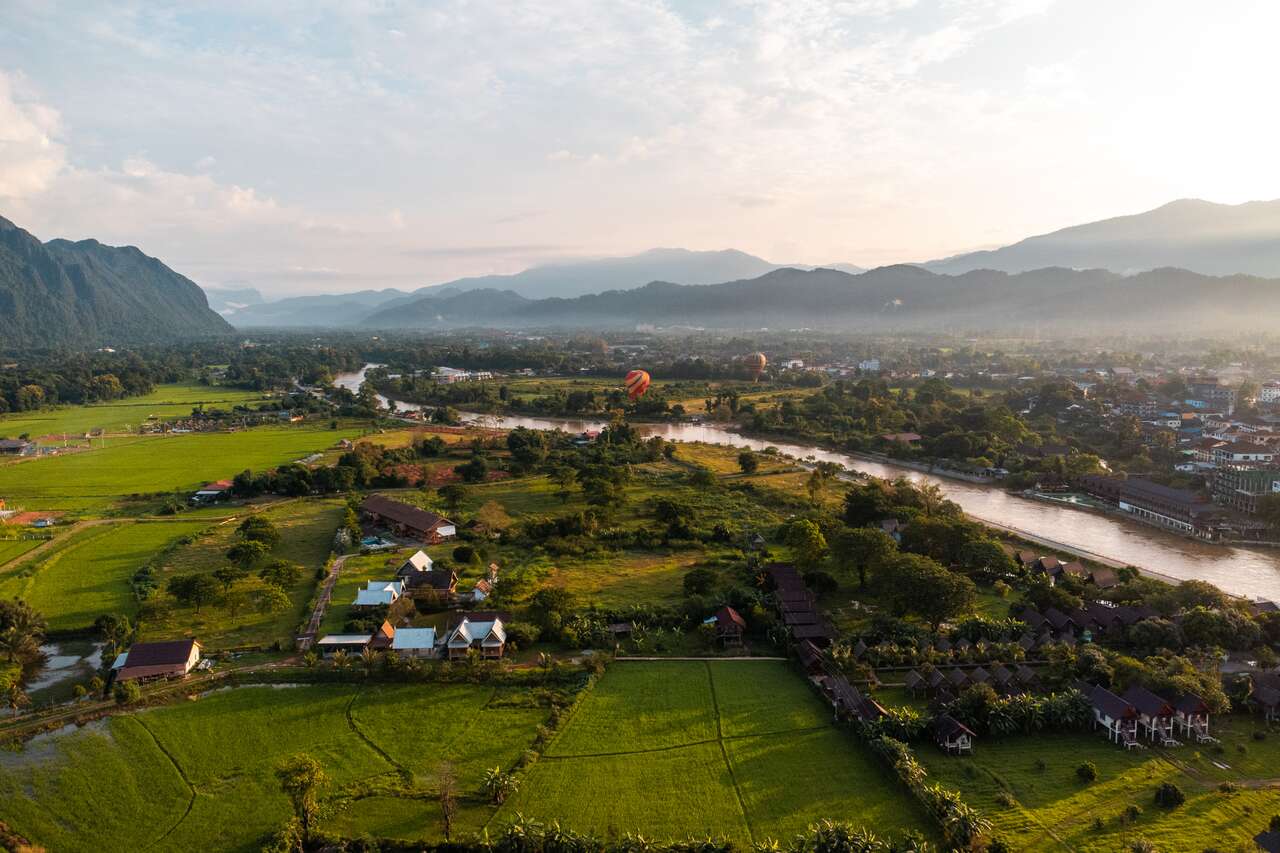
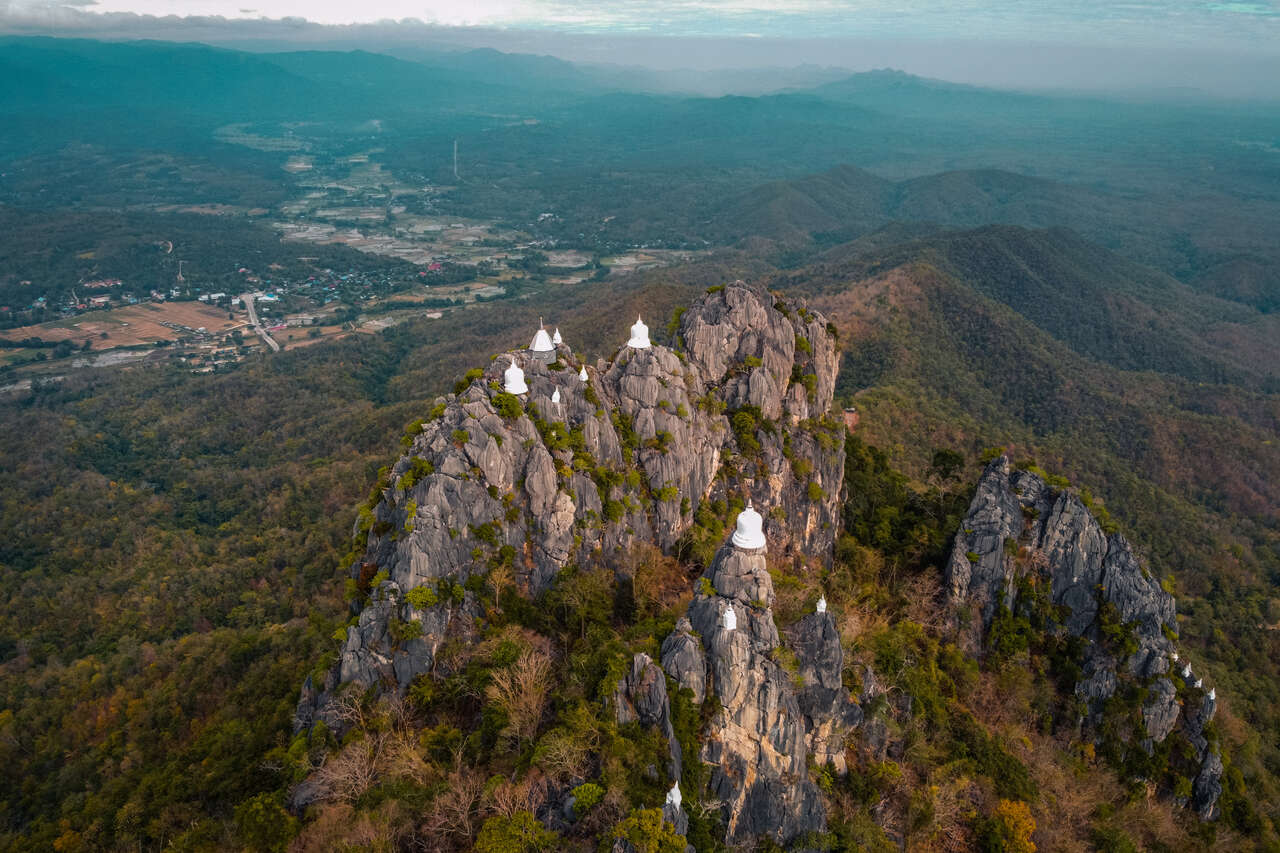
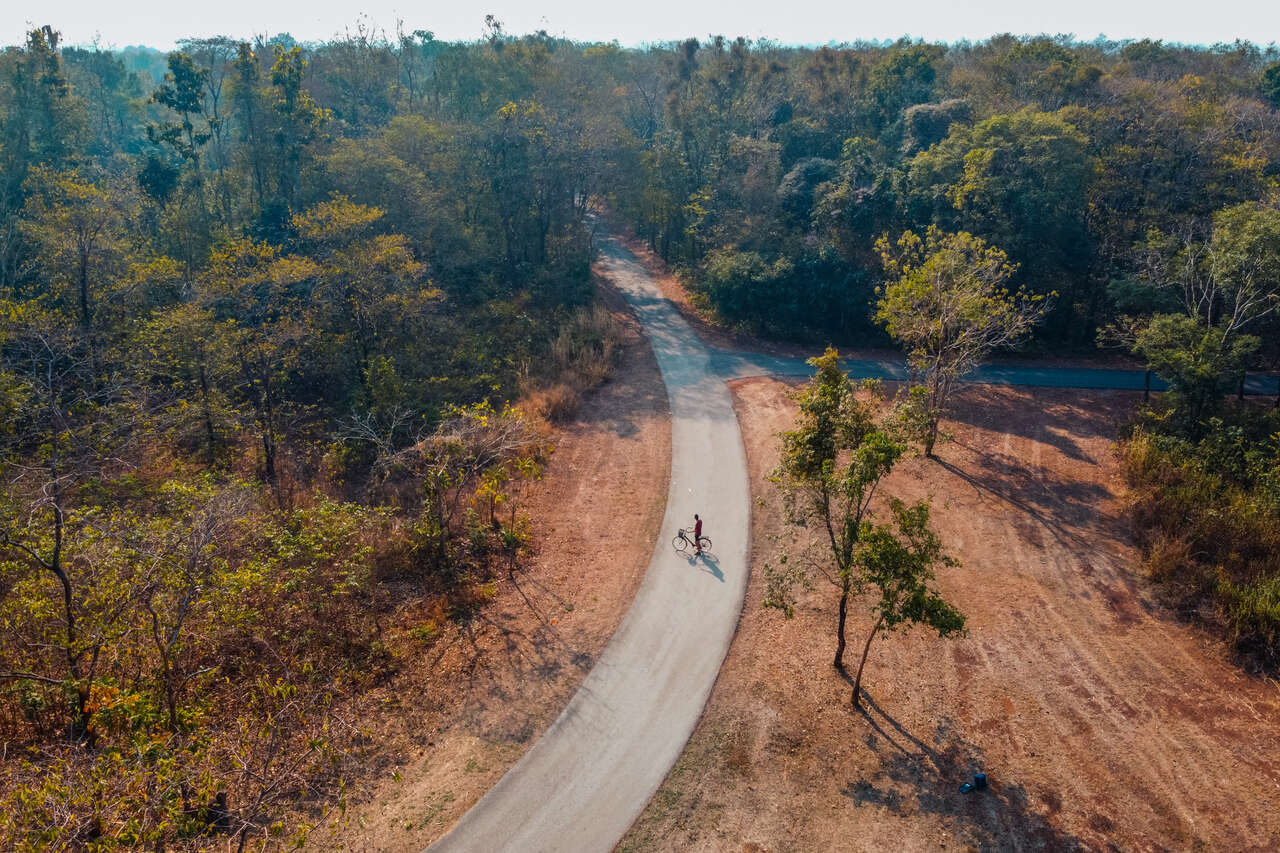
There are tons of flight patterns with varying difficulties, so be sure to experiment with angles, speed, and perspective before you arrive at a location. One of my favorite flight patterns is to fly straight while increasing altitude, while the camera smoothly tilts down to focus on the subject, as you can see from above.

19. Fly Low to the Ground to Create a Sense of Motion
One of the things that makes drone footage so mesmerizing to watch is the sense of motion that it gives to the landscape, but in order to do that, your footage must have some surface to create motion.
Imagine flying the drone as high as you can, and then starting to move forward. In your footage, you won't be able to see the motion at all, since your drone is so high up that there is nothing in the frame to signify that the drone is, in fact, moving.
That is why I recommend you to fly the drone close to the surface so that the audience can feel the motion of the drone as if they were flying themselves.
20. Slow Down Tilt Speed For Smooth Pan
When you first fly your drone, you might find your footage a little jerky and not smooth when you tilt your camera using your remote control's wheel. I had the same problem, and I was unable to capture a cinematic tilt shot until I realized that you can set the tilt speed to whichever speed you like.
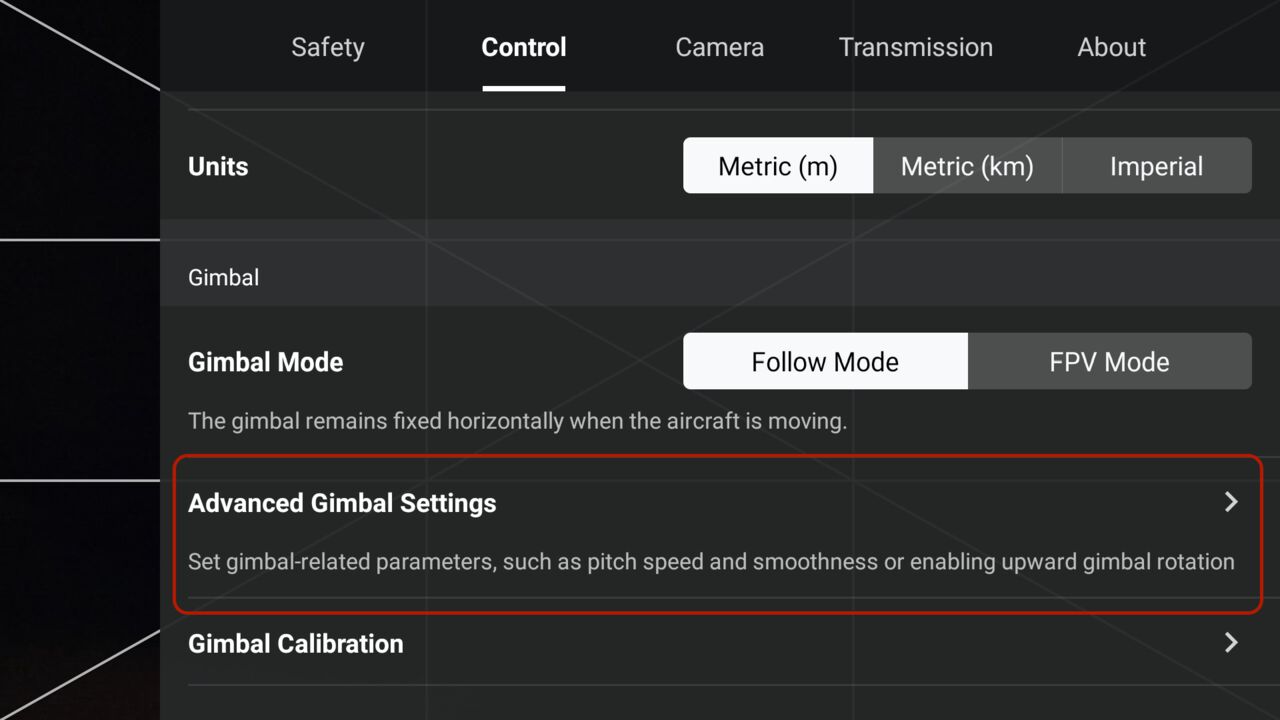
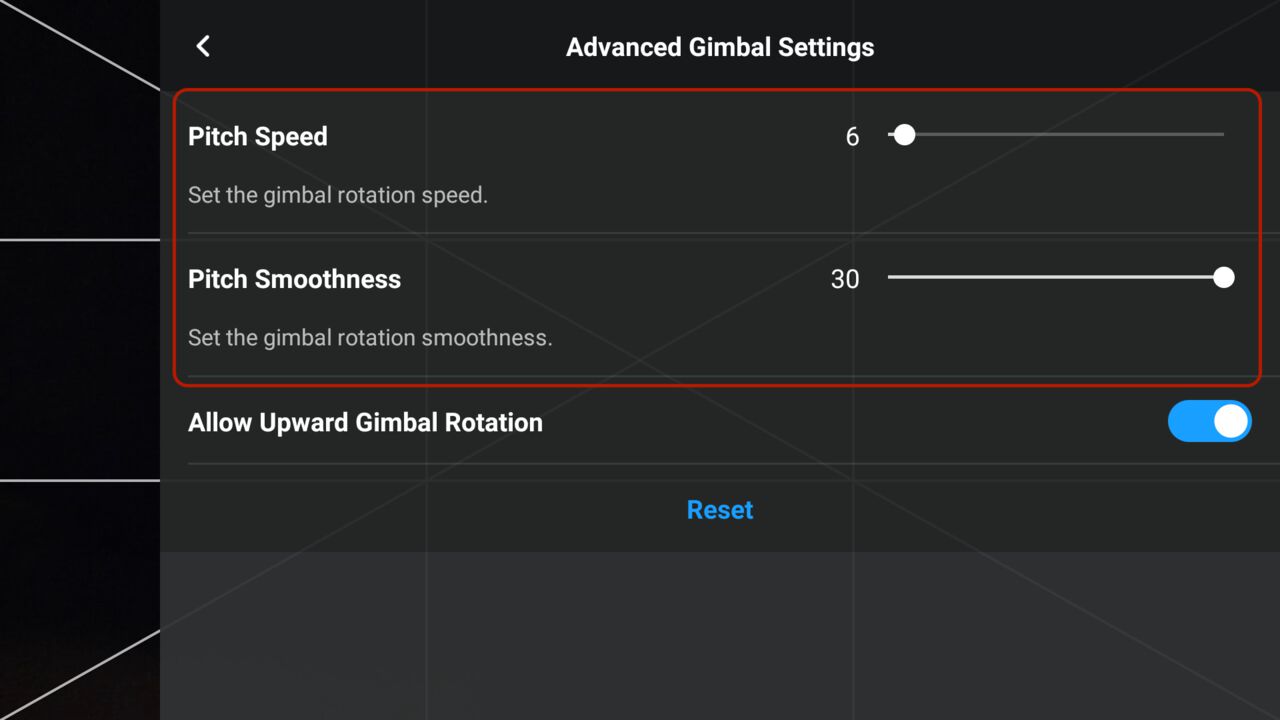
To set the tilt speed, tap the 3-dots button in the top right corner of your DJI Fly app, go to the Control tab, click on Advanced Gimbal Settings, and you will be able to set the Pitch Speed (how fast the tilt reacts to the control) and Pitch Smooth (how fast the tilt ramps up to speed).
I tend to set the Pitch Speed to 6 and max out the Pitch Smooth to 30 because I prefer the tilt shot to be as smooth as possible. However, this is my personal preference, so be sure to experiment and find the best speed for your shots.
21. Make Sure You Set the Exposure to Manual or Lock It When Recording
The big problem with drone footage is the shift in lighting every time your drone's camera moves due to the automatic exposure the Mavic Mini defaulted to. This doesn't look great in a video, so what I would recommend you do before hitting the record button is to either set the exposure manually or lock it before you start recording.
To lock your exposure, simply adjust your EV value in the bottom right corner of the DJI Fly app to compensate for the light, and then hit the AE lock icon to lock the exposure. This will prevent the exposure from shifting as you fly your drone while recording.
To set your exposure to manual, you can activate manual mode by tapping the AUTO icon in the bottom right corner of the DJI Fly app, and the shutter speed and ISO options will appear.
22. Do Not Fly Further When Your Battery is Lower Than 50%
If your drone is already flying far from you and your battery is at 50%, maybe it is a great idea to start flying your drone back to prevent it from exhausting its battery before landing.
I find that 50% is a good indicator for me to start flying my Mavic Mini back when the drone is almost out of my line of sight, and 30% is the lowest I would go at exhausting the battery before I fly back when the drone is clearly in my line of sight.
Anything lower than that, there is a high chance that your drone will run out of battery before it gets back to where it took off, which is not something I would risk on my new drone.
23. Shoot Photos at 4:3 Aspect Ratio
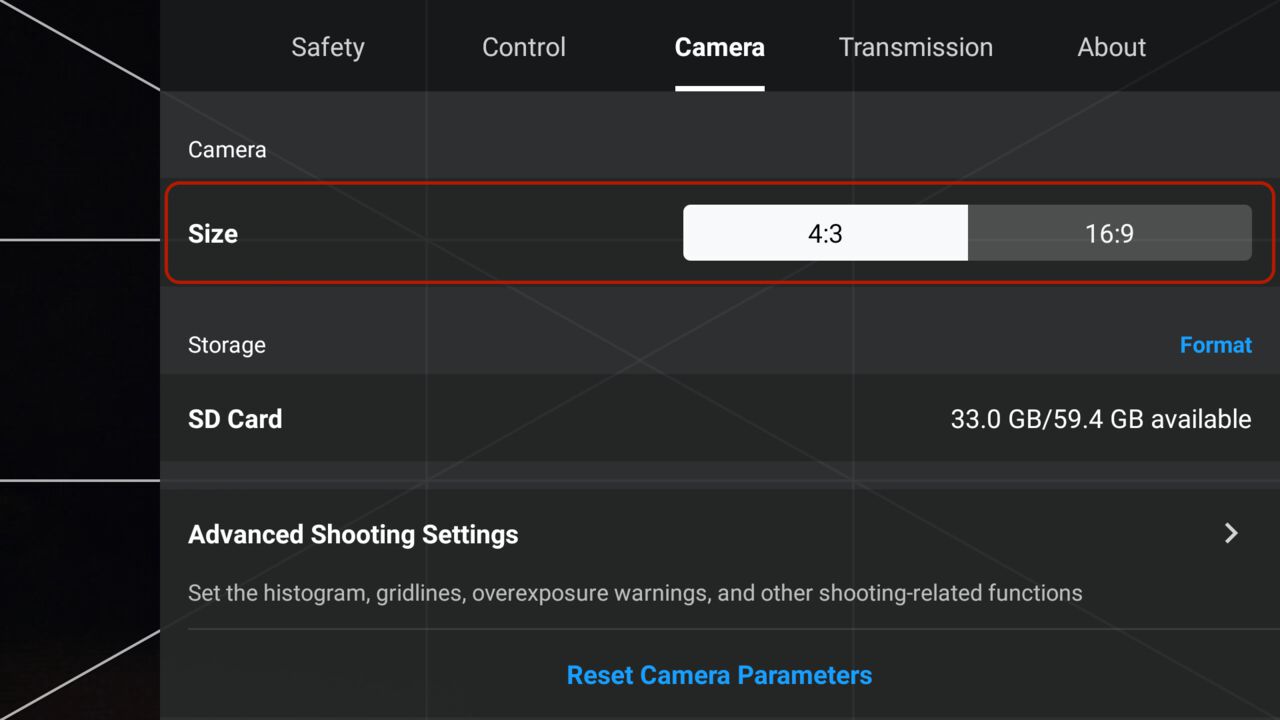
This is a simple setting that you might miss when you first fly your Mavic Mini. For the highest quality photos, make sure that you set the preferred aspect ratio to 4:3 instead of 16:9. That way, the photo you take with your drone will have a higher pixel count, which you can then crop to your liking later in post-processing.
To set the photo aspect ratio, simply tap the 3-dots button on the top right corner of your DJI Fly app, go to the Camera tab, and you can change the photo aspect ratio from the size option.
24. Experiment with Quickshots But Be Mindful of Obstacles
As mentioned earlier, the Quickshots feature is a great way to diversify your footage, but be sure to keep an eye out for obstacles around where you are. Some Quickshots, like Helix, can occupy a large area. Since the DJI Mavic Mini does not come with Obstacle Avoidance sensors, the responsibility will be yours to avoid crashing your drone while performing these epic shots.
It is best to perform Quickshots only when there are no obstacles around that are high enough to run the risk of the drone hitting them accidentally. Otherwise, be sure to have your finger ready on the Cancel button in case the drone is about to hit an obstacle.
25. Always Keep the Drone in Your Line of Sight
Last but not least, when you are starting out, it is best to keep your drone in your line of sight at all times so that you can judge how you should navigate the space around you better.
Even after a month of using my Mavic Mini, I'm still not used to flying the drone backward. It always takes me longer to fly my drone back than to make it go somewhere, as I fiddle with the controller trying to go left instead of right.

Disclaimer: This post may contain affiliate links. See our disclosure policy.
First Published:
Last updated:
7 Comments
Your blogs are awesome .
Many thanks for taking the time to share your insights. Very useful!
No problem! Enjoy flying!
Great blog full of practical tips which are well explained. Thank you.
THANK YOU! Really enjoyed, and learnt heaps from your tips. I'm a first timer and my first is a mavic mini. Still learning the ropes. You've helped a lot...
Thank you for the comments! Safe flying! :)
Great thanks for this tip list, very useful for a new flyer....