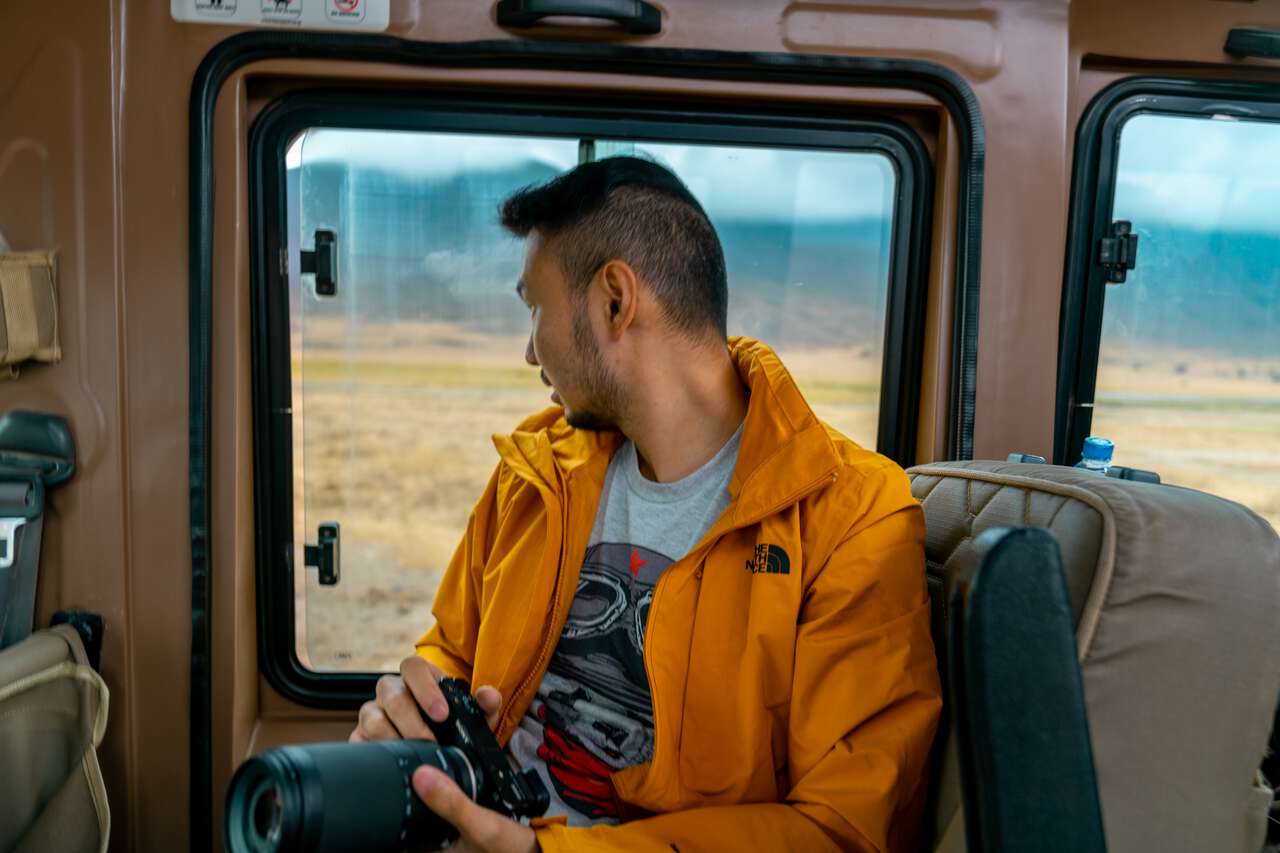
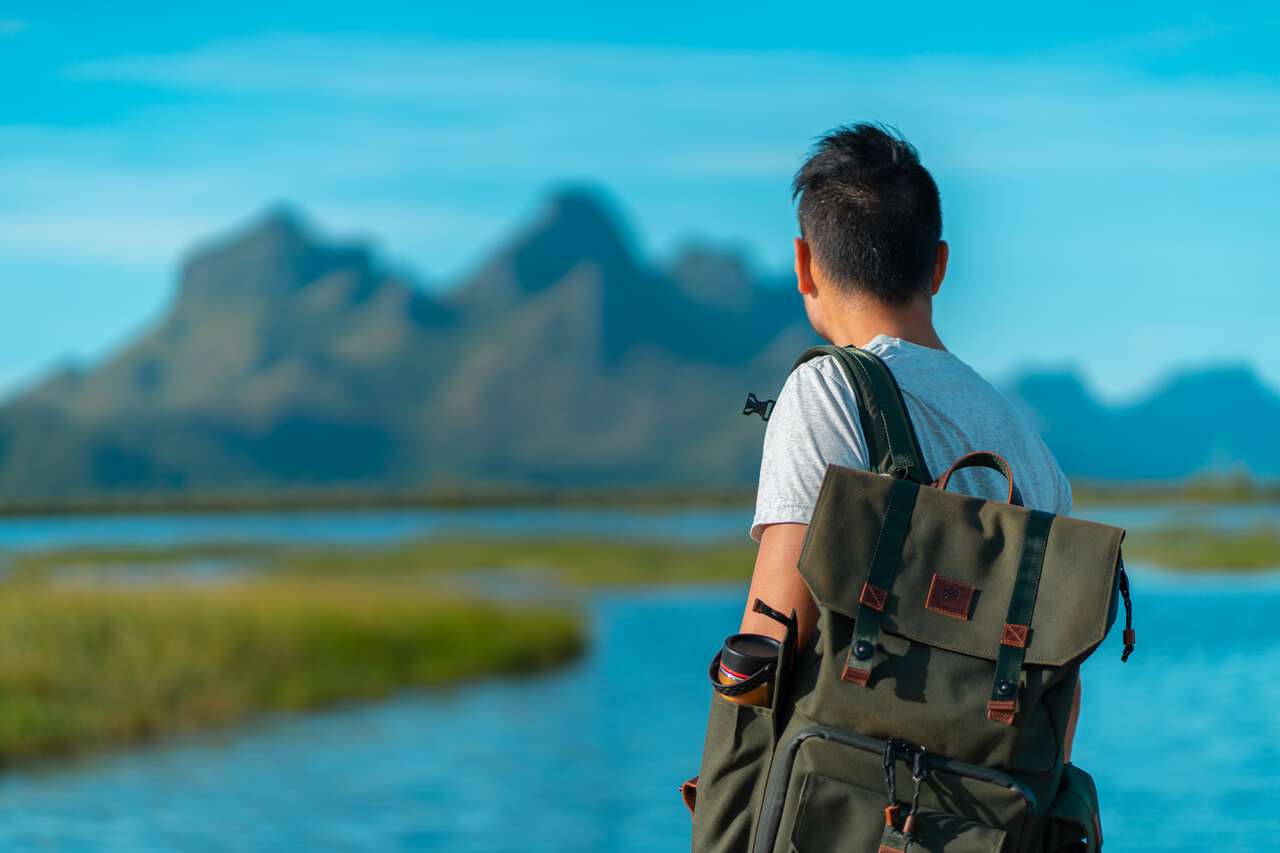
Traveling light is not an easy task. It requires both dedication and sacrifice to keep your traveling load light enough to allow you to move freely when traveling. But what if you throw camera gear and equipment into the mix? Well, that's a whole different game.
Traveling light with camera gear is an art that requires not only dedication but also complete devotion and creativity from start to finish. It starts right at the beginning with the camera system you choose, all the way to determining which camera bag is best for lightweight travelers.
Without further ado, here are the best tips for backpacking and traveling light with camera gear that I have honed over the past 10 years.
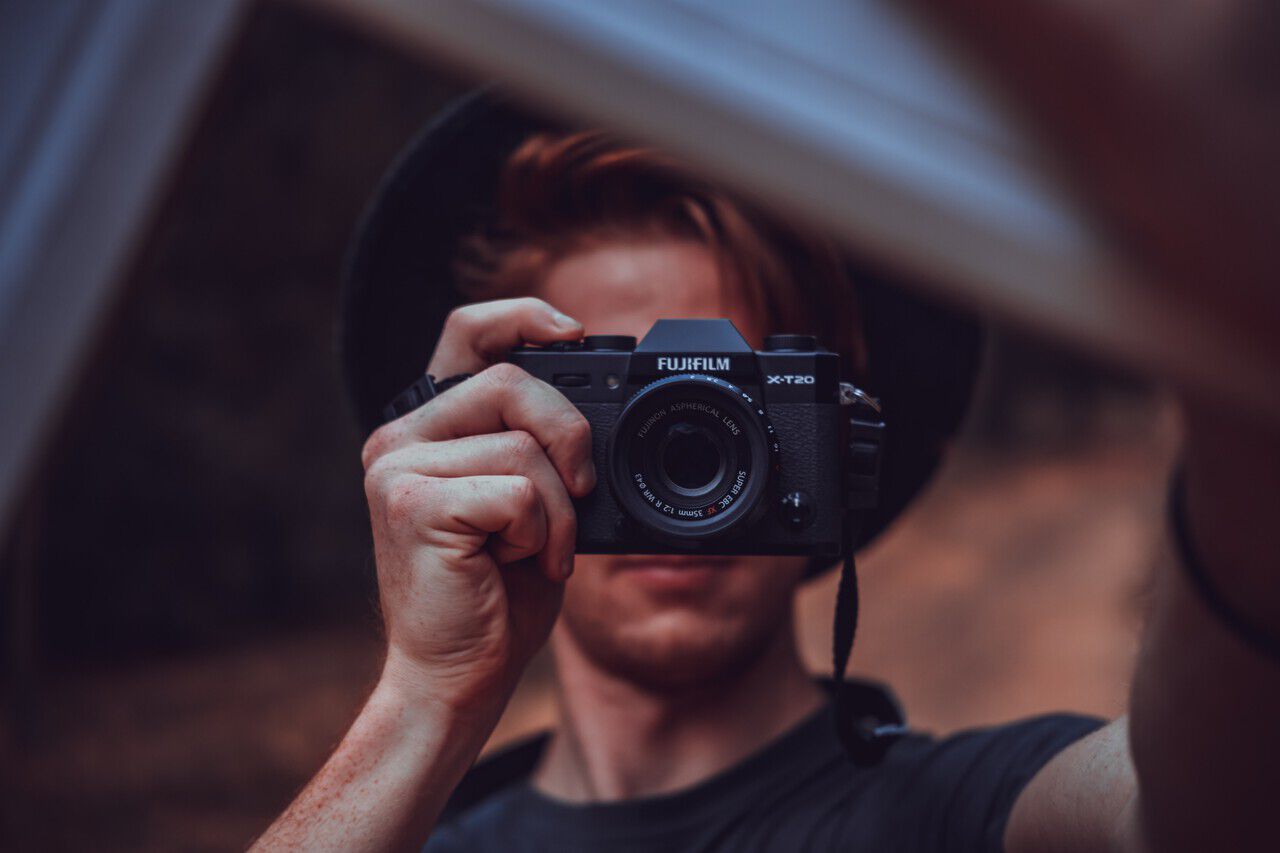
1. Pick The Right Camera Format
First and foremost, the one thing that can affect the load of your backpack is the camera system you choose to go with. DSLRs are clunky and old, which puts them out of the picture when it comes to travel.
Mirrorless cameras are the way to go, but which system should you invest in? There are three main categories you will have to know about: the Micro-Four-Thirds system (lightest), the Full-frame system (heaviest), and the APS-C system (medium). Each system has its own advantages and disadvantages that you should consider before picking one.
1. Micro-Four-Thirds System (Lightest)
There is the Micro Four Thirds system, which is the smallest and lightest of the bunch. Brands like Olympus and Panasonic are known for their great Micro Four Thirds system.
This system is the smallest and lightest of them all, which means that the lenses and important accessories like a tripod can also be lightweight. That said, the Micro Four Thirds cameras often have the smallest sensor, which can be quite limiting when it comes to image quality and lowlight performance. This can be a deal-breaker for some.
2. Full-Frame System (Heaviest)
There is also the full-frame system, the heaviest and often largest of the bunch but still compact enough to carry, unlike DSLRs. Brands like Canon and Sony are known for their lightweight full-frame cameras with a ton of lens options available.
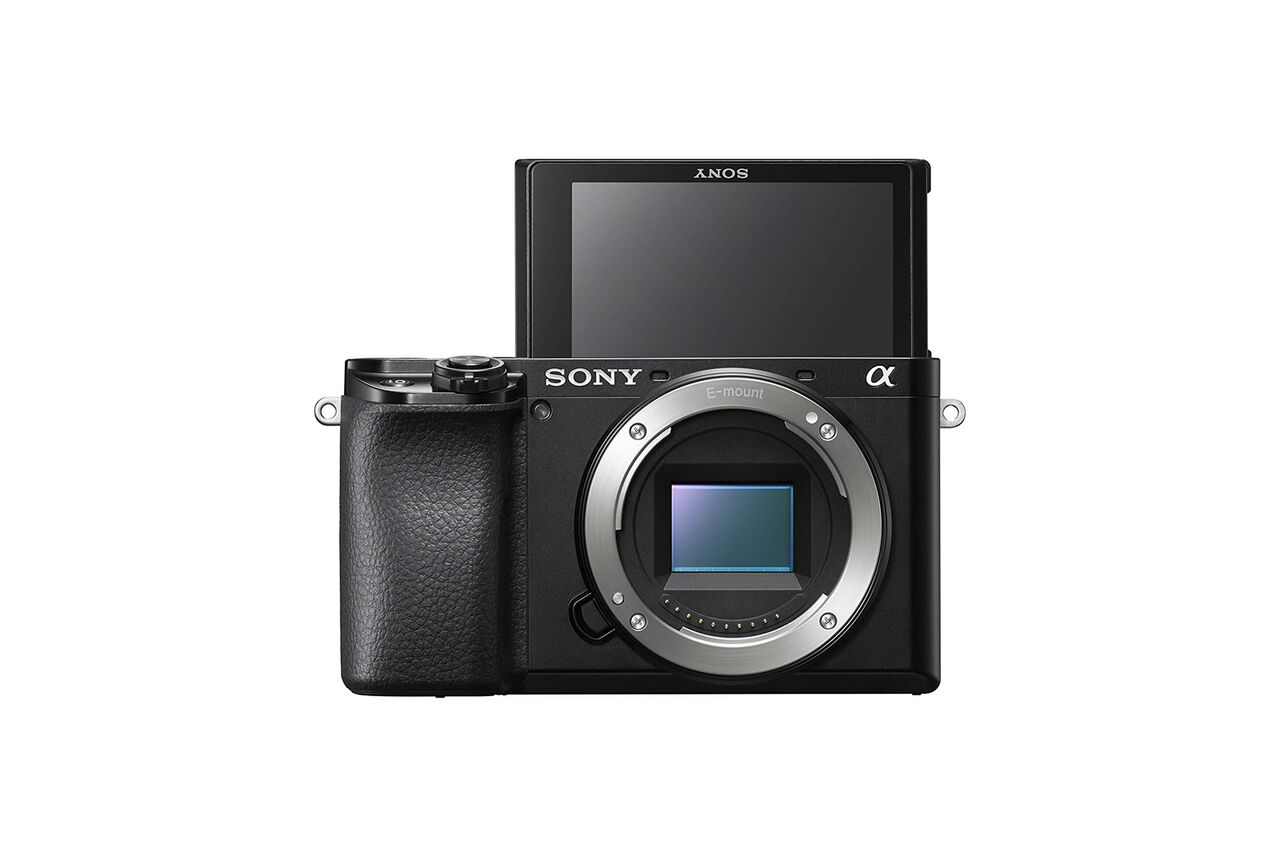
The system is the best performing camera system out of all, with excellent image quality and great low-light performance. It is also the larger of the bunch, but not by much. Now, we have a compact full-frame camera with a form factor similar to those of APS-C cameras like the Sony a7C, which I am currently using.
With a larger camera system, you will also have to worry about the sizes of the lenses you want to pack, as well as other accessories you might need, since they become significantly heavier and more expensive than the Micro Four Thirds and APS-C lenses and accessories.
3. APS-C System (Medium)
Last but not least, the APS-C system is in between the two with slightly heavier and larger gear than the Micro Four Thirds but smaller than the full-frames. Brands like Sony and Fujifilm have a pretty great APS-C ecosystem, especially Fujifilm, with new APS-C lenses and cameras coming out all the time.
The image quality and lowlight performance are also in between the two systems, as well as the size and weight of the APS-C lenses and other accessories.
4. So Which Camera System to Pick?
Well, it all depends on how you want to balance between size & weight and image quality and performance. If you are only starting out, wanting to learn more about travel photography, and are not used to carrying heavy camera gear while traveling, the Micro-Four-Thirds and the APS-C systems are an excellent choice.
I would lean more towards the APS-C as it will leave more room for you to grow as a photographer. With the Sony and Fujifilm cameras, you will also have more access to lenses and accessories that you might not have with Micro-Four-Thirds.
Cameras like the Sony a6100 and the Fujifilm X-T200 are great entry-level cameras you can get. They weigh around 400 g (0.88 lbs) and you can pick them up at quite an affordable price between 700-800 USD. Here is a great comparison video by DPReview TV, my favorite photography YouTube Channel.

If you have a little bit more budget, you can go with the more mid-entry level cameras like the Sony a6400 or the Fuji X-S10, which weigh around the same as the entry-level cameras at 400 g (0.88 lbs) and are the best bang for your buck, with the price point at around 1,000 USD.

For people who can spare around 1,500 USD for a camera body, the very best APS-C cameras you can buy right now are the Sony a6600 or the Fujifilm X-T4. Both weigh around 500 g (1.1 lbs) and are highly capable for enthusiasts and professionals alike.
All these APS-C cameras are great, but they are still limited by the smaller size of their sensors, which can be a deal-breaker for some. If you are looking for a camera system with the best image quality and the ability to shoot sharp pictures even in poorly-lit places, and you do not mind carrying a heavier bag load, the Full-Frame system is the way to go.
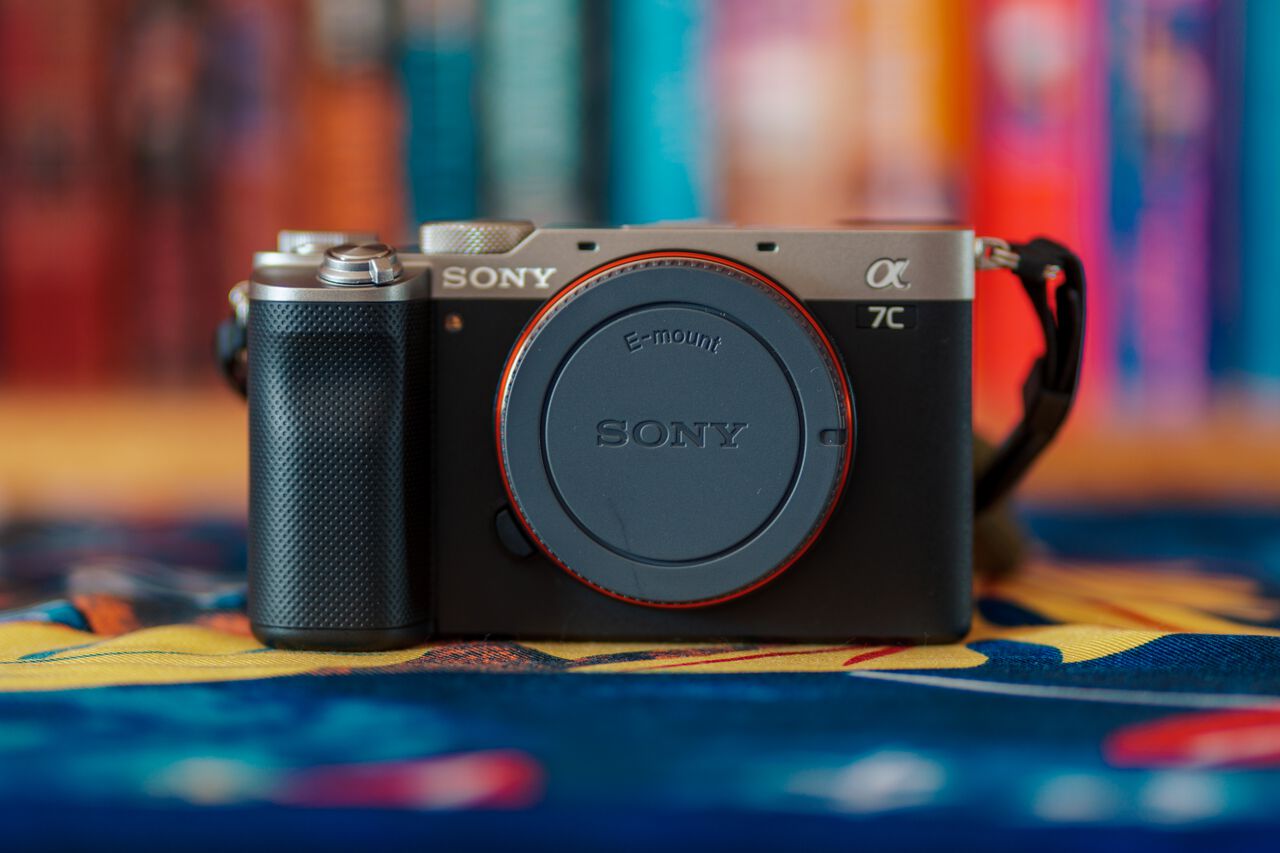
The Sony a7C camera is the lightest and most compact full-frame camera you can get right now, and I highly recommend you go for this camera if you want to travel light without sacrificing image quality.
Sony did a great job of keeping the form factor and weight similar to its APS-C counterparts like the Sony a6600 but comes with an uncompromising full-frame sensor. Any other options like the Sony a7IV, etc., will be way too cumbersome to travel with, in my opinion.
All in all, it's all about what you want to get out of your trip. If you are only taking photos of families and friends, you can easily go with entry-level cameras like the Sony a6100 and Fujifilm X-T200 cameras.
If you enjoy taking photos of architecture and landscapes while traveling and occasionally printing them out for your walls, you might consider going with the mid-level cameras instead, such as the Sony a6400 or the Fuji X-S10 cameras.
If you are an aspiring content creator like me and you want your backpack to be as light as possible, you might consider going with the Sony a6600 or Fujifilm X-T4 cameras. Or, if your budget allows, you can take it to the next level like I did and choose the Sony a7C full-frame camera.

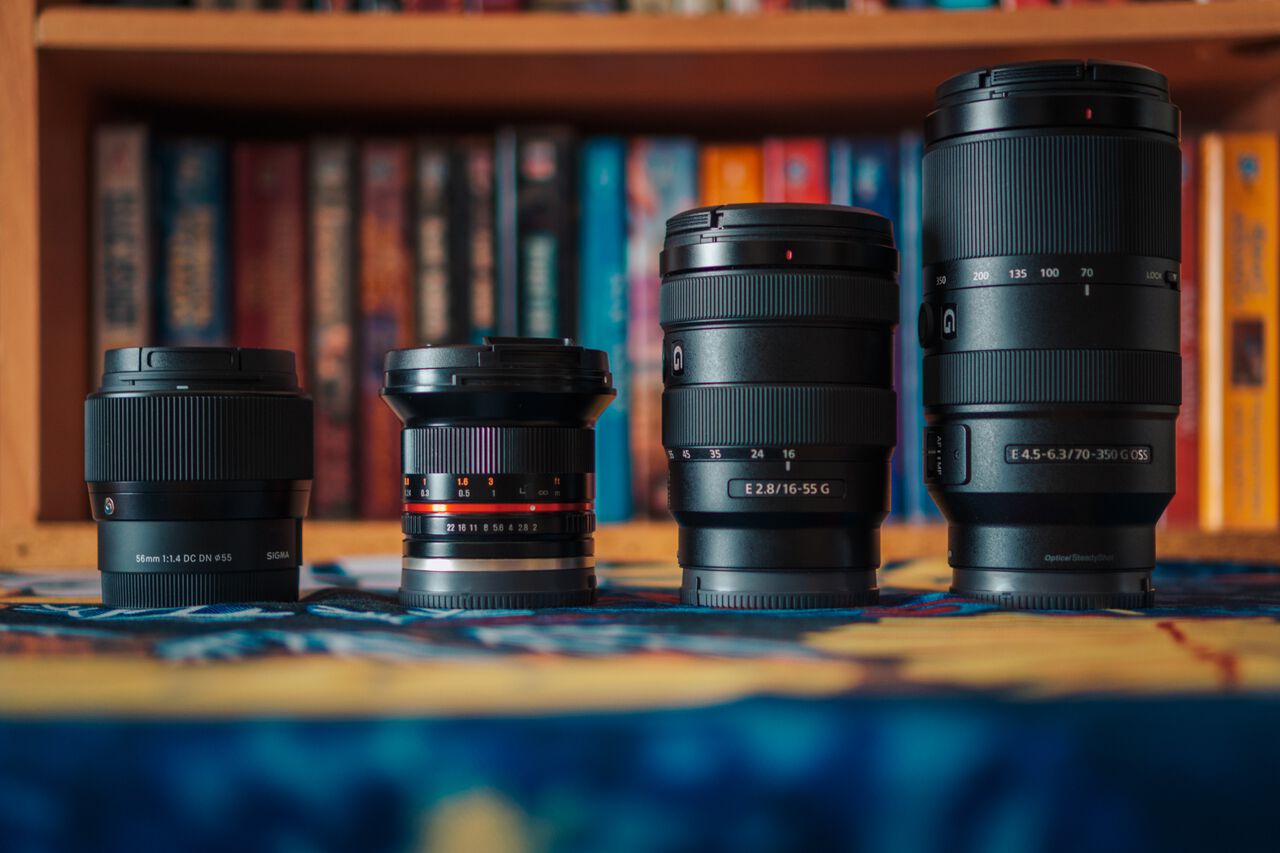
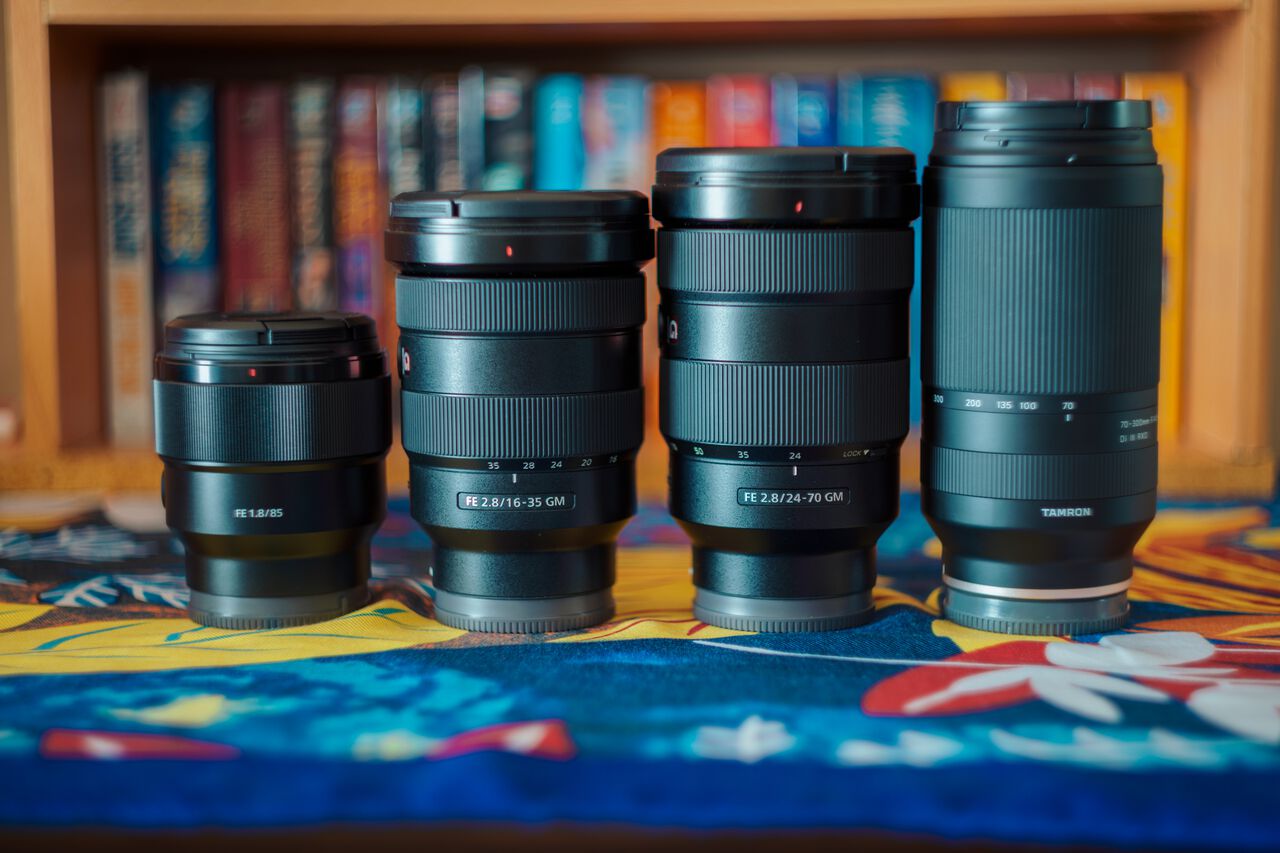
2. Buy The Right Lenses For Travel
Now that you have picked the right camera system for your next trip, it's time to pick the right lenses. No matter which camera you pick, the majority of the weight of your backpack will come from the lenses you want to pack for your trip.
Of course, you can easily travel the world with one lens. However, since this article is for photographers, I will be focusing on providing a comprehensive list of the holy trinity lenses for each camera system. These lenses will cover all the focal lengths from 16mm to 200/300mm that you might need when you travel.
1. Best Lightweight Sony APS-C Lenses
For Sony APS-C cameras such as the Sony a6100, a6400, and a6600, here are the best and most lightweight travel lenses that you should pick up, which do not sacrifice image quality.
- Wide-Angle Lens: Sony 10-18mm F4 lens (225 g | 0.49 lbs).
-
All-Around Lens (for a6100, a6400): Tamron 17-70mm F2.8 lens (544 g | 1.20 lbs)
This is not the lightest lens, but it comes with optical image stabilization, which is important for the Sony a6100 and a6400 cameras since they do not have in-body stabilization (IBIS). - All-Around Lens (for a6600): Sigma 18-50mm F2.8 lens (for a6600) (290 g | 0.64 lbs).
-
Telephoto Lens (for a6100, a6400): Sony 70-350mm F4.5-6.3 lens (625 g | 1.38 lbs)
Again, since the Sony a6100 and a6400 don't come with IBIS, you are going to need a lens with OSS, which this one has. -
Telephoto Lens (for a6600): Tamron 70-300mm F4.5-6.3 lens (544 g | 1.20 lbs)
Despite being a full-frame lens, it is the lightest telephoto lens available that is great for traveling light.
The total weight of this lens set up is 1,394 g or 3.07 lbs (without the camera body) for Sony a6100 and a6400.
For the Sony a6600 with its IBIS, you can save even more weight, which is around 1,059 g or 2.33 lbs (without the camera body), with this lens setup.

2. Best Lightweight Fujifim APS-C Lenses
For Fujifilm APS-C cameras such as the Fujifilm X-T200, X-S10, and X-T4, here are the best and most lightweight travel lenses you should consider:
- Wide-Angle Lens: Fuji XF 10-24mm F4 lens (385 g | 0.8 lbs).
- All-Around Lens: Fuji XF 16-55mm F4 lens (653 g | 1.44 lbs).
- Telephoto Lens: Fuji XF 55-200 F3.5-4.8 lens (580 g | 1.28 lbs).
The total weight of this lens set up is 1,618 g or 3.56 lbs, not including the weight of the camera body.

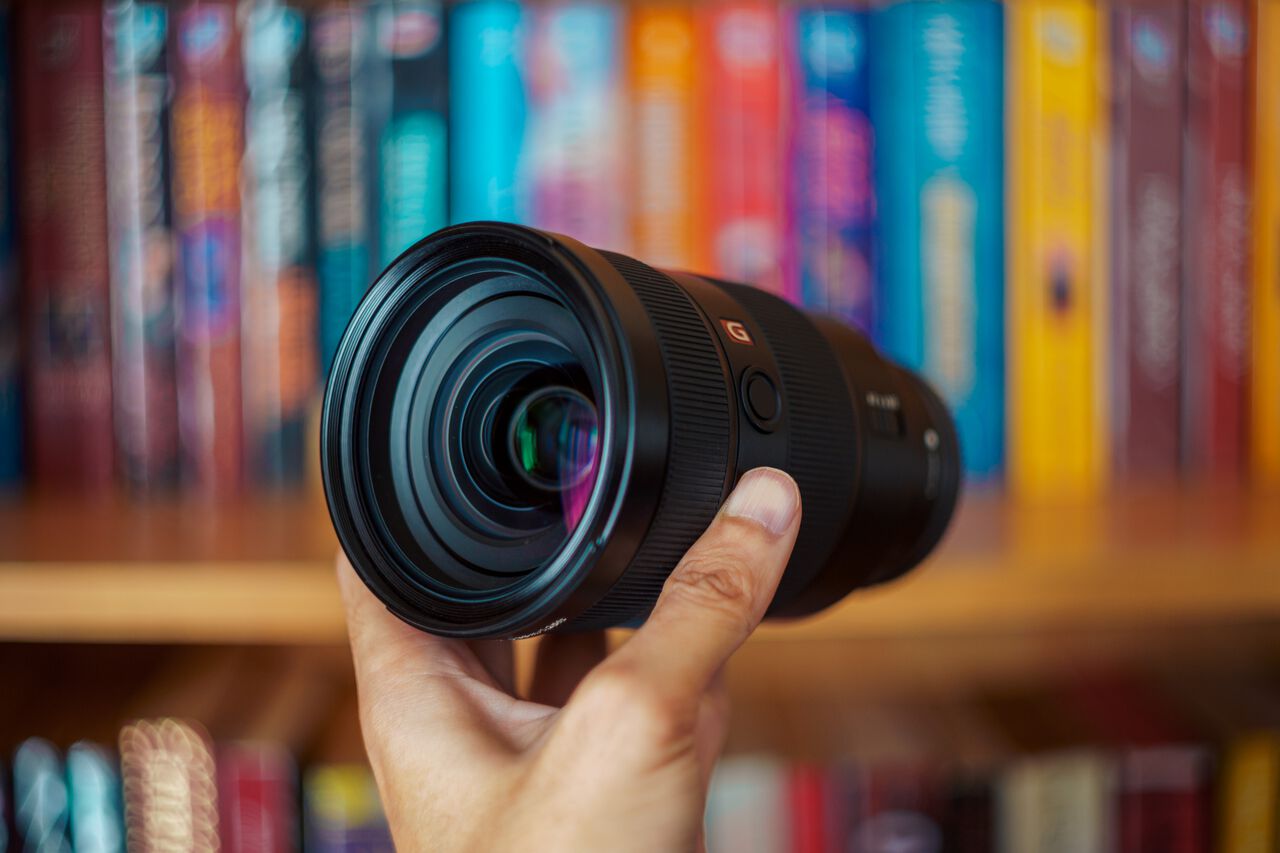
3. Best Lightweight Sony Full-Frame Lenses
For Sony full-frame cameras such as the Sony a7C or a7IV, here are the best and most lightweight travel lenses you should consider purchasing.
- Wide-Angle Lens: Tamron 17-28mm F2.8 lens (422 g | 0.93 lbs).
- All-Around Lens: Sigma 28-70mm F2.8 (471 g | 1.04 lbs).
- Telephoto Lens: Tamron 70-300mm F4.5-6.3 lens (544 g | 1.20 lbs).
The total weight of this lens set up is 1,437 g or 3.16 lbs, not including the weight of the camera body.
This may seem surprising as it is even lighter than some APS-C lens setups but, due to the much larger lens ecosystem for the Sony full-frame cameras, you have access to more lightweight options than the APS-C ecosystem.
With the list above, you can reduce the weight even more by assessing what lens you need for your trip and getting only the ones you will be using. Not many travelers are going to need all the holy trinity lenses at once, which brings us to our next point: consider which lenses to bring for your trip.

3. Consider Which Lenses To Bring On A Daily Basis
Carrying all your photography gear in your daypack for an entire day of exploration may seem like a good idea at first, but trust me, you are going to feel it on your shoulders by afternoon. It may even make you sore the next day, making it even worse for you the following day.
Consider leaving some of the lenses you do not need in a safe or a locker in your hotel/hostel before heading out for the day. Think of the places you are planning to visit today and bring the lenses you need, and leave the ones you don't.
For example, if I am planning to explore the city and visit large architectures and maybe a few viewpoints, I would often leave my all-purpose lens at my accommodation and pack a wide-angle lens for architecture and a telephoto lens for viewpoints.
If I am going to walk around a flea market in the evening, I would just take my all-purpose lens and leave everything else at my accommodation so that I don't weigh myself down with unnecessary gear. Trust me, every gram you can eliminate counts when it comes to traveling with photography gear.
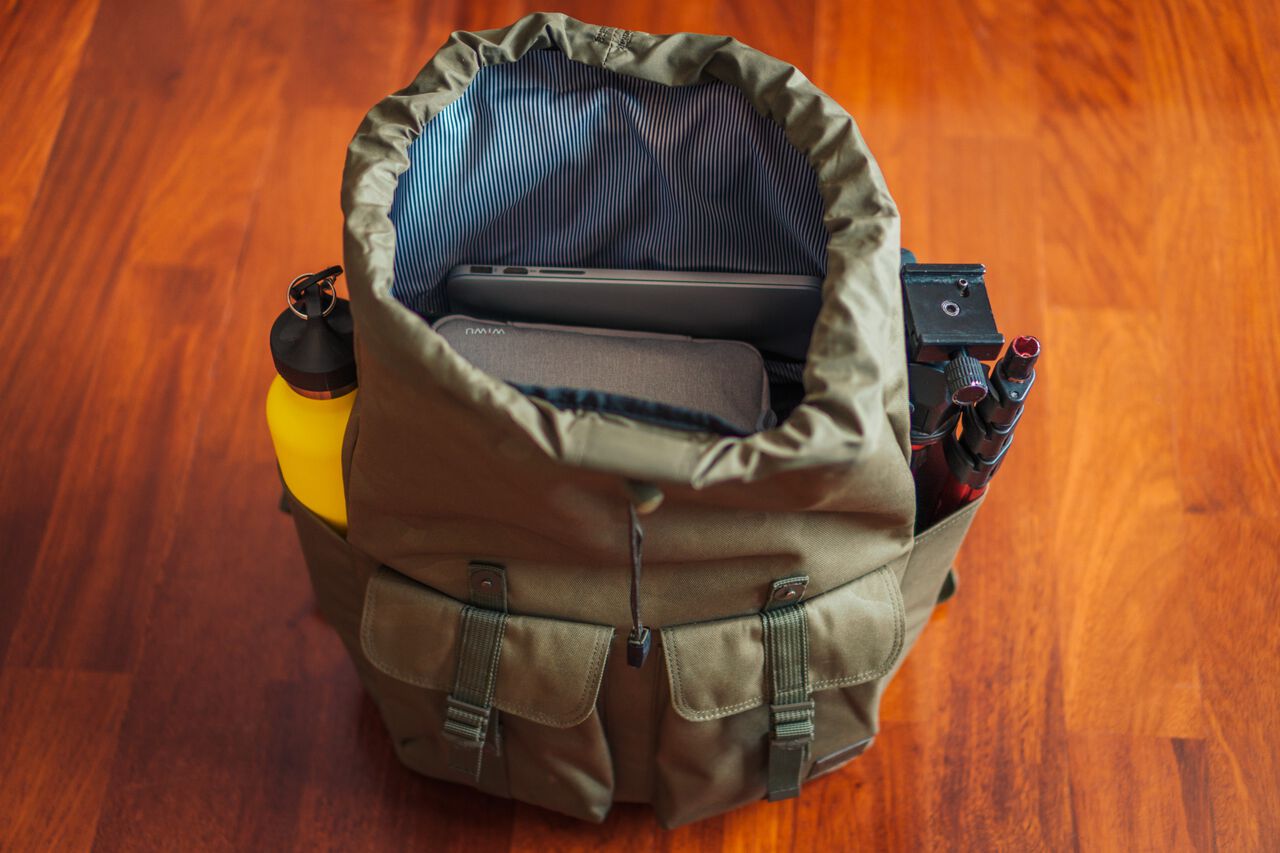
4. Bring Only What You Need
This also applies to other items in your backpack as well. I used to carry everything in my daypack, including a camera, all the lenses, a tripod, a laptop, an ND filter, my tech pouches, cables, and chargers, which accumulate to a weight of 10 kg.
That was not sustainable, and I often get tired after spending half the day carrying it. A better way I found is to leave whatever I do not need at the hotel, even the smallest of things like an ND filter or a tech pouch, which can add up fast if you are not careful.
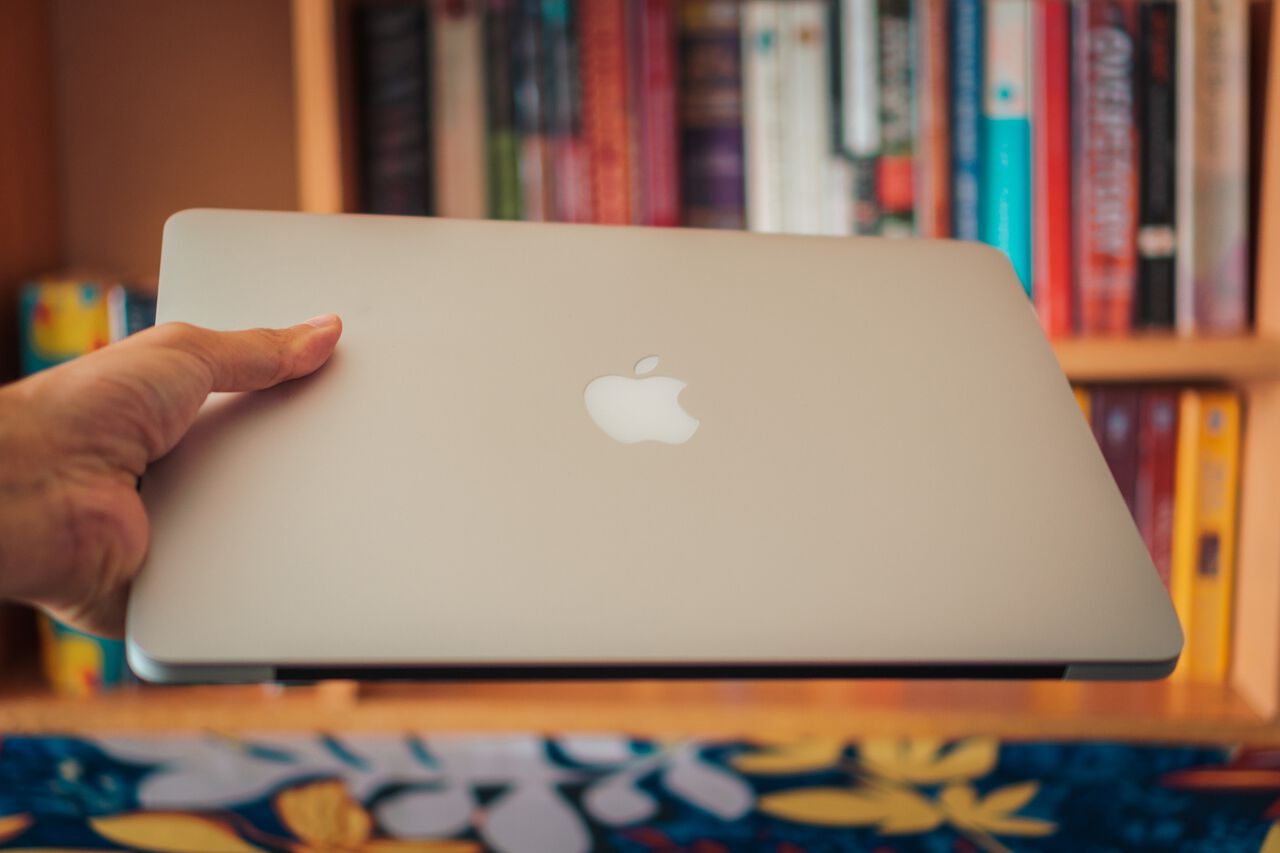
Nowadays, I often leave not just lenses but also my laptop (1.7 kg), a laptop charger (300 g), my ND filters (100 g), my tech pouch containing all the cables and hard drives (300 g), and sometimes even my tripod (1 kg). By doing this, I am already saving myself from carrying an extra 3.4 kg (7.49 lbs) of unnecessary weight every day.
So before you go out every day and explore a new place, think about what you really need, pack it, and leave the rest in a locker or safe at your accommodation. Your backpack should be lighter than ever.

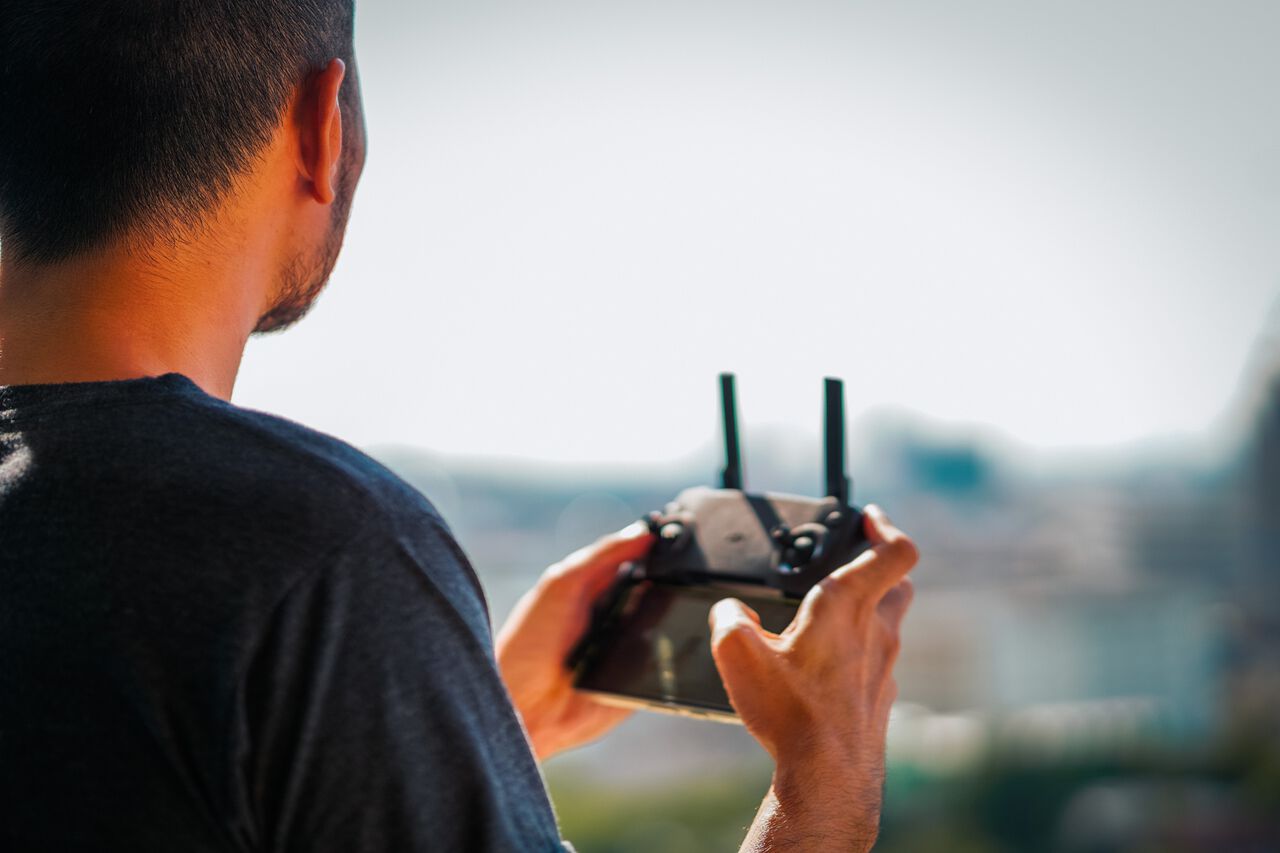
5. Leave your drone at home
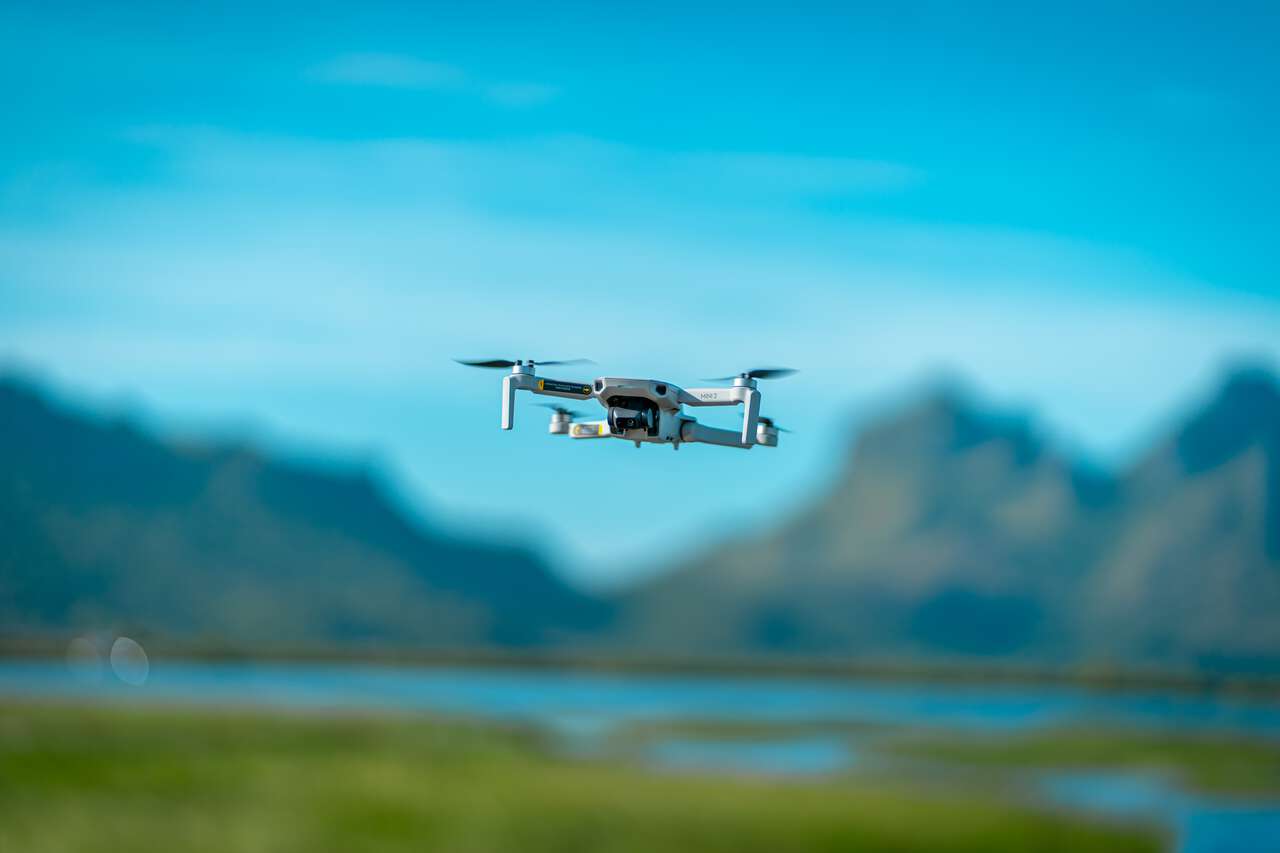
Don't get me wrong, I love flying drones and I love seeing places from a new perspective, but the more I travel with it, the less I want to pack it, especially when I am abroad and getting in trouble with the authorities can become much more serious. Trust me, you do not want to be in trouble with the police in places like Kenya.
You might even get your drone apprehended straight from the airport if the country is really strict. I almost had mine apprehended at the airport in Nairobi because they said it is illegal to bring a drone into the country. They were going to keep it at the airport until I flew back, but since I wasn't flying out from Nairobi, I pleaded and pleaded. Thankfully, they budged and allowed me to enter the country with a drone, but they took a photo of the serial number. If they catch me flying it, I'll go straight to jail.
If you are flying abroad to places with strict security rules, such as Kenya or the UAE, consider leaving your drone behind to lighten the weight of your camera bags. If you insist on bringing a drone and are traveling in countries that are not as strict, feel free to do so. However, I highly recommend you pack it in a separate pouch and only pack it when you need it or leave it behind at your accommodation when you don't, to save weight.
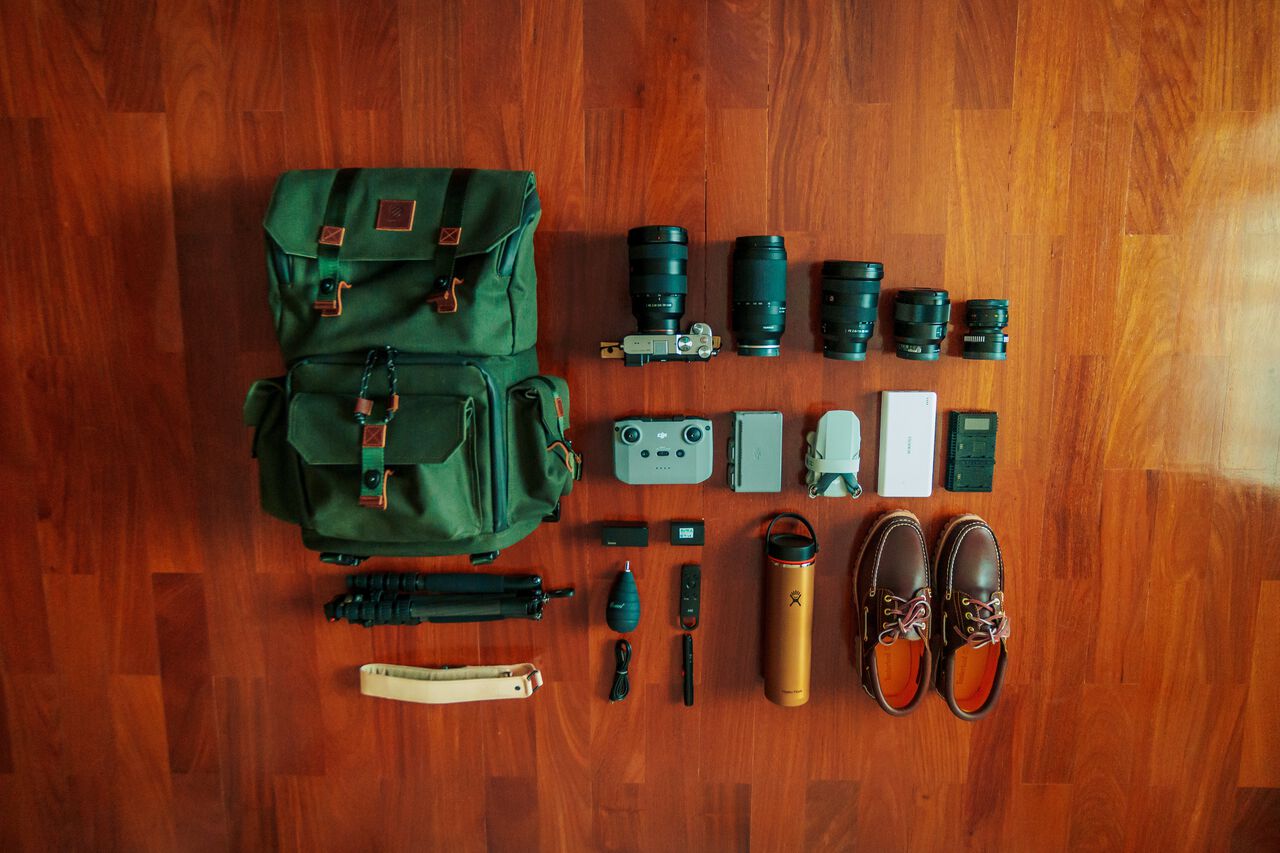
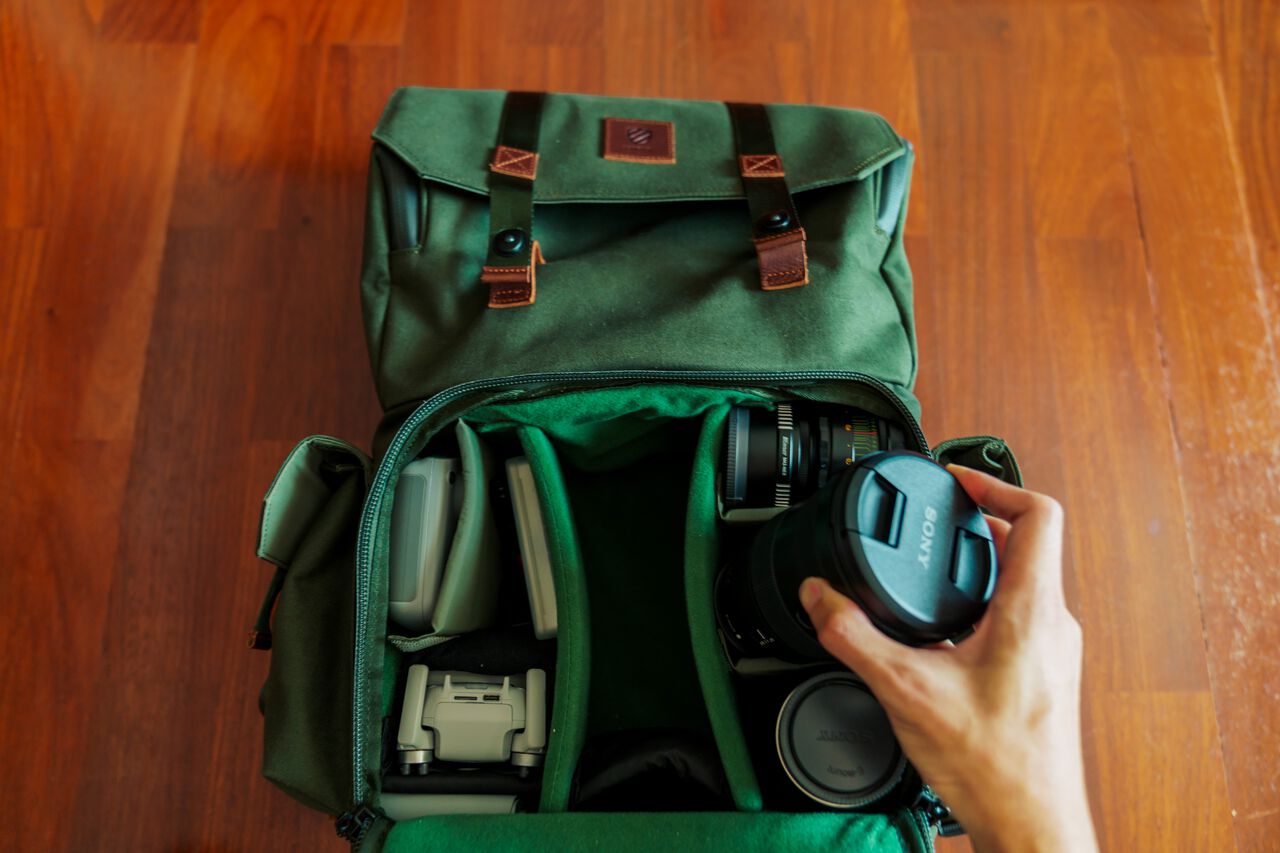
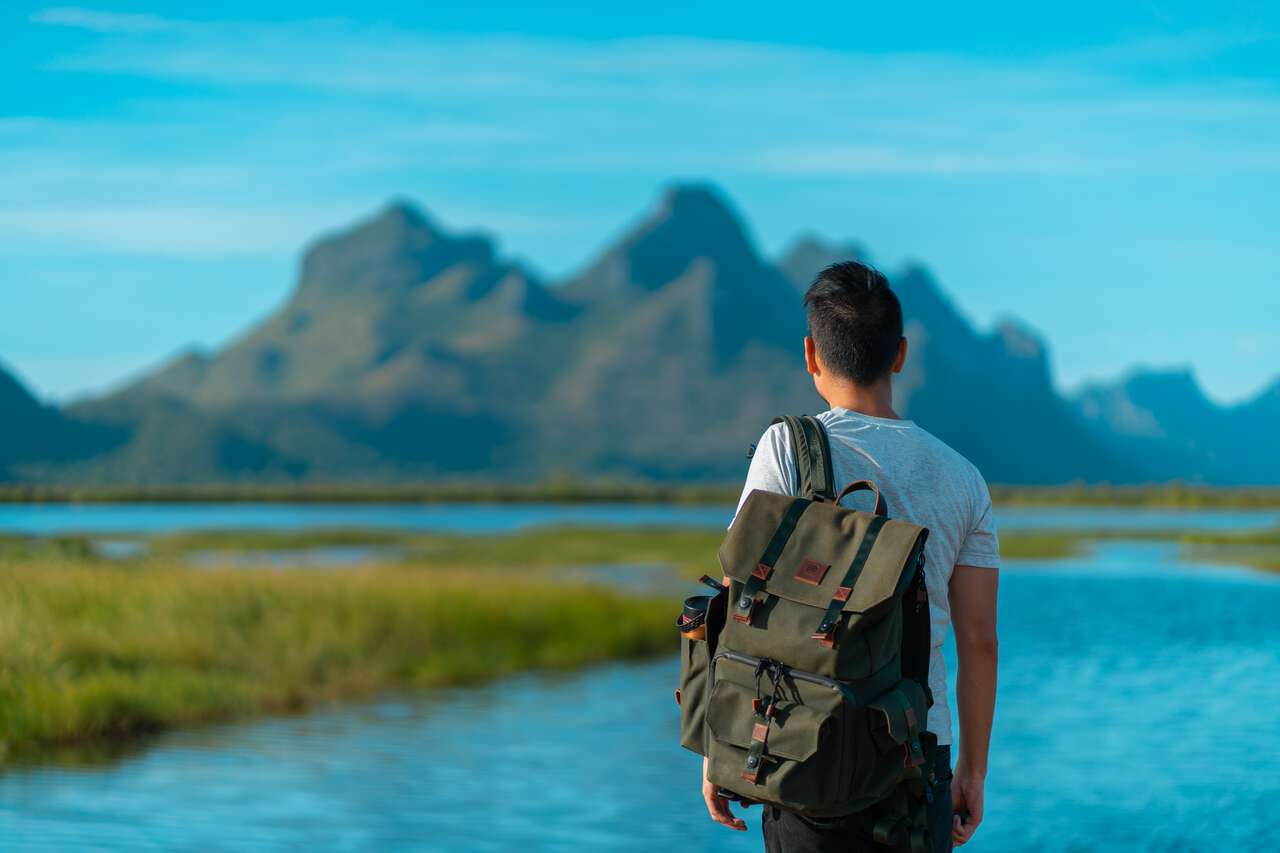
6. Pick The Right Camera Backpack
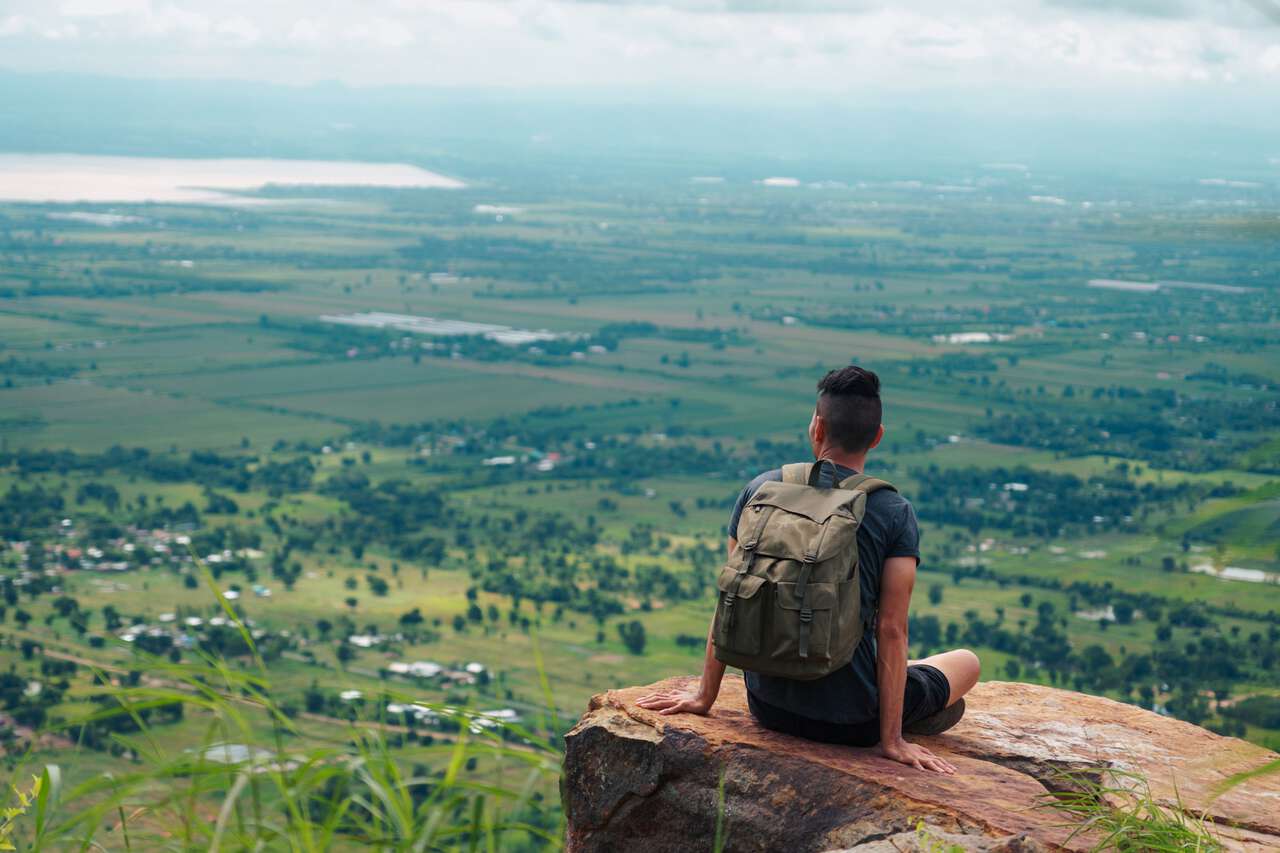
Now that you have sorted out all of the camera gear, you will also have to pick the right camera backpack that will allow you to carry all of your gear comfortably and without adding even more weight to it.
Some camera bags are lighter than others but still maintain their ability to carry camera gear comfortably. Below are some of the best camera backpacks that strike the perfect balance between lightweight and functionality:
- Shimoda Explore V2 Backpack (1.8 g | 3.96 lbs).
- Wandrd Prvke Backpack (1.5 g | 3.31 lbs).
- Peak Everyday Backpack (1.5 - 1.8 g | 3.31 - 3.97 lbs).
Or, if you are only carrying an APS-C camera and two lenses, you do not really need a camera backpack. A better way is to go with a regular backpack and use a camera insert instead, which should be the most optimal solution when it comes to price and weight reduction.

You can get a top-loading camera insert and put it at the top of a regular bag like Herschel Supply's Little America backpack, which weighs only about 907 g (2 lbs). By combining the bag with a camera insert, you should have a backpack that weighs only around 1 kg (2.2 lbs), saving you over 500 g (1.1 lbs) if you were to pick a camera backpack.

7. Adjust and Fit Your Camera Backpack Before Traveling
Technically, having your camera backpack adjusted and fitted to your body may not help in reducing the literal weight of your camera backpack, but it can help you mentally and make the weight of the bulk of your camera gear distributed equally on your back, making it more comfortable to carry around all day.
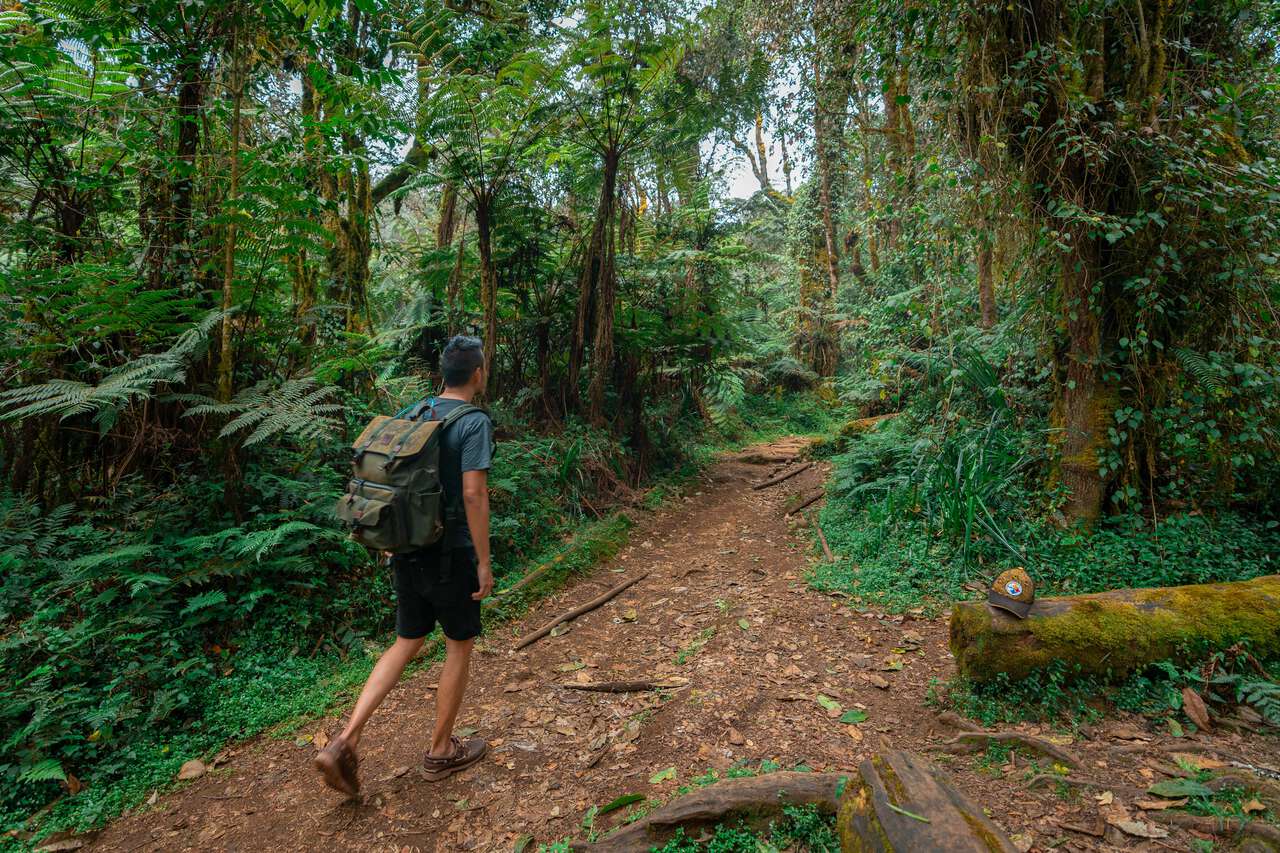
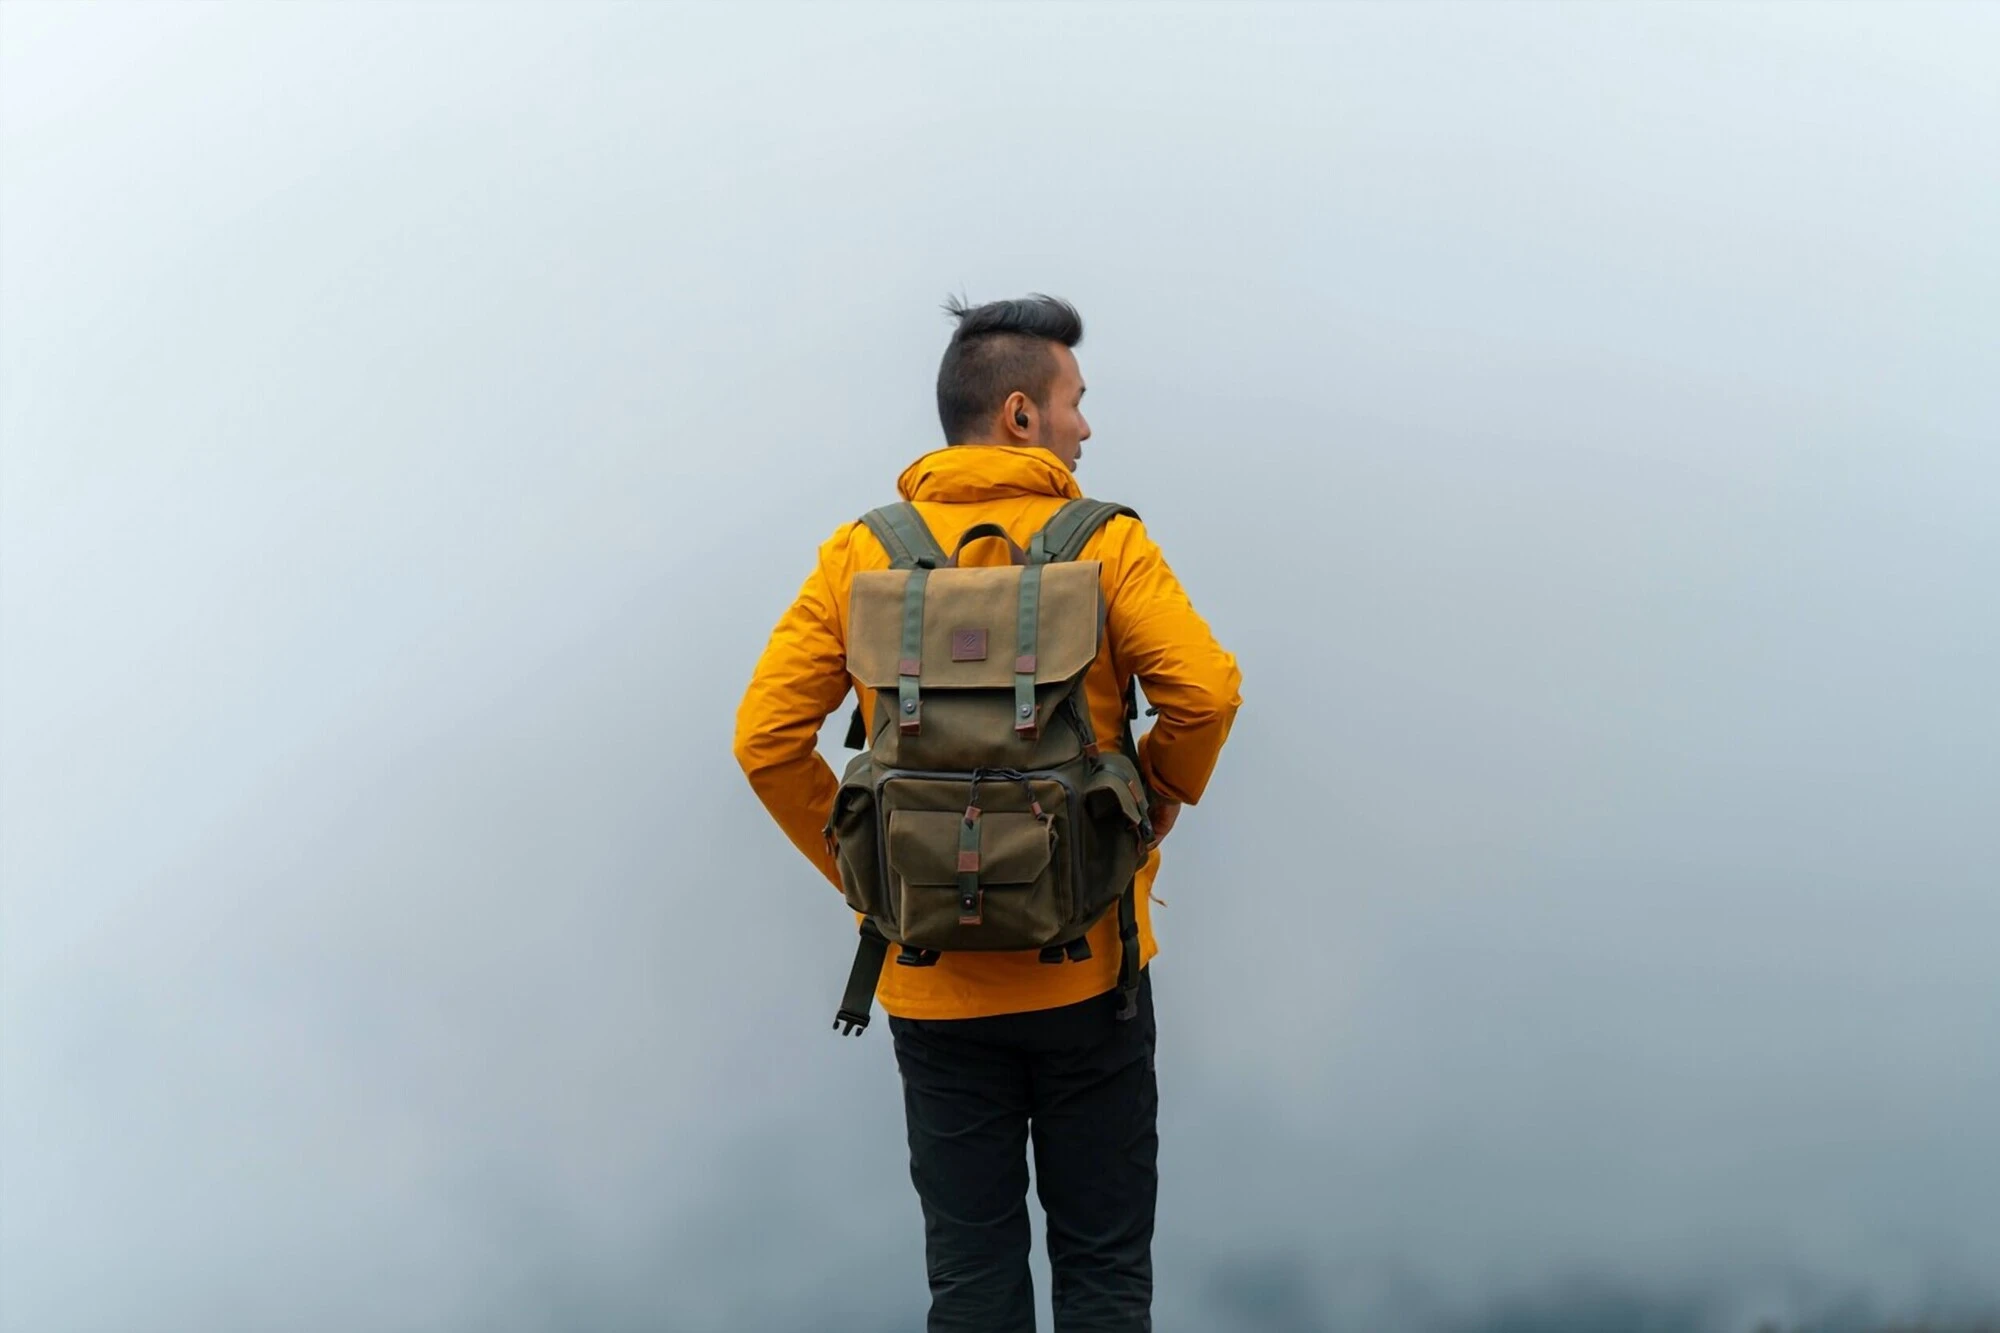
I used to carry my camera backpack incorrectly, even while hiking with it, and I would blame everything from my mistakes in not eliminating unnecessary weight to the design of the camera backpack itself. However, what I forgot to consider was how it fit on my back. As you can see in the photo, the backpack was not properly adjusted, causing the sheer weight to pull me down.

After I readjusted the backpack straps correctly to have the weight closer to my back, it definitely felt lighter and made moving around with the backpack so much easier. If you just got a new camera backpack, be sure to adjust it correctly before you go on a trip. Try fitting it at home and spend a few hours walking with it, readjusting until you find the most comfortable setup, and your camera backpack will magically feel lighter.
8. Use a Unified GAN Charger
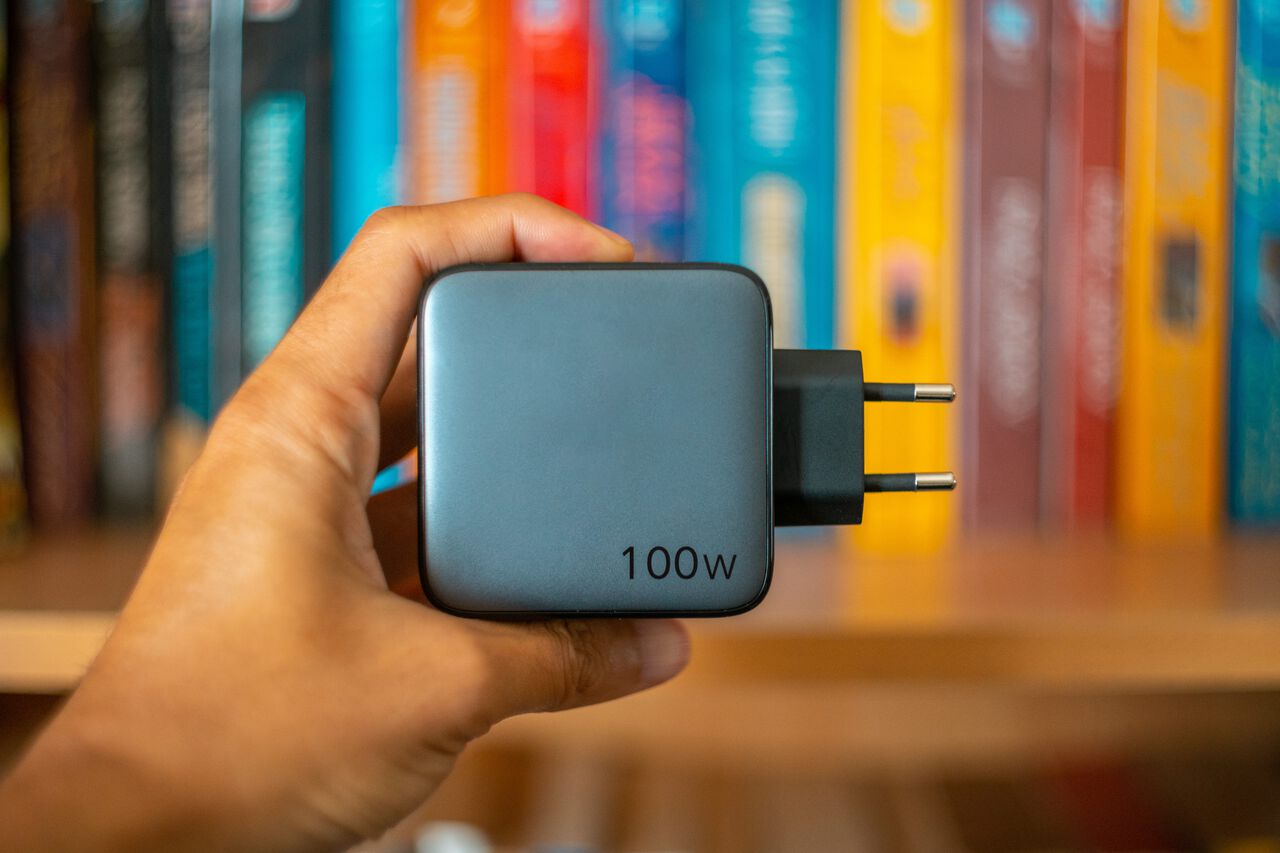
Another way to save even more weight is to pack a unified GAN charger that will allow you to charge everything at once, so you do not have to carry a phone charger, a laptop charger, a camera charger, and more.
These chargers can quickly add up to the weight of your backpack, and replacing them with a one-solution charger like the Ugreen 100W Wall Charger (240 g, 0.5 lbs) will allow you to fast charge almost any device, including the new MacBook, with a maximum charge speed of 100W. It saves even more weight and keeps your electronics more organized. Win-win!
For example, my laptop charger weighs 300 g, while my phone and camera chargers combined weigh another 200 g. In total, I have to carry an extra 500 g (1.1 lbs) every day. Now, I can reduce that amount by half by replacing these chargers with a 240 g (0.8 lbs) unified charger. This unified charger allows me to charge everything with one brick, which is definitely more convenient.
And there you have it, the best tips on how to travel light with your camera gear. If you are a light traveler like me, who is always interested in optimizing what you carry, you will find the OneBag subreddit, a community devoted to minimal urban travel, very interesting.
Disclaimer: This post may contain affiliate links. See our disclosure policy.
First Published:
Last updated: