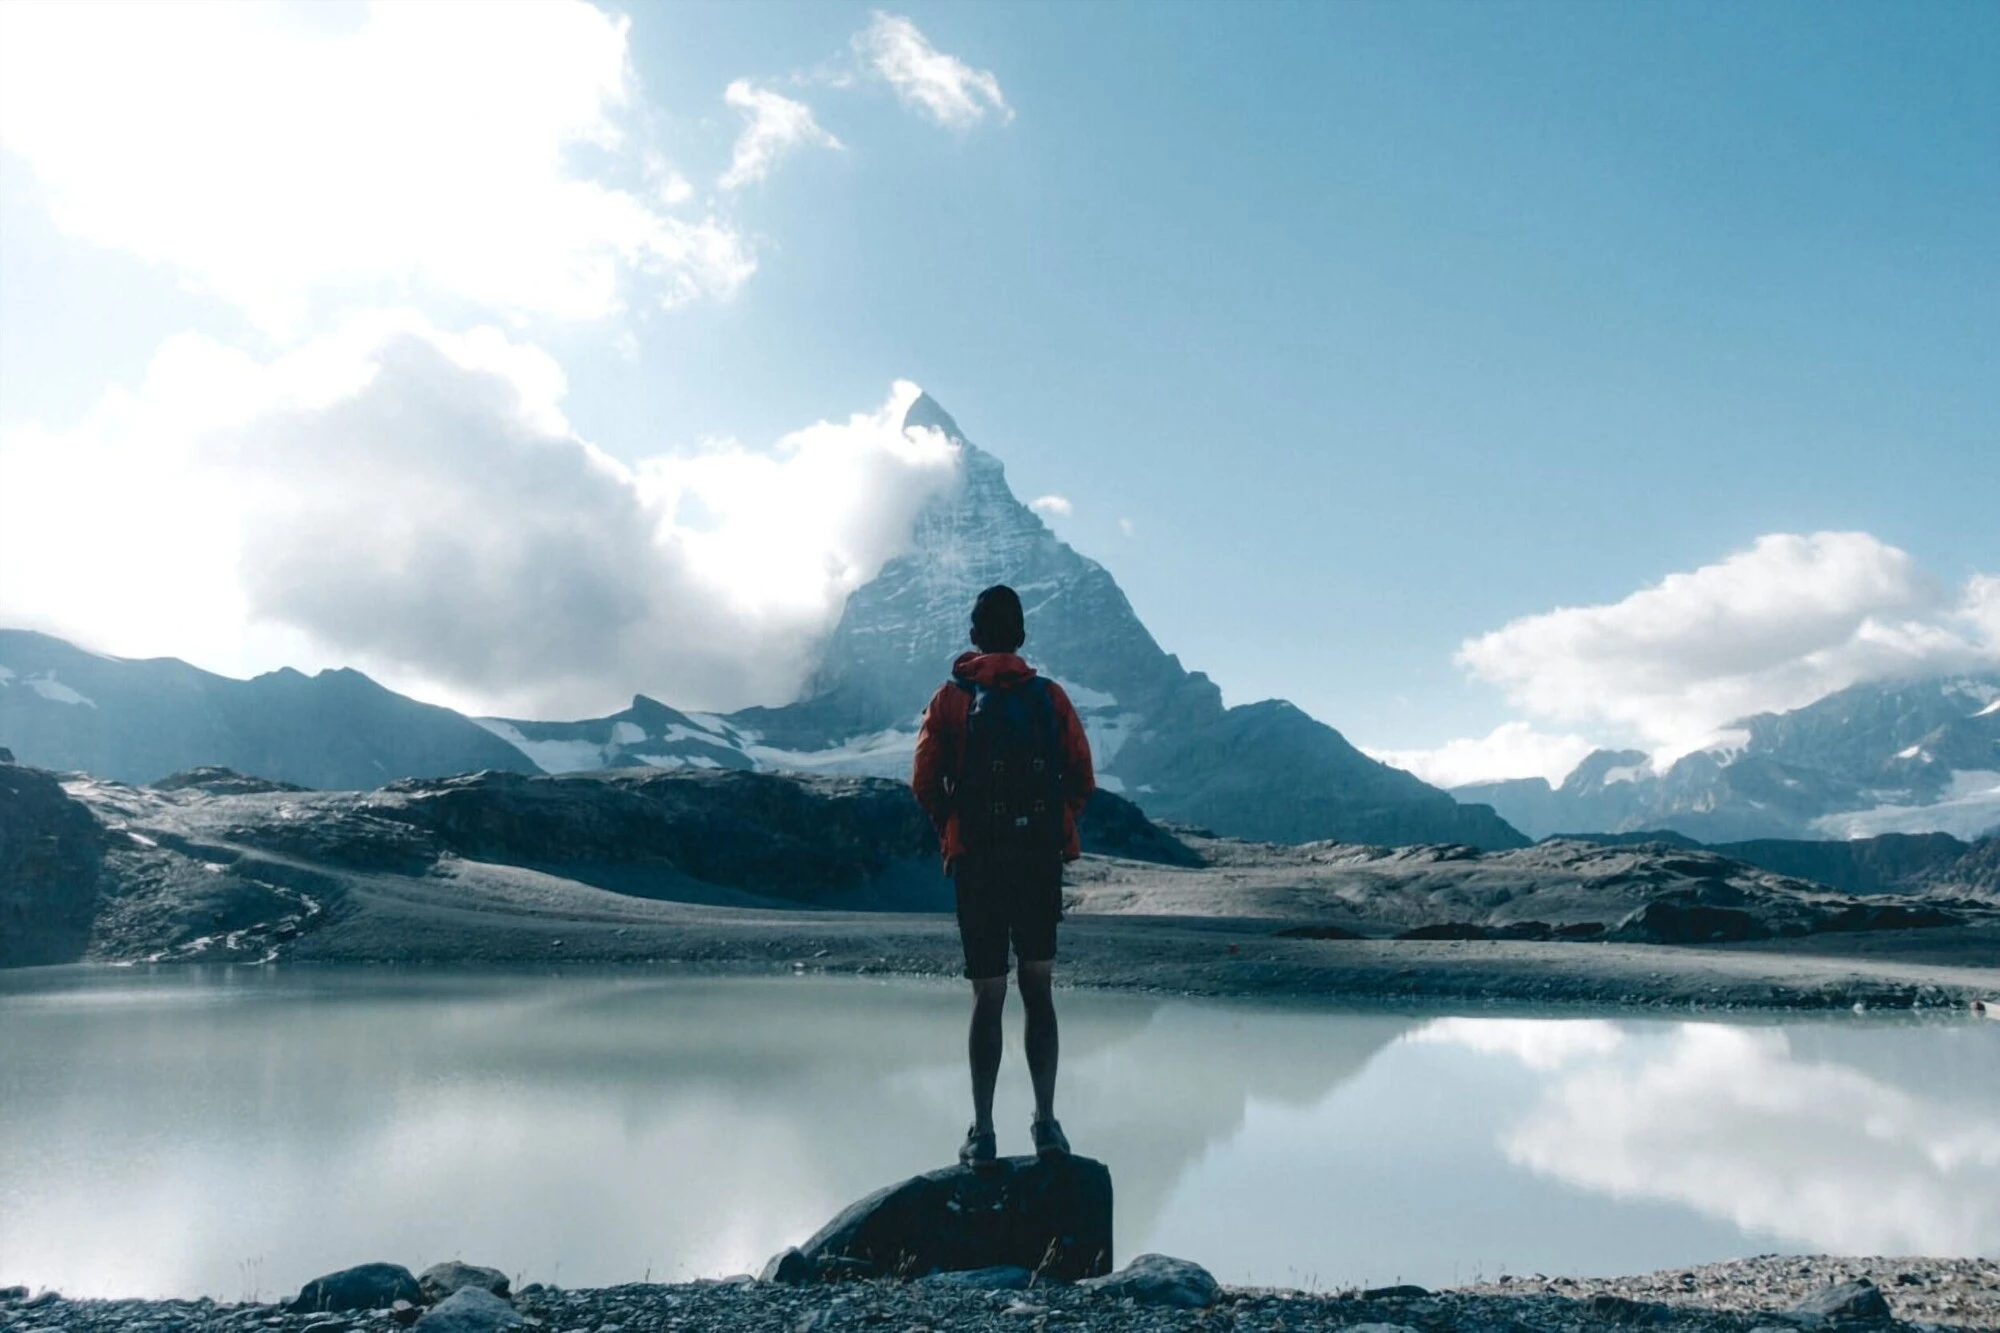


Switzerland is an expensive country. Many backpackers shy away from it when backpacking through Europe due to the cost of traveling. It doesn't have to be that way, though, as I experienced it firsthand by traveling around Switzerland for 2 weeks and spending as little as possible. That is not to say I didn't do anything. I did a lot. In fact, I even got to the foot of the Matterhorn without selling my kidney!
In this post, I will explain everything I did to minimize the cost, the equipment you will need to make it happen, and which trail to take for the best full-day experience.

Quick Matterhorn Hike Info
Quick Summary
| 🌤️ Best time: | July-August |
| 🚘 Get around: | Hiking |
| 🕓 Time to spend: | 8 - 12 hours |
| 🚶♂️ Difficulty: | Moderate to Advanced |
The Ultimate One Epic Day Hiking Trail
On my trip, I combined several trails into one long circuit that I completed in a single day, hiking from Zermatt up toward Schwarzsee and Hörnli Hut before continuing through the glacier area and eventually back down to Zermatt. The route below is the one I personally followed at the time. Trail alignments and conditions around the glaciers can change, so use my route as a firsthand account and check the current marked hiking trails before setting out. I also suggest saving an up-to-date offline hiking map on your phone as a backup.
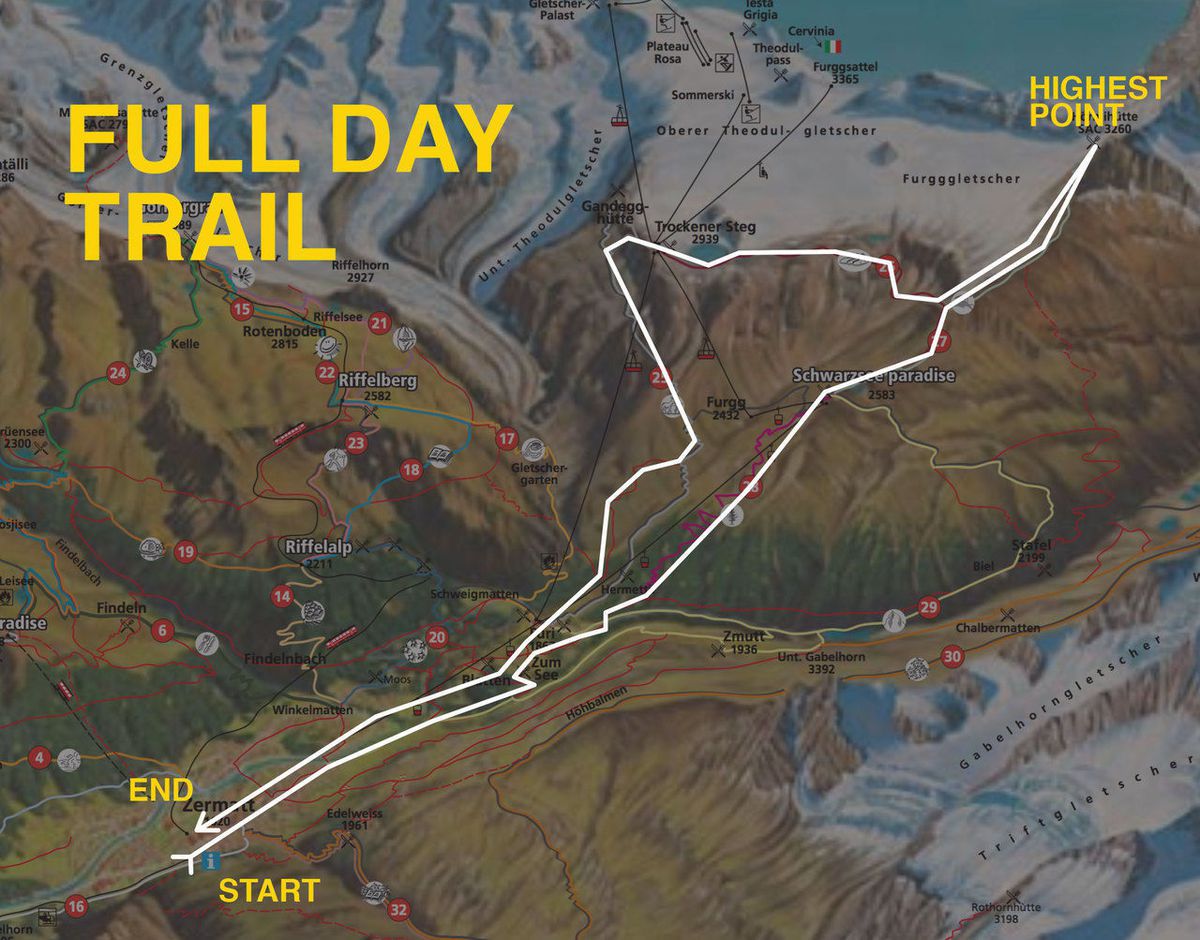
To download the full hiking map with all the available trails on and around the Matterhorn, click here: Hiking Map around the Matterhorn.
The trail begins from the campground in Zermatt. Start as early as 8 AM so that you can make the most of the daylight available that day. Walk towards the northeast of Zermatt and follow the cable car line towards Furi.
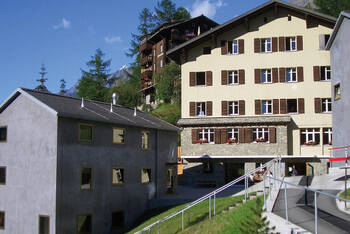
- Zermatt Youth Hostel (Budget)
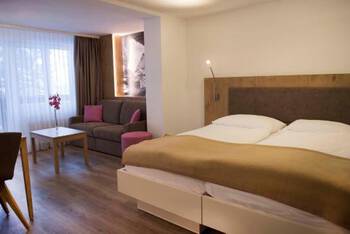
- Residence Patricia (Mid-Range) 👍 Top Pick
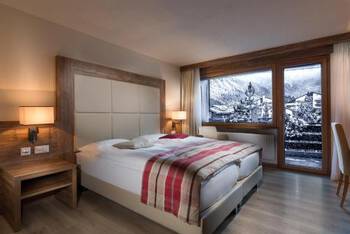
- Hotel Ambassador Zermatt (High-End)
- Matterhorn Paragliding flight in Zermatt (20-25min) (2 hours)
- Majestic Matterhorn: Zermatt to Glacier Paradise Cableway Ticket (2 to 3 hours)
- Mount Gornergrat: Zermatt's Spectacular Summit Ticket (2 to 4 hours)
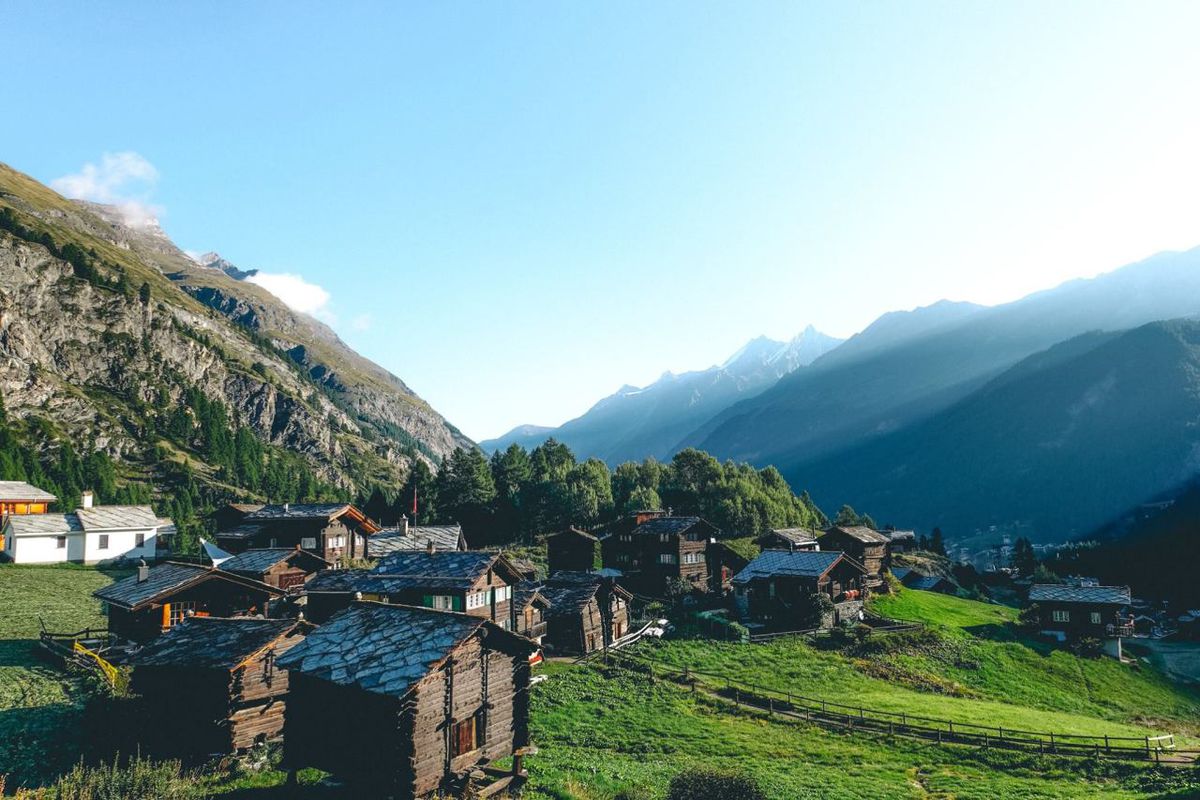
Walk through Furi and continue uphill toward Schwarzsee, our first major stop. When I did this hike, I followed the trails roughly alongside the cable-car route from Zermatt, but there are several hiking paths in this area, so follow the current yellow trail signs rather than relying solely on the cable-car line.
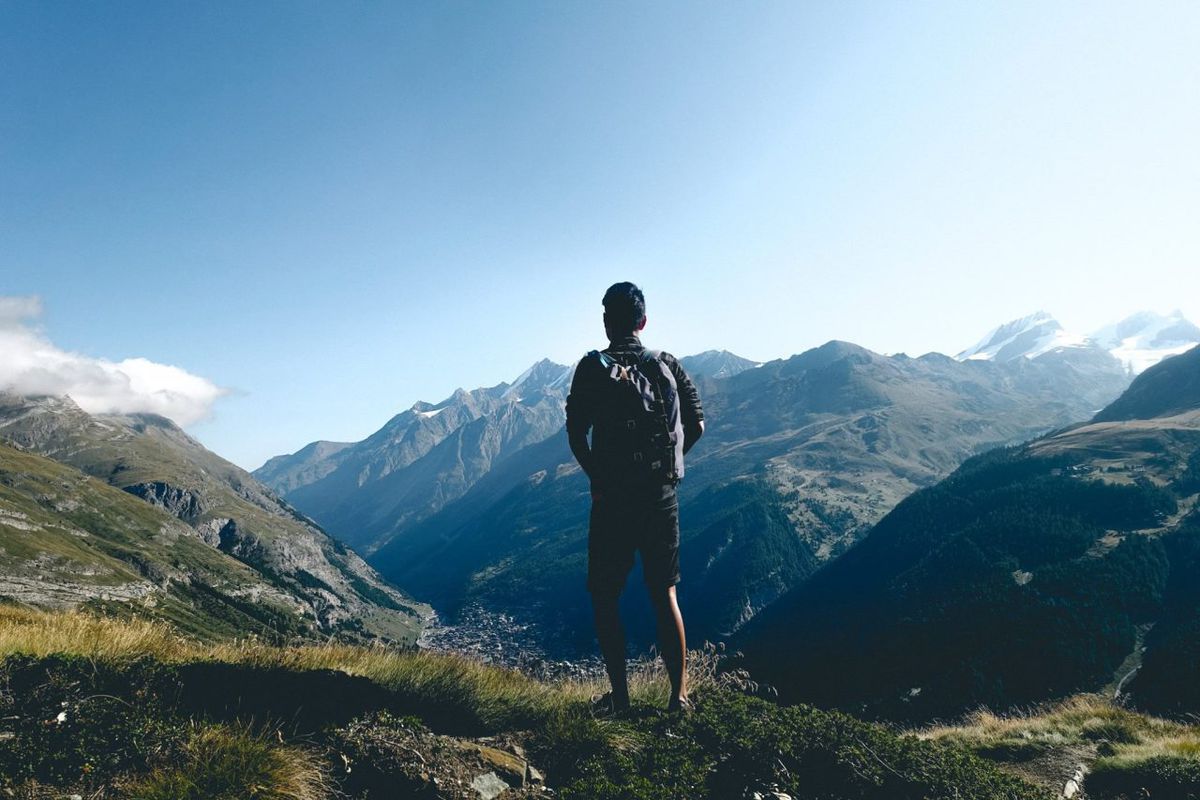
After around three hours of steep climbing on my hike, the scenery gradually changed from forest to a much more exposed Alpine landscape as I approached Schwarzsee. Continue following the marked route toward Schwarzsee, which sits below the Matterhorn and is the main starting point for the hike up to Hörnli Hut.
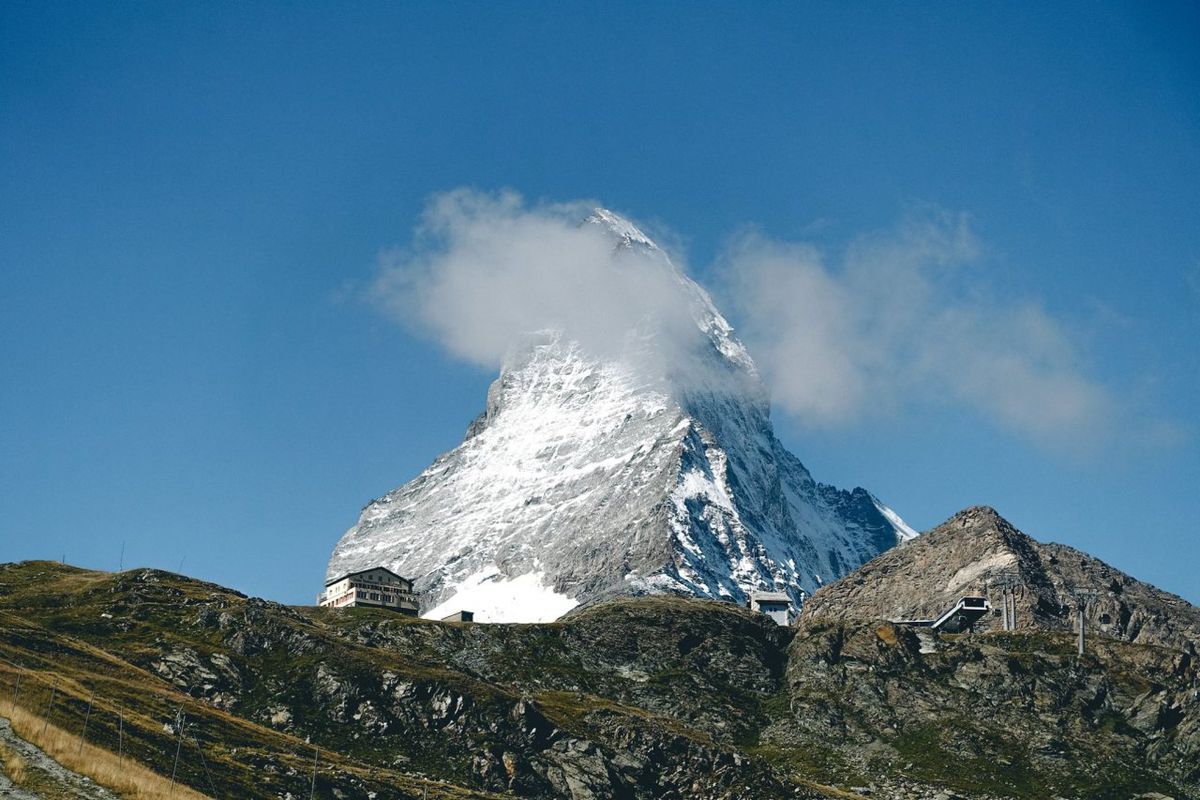
By then, it should already be around noon, so Schwarzsee is a good place to stop for lunch, use the toilet, or, if you are like me, get more caffeine in your blood. Once you are ready, follow the current signs for Hörnlihütte and begin the climb toward the Matterhorn. The official Schwarzsee–Hörnlihütte route is currently listed as an advanced hike, so only continue if you are comfortable with exposed, steep Alpine terrain and the weather is suitable.
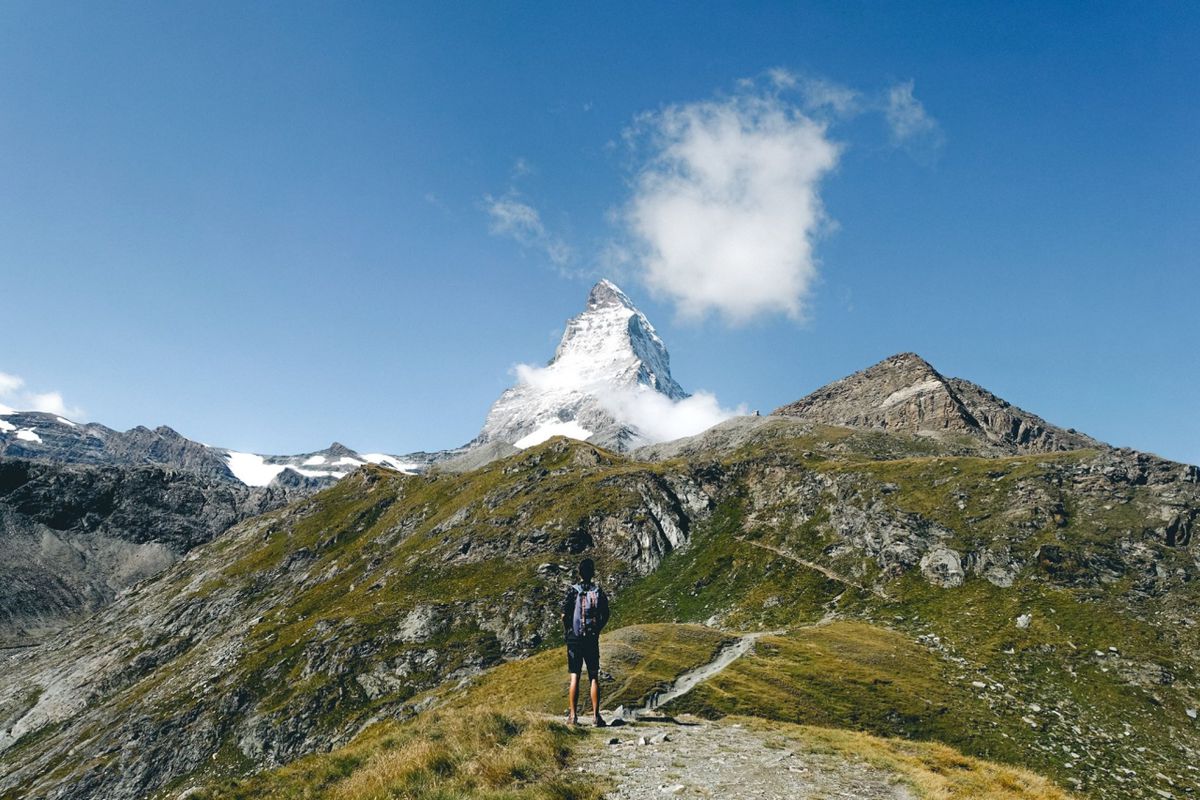
Around an hour of steady ground, you should reach an intersection with the option to either go left to the glacier or up to the Hörnli Hut. Go up and follow the trail along the side of the Matterhorn.
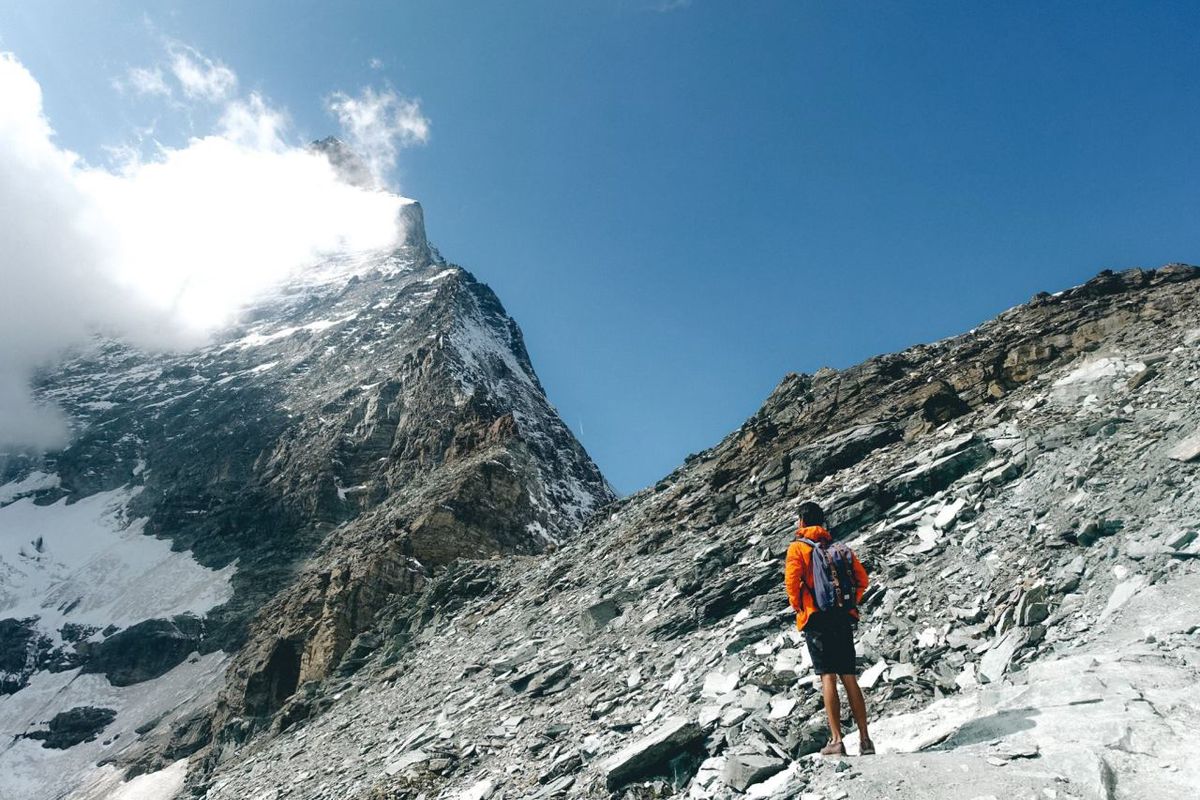
When I did the hike, the steep climb from Schwarzsee to Hörnli Hut took me around an hour and a half. Today, the official route is listed at about 2 hours and 15 minutes, so give yourself more time than I did. The trail climbs to Hörnlihütte at 3,260 meters and is officially rated advanced. Once you arrive, don't rush it. You deserve to stay up here for a while and take in the Matterhorn from incredibly close range.
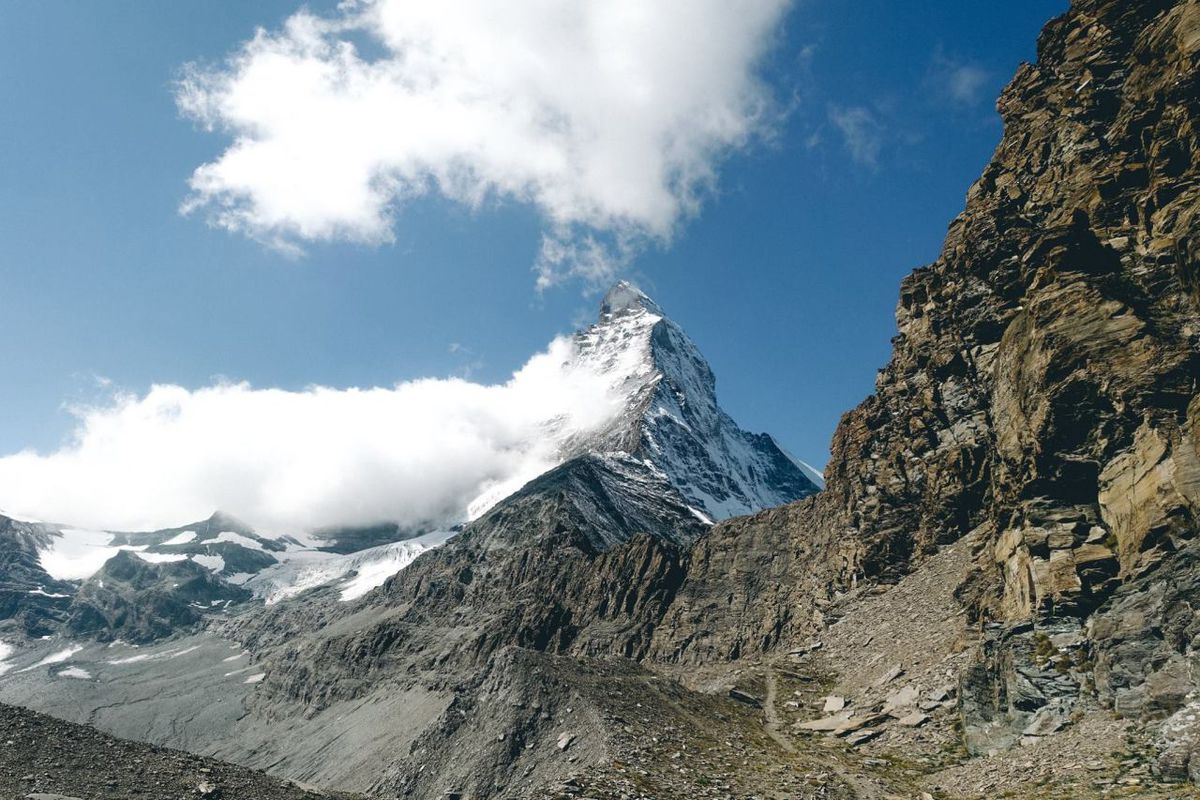
Once you are done, make your way down to the intersection we briefly mentioned and go right (towards the glacier). Coming down from Hörnli Hut should not take longer than an hour.
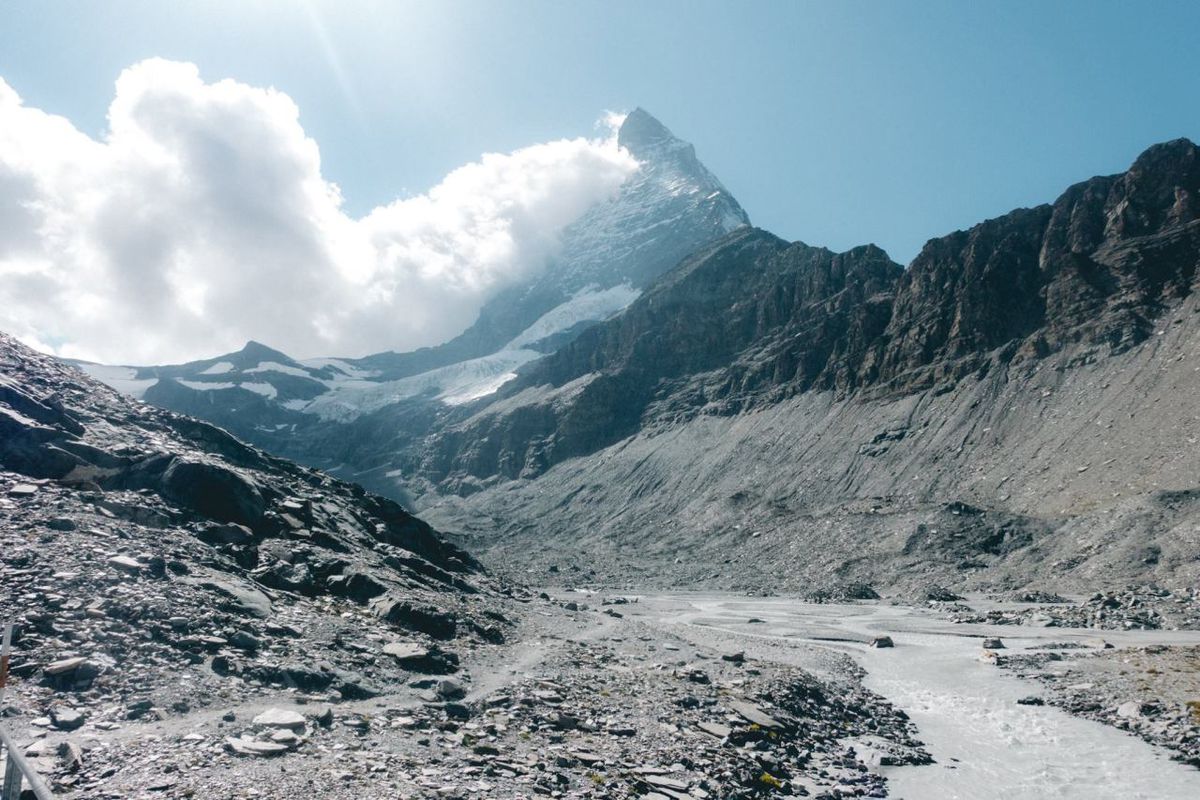
When I did this hike, I continued through the glacier area on what was then marked as trail #26. The signed Matterhorn Glacier Trail today is a 6.6-km route between Trockener Steg, Hirli, and Schwarzsee, taking around 2 hours, and the landscape has continued to change as the Furgg Glacier retreats. If you want to follow this part of my old route, do not rely on my original trail number or glacier position; follow the current marked trail and never walk onto the glacier itself. The scenery beneath the Matterhorn is still spectacular.
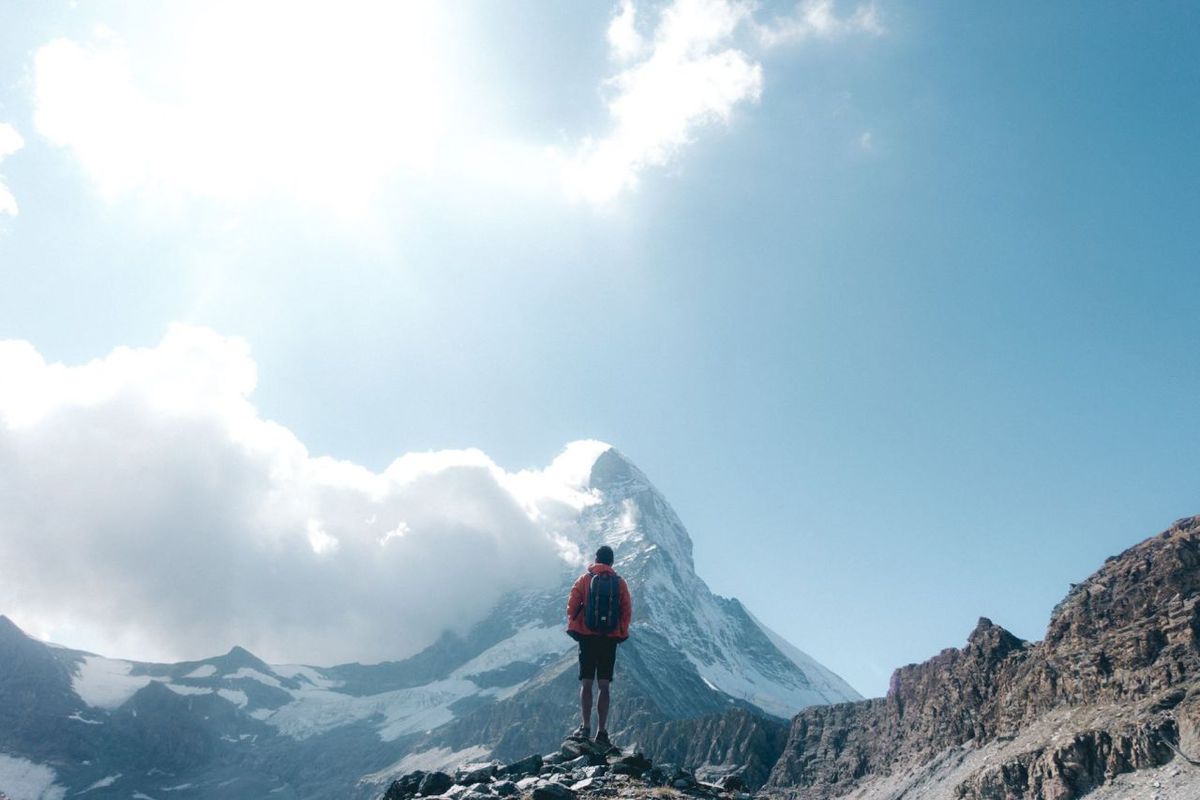
The glacier section took me around 2 hours and brought me to the Trockener Steg cable-car station. The current official Matterhorn Glacier Trail is also listed at around 2 hours, but it is signed in the opposite direction, from Trockener Steg via Hirli to Schwarzsee.
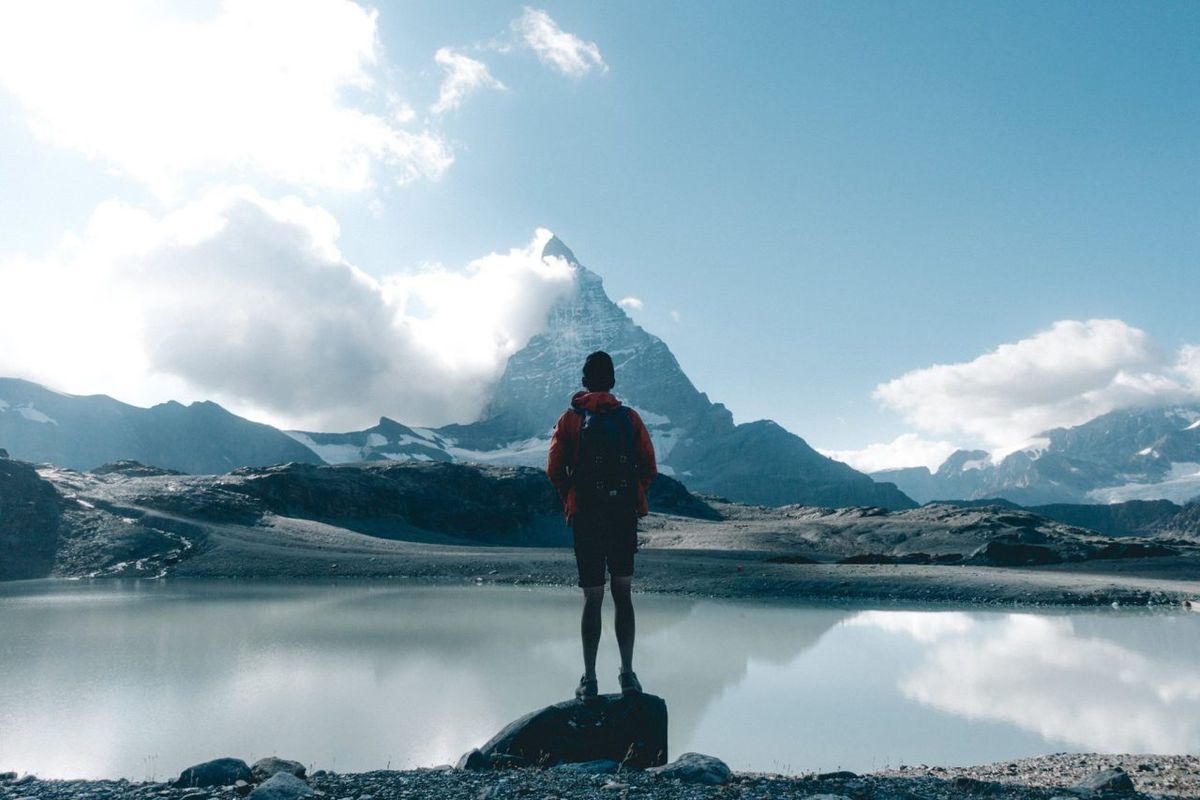
The descent from the Trockener Steg area back toward Zermatt took me around 3 hours. It was extremely steep, and I started much too late; I actually had to run part of the way down to get back before it became pitch dark. I would not recommend repeating that. If you plan to hike all the way back to Zermatt, leave a generous daylight buffer, check the current route and weather beforehand, and be prepared to use the lift from Trockener Steg if you are running behind schedule.
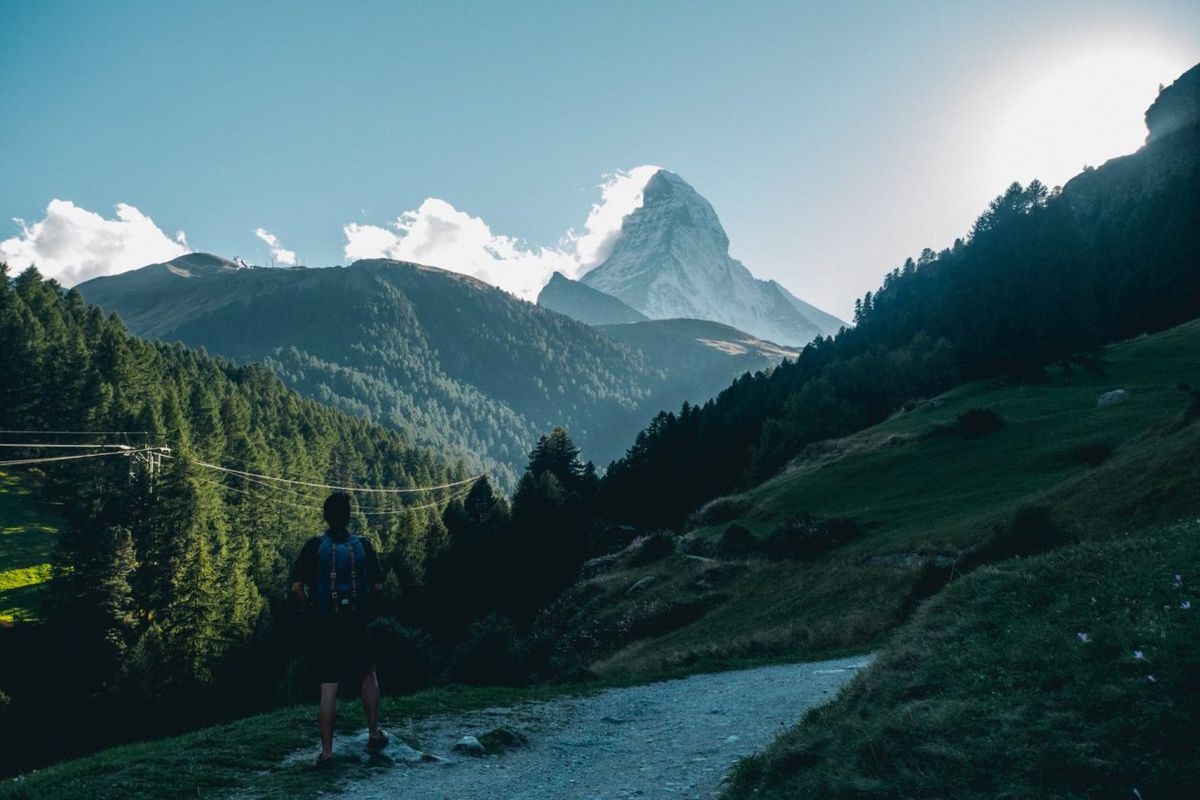
By the time you arrive back in Zermatt, you should have completely exhausted all your energy while your money is still intact. That's why I like hiking, it's free. Once you are done, make sure to treat yourself to some delicious Swiss food and lots and lots of chocolate! You deserve it!
Be warned: This full route is not for everyone. It is a very long day with substantial climbing, and the official Schwarzsee–Hörnlihütte section alone is rated advanced. You need to be fit, comfortable hiking on steep Alpine terrain, and prepared for rapidly changing mountain weather. Calculate your time carefully, leave a generous daylight buffer, and carry enough food, water, warm layers, and rain protection.
Do also tell someone what your plan is. I was ill-prepared, to say the least, and I ran out of water and food on my way back down. I had to fill up my water from a small waterfall along the trail. I also did not tell my friend about the plan, and I was gone for so long that he almost reported me missing to the police! Other than that, good luck and enjoy the Matterhorn!
Where to Stay in Zermatt?
What to Pack for Hiking Around Matterhorn?
Even in summer, conditions high above Zermatt can be cold, windy, and change quickly, so appropriate gear is essential. The Hörnlihütte trail is generally best tackled in July and August, while the Matterhorn Glacier Trail is typically a summer route from June to September. Always check current trail and weather conditions before setting out. Here is a list of things I had with me:
- A Tent: One of the most expensive parts of Switzerland is its accommodation. By camping in a campground, you will save as much as 30 CHF per night compared to staying in a hostel. A tent with a rain cover to prevent condensation is preferable. My friend's tent did not have one, and I woke up with my hair and foot wet every day. I recommend this 2-person tent for your trip.
- Sleeping Bag: It does get cold at night, so if you are camping, a warm sleeping bag is essential. A sleeping bag does not replace the insulation of a sleeping mat, though, so bring an appropriate mat as well if you are sleeping in a tent. I recommend this Coleman North Rim Sleeping Bag for this trip.
- Headlamp: You will need this to navigate the camping ground at night, so be sure to have one ready. I recommend this Cree LED Headlamp for the trip.
- Good Hiking Shoes: When I did this route in summer, regular hiking shoes were enough for most of the trail, but conditions around Hörnlihütte and the glacier area can vary considerably from year to year. Wear sturdy hiking footwear with good grip and check for snow or ice on the route before setting out. These Timberland Shoes are my go-to hiking boots in most situations.
- Weather-proof Clothing: The regular clothing you use to hike the mountains is fine. A weather-proof jacket is essential to keep you protected from the wind. I found windproof gloves useful against the chilling wind as well. Here are jackets I recommend you get for the trip: fleece jacket and the beautiful orange Columbia outer-shell jacket.
- A Hiking Map: Before you start the hike, get the map from the Tourist Information near the train station. It will come in handy when you start the trail.
- Food and water supply: Since we will be tackling 3-4 trails in one day and the trip might take more than 10 hours, prepare enough for the worst. I always carry my 2-liter hydration pack, which I recommend so you don't have to stop to stay hydrated.
- Power Bank: The trail we are doing is long, and you might need the power to keep your camera charged. Also, the campground is not the best one. They have a shared power outlet in the toilet, and you will be competing for one with other backpackers. So, get a Power Bank to save yourself from many awkward talks with people in the toilet. I recommend you get the Anker PowerCore 20,000 mAh power bank, which should be enough for all your electronics for the entire duration of the trip.
- A Daypack: You will need a daypack to carry all of your gear with you when you are out and about. During this trip, I use the classic Herschel Supply's Little America Backpack to carry everything with me. It is light with a good capacity and stylish as hell.
How to get to Zermatt?
The best way to get here is to fly into Zurich or cities nearby and take a train or a bus from there. I would recommend you browse through Skyscanner or Expedia to find all the cheap flights from where you live to Switzerland and compare them so that you can find the one that best fits your itinerary.
If you are traveling extensively around Switzerland by public transport, it is worth comparing individual tickets with a Swiss Travel Pass. As of 2026, a 4-day second-class Swiss Travel Pass costs 309 CHF for adults, while the Swiss Travel Pass Youth costs 218 CHF for travelers under 25. There is also a 4-day Swiss Travel Pass Flex if you want to spread your travel days across a month. Whether the pass saves you money depends on your itinerary, so compare it with the individual train journeys you plan to take before buying.
Zermatt is the main base for visiting the Matterhorn and remains car-free for private vehicles. The easiest way to get there is by train. If you are driving, you will need to leave your car in Täsch and continue to Zermatt by train.
You can also go with Flixbus because it is cheap, reliable, and operates extensively throughout Europe.
Disclaimer: This post may contain affiliate links. See our disclosure policy.
First Published:
Last updated:


6 Comments
This looks amazing. I am planning to go later this month, but only have time for one full day hike. If you had to choose, would you do this or the Verbier one?
Hey Scott! Thank you for reading the article! Great time to go hiking around the area :) I haven't done the Verbier myself, but both look great! I think at the end of the day, it will depend on what you want to see. I wanted to see the Matterhorn up close and so that was why I picked this trail. If you want to see the Matterhorn up close than there's no better than this trail :)
Thanks for the post - based on it last weekend we followed exactly the same route.
We started at 8:00 AM from the cable car station. Reached Schwarzsee at 10:40, left it at 11:00. Reached Hörnlihütte at 12:40, left at 13:00. Reached Glacier trail at 14:05, Trockener Stag at 15:30, Zermatt at 18:10.
How does this compare to the 5-lakes trail?
Hi Pele,
Thank you for letting us know how your experience went. I'm glad you did it right on time! :) The view is nice isn't it?
Hi Arsal,
I personally haven't done the 5-lakes trail so if you did that, feel free to report back here what you think. :)