I often get asked a lot about my travel videos - how I created them, what software I use, and what my workflow is. I never actually had the time to explain my work process fully, so today, I decided to write a step-by-step guide that will cover everything from my camera settings to what I do while traveling and, eventually, in the editing booth.
This is by no means a professional way of doing travel videos since I do not have proper education on filmmaking, but from my personal experience through countless trial and error, I was able to find a workflow that works perfectly well, and I would like to share that with you so you don't have to go through all the mistakes I had encountered. Without further ado, let's begin with the first step of how I create a travel video: travel gear.

1. Preparation
1. Travel Gear I Use

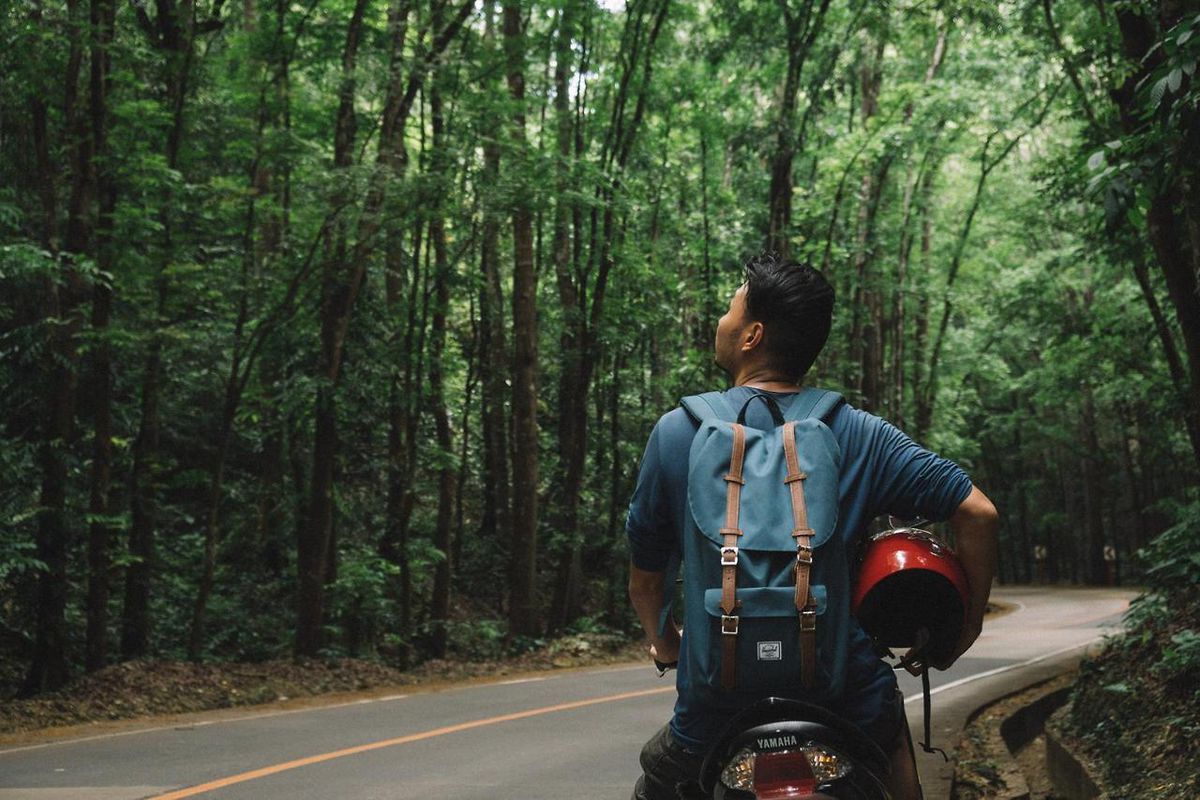
First and foremost, before every big trip, I will always list my camera gear and assess how it will fit in my backpack. I am a light traveler with one 60L backpack for clothes and one 25L Herschel daypack for all my camera gear, so space management is very important.
I have recently written an article about what gear I carry for travel filmmaking. To summarize, this is the camera gear I carry in my daypack in 2018.
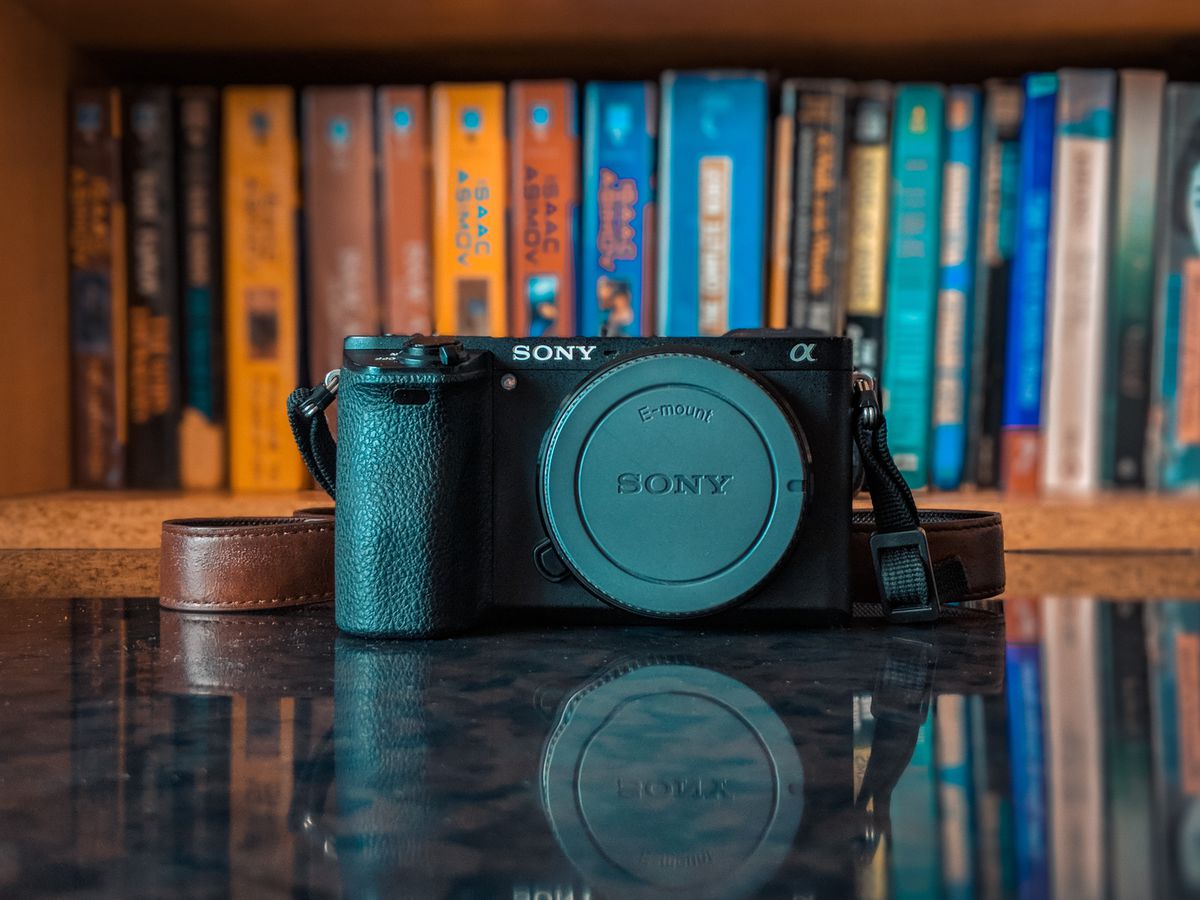
Camera: Sony a6500
General Purpose Lens: Sony 16-70mm F4 (SEL1670Z)
Low-light Lens: Sony 35mm f/1.8 (SEL35F18)
Wide Angle Lens: Rokinon 12mm F2.0 (RK12M-E)
Tripod: Rangers 57” Ultra Compact
Storage: SanDisk SD Card
And a few other gear that helps ease the pain of travel filmmaking, like cleaning solution or battery packs.
2. Sony a6500 Camera Settings I Use
I always configure all my camera gear before a trip because traveling is spontaneous, and if I always have to fiddle with my camera settings all the time, I would probably miss a lot of what is going on in front of me, which is not ideal. I usually spend a few hours trying new settings like Picture Profiles, memorizing settings into shortcuts, and experimenting with settings under low light conditions, etc.
From a painstaking process of trial and error, I have found the most optimal settings for my Sony a6500, and I will share them here for those of you who have the same or a similar Sony camera as mine.
Picture Profile: PP6, Cine2 Gamma, and Cinema Color Mode.
Memory 1 Button: For 4K footage, use XAVC S 4K format, set it to 25p 100M Record Setting, prioritize Shutter Speed, set ISO to Auto, enable Auto White Balance, and use Continuous Auto Focus.
Memory 2 Button: For slow motion, XAVC S HD format, 100p 100M record setting, shutter speed priority, ISO auto, auto white balance, continuous auto focus.
And that is pretty much it for my camera settings. I used to use a flat picture profile like SLOG2, which works amazingly well at bringing more detail out of my footage, but it proved to be quite difficult to work with in different lighting conditions, especially when it's really dark or really bright. I spent a lot of time fixing most of the footage in post because of that. So now I am back to a normal cinematic picture profile again.
3. Where Should I Go?
After experimenting with my camera, it's time to decide where to go. Personally, I prefer going to countries nobody visits and places nobody talks about so that I can tell a unique story in my travel video that not many people know.
Once I pick a location, I will often come up with a loose concept in my mind that I'll use to structure my film. This concept often evolves into a better one over time as I experience the country more and more. This is to be expected as I cannot tell a story from my imagination alone. I have to experience the country first and let the story evolve with it.
If that is the case, then why bother coming up with a concept at all, you ask? Well, the concept is there to initially guide me on the approach I should take to keep everything structured and consistent. I work better with limitations, and if I have to follow a concept, I would approach the video in a more creative way.
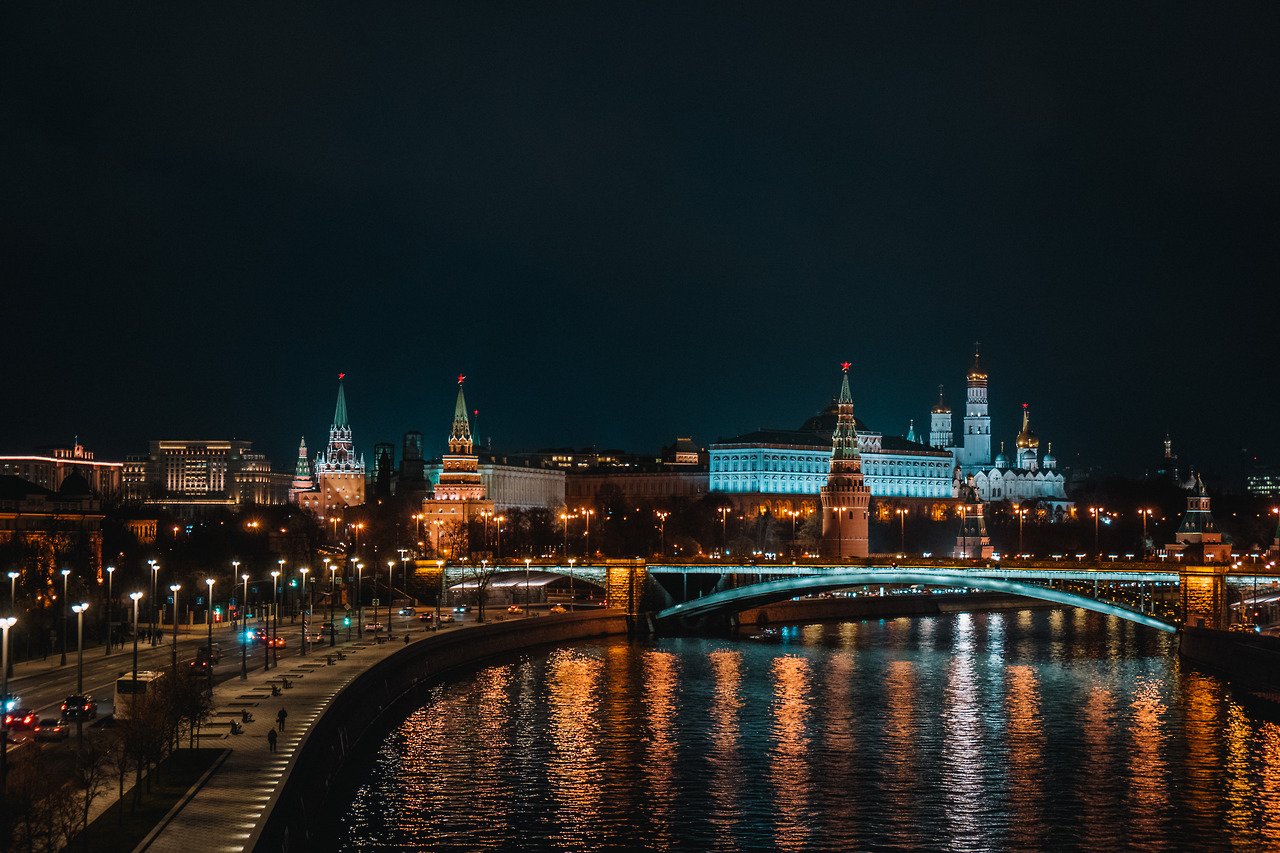
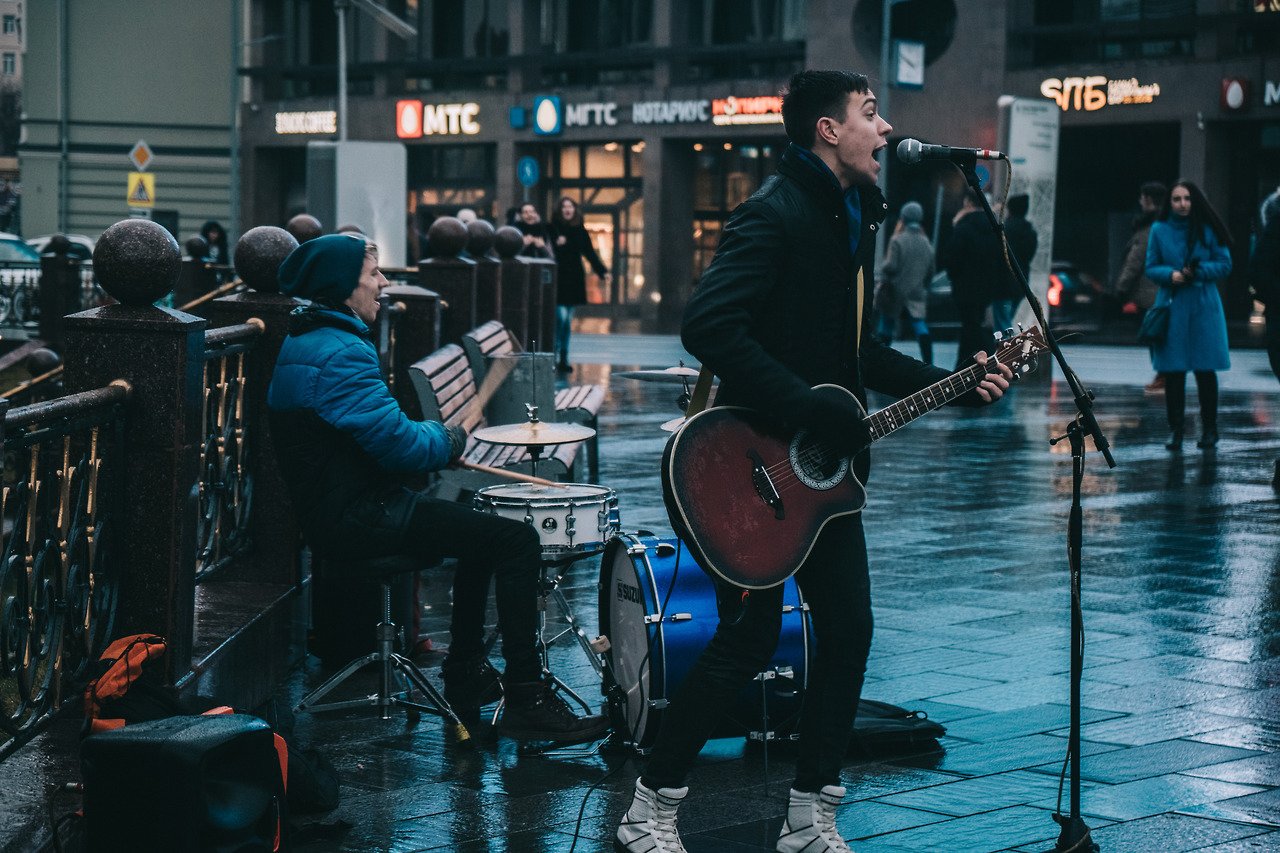
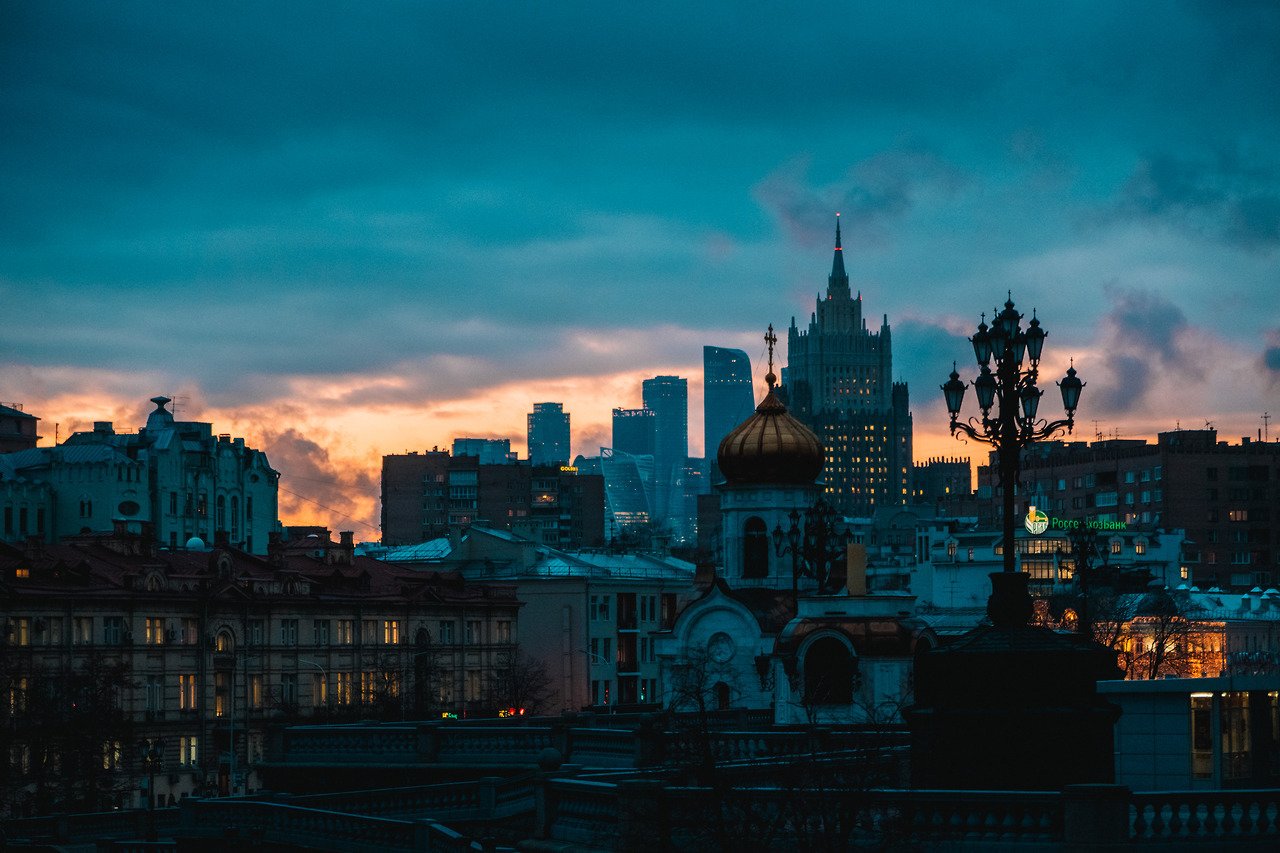
For example, when I arrived in Russia, I decided to focus more on cityscapes instead of human interactions. So, I approached the film by going up to lookout points or places where people move around a lot, such as a bus stop. I would set up my tripod and take a few timelapse videos.
When I was there, the weather was terrible, and daylight was short, so I had to adapt to the situation and go for more time-lapse of clouds. I shot everything at night and let the artificial light illuminate the city instead. As you can see, the timelapse concept stuck, but the way I approached the film evolved throughout the trip.
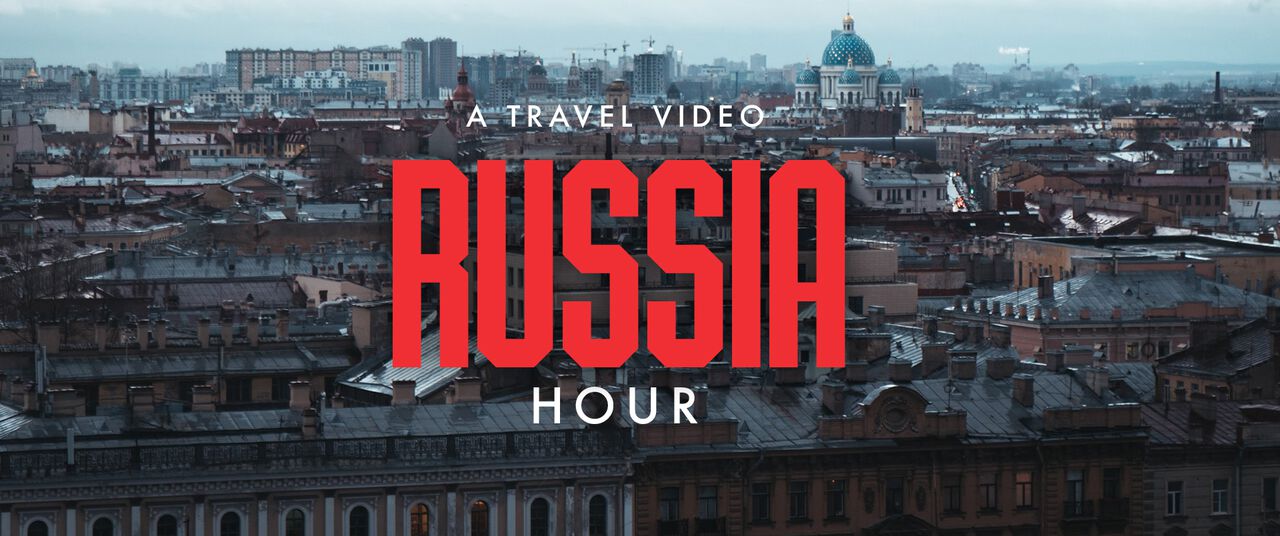
If you are interested in seeing the result, here is my latest travel video, RUSSIA HOUR video on YouTube. Enjoy.
2. While Traveling
1. Storage and Security
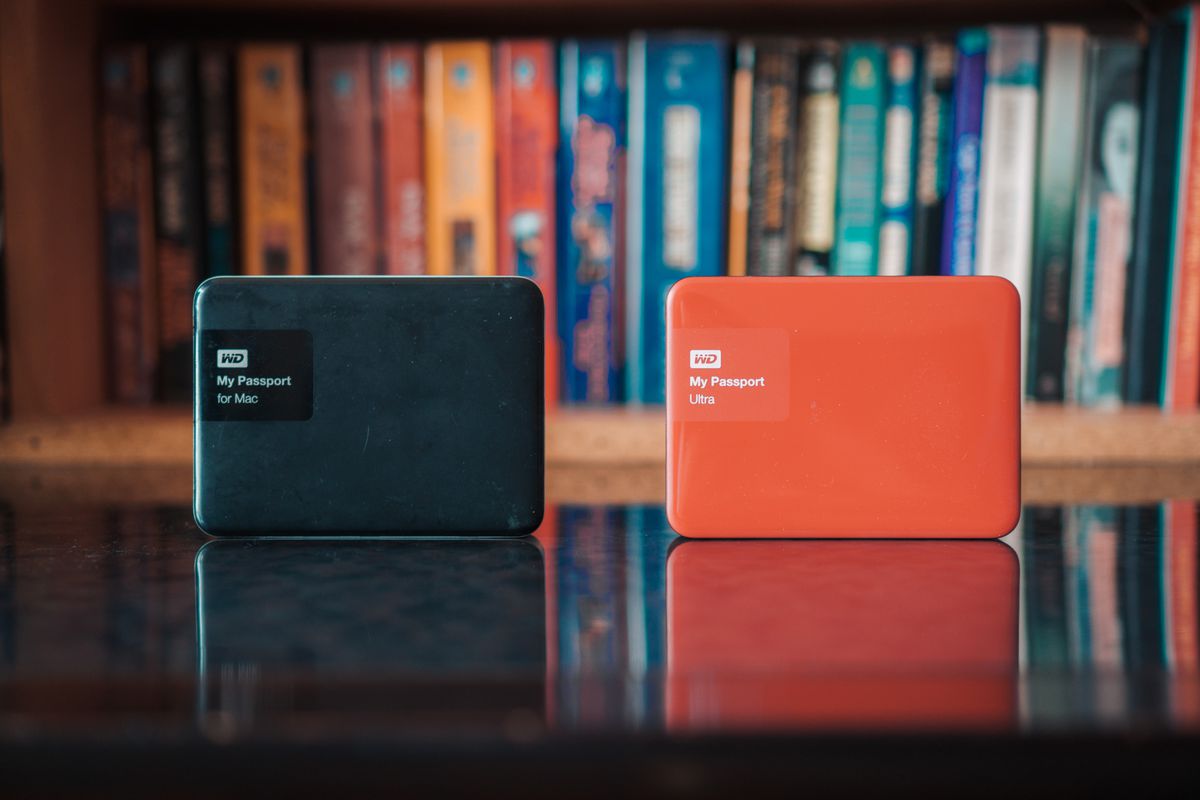
Now that I am on the road, it is important to know how I should store my data safely and securely. I do not want to lose everything like I did in Cologne, Germany when someone stole my bag. So what I do is, I will carry one external hard drive and have an exact copy at home so that I don't lose everything if someone steals my bag again.
I will then use a 128GB SD card in my camera and shoot with it for my entire trip. When I am done for the day, I would then transfer the new footage to my external hard drive as a backup but still keep the data on the SD card and put them in separate places. The SD card would be in my camera in my daypack, and the external hard drive would be in my big backpack. That way, if someone decided to steal one of my bags, I would still have everything intact either on my SD card or on my external hard drive.
I found this to be the surest way to not lose everything when something goes wrong. It's better to be prepared than to be sorry in the end. Trust me, I learned that the hard way.
2. Daypack Preparation
Before a day begins, I will think about the place I am going and organize my gear accordingly. For example, if I am going underwater, I will prepare my GoPro and leave my other lens behind so I don't have to carry everything. If I'm hiking, I'll leave my laptop behind and bring my tripod and wide lens.
If you are carrying drones and gimbals, this is a must-have for you because you will find yourself with no space for essentials, such as a place for a bottle of water or snacks for a long day, etc.
3. What and How Should I Shoot?

Now that I am all prepared, it is time to go out and shoot something. What and how I shoot will depend on the location mostly. If it is a city where there are a lot of people, like an old town square, I would go with a timelapse of people from above, usually up a tower or something, or a close-up shot of people interacting with each other.
If I'll be seeing a lot of architecture and monuments, a simple pan or spin shot of the architecture or hyper-lapse is what I often do.
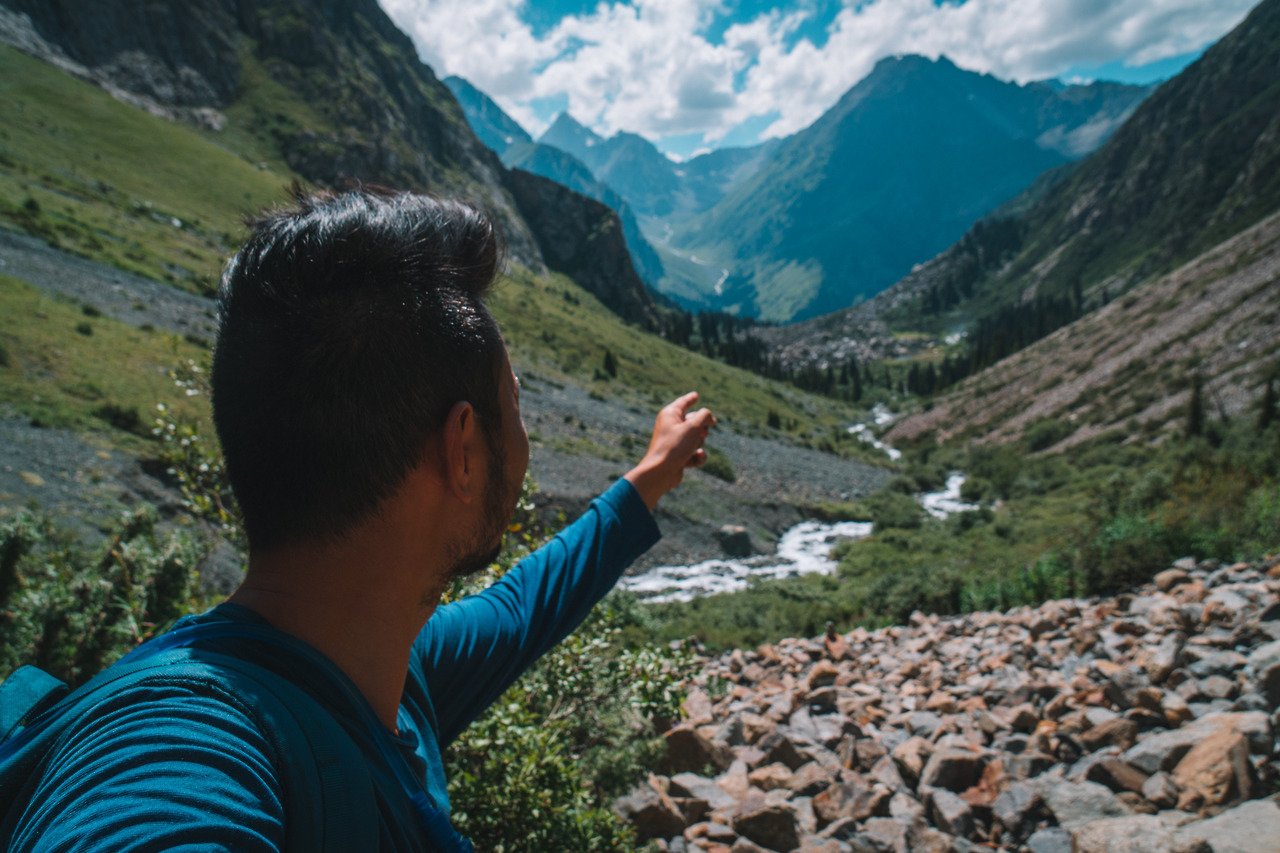
If I am hiking in nature on a cloudy day, timelapse is also a good option. However, if it's a clear day, I would try to get a shot of a human interacting with nature to capture the scale of the mountains. If there is no one around for me to shoot, I'll set up a tripod and do it myself.
If I'm camping overnight, I will always go for a nighttime timelapse of the Milky Way or wake up early in the morning for a sunrise timelapse.
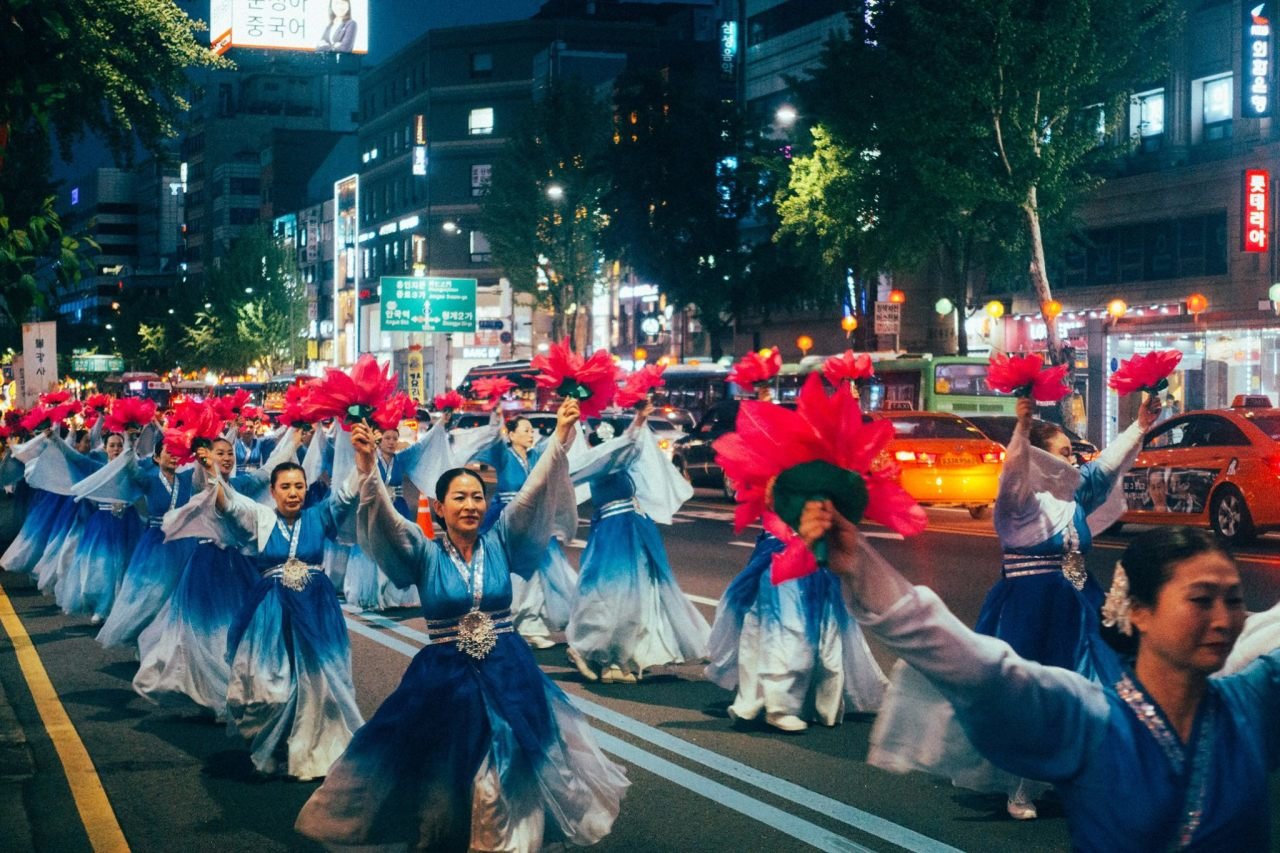
The most important part is to be in the right place at the right time. For example, I was walking around the streets of Seoul at night and stumbled upon a parade. I followed the parade, which led me to a stage full of people singing and dancing. Apparently, it was a Buddha's birthday celebration, and I was lucky enough to witness it, considering that it was a happy coincidence.
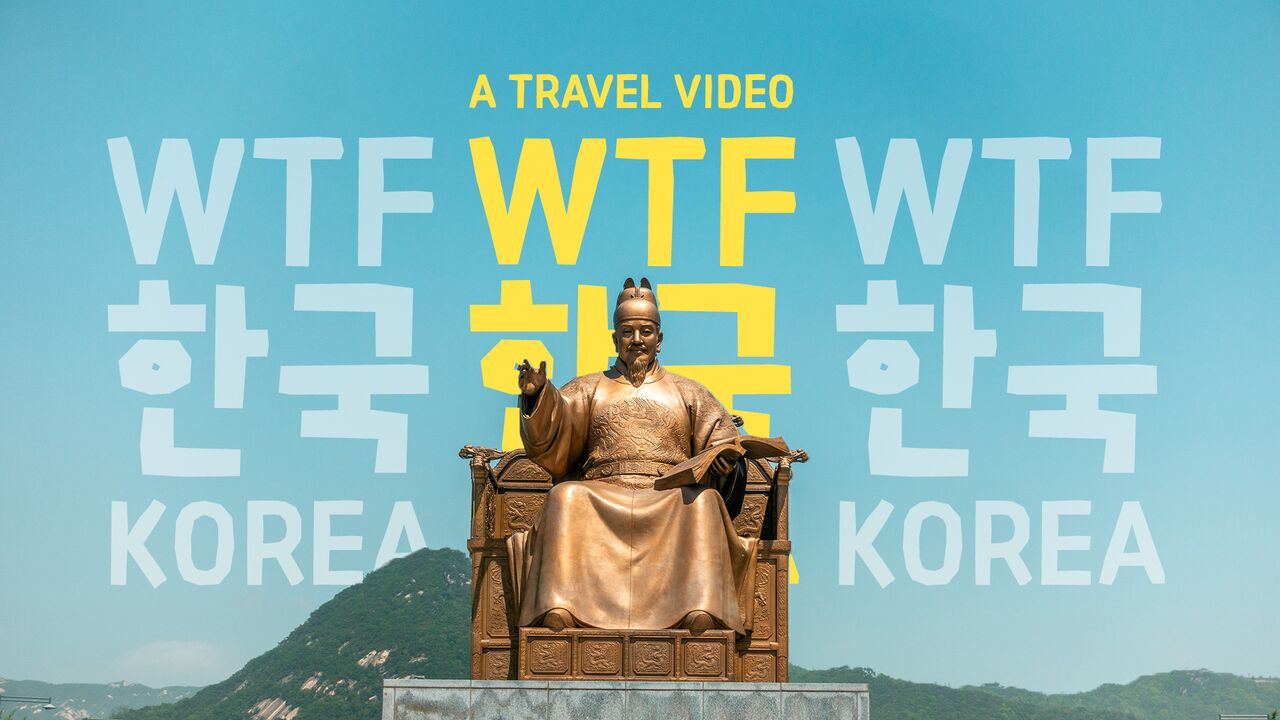
If you are interested in watching the video about Korea that I mentioned above, here is WTF Korea.
Want to learn more about creative ways to shoot a travel video? I have also written an article about it here: How to Make a Great Travel Video.
3. In the Editing Booth
1. Music Selection
Once I reach the end of my trip, I will spend at least a day contemplating the type of music I want to incorporate into my travel videos. It is crucial as it greatly influences how my audience will perceive them. I always strive to inspire people through my travel videos, therefore, I frequently opt for fast and uplifting music, with a climax that eventually reaches its peak and drops.
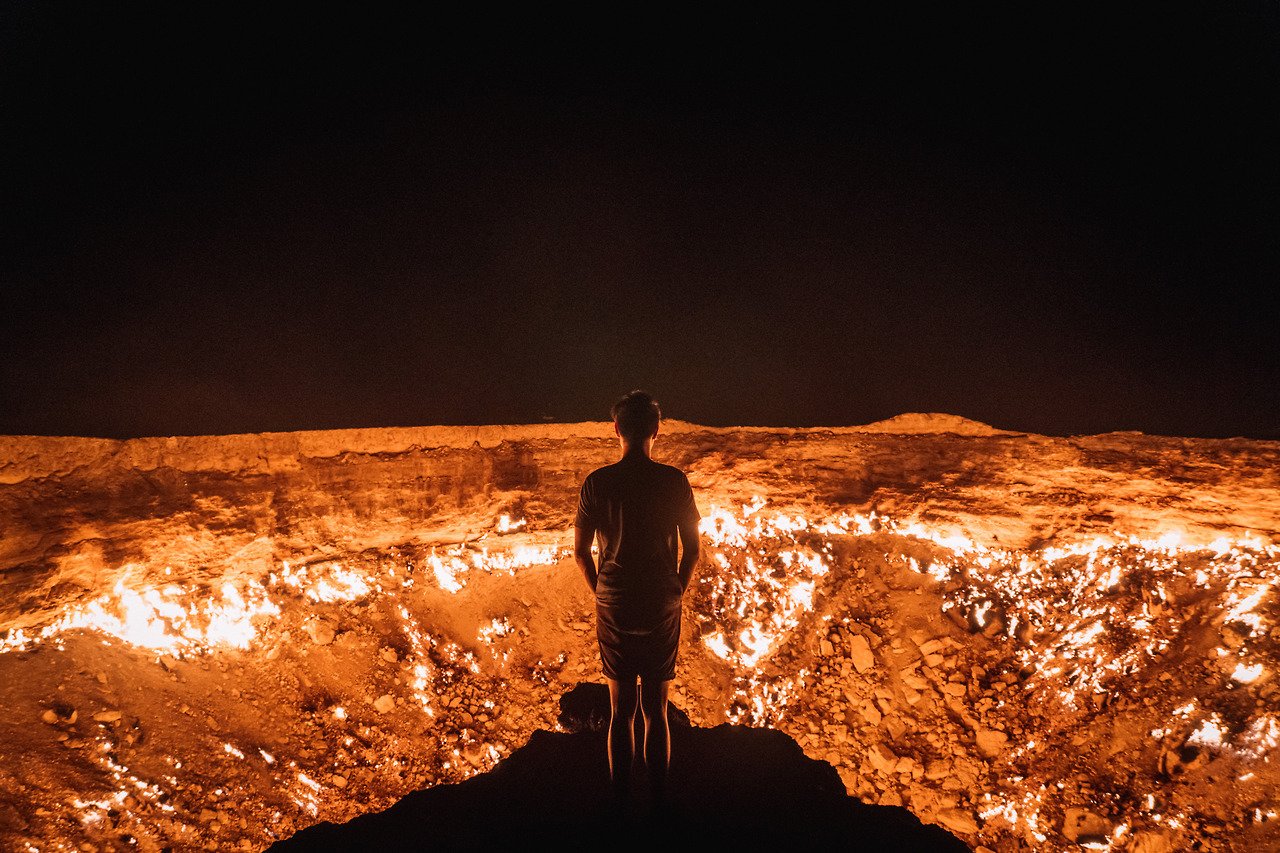
This is where the loose concept comes in handy. For example, the concept of my Turkmenistan video was isolation due to the country's nature of being isolated. So, I picked music that is ambient and eerie, which matches perfectly well with all my footage.
The best place to find good music for your video is MusicBed.com. They have a great selection of high-quality music at a reasonable price. Personally, I like this website because I can filter through their collection by mood and genre and add a bunch to my favorite list so I can decide later. Artlist.io is also another great alternative with a different (cheaper) approach to selecting travel video music.
If you are looking for a free option, I've got that covered as well. Check out the Free Music Archive, an interactive library of high-quality music available for you to use for free. I have found and used quite a few of their songs before as well.
Once I find the music, I often have to decide whether I want to modify the length of the music and cut it in a way that is neither too short nor too long. For a travel video, I have found that the optimal length is between the 3-4 minute mark. Anything shorter will leave the audience wanting more, while anything longer will bore and disengage them, causing them to leave.
2. Overview of Footages
After I select my music, I will then import all my footage into Adobe Lightroom, organize it by country, and look through each piece of footage one by one. Using Lightroom, I can display the footage in a grid and sort it by the date it was taken, allowing me to get a rough idea of where each piece of footage was captured from.
Adobe Lightroom also has a peek feature, allowing me to hover my cursor over the footage and move to peek at the video without actually opening it. This feature is perfect for my puny little MacBook Pro (2015), which always gives me a hard time when viewing 4K footage.
3. Start Editing
For editing, I will use Adobe Premiere Pro. Together with the Lightroom catalog, I will then look through the catalog, find the right video, and drag it from Lightroom into the Adobe Premiere Pro timeline, thanks to the well-integrated Adobe products.
How I start editing my video will depend on the material I've got, but my approach often boils down to finding the most uplifting part of the music, which is when the beat drops. Then, I will find the most impressive footage with a lot of motion, such as people dancing or hyper-lapses. I'll throw it on my timeline and see which one sticks.
Once I find the best one, I will then work out from there by trying to find another footage that connects well with the one I picked in order to create a seamless transition. This can be achieved through camera movement, object motion, shape, dominant colors, or luminance. I will do this one by one until I fill up my timeline.
It is a time-consuming process that may take at least 2 days, but I think it is the best way to keep my video interesting and unique.
4. Add Missing Footage
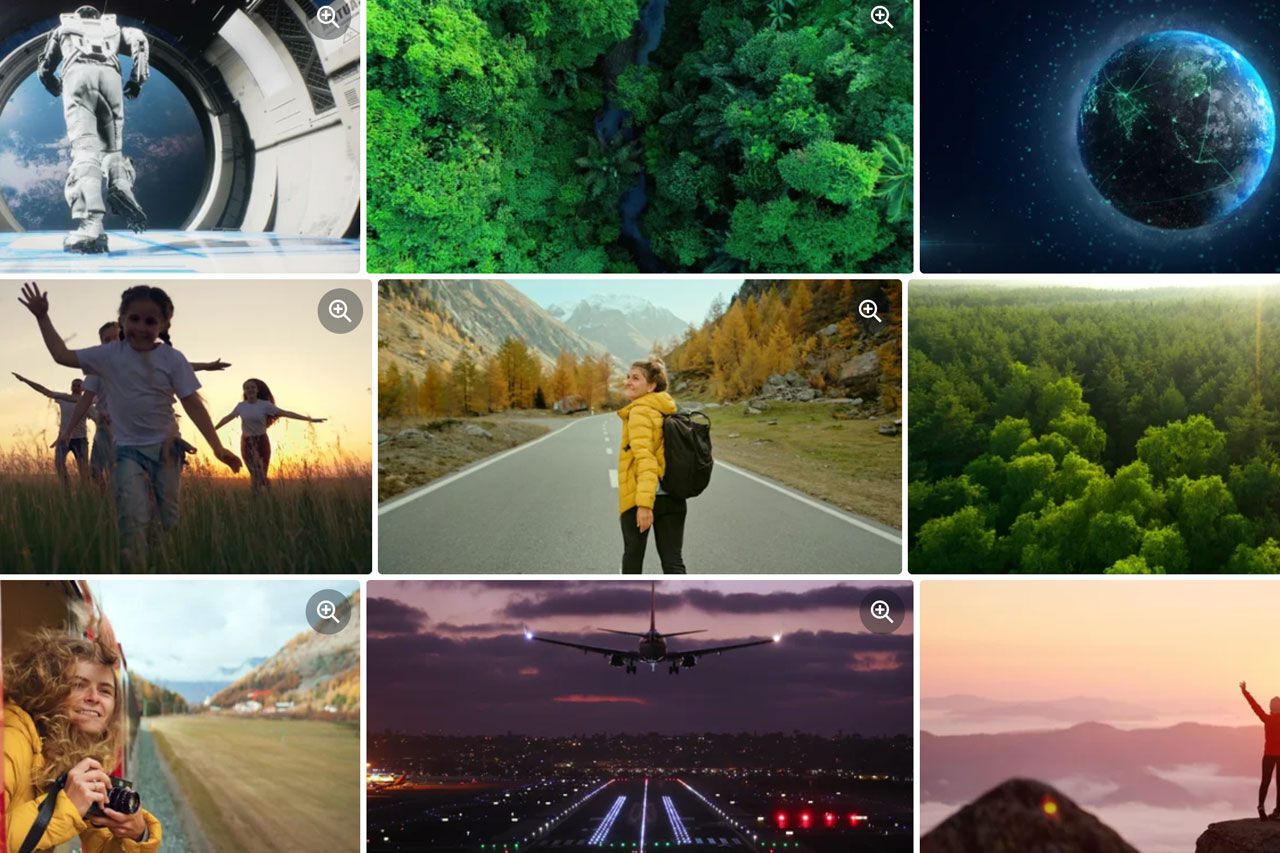
While editing, if you find yourself lacking certain footage to create the connection and flow you want in your travel videos, you can also use stock videos. I often use stock videos when I want to create a certain transition effect that I think will improve my travel videos, but I forgot to shoot them on location.
One of my most popular videos, Russia Hour, also uses a stock video for a car ride hyperlapse shot at night to create motion. So, if you realize you lack certain footage while you are editing, I highly recommend you go browse for stock videos on websites like Shutterstock.
Shutterstock is my favorite choice when it comes to finding stock videos to enhance my travel videos. They operate on a subscription model, providing access to their vast library of stock footage with a variety of packages that cater to any preference. If you are searching for that missing footage to complete your travel videos, Shutterstock is the way to go.
5. Refine Transition
In the editing process, I would start stitching all the videos up on the timeline. Once I have filled it all up, I will watch through the entire video and add more refined transitions using Adobe Premiere Pro's transform effect. That way, I can create an easing effect that will help smooth out any artificial transition effects I added in post. I also like to use the great smooth transition effects created by Chungdha sometimes, which can be found here: Seamless Transition Effect by Chungdha.
6. Sound Design
The third step of my editing workflow is to add artificial sound effects to the video to create a more immersive travel video experience. More often than not, my built-in microphone is usually not good enough to pick up decent sound. Sometimes, I might be interrupted by unwanted sounds like wind or loud city noises, so I always mute my footage and use a sound effect that best reflects the imagery in my video.
The best place to get access to a great collection of sound effects is also throughArtlist SFX section, which has a great search feature that allows me to find the right sound for my video. The peeking feature is also convenient, as I can hear the sound by just hovering my cursor over the sound clip I want to hear.
7. Color Correction
When I am satisfied with my video sound effect, I will then move on to color correction. I often use the default Color Correction workspace in Adobe Premiere Pro, create an adjustment layer, and add it to my timeline above my entire video. I use LUTs to add creative effects to the adjustment layer. This ensures consistent colors throughout the video.
From there, I would go into each clip, select Basic Color Correction on the right panel, and adjust exposure and saturation individually. Once I'm done, I'll prerender the video and watch it to see if anything seems off. I'll fix any issues and repeat this process until I am satisfied with my video.
Which LUTS did I use? I love the IWLTBAP Cinematic LUTS that come with over 200 different presets for all kinds of moods I need for my travel video. It only costs 25 USD for all the presets, which I think is probably one of the best investments I have made so far. What a bargain!
8. Export and Upload Online
After finishing up everything, I would then go on to export the video in ProRes 422 format, which is a raw format that retains quality but is still reasonably sized, and keep it as a backup. I would then convert the ProRes video file into other formats if needed. That way, I wouldn't have to waste time converting from the source through Adobe Premiere Pro again, which takes forever.
One thing I've learned from countless hours of poor quality videos uploaded is that if I want to retain the quality of my video, I should not export it in H264 MP4 format from the get-go. H264 MP4 format is a lossy format, and even though the file size may be significantly smaller than ProRes, I am also sacrificing a lot of detail for it.
If I decide to upload the MP4 file to Youtube or Vimeo, the platform will compress and convert my video even further in MP4 format. This is where I will lose all the fine detail that I painstakingly put into my video, such as cinematic noise effects, etc.
I always upload my travel videos to Vimeo because I enjoy the community there more, where it feels like it is more about the creative community than getting exposure, like YouTube. However, it will depend entirely on you where you want your content to be. If you want to reach a larger audience, YouTube is the way to go. But if you want a more positive feedback loop to improve your filmmaking skills, I still think Vimeo is the best platform for that.
Disclaimer: This post may contain affiliate links. See our disclosure policy.
First Published:
Last updated:
4 Comments
You are genius Pete for your sharp observations. I am sure there are production houses behind you to hire you permanently. But it is quite evident that you do what you like. And that makes you very unique. I was wondering where is next trip !! Also, i noticed that you haven't covered countries like India, China, US, UK, Canada, Mexico, Brazil. Is it because the vastness in the diversity to be captured in a short travel video? If so, then i should encourage you to start with India. Though i am not based in India now (working in Qatar), but i would love to make some arrangements, if you would like. By-the-way, I am travelling to Balkans in the next 2 weeks and to the UK during last week of Oct. If possible we can meet somewhere. Good luck.
Thank you for the comments and the kind words, Animesh! :) I just finished a big trip in Pakistan, Oman and Nepal to finalize this great year. :) I was in India and China before I started making travel videos but I'm bound to be back there soon so stay tuned. :) For the big countries like US, UK, Canada, Mexico and Brazil, it all boils down to the visa I need for these countries and the logistics. Since I'm based in Thailand, these places far from where I live so I will need to be there for a longer period so it will require more planning. :)
Enjoy Balkans and the UK. I was in the UK like 15 years ago and I love it. Of course, I was a student then so hard to say what it's like now. Have a safe trip!
Some great and useful tips in this article. I especially liked the one about the ideal video length. Thanks for taking the time to write it up.
Thank you for the comments! Hope you found it useful!